
COMPOUND MITER SAW
PROJECTS
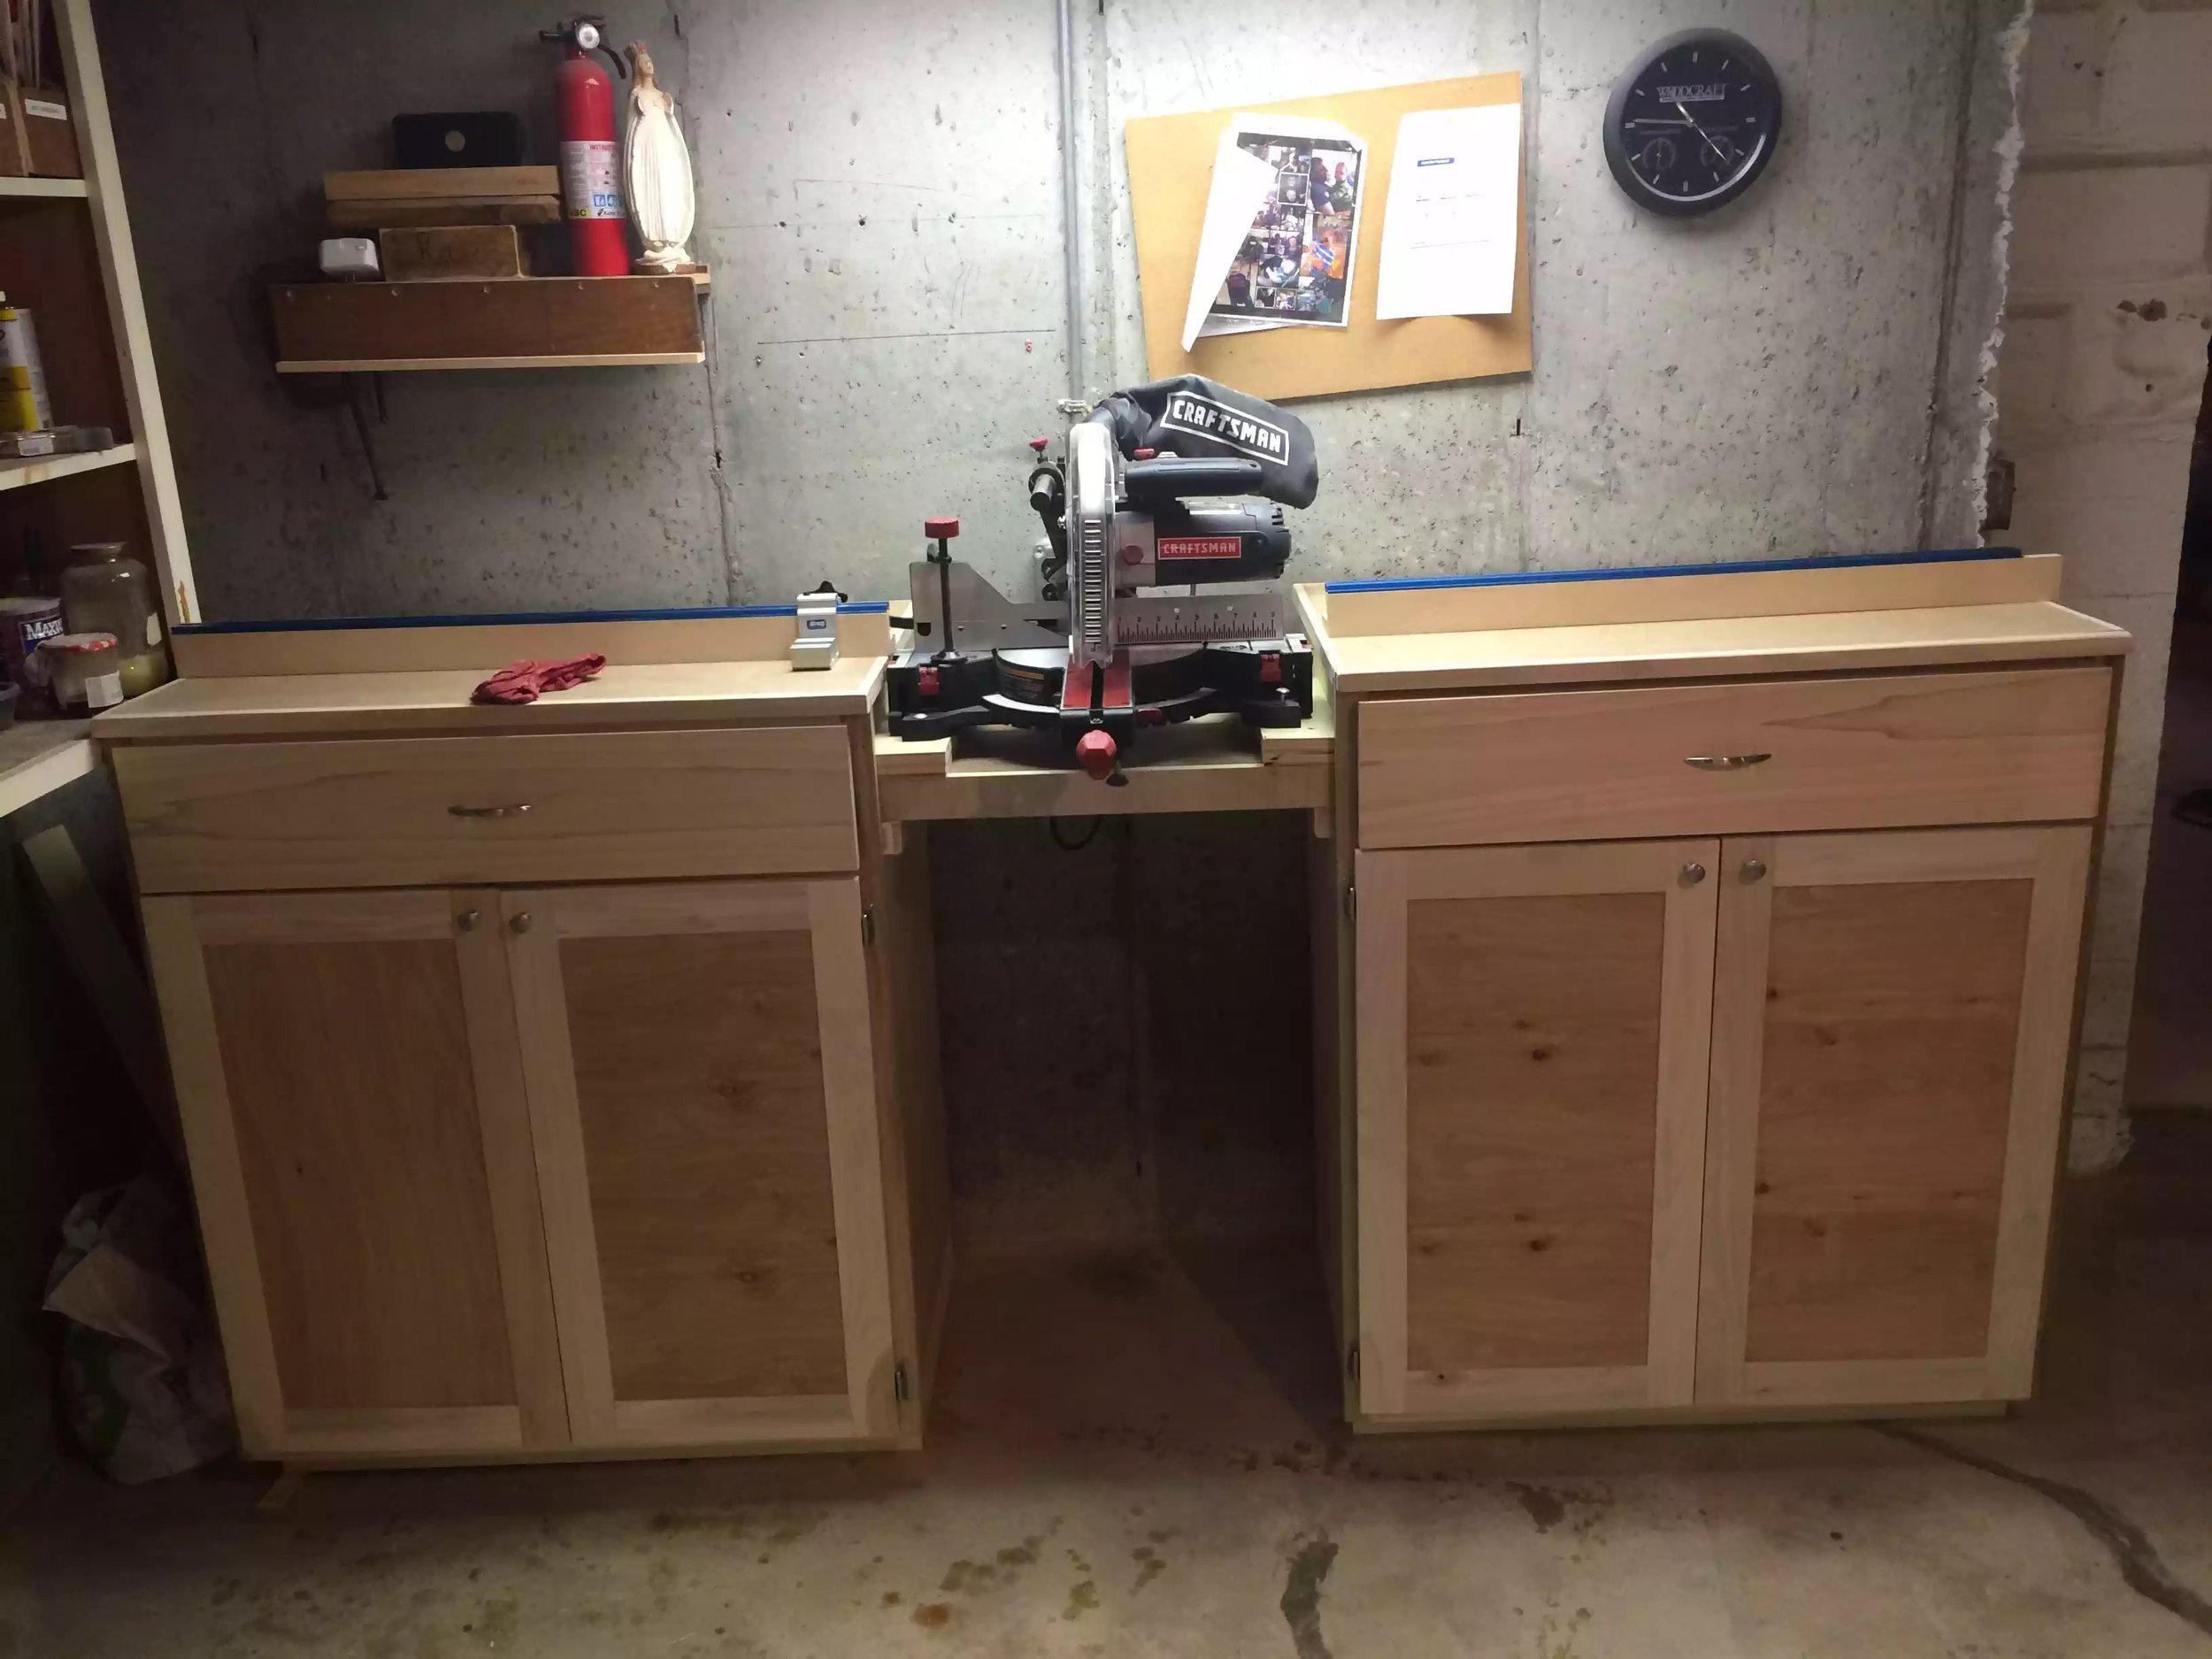
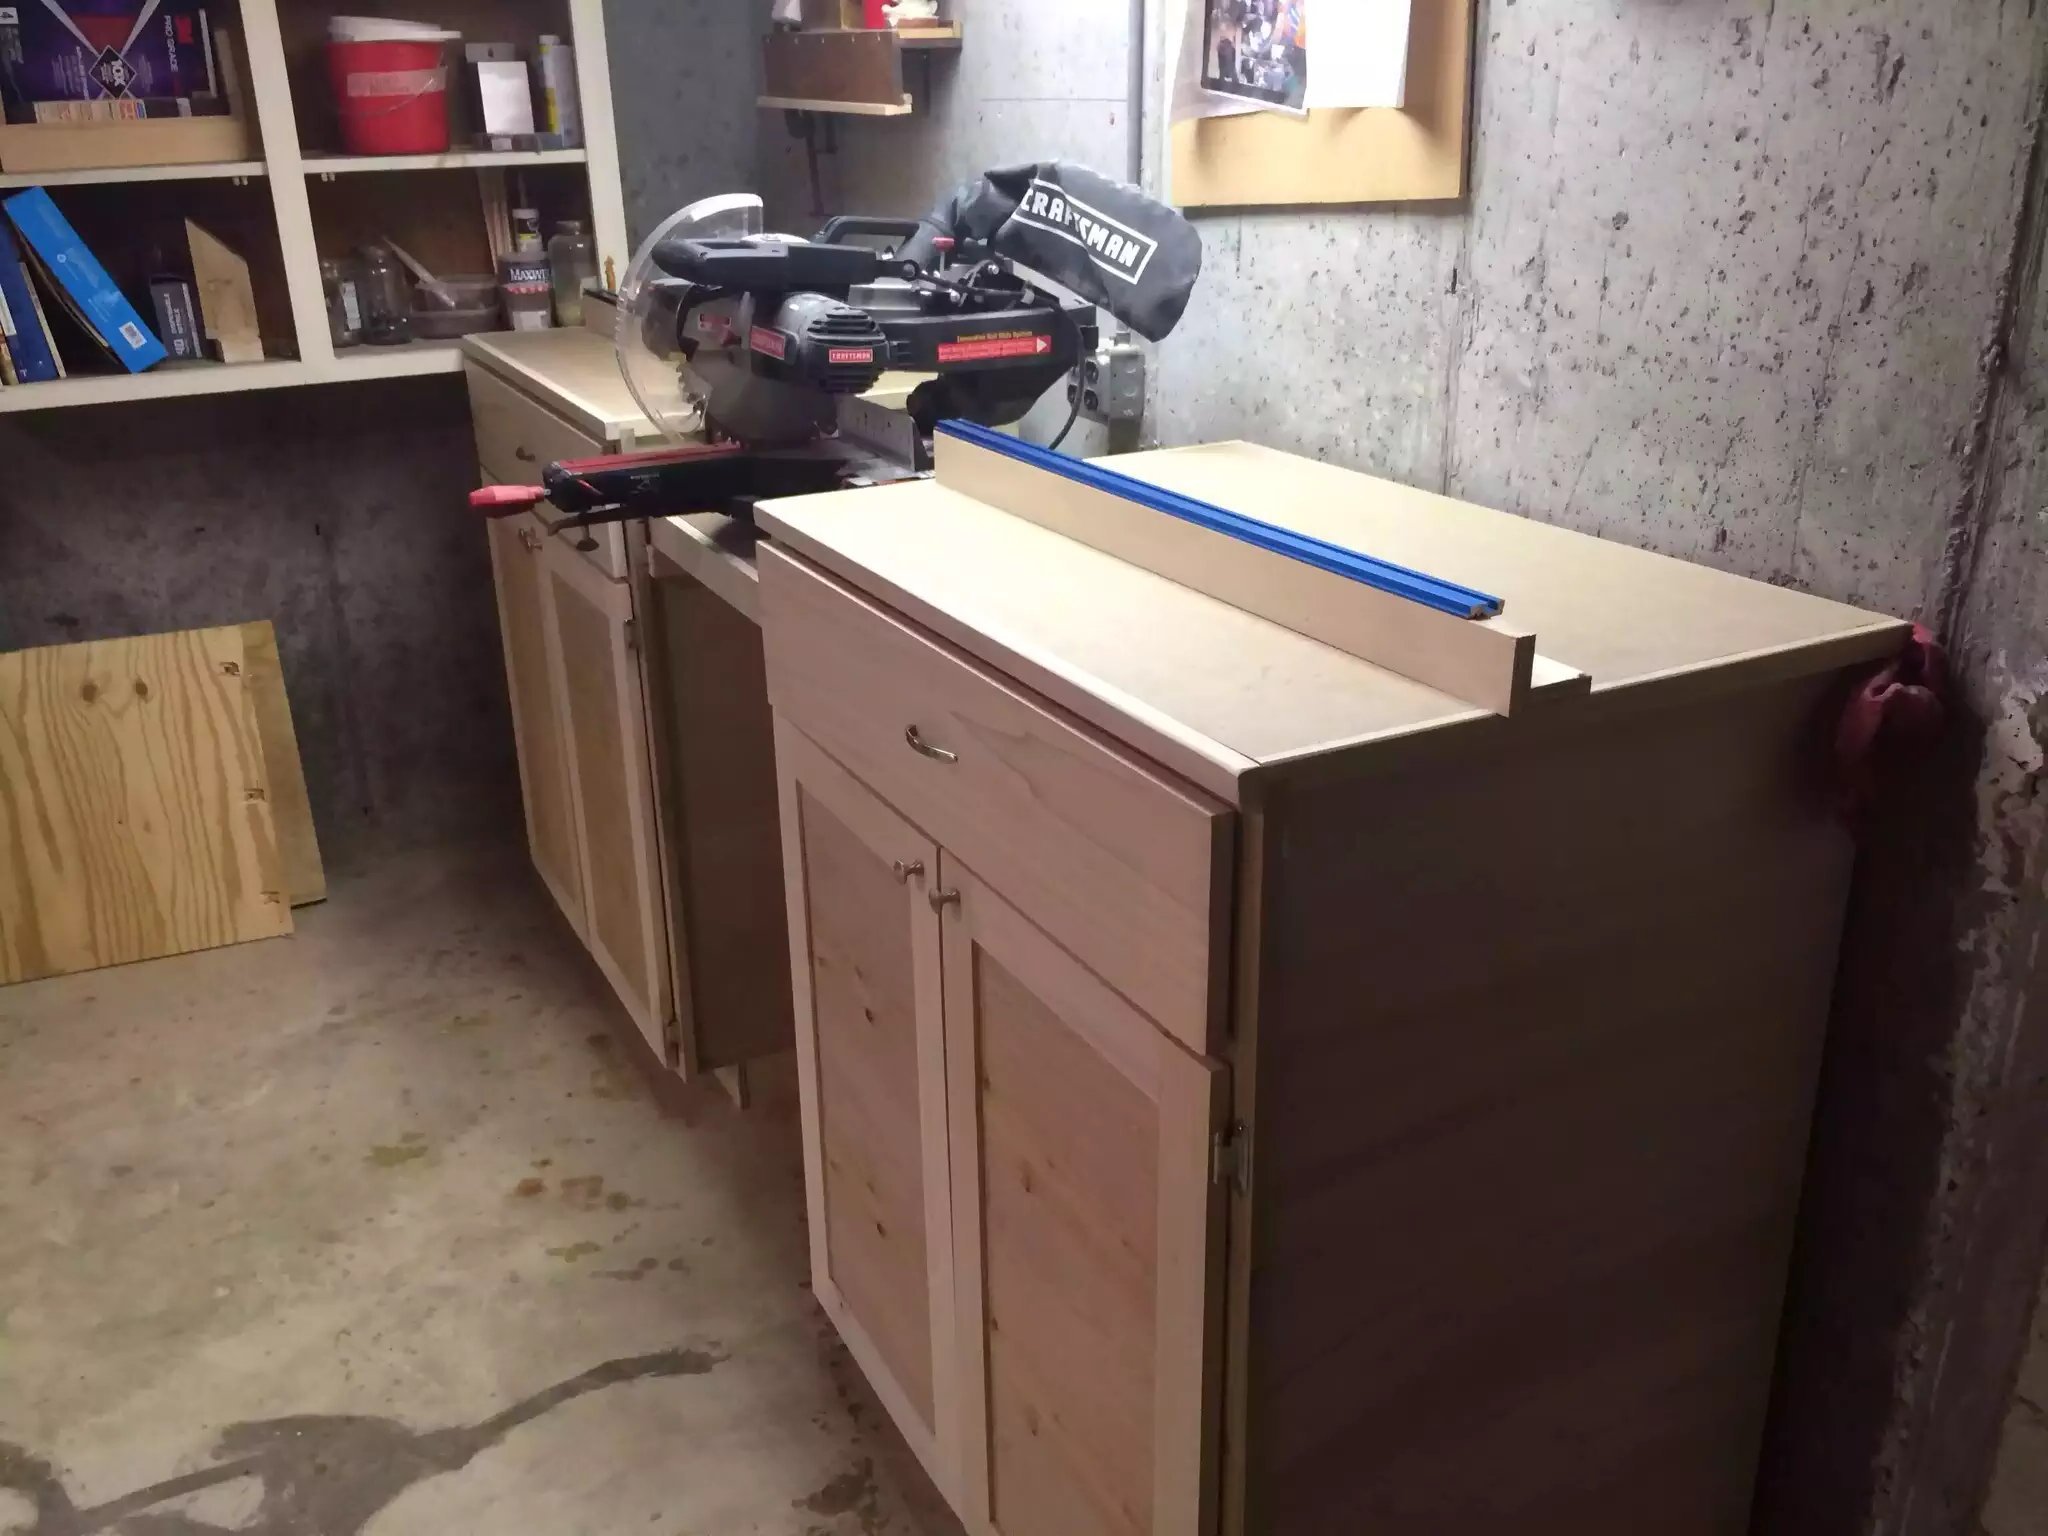
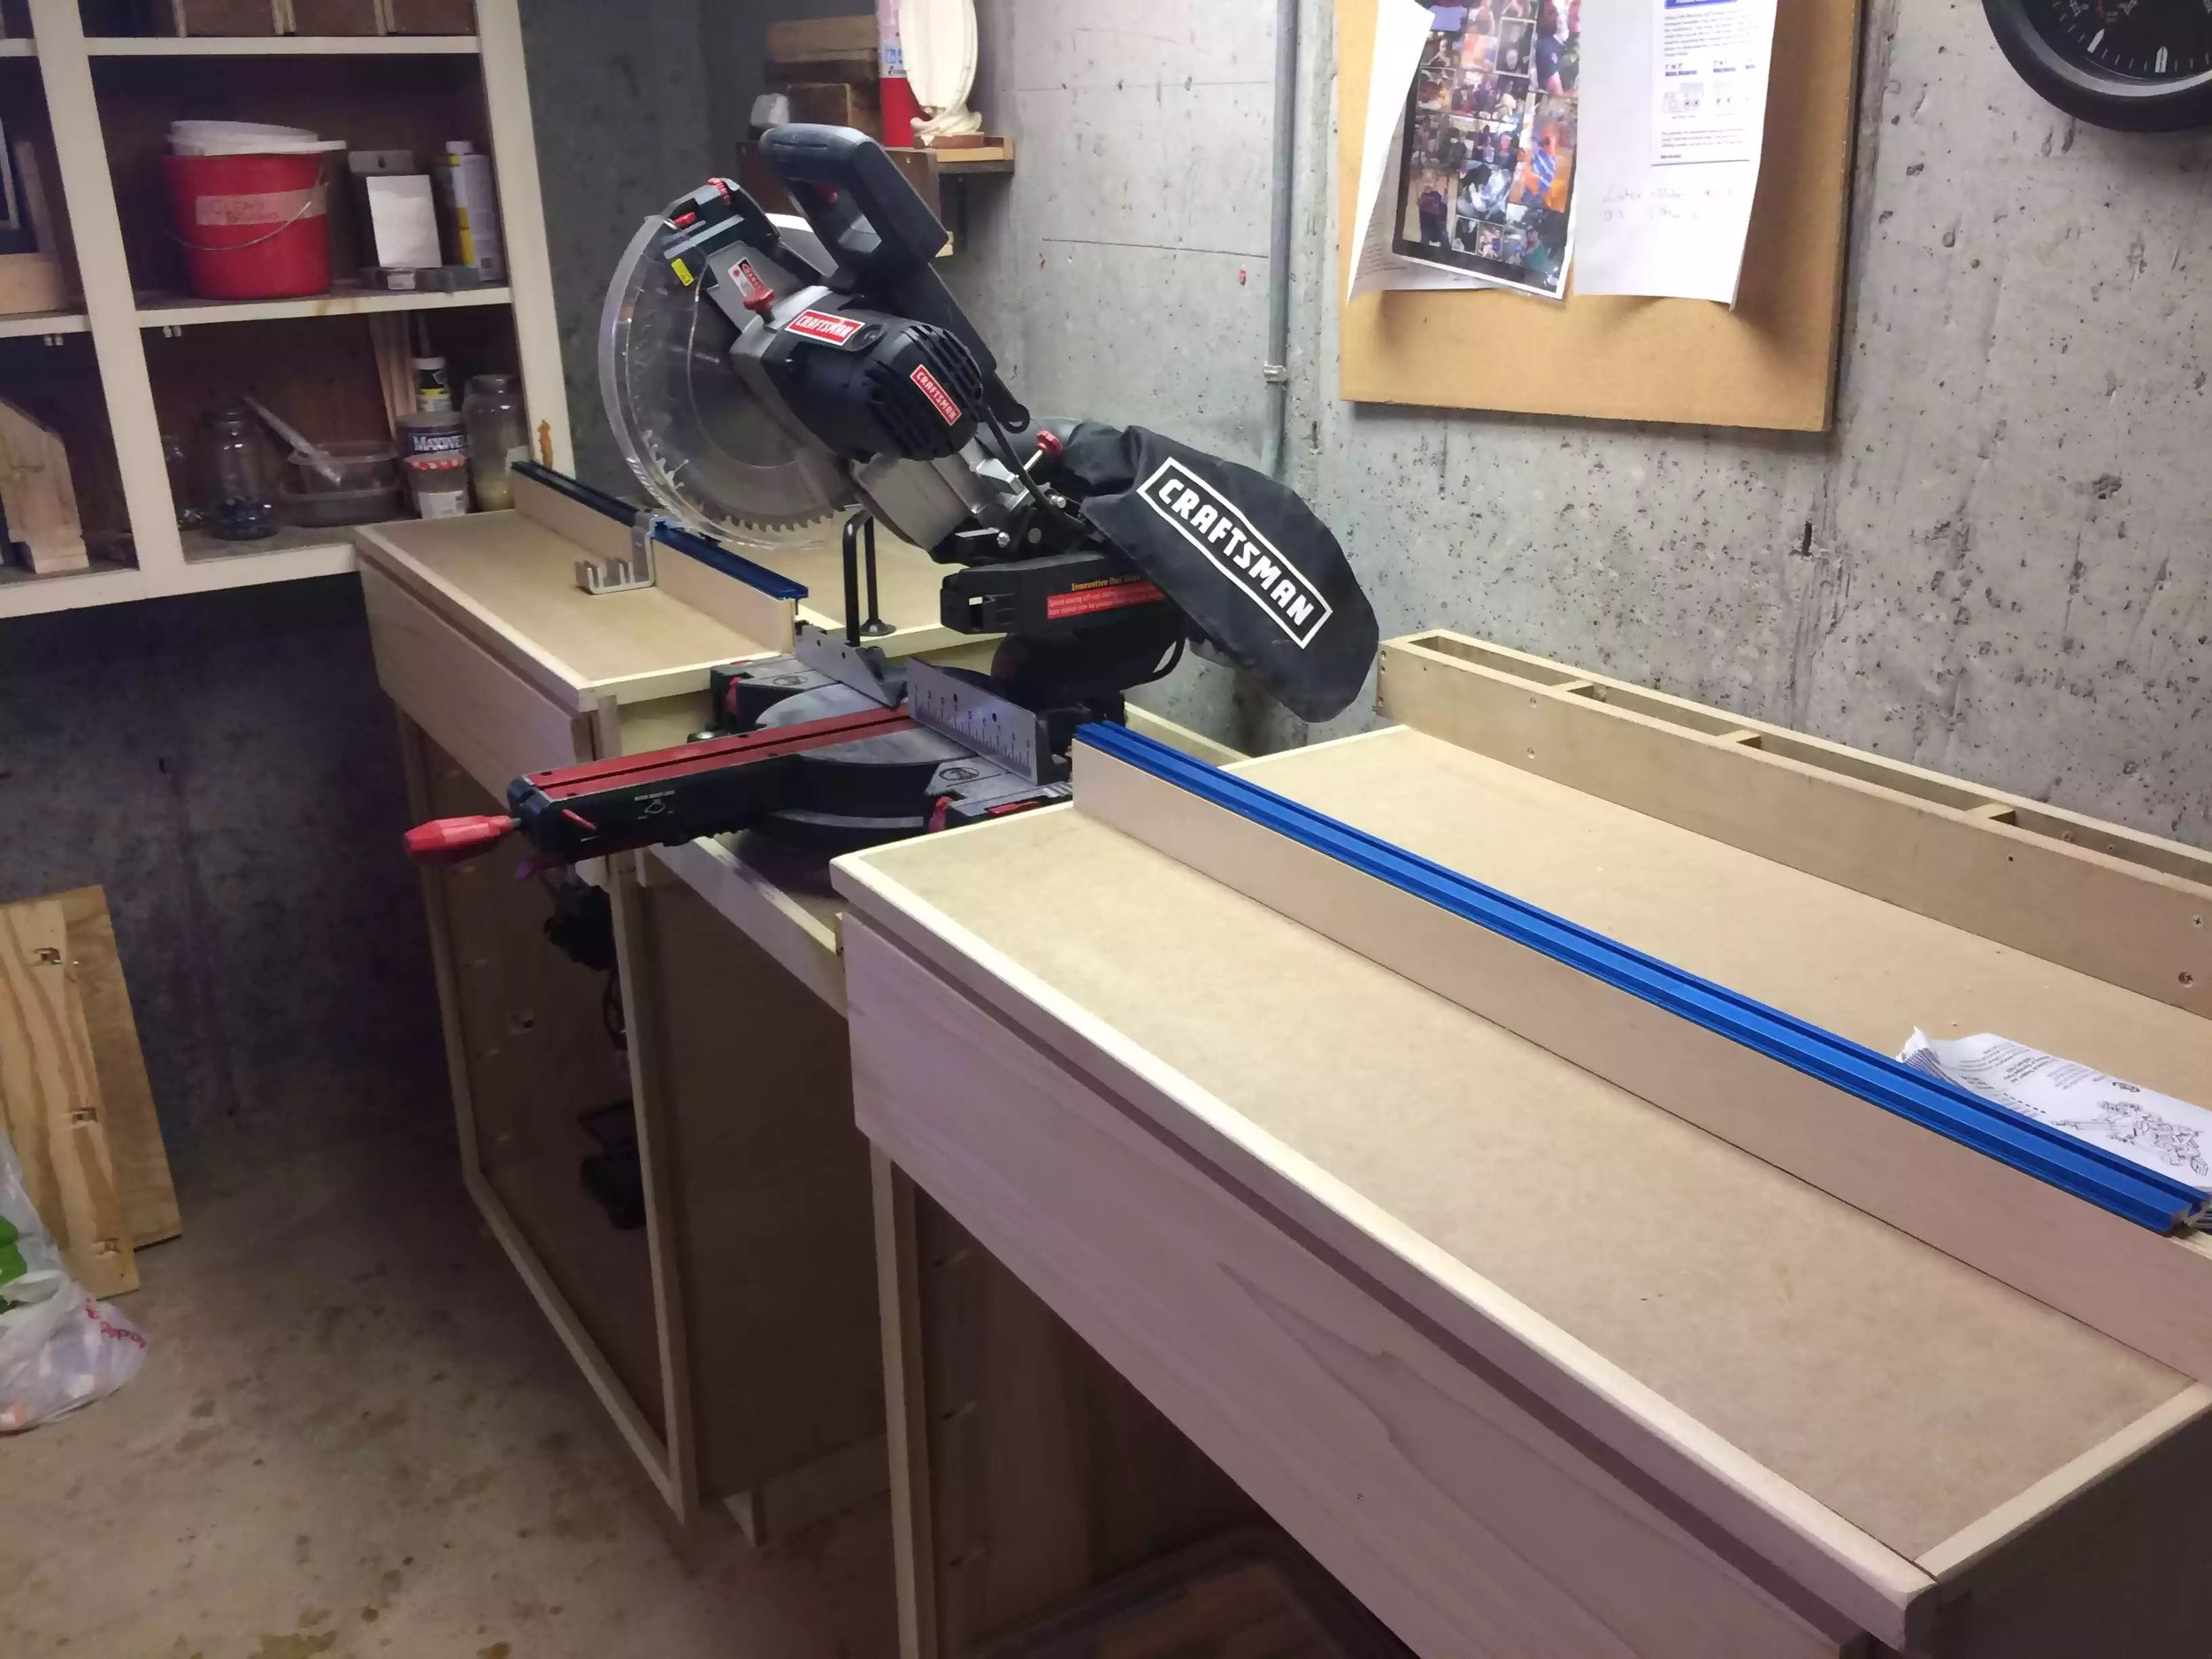
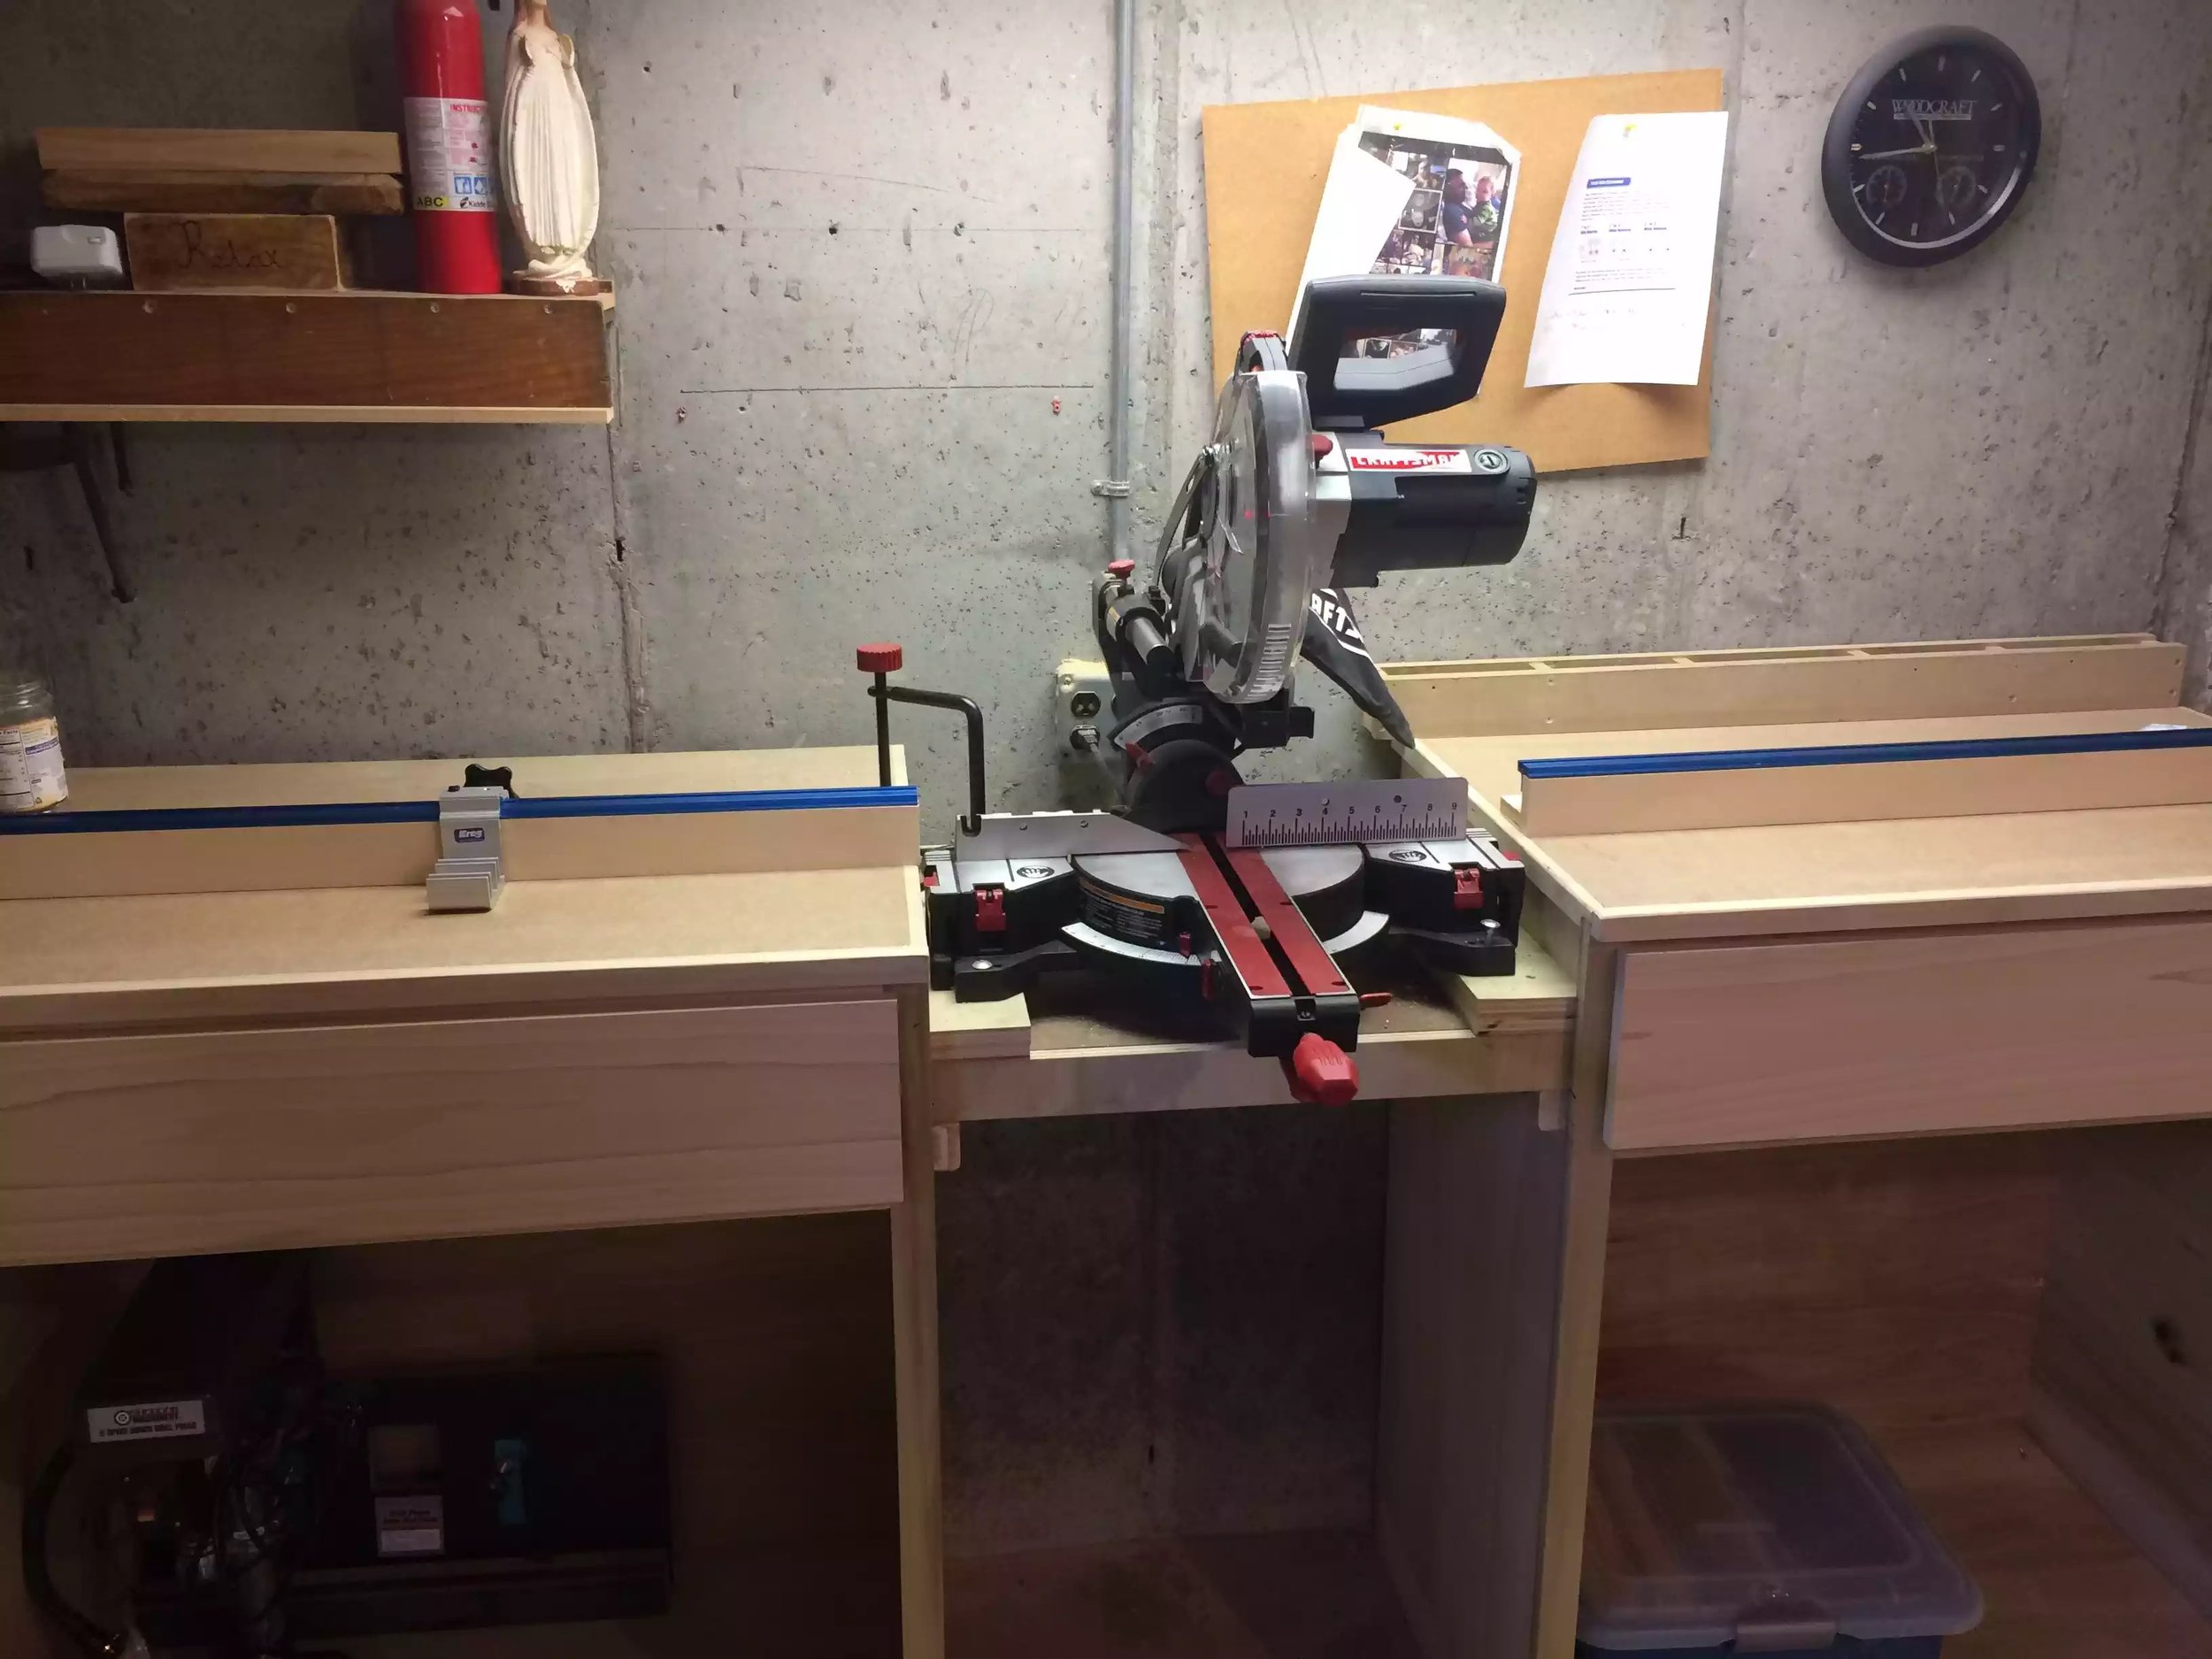
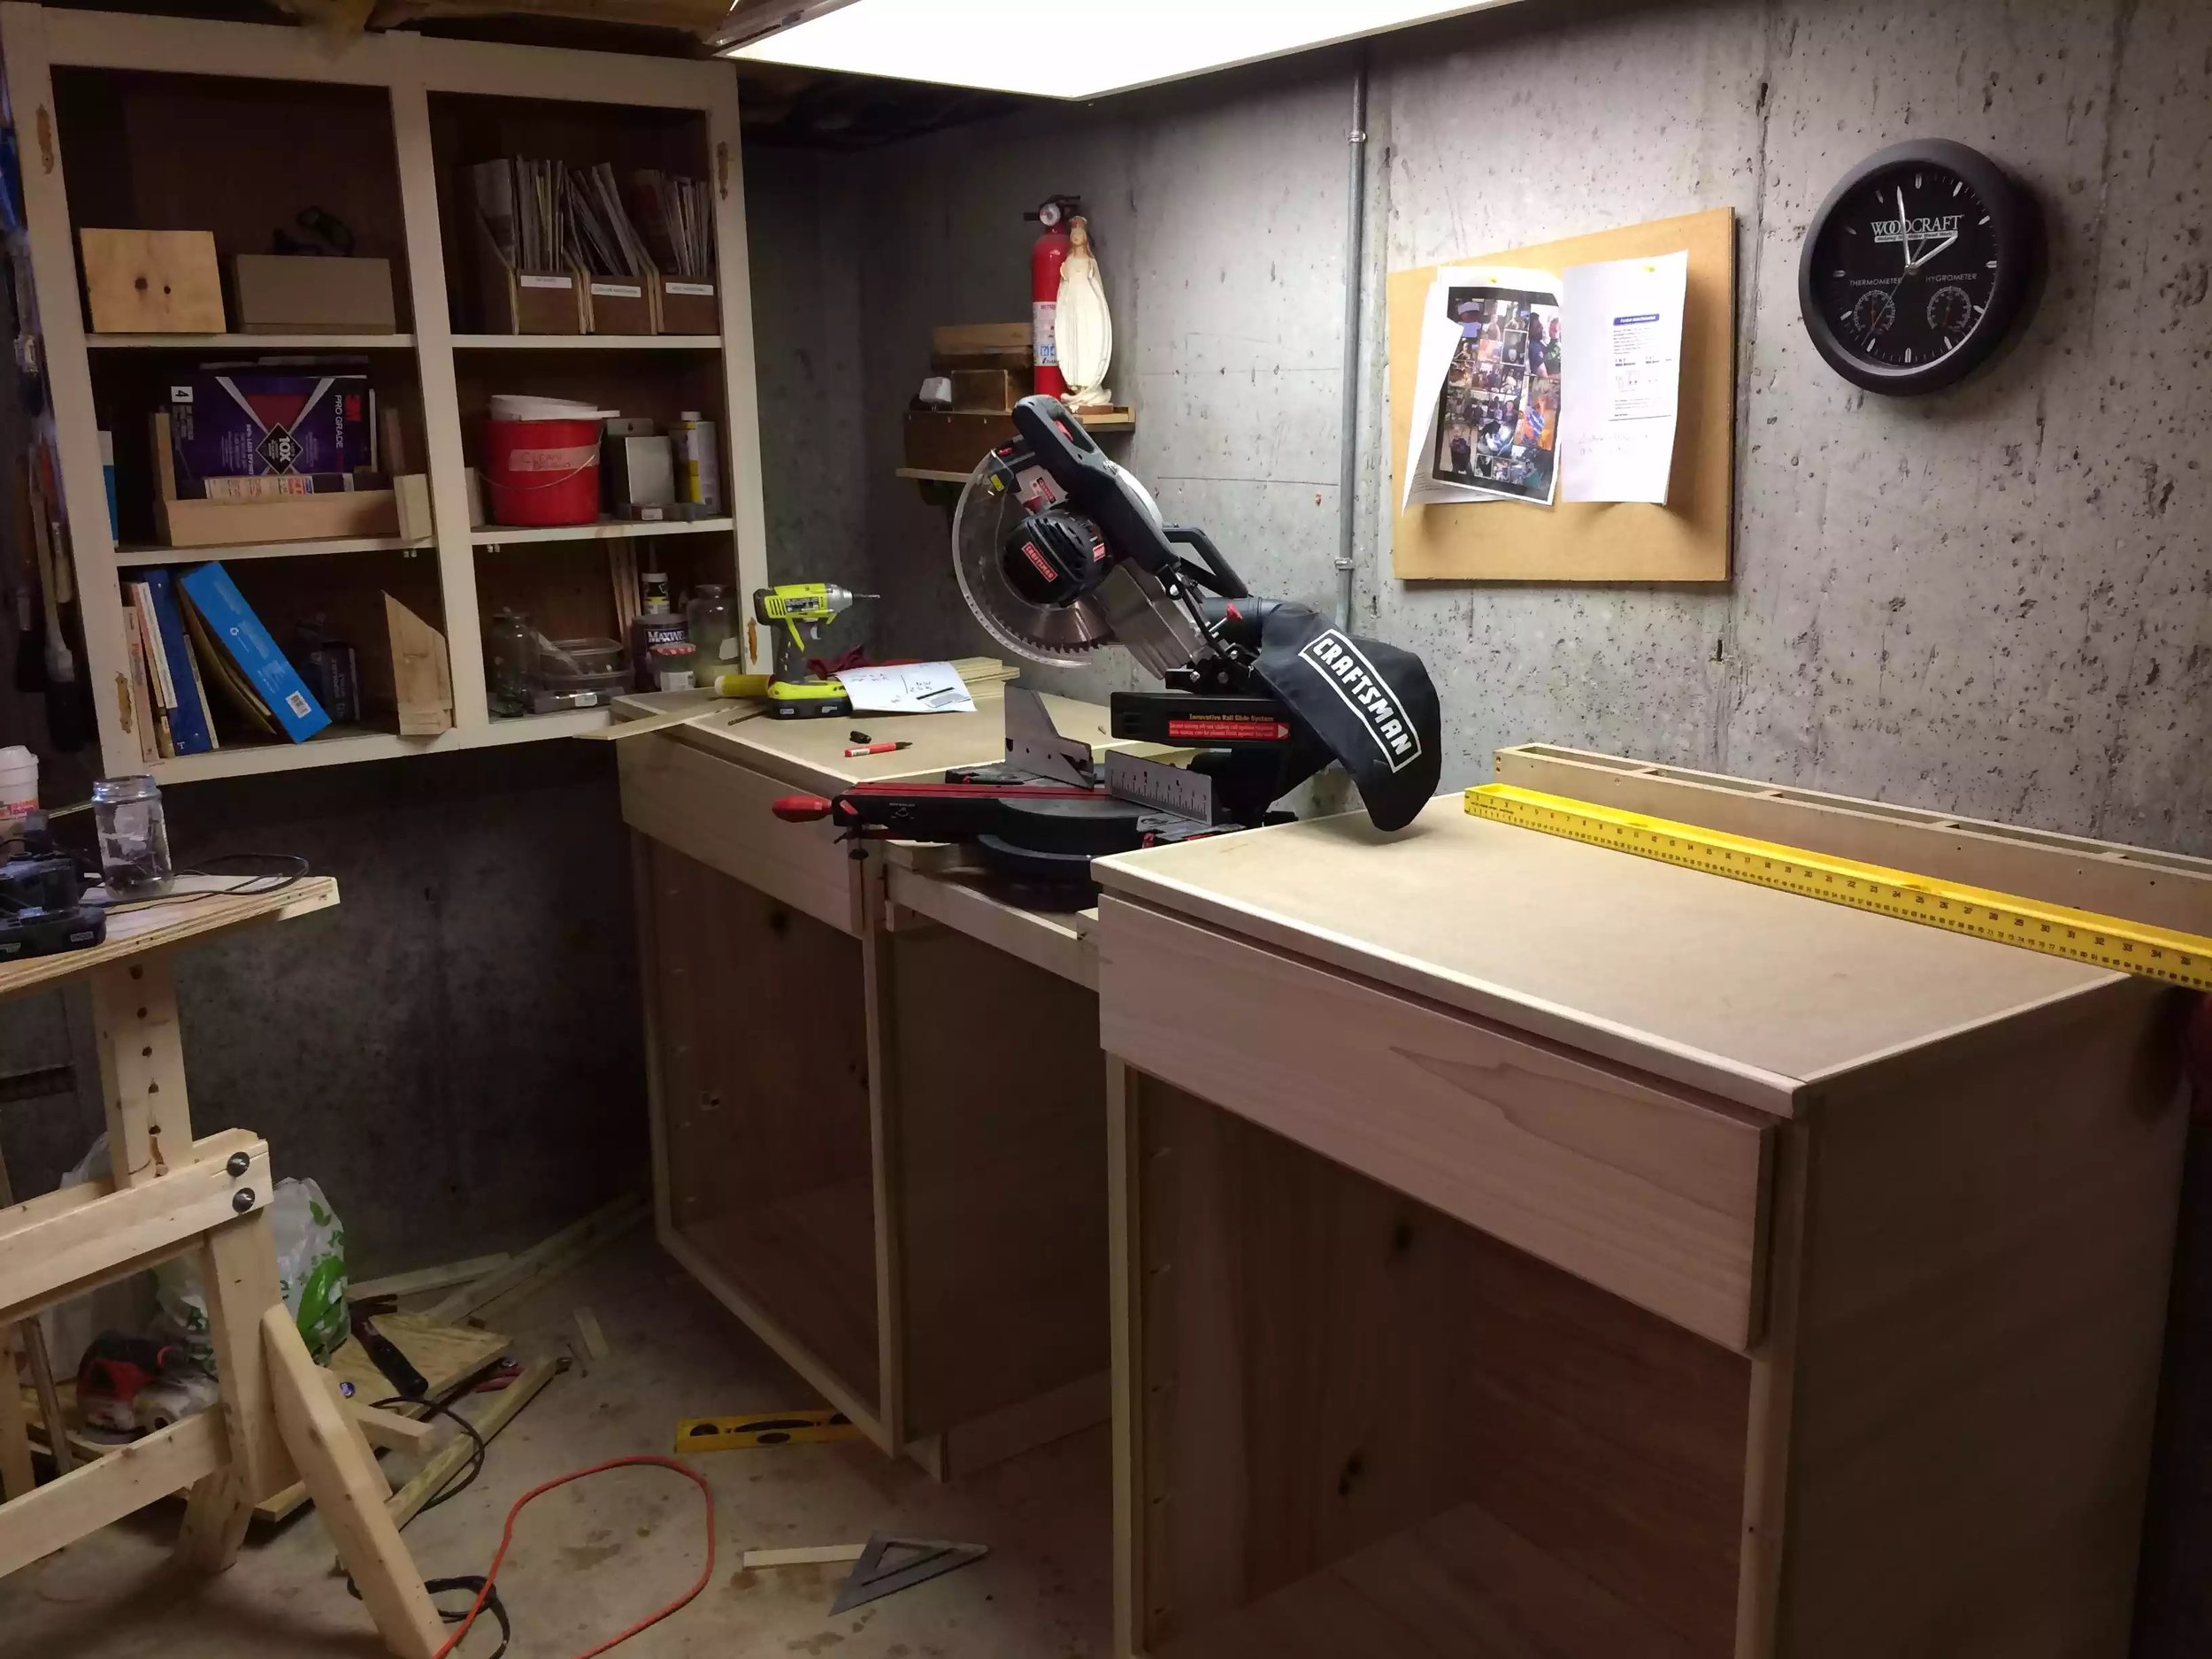
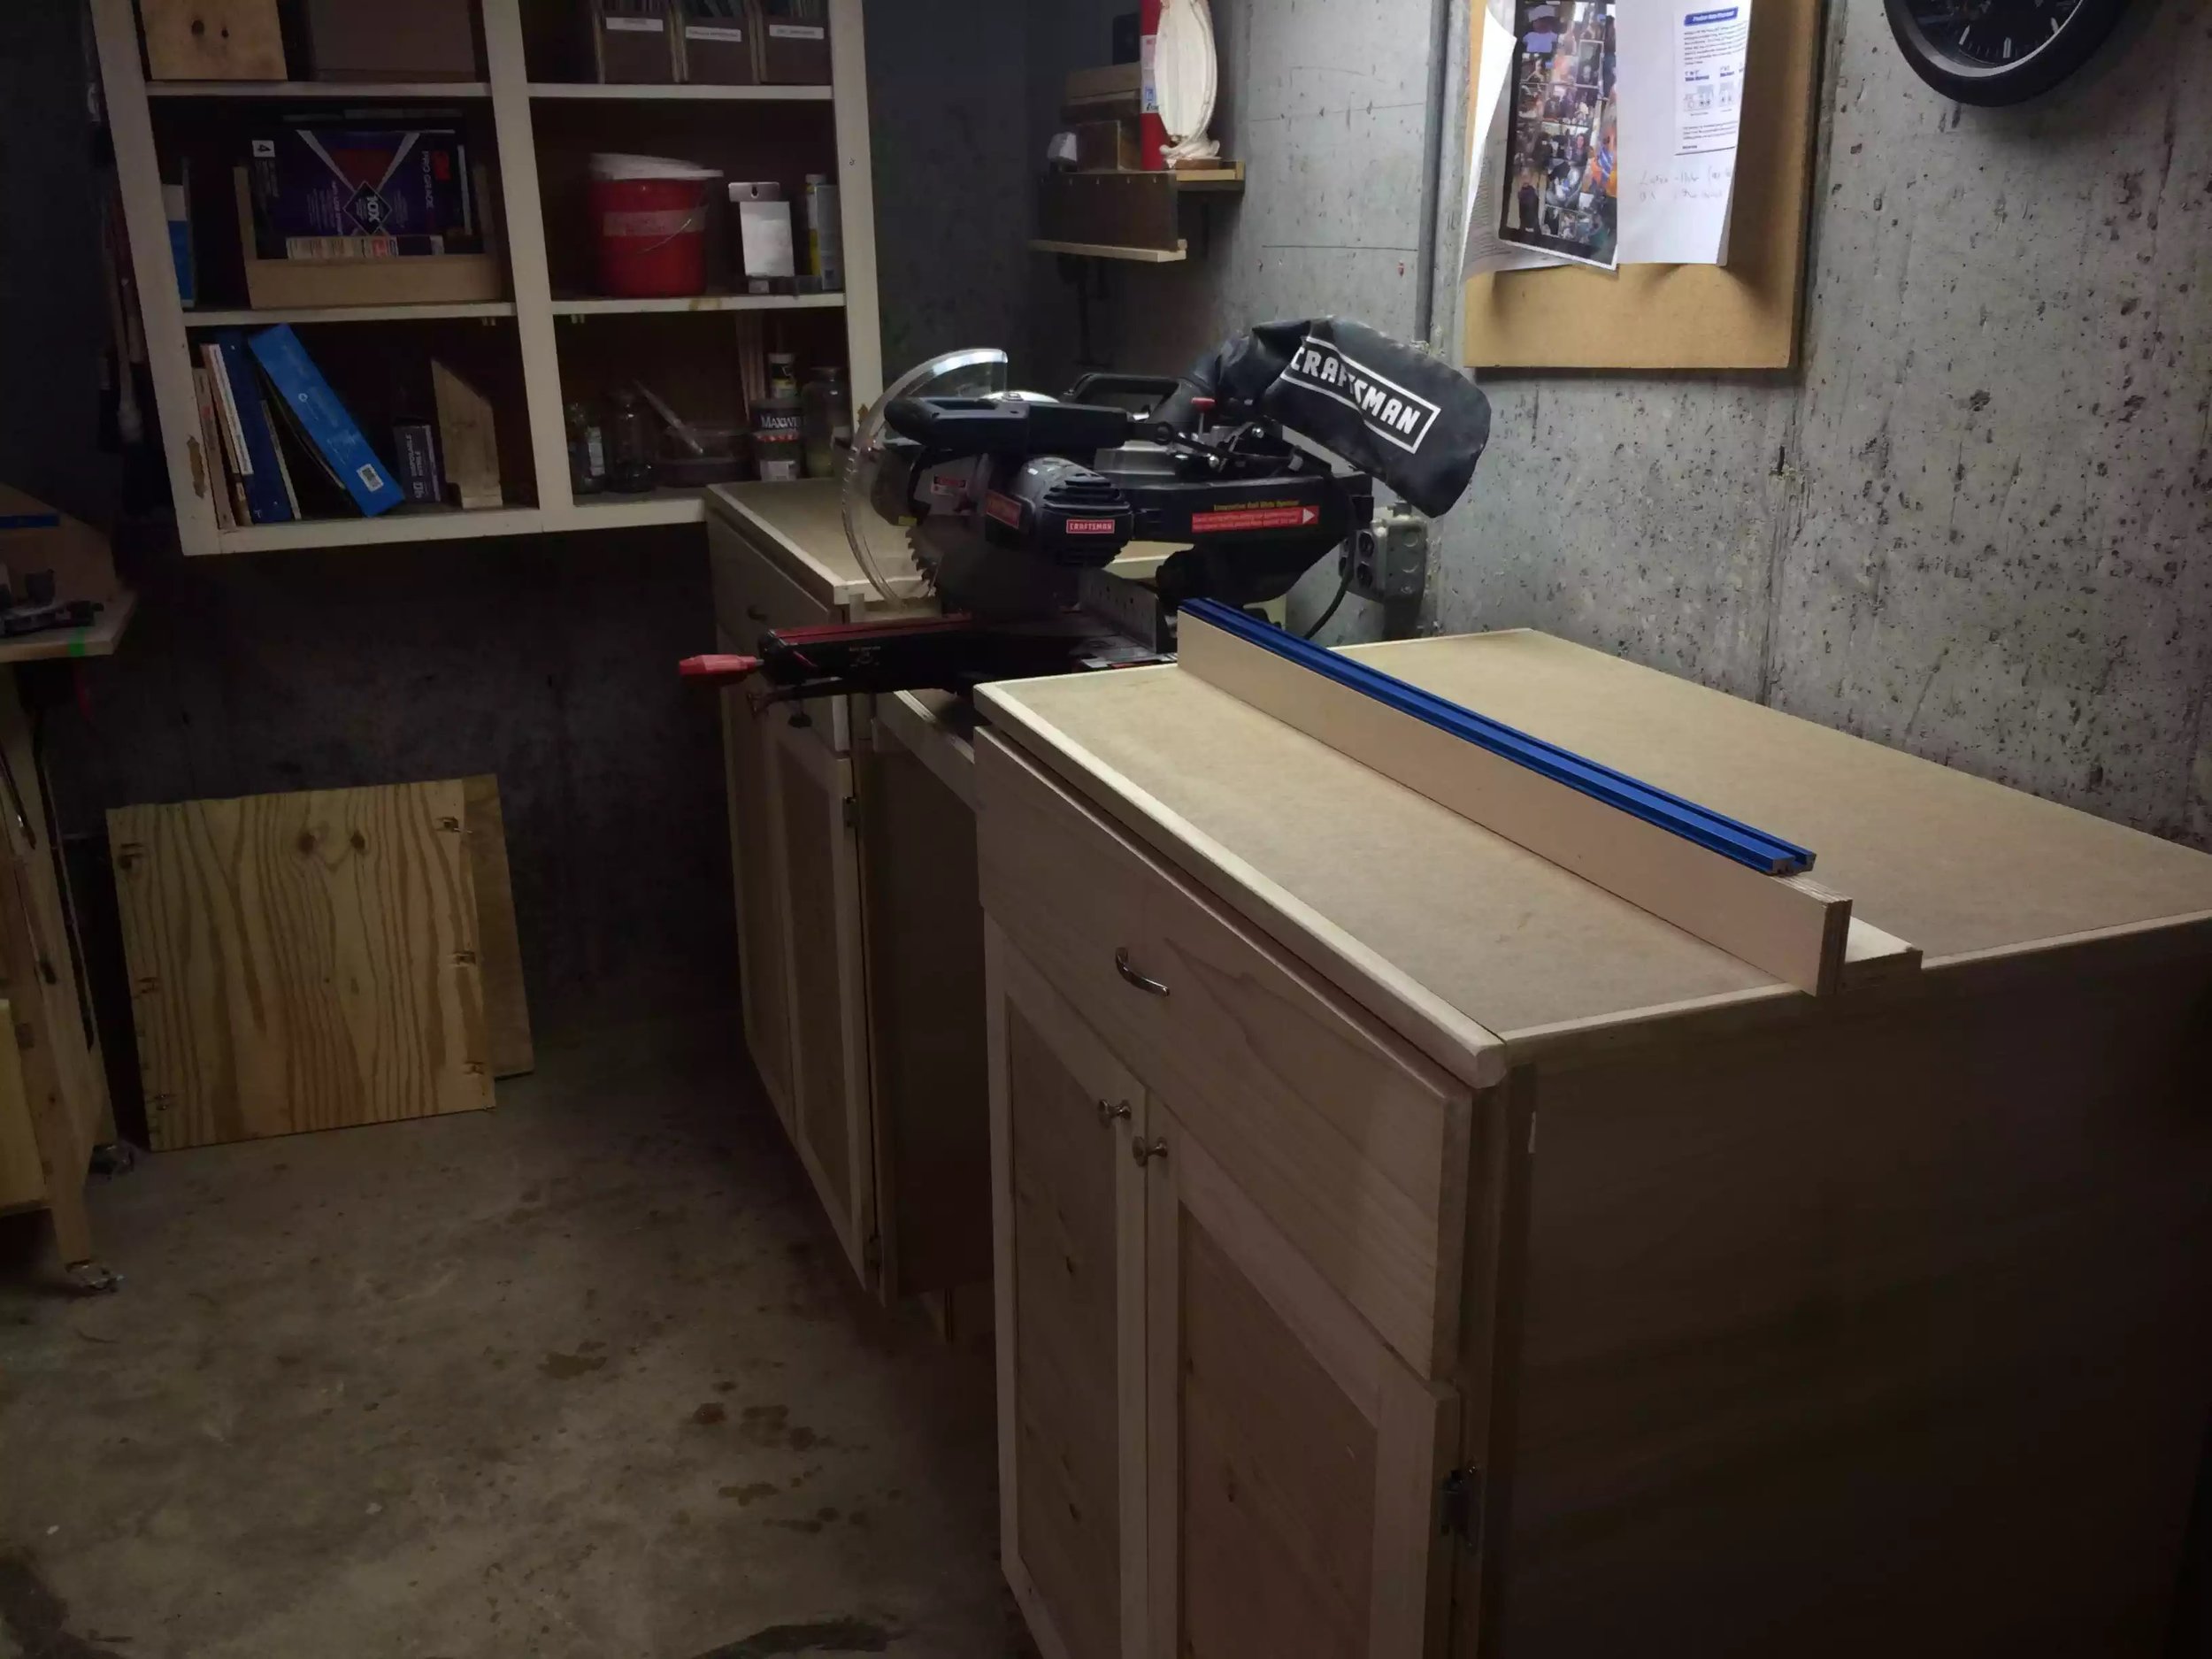
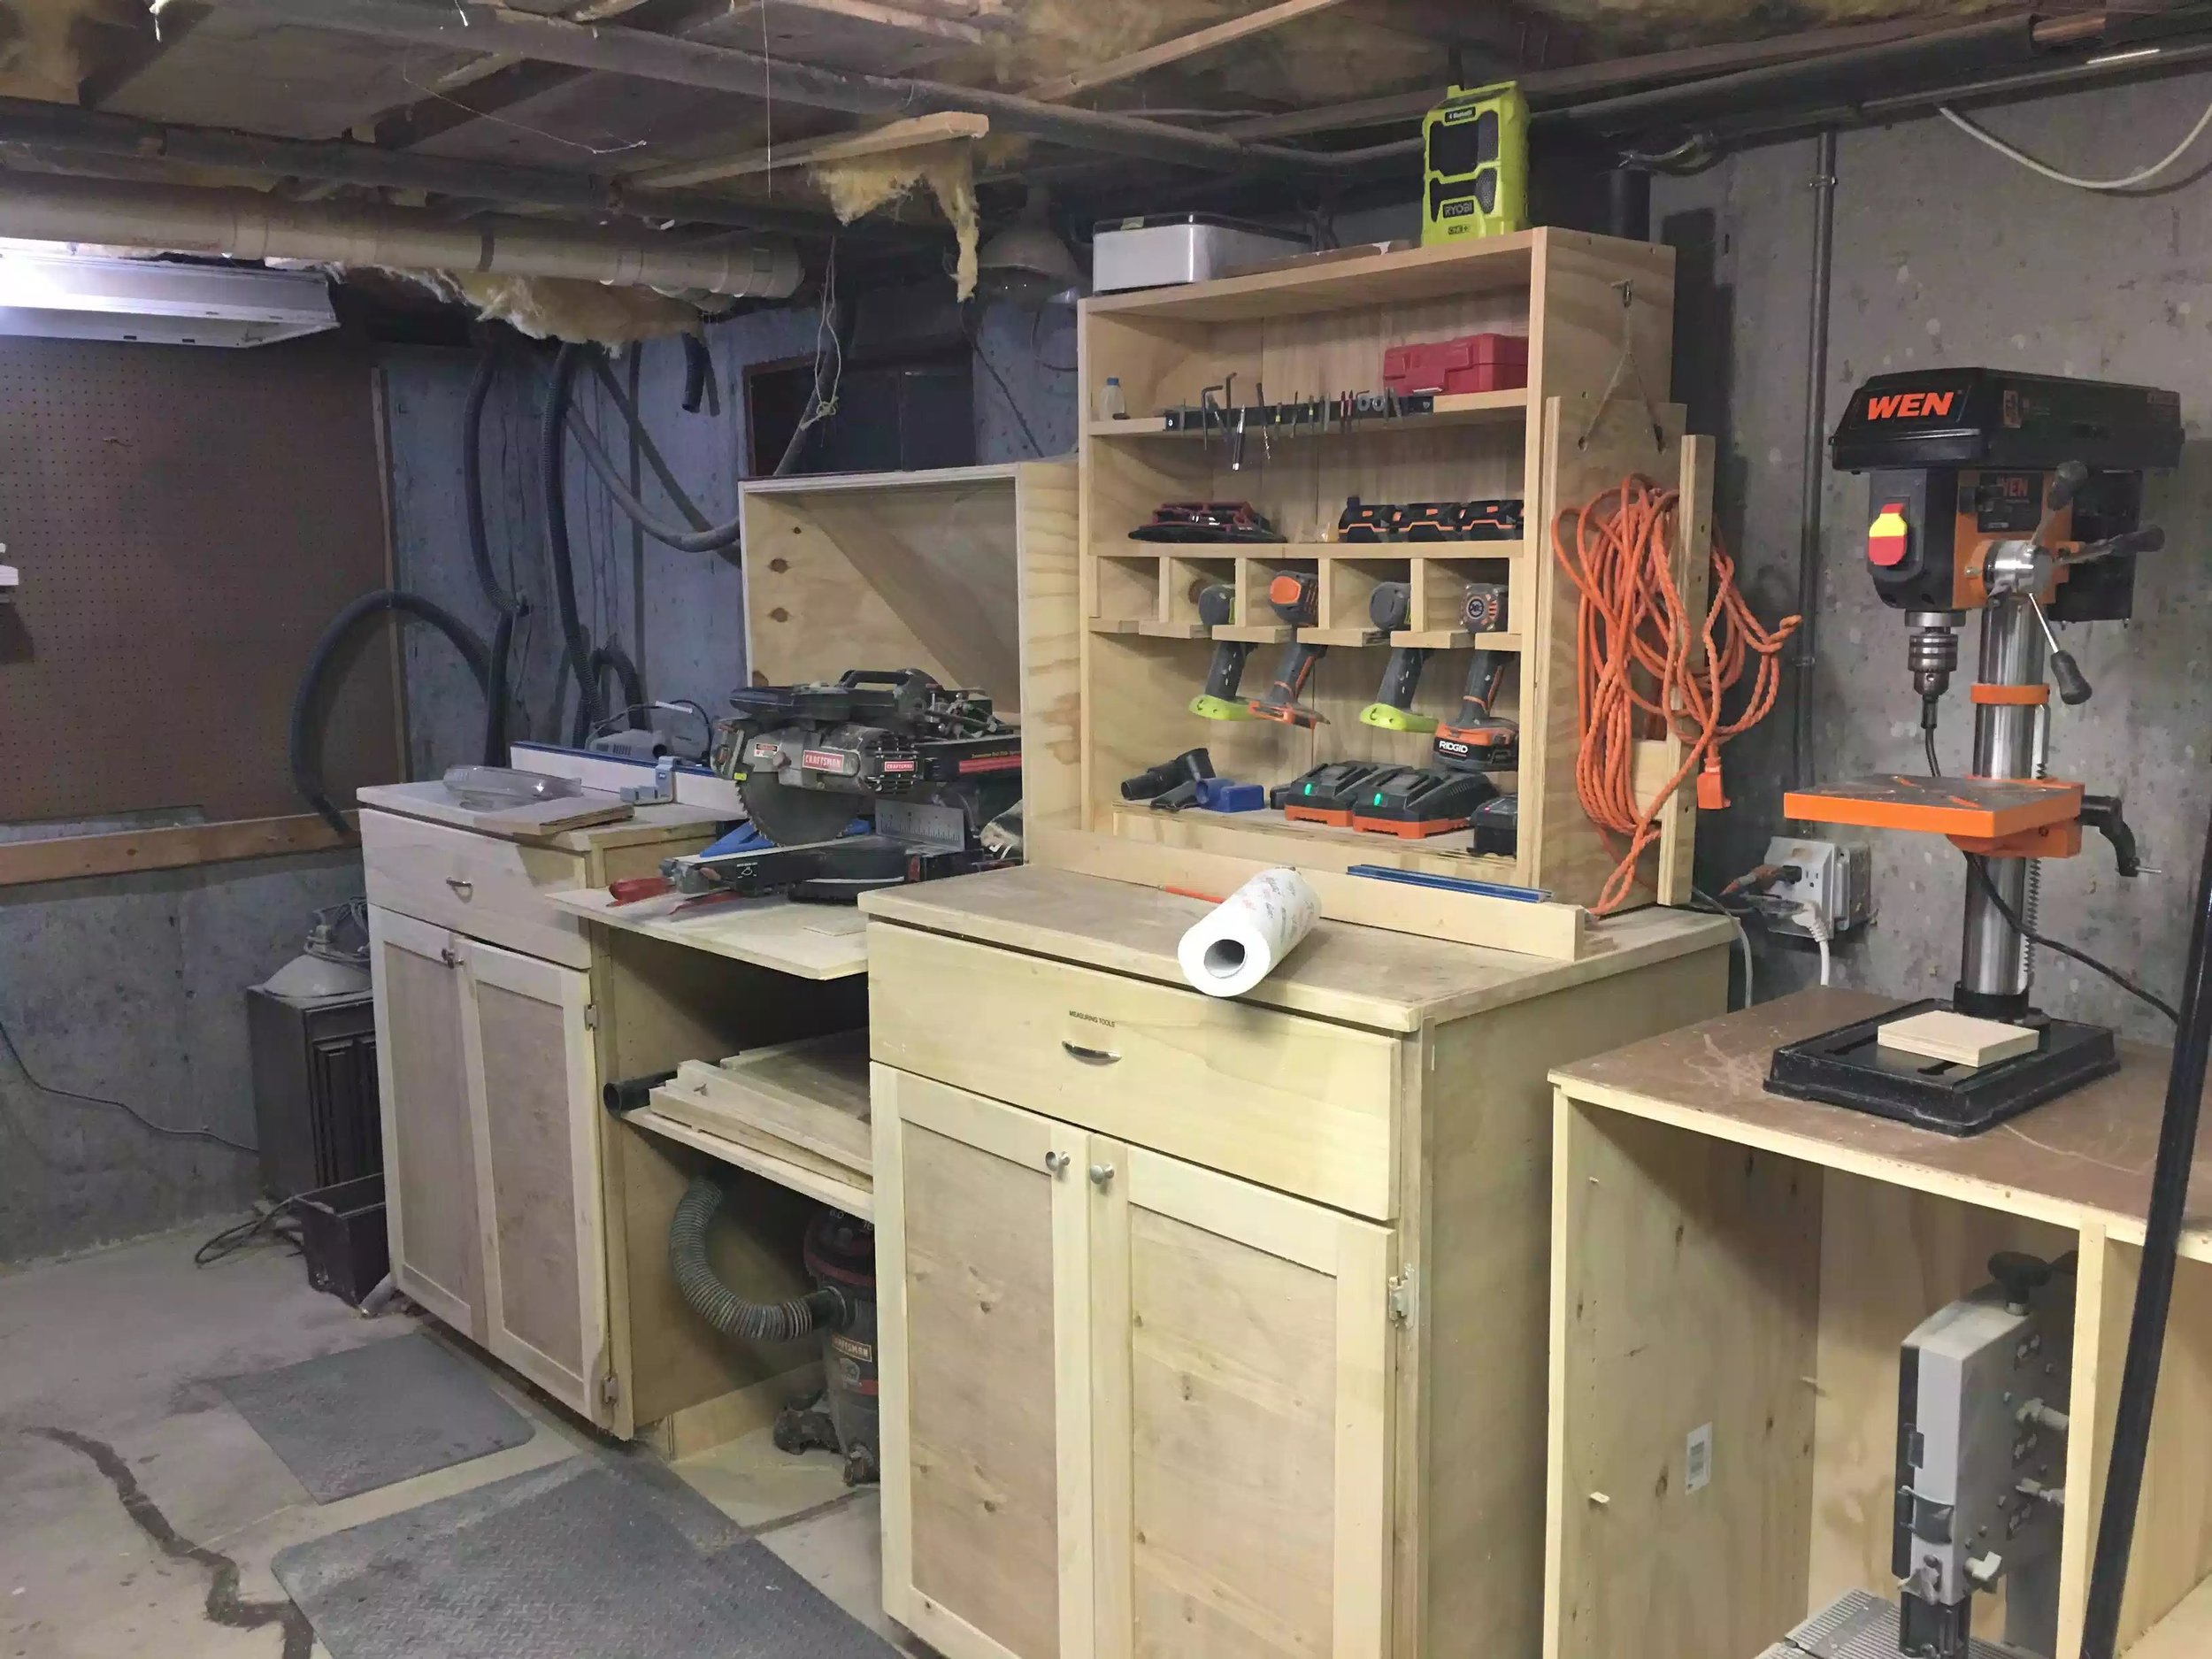
DEDICATED MITER SAW STATION
(02/2016)

So I finally finished it took me almost 3 weeks.. Just to let you know I completed a blog on this mammoth project and a link is below:
I’ll start of by listing some of its features:
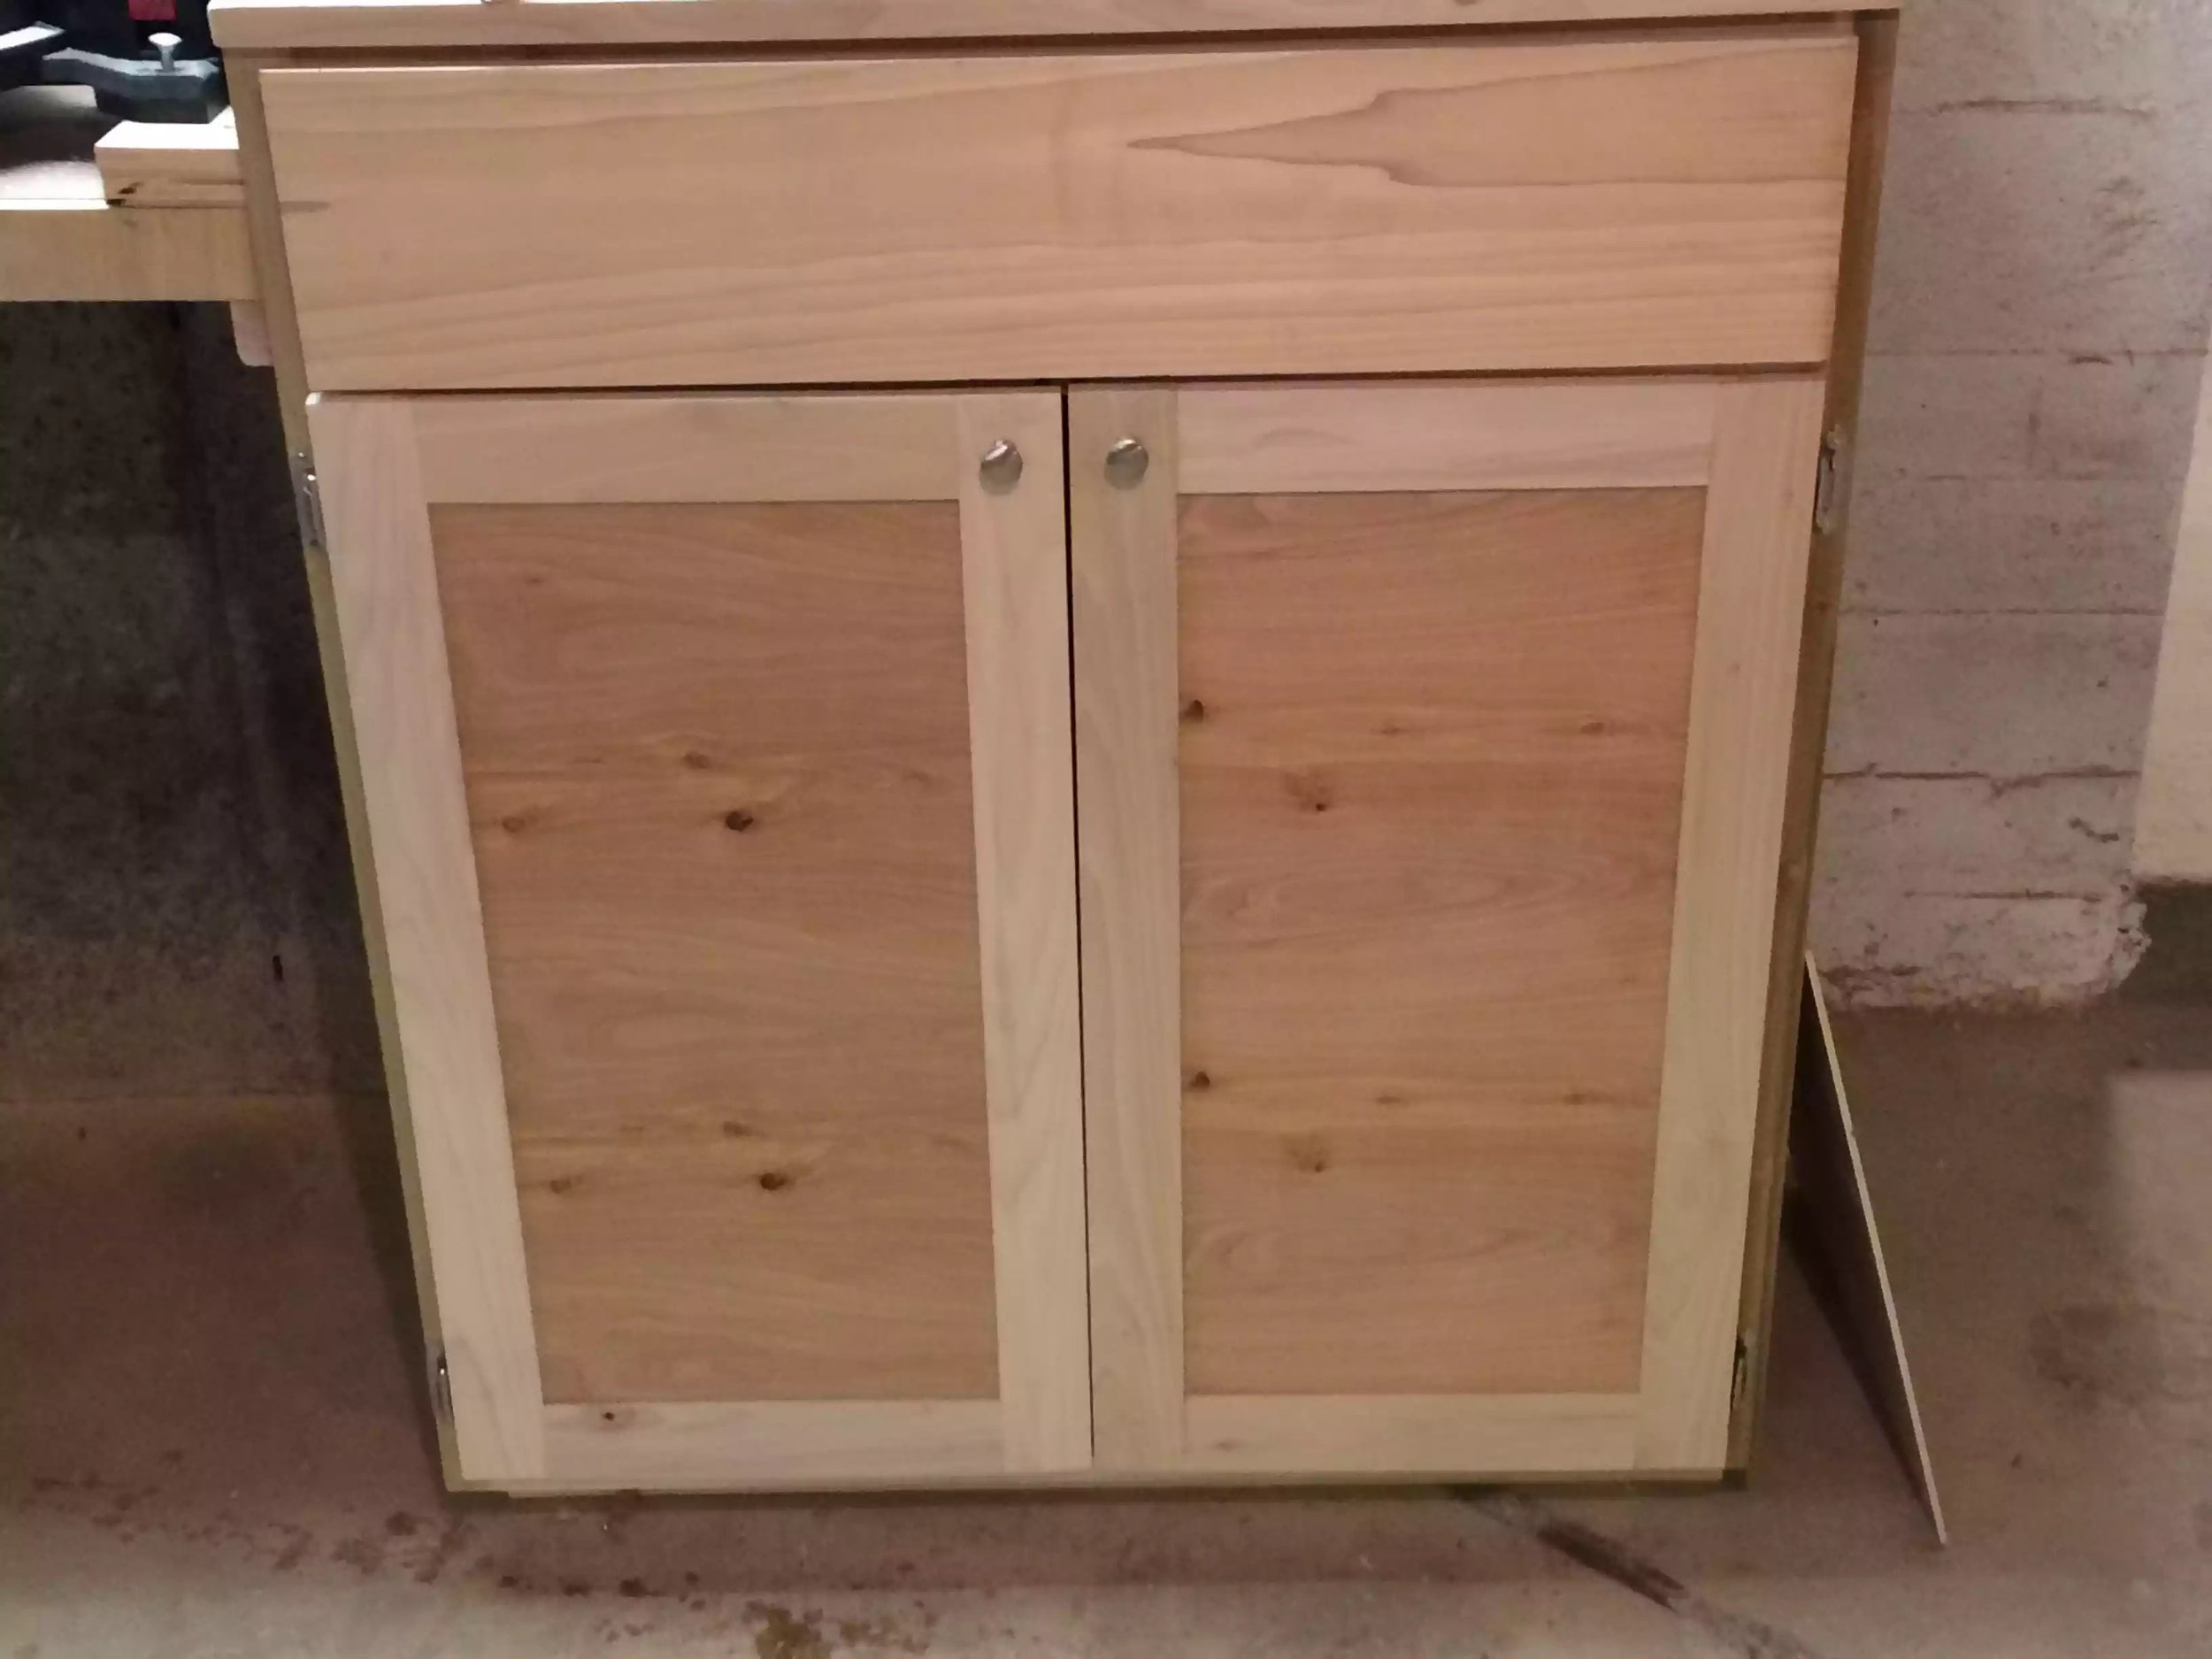
1. Made with poplar plywood and solid poplar face frames
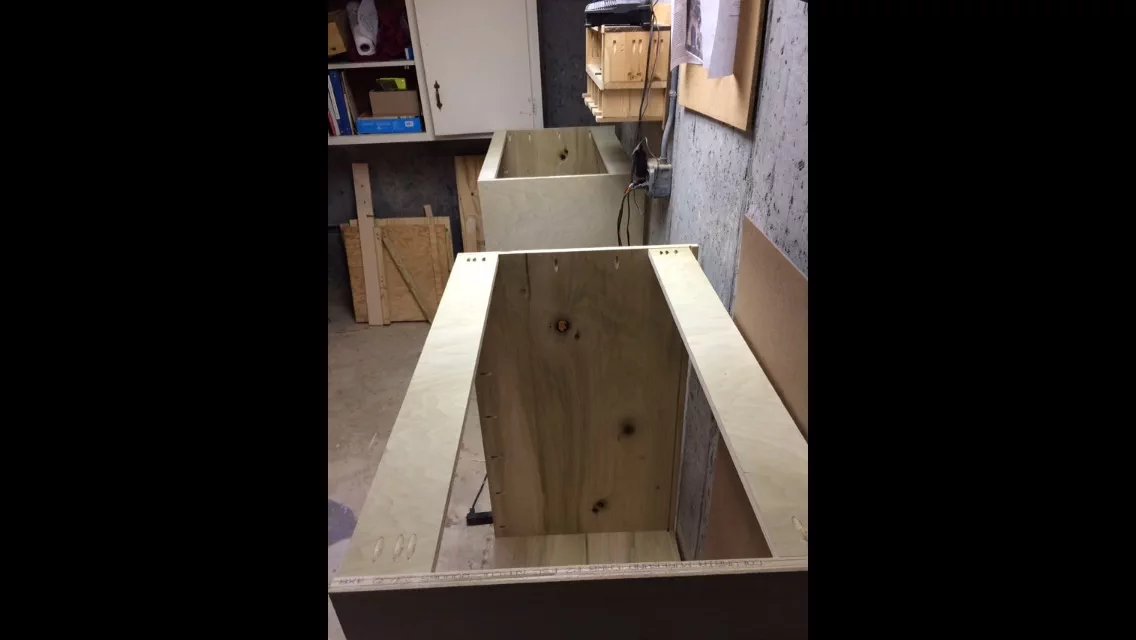
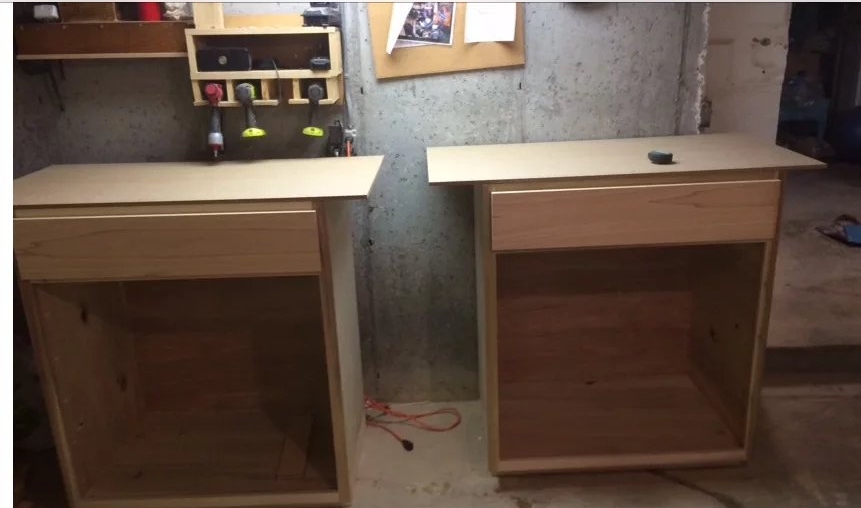
2. There are 2 cabinets separated by the a shelf for the miter saw to sit on ( cabinet dimensions are 36” wide x 24” deep x 40” high
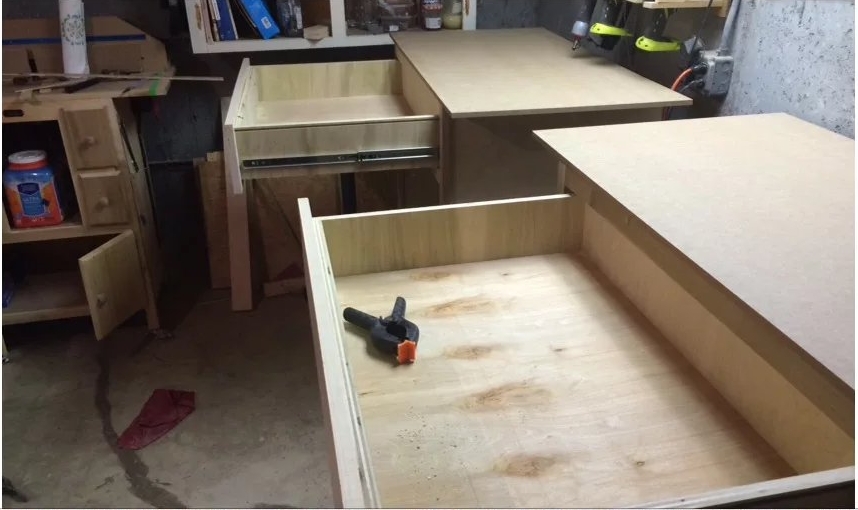
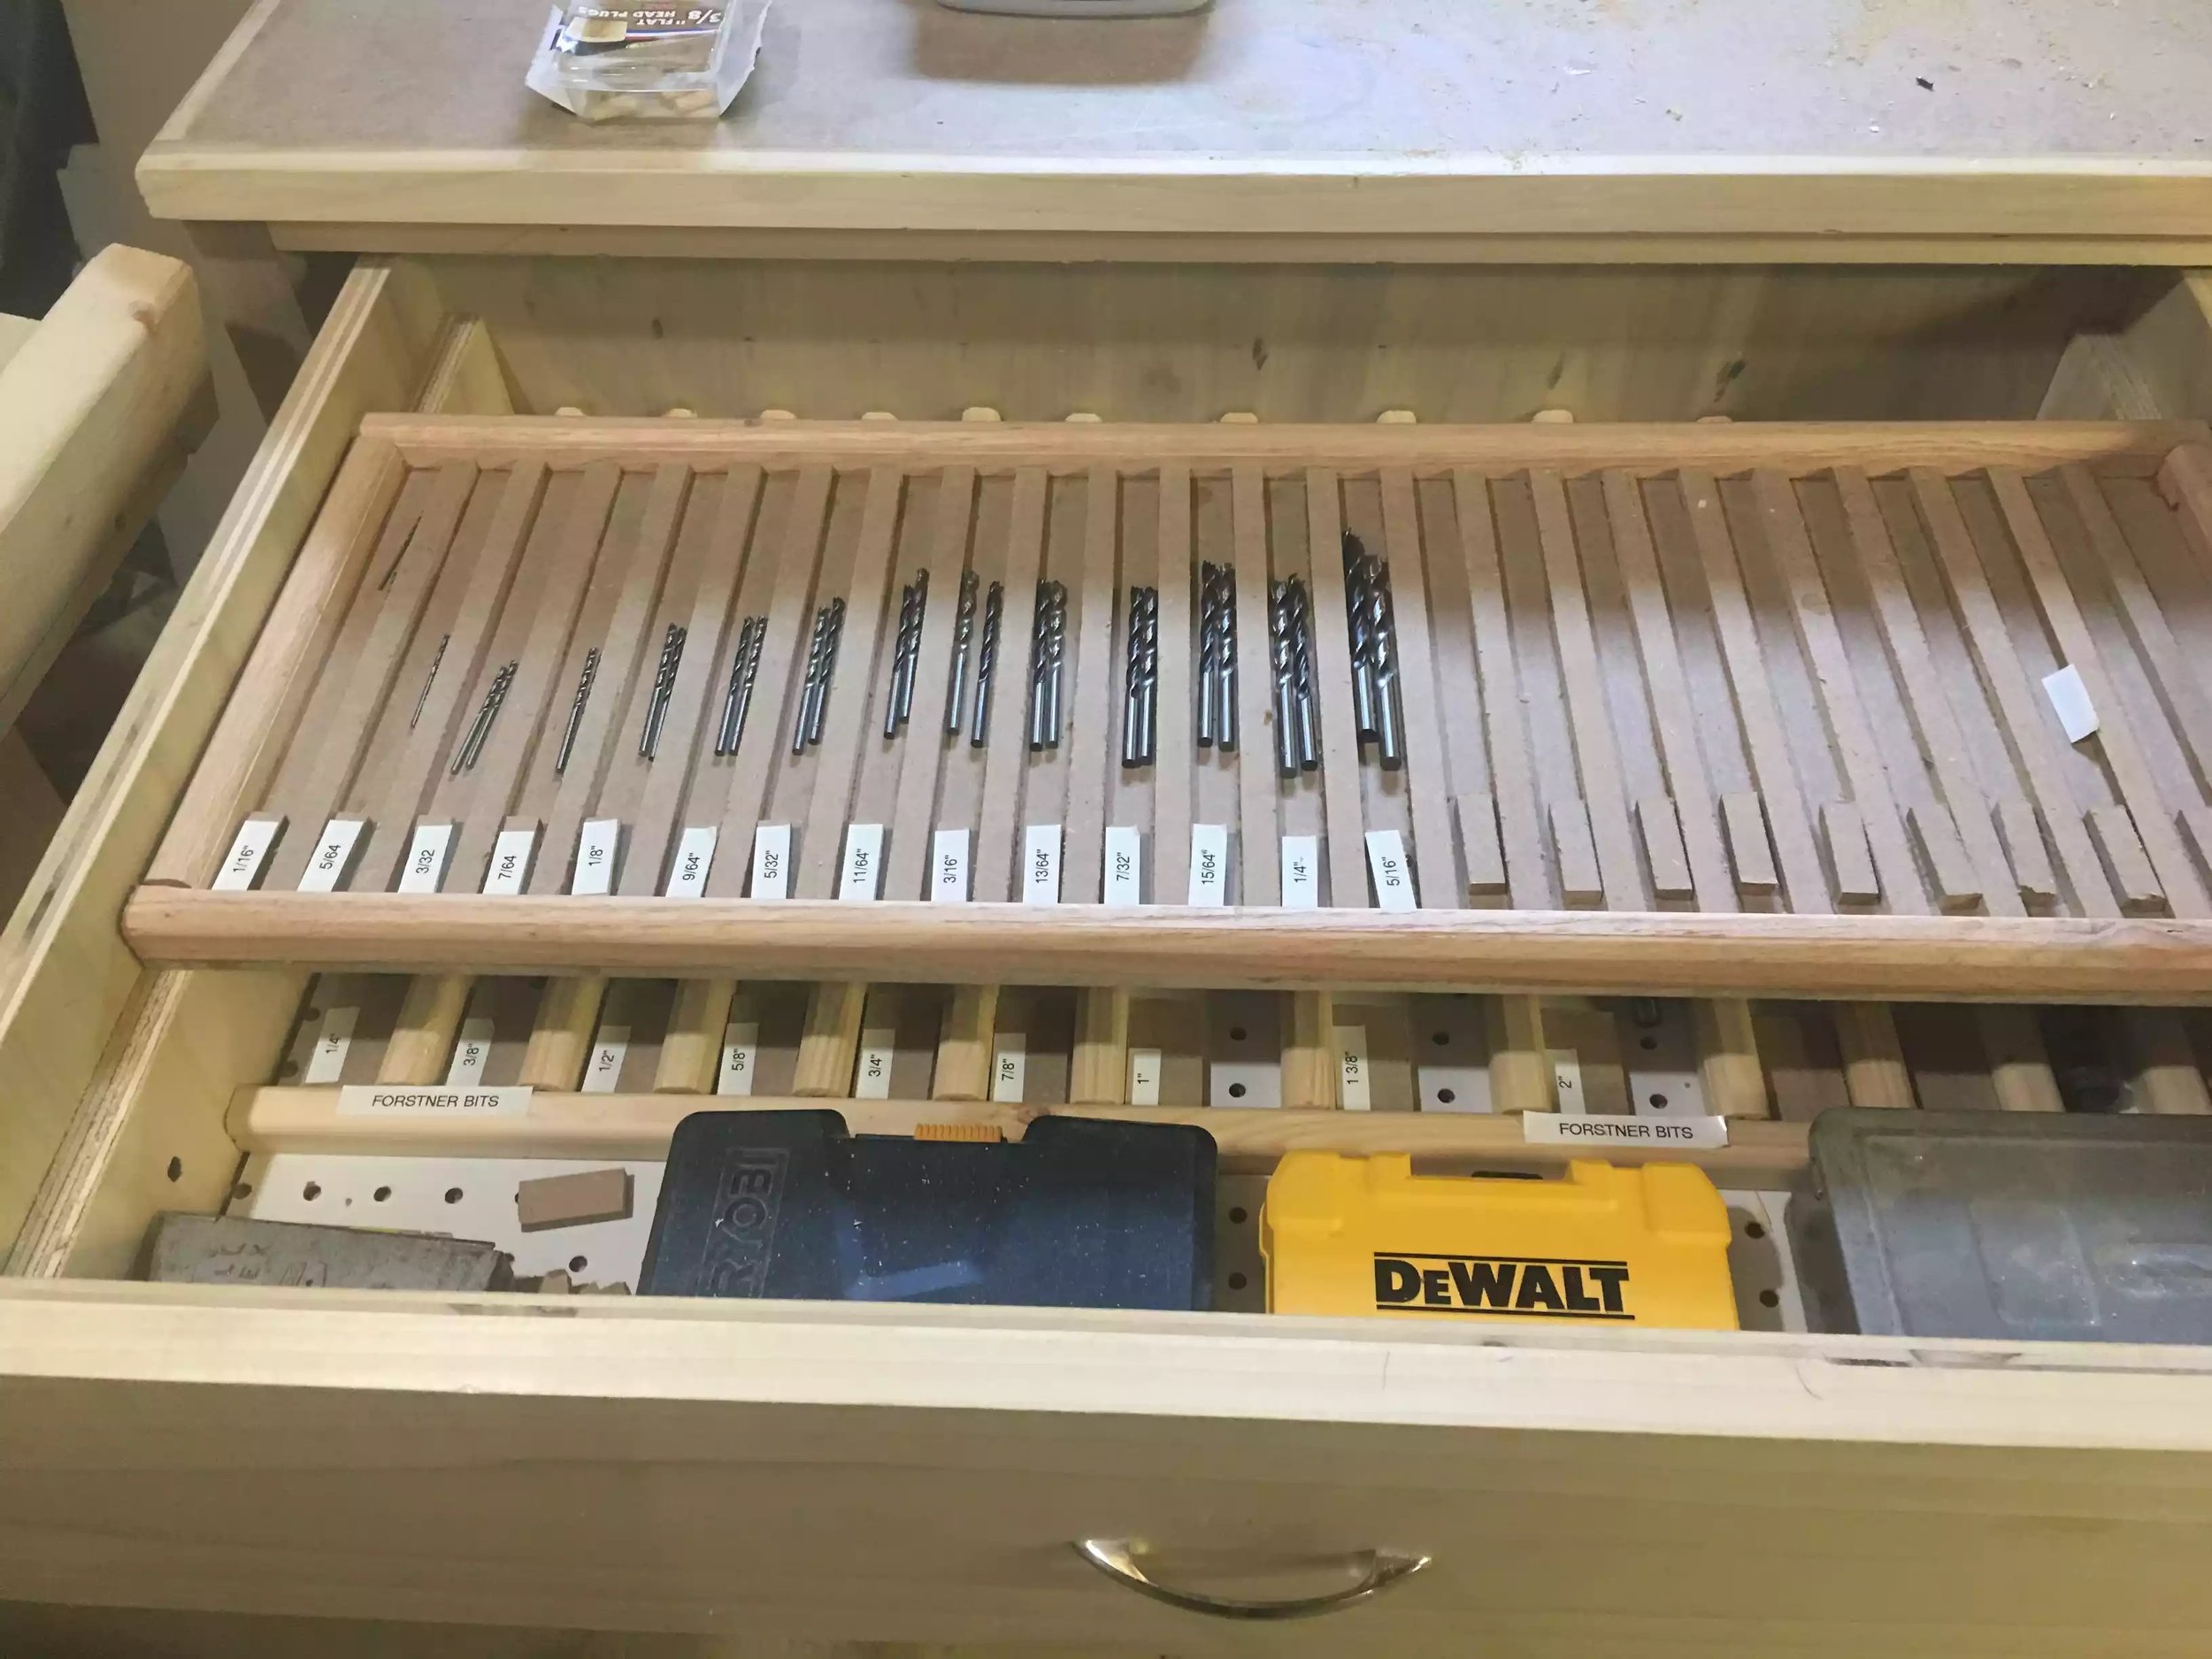
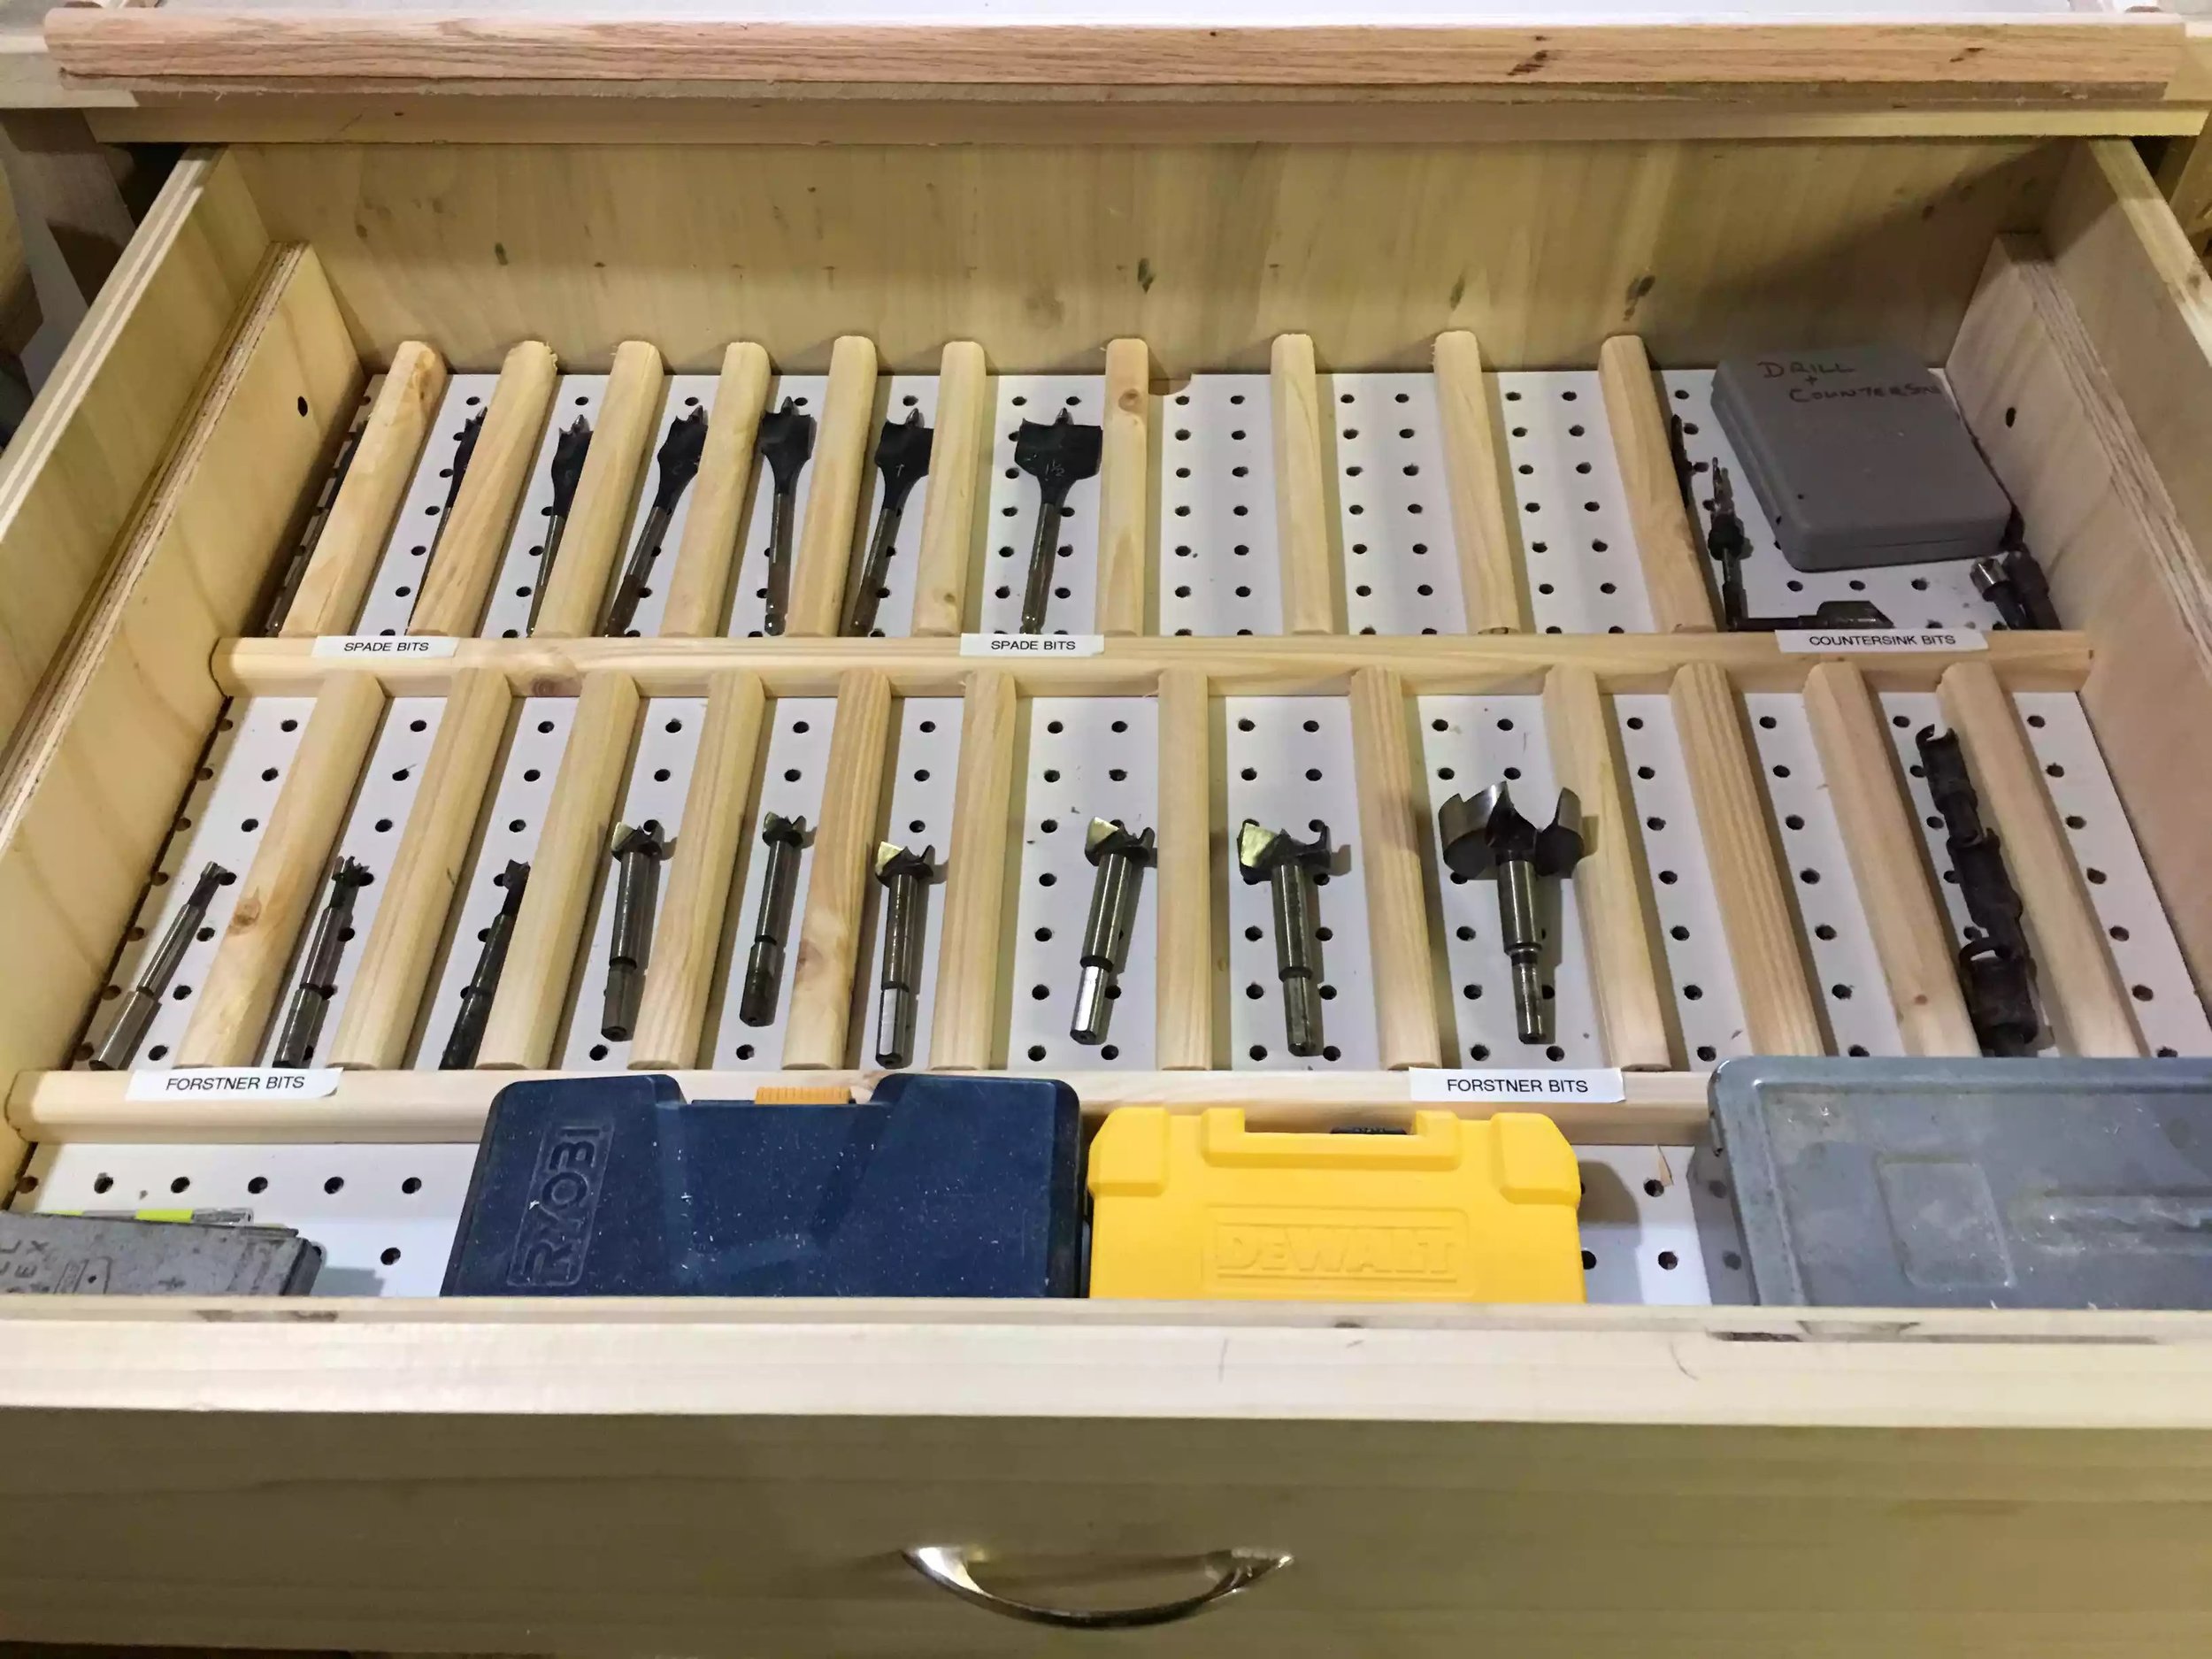
3. There are 2 drawers ( 1 in each cabinet) and I used fully extendable ball bearing drawer slides
4. I purchased most of the components of the Kreg Precision Track & stop kit ( all I didn’t get is the adhesive measure tape and flip stop)
5. The cabinet doors are frame and panel design and I used a basic mortise and tenon joint with a dado cut into the rails and stiles to receive the 1/4” plywood.
6. I also purchased the Craftsman compact sliding miter saw.. I got a great deal and I found a coupon I think I got it for $225
7. The ample cabinet space will be used for benchtop tools such as my drill press and I will be getting a band saw soon as well.
I also completed a blog on this project, if you click the green box below you will be brought to my online workshop at Lumberjocks.com
That’s it I hope you like it and finally I got inspiration for this project from a fellow Lumberjock's username ThinKerf
MITER SAW
ZCI(ZERO CLEARANCE INSERT)
(06/2016)
I was cutting little dowels about an inch or so long, needed a boatload of them and a lot off them were getting trapped under the miter saw throat plate which was a pain to remove..
So I had a bunch of scrap 3/4” poplar plywood leftover from the Miter saw workstation I made and decided to give making one a try…
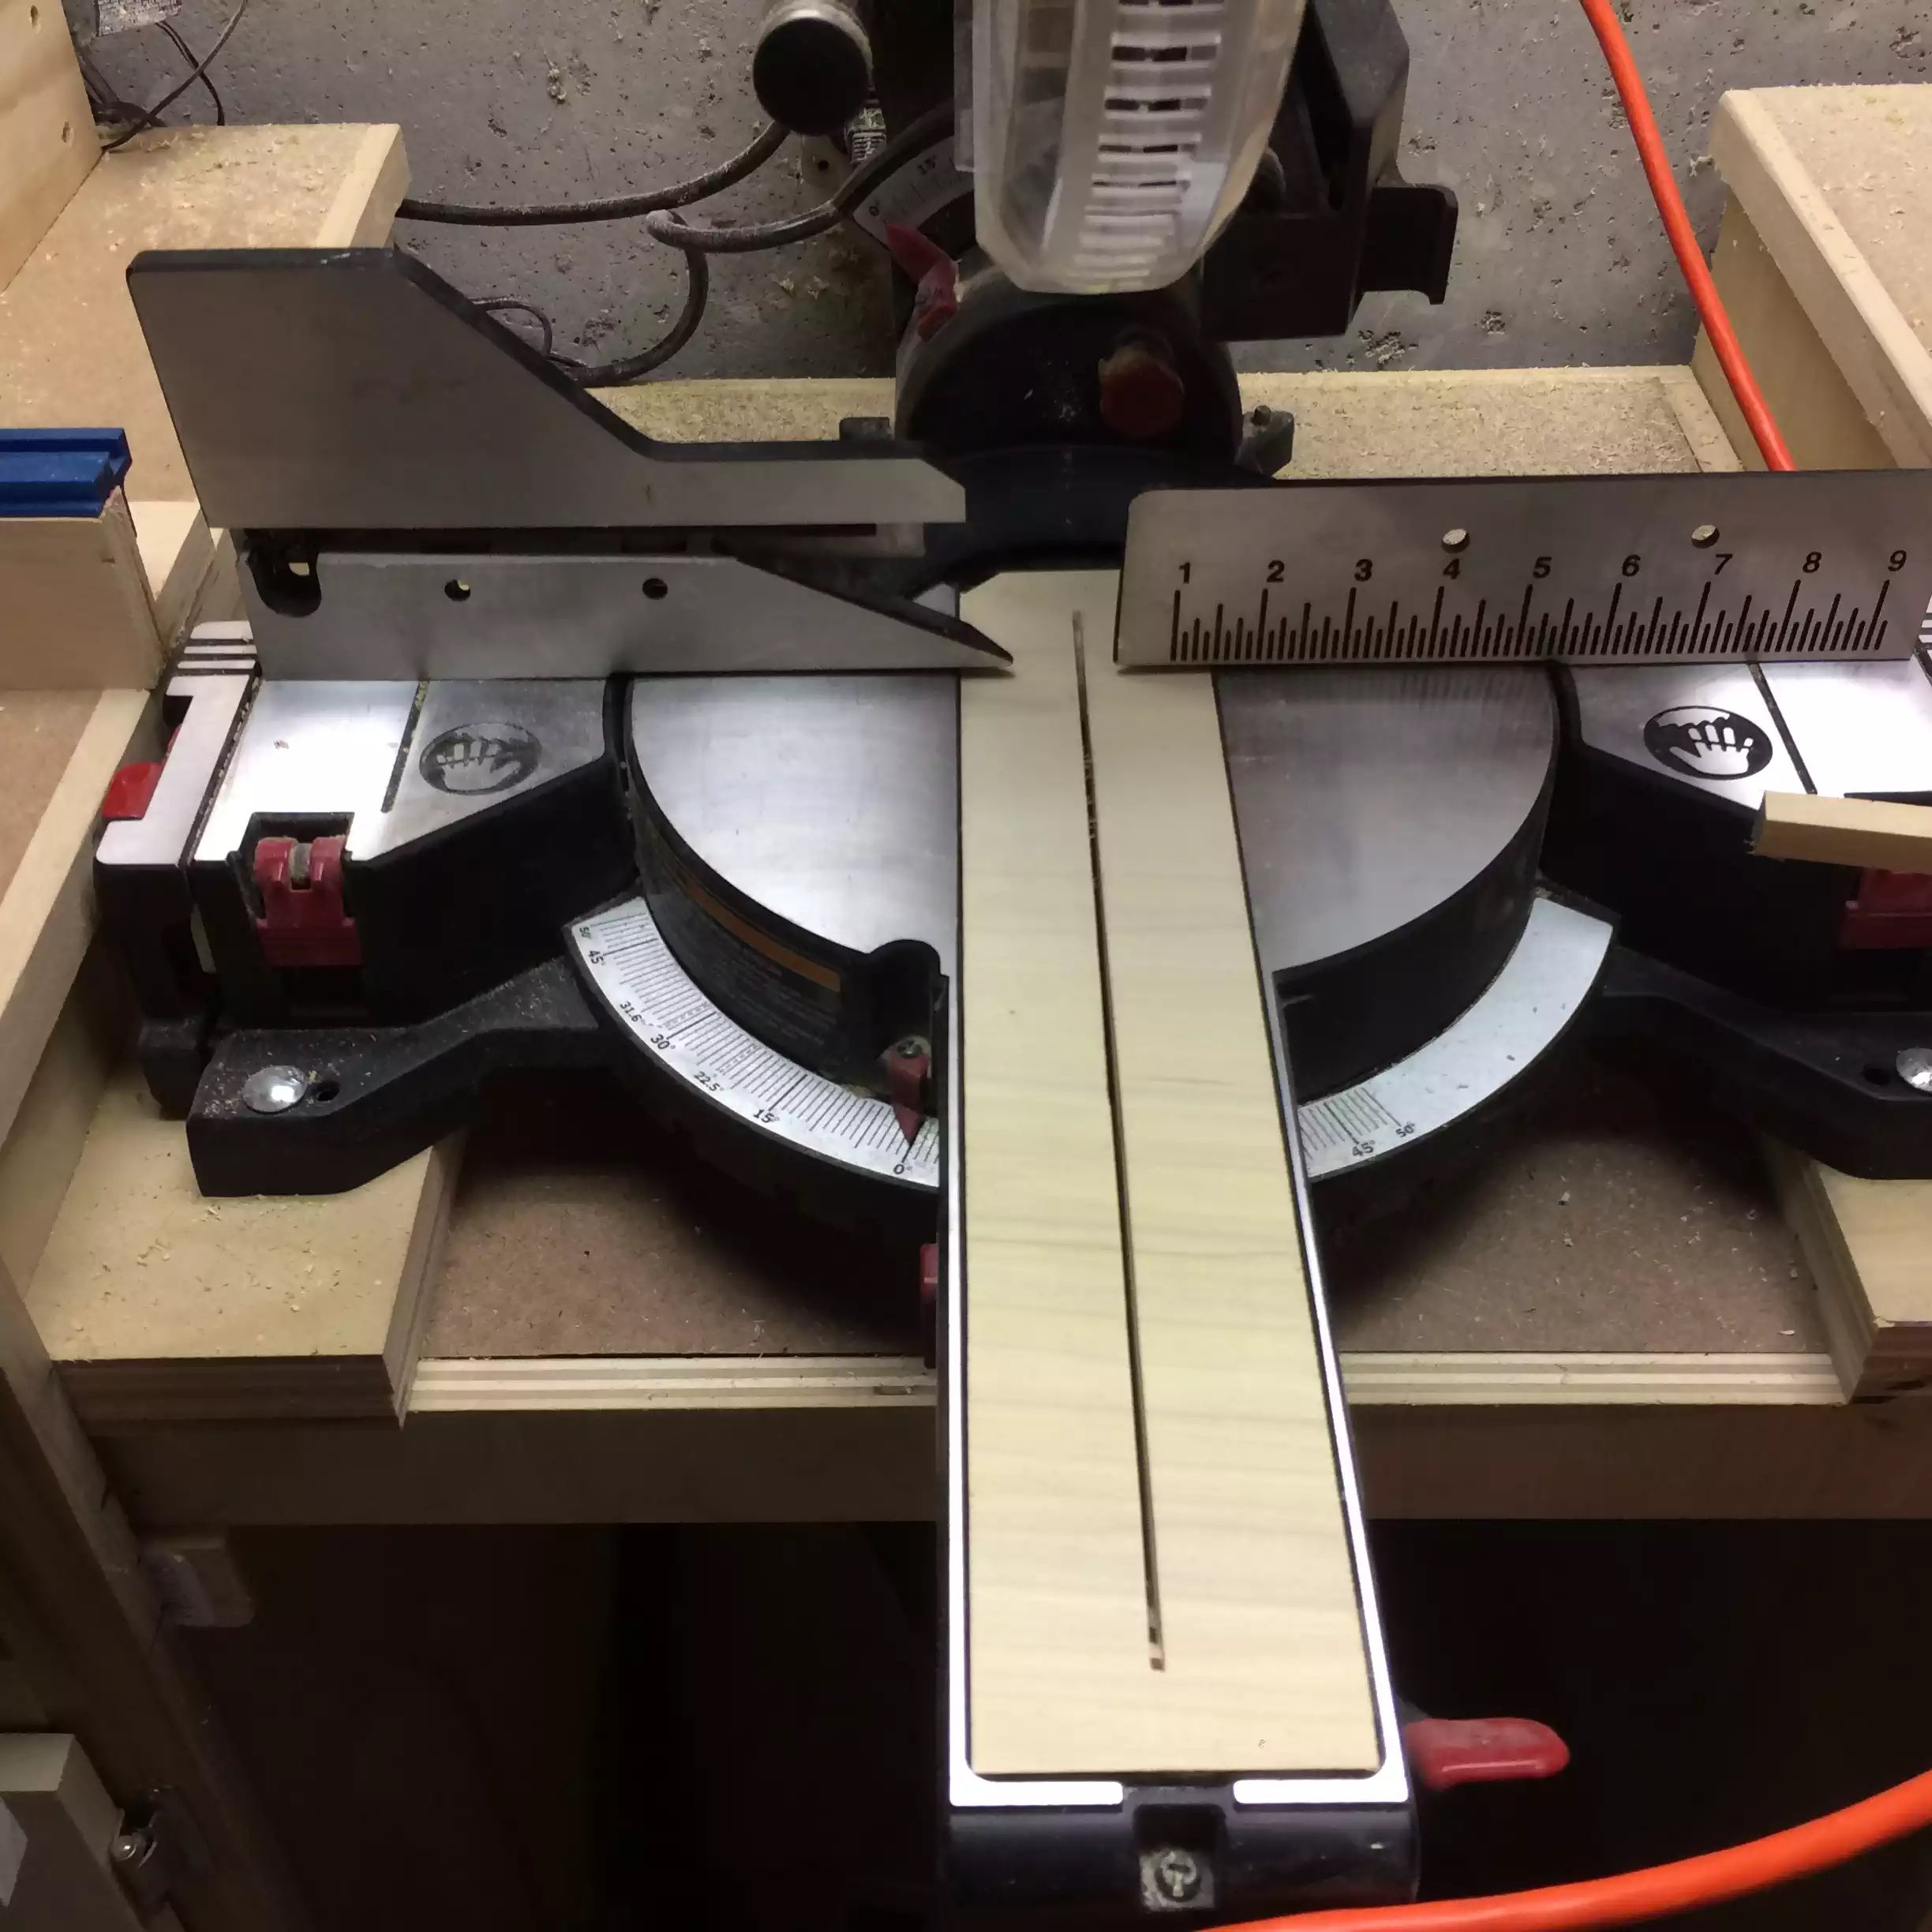
I have to say it was tricky but once I nailed down the design I made 3 of them in 30 minutes.. I’m sure there not as durable as the plastic but that’s why I made 3.
Tools needed
- tablesaw
- Drill press
- Forstener bit
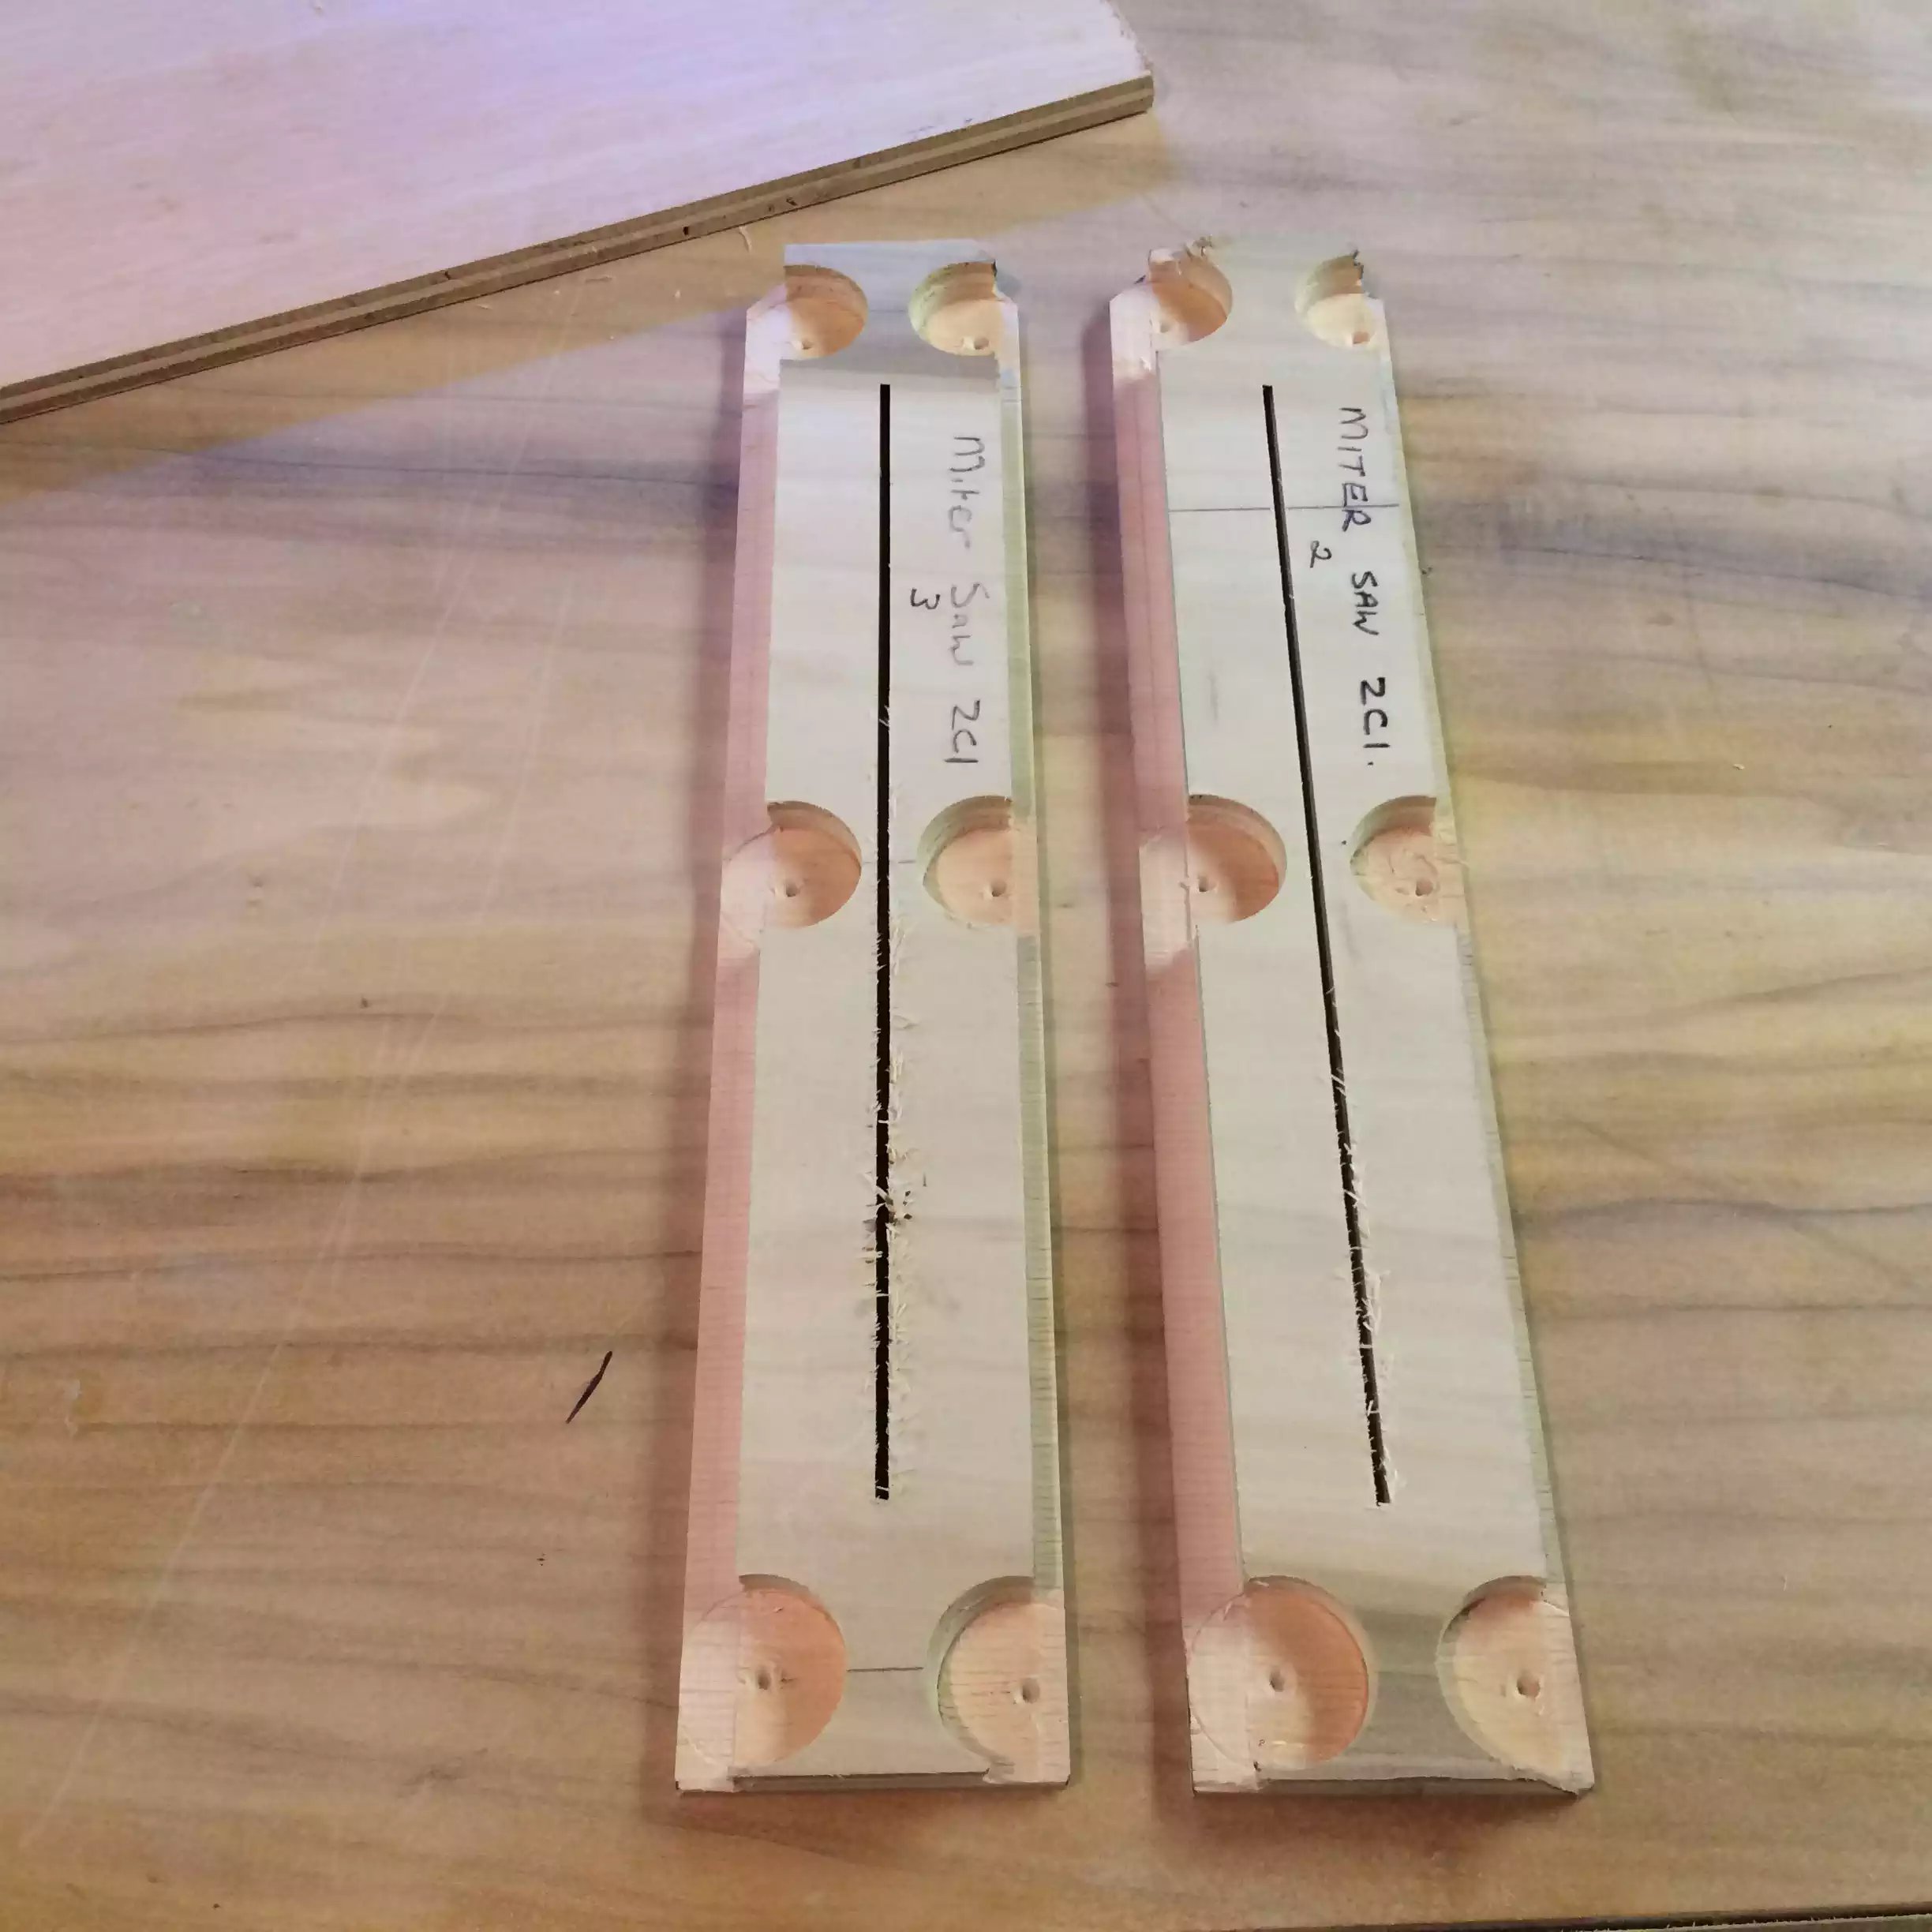
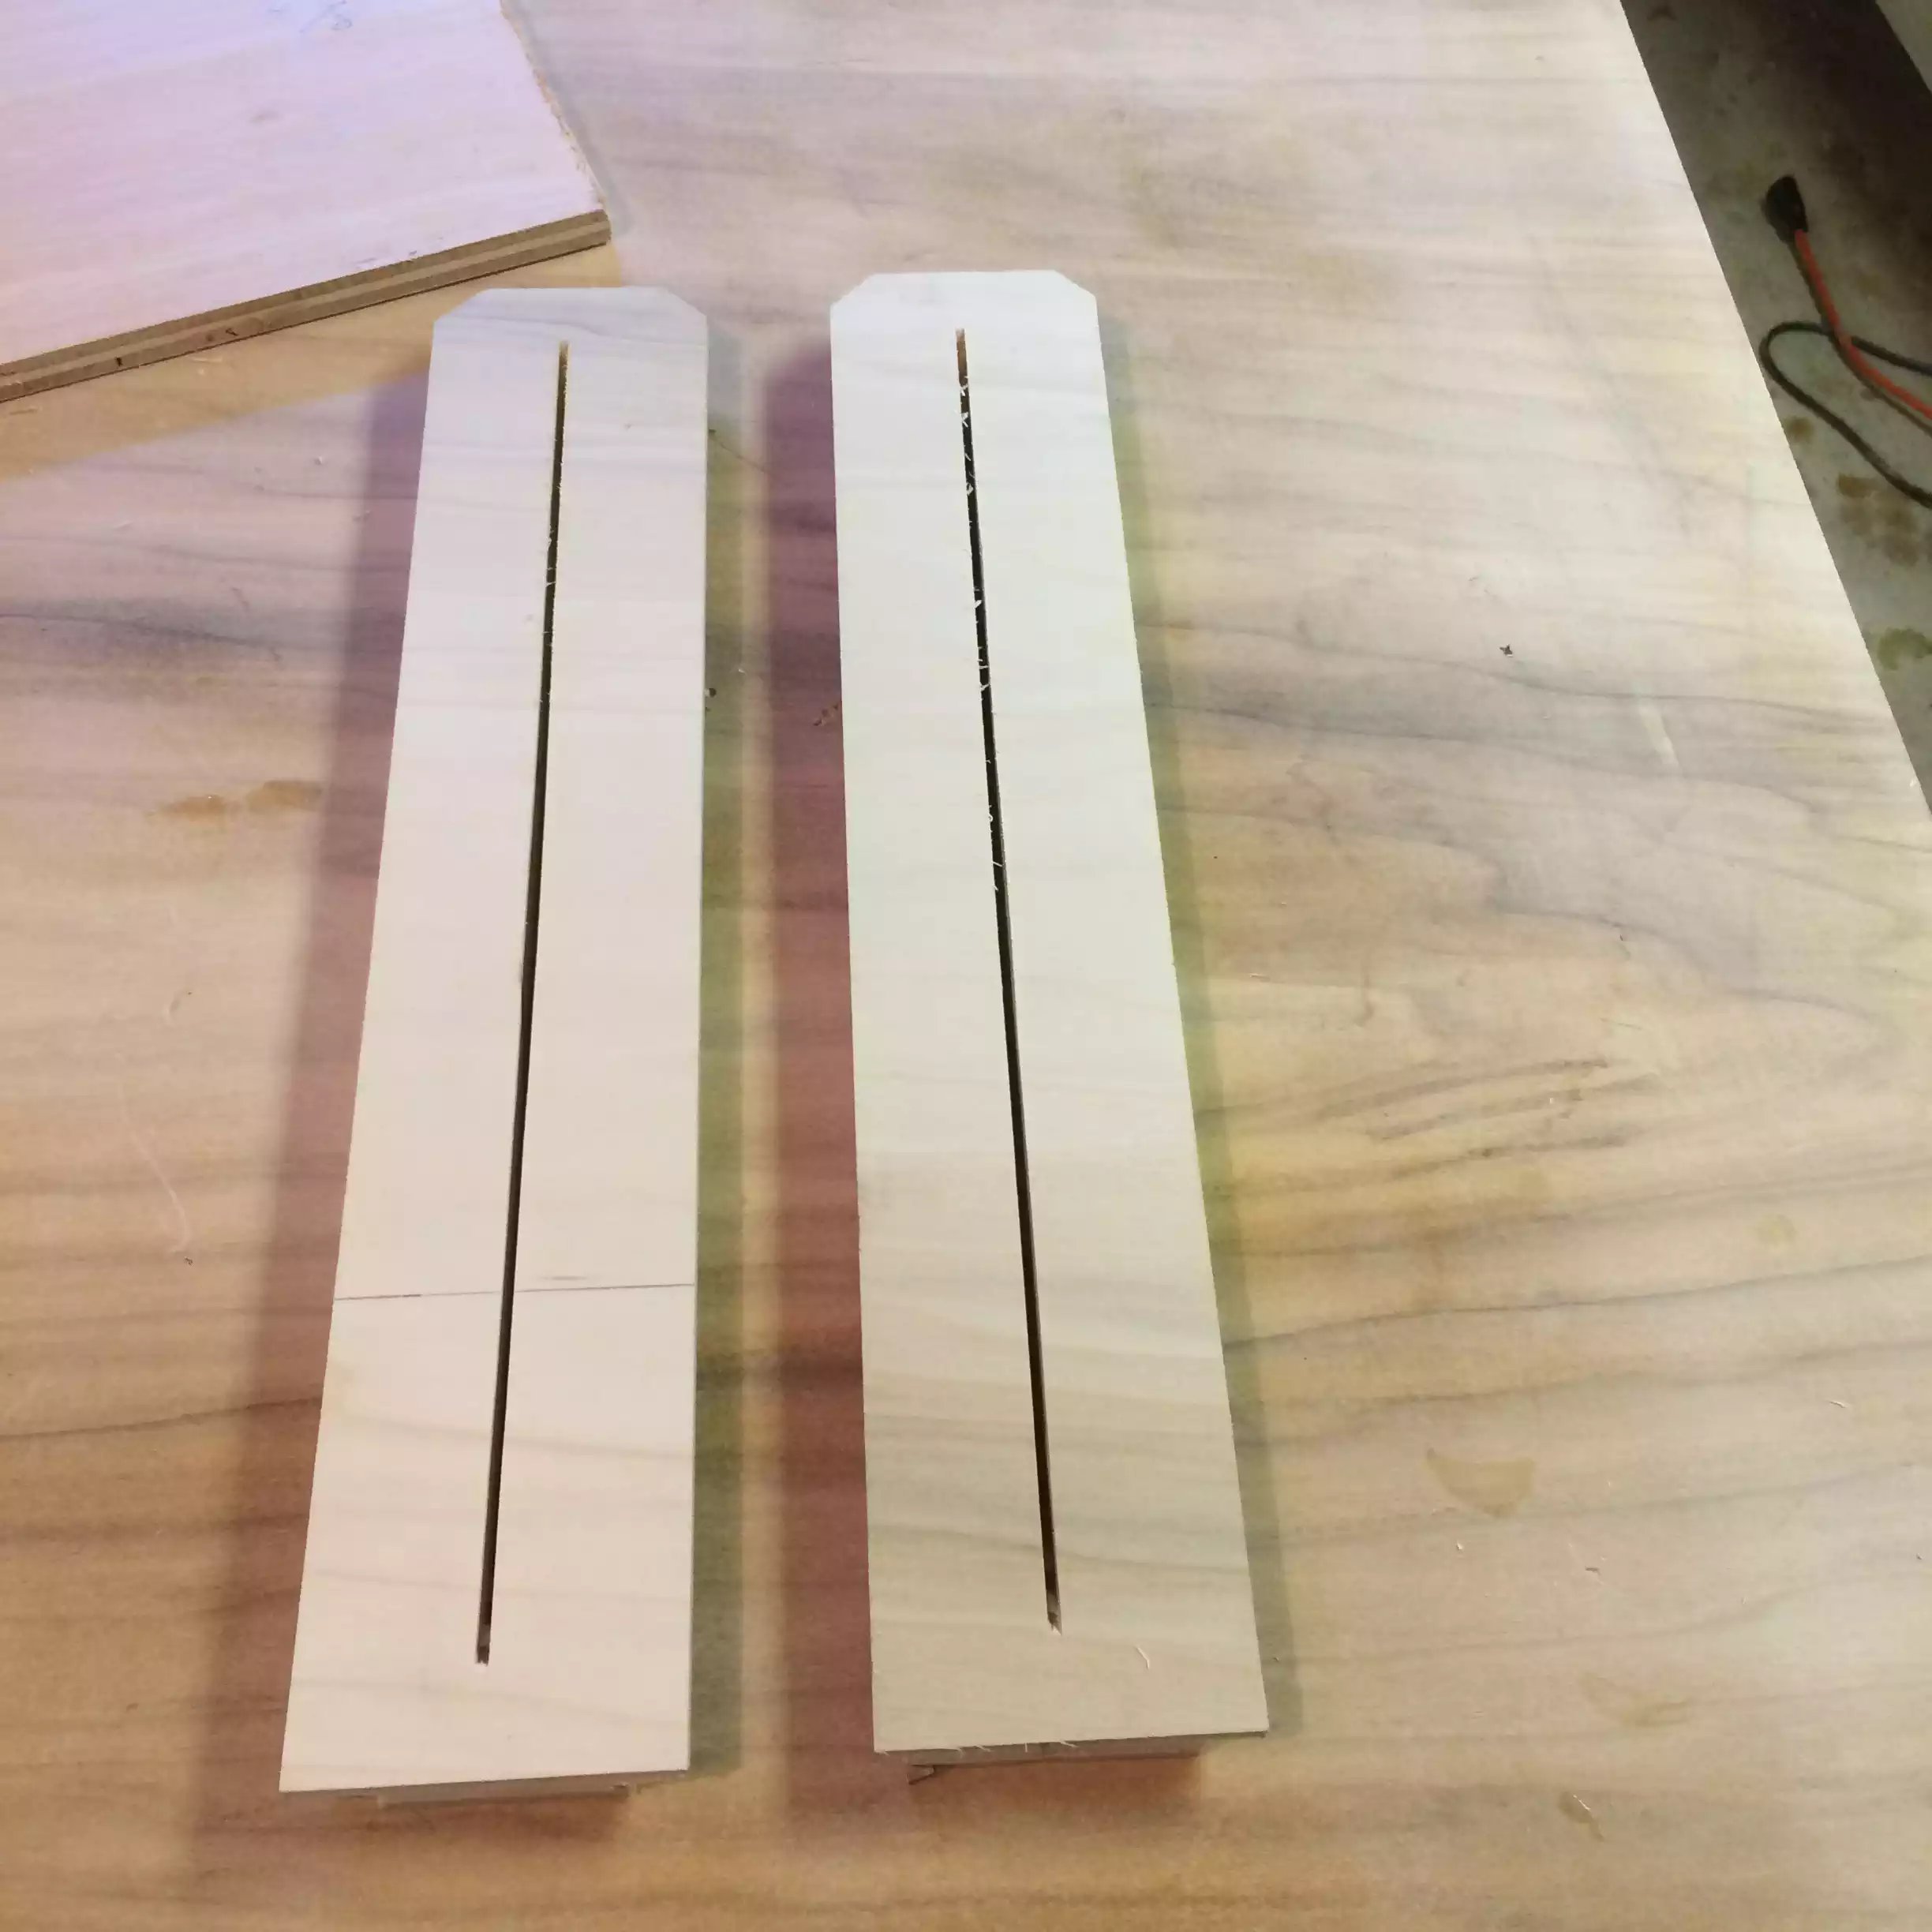
Step 1:
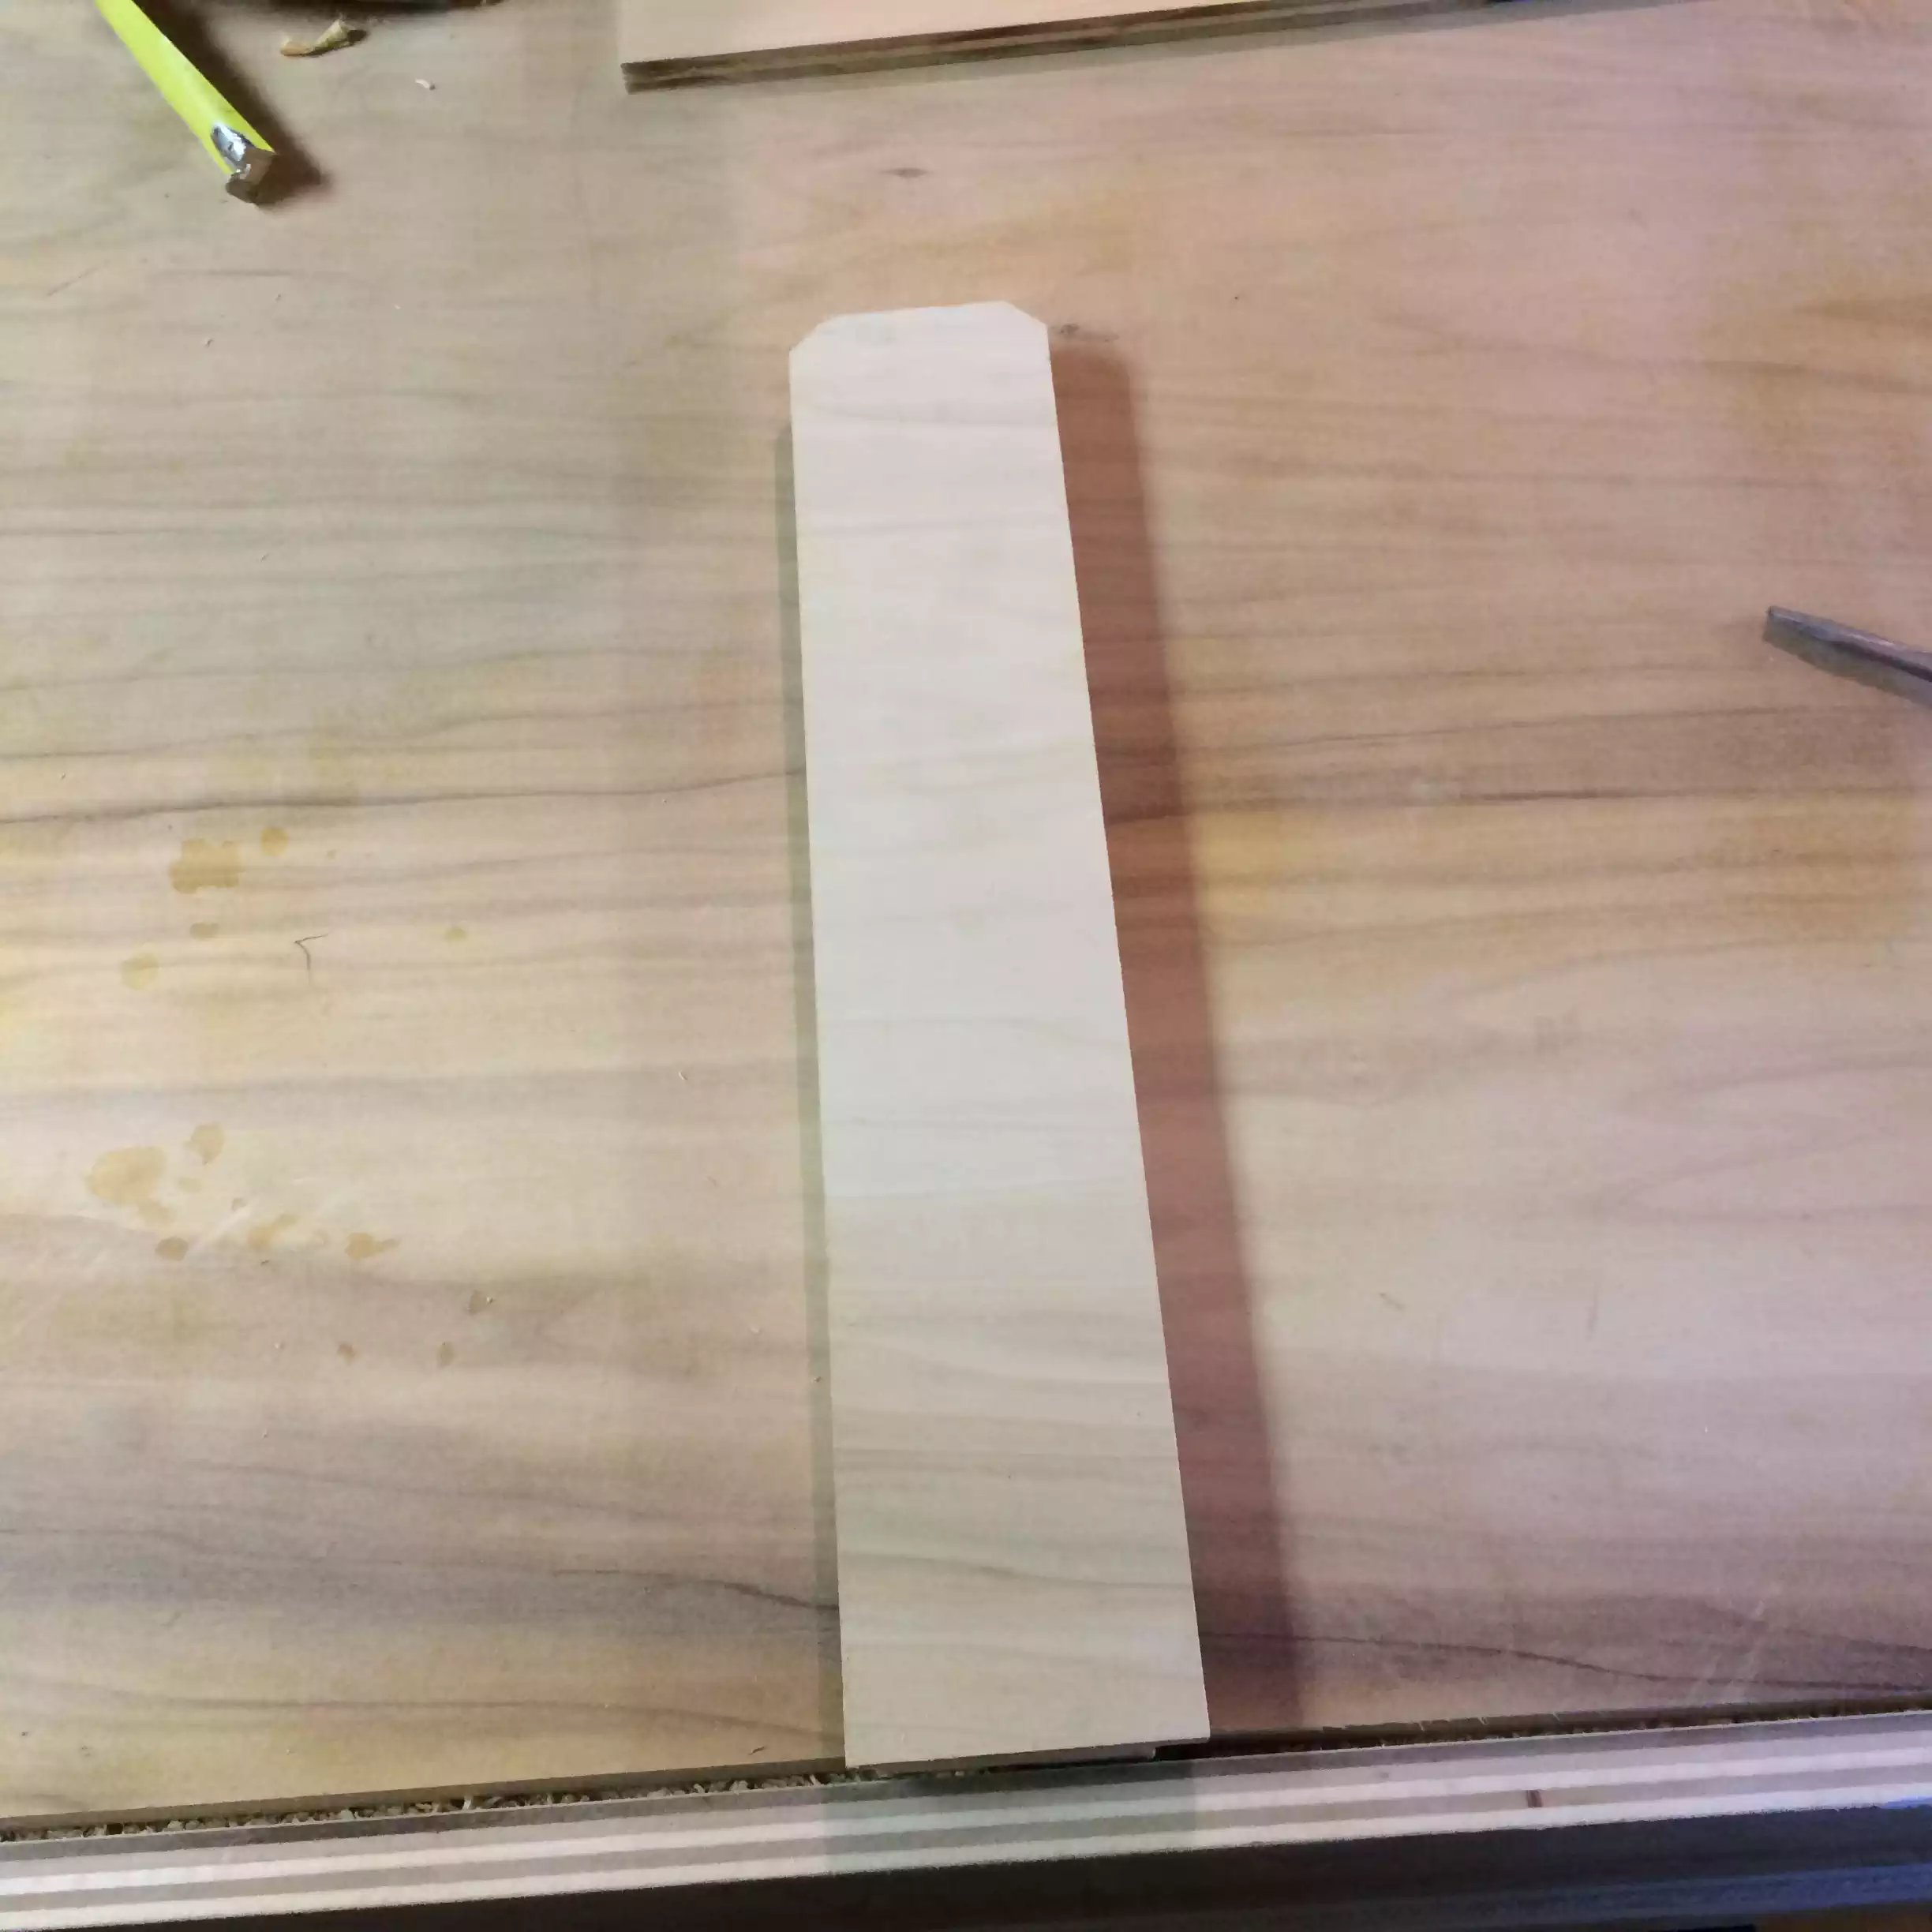
Rip a piece of 3/4” plywood 16”x3”
Step 2:
Install 1/4” dado stack and cut a rabbitt 1/4” wide by 1/2” deep on left side of stock
Step 3:
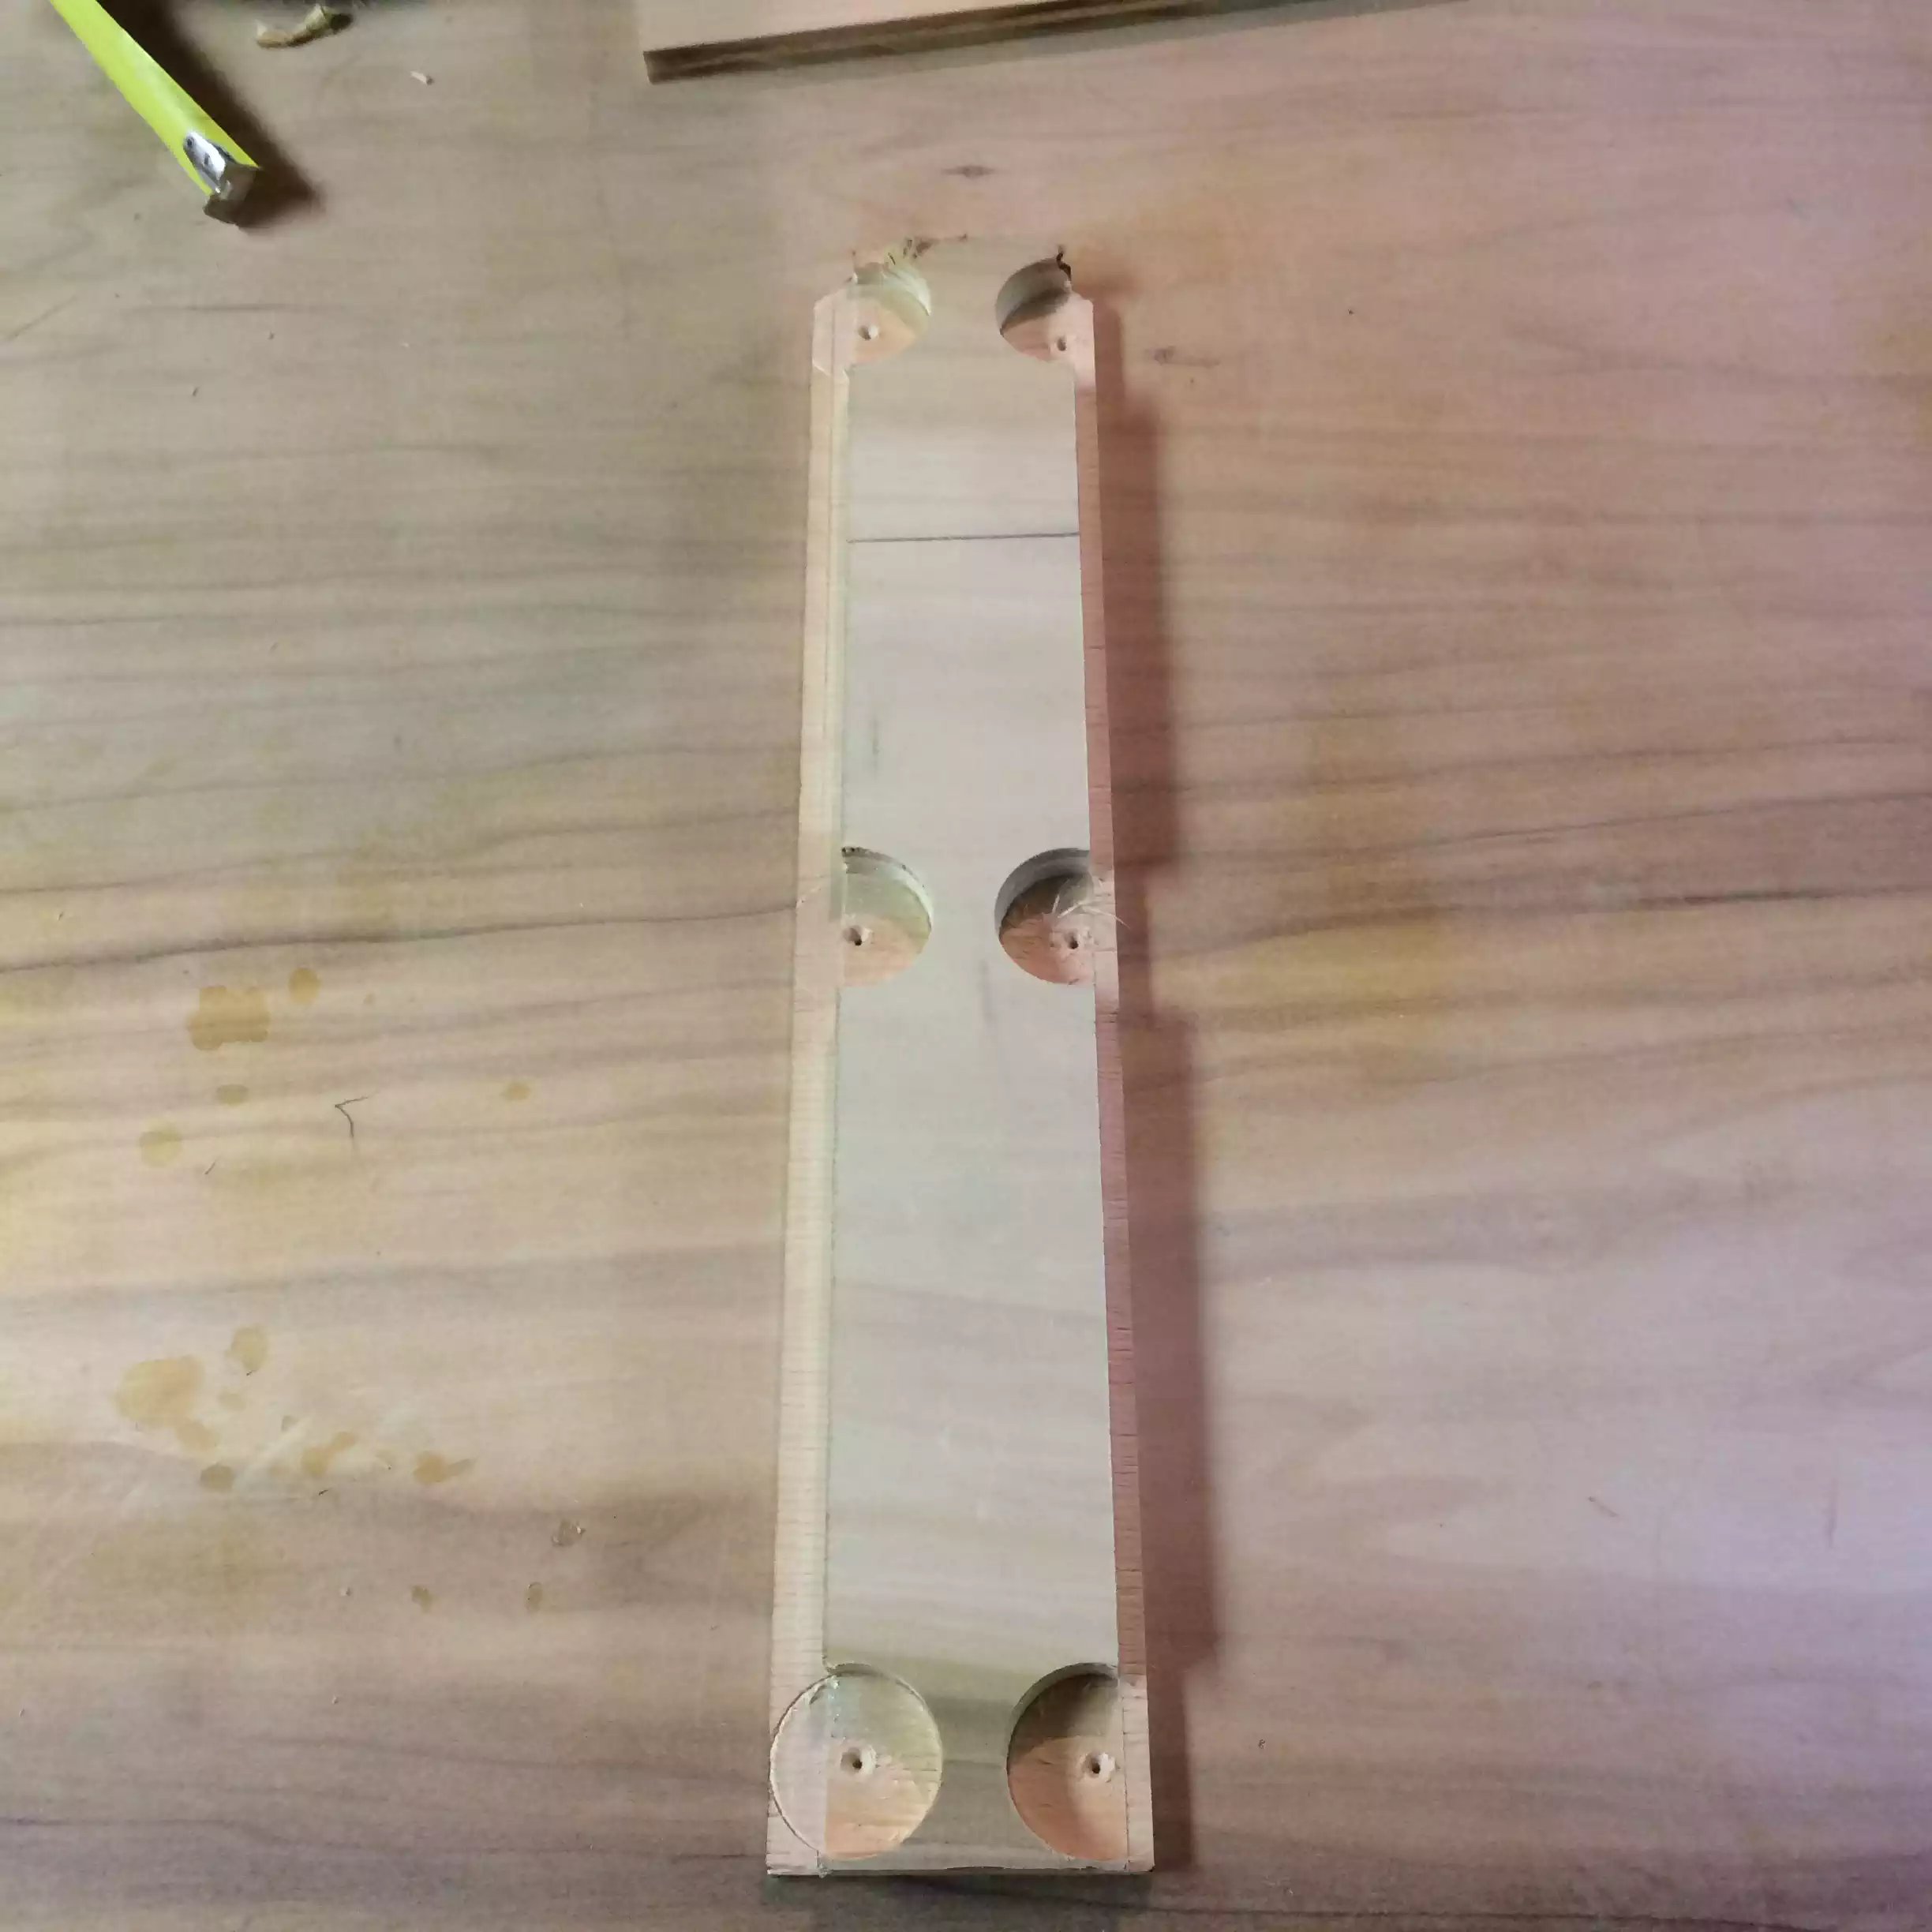
Cut rabbit 1/2” X1/2” on right side this is the first step making sure the ZCI is flush to the miter saw deck
Step 4:
(Approx.) measure 3/4” , 7 5/8” , 14 5/8” make pencil marks on both sides of ZCI..now use a drill press with a forstener bit and drill semi circles so as that the bottom is flush with the 1/4” material left after placing the rabbits …
Sand
And your done
What I didn’t realize about my saw is that the back fence has to be removed anytime I need to place my ZCI in and that is annoying but it’s a miter saw and the need to use different ZCI is not that frequent, I guess that’s why the stock throat plate came in 2 sections
My First Miter Saw Station
(12/2014)
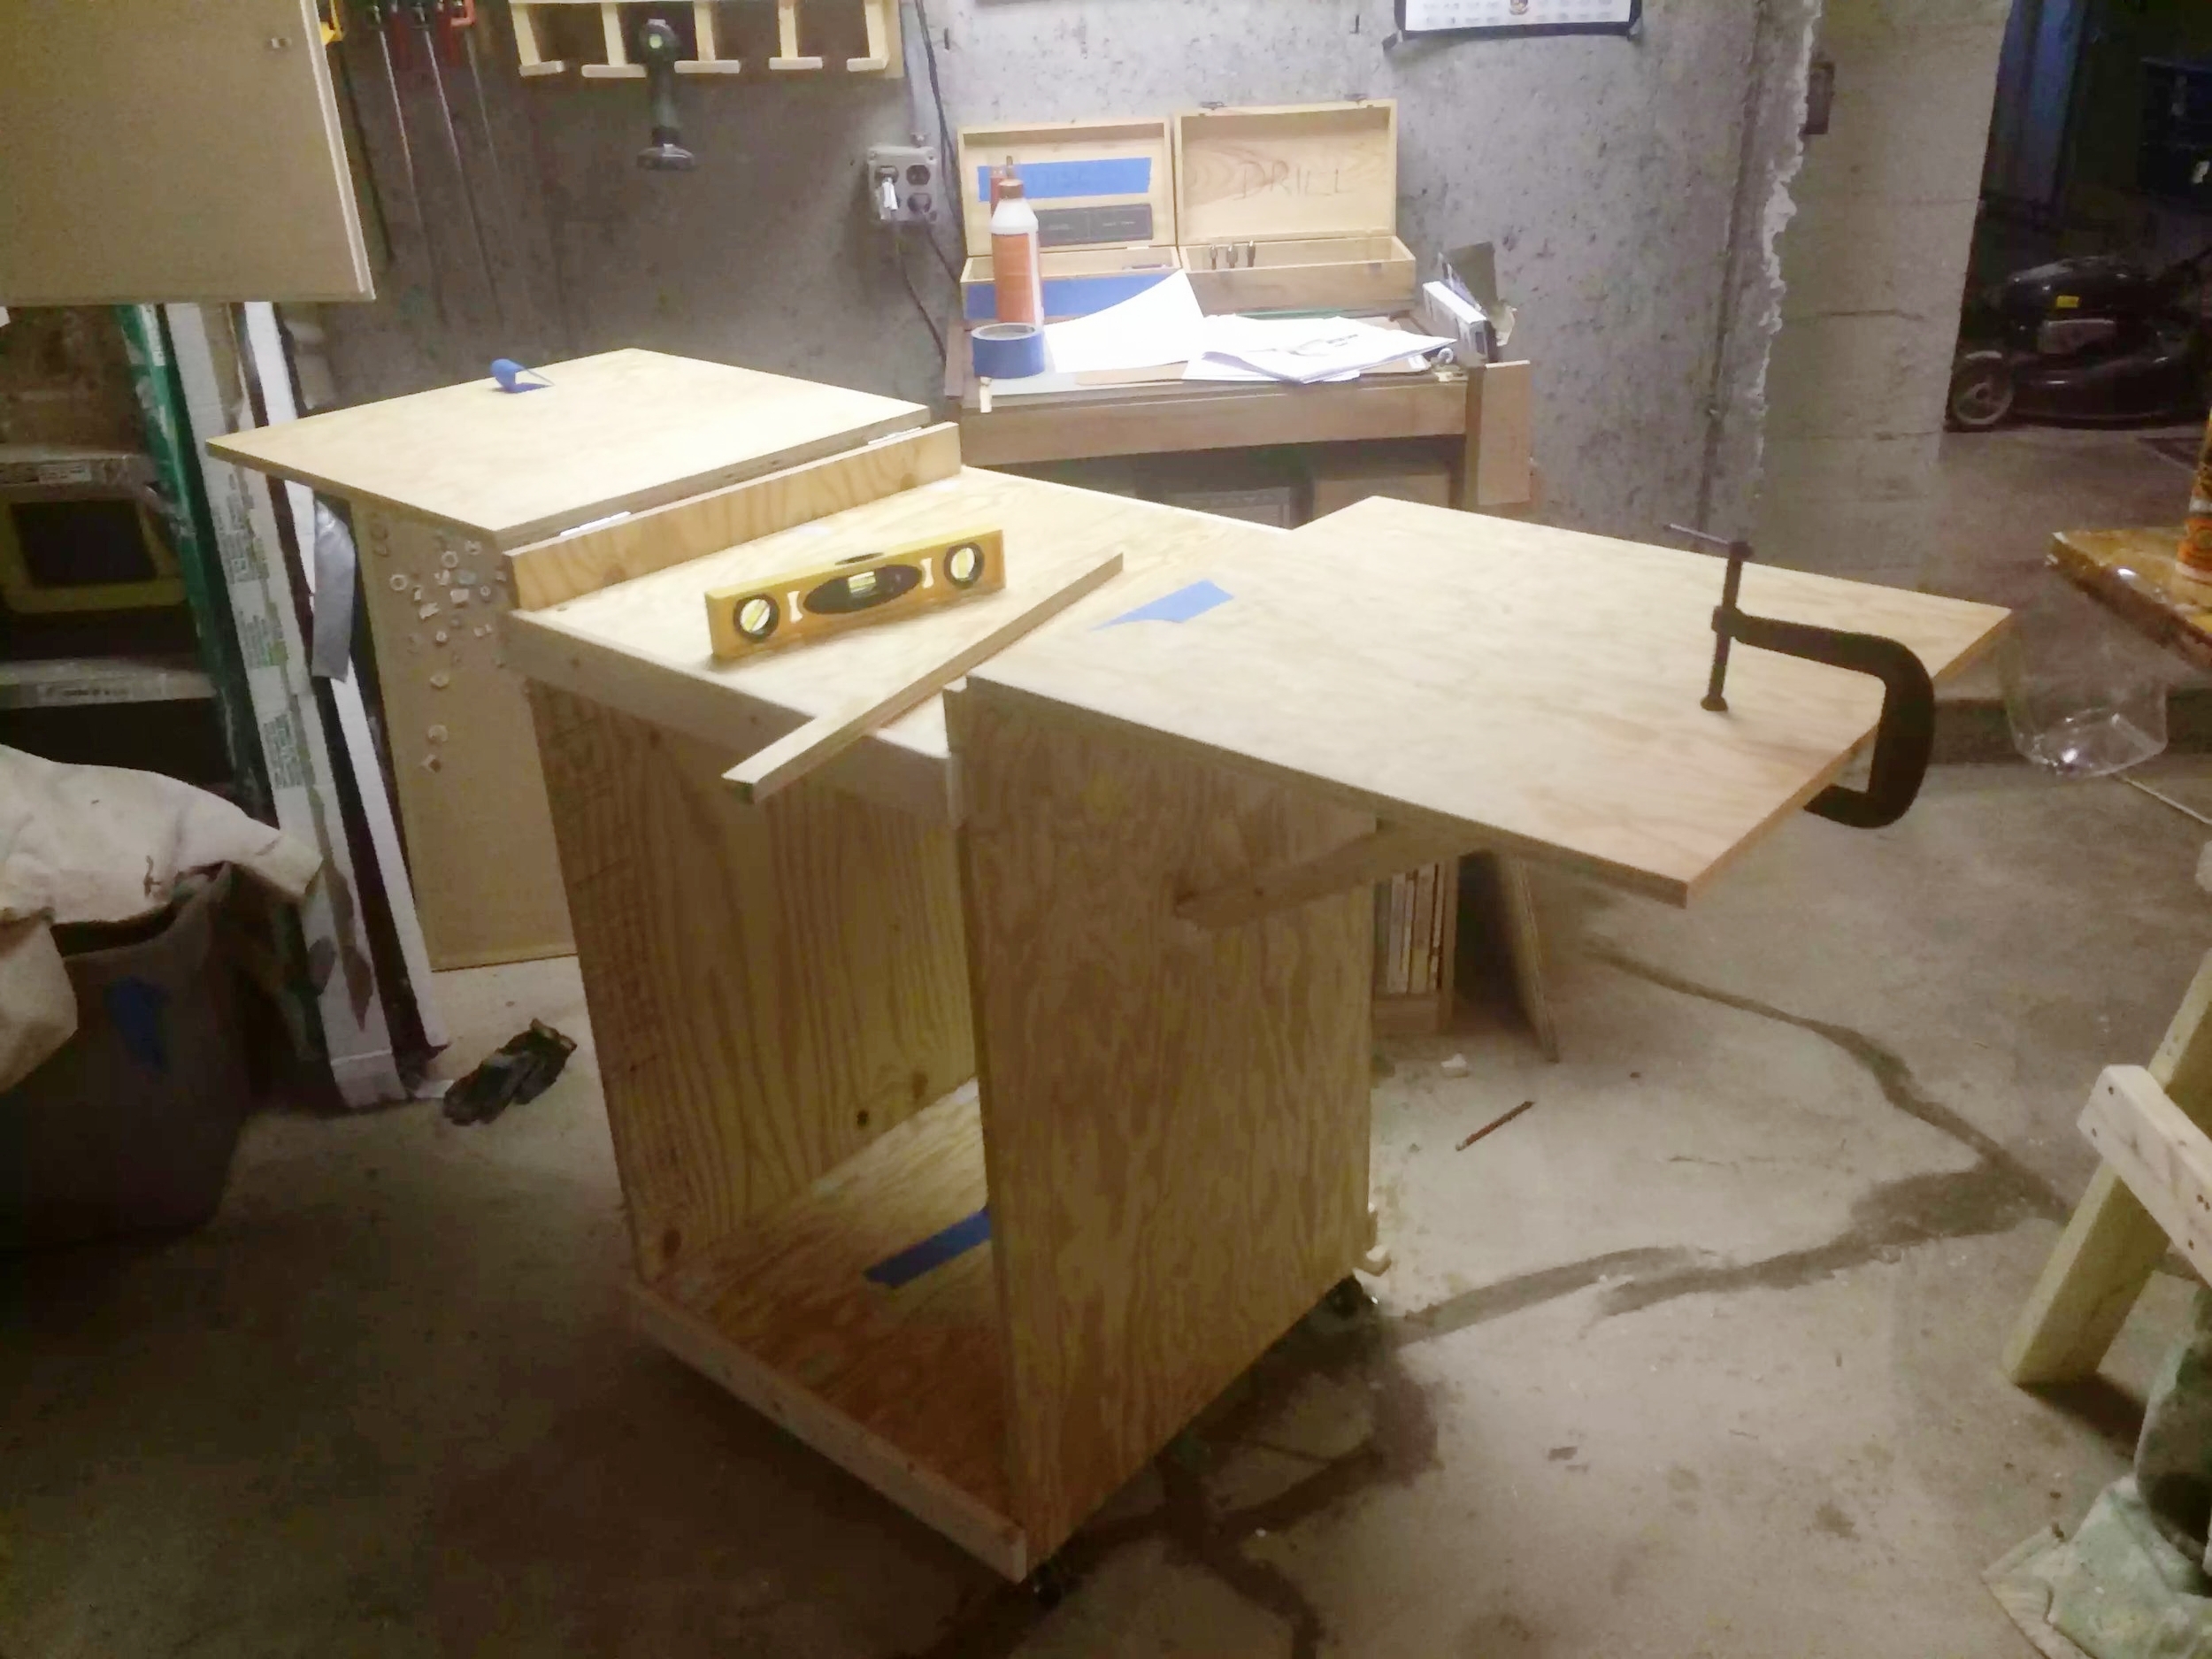

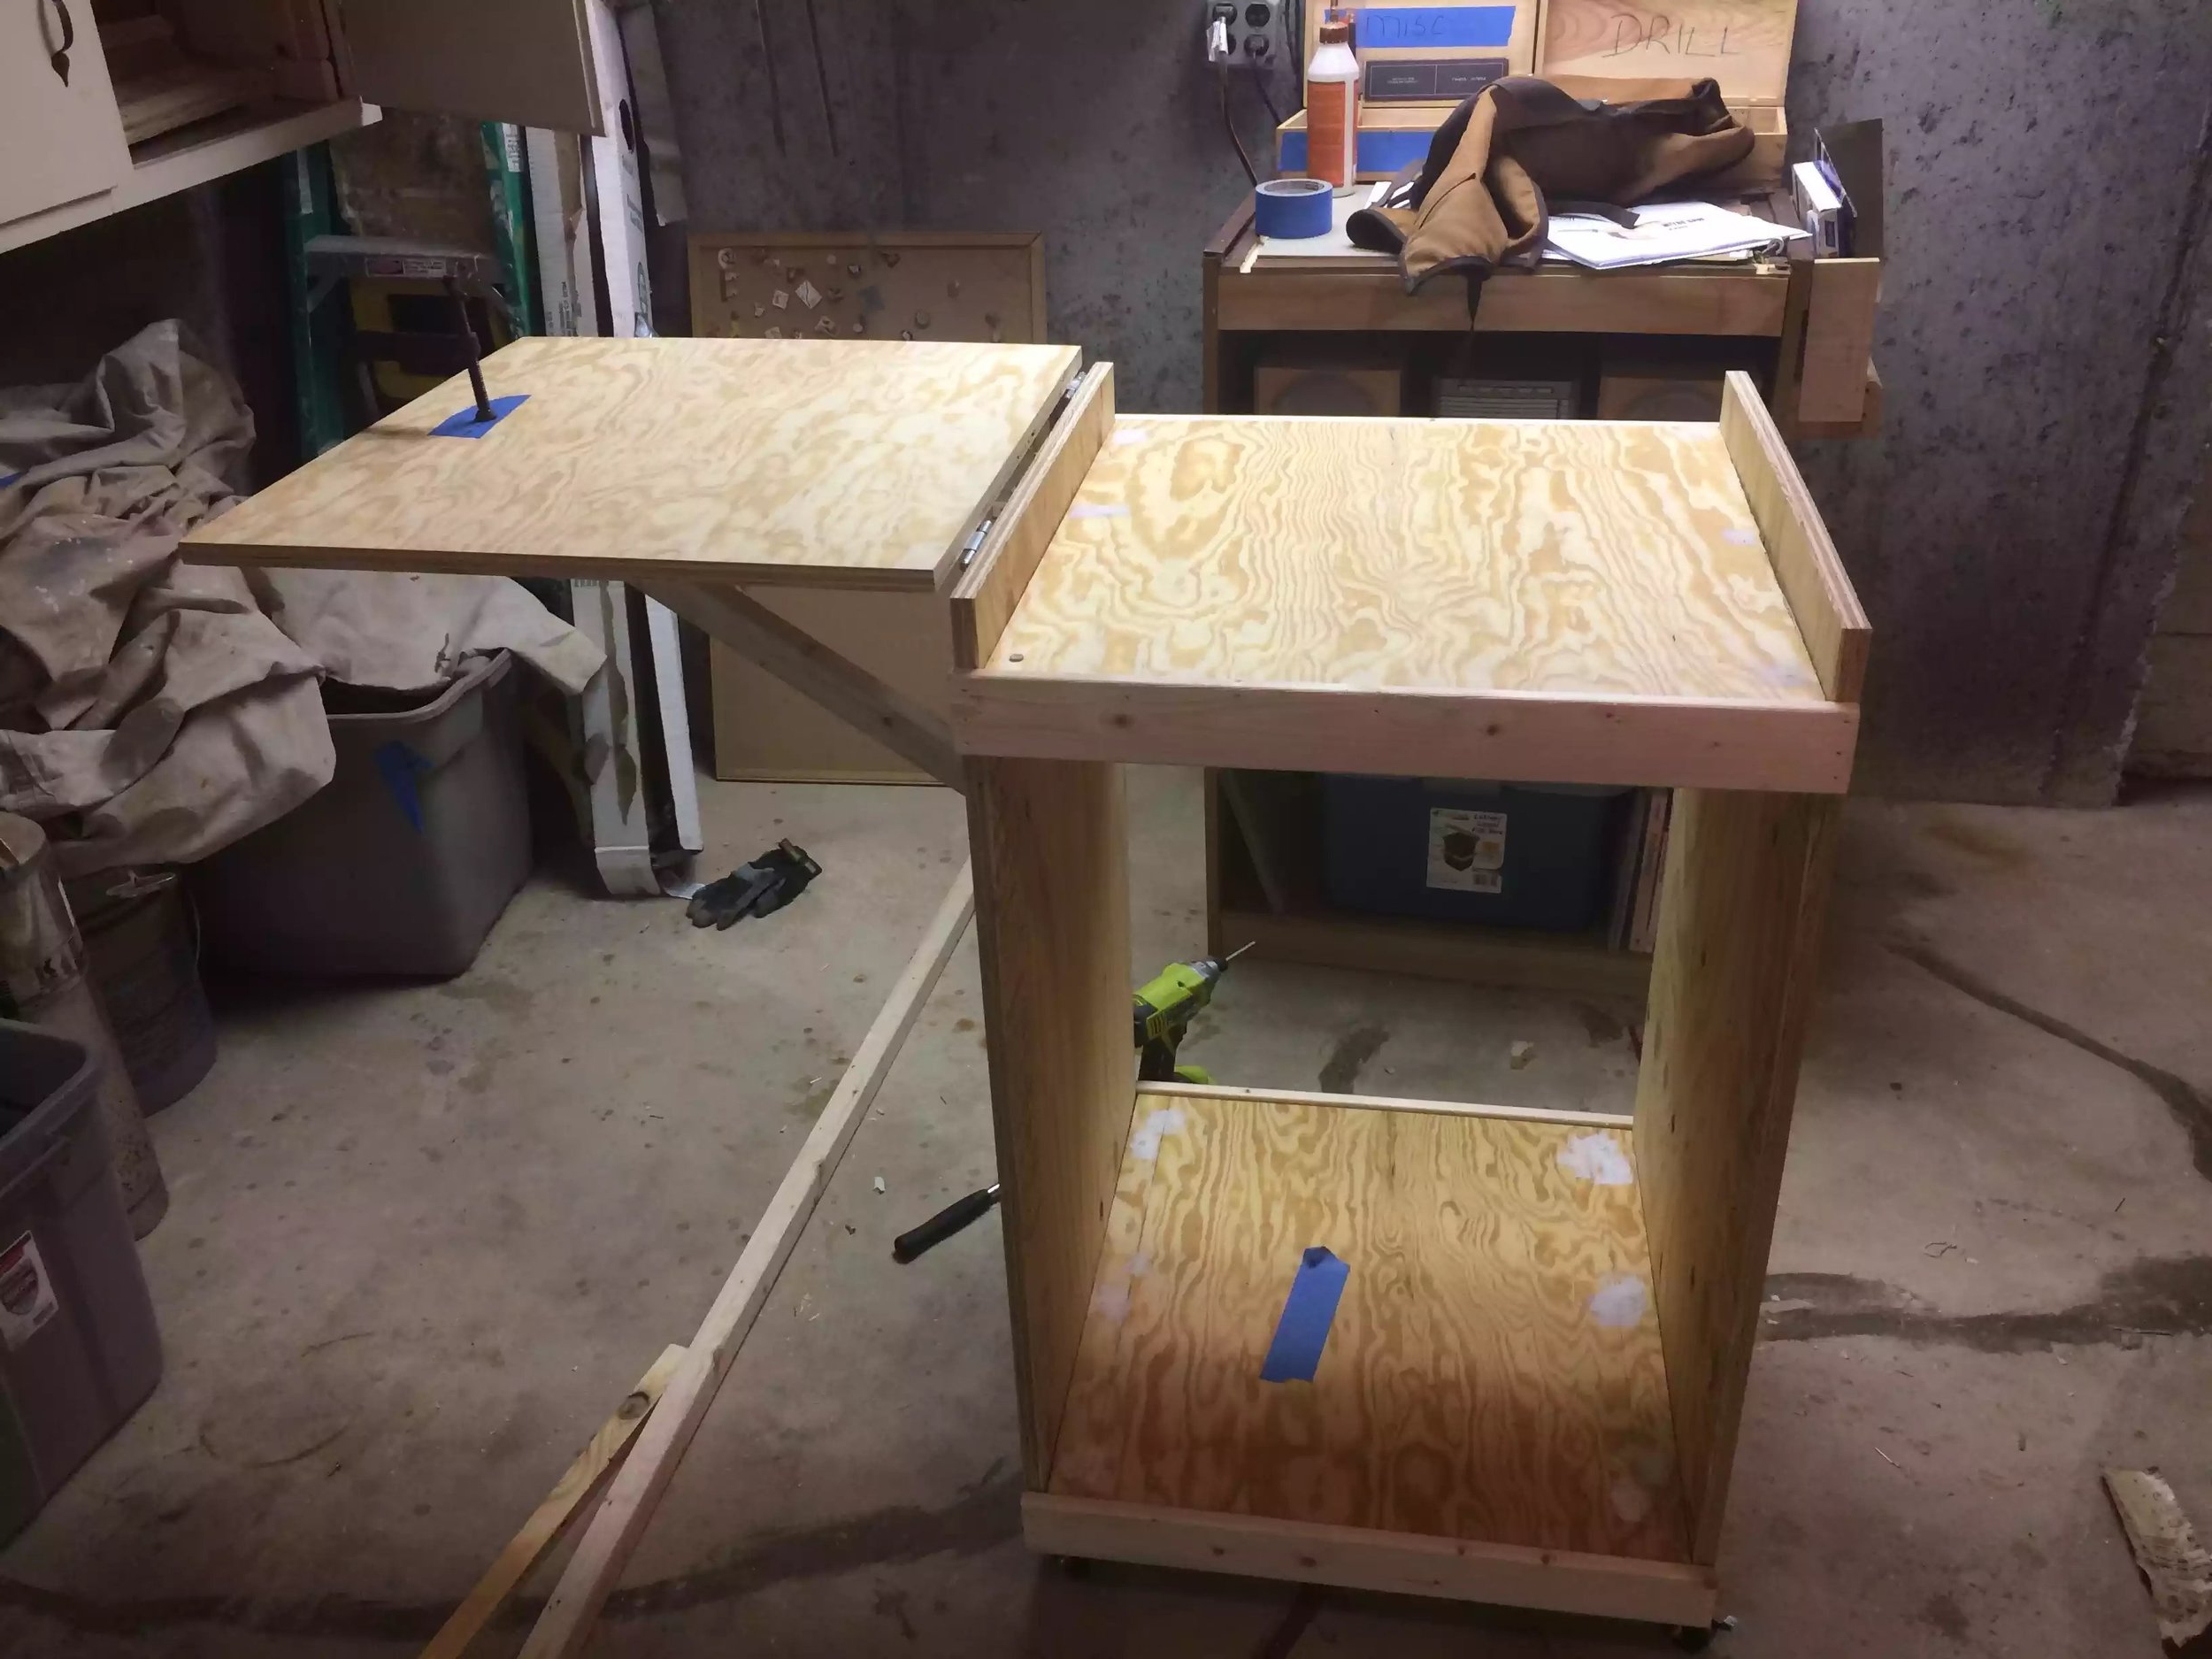
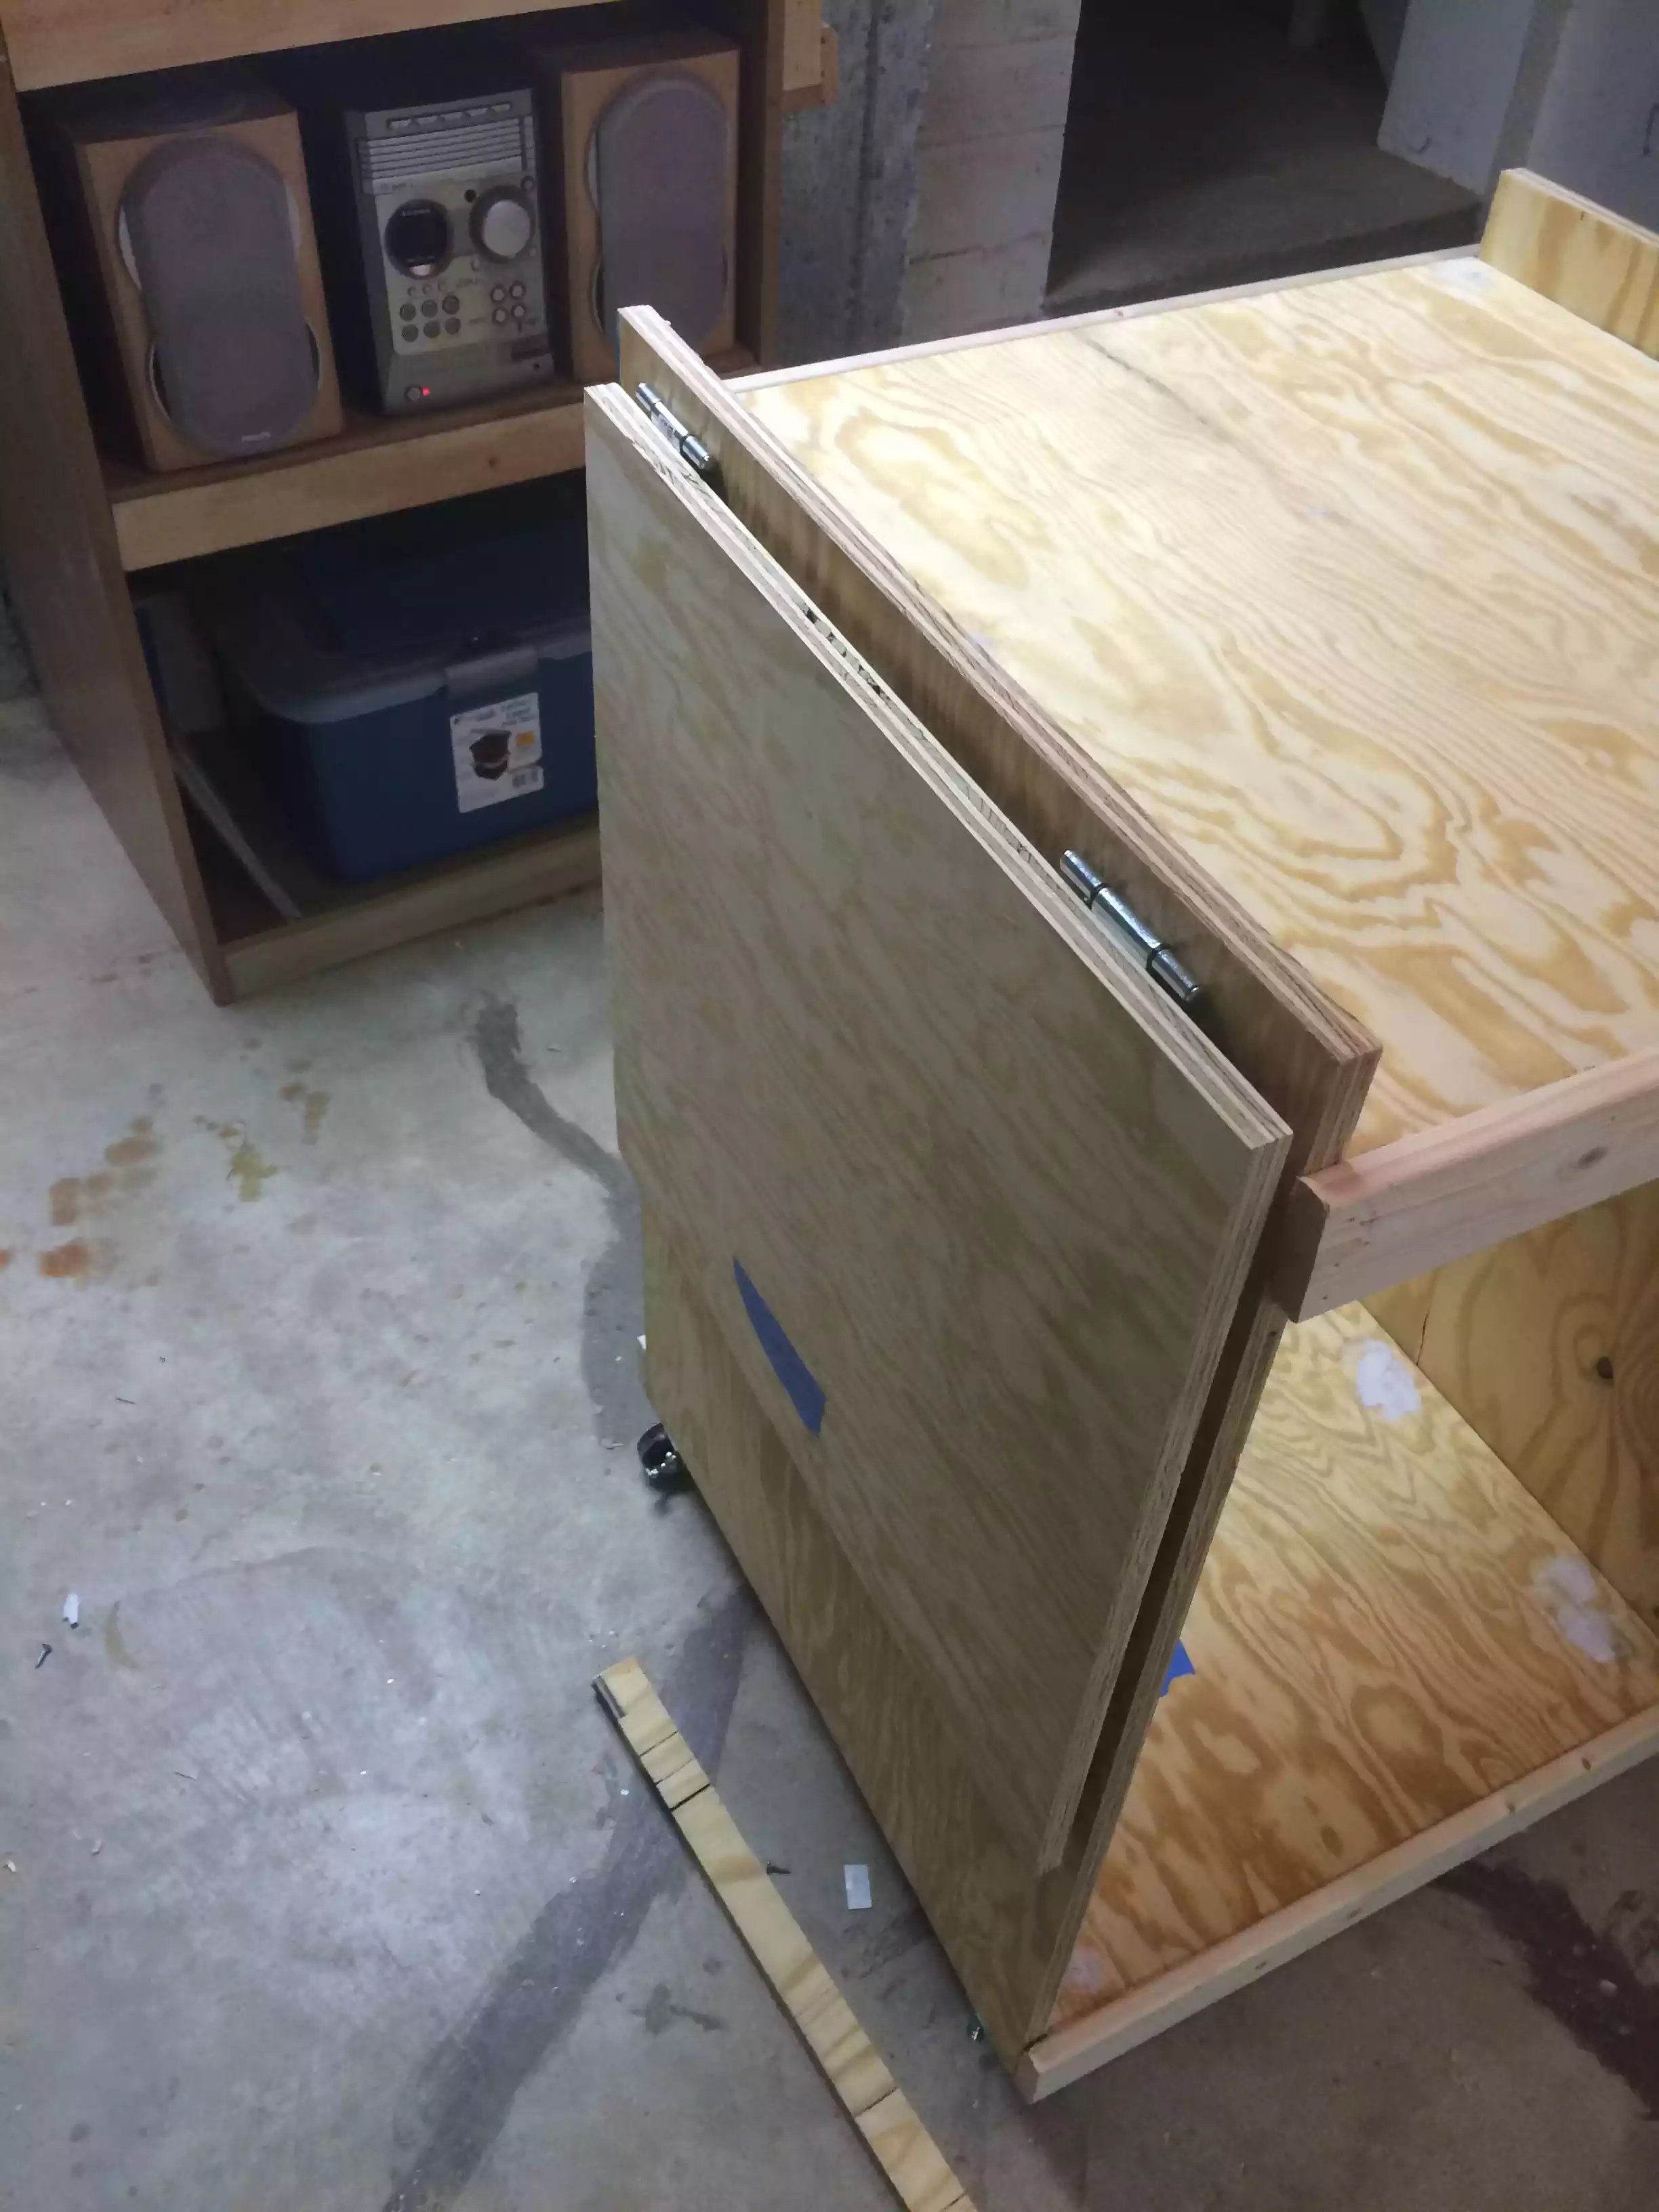

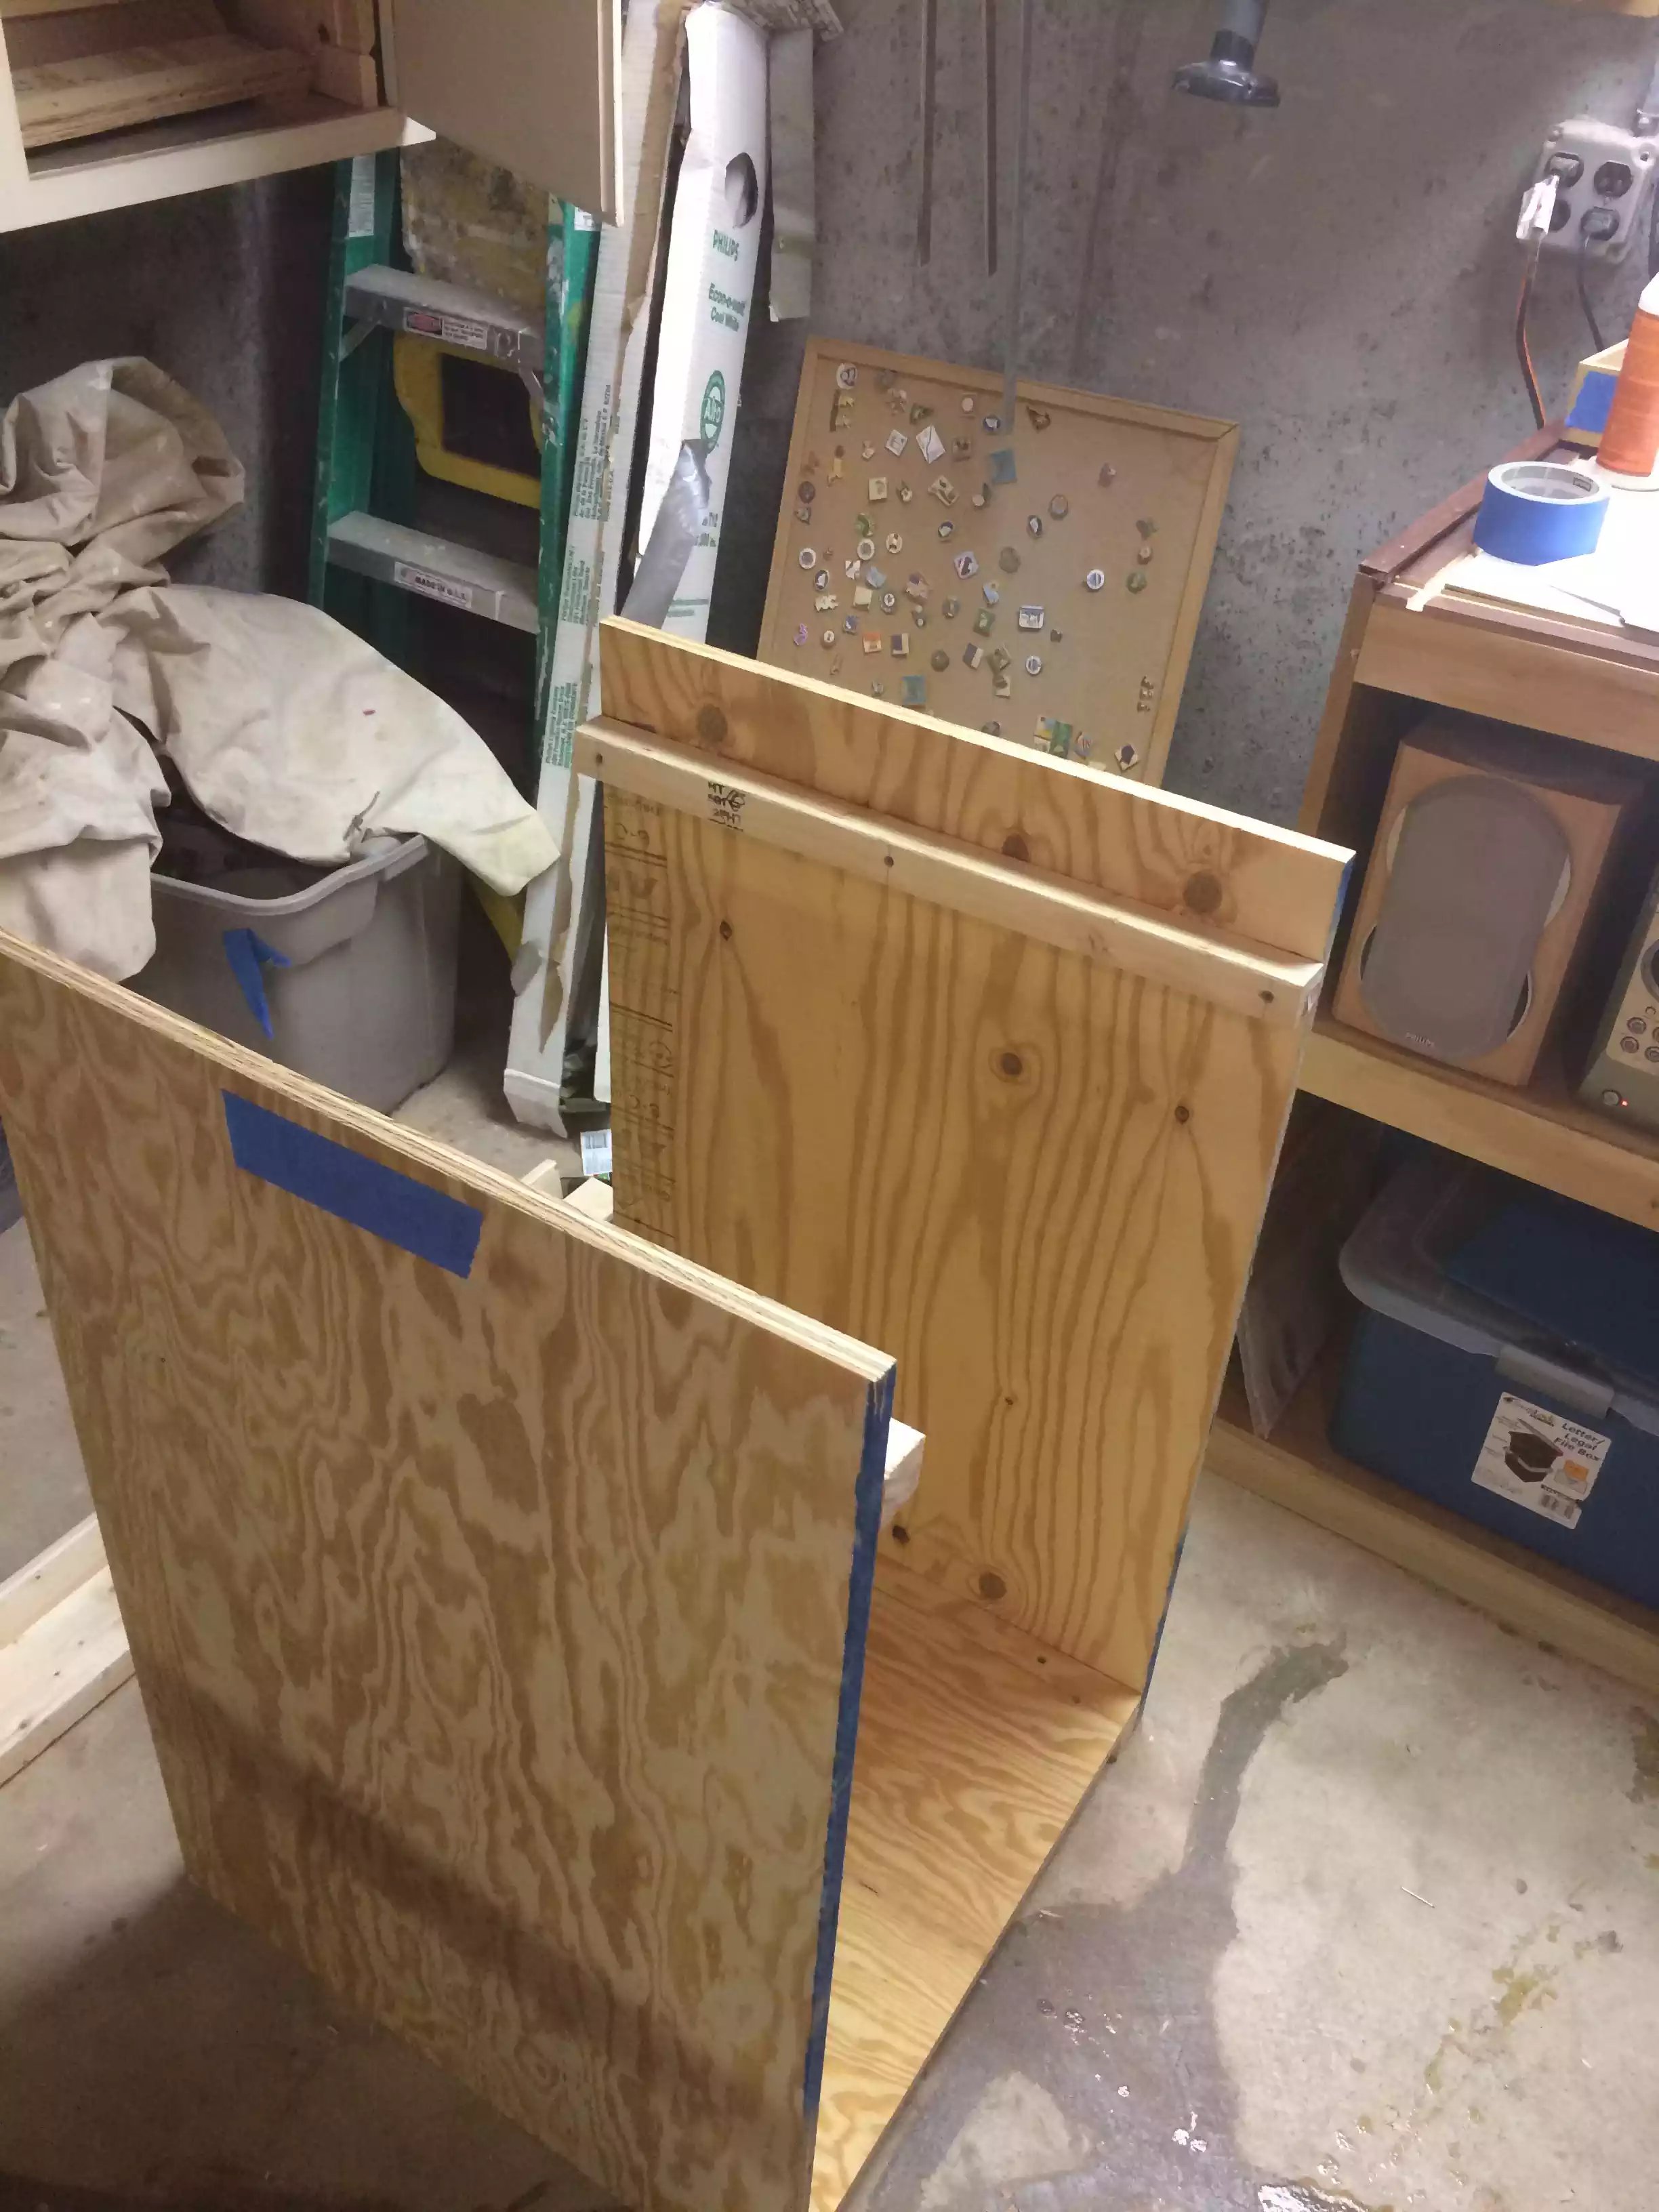
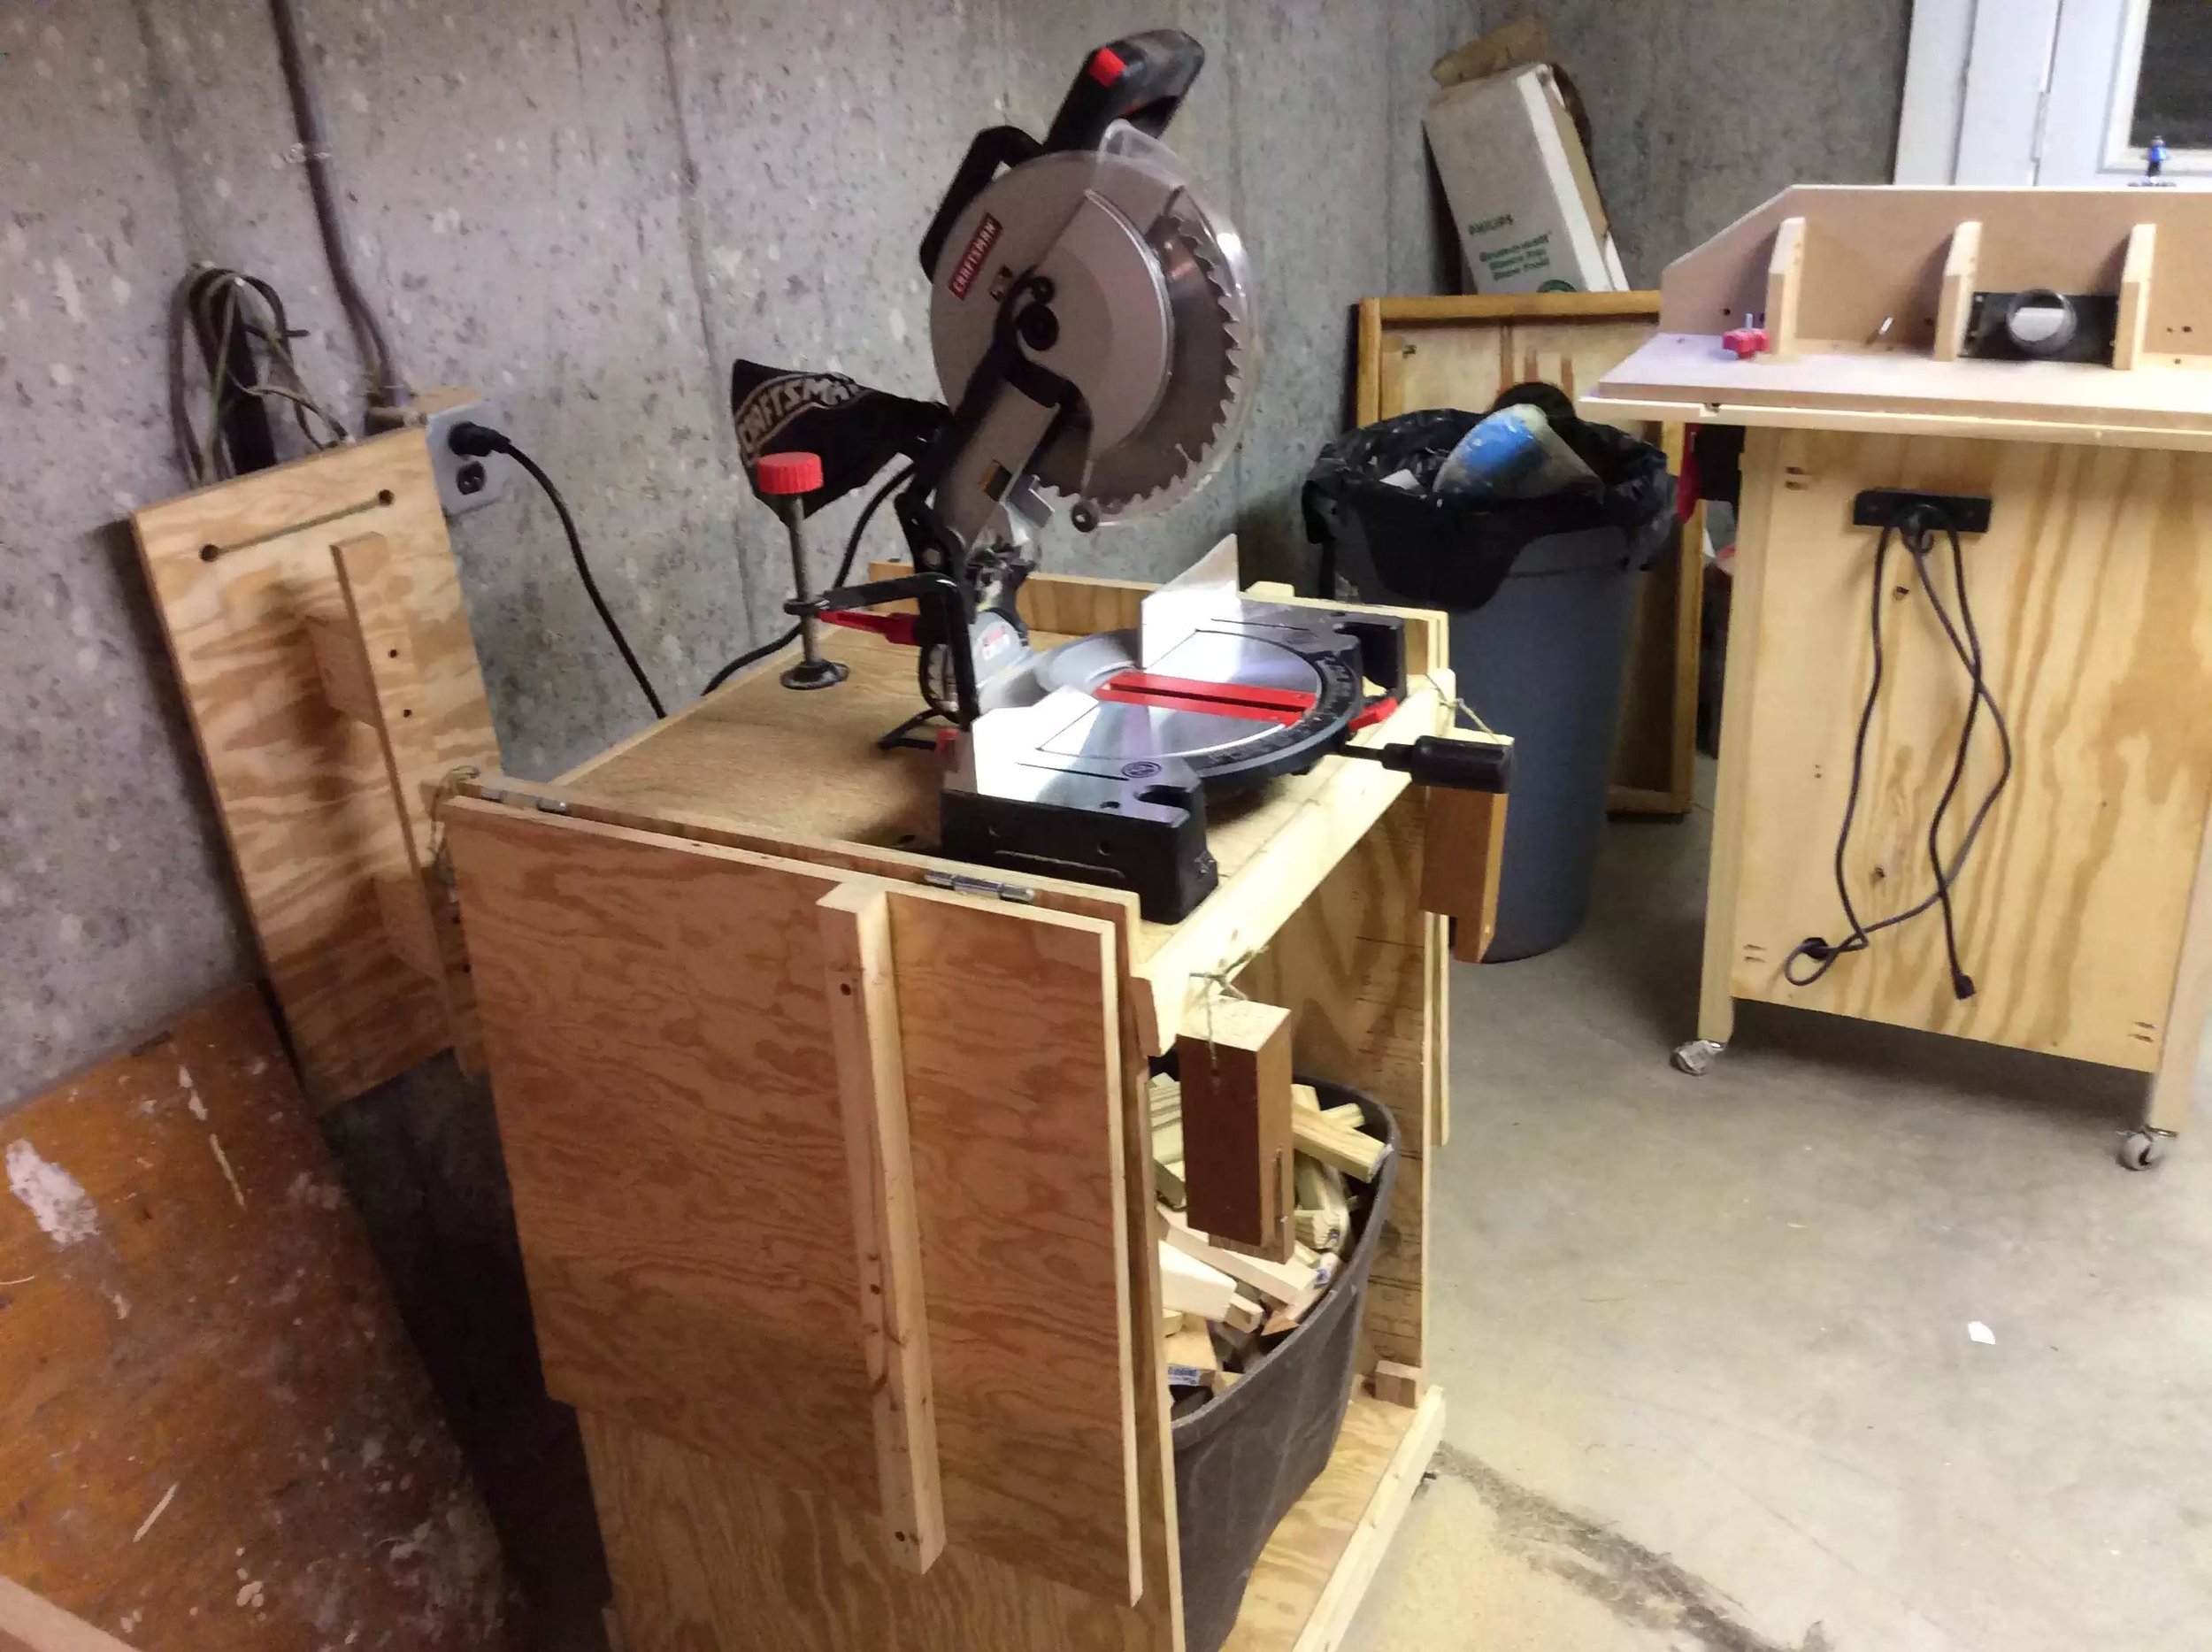
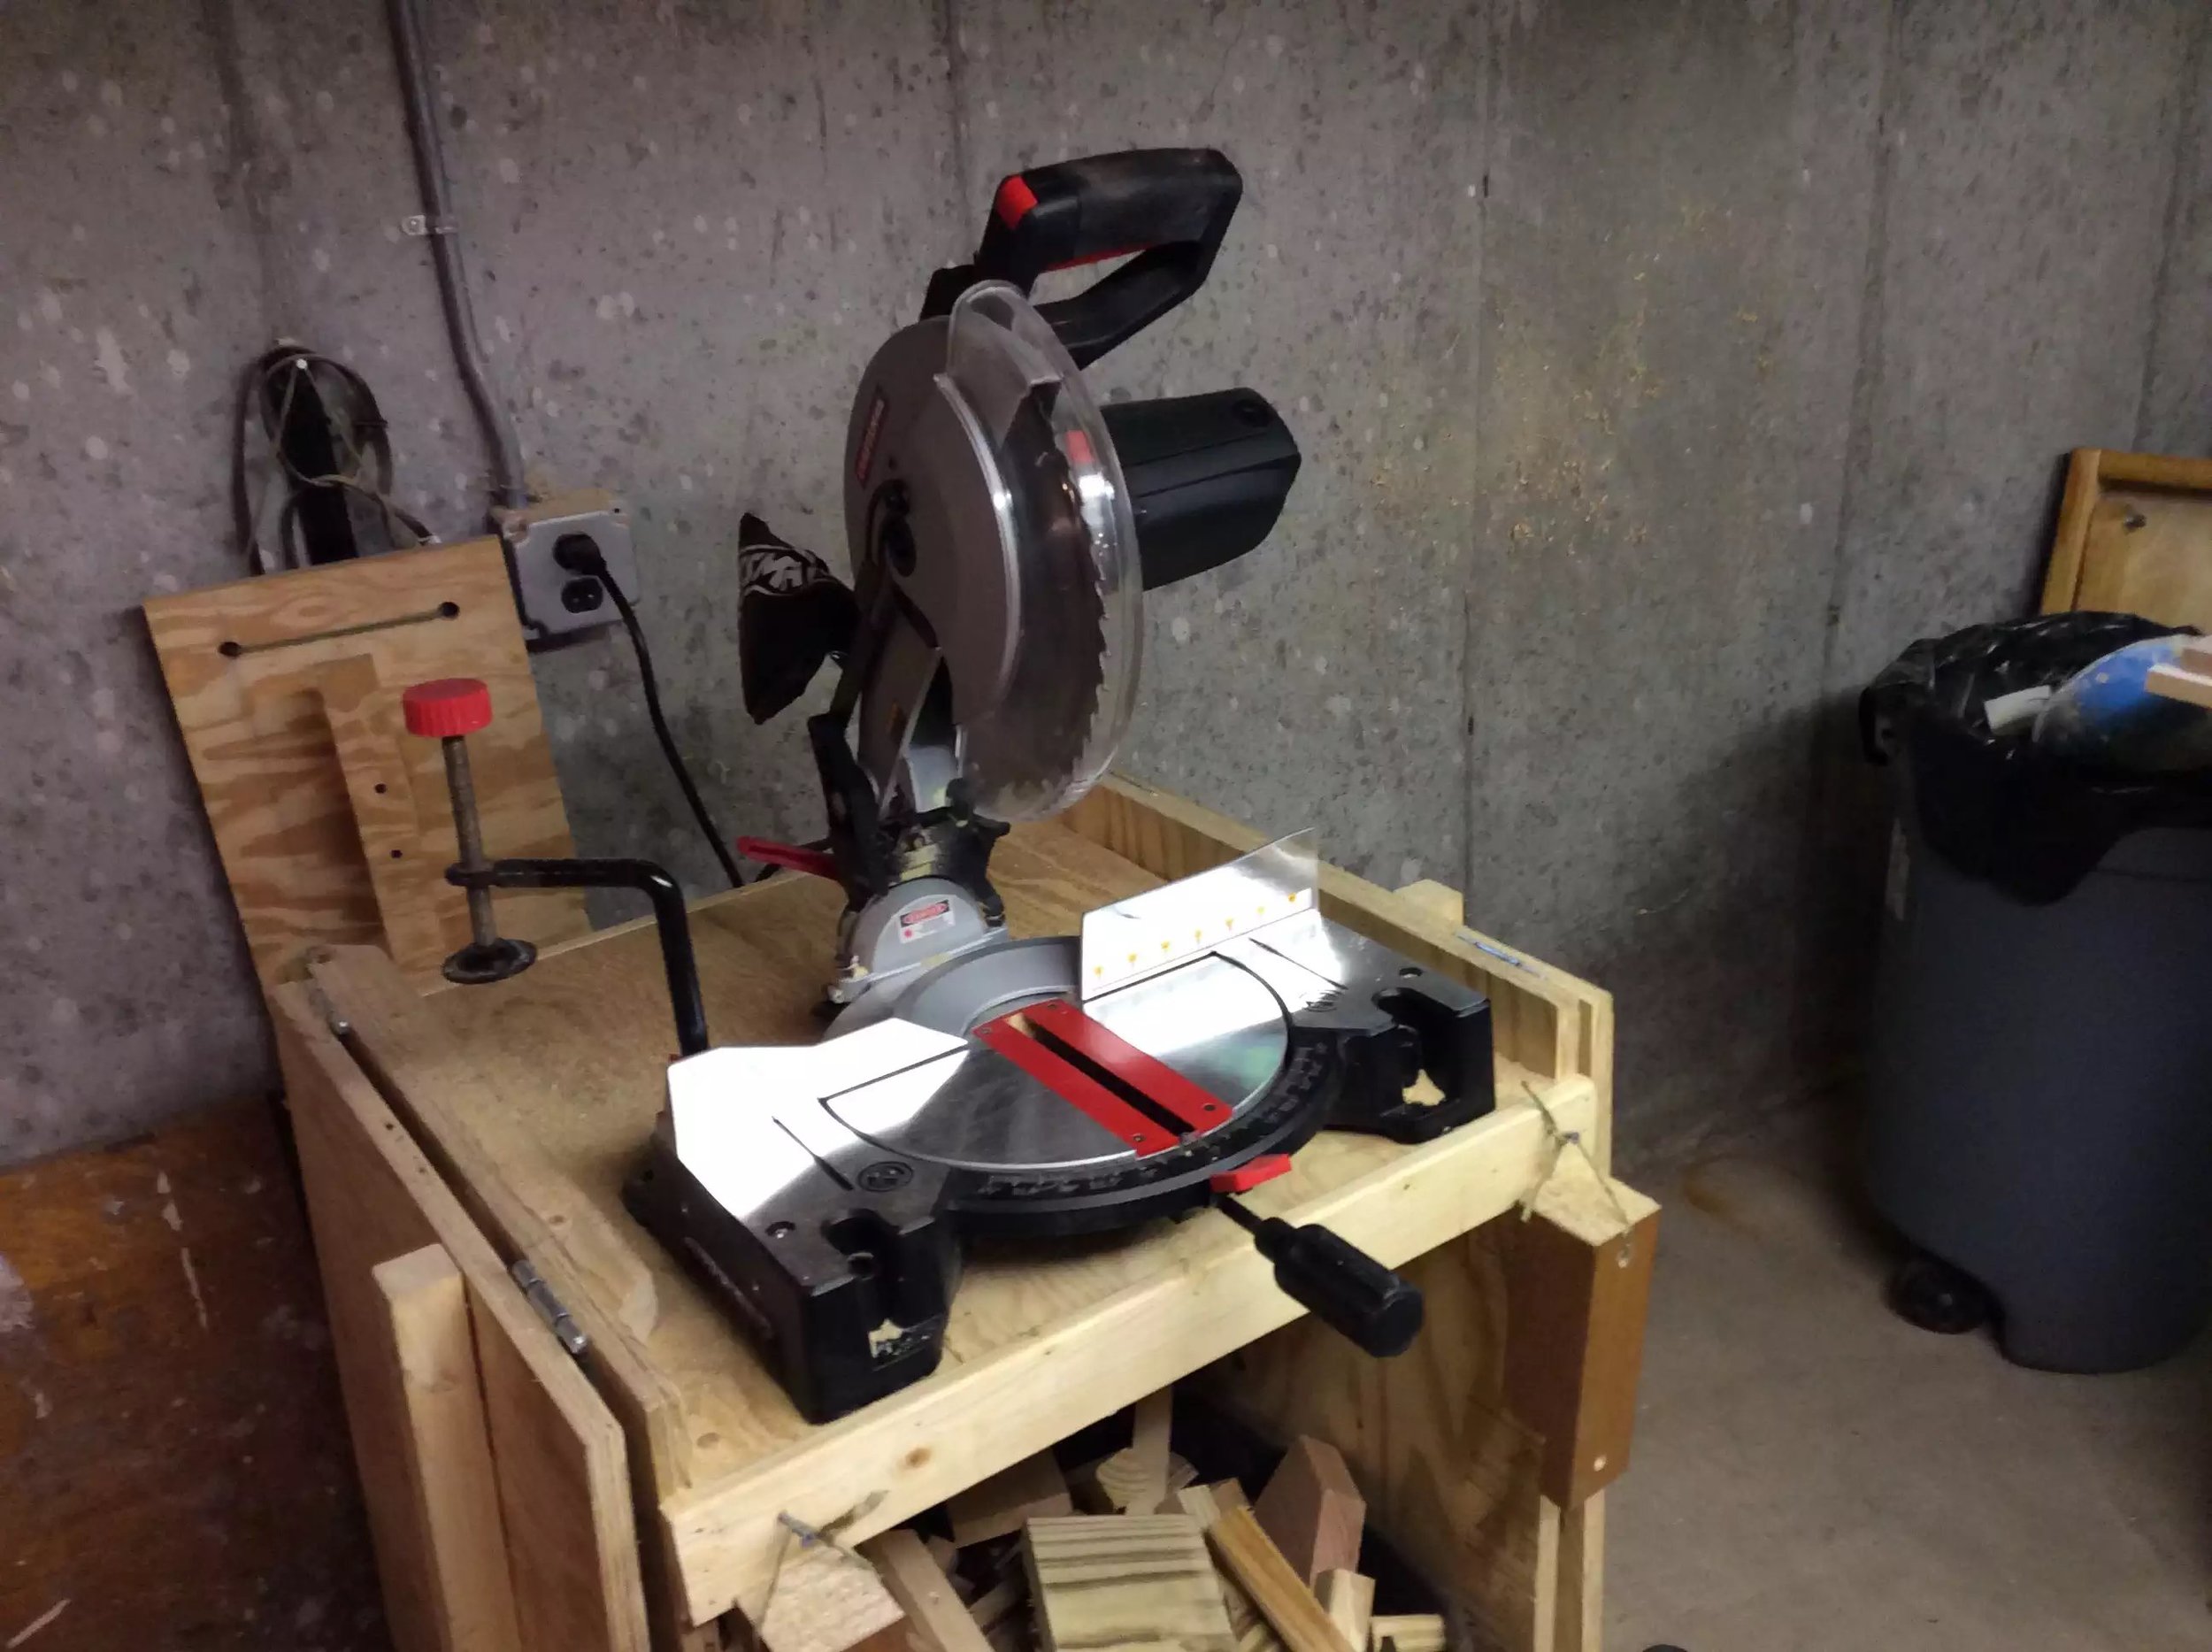
This was my first ever project to house a miter saw, I had just gotten my first ever miter saw and I needed a place to store it, I also wanted it out of the way when I wasn't using it.
I know that this isn't the prettiest thing I have ever made but it did serve its purpose for over a year until I decided to build my Dedicate Miter Saw station above.
I didn't even design it I came across plans online from Ana White and I have included the link to her plans below.
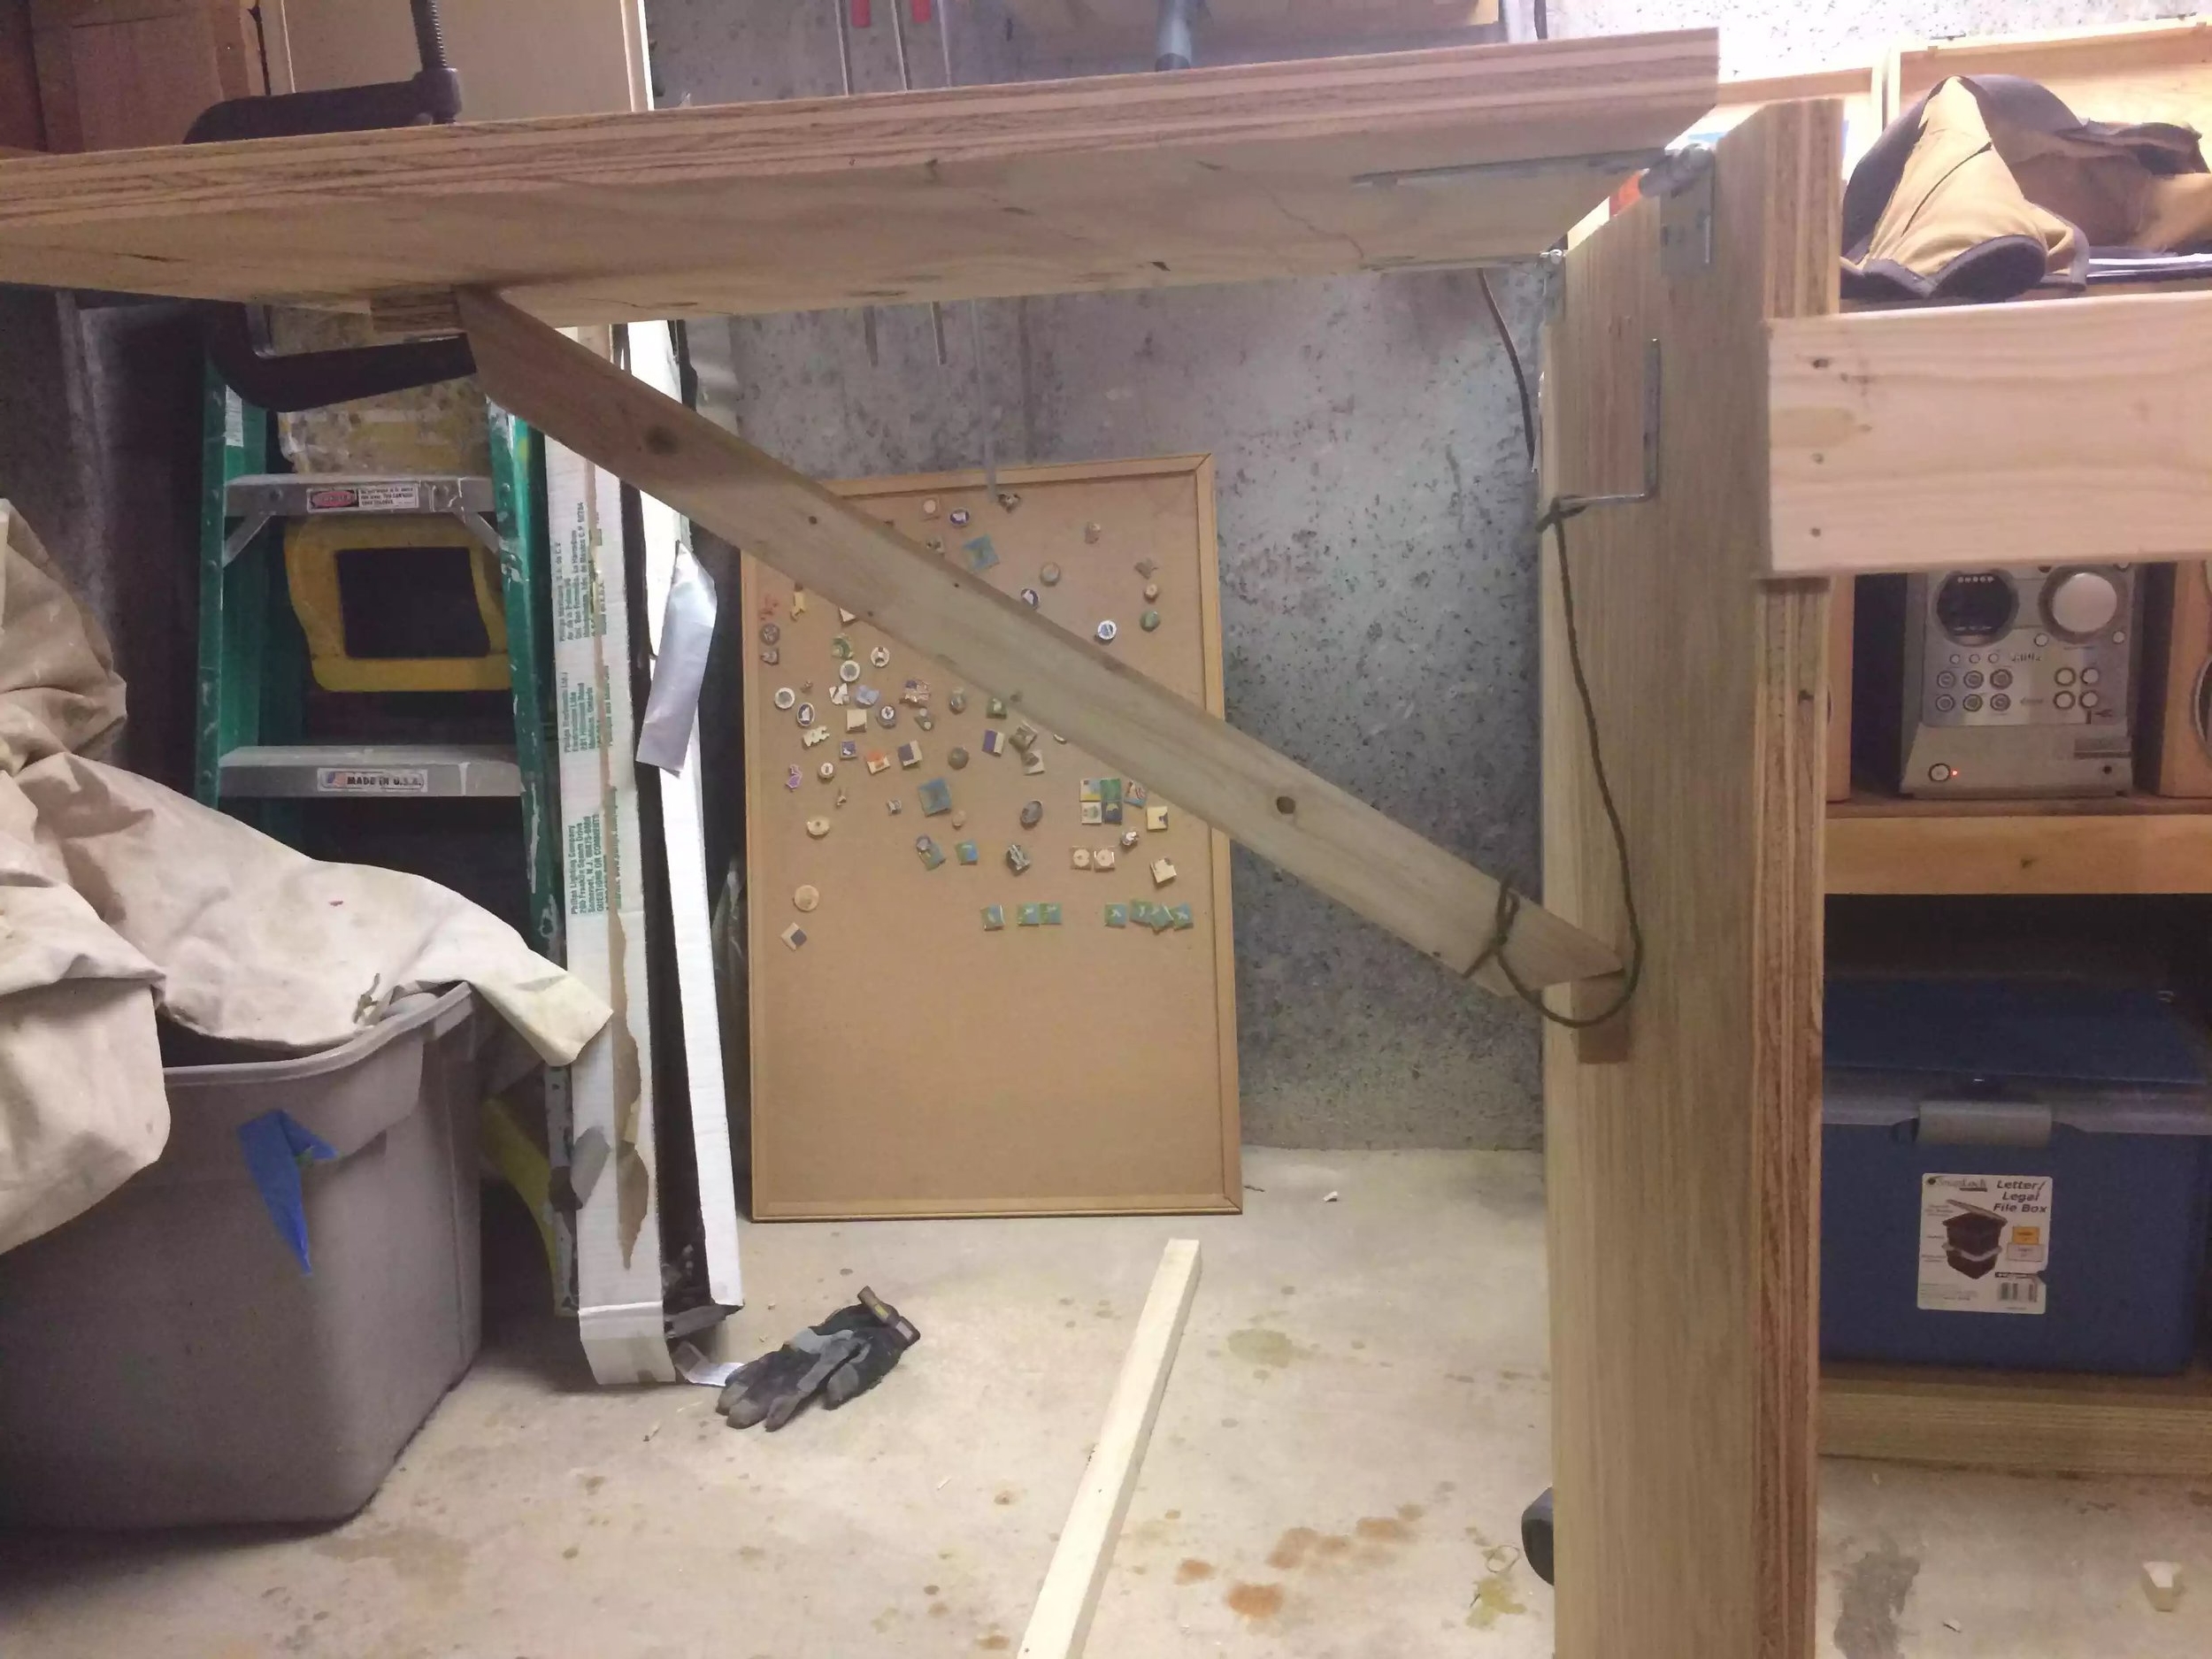
I used very cheap plywood because looks were not that important to me, at that point in my woodworking hobby the shop was just a place to work and I didn't care how aesthetically please my shop was, I do now.
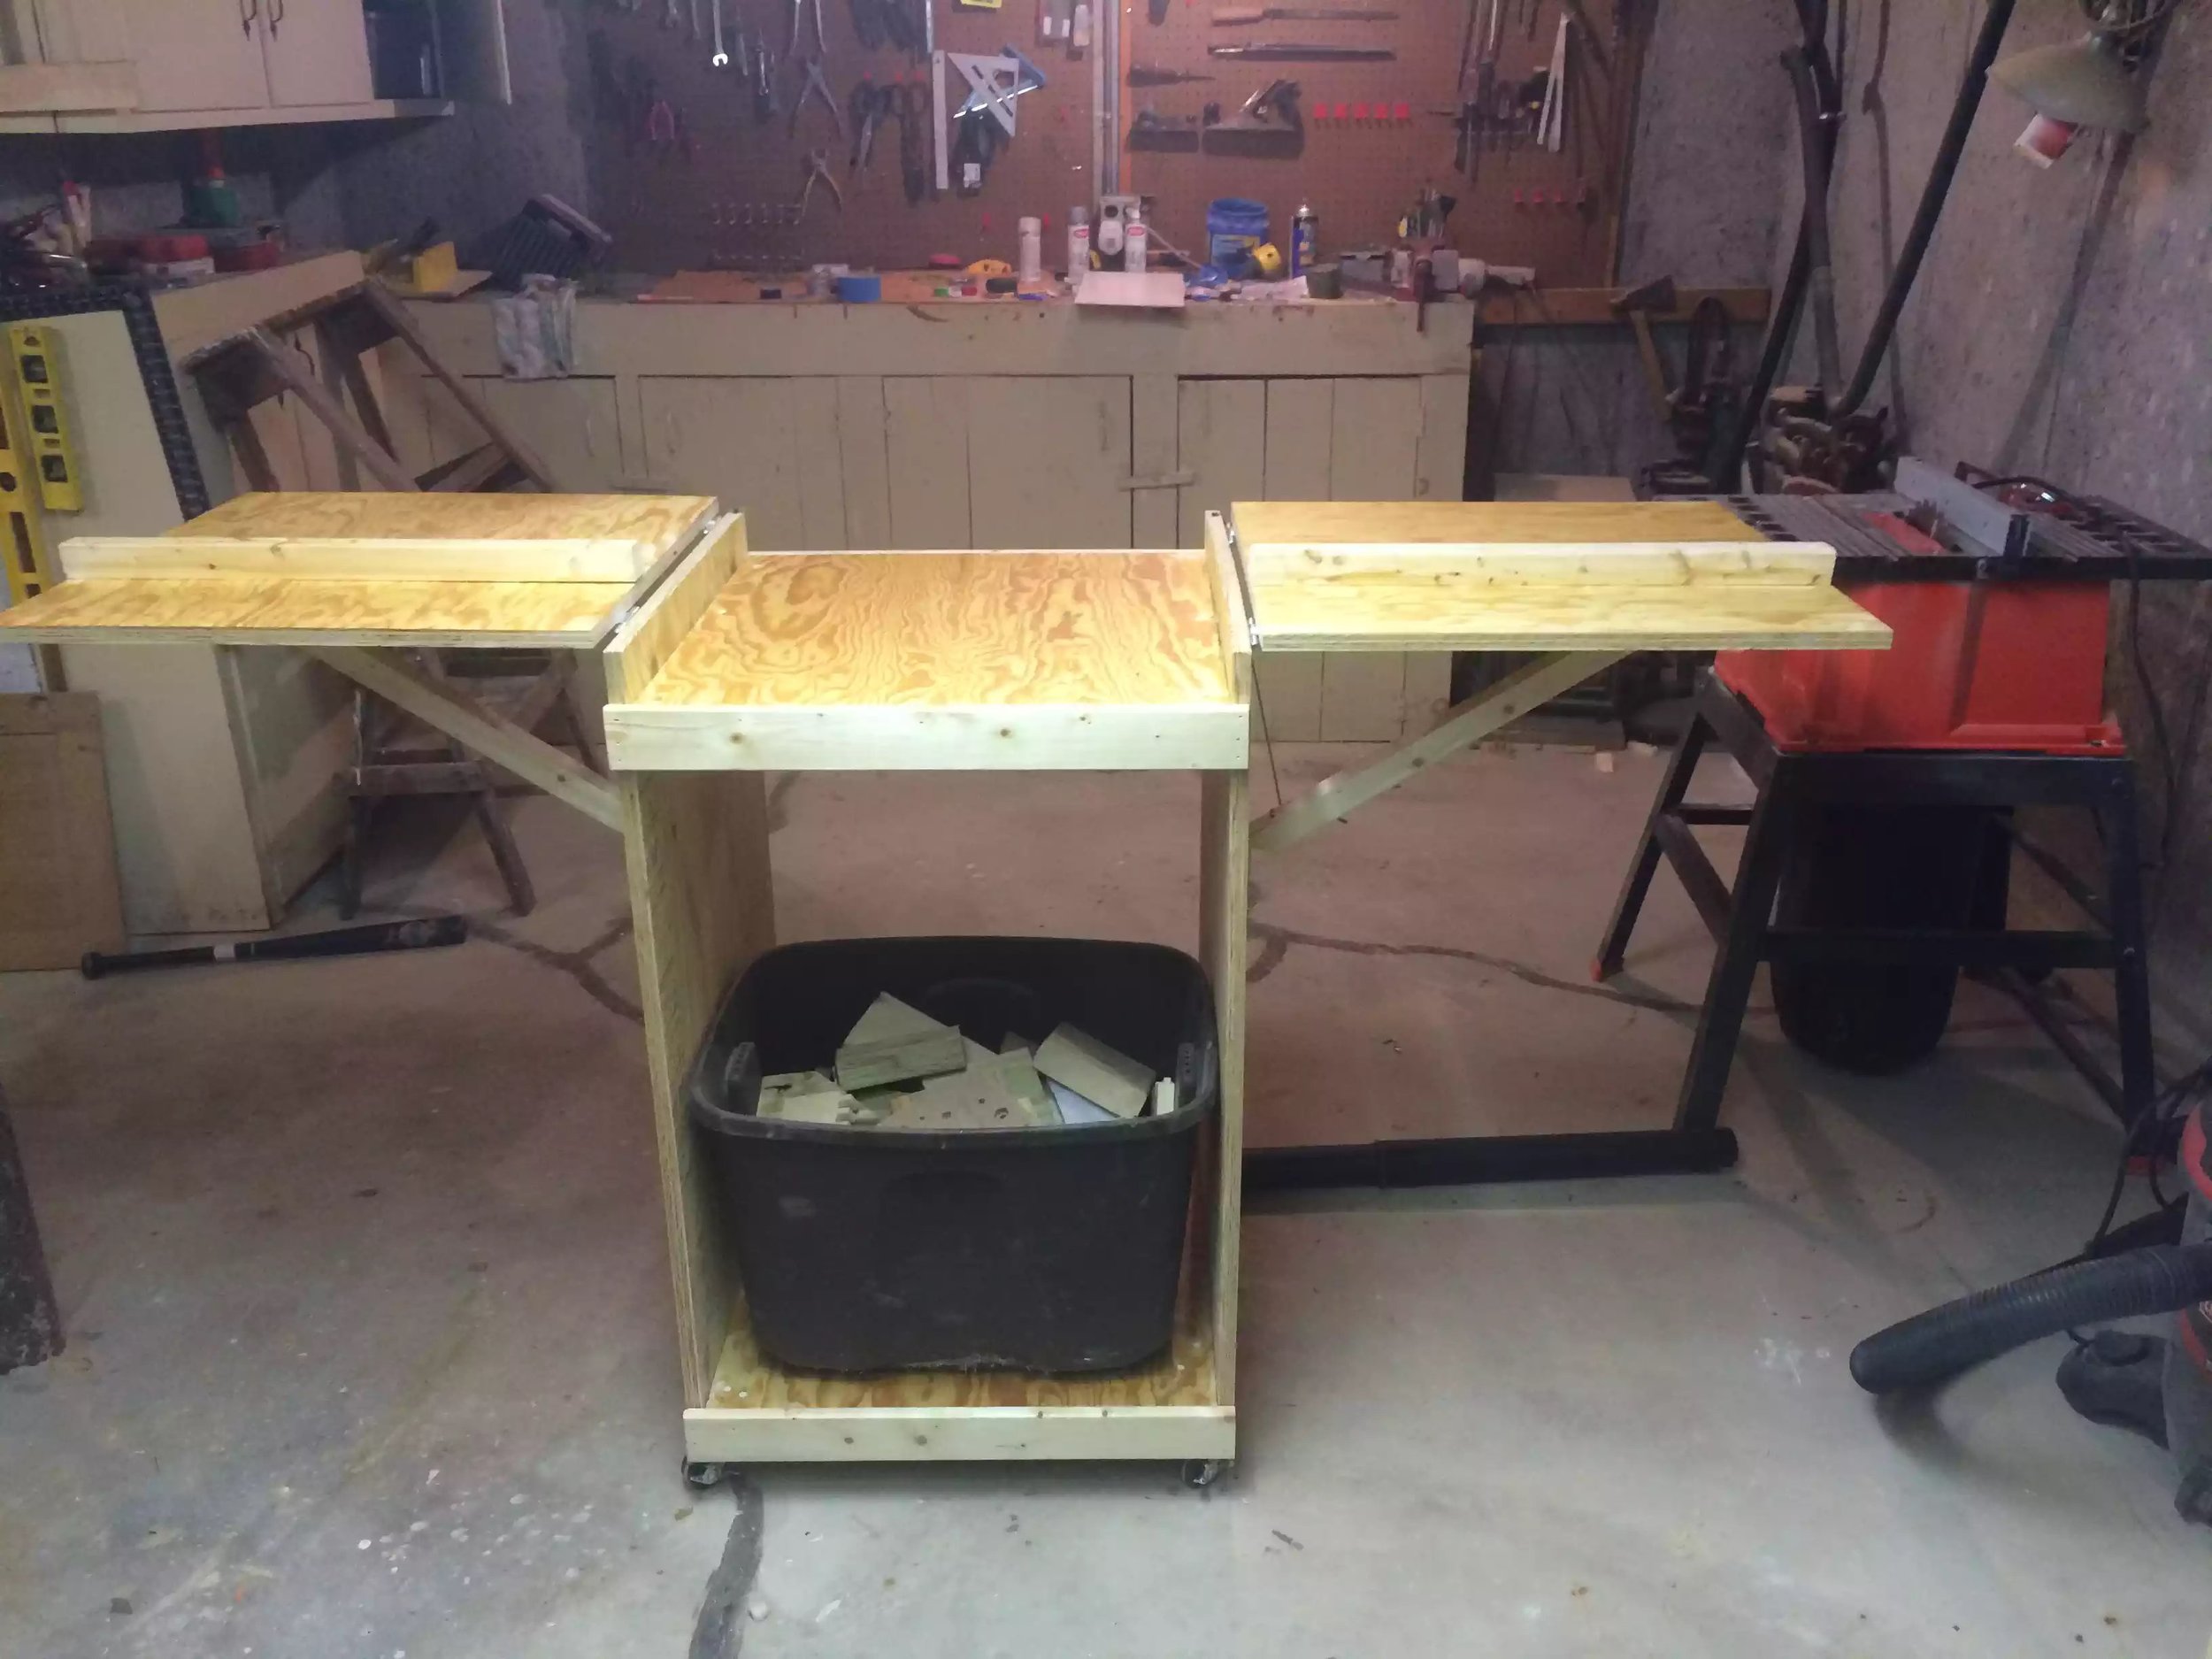
Its basically a box on wheels, with 2 wings on either side to support wood as I was cutting it down. I decided to put this project up here just to demonstrate that I started somewhere and how my skills have increased and I am a more proficient project designer now than I was in 2014 when I made this.