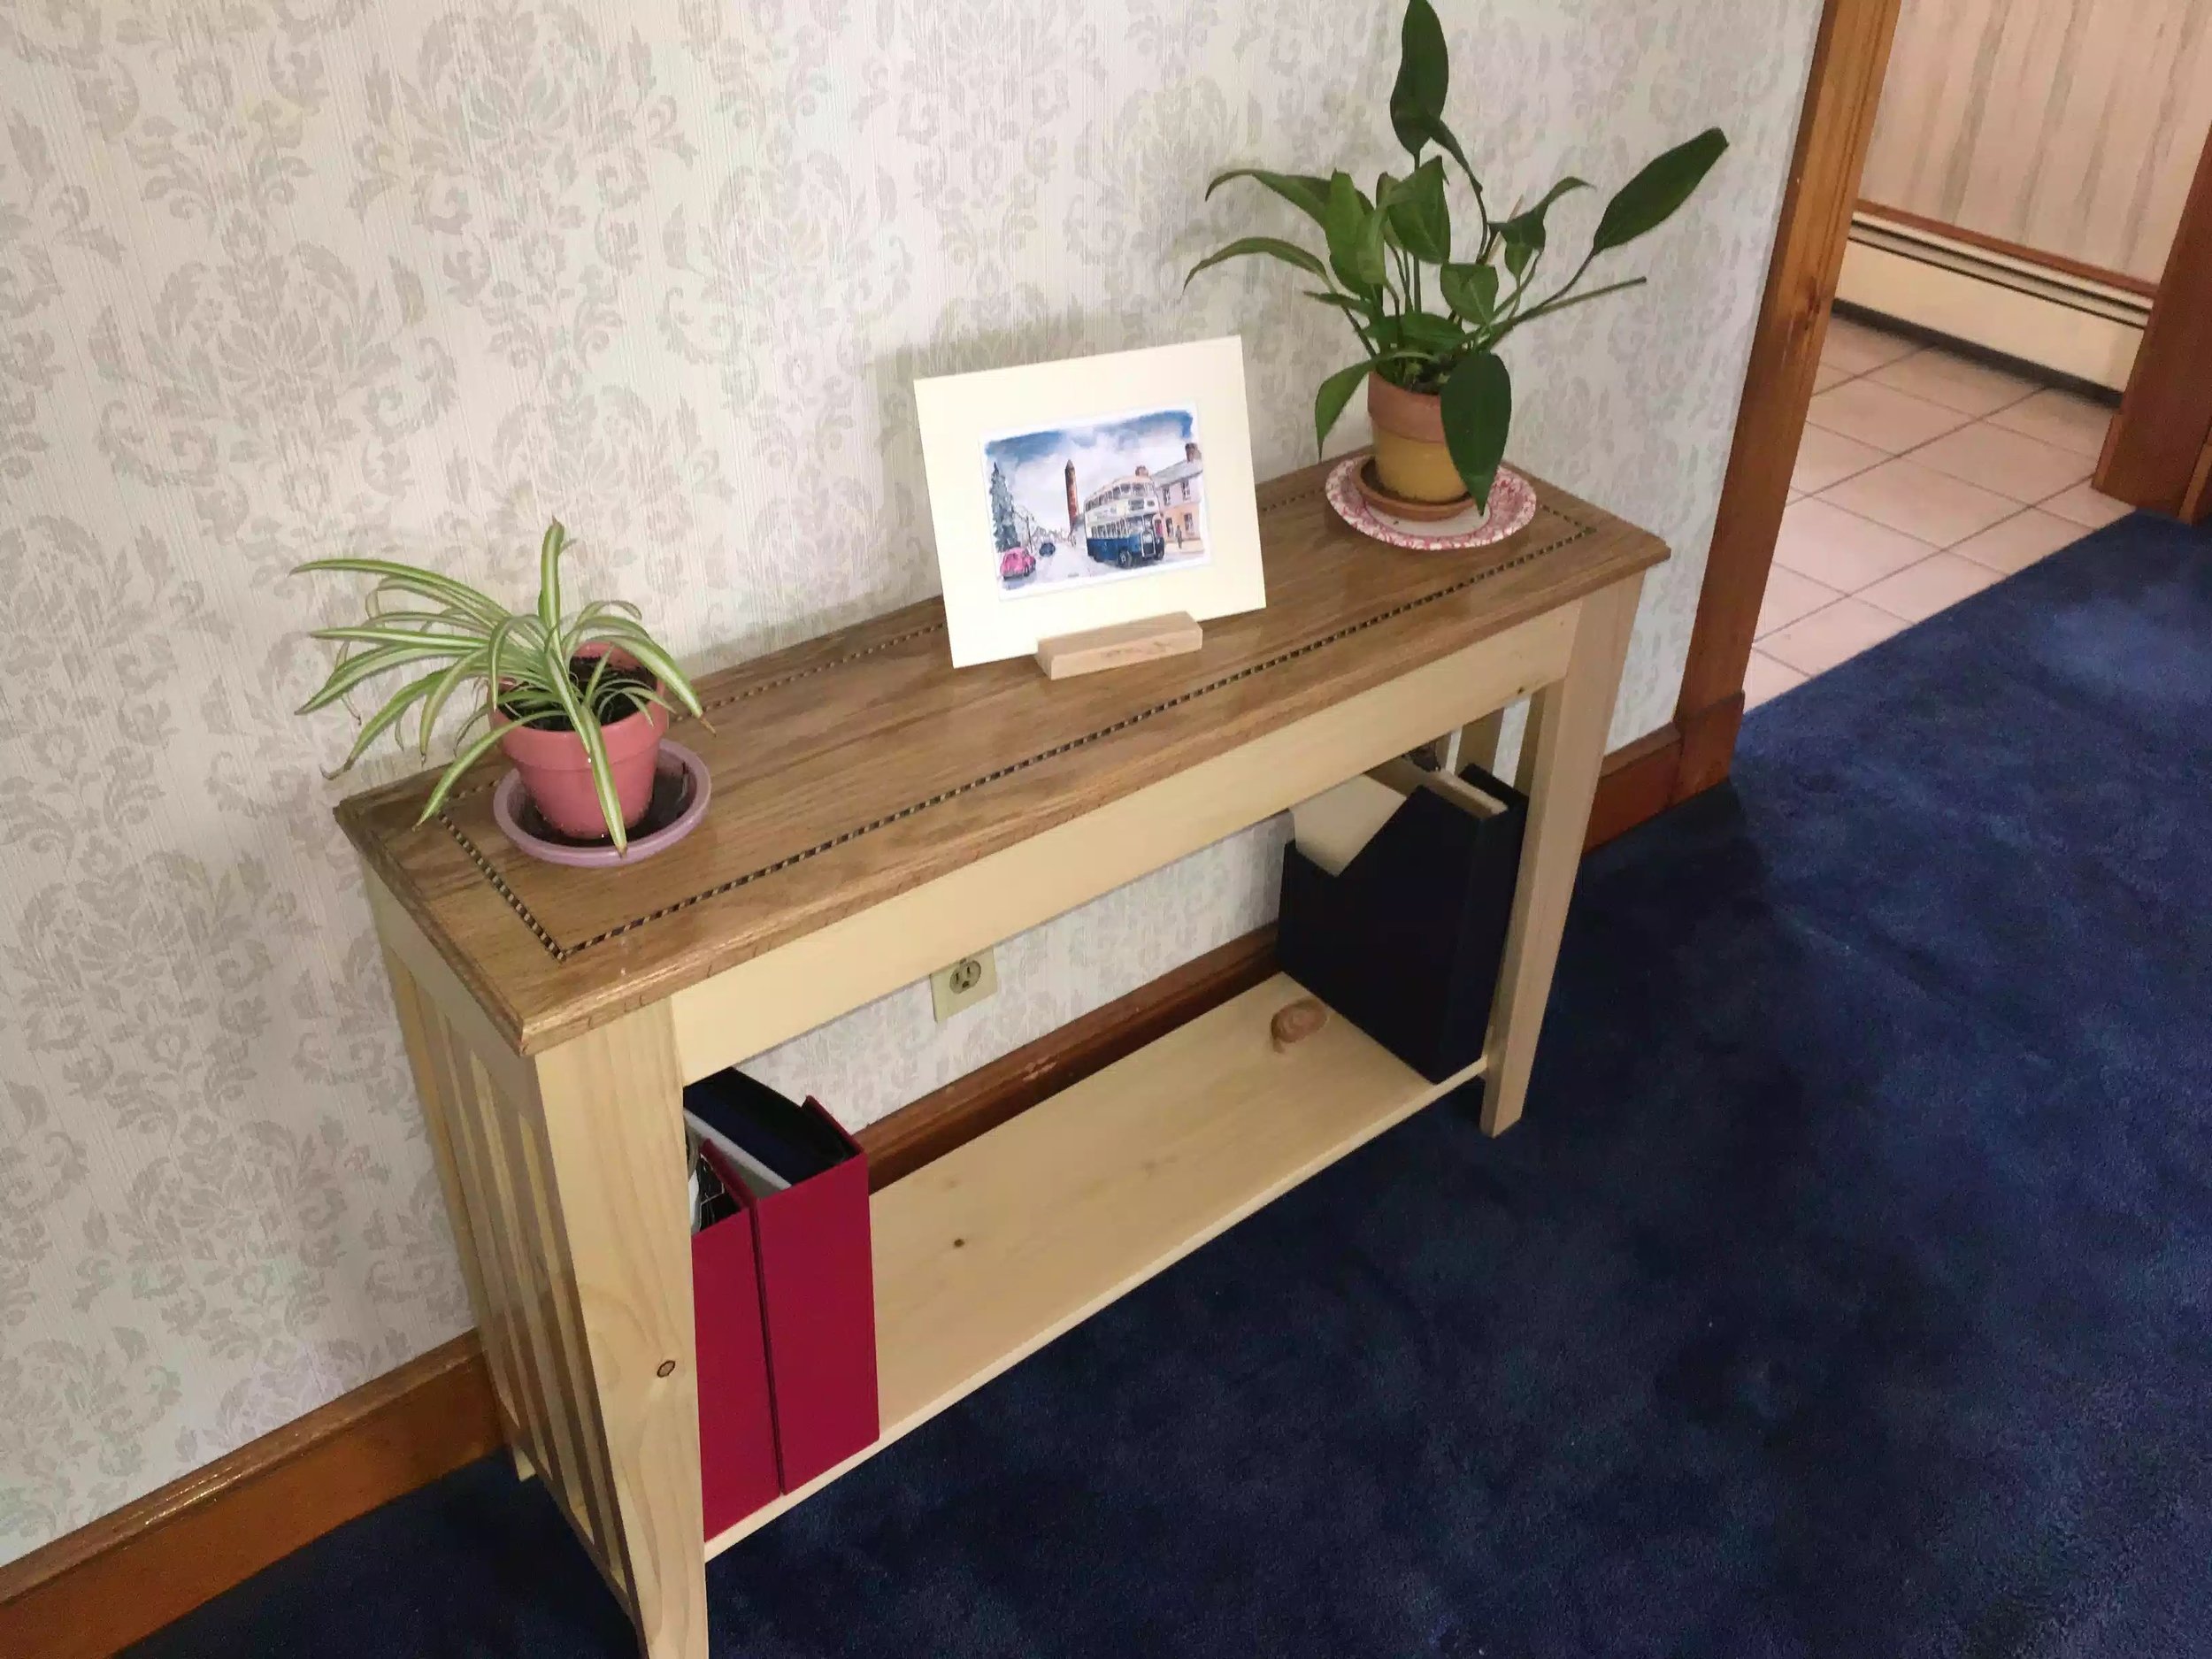
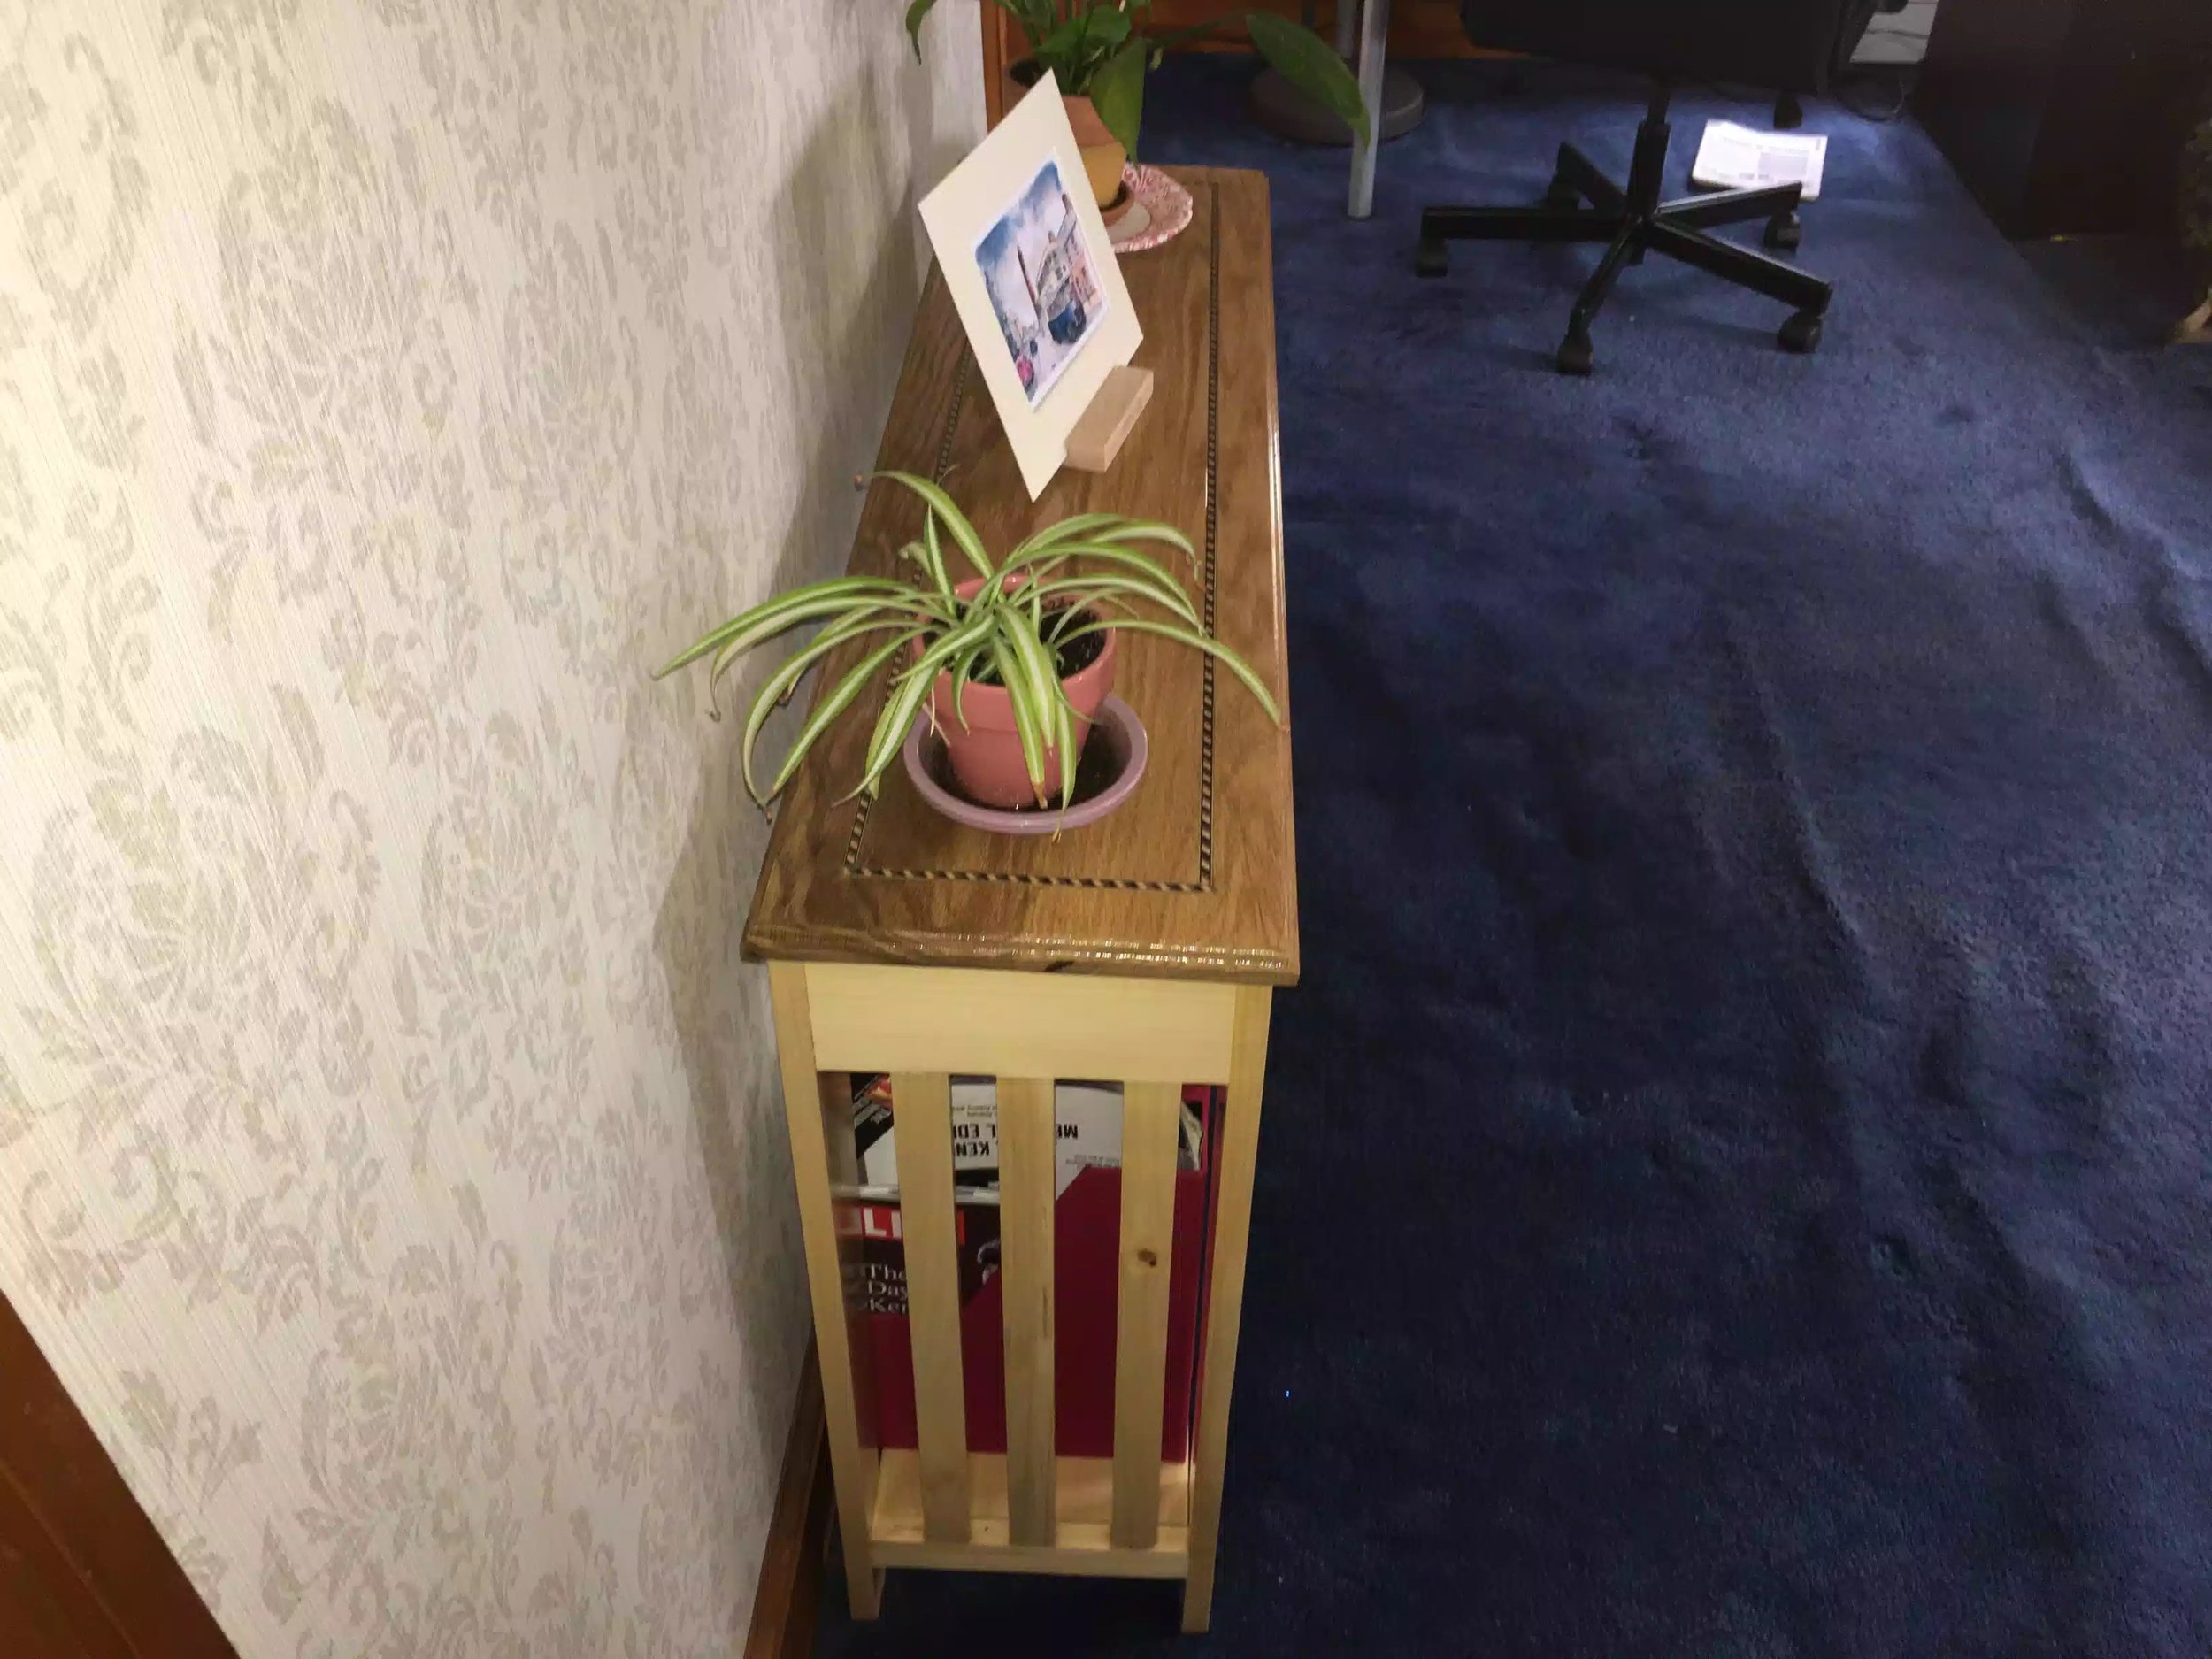
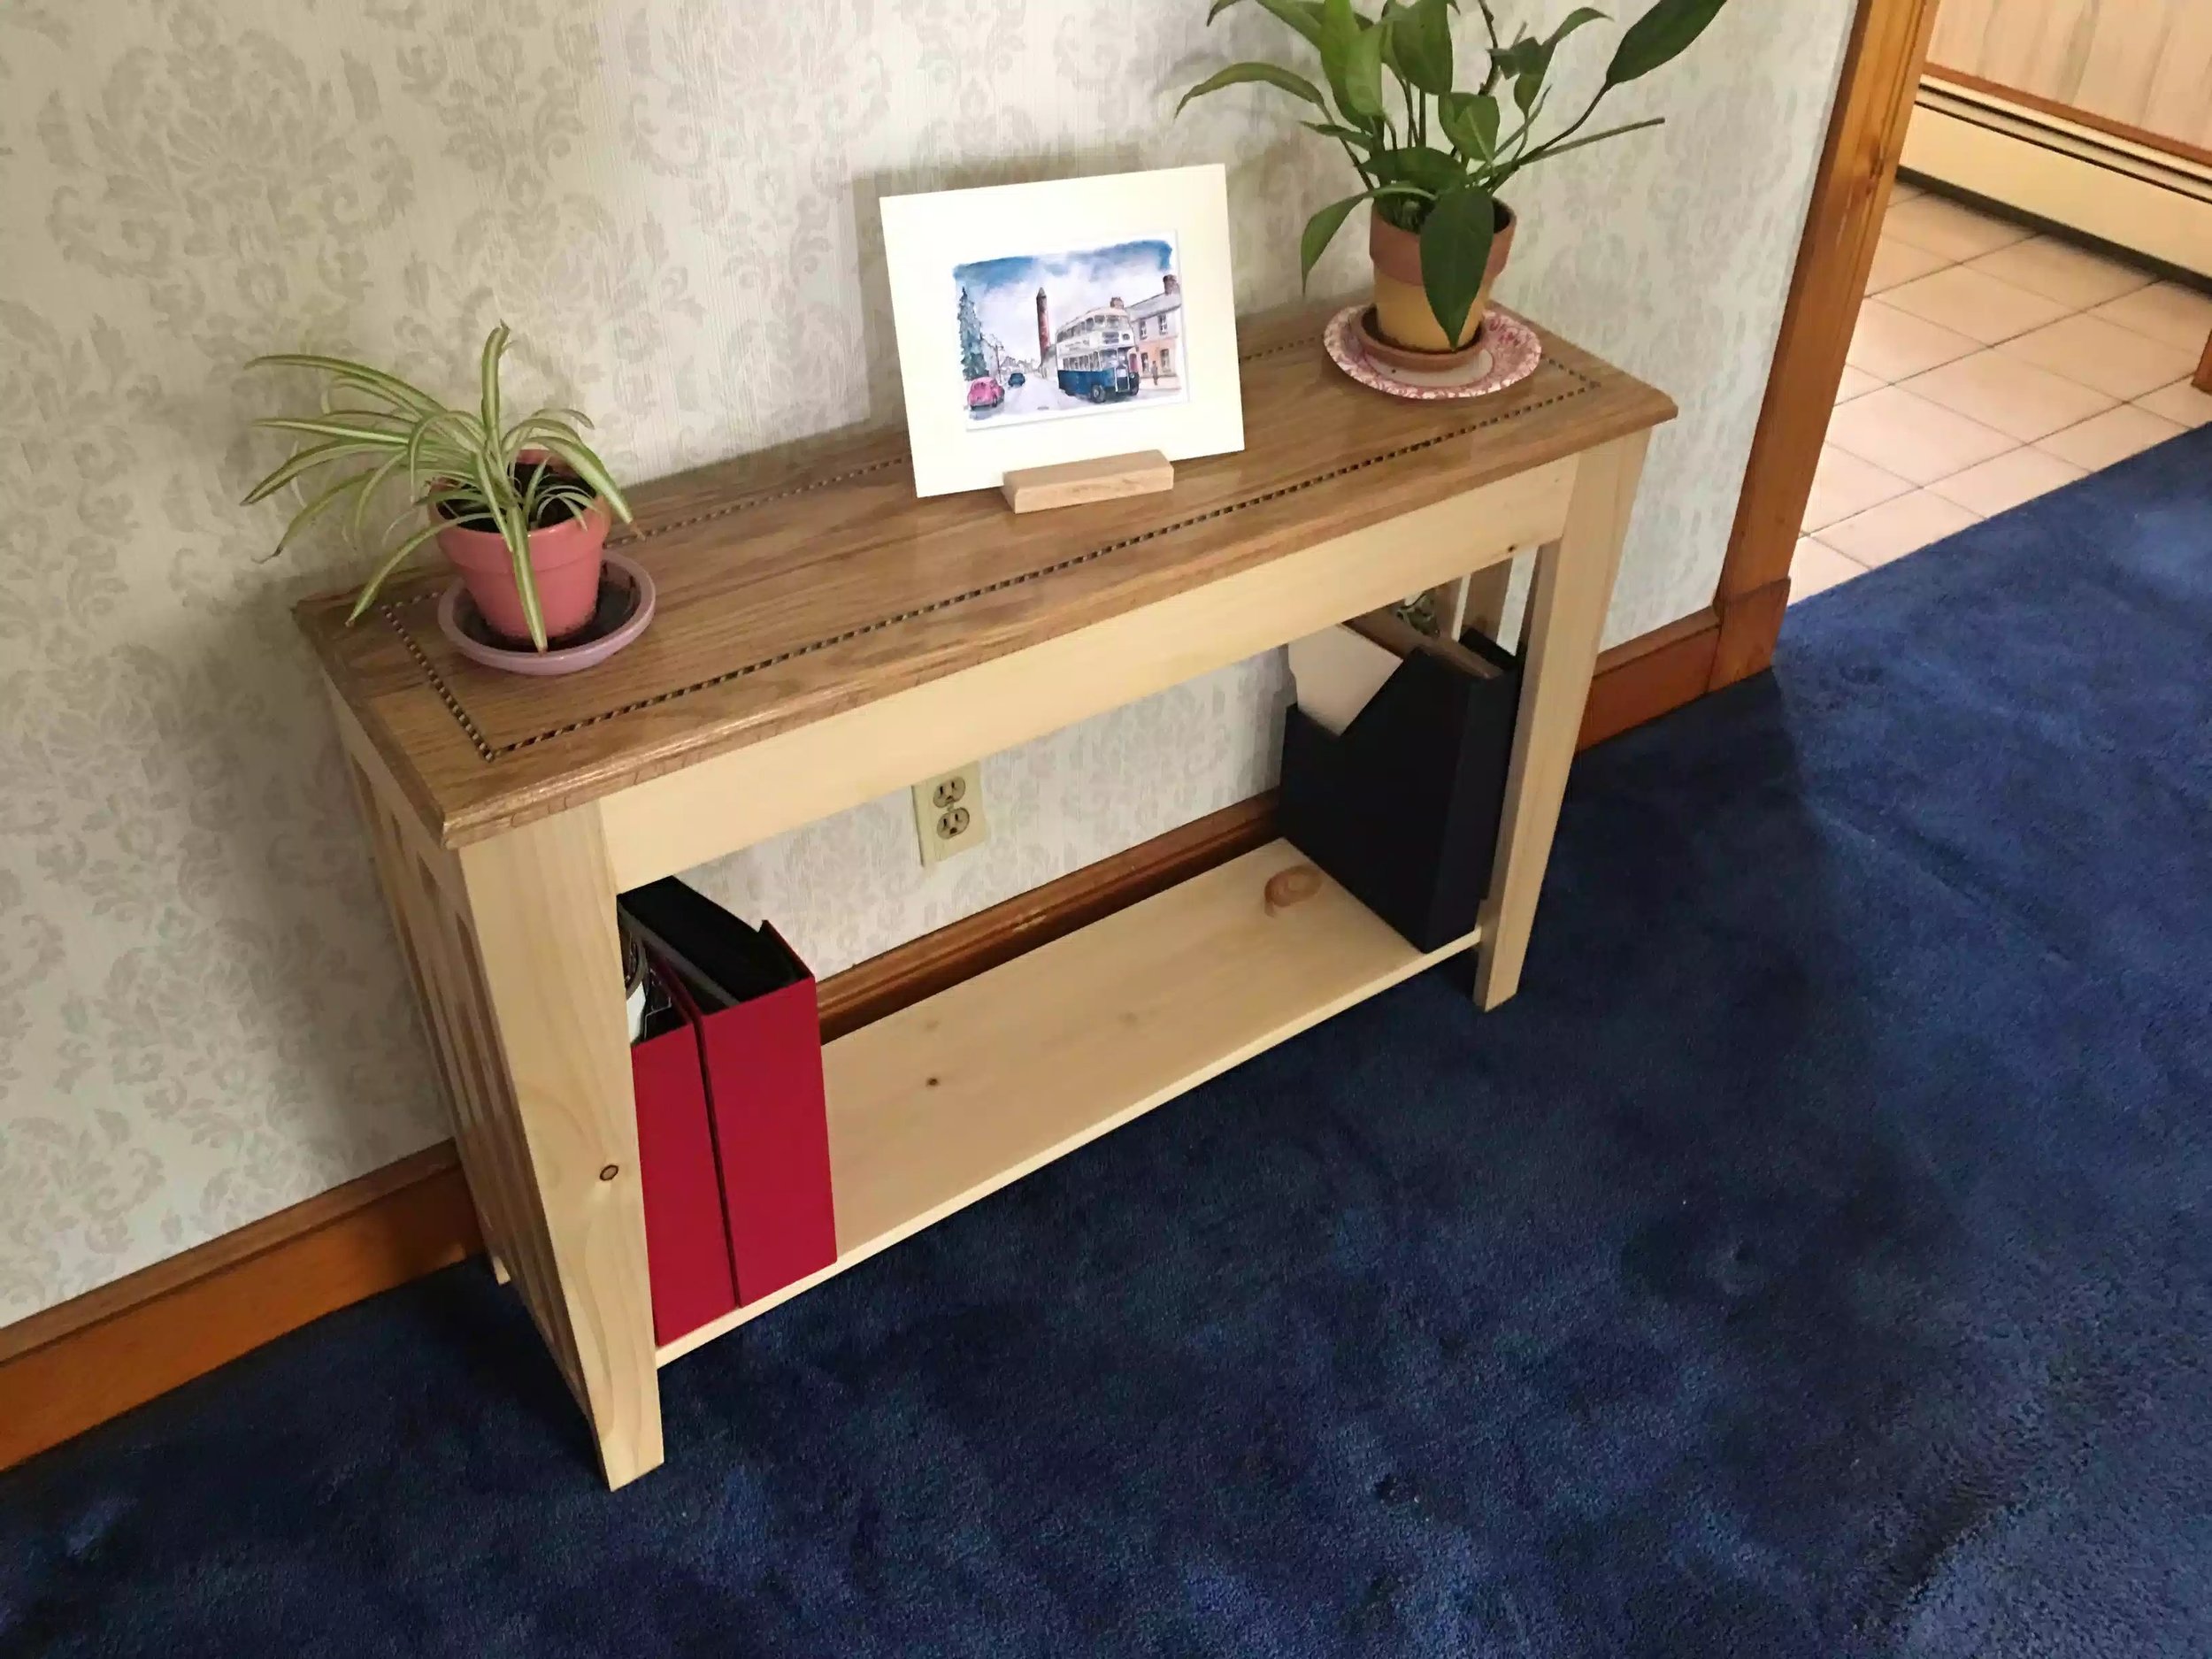
CONSOLE TABLE
Build Progress
Since we decided to renovate one of the rooms in my house to a home office, we have been planning and researching the look of the room so we decided to do a minimalist look and my wife needed a table that was flush with the window sills in the room so as that we could put plants and a few decorative things such as pictures and ornaments on it.
So off I went doing some research and came across this console table with tapered legs and thought the design of this table would look awesome in the room. So I built a 3D model on my Sketchup software programe to get a realistic view of the unit.
Design:
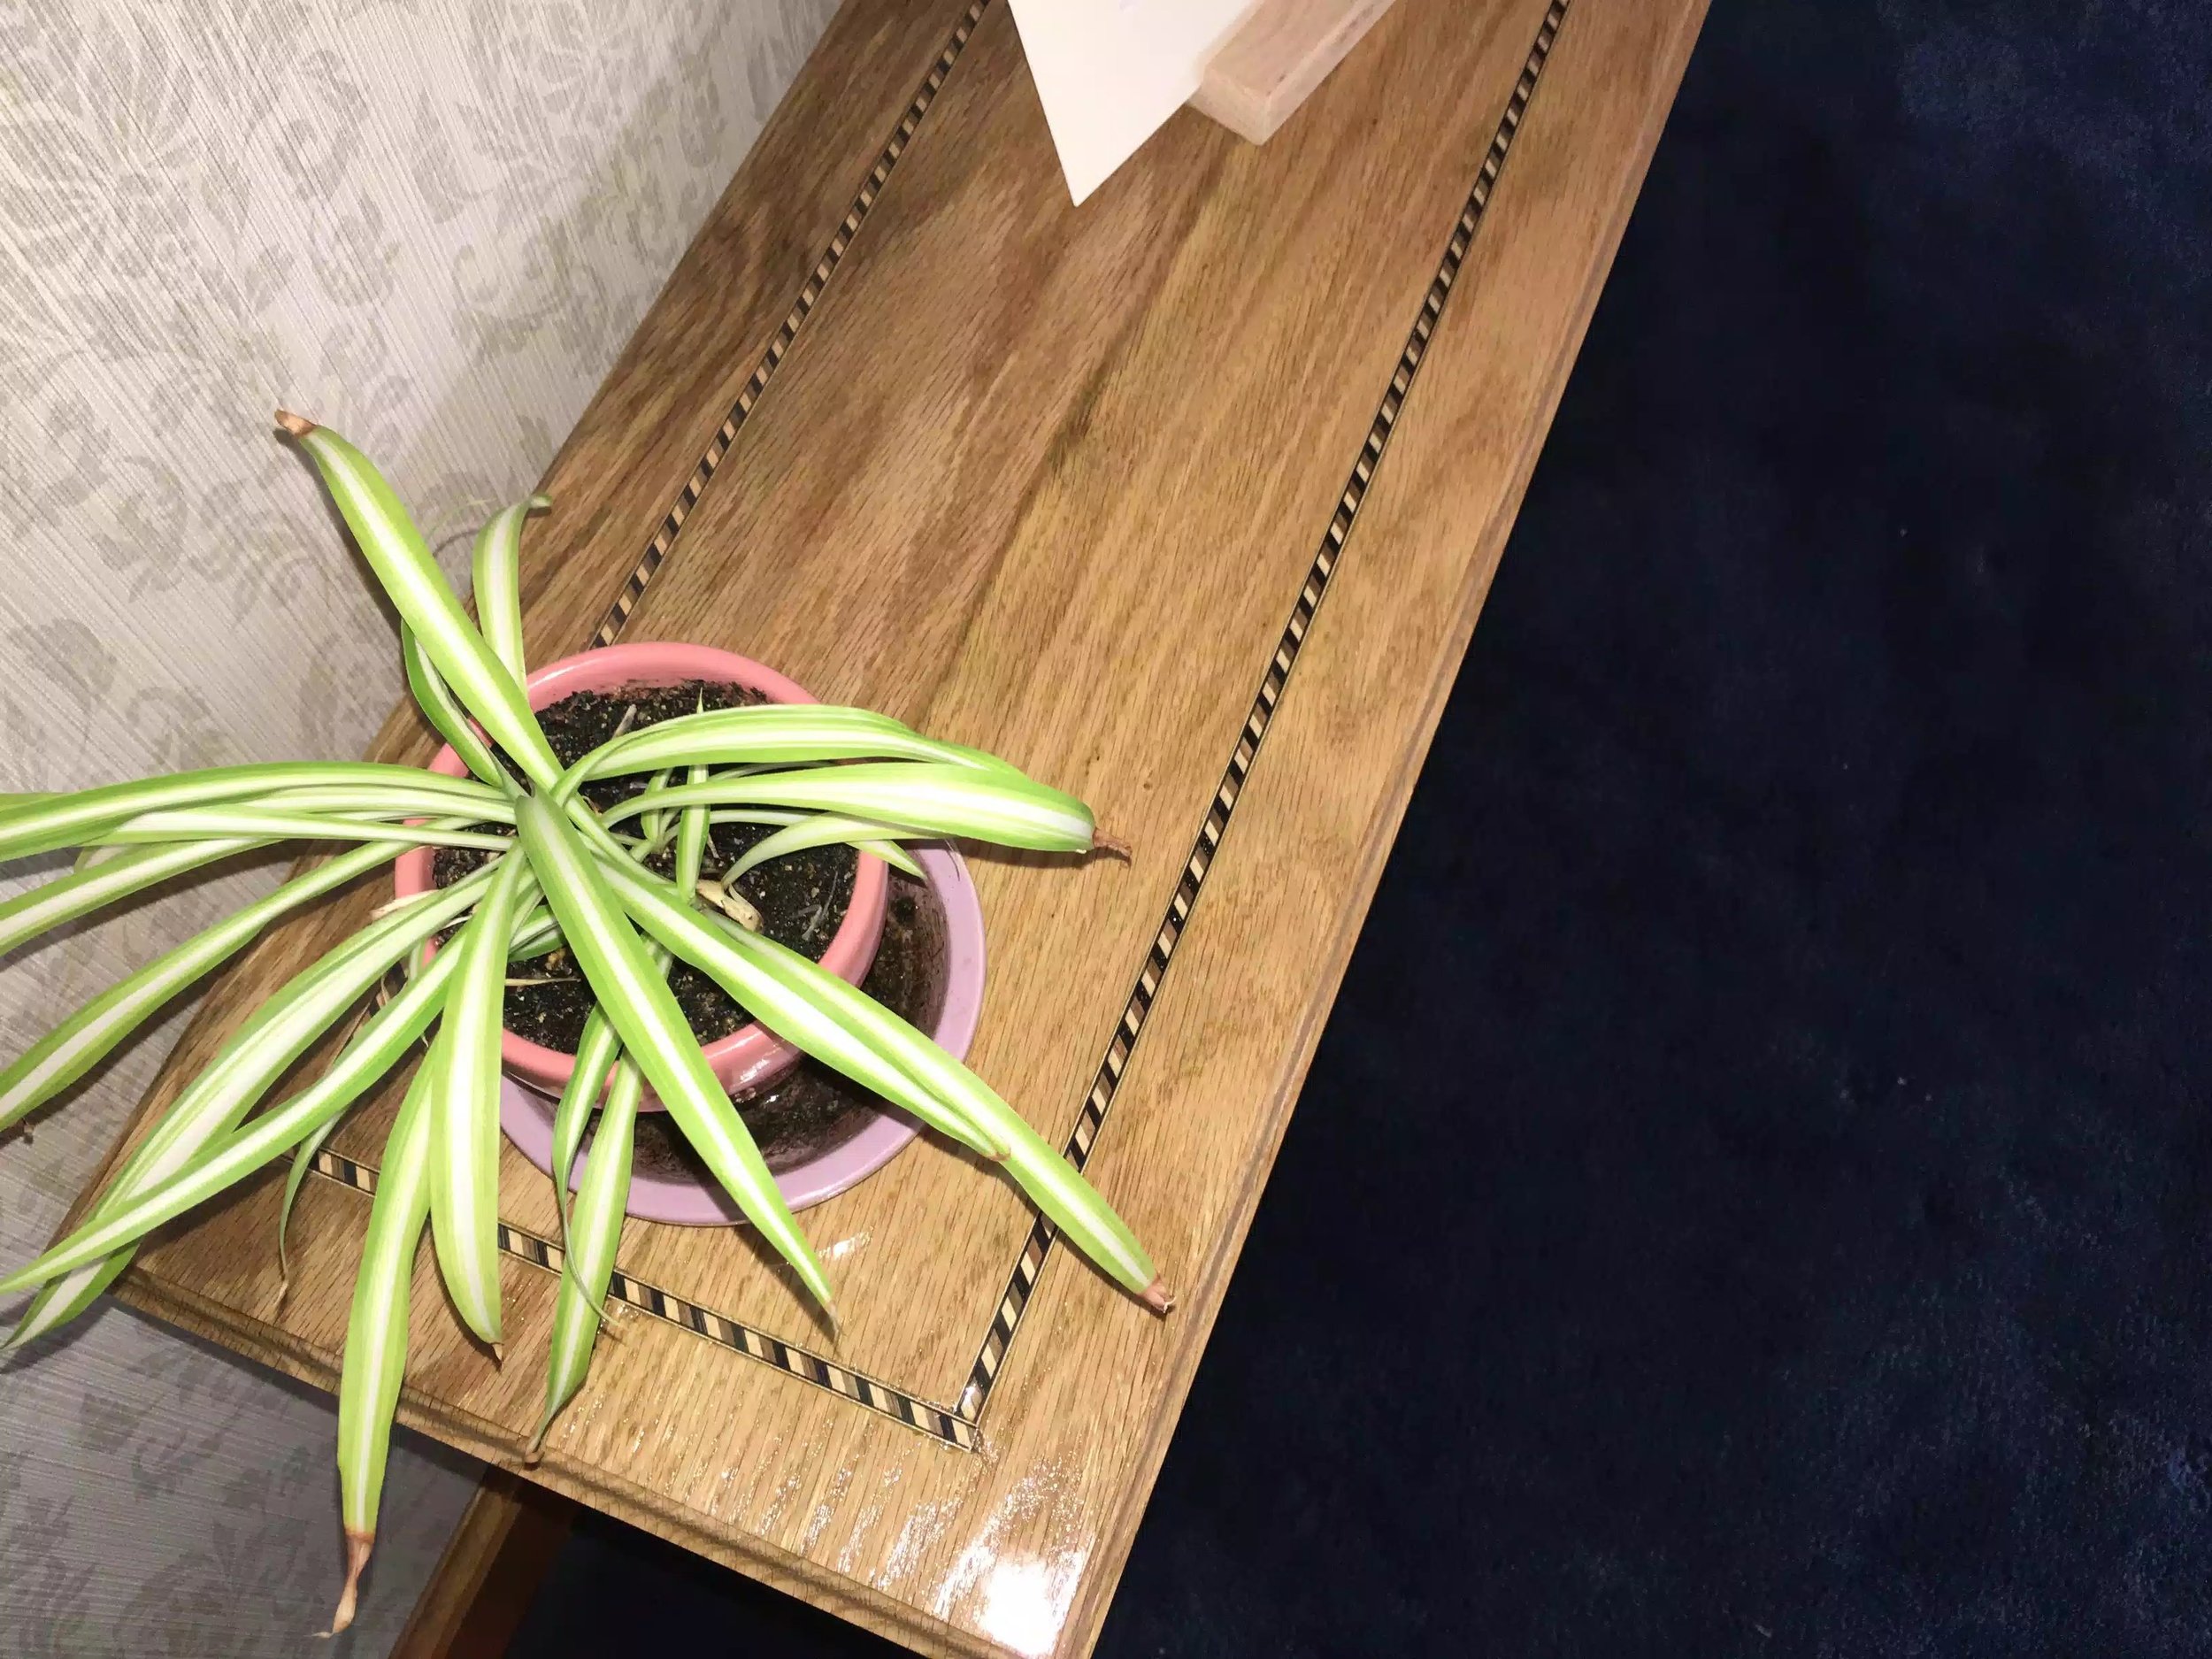
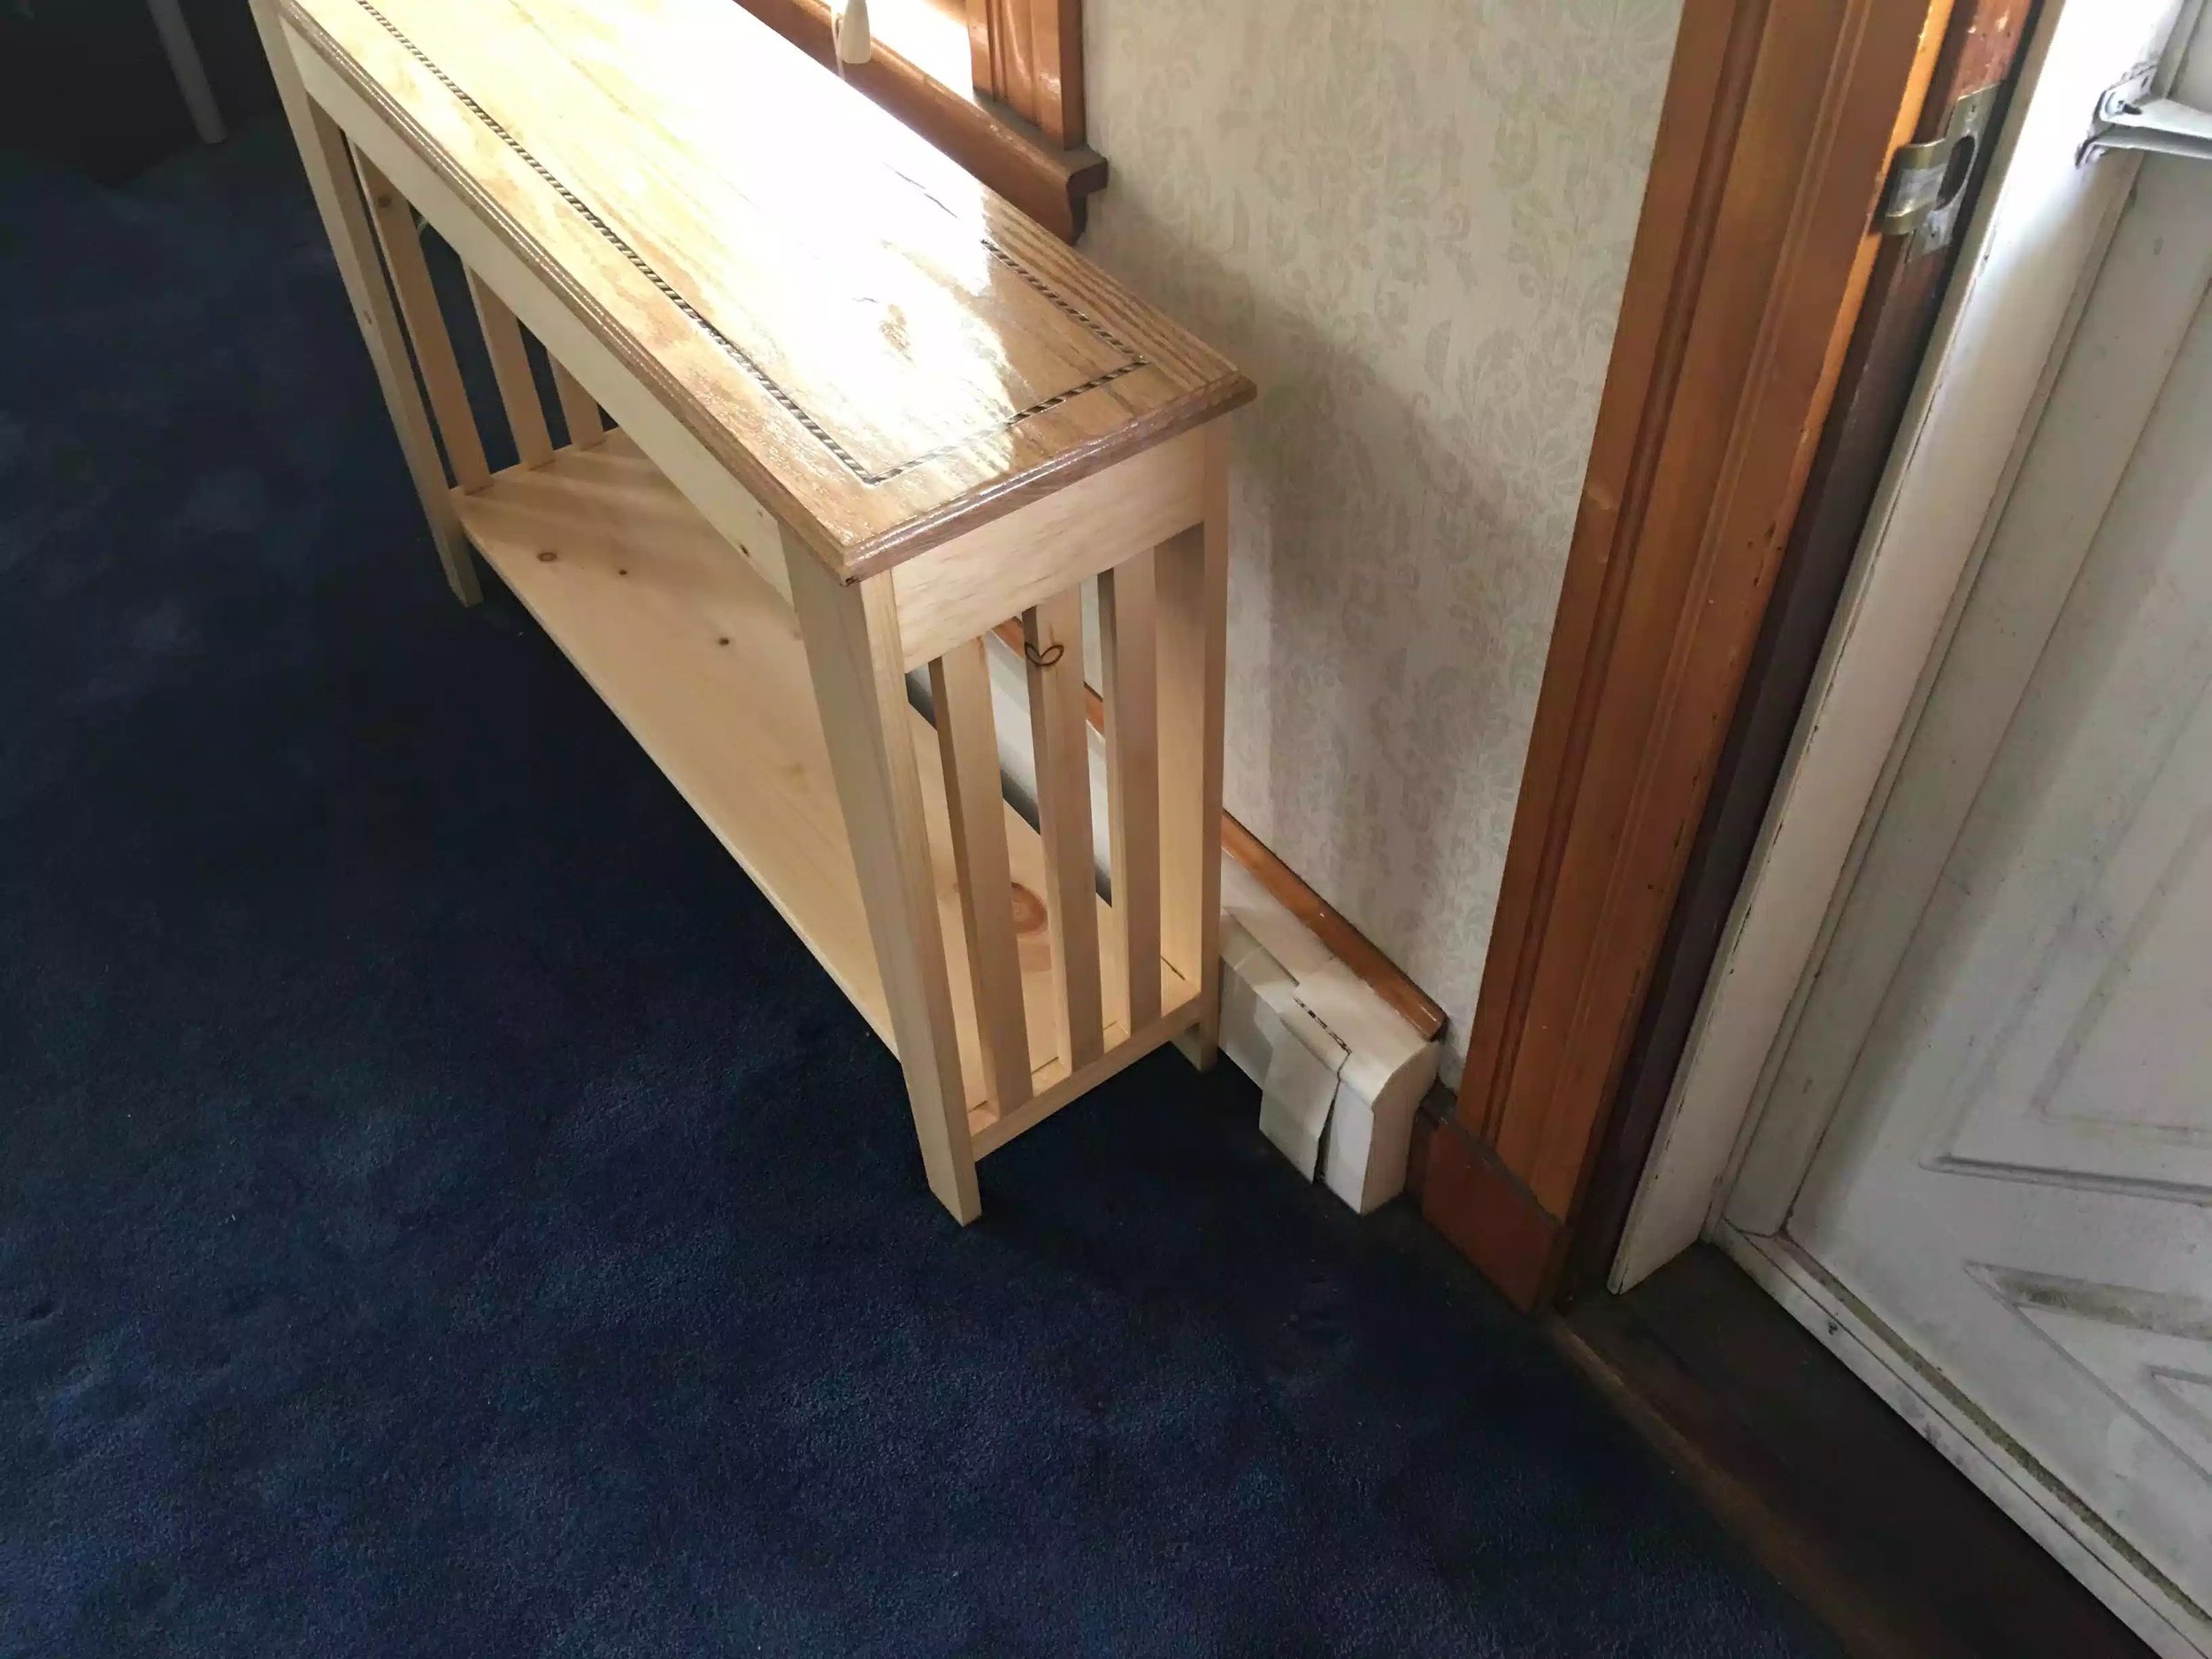
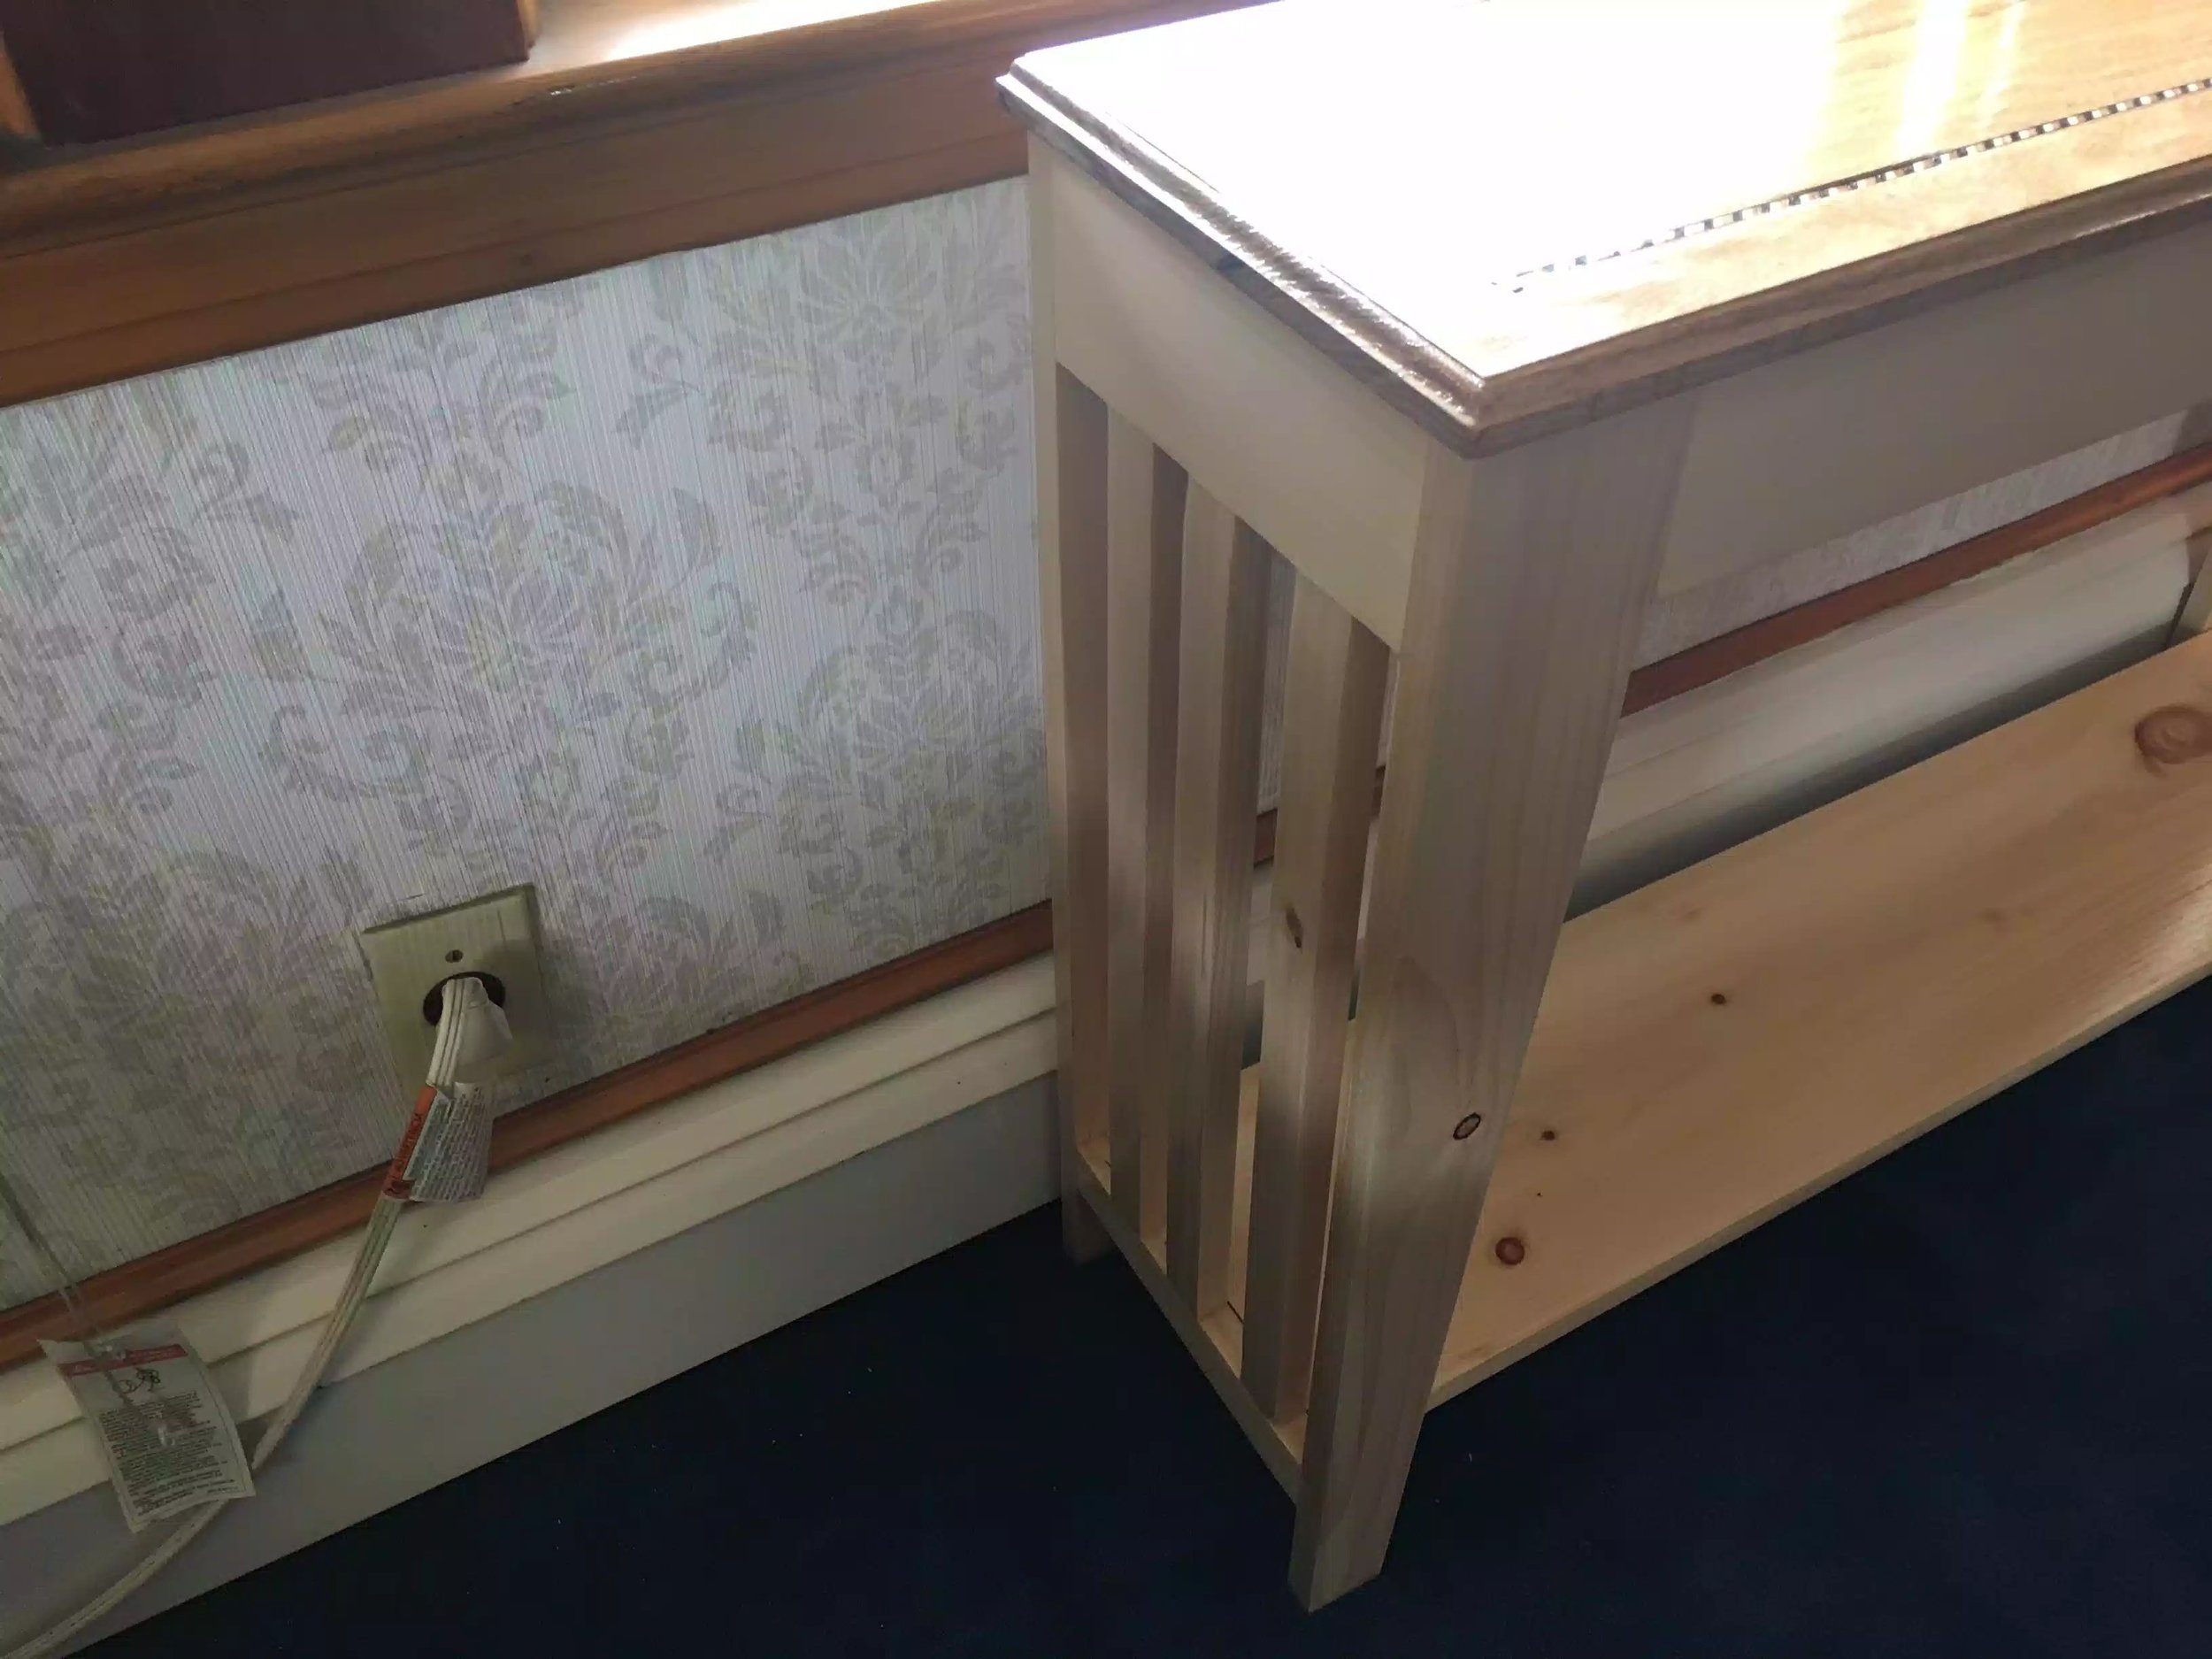
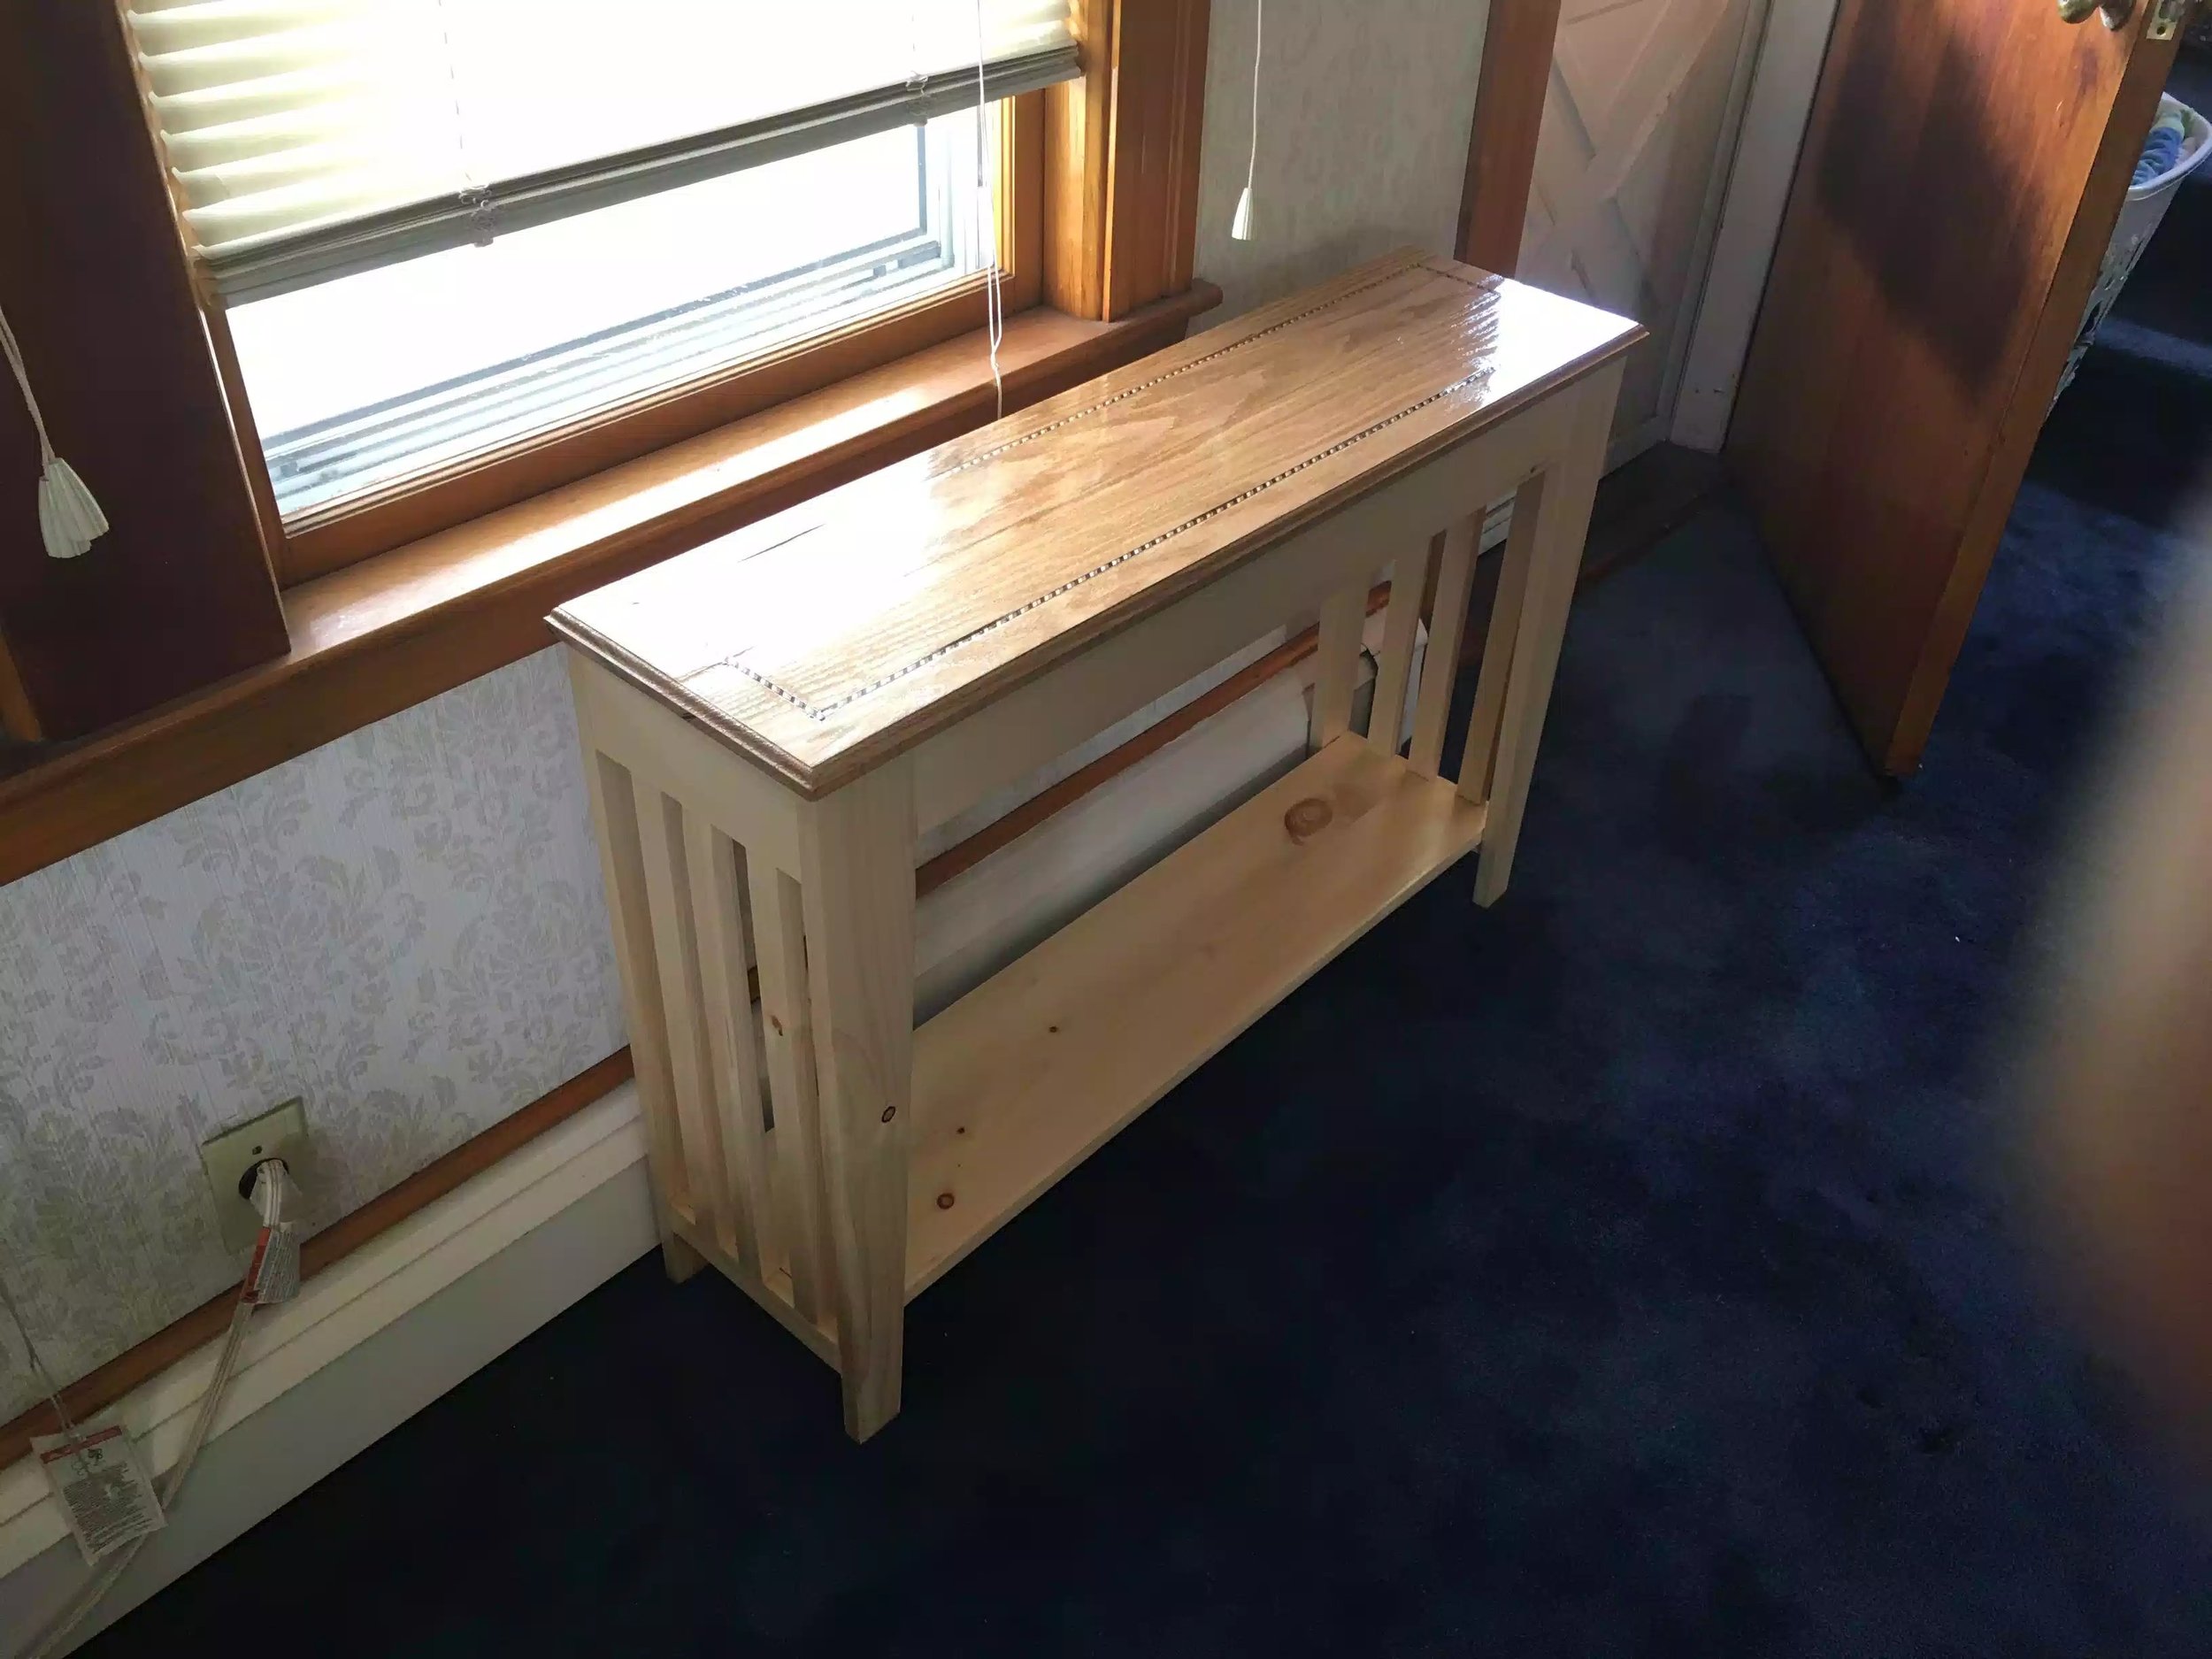
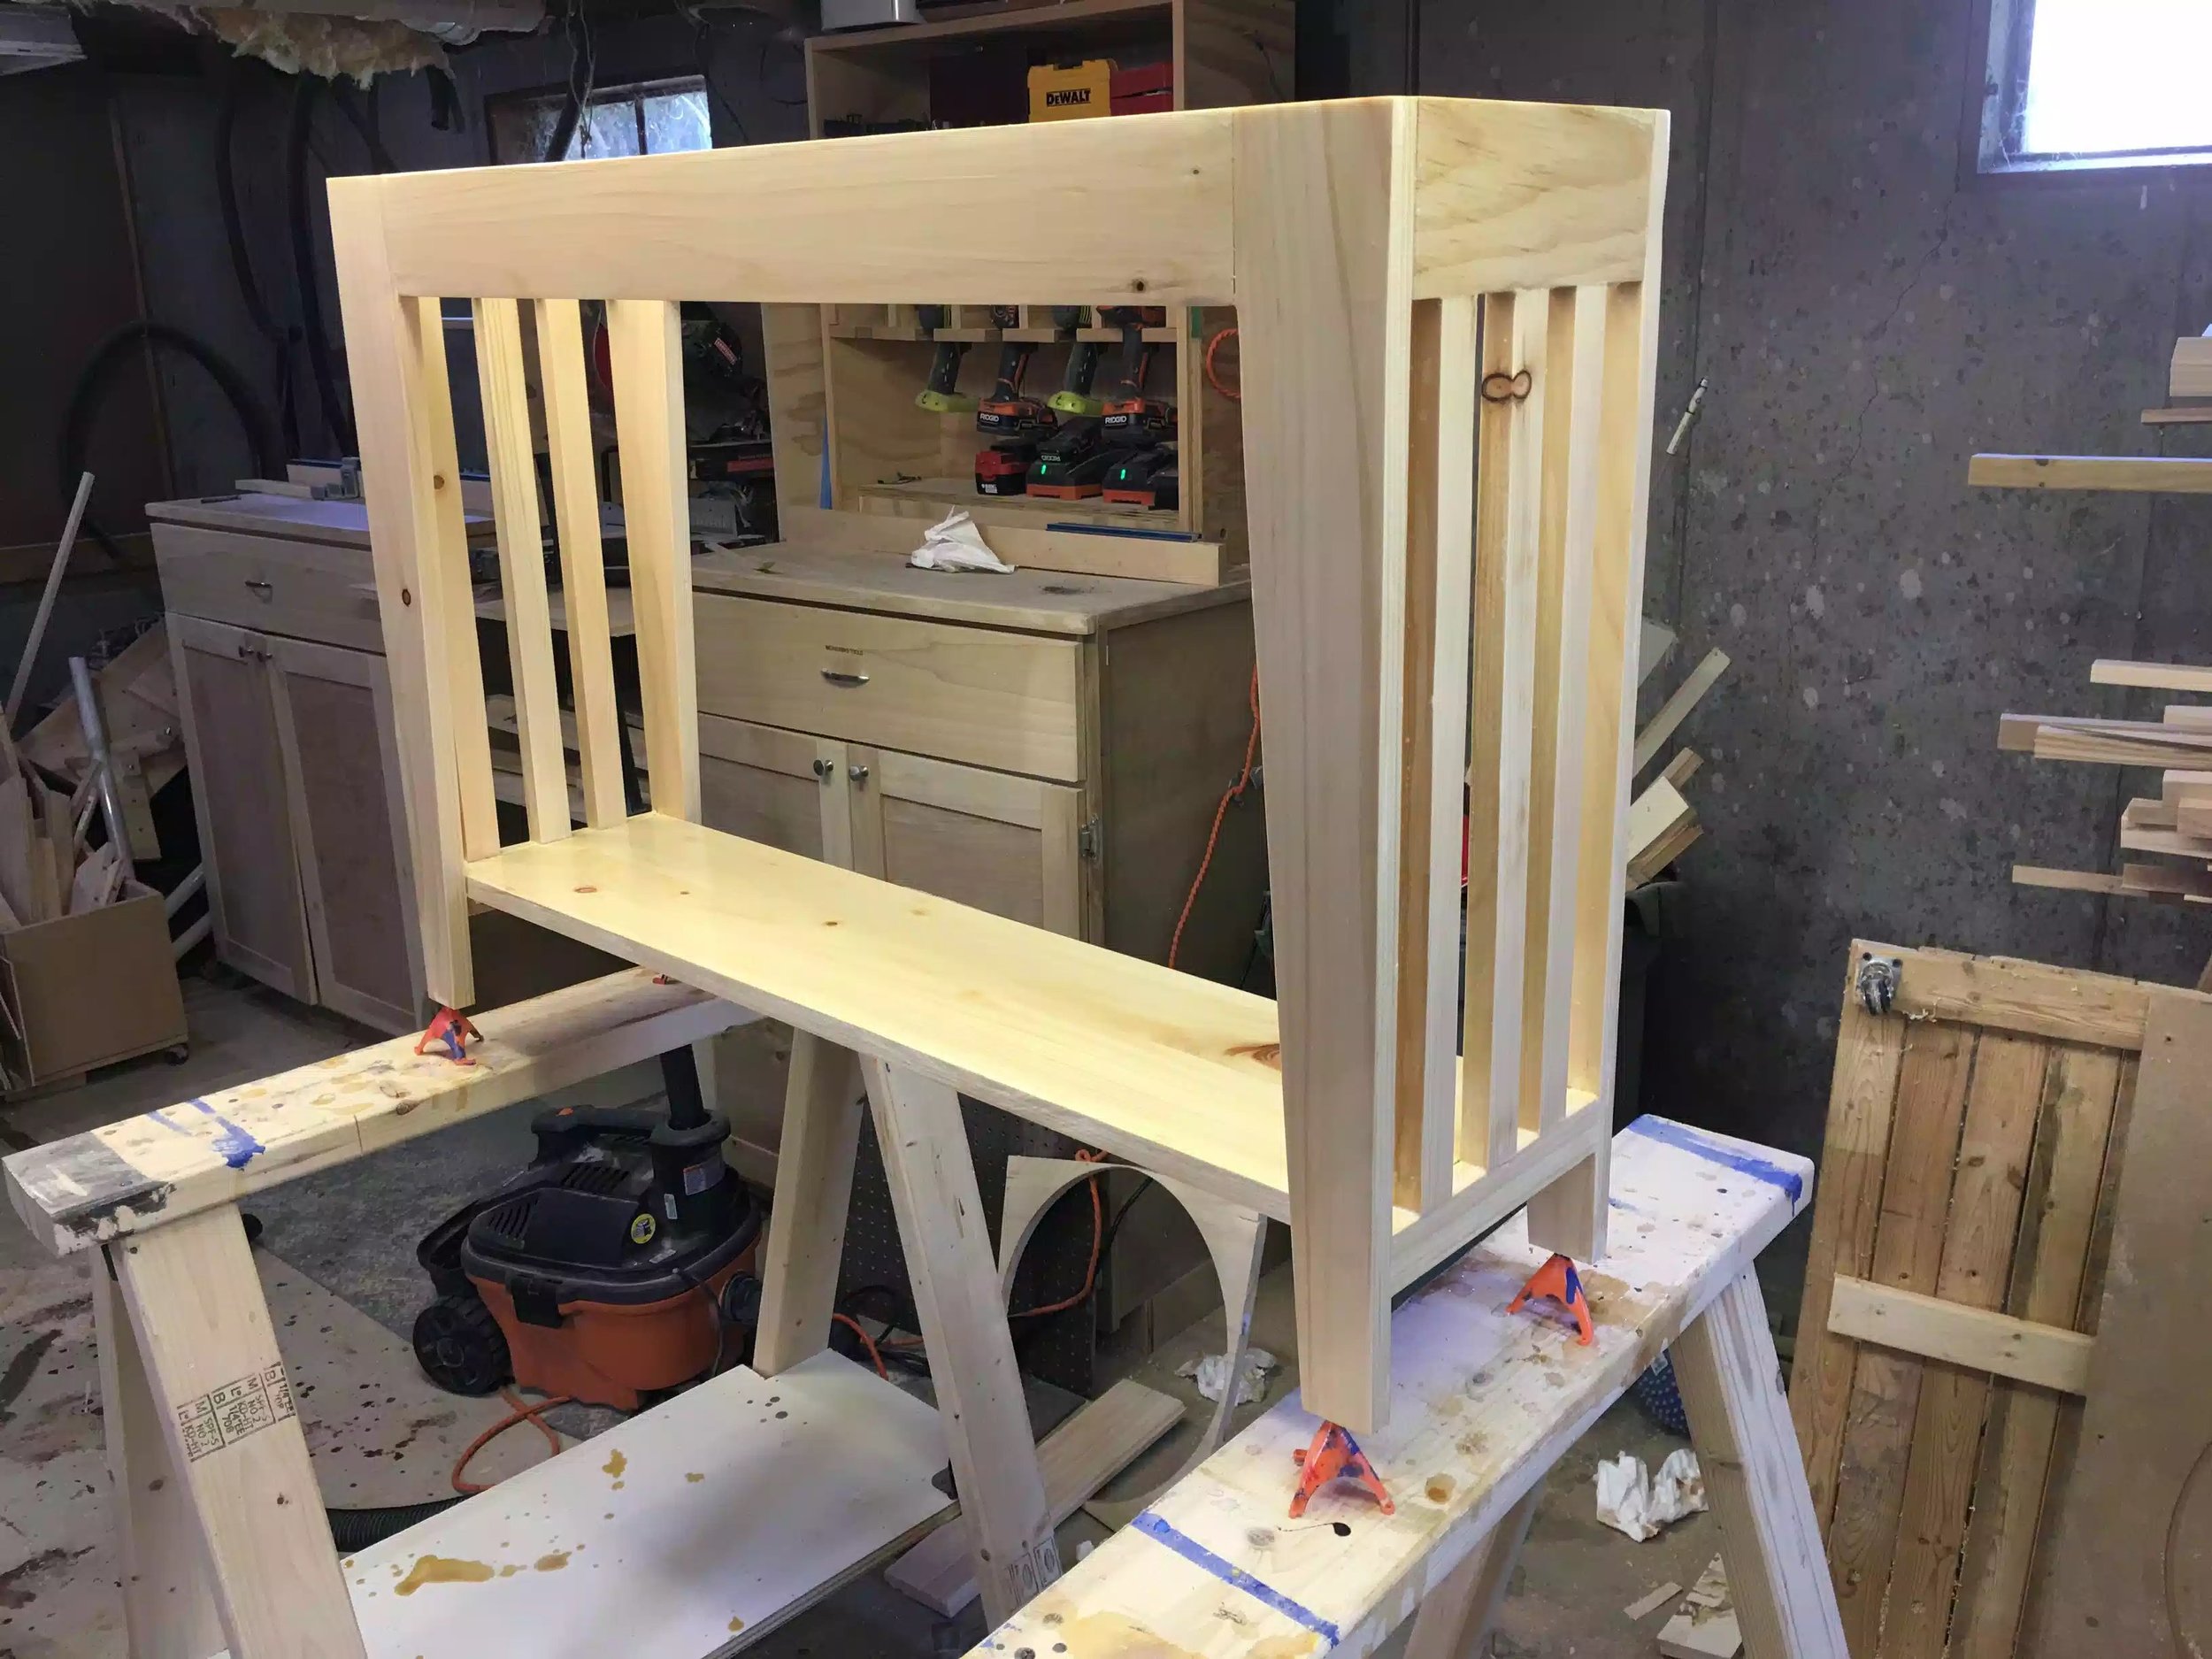
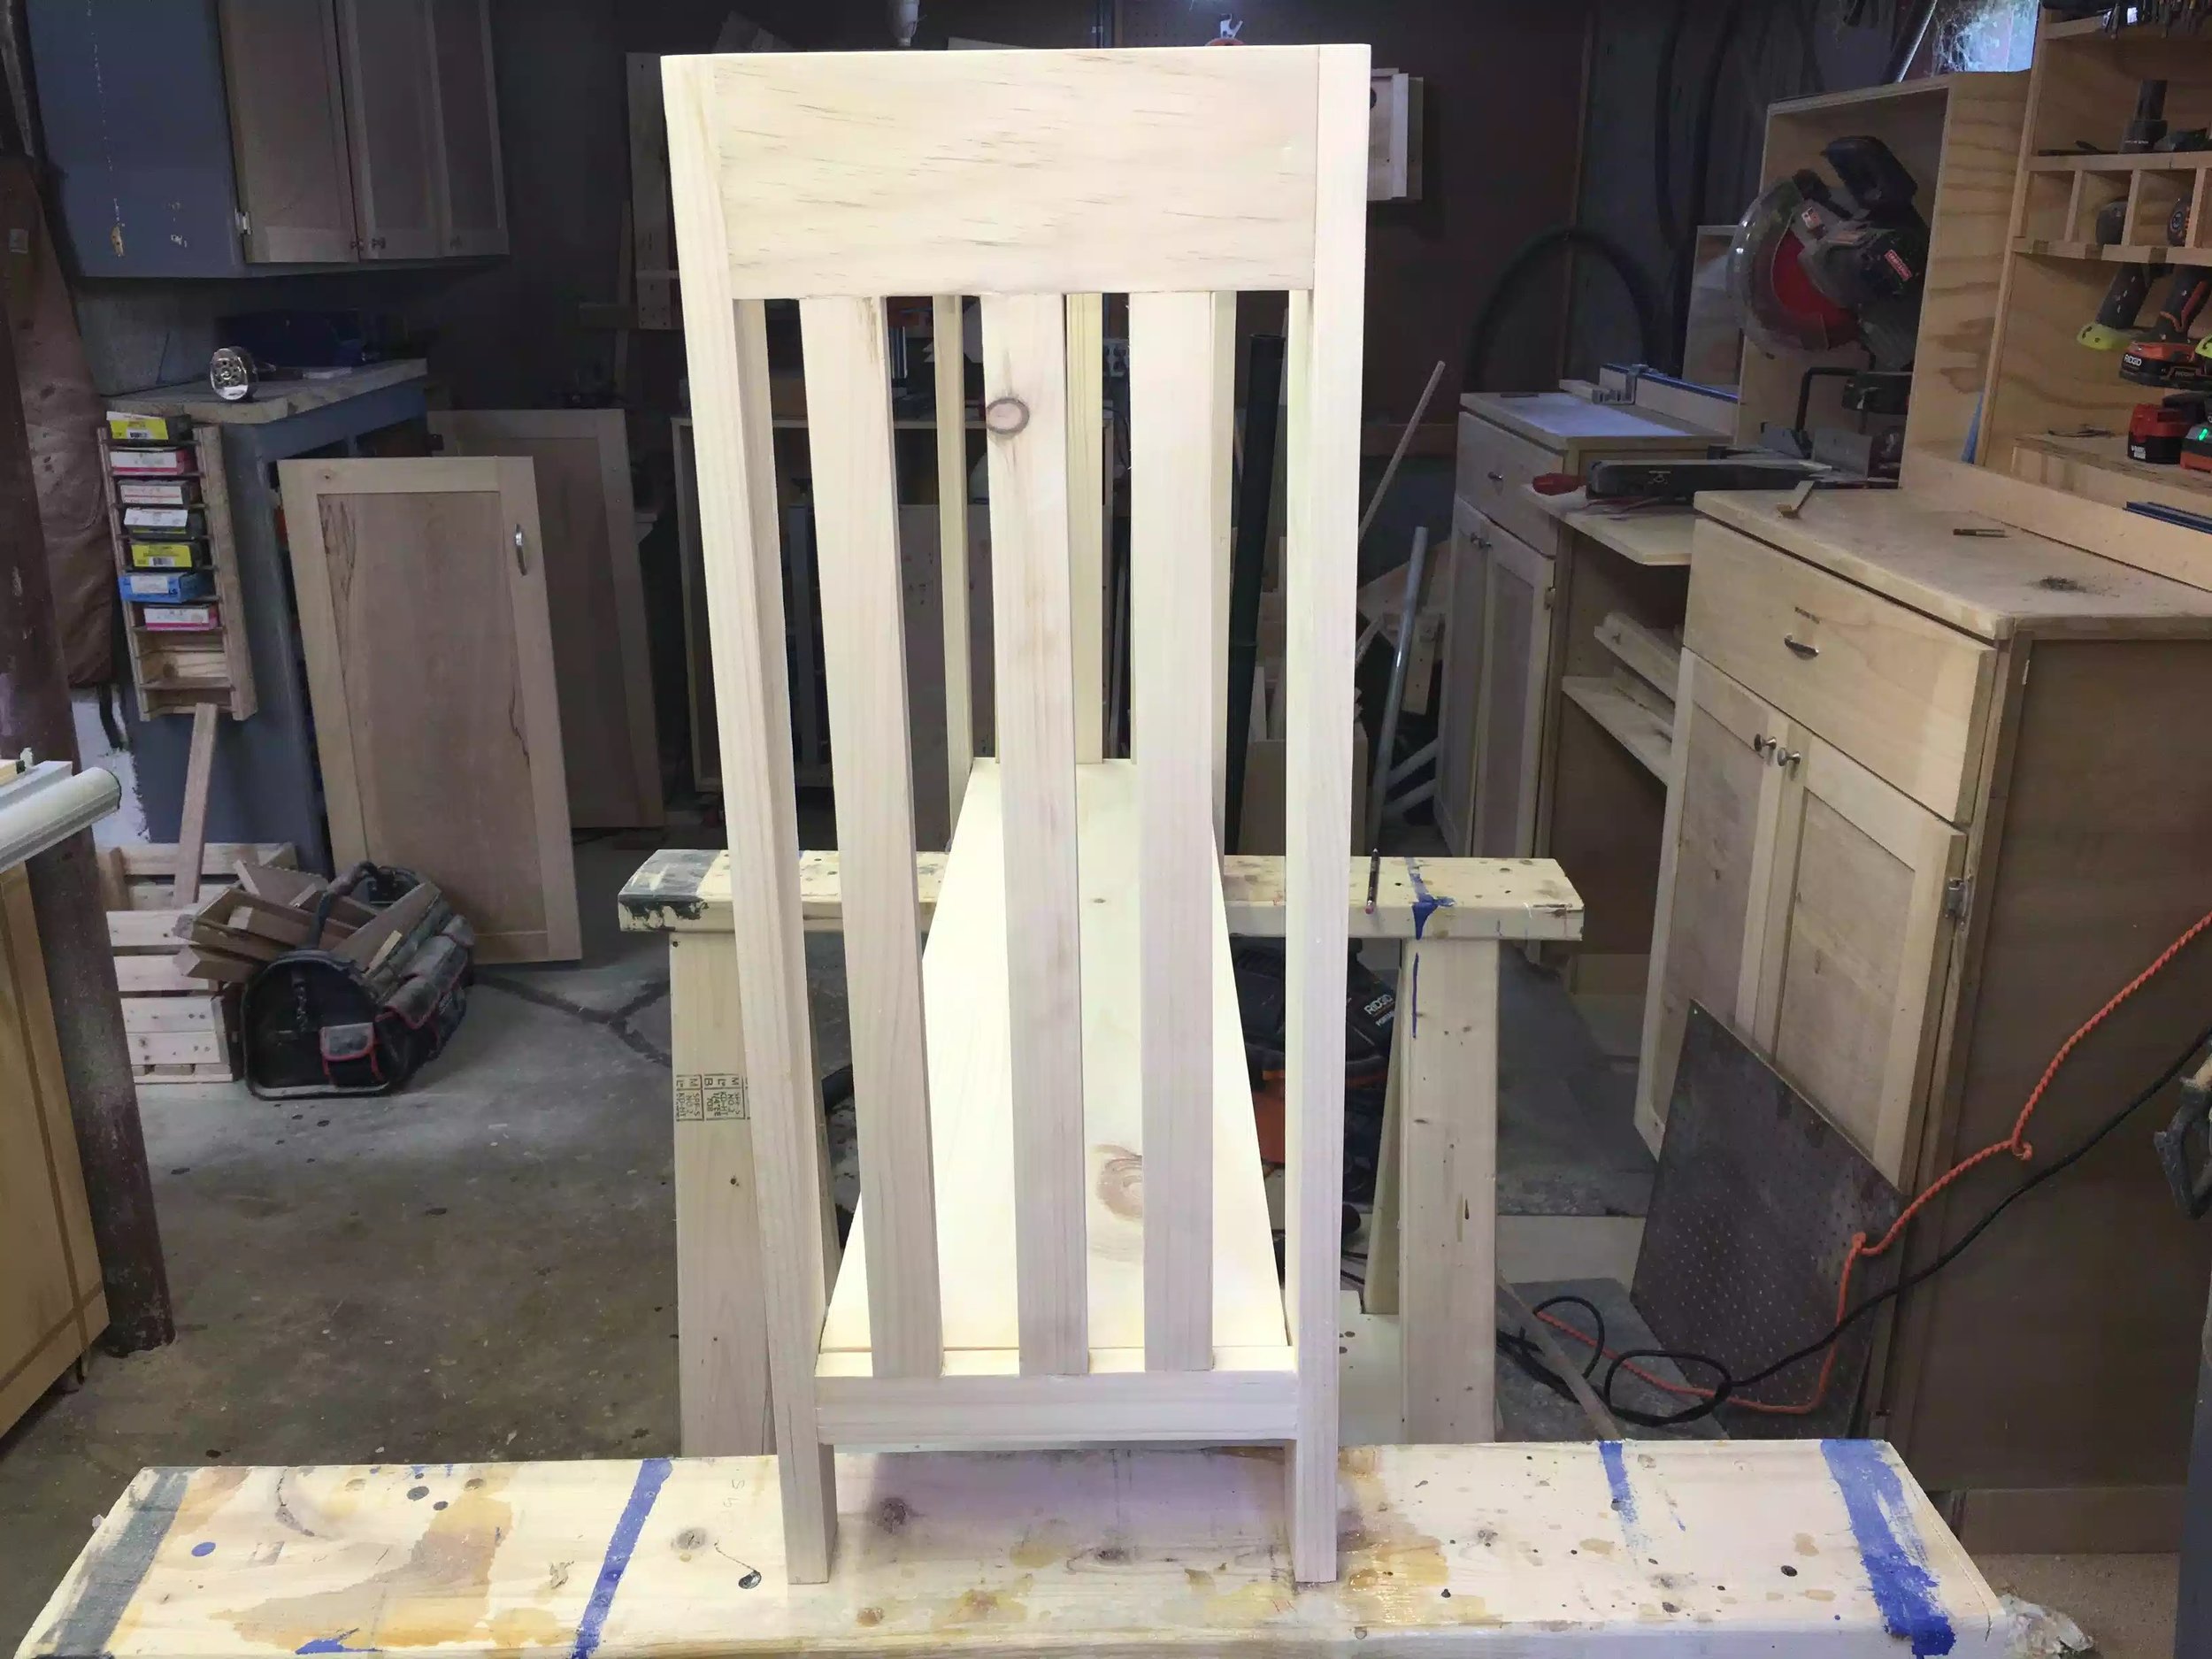
The console table is 40' wide 24" tall by 11" deep, the entire frame and shelf of the bottom unit is pine, I really wanted to use maple but it just wasn't in the budget, the top is solid oak. The unit has 3 splats on each side, and I used dowel joinery for the entire project. I used my router to add an ogee profile to the top and I also added a inlay to the top that I got to say came out great, I originaly wasnt going to add an inlay but when I was building the top I thought that it was missing something and when I was in m,y local Woodcraft store I saw some inlays that were on sale and picked one that I thought would match the woods i used in the build. I feel the design of the project is mission style and looks great.
Joinery:
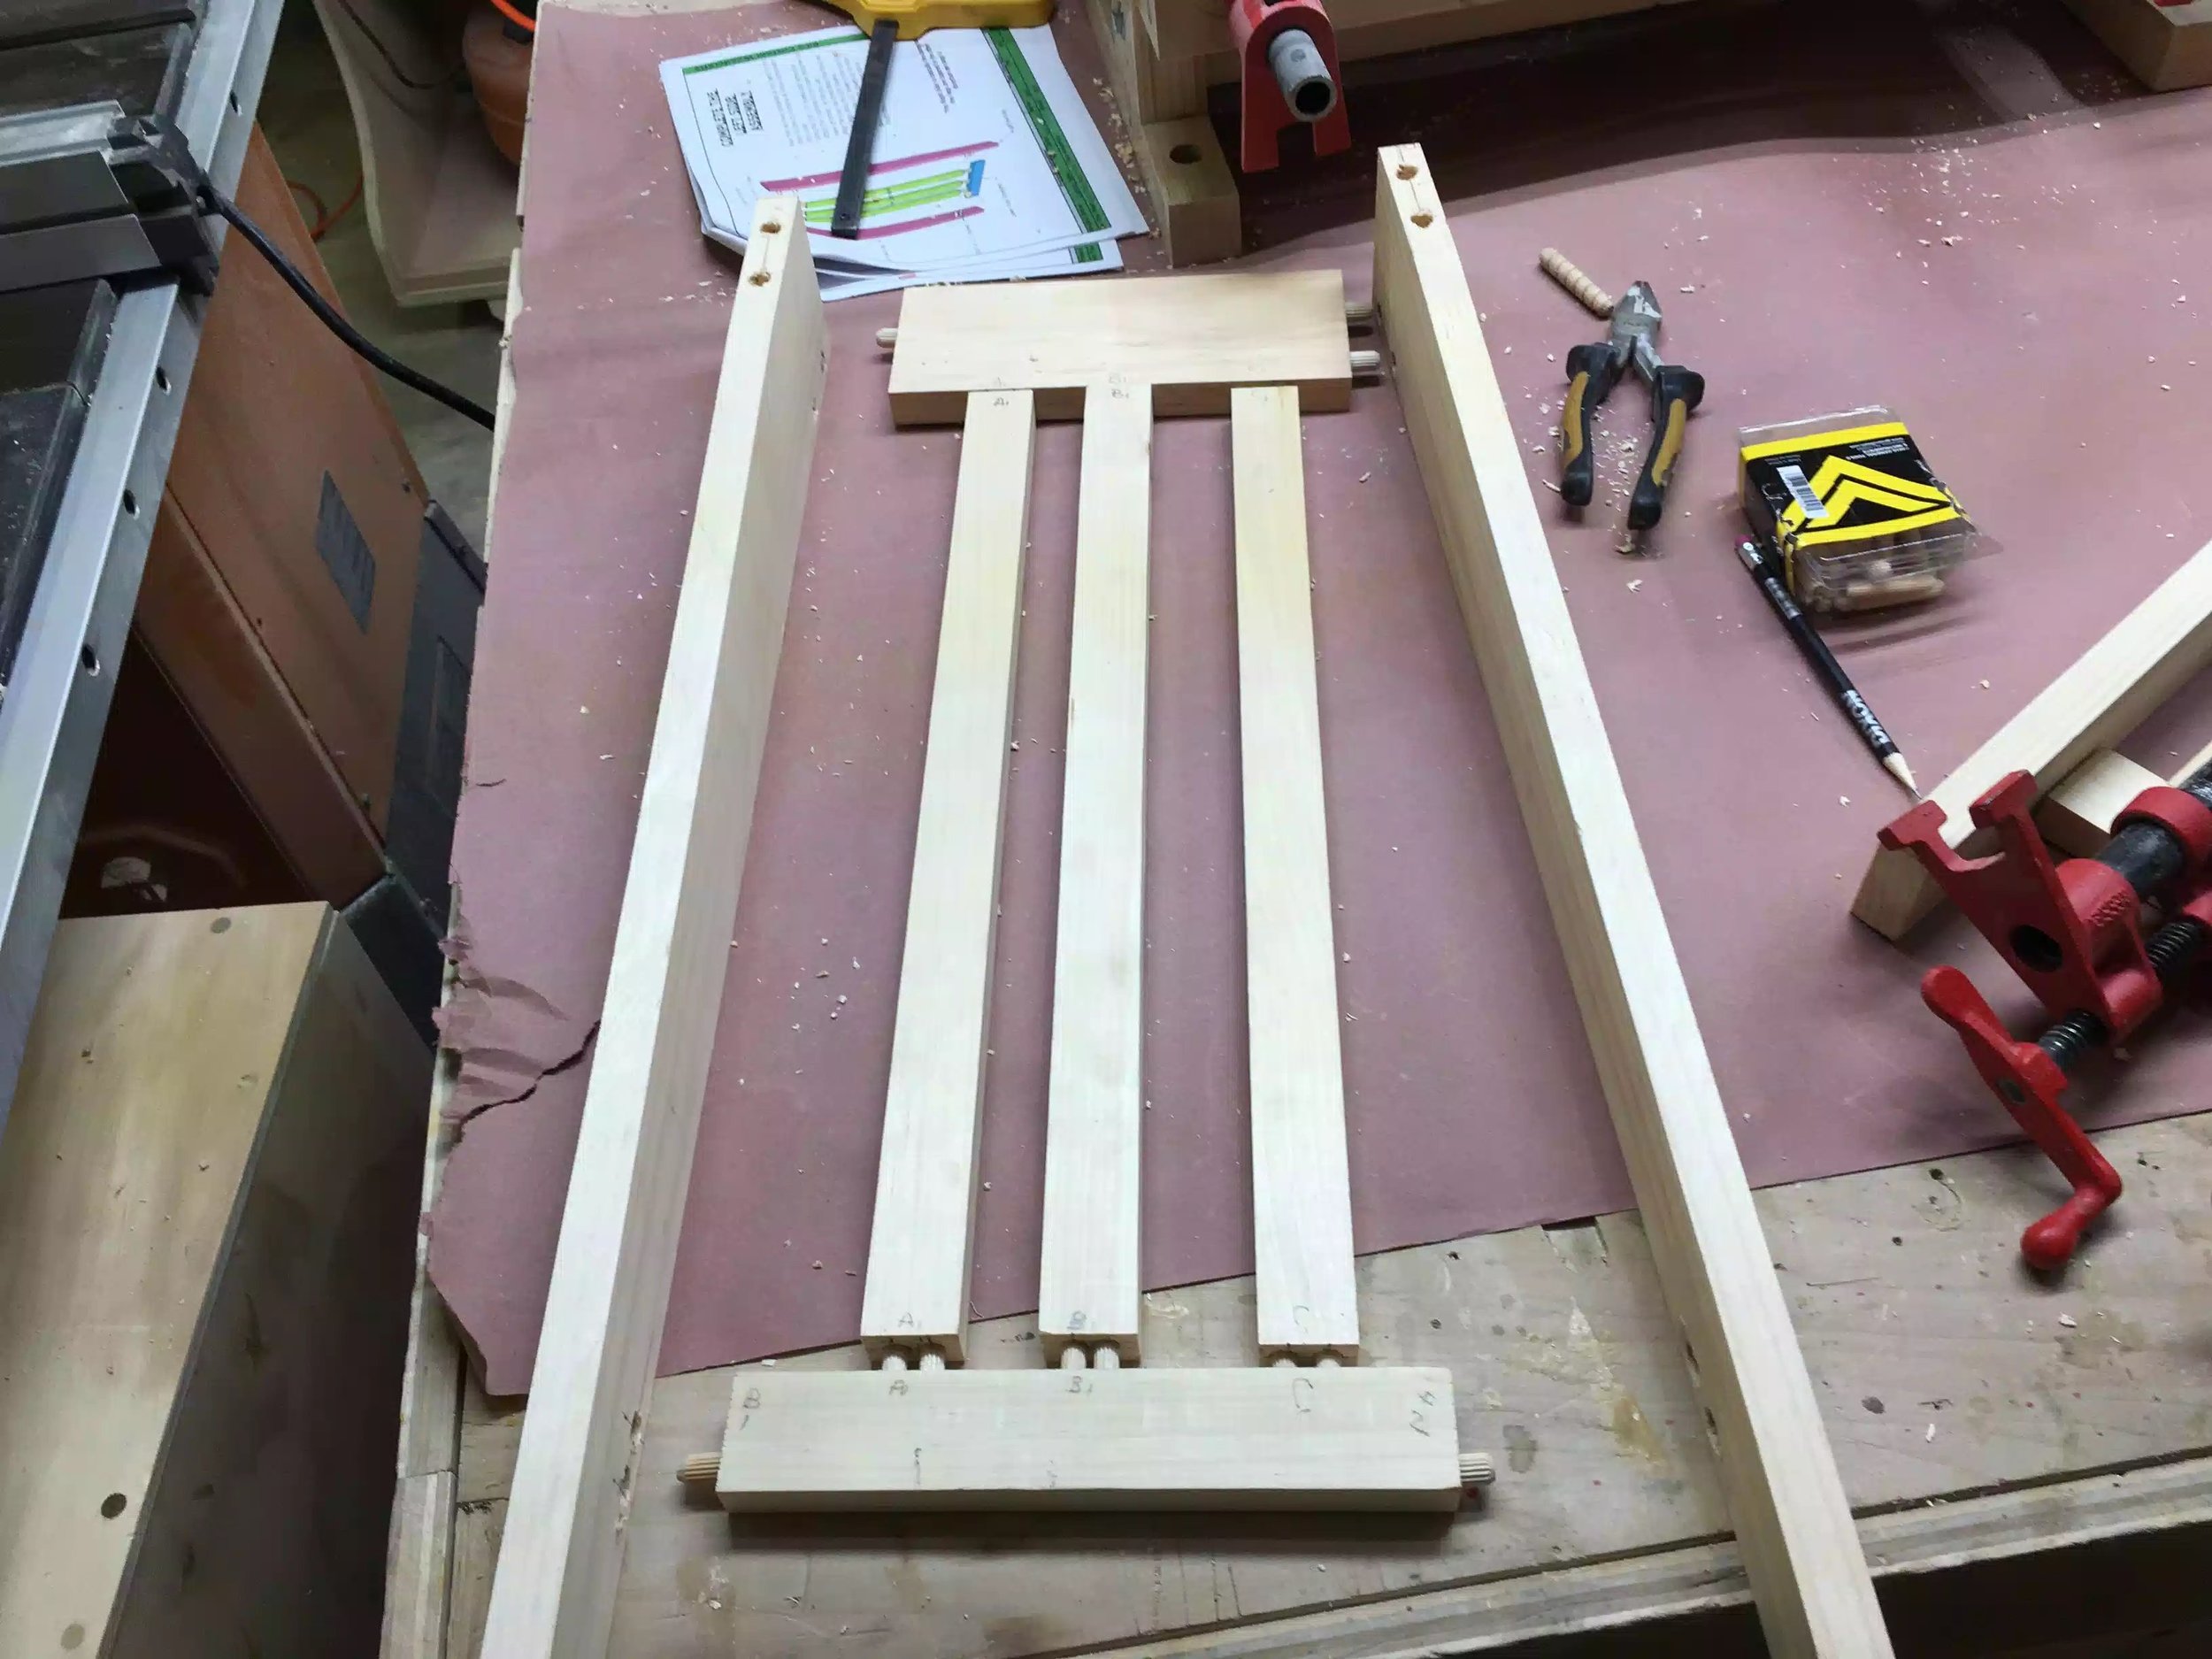
I decided to do something new as far as joinery was concerned so I opted to do dowel joinery and purchased a dowel jig from Miles-craft. As this was my first time using dowels as the sole joinery method in a project, it added a lot of time to the build and although I wasn't a huge fan of the jig I got, because it wasn't as precise as I would of like it to be, especially when making sure faces of the legs and aprons were flush I wont be using it again to do an entire project again, I think I rather use biscuit joints.
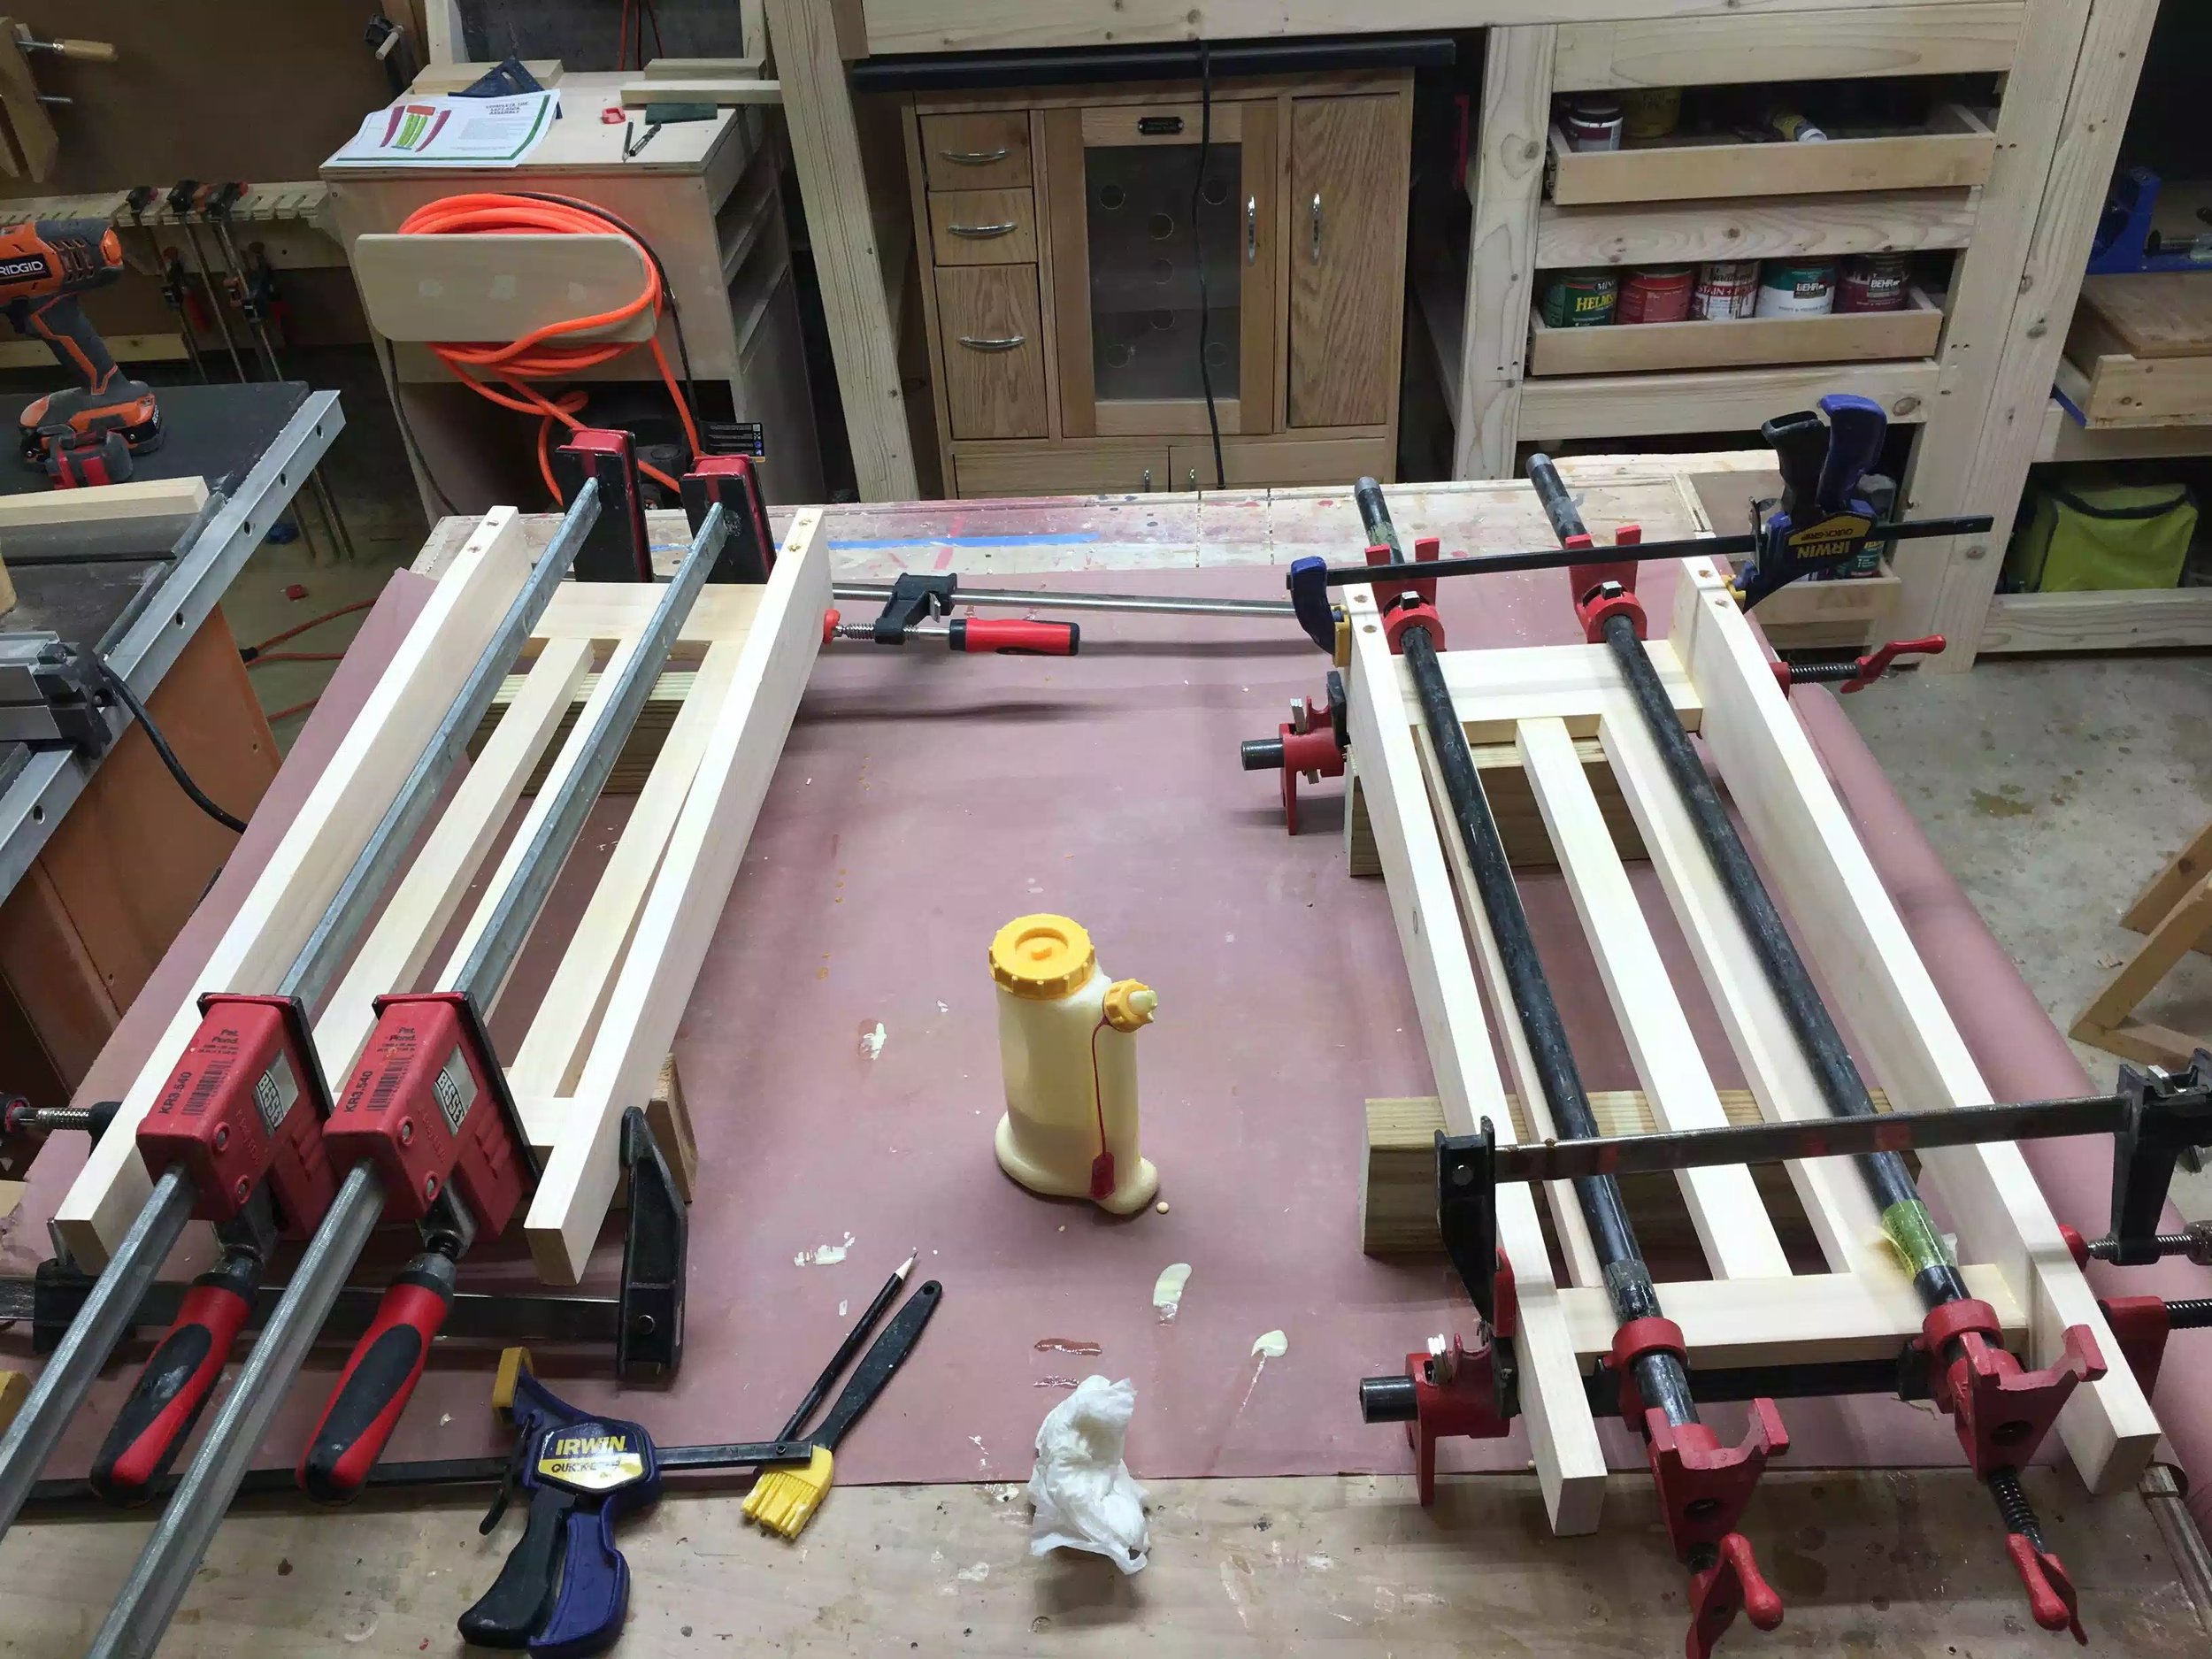
Solid Panels
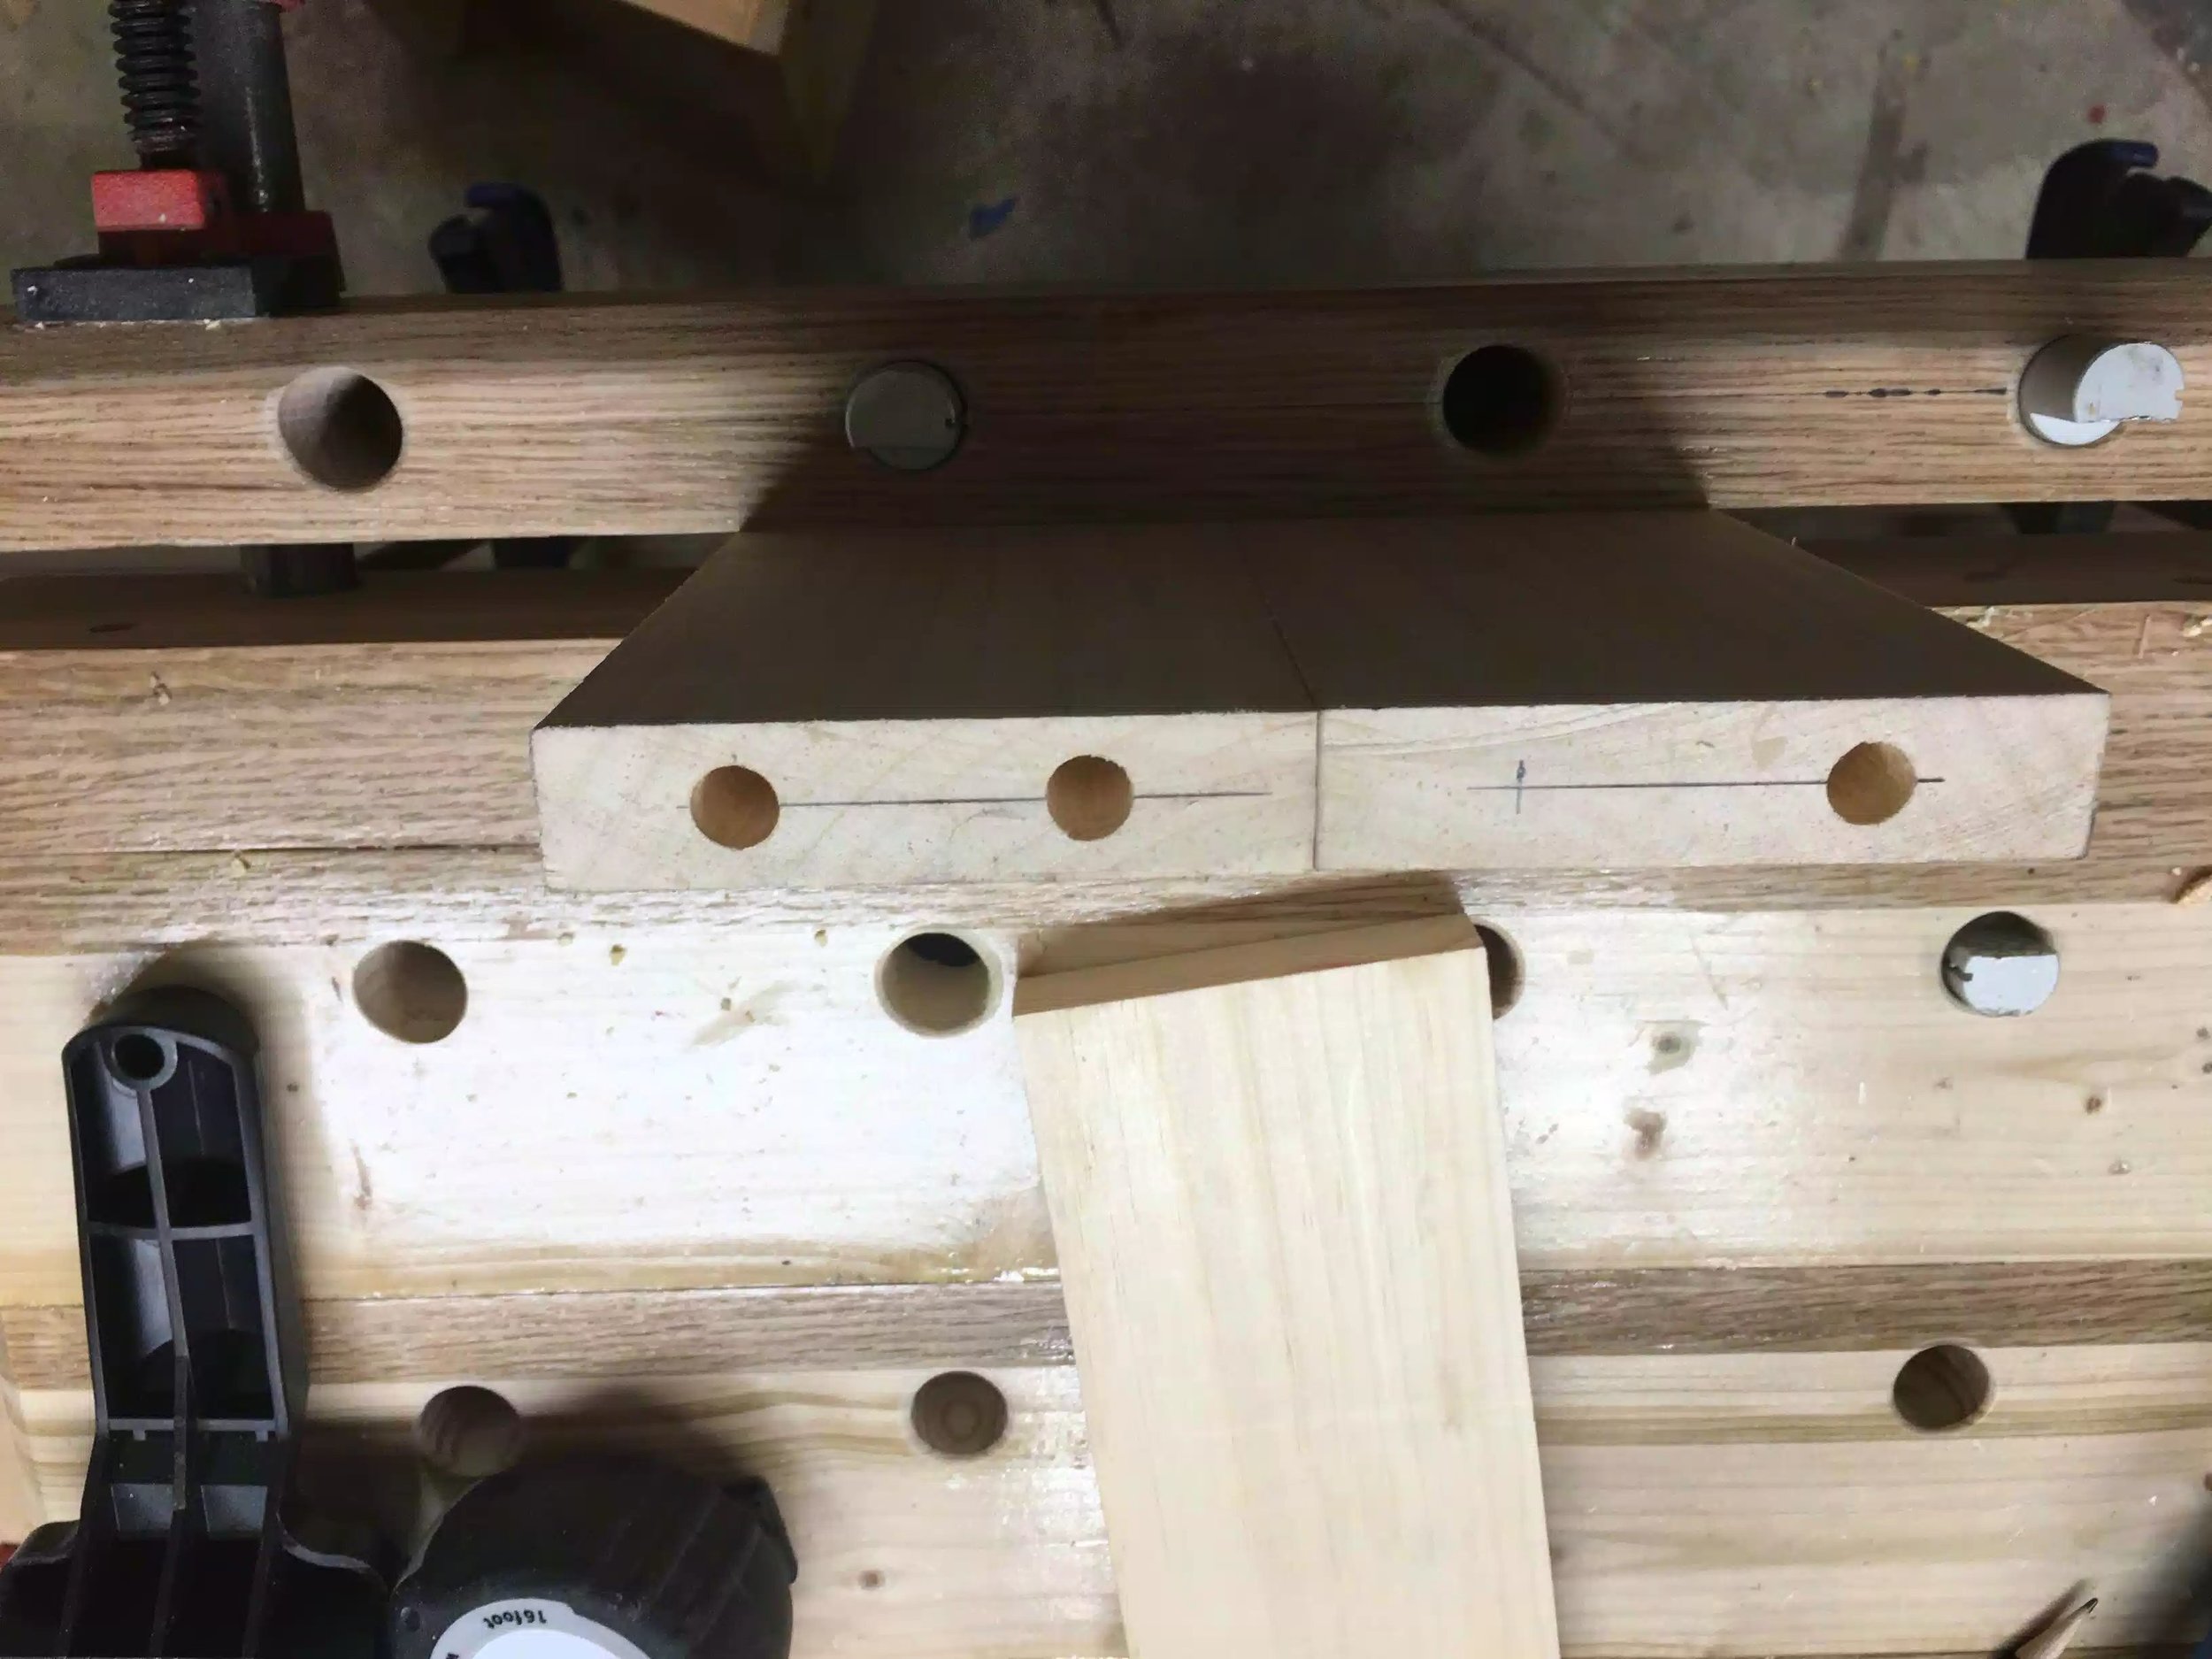
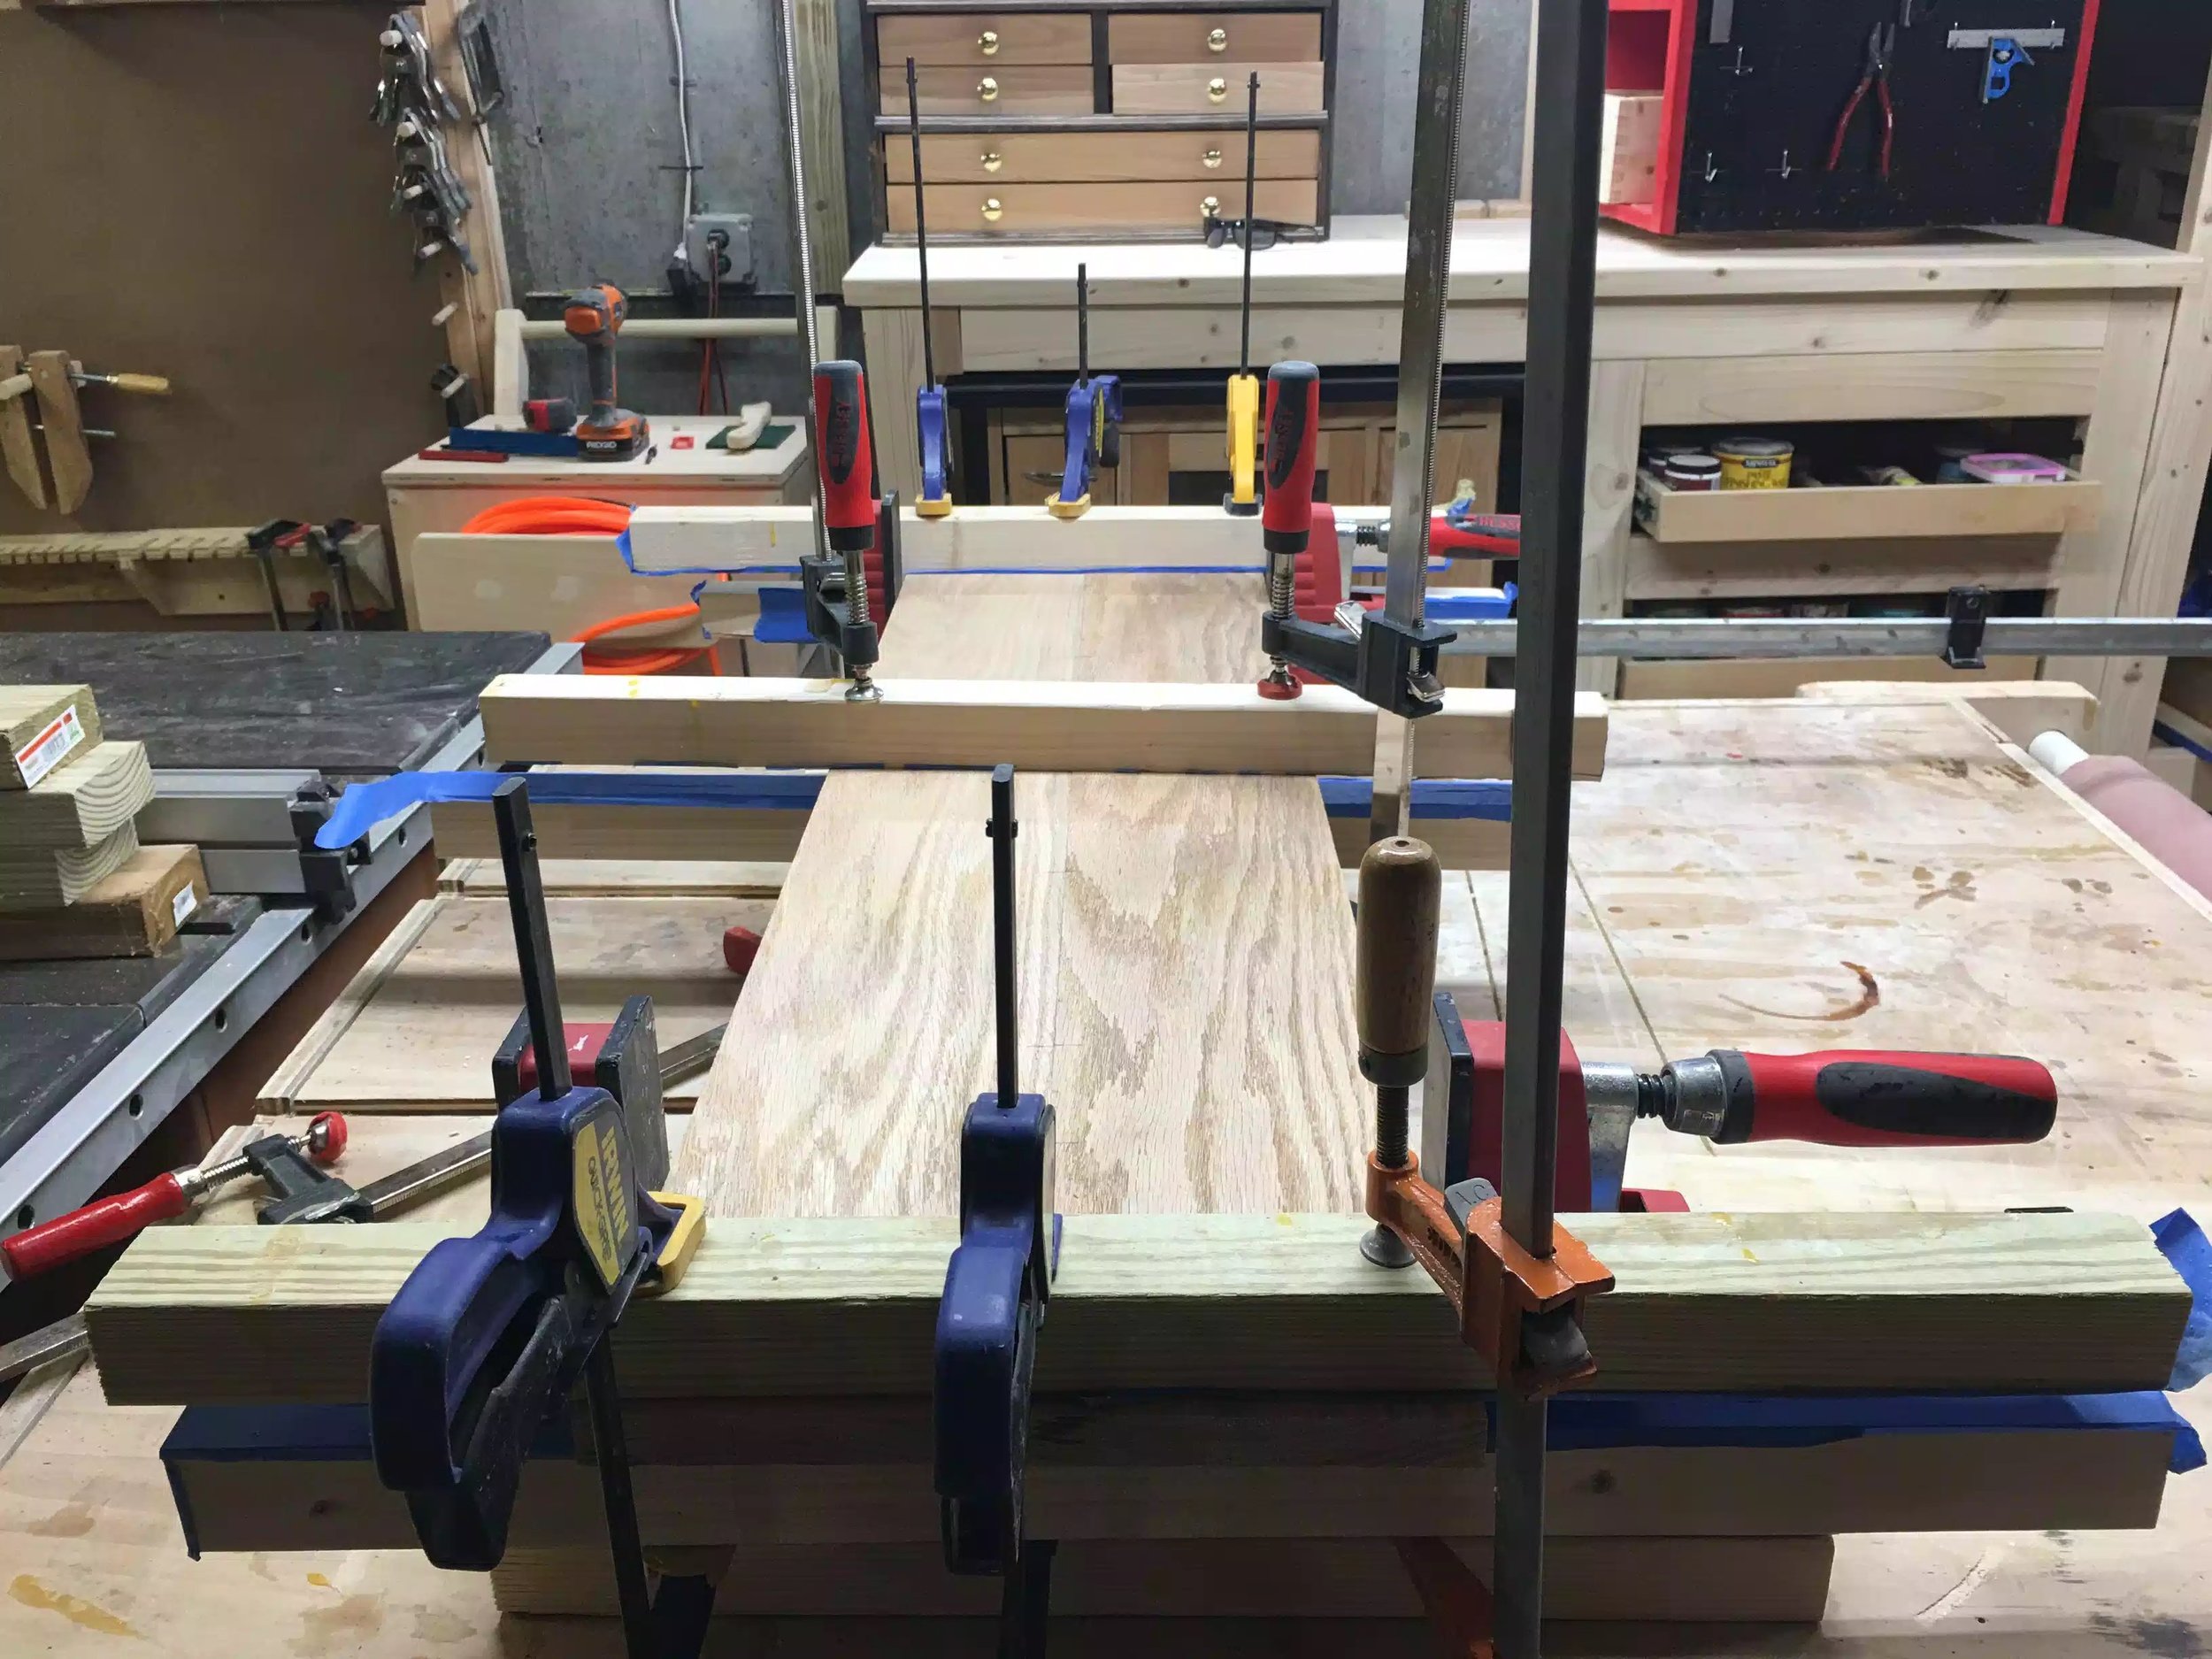
This project consisted of two panels, solid oak for the top, and pine for the shelf, that I glued up myself, because I had unusual dimensions for this project as it was being made for under a window the width of the boards needed to be tailored, I could of bought a wider board and cut of the excess but I hate wasting wood so I decided to glue up 2 smaller boards to get width I was looking for.
I positioned 3/8" dowels between the boards so as that this would be joinery method used when gluing the boards up below you can see the boards being glued up.

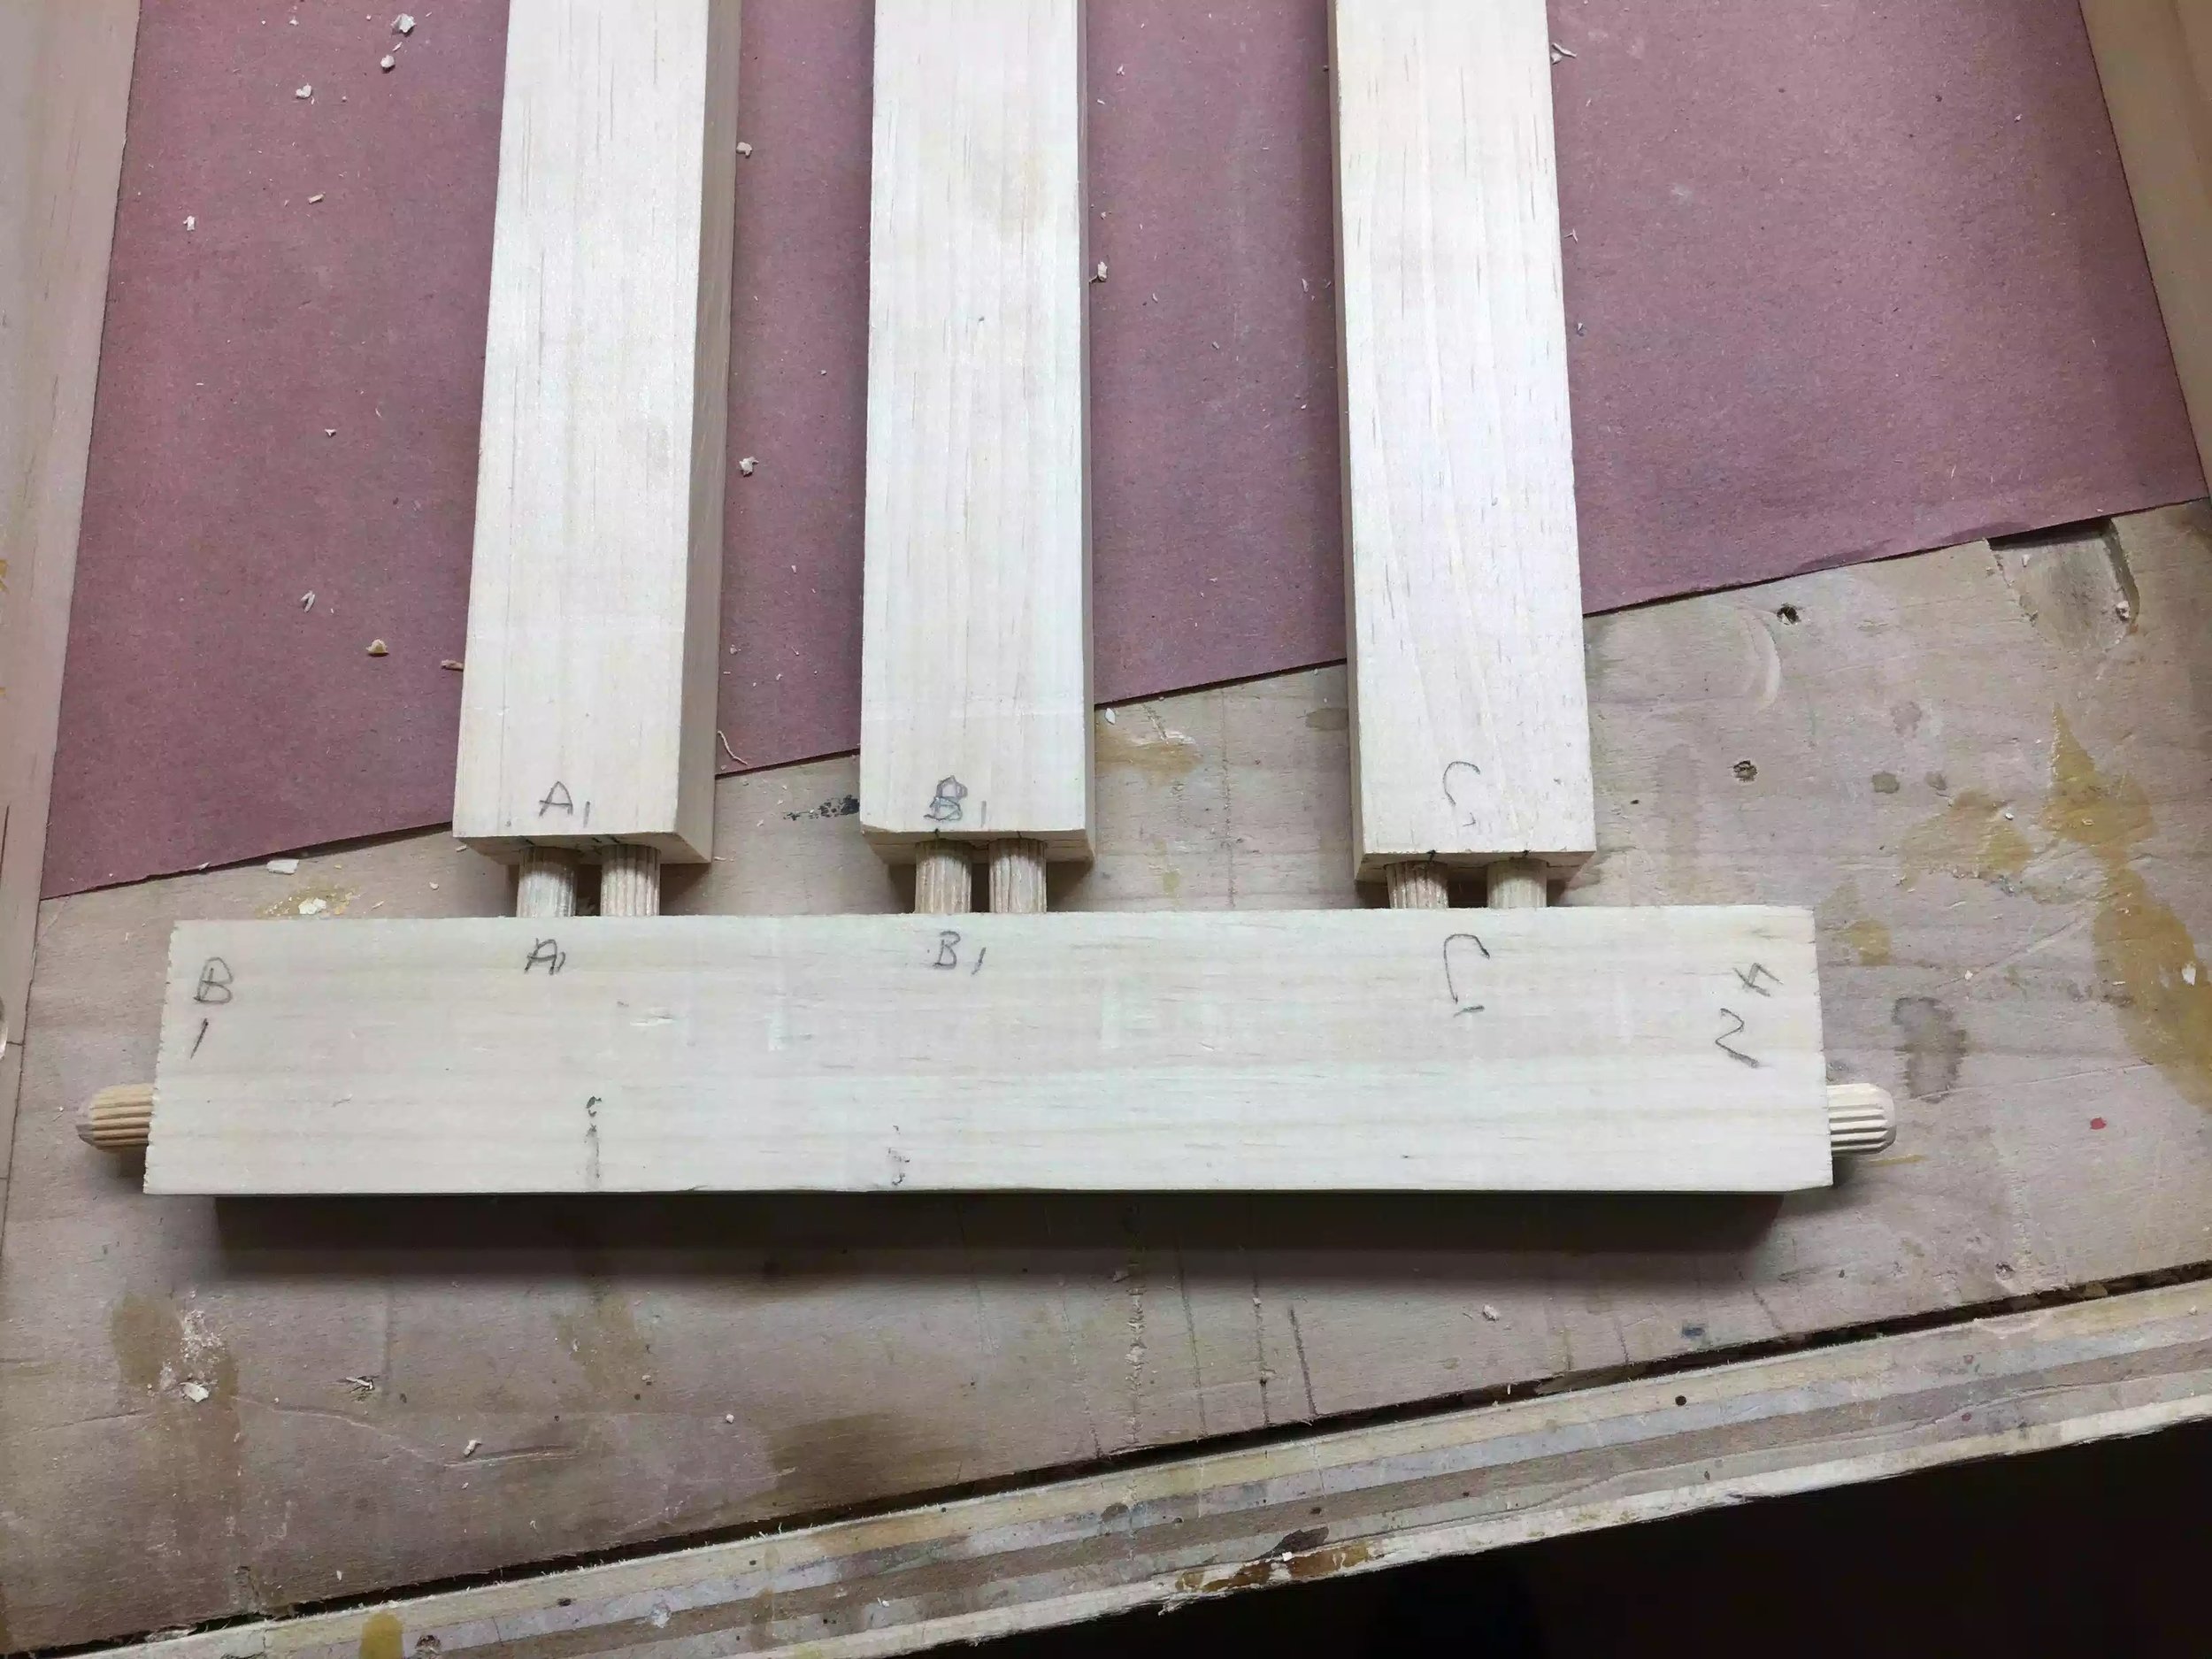
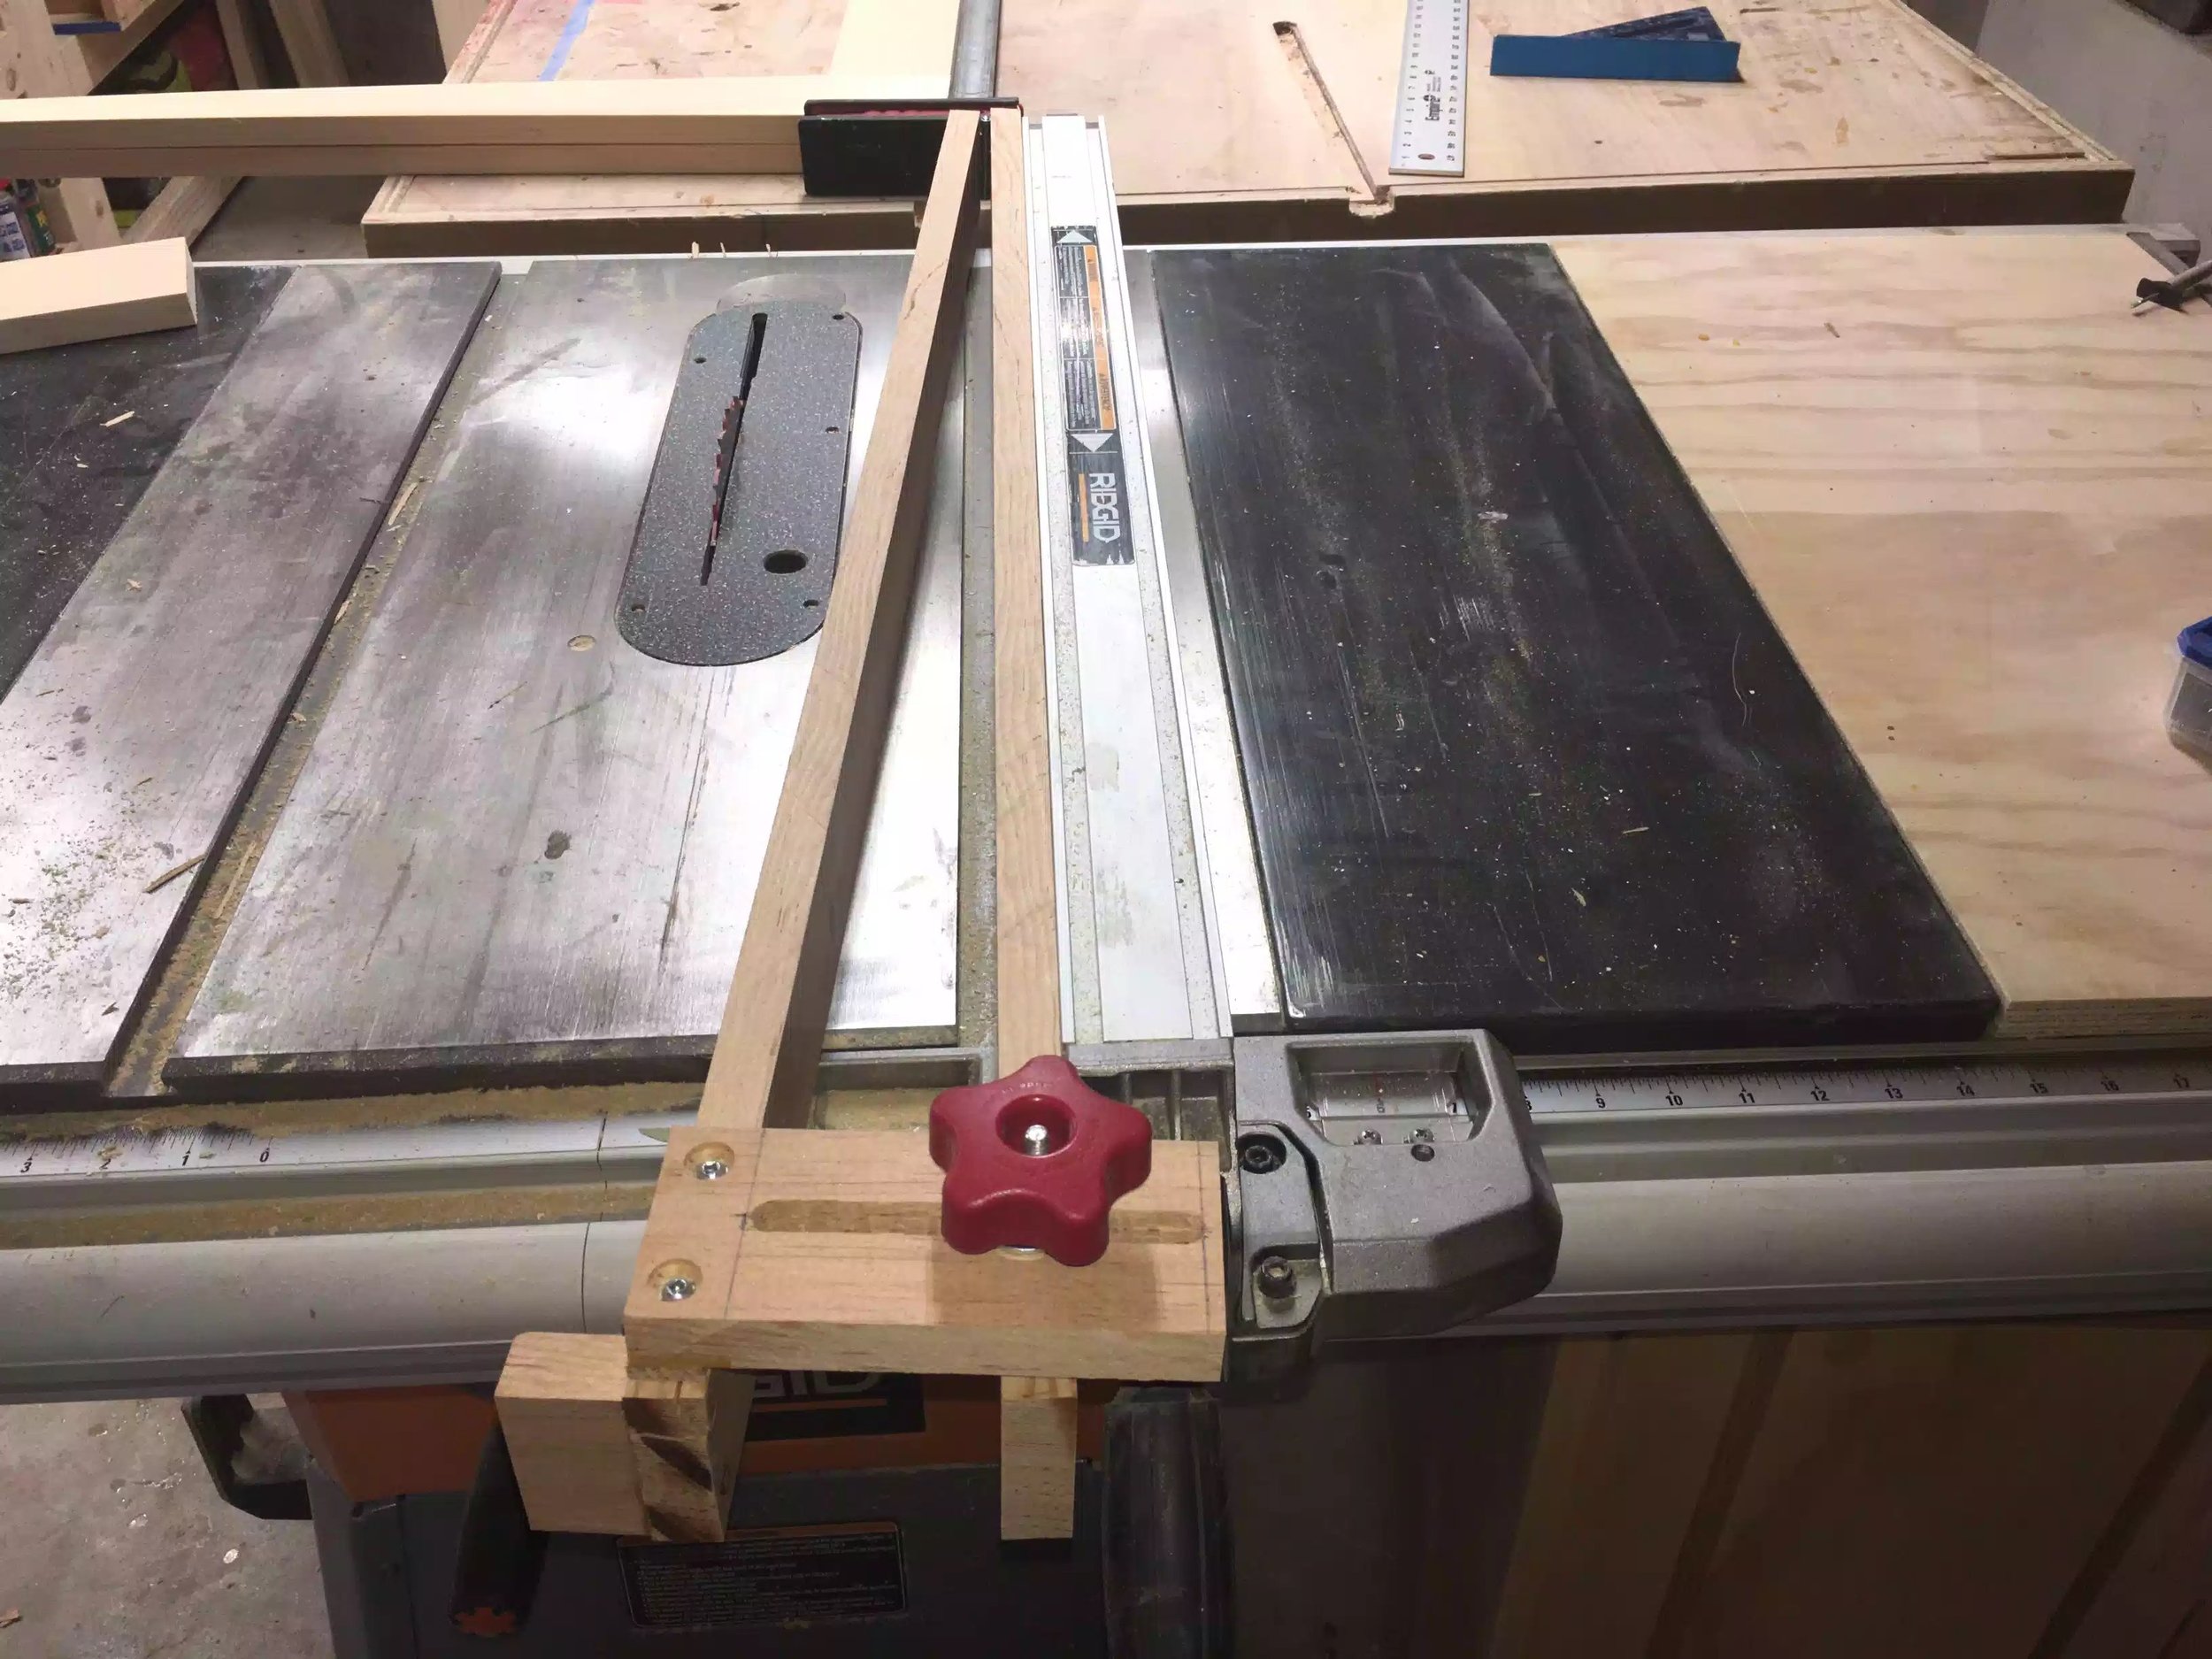
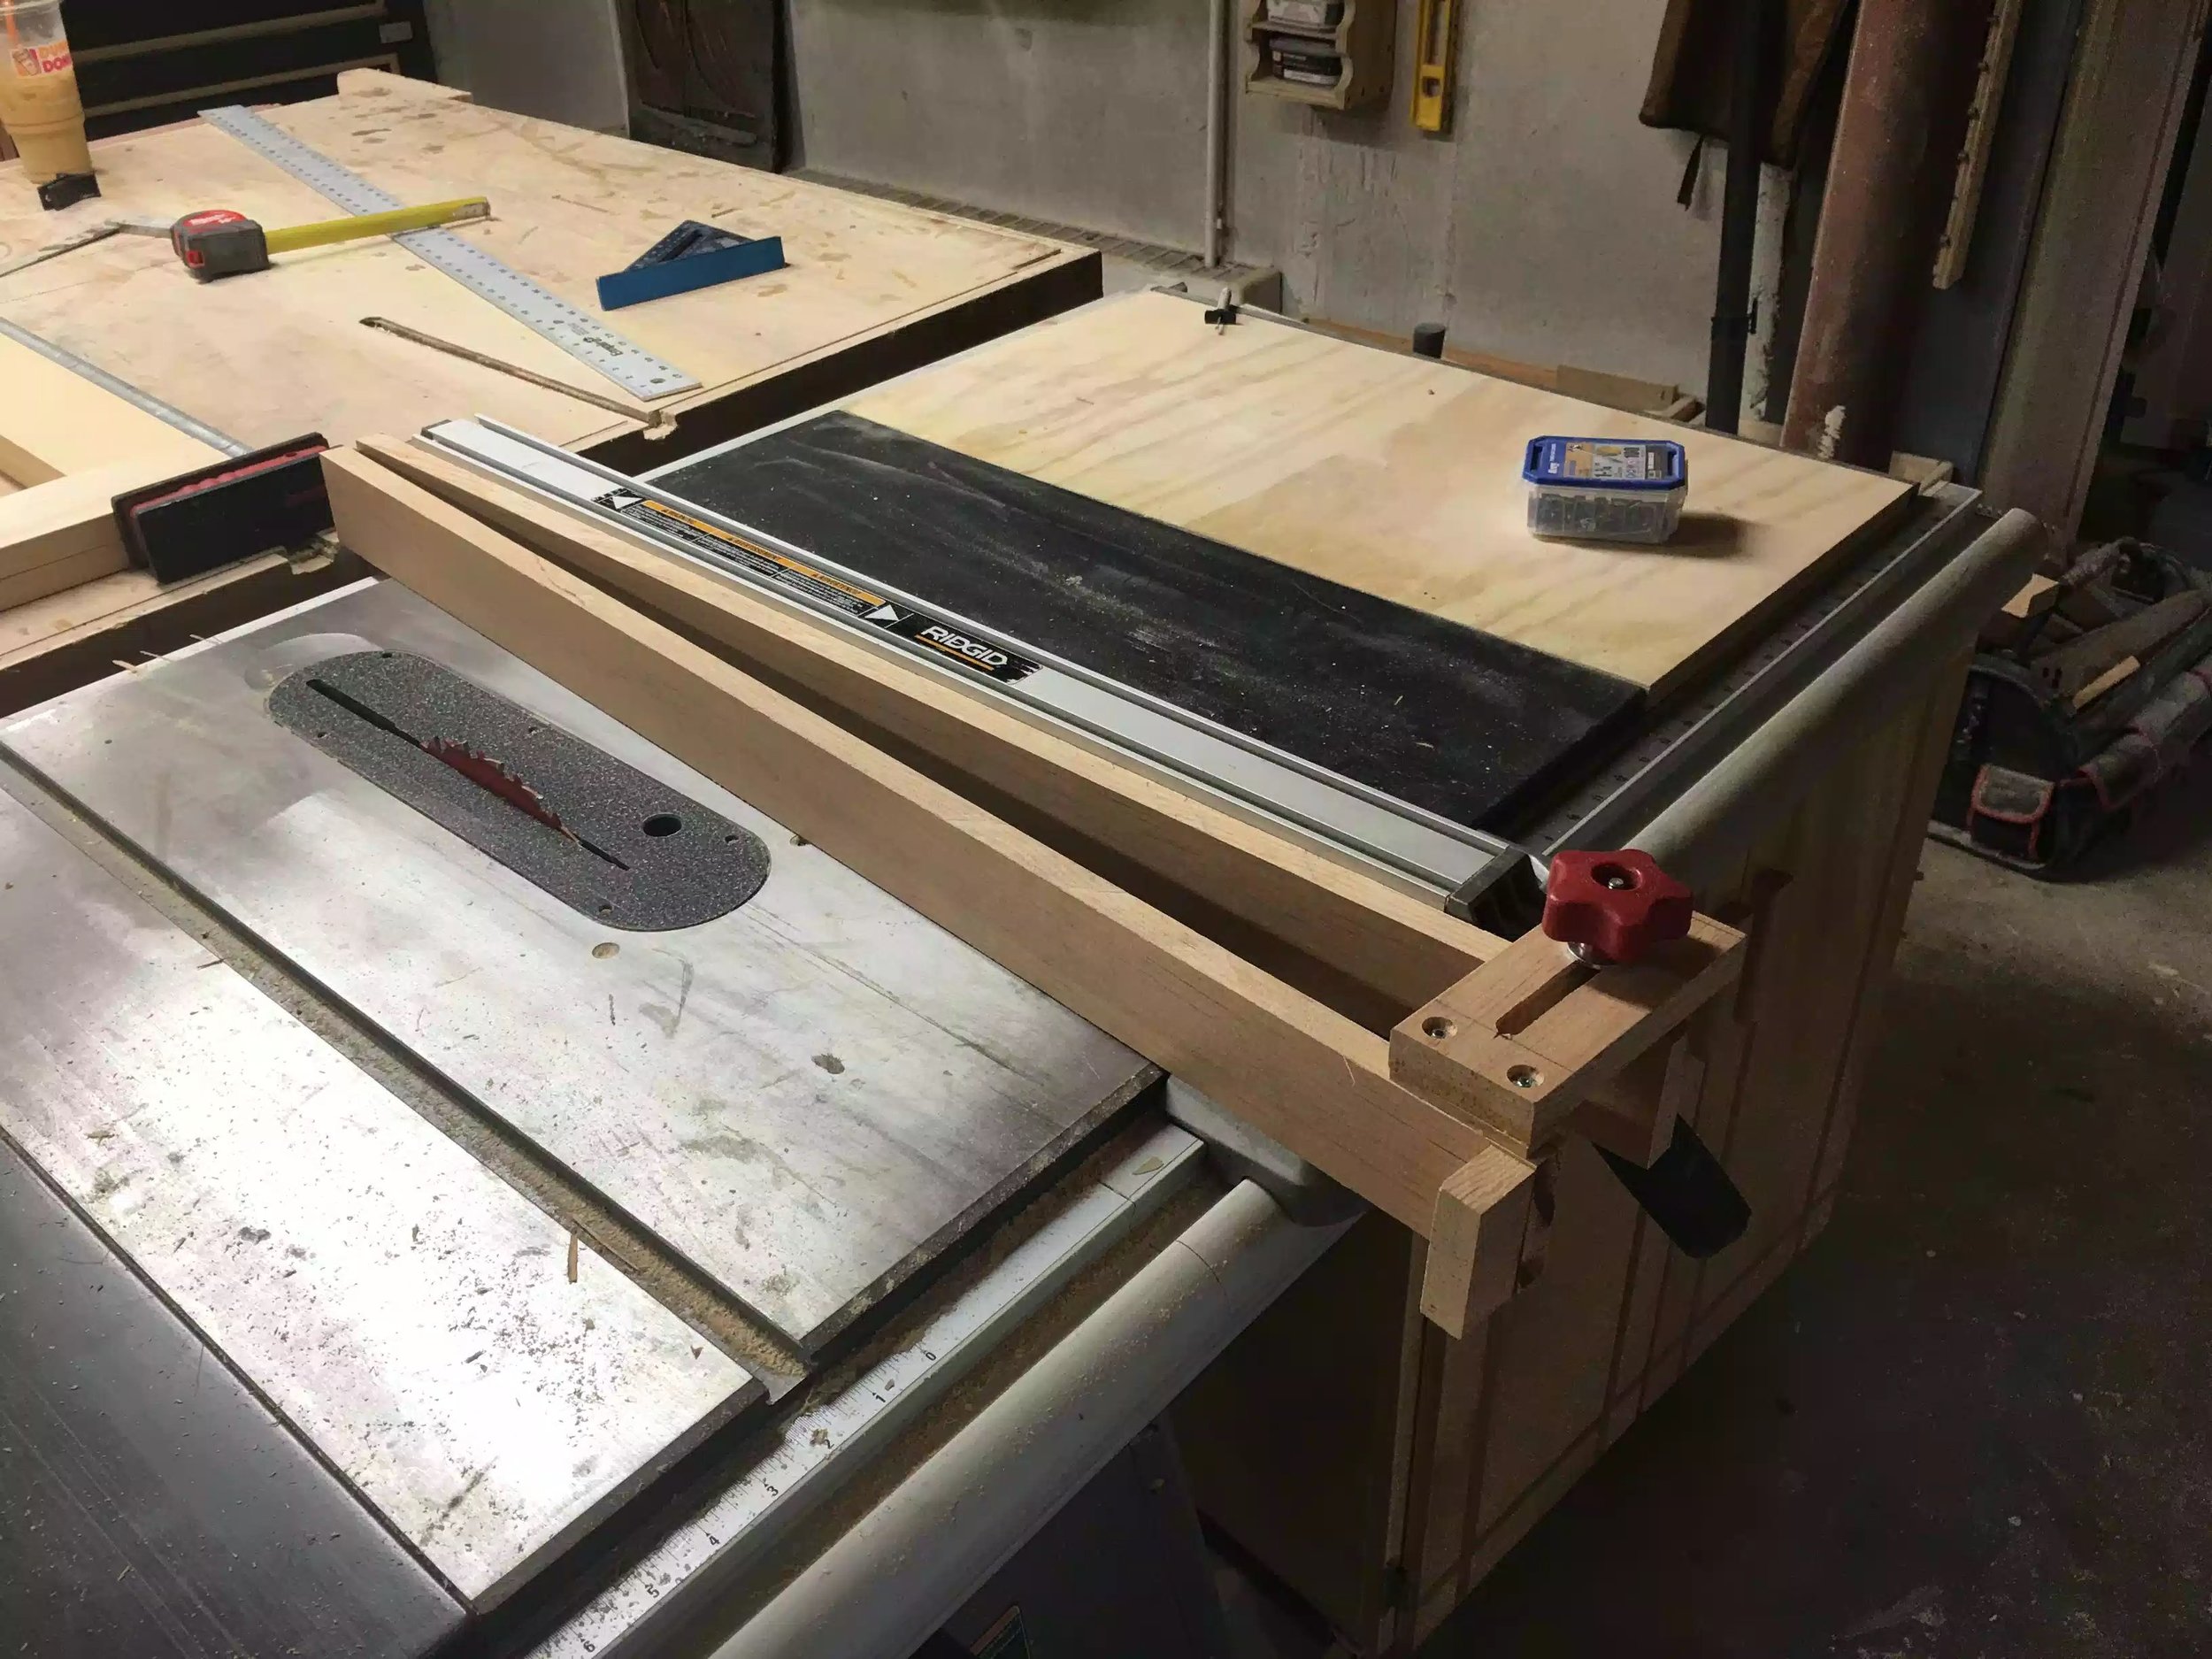
TAPERED LEGS
Since I was doing alot of first on this project I decided to try my hand at doing tapered legs, but before I could do that I was researching on purchasing a jig to do that but my only issue was that most of them were to short, reviews said that they were not safe and they were not cheap, I turned to the internet to see about making my own so I found this YouTube video on making my own and all I needed was scrap.
The pictures below show the jig and the finished taper leg.
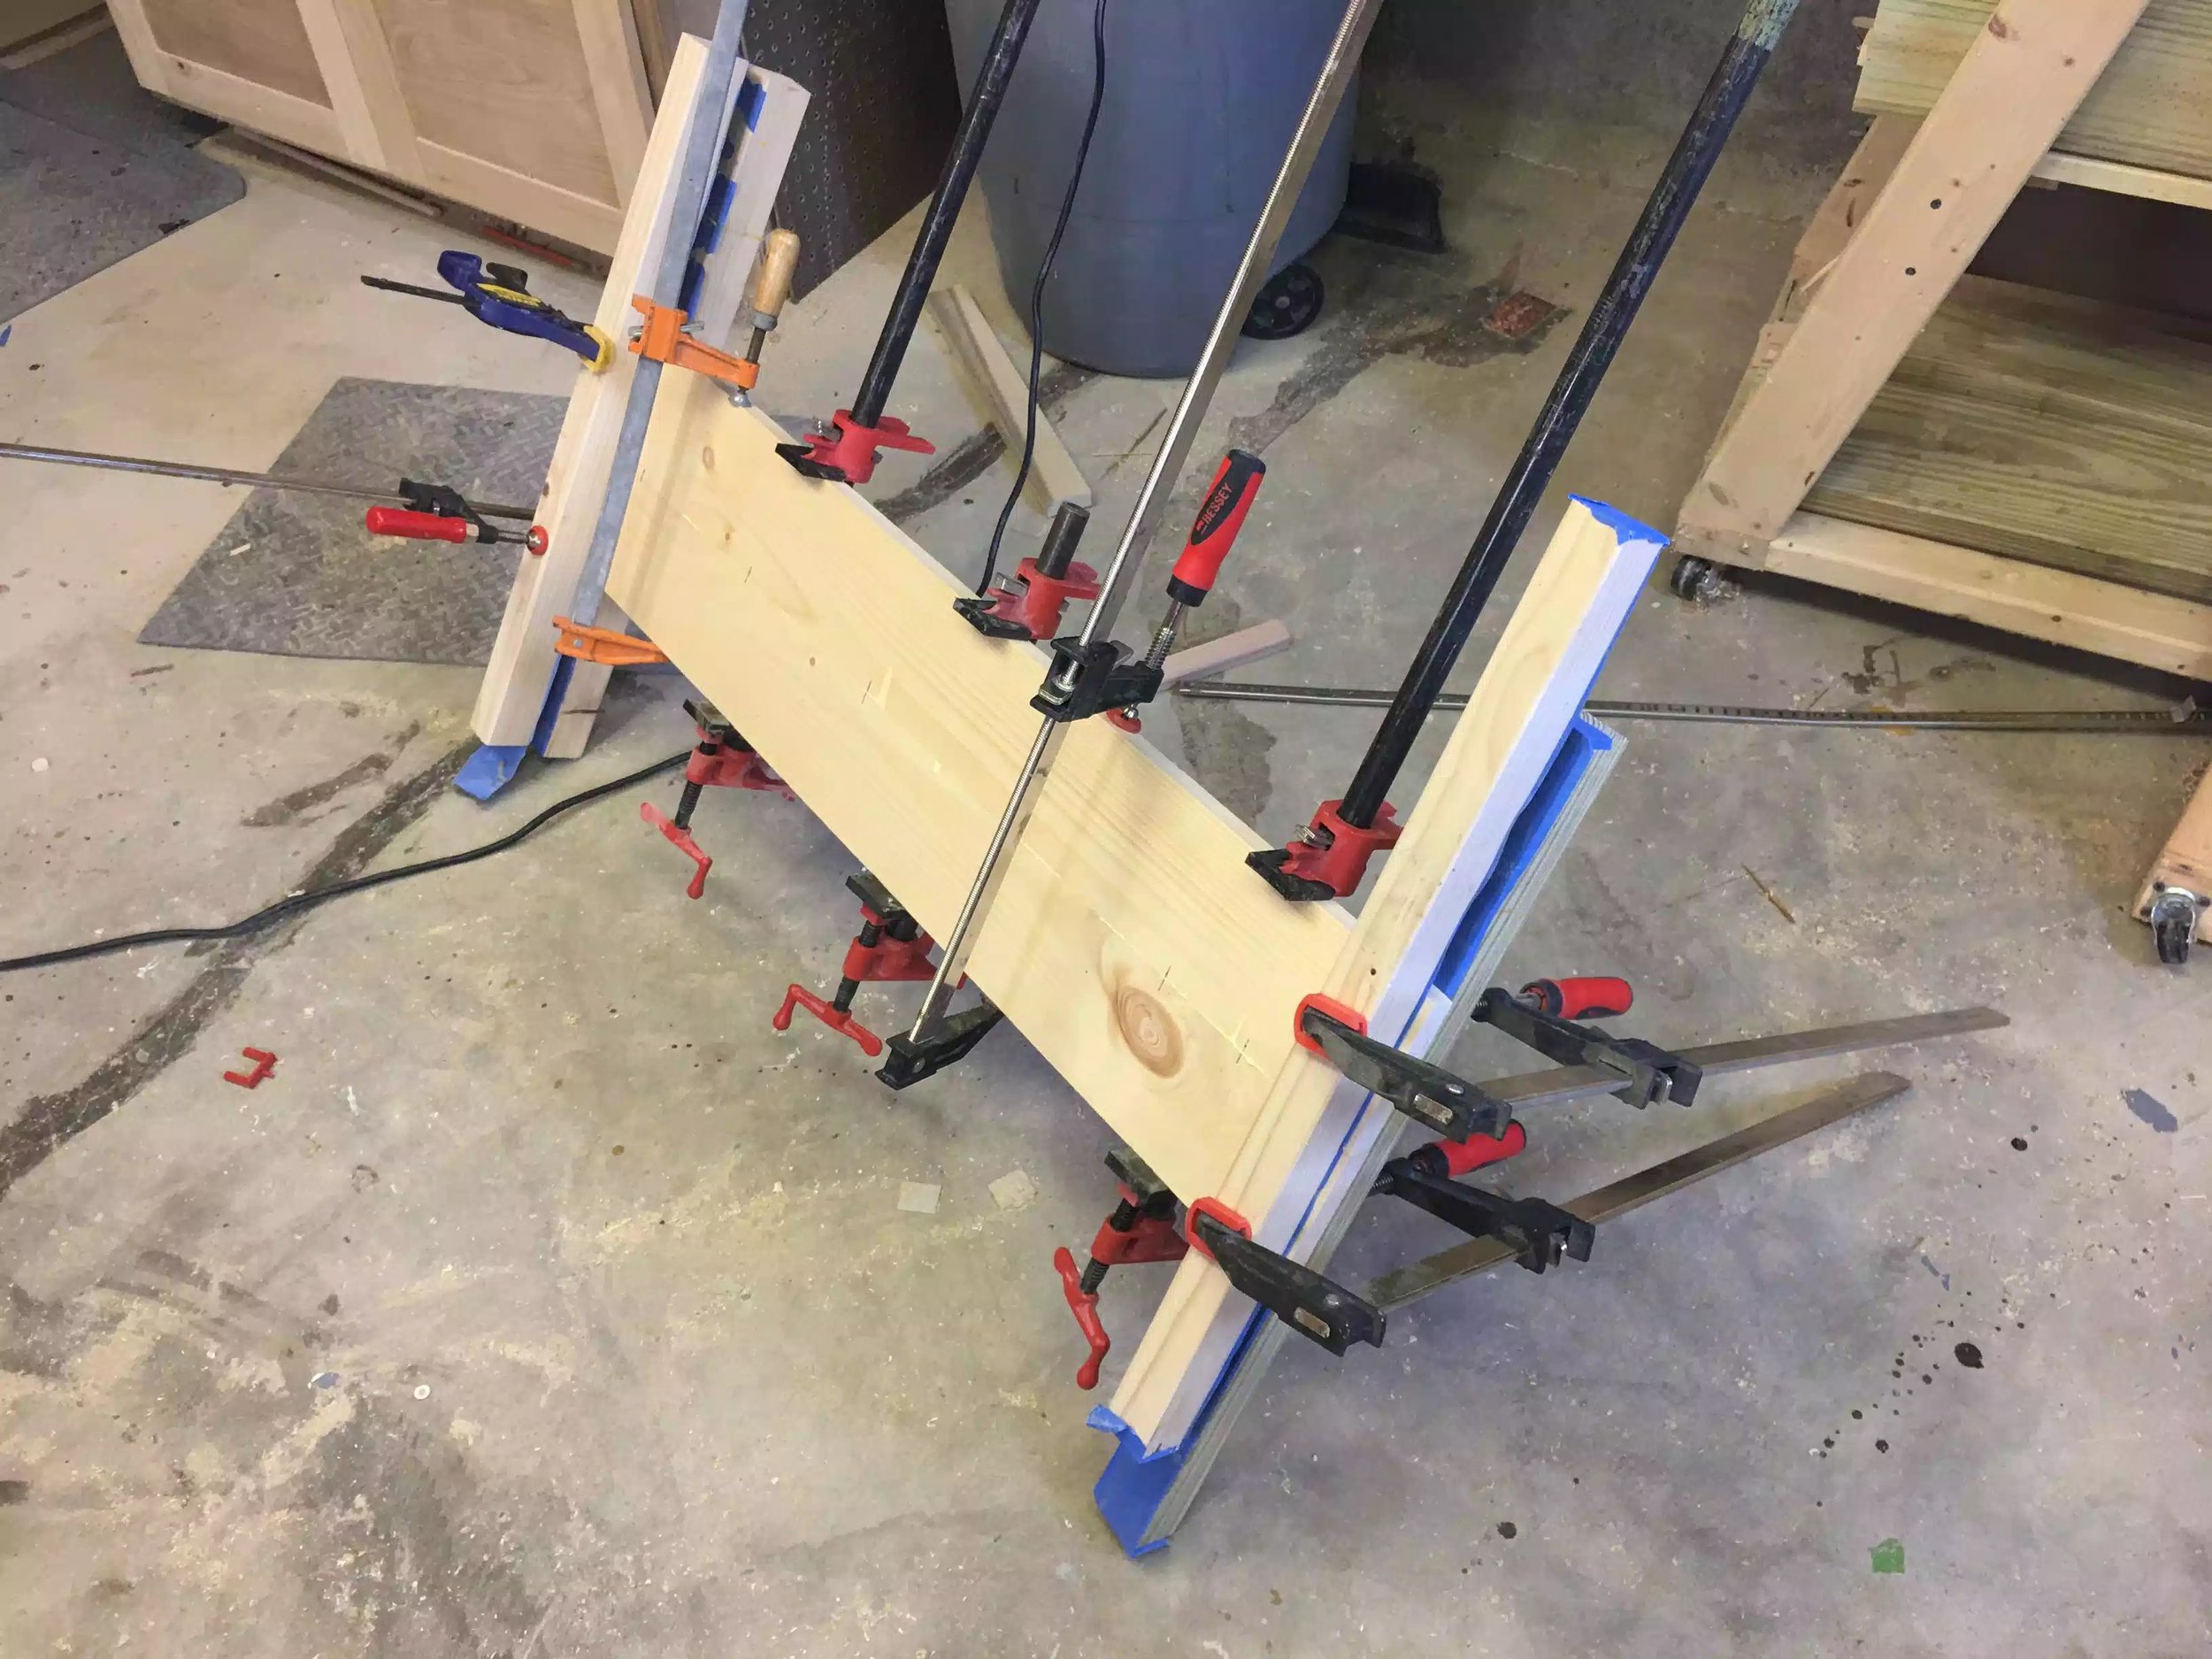
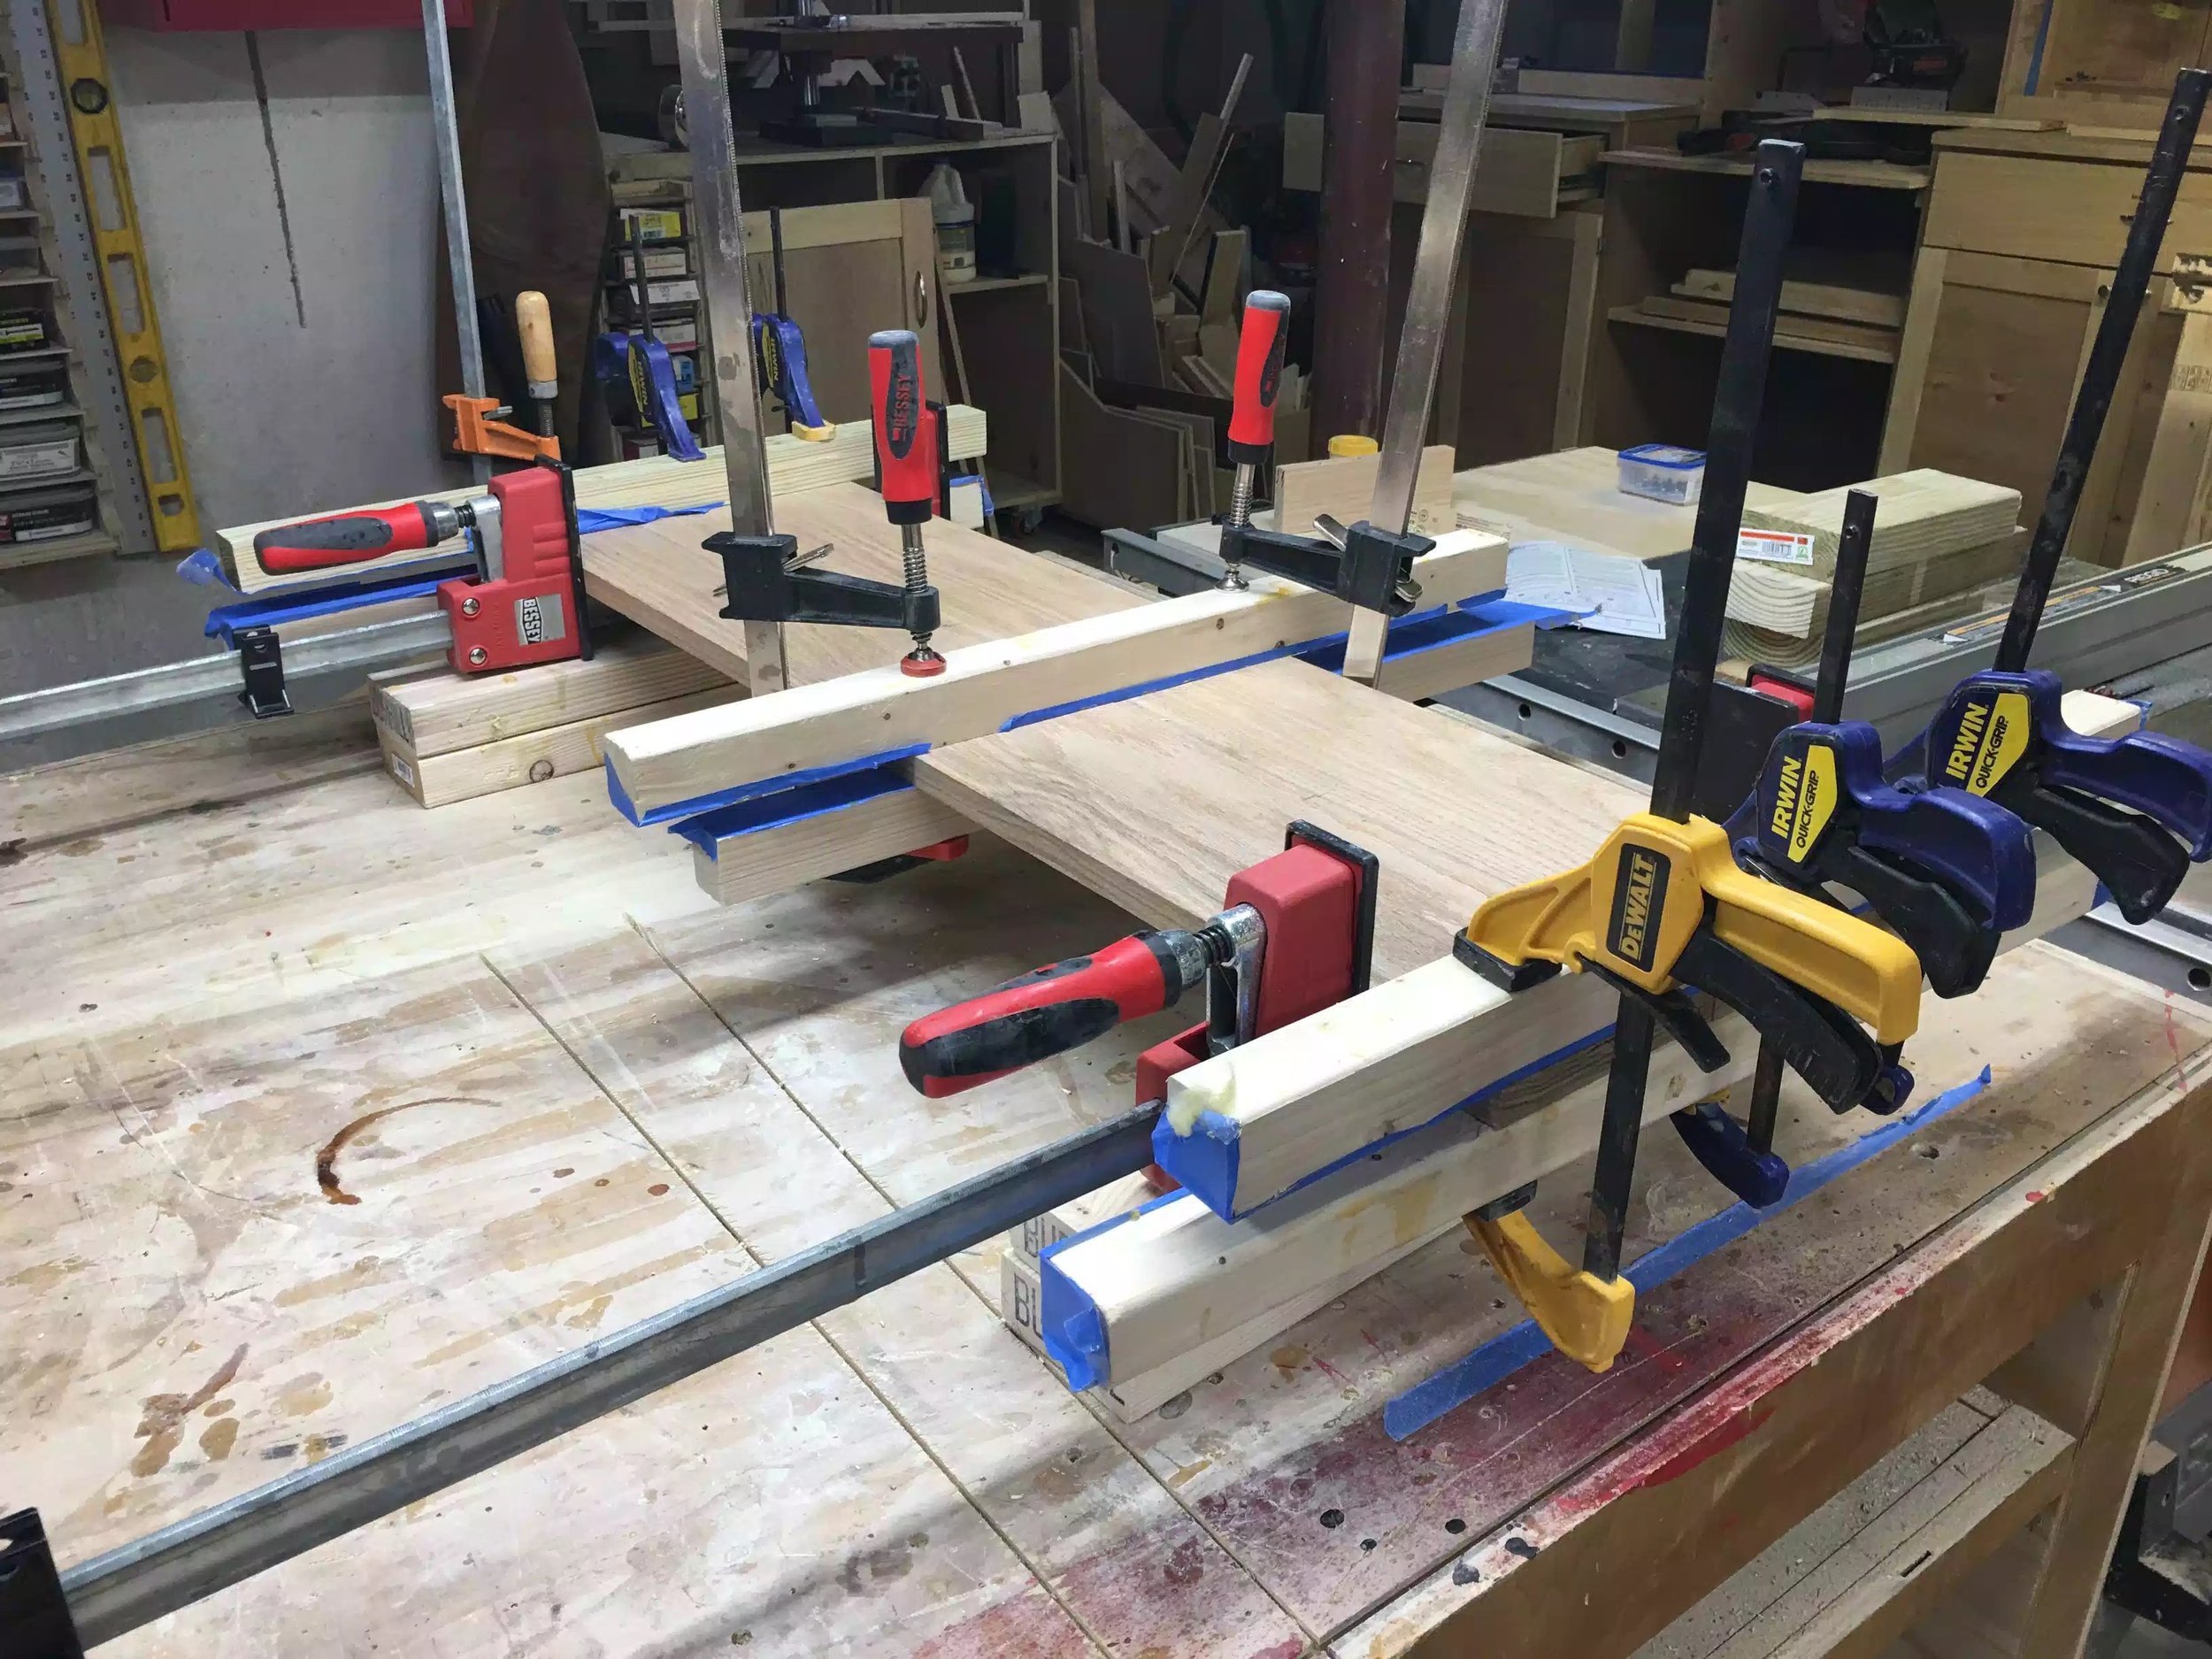
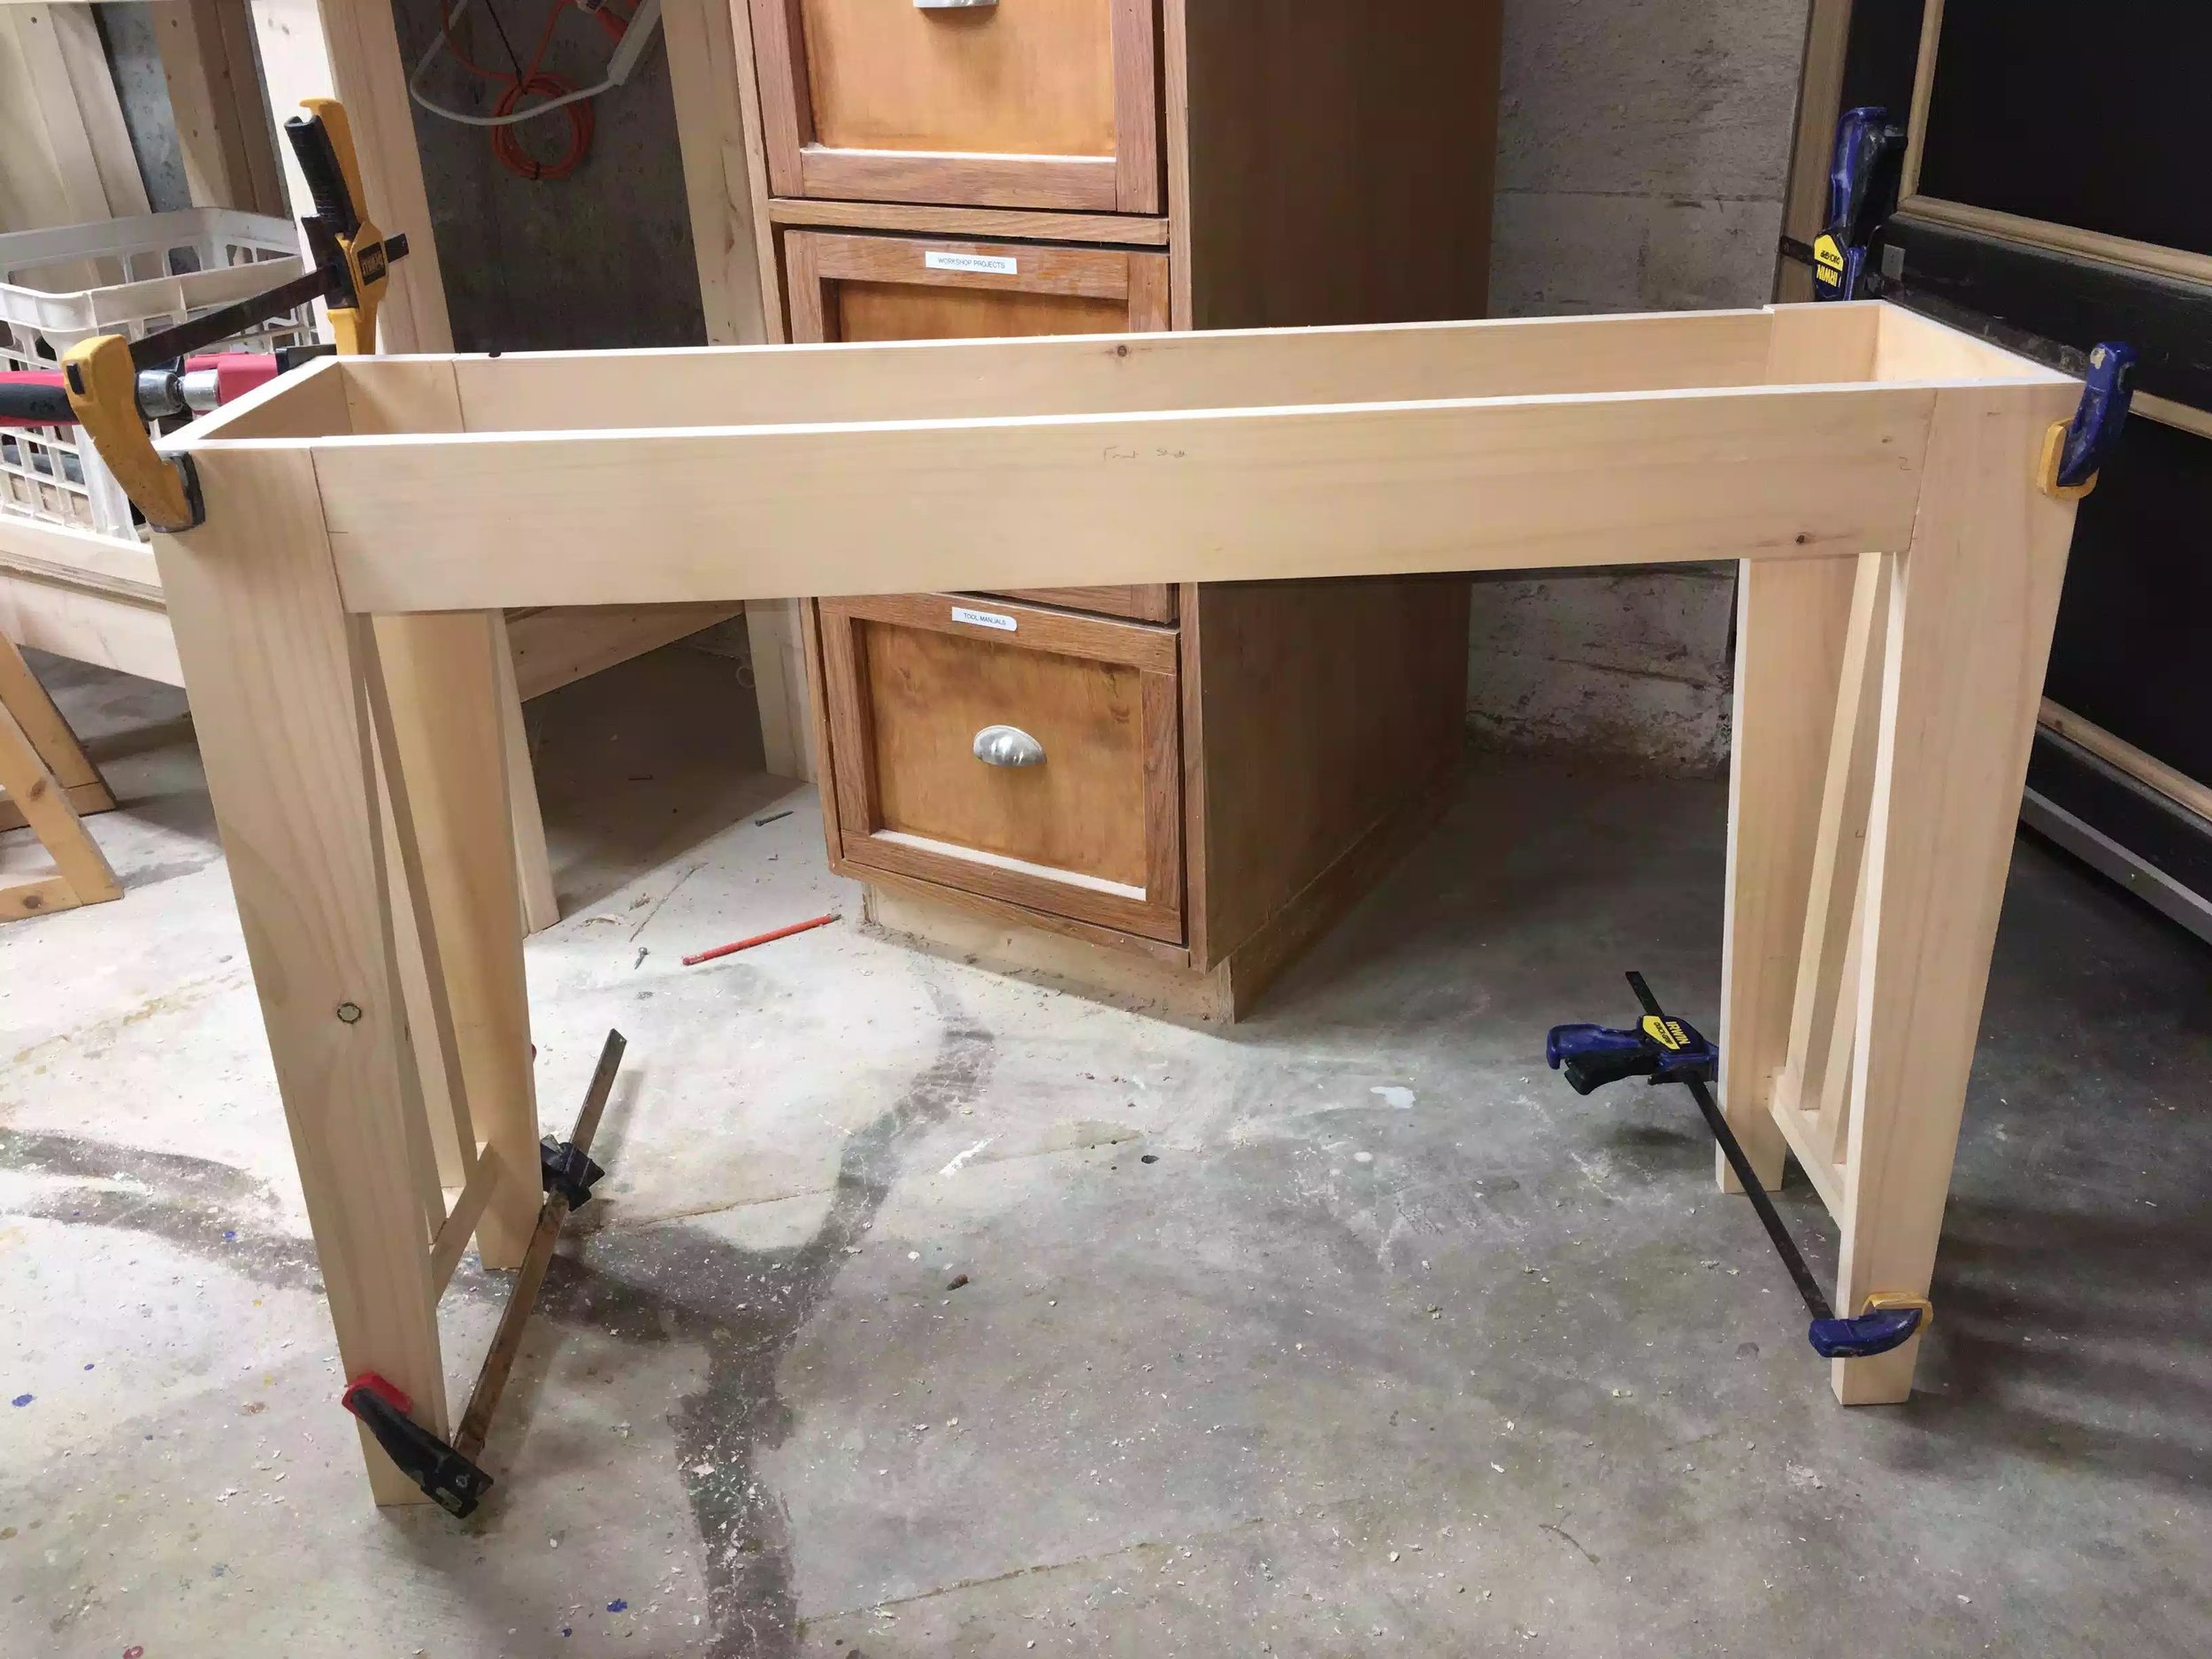
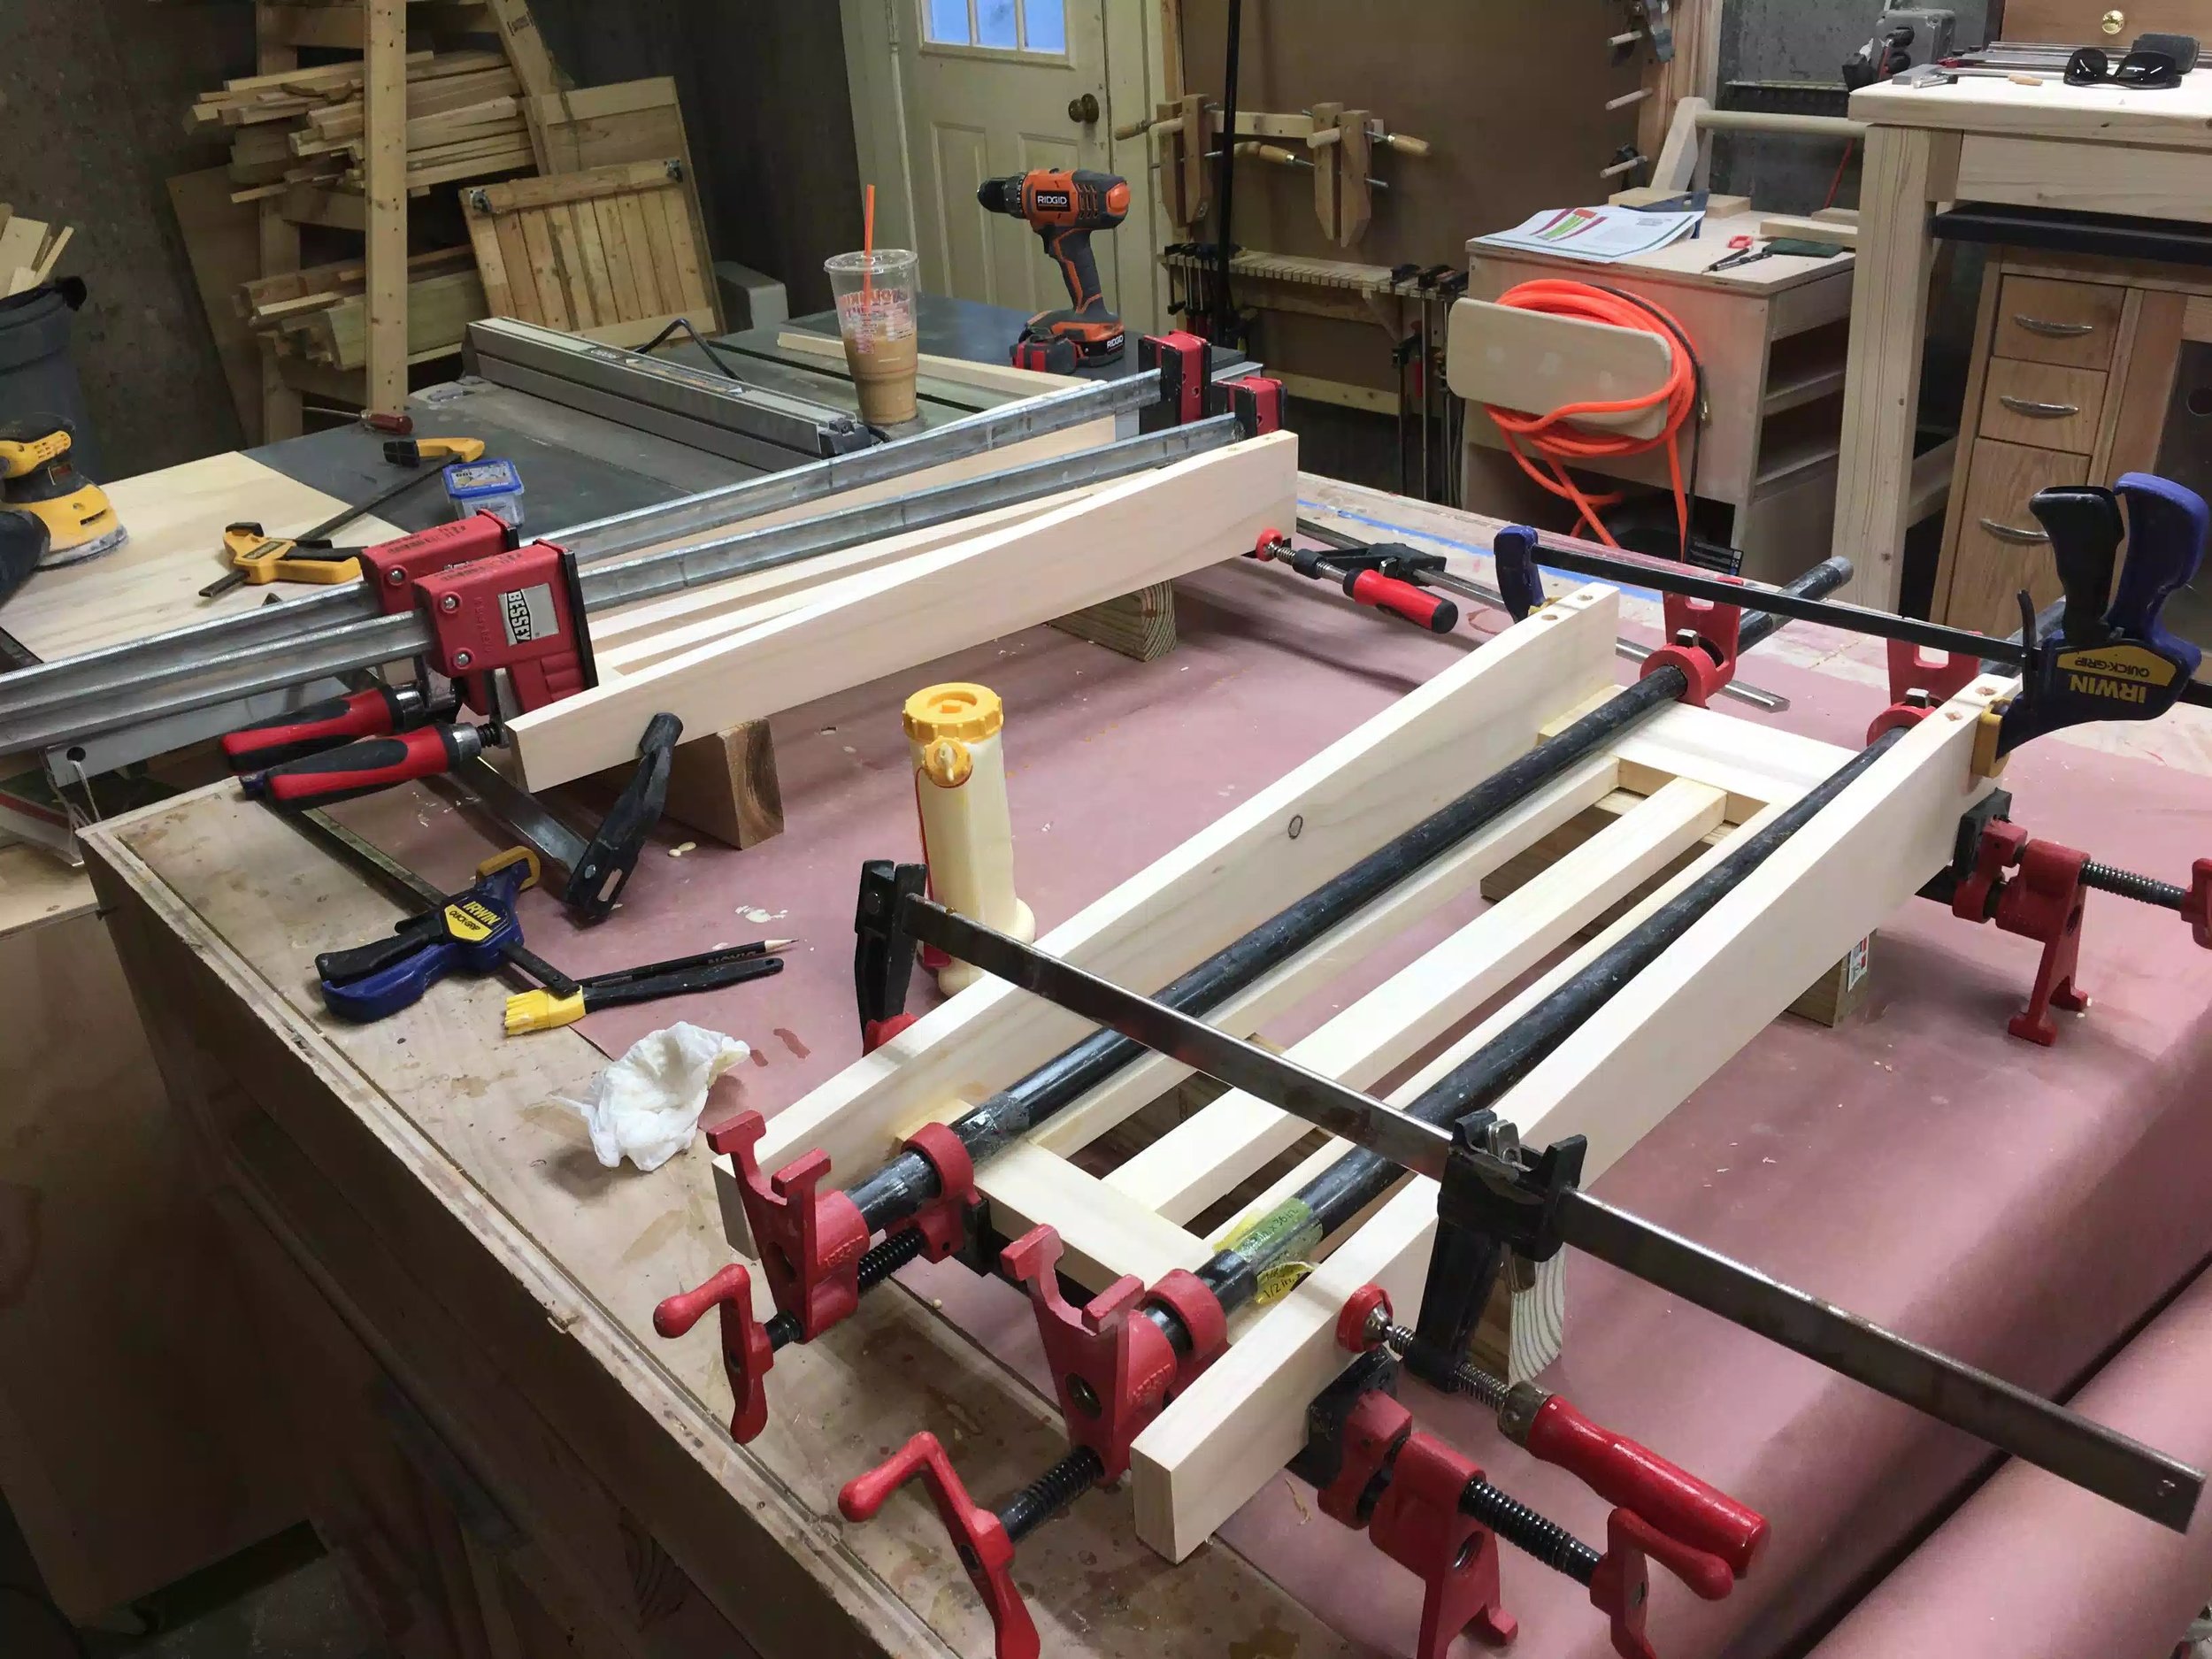
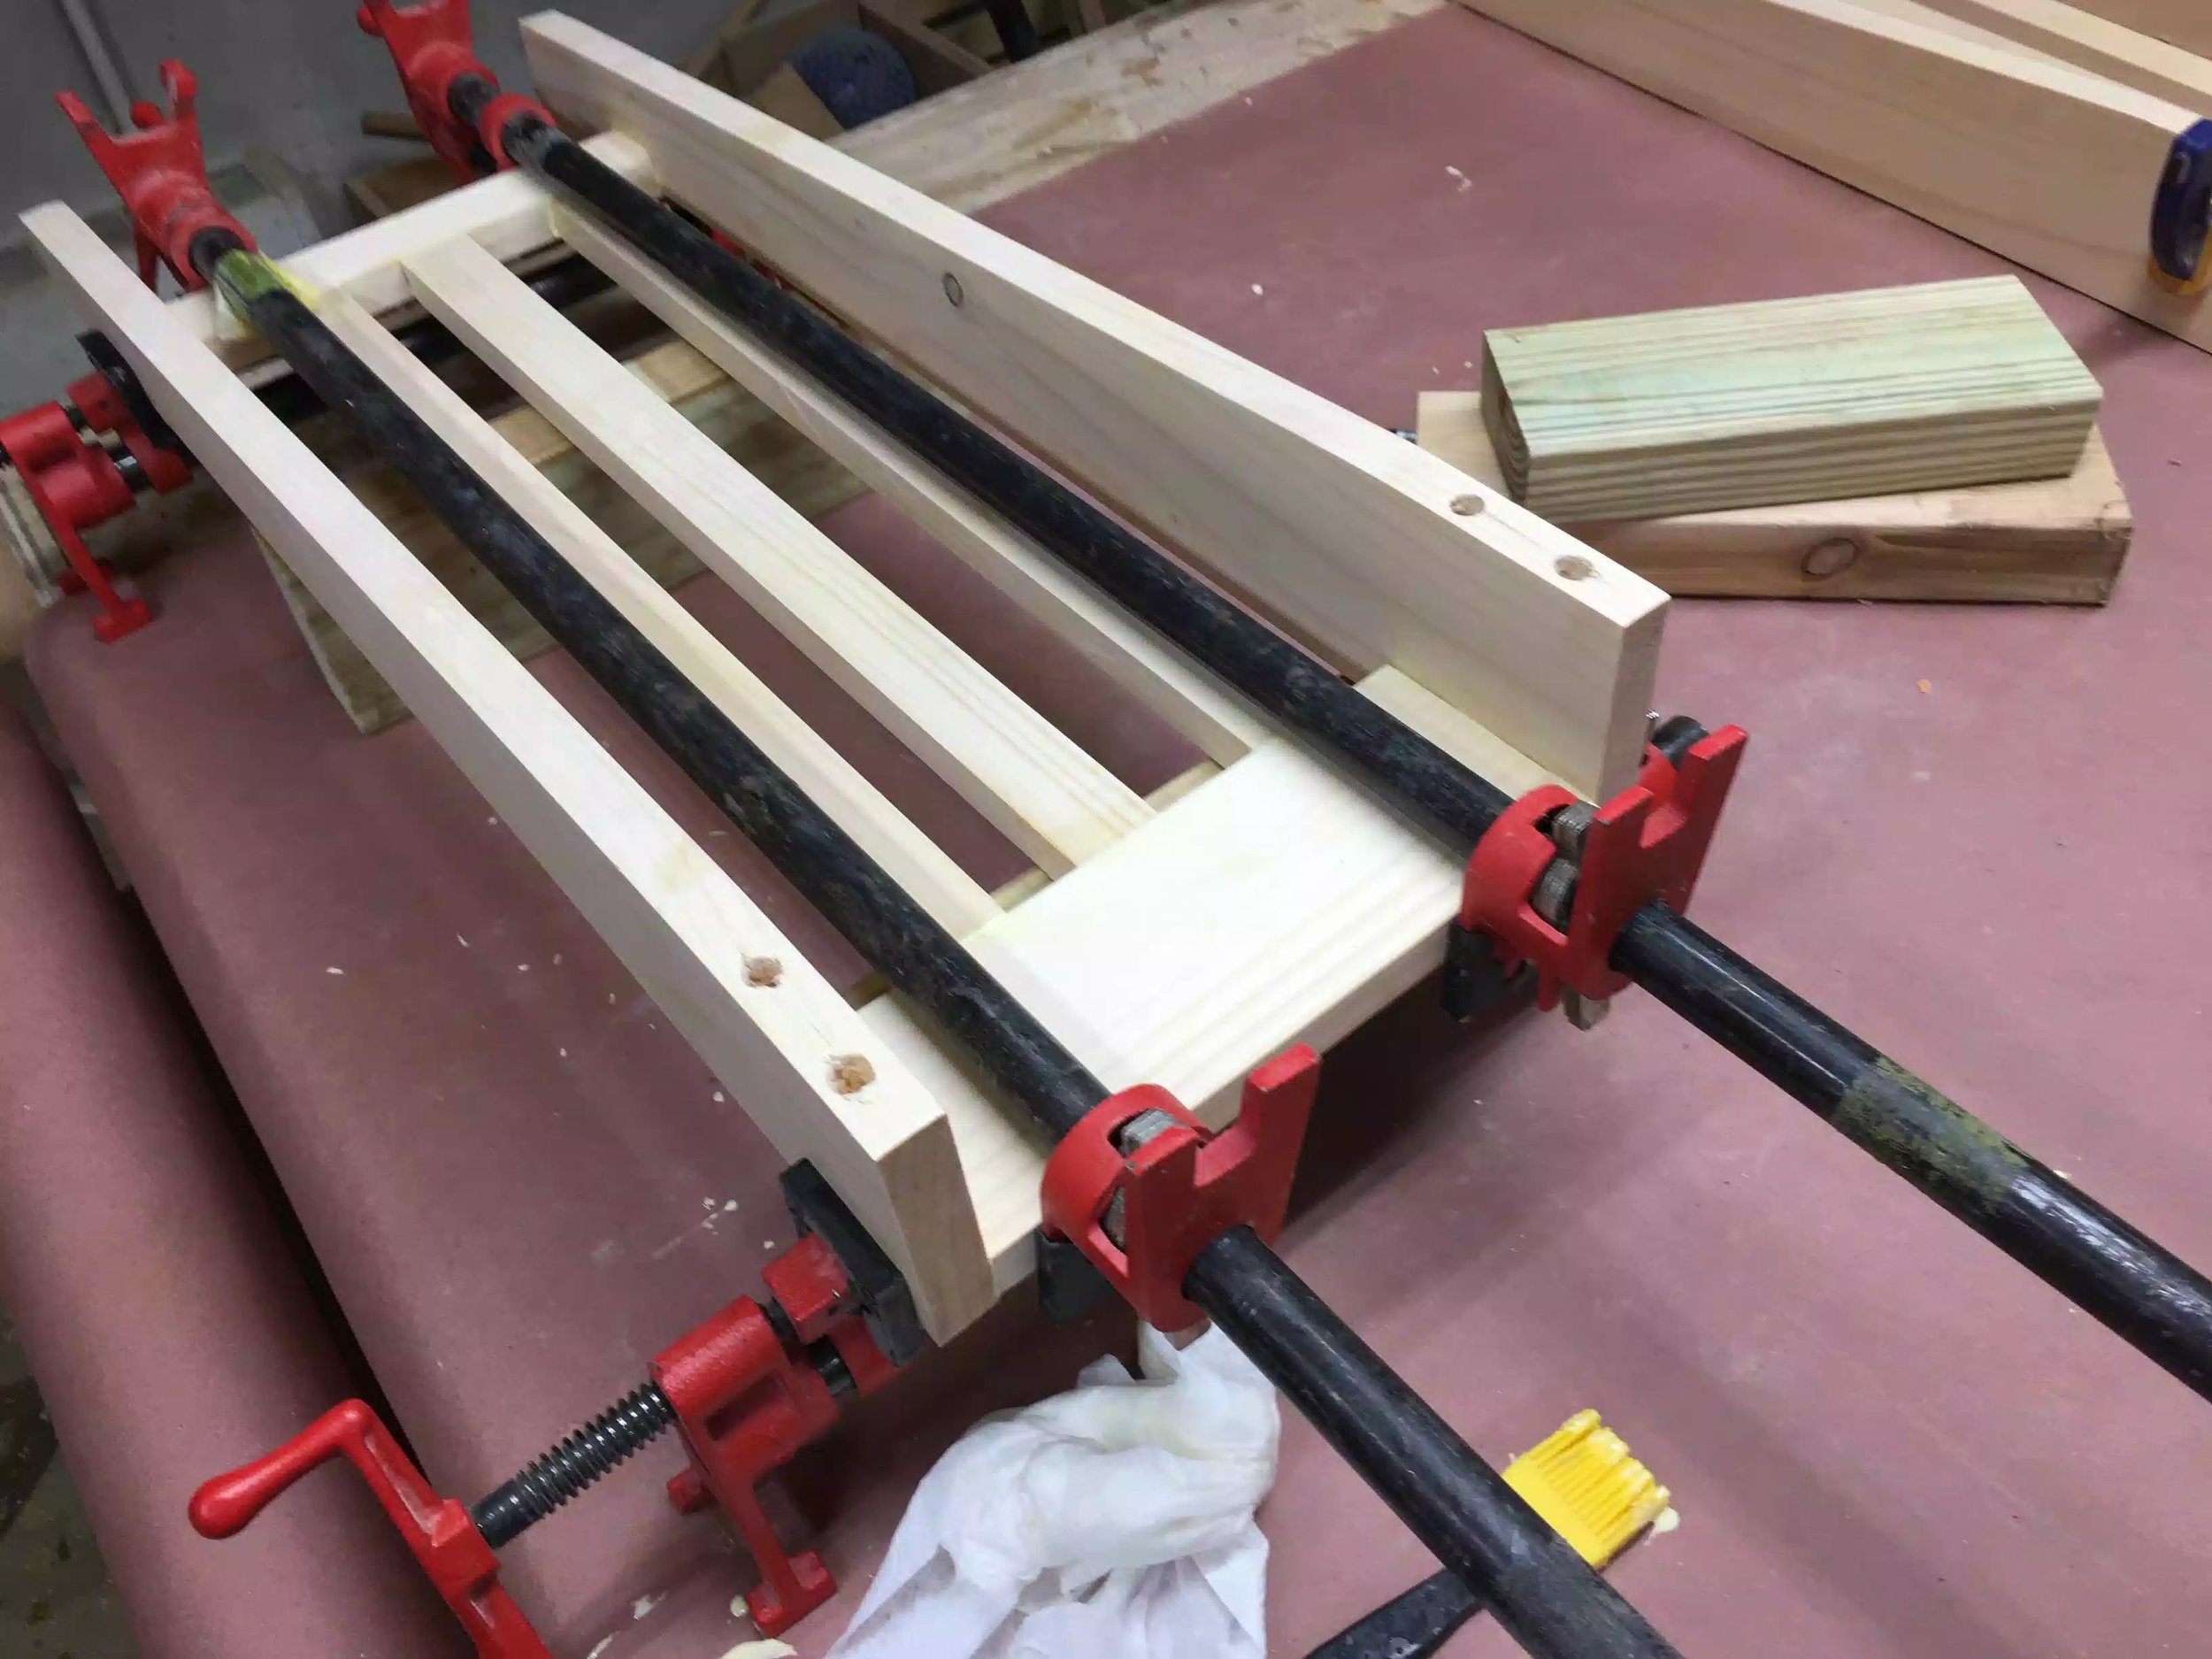
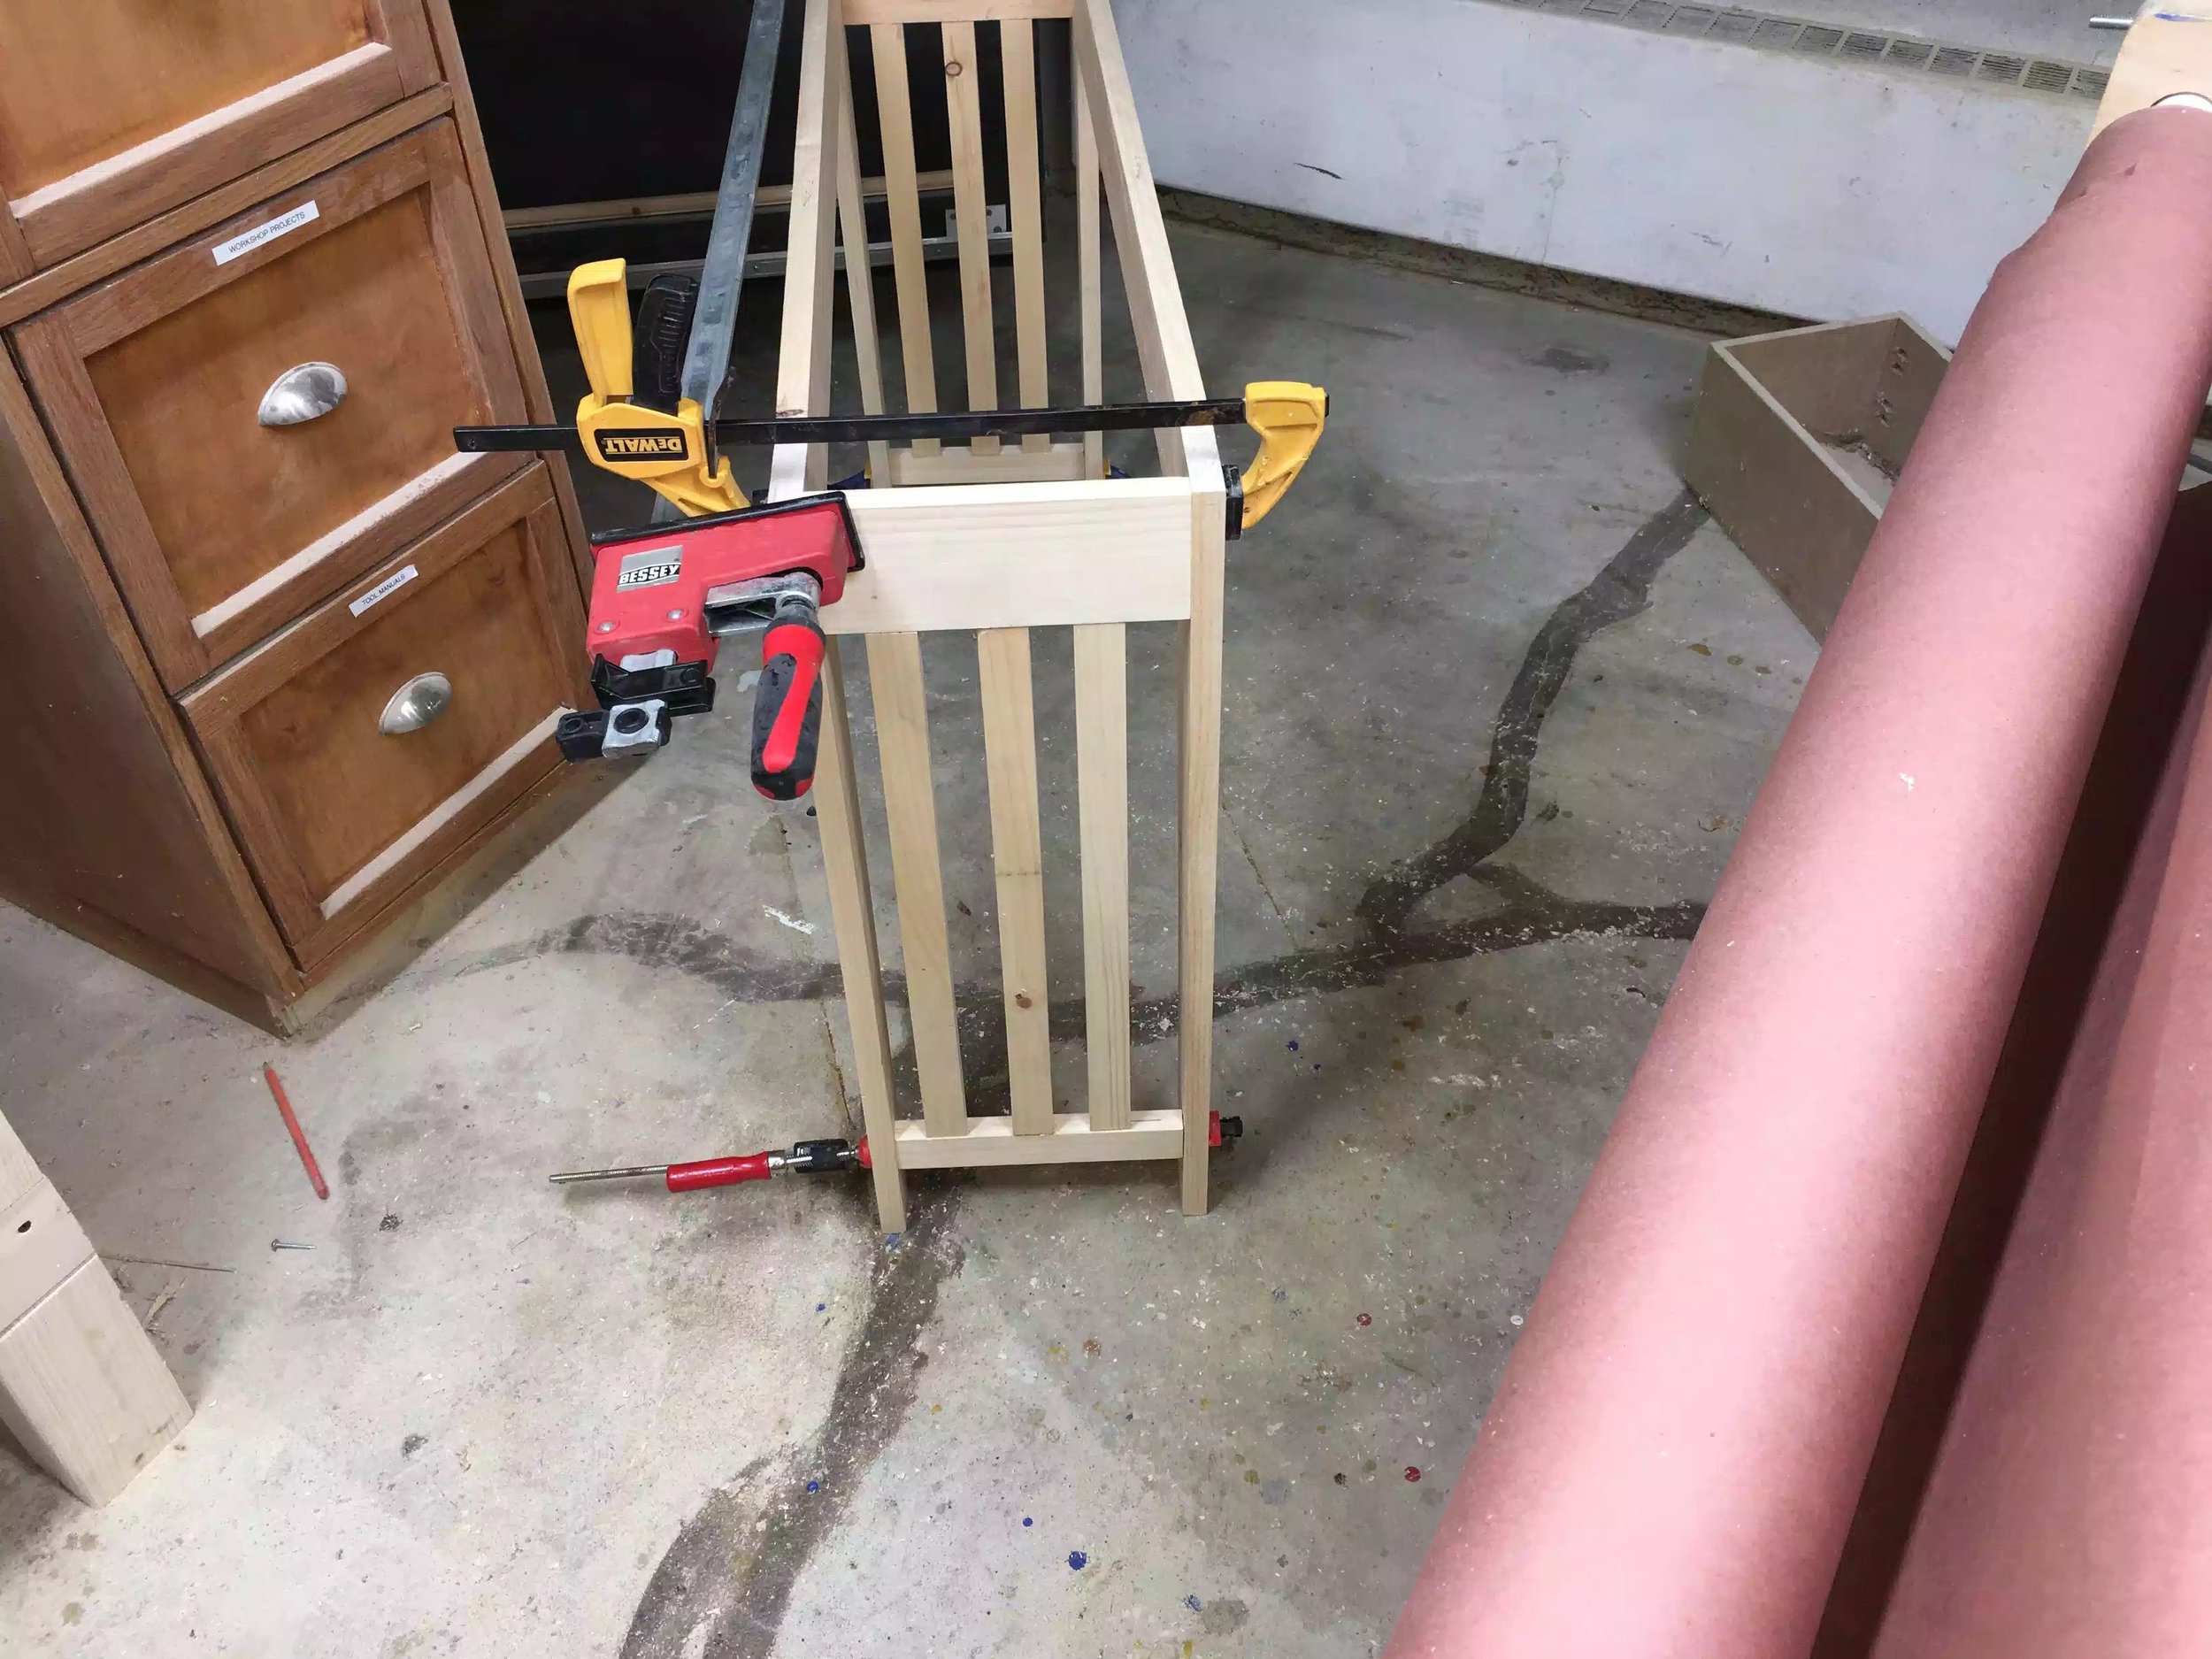
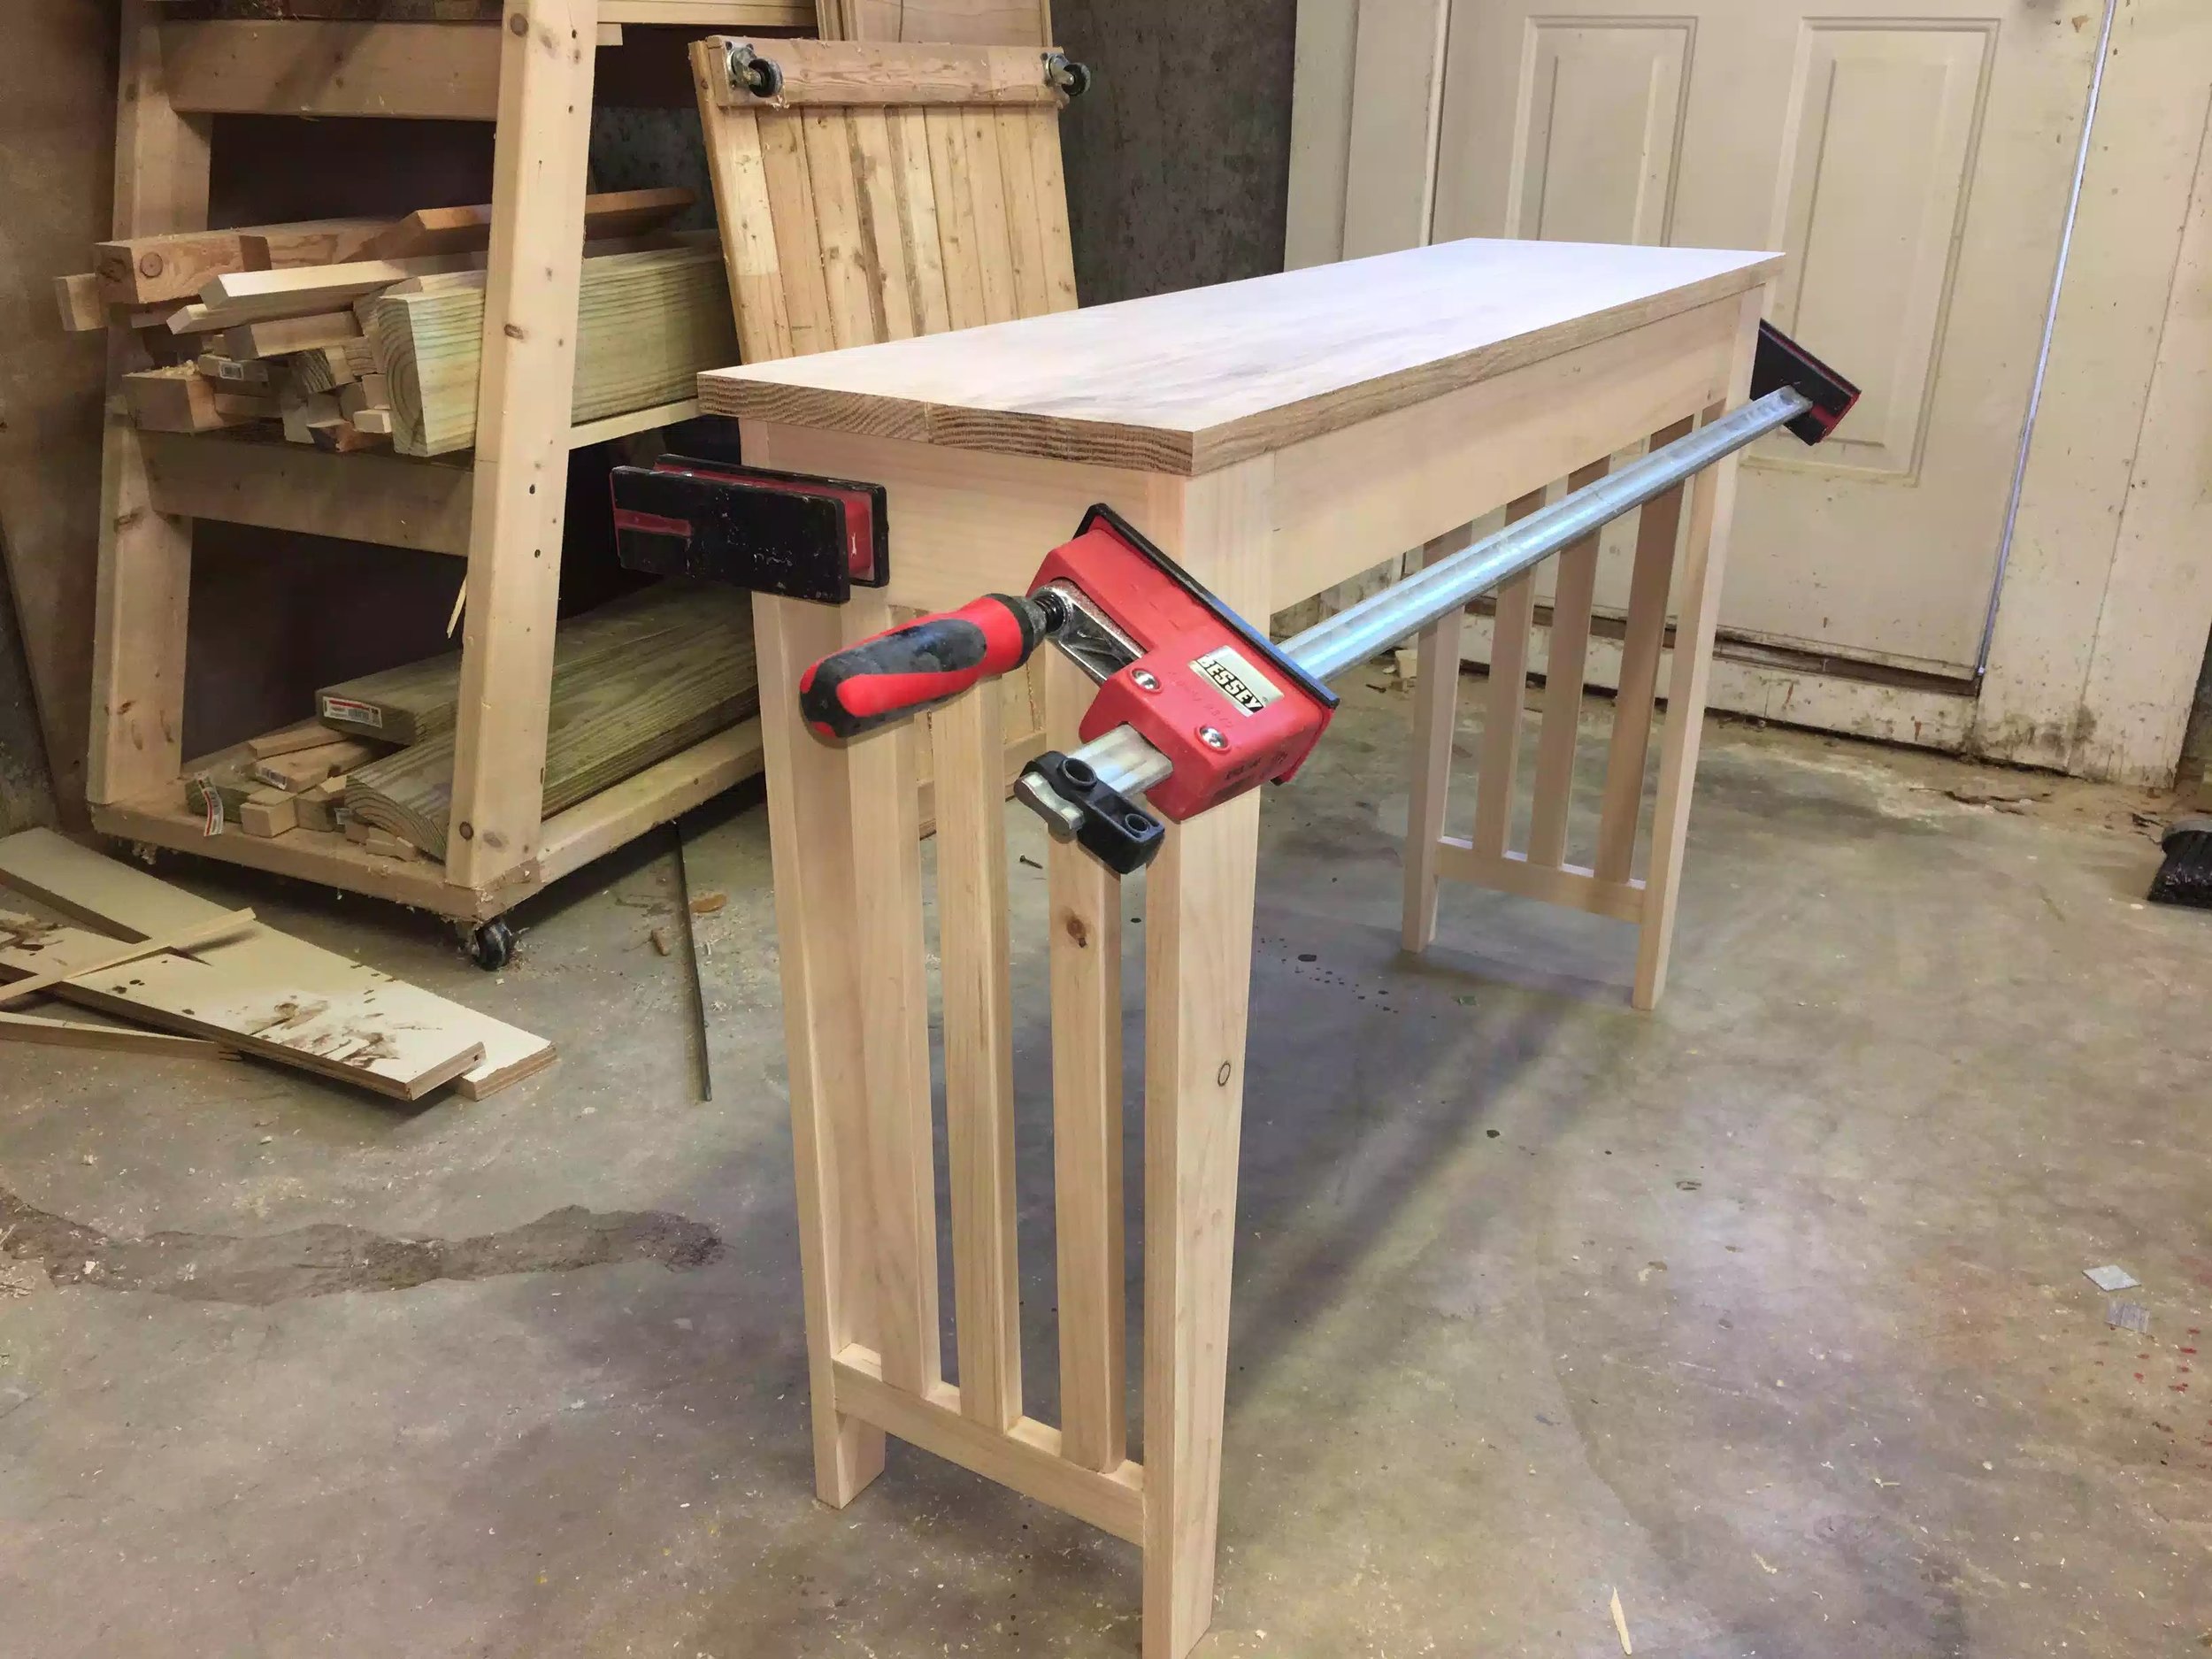
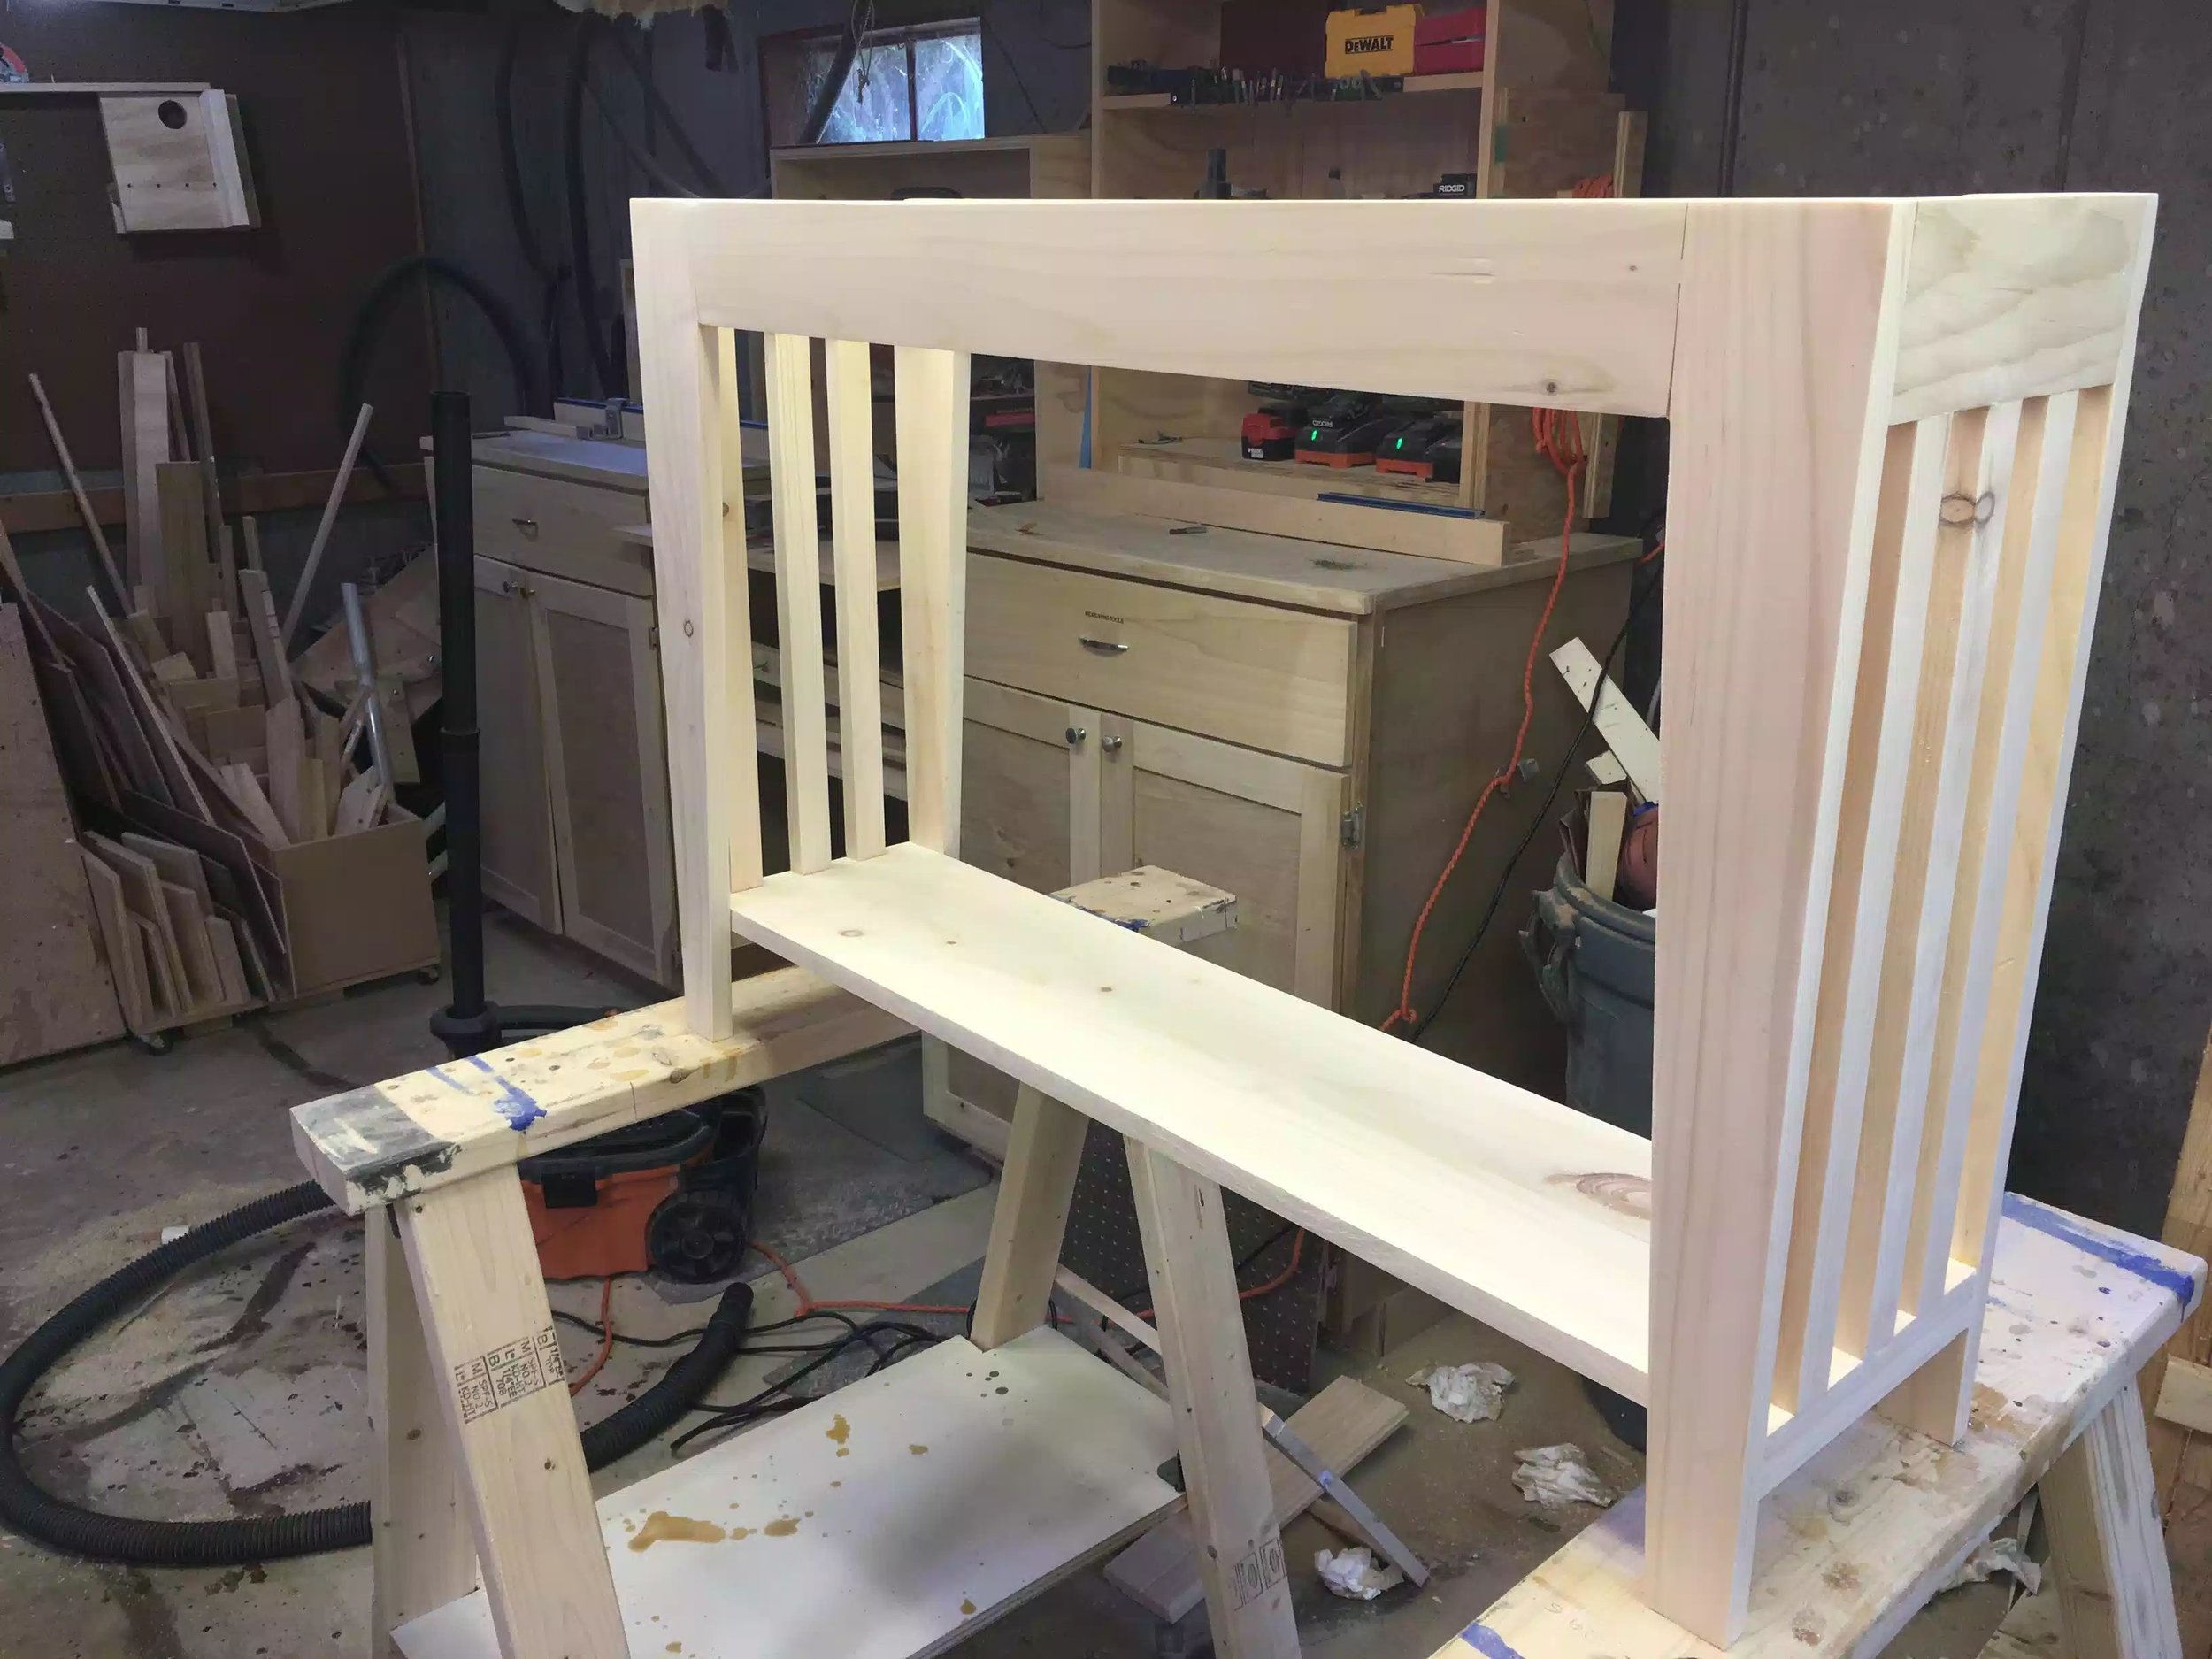
DRY ASSEMBLY
In almost every project I do I always complete this step to make sure that I achieve the following:
- Make sure all the mating pieces come together nicely, making sure that joinery I have chosen is a good choice
- Make sure I do the glue up in an orderly way and finally making sure that I know where to place the clamps so as that they are on standby mode when I have actually applied the glue.
The pictures below show the dry assembly and the actual glue up to bottom part of the table.


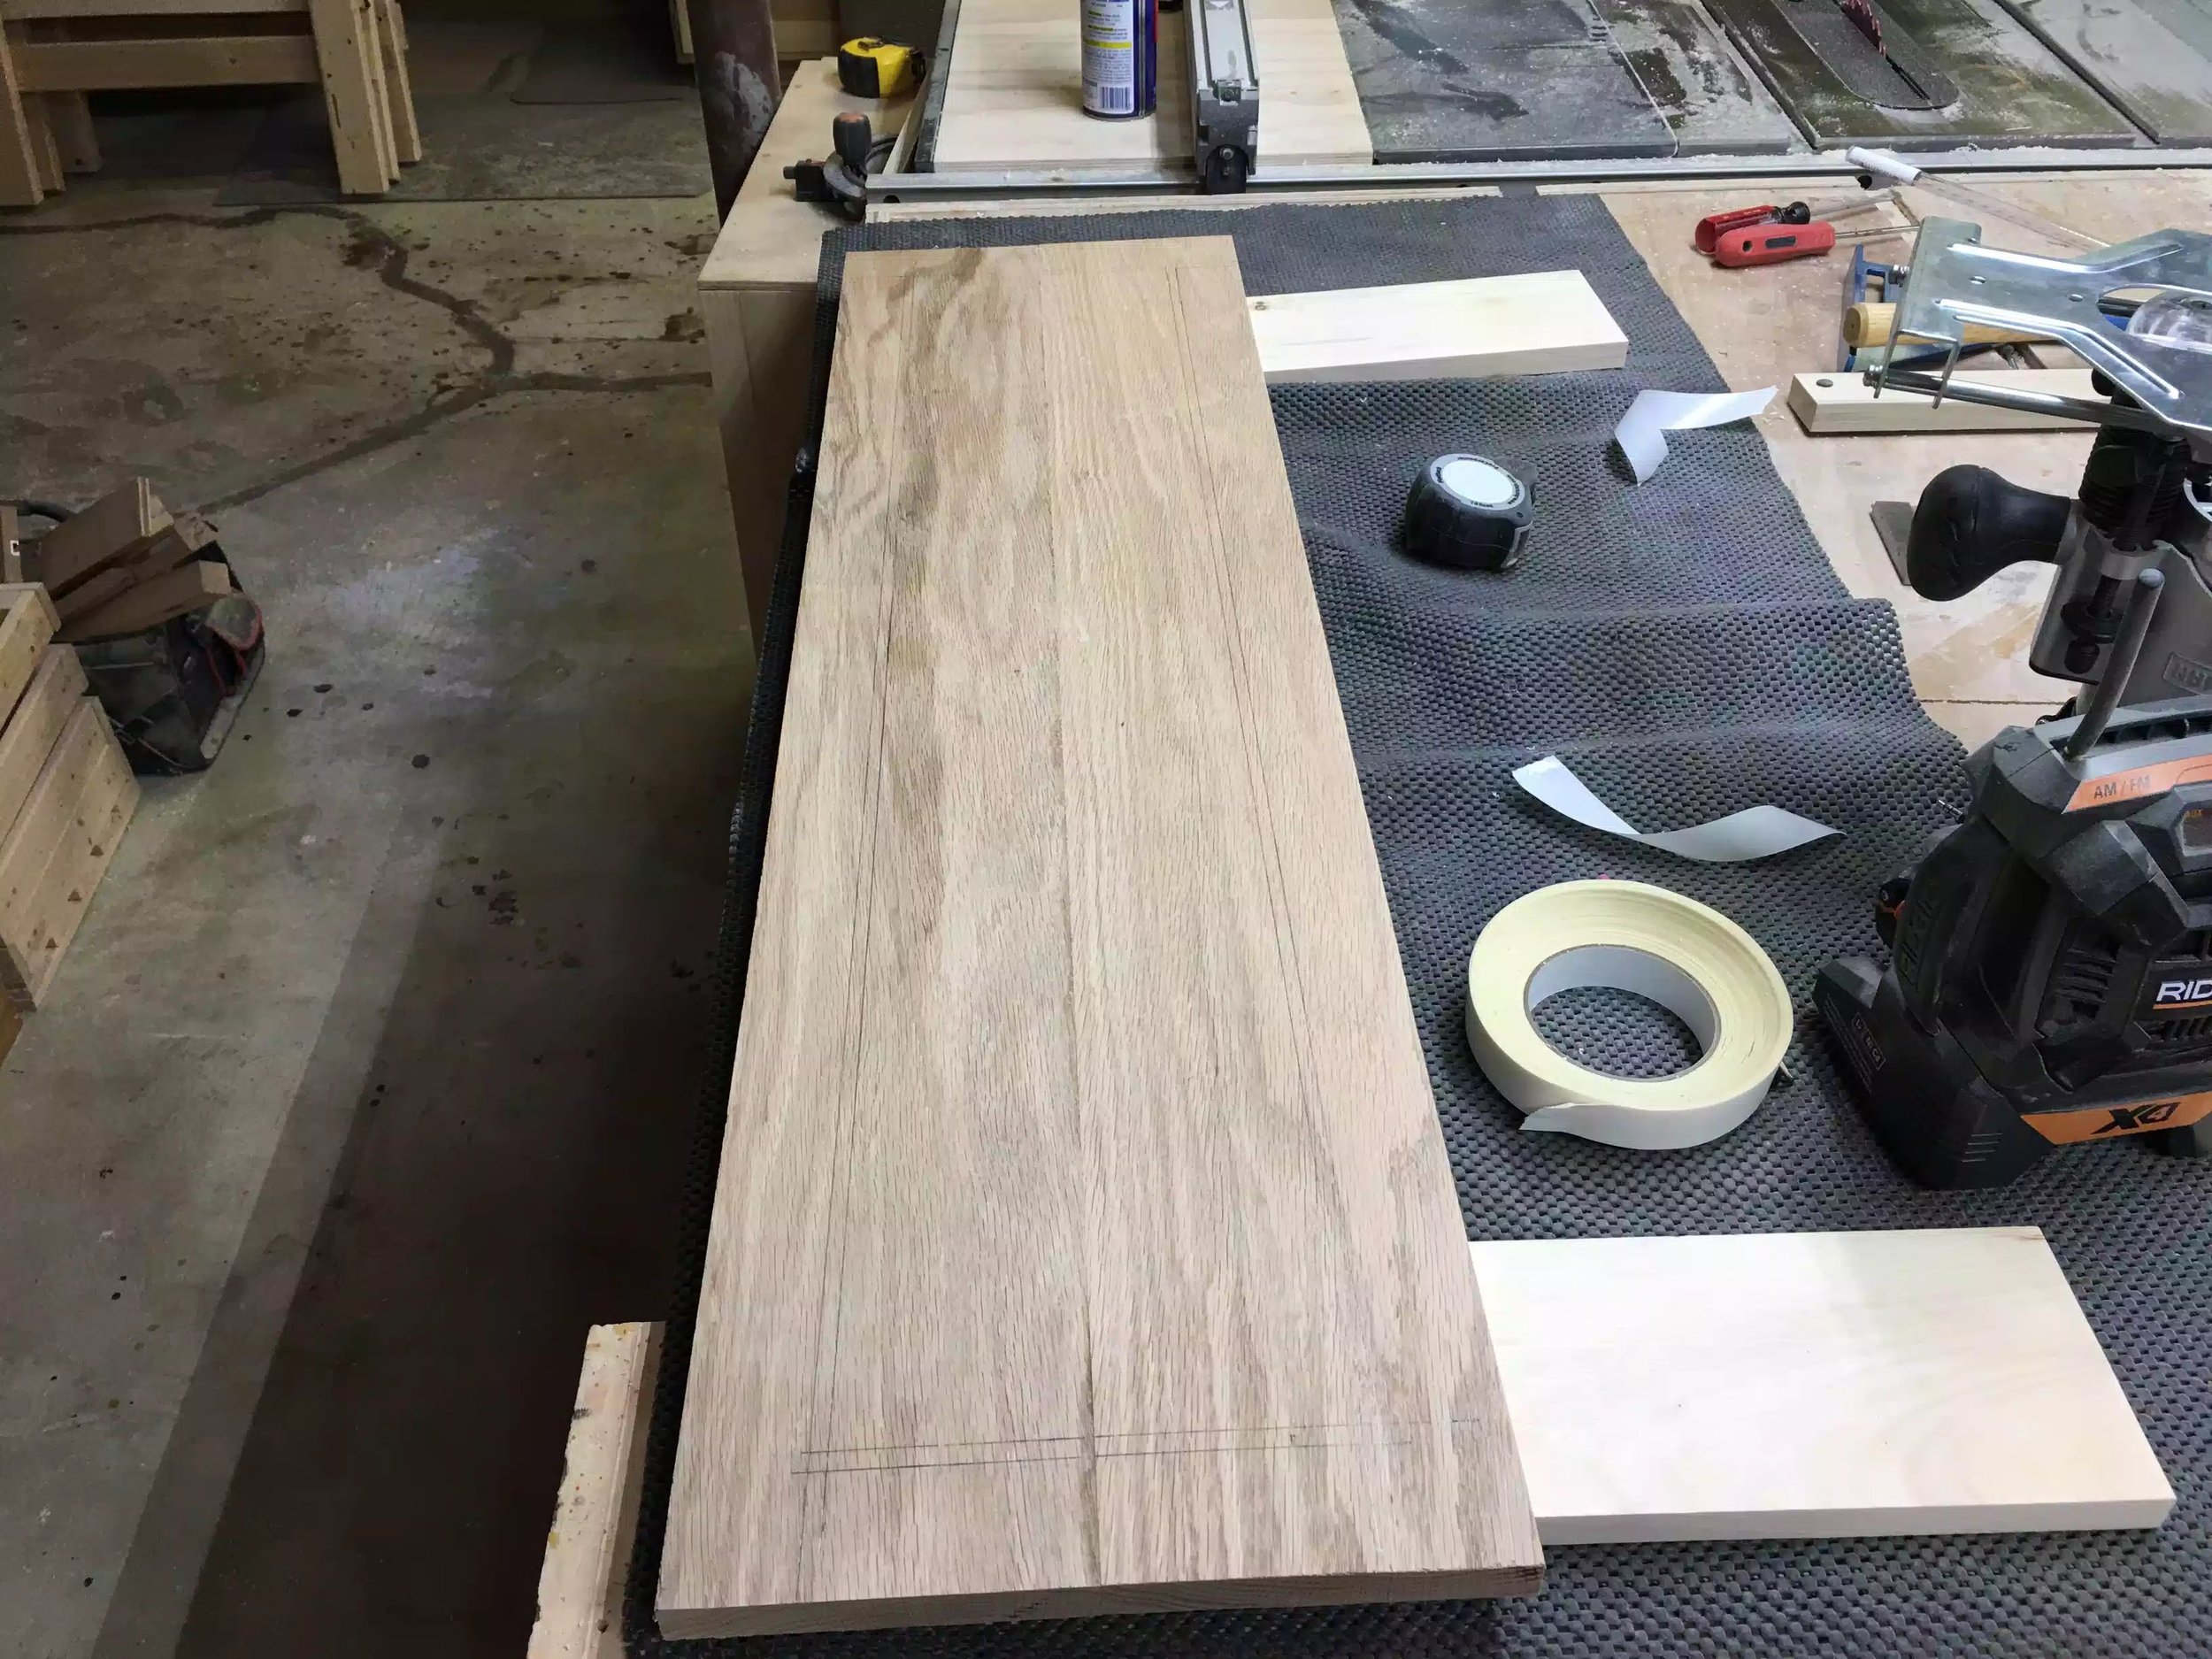
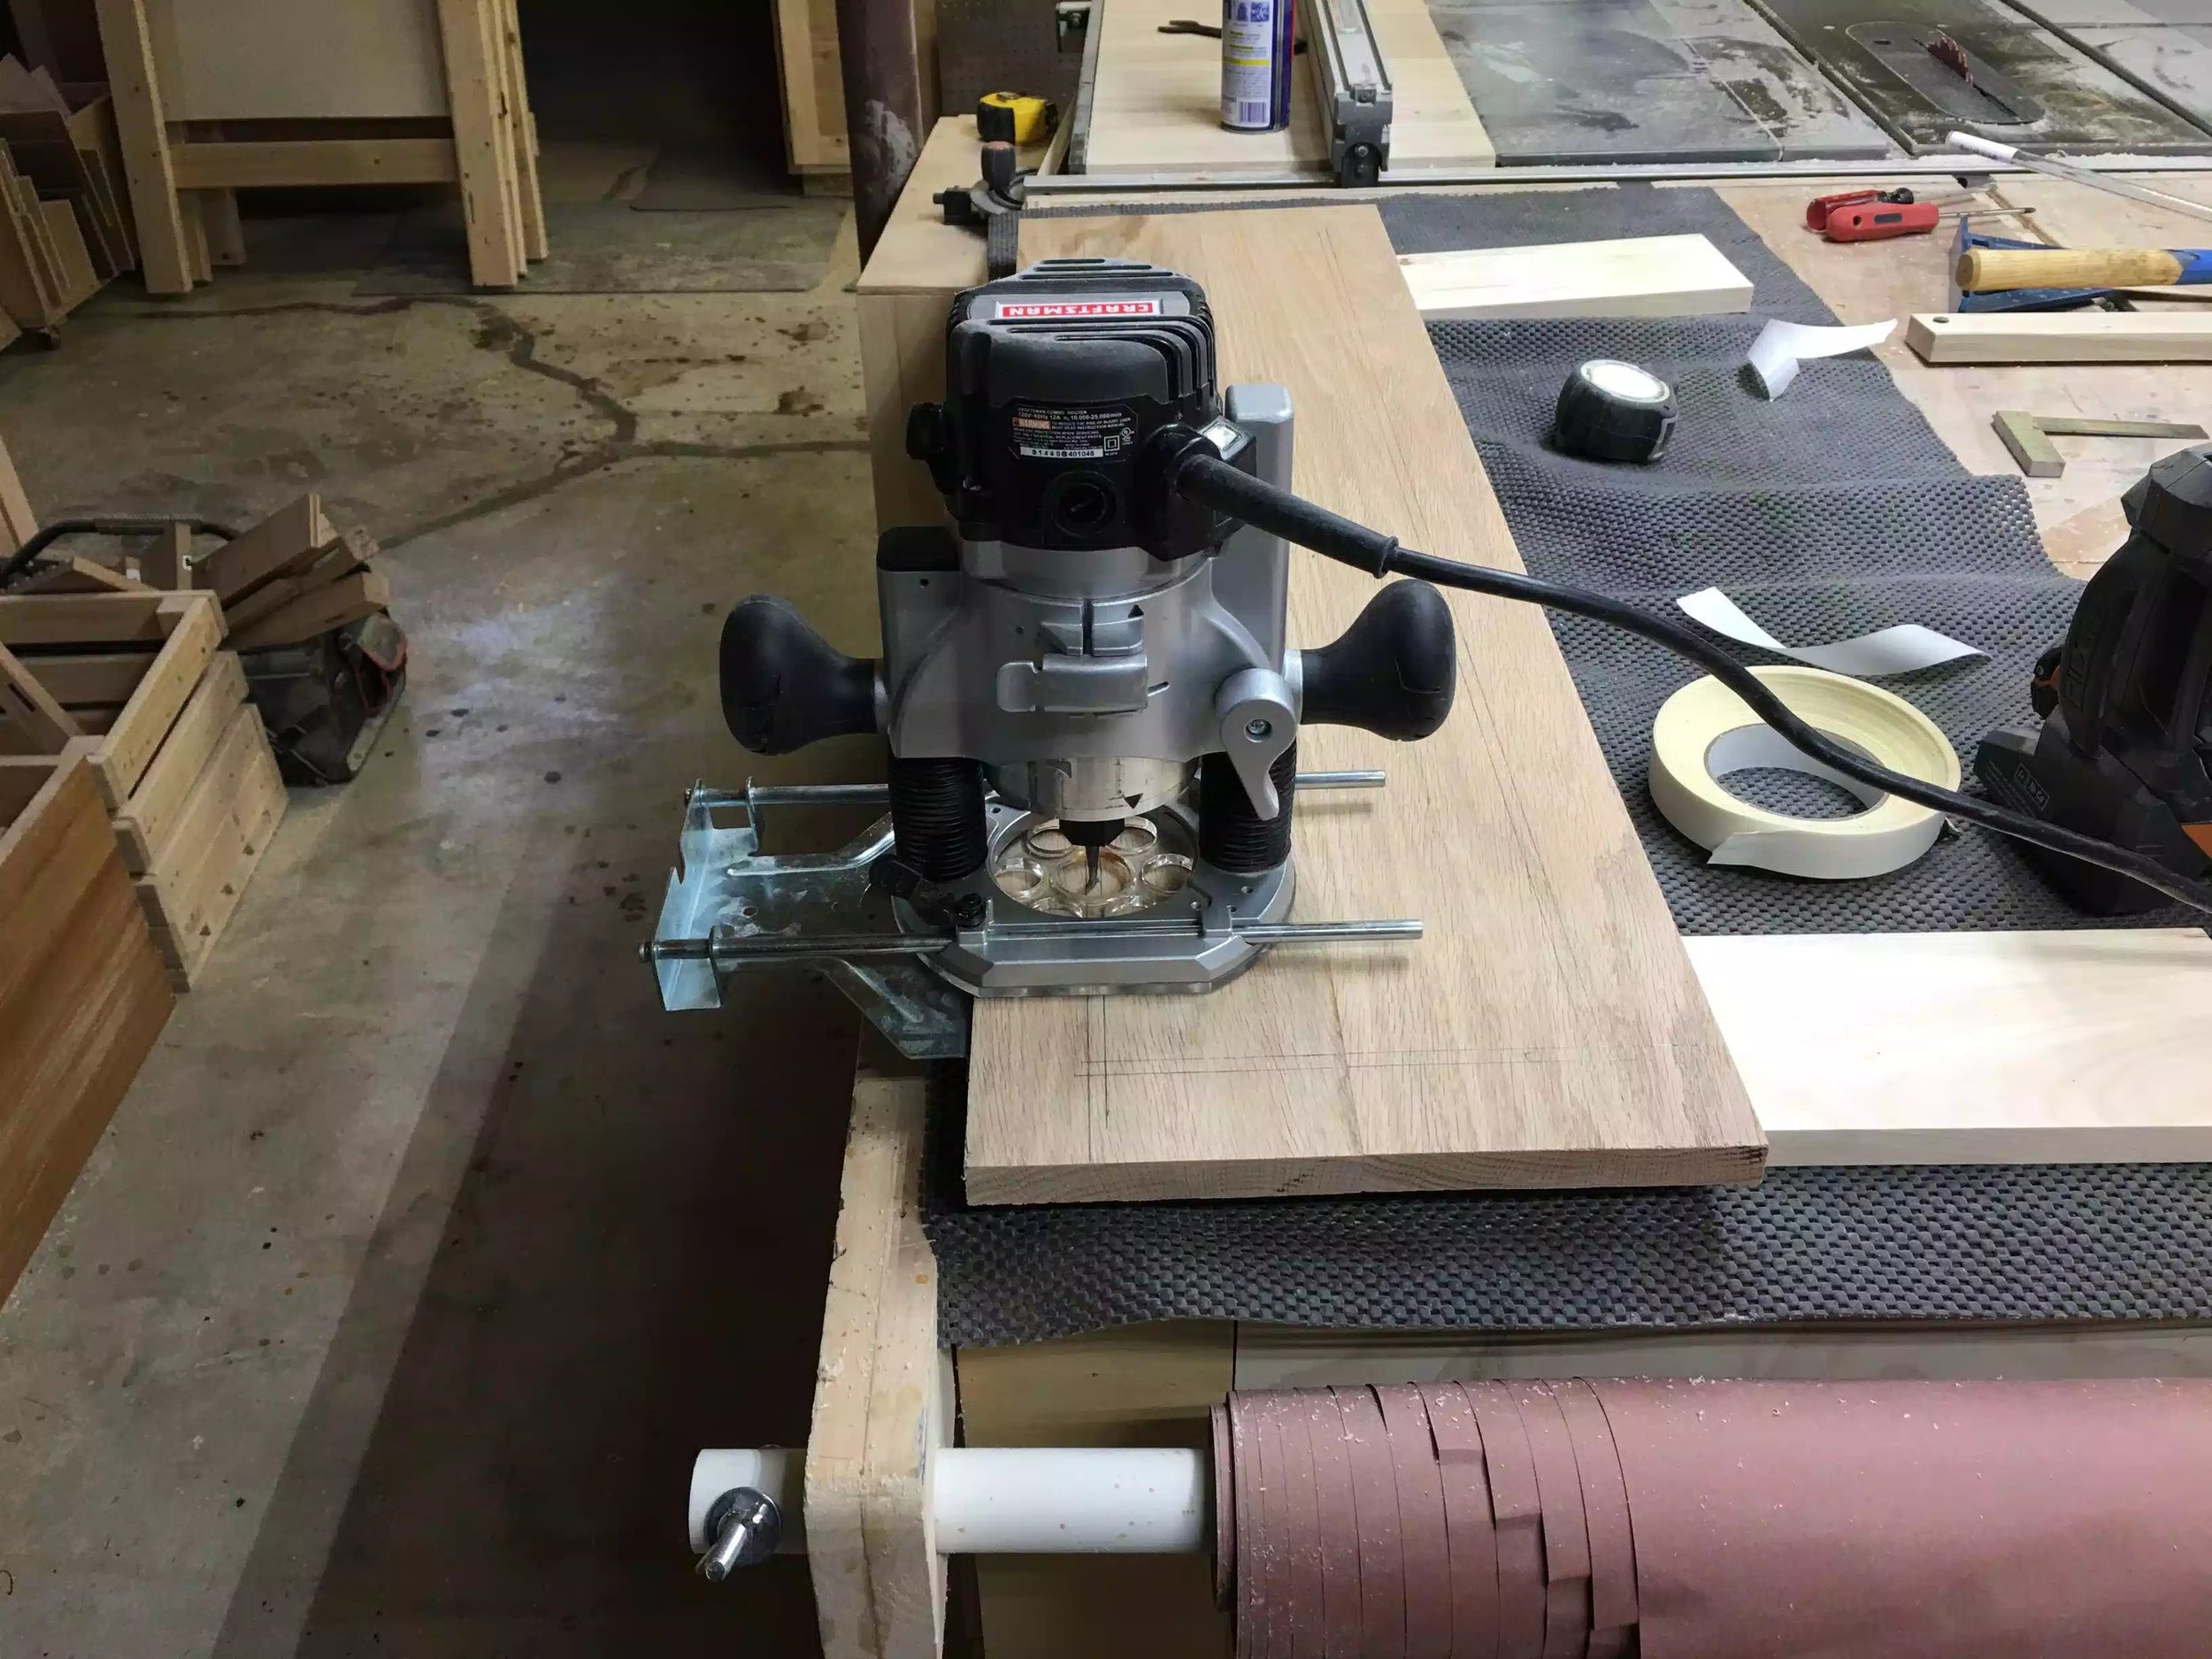
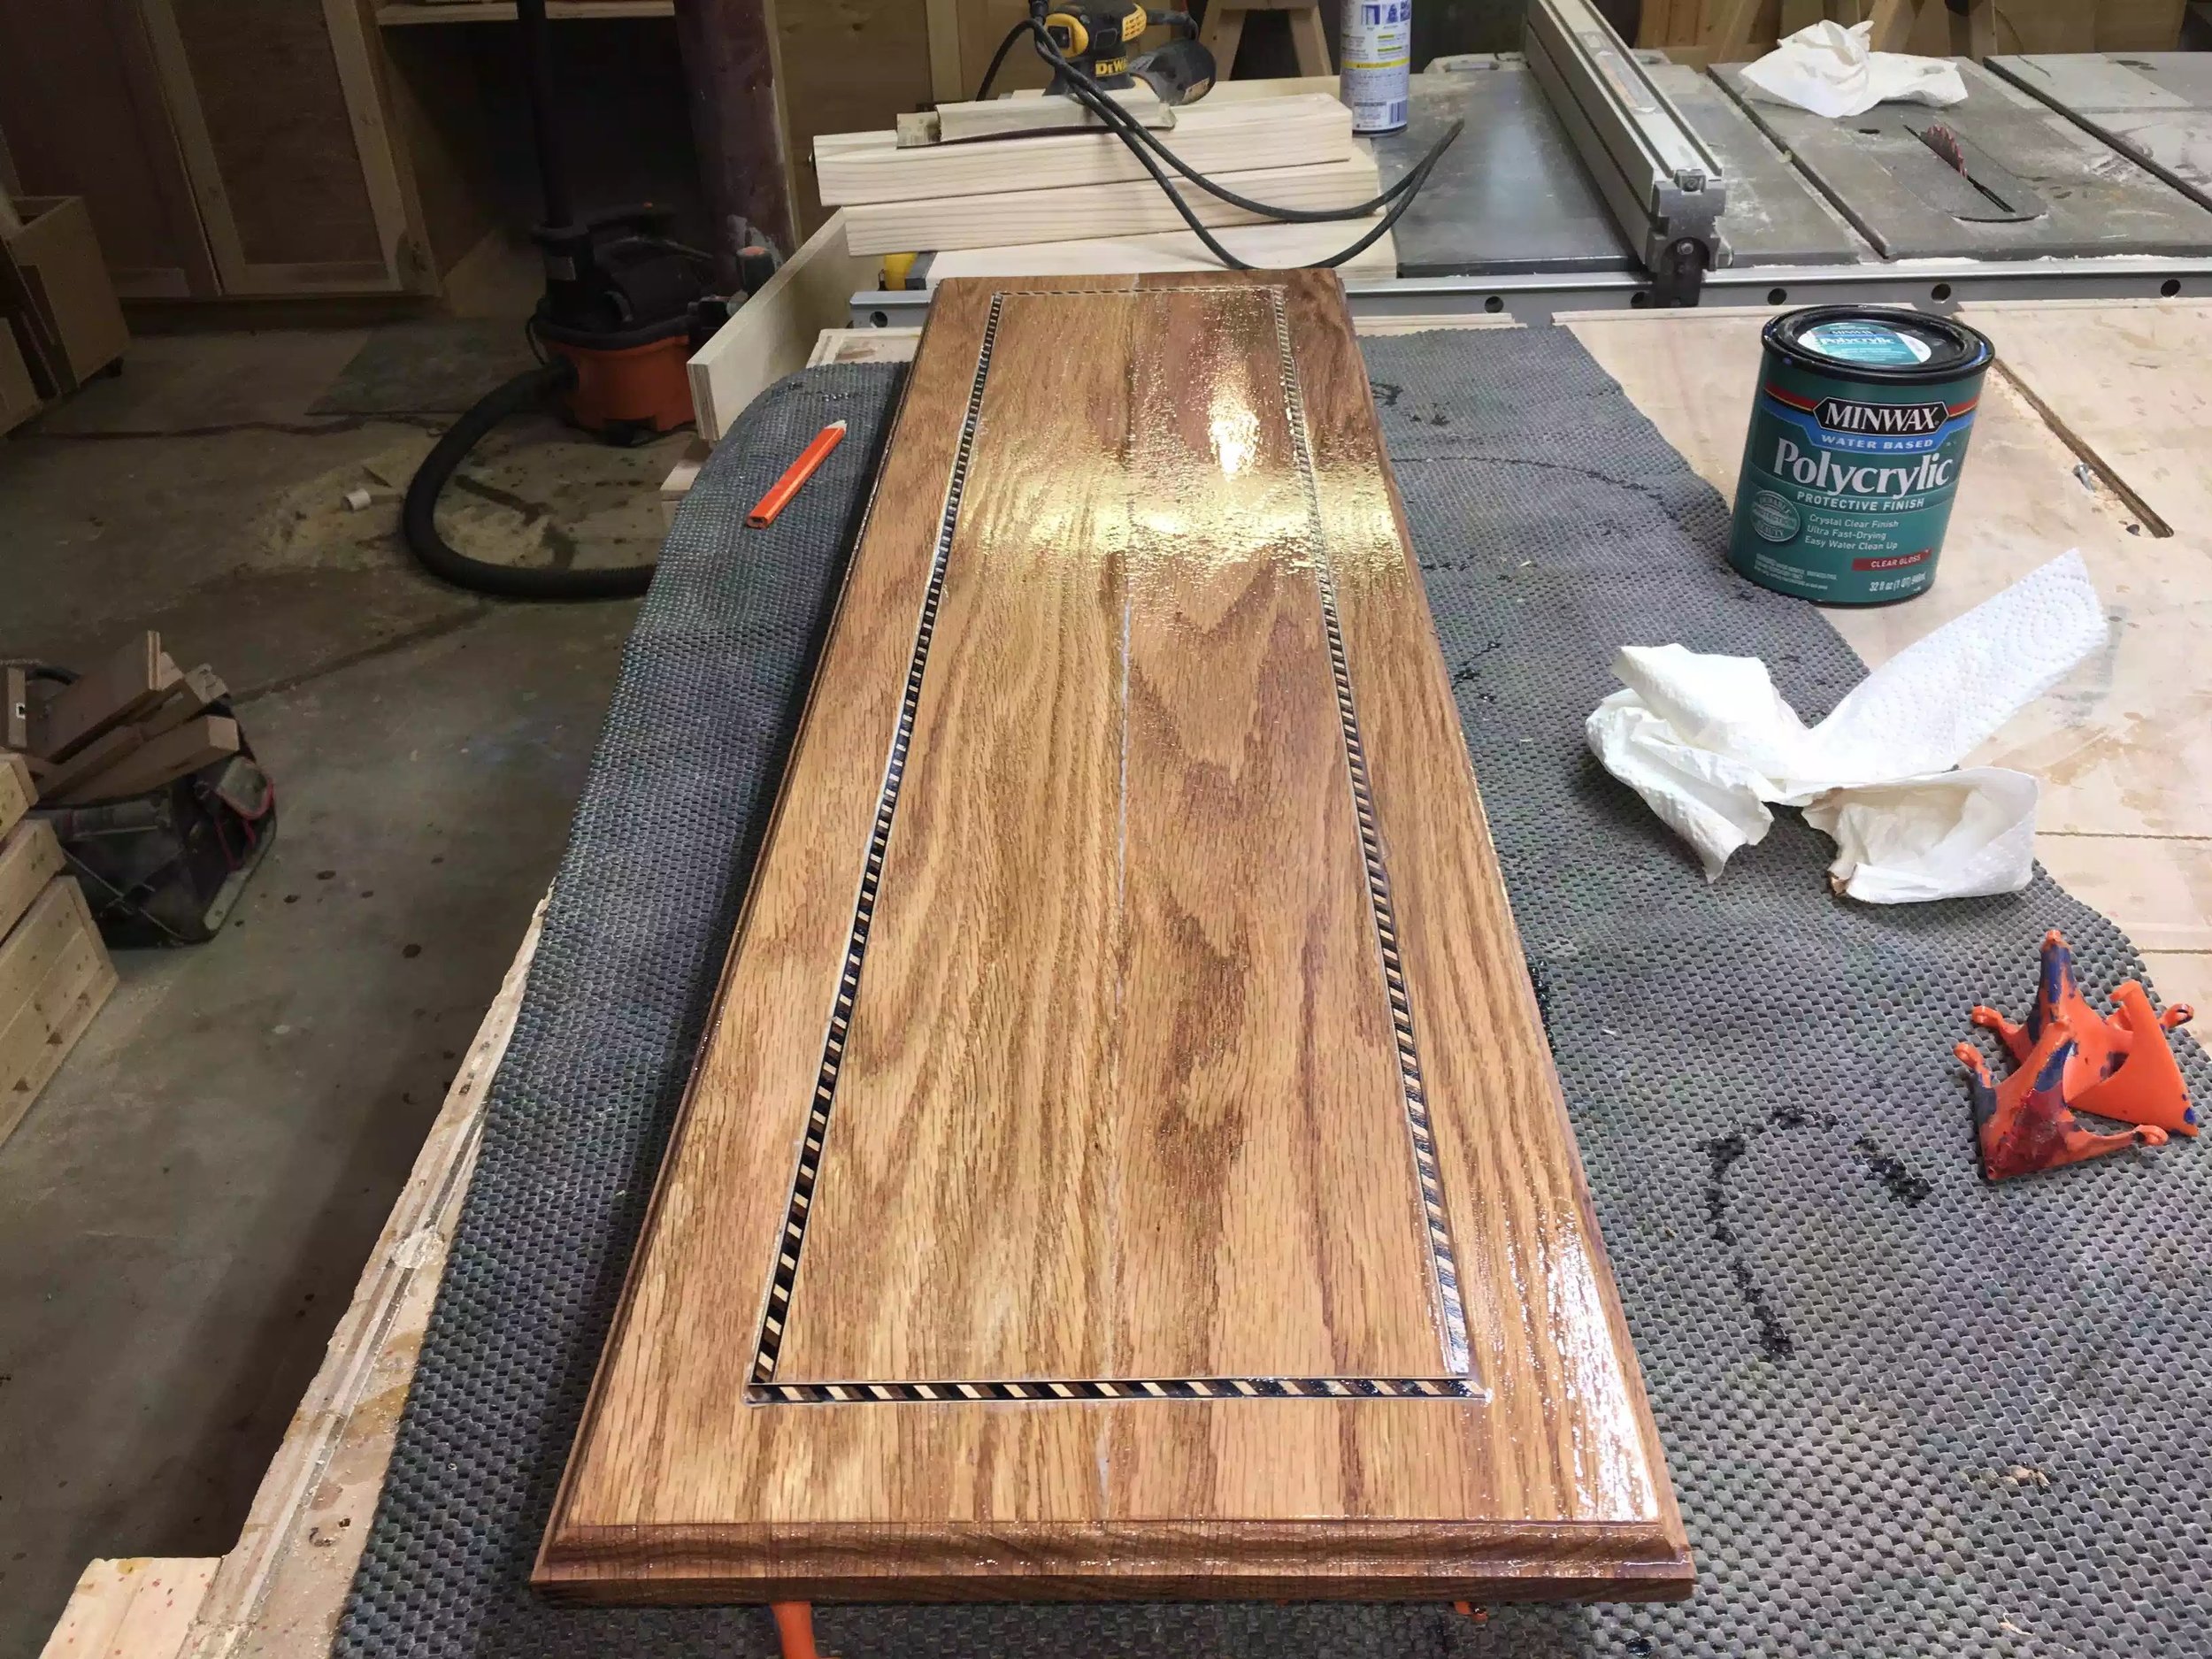
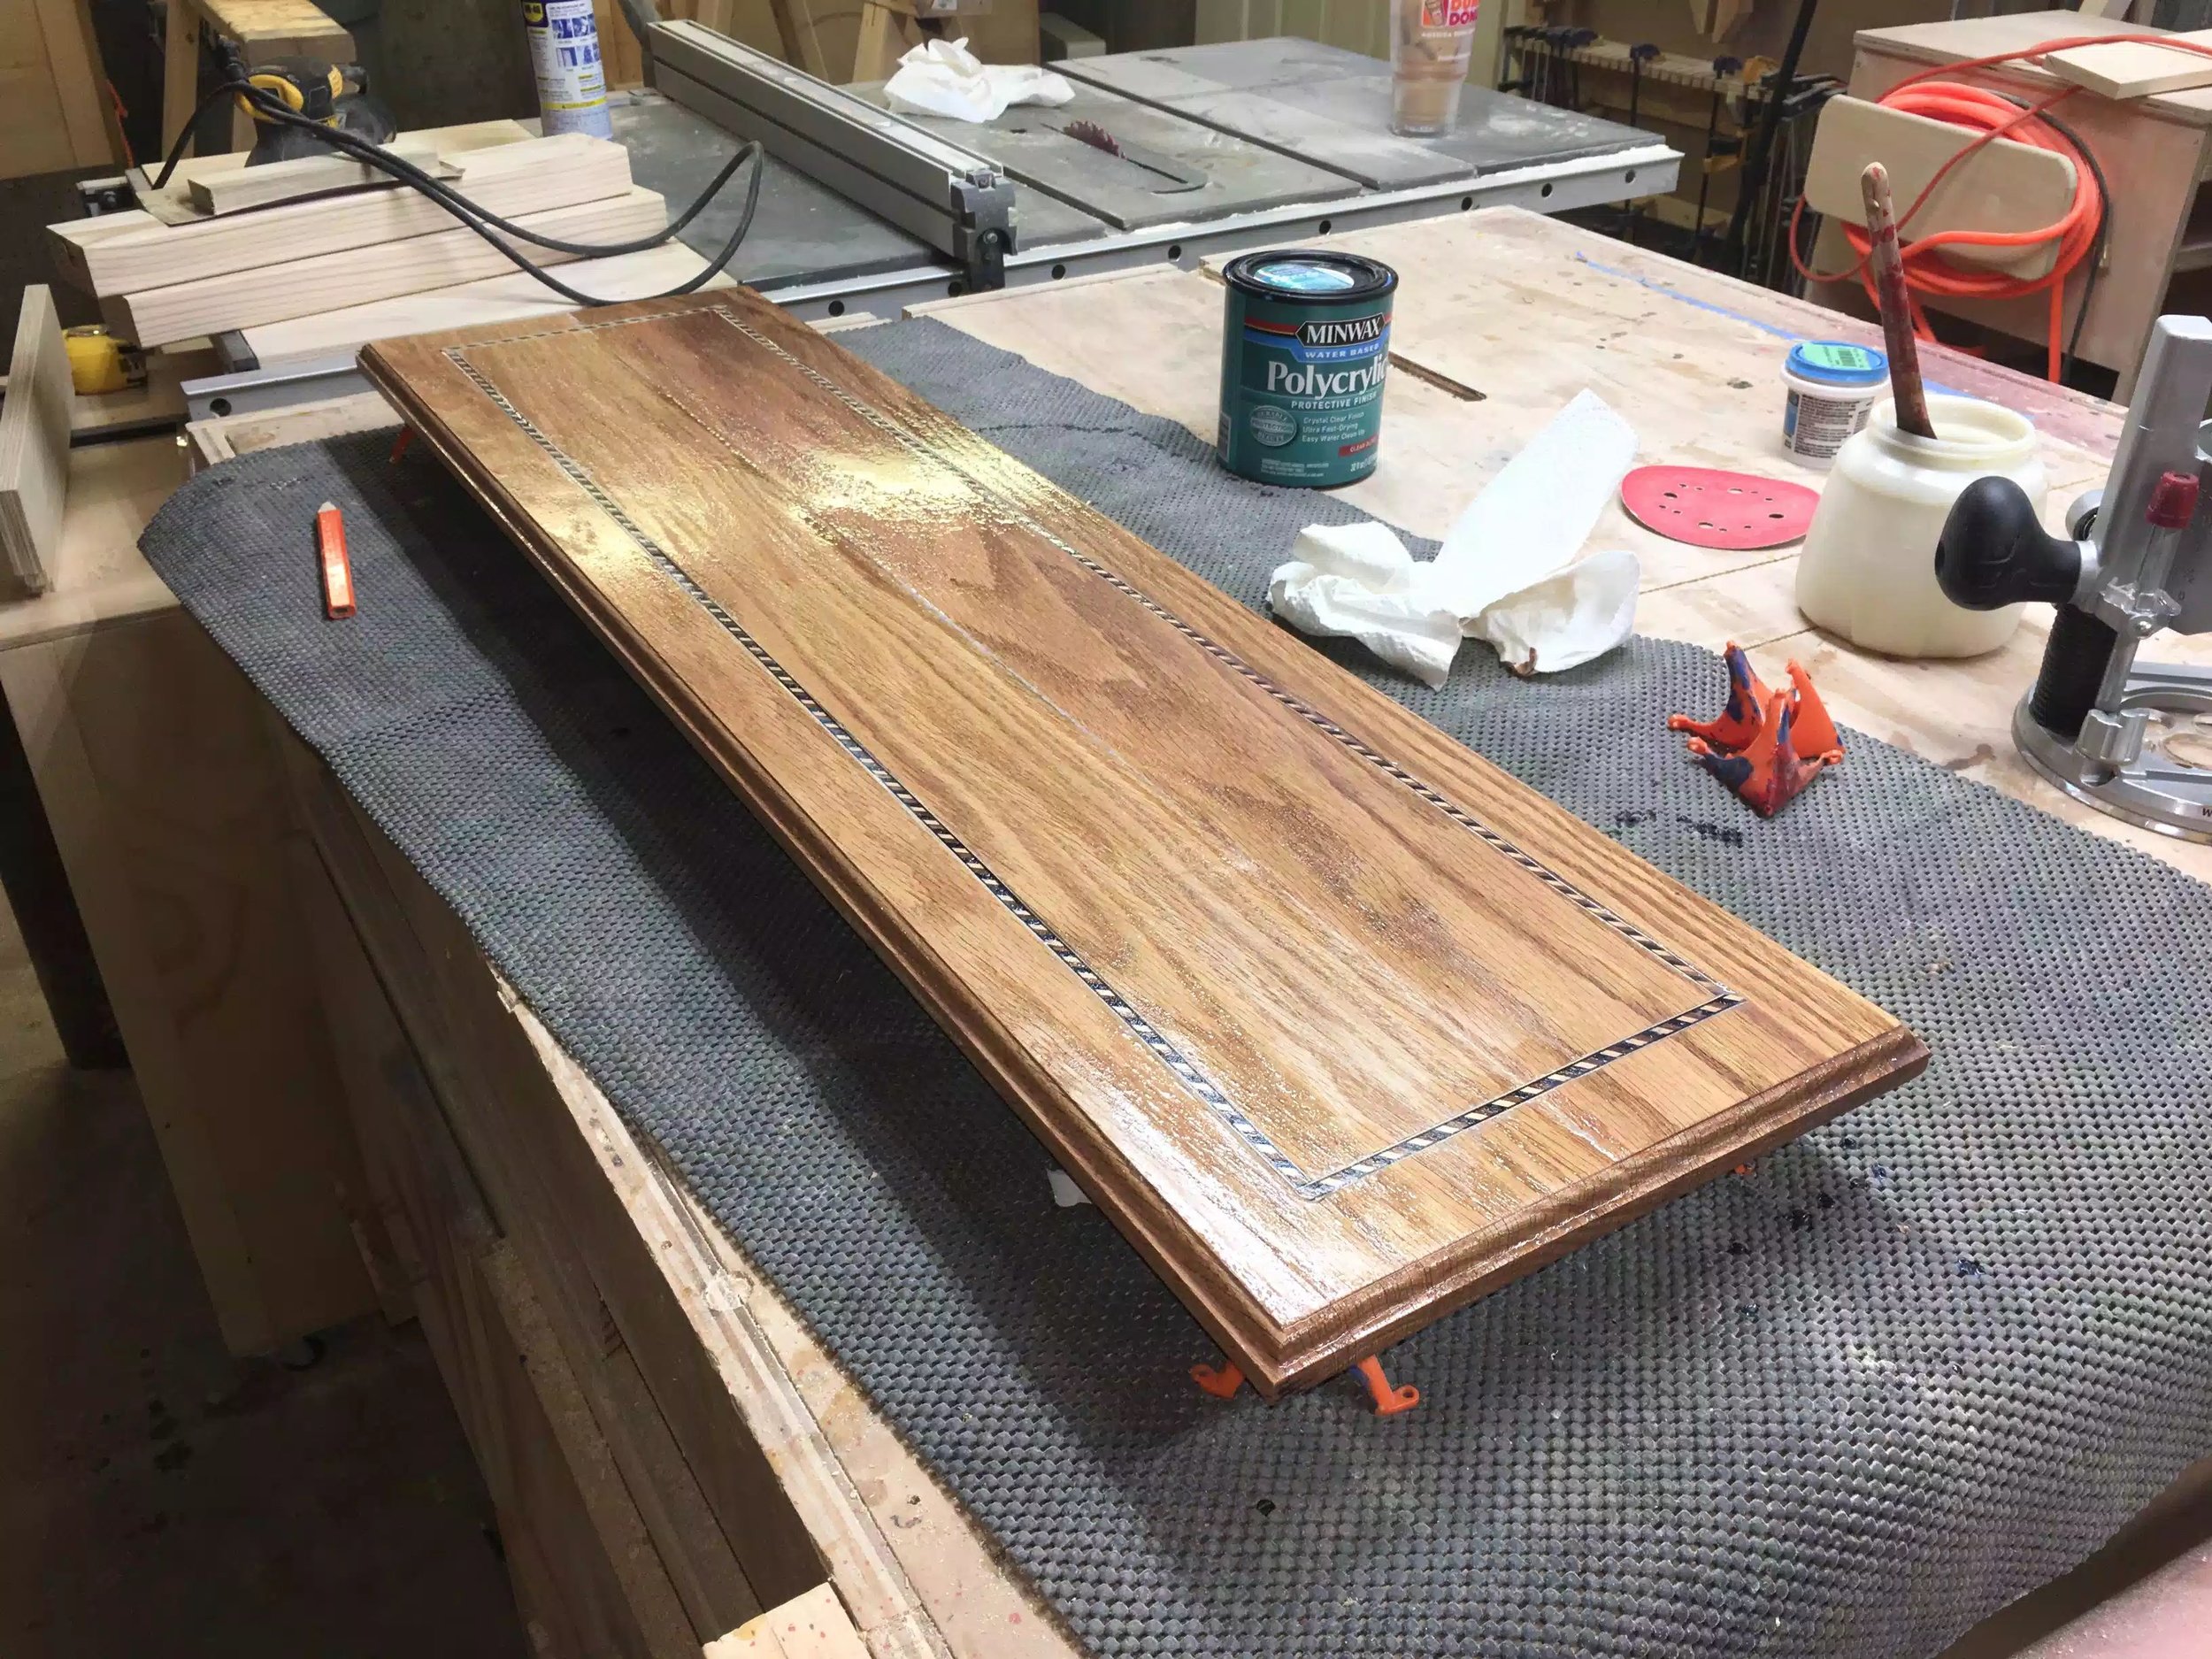
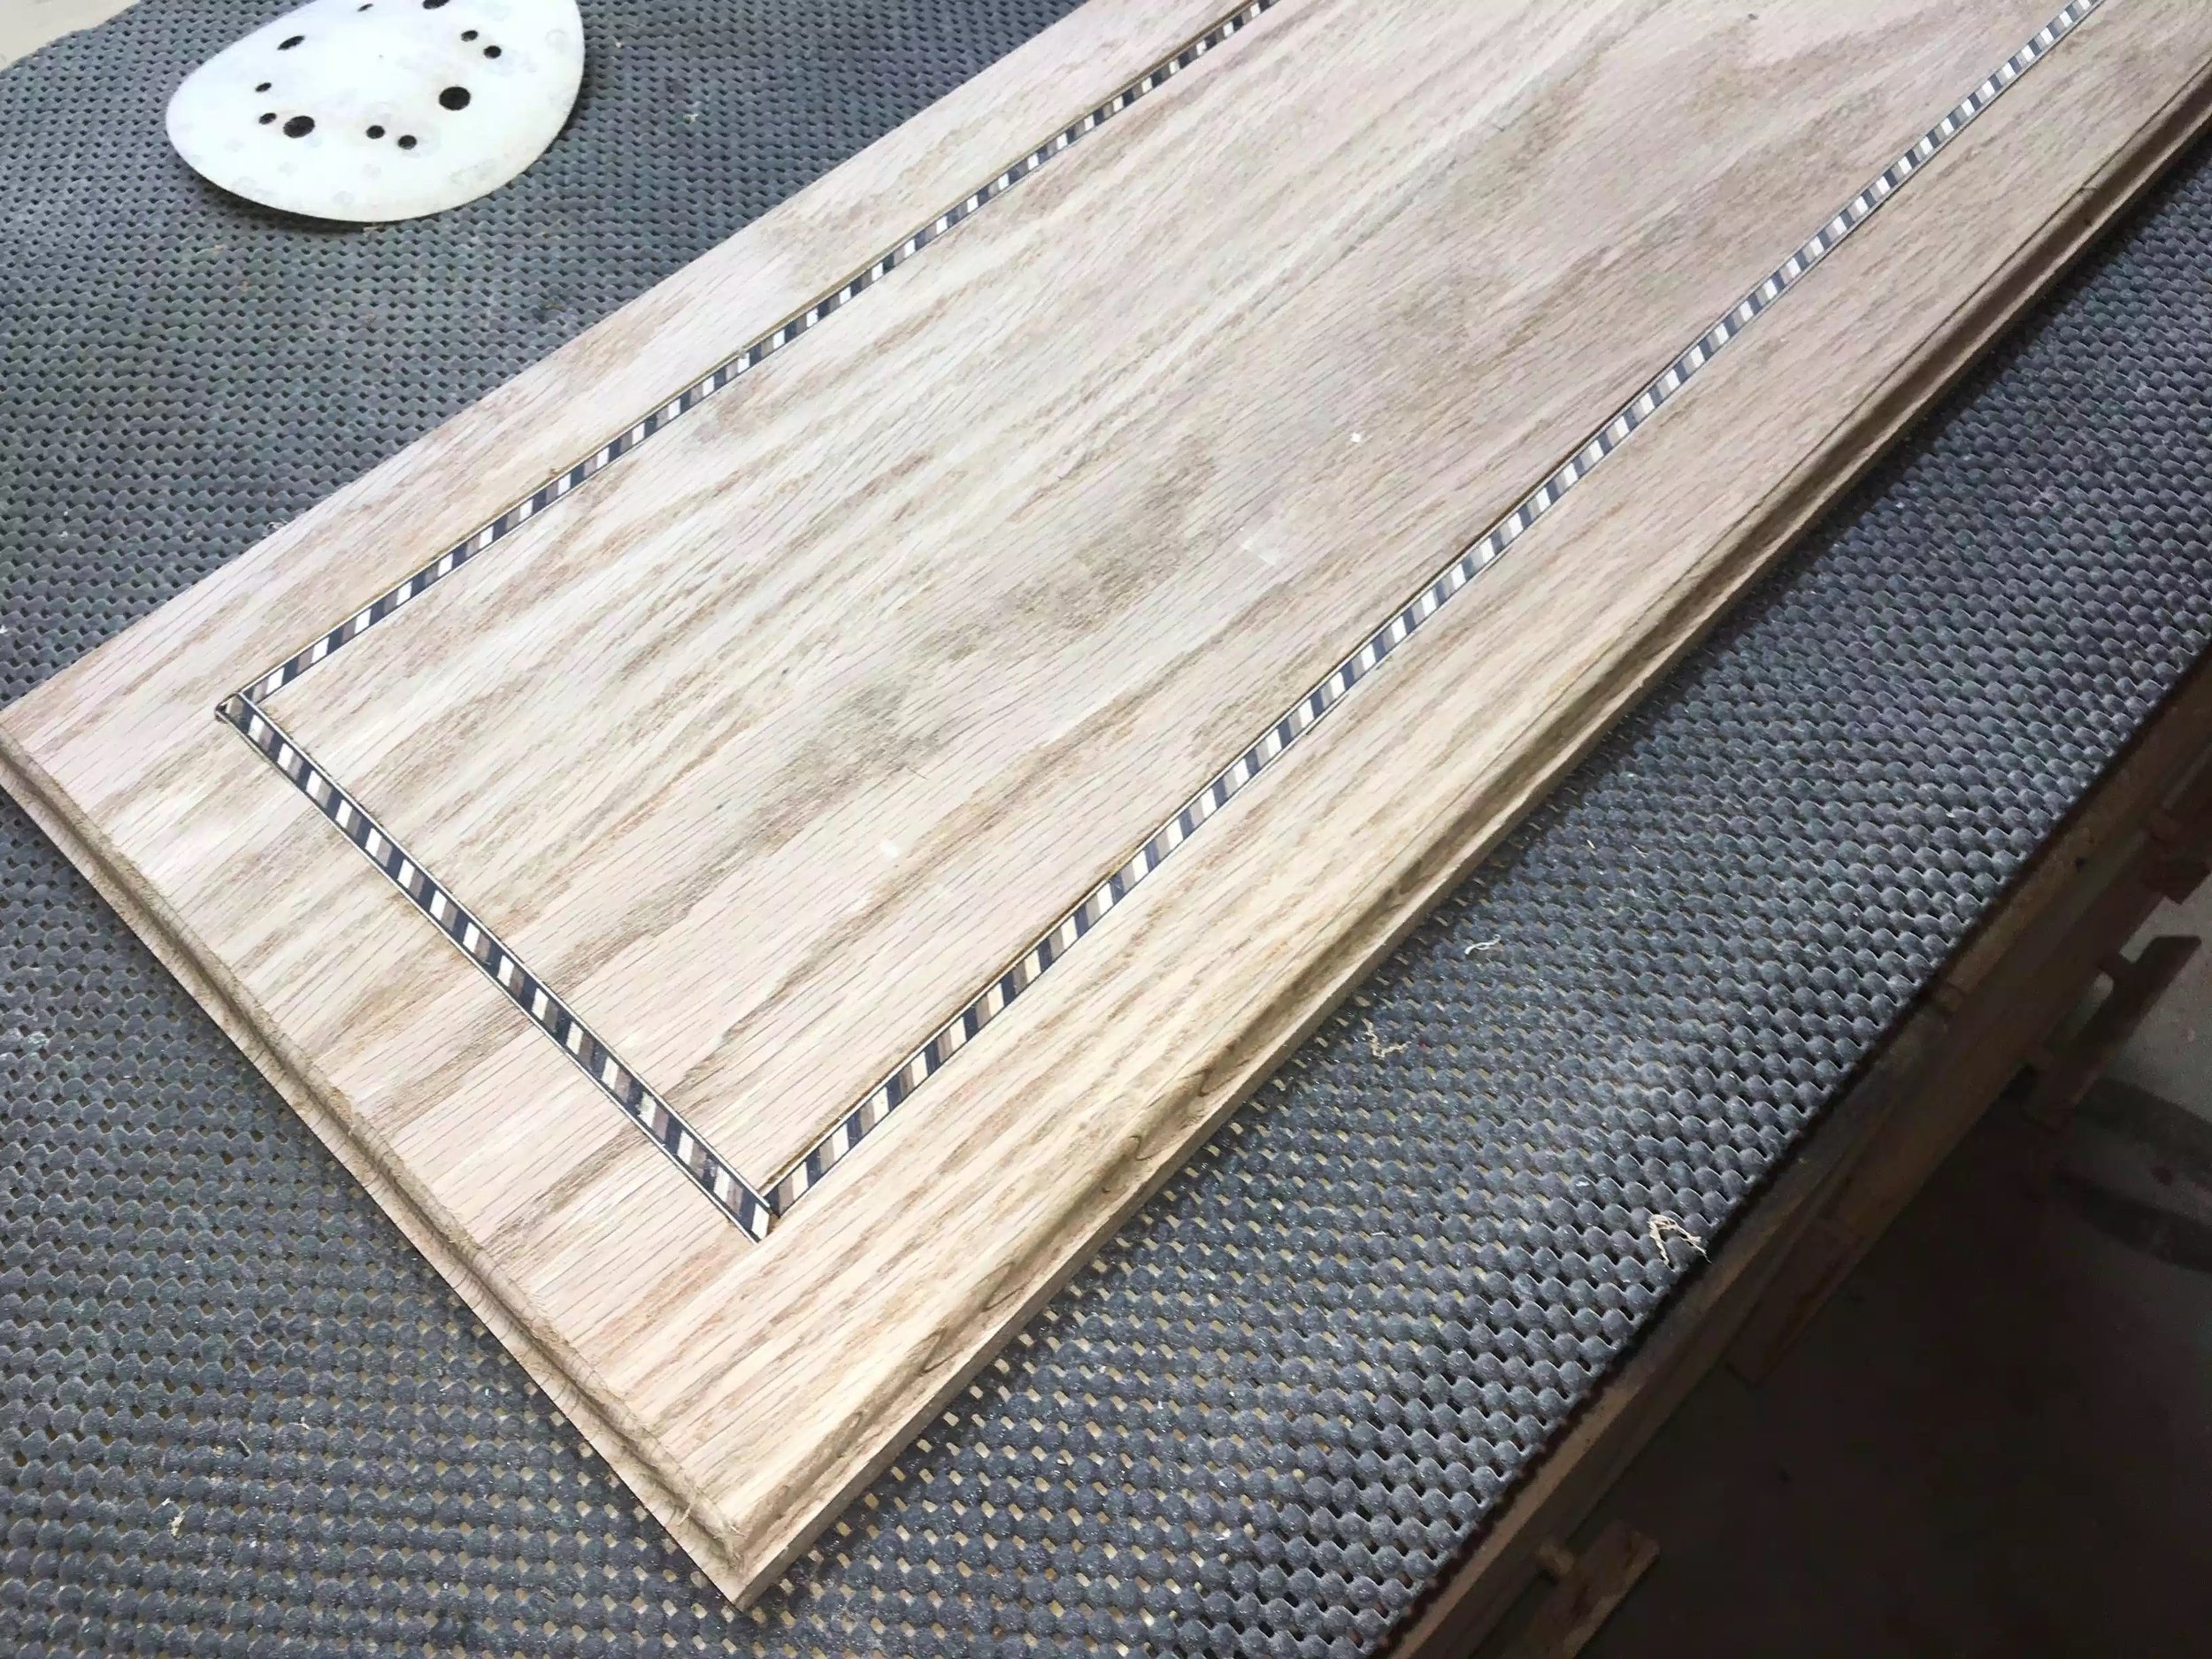
ADDING THE INLAY
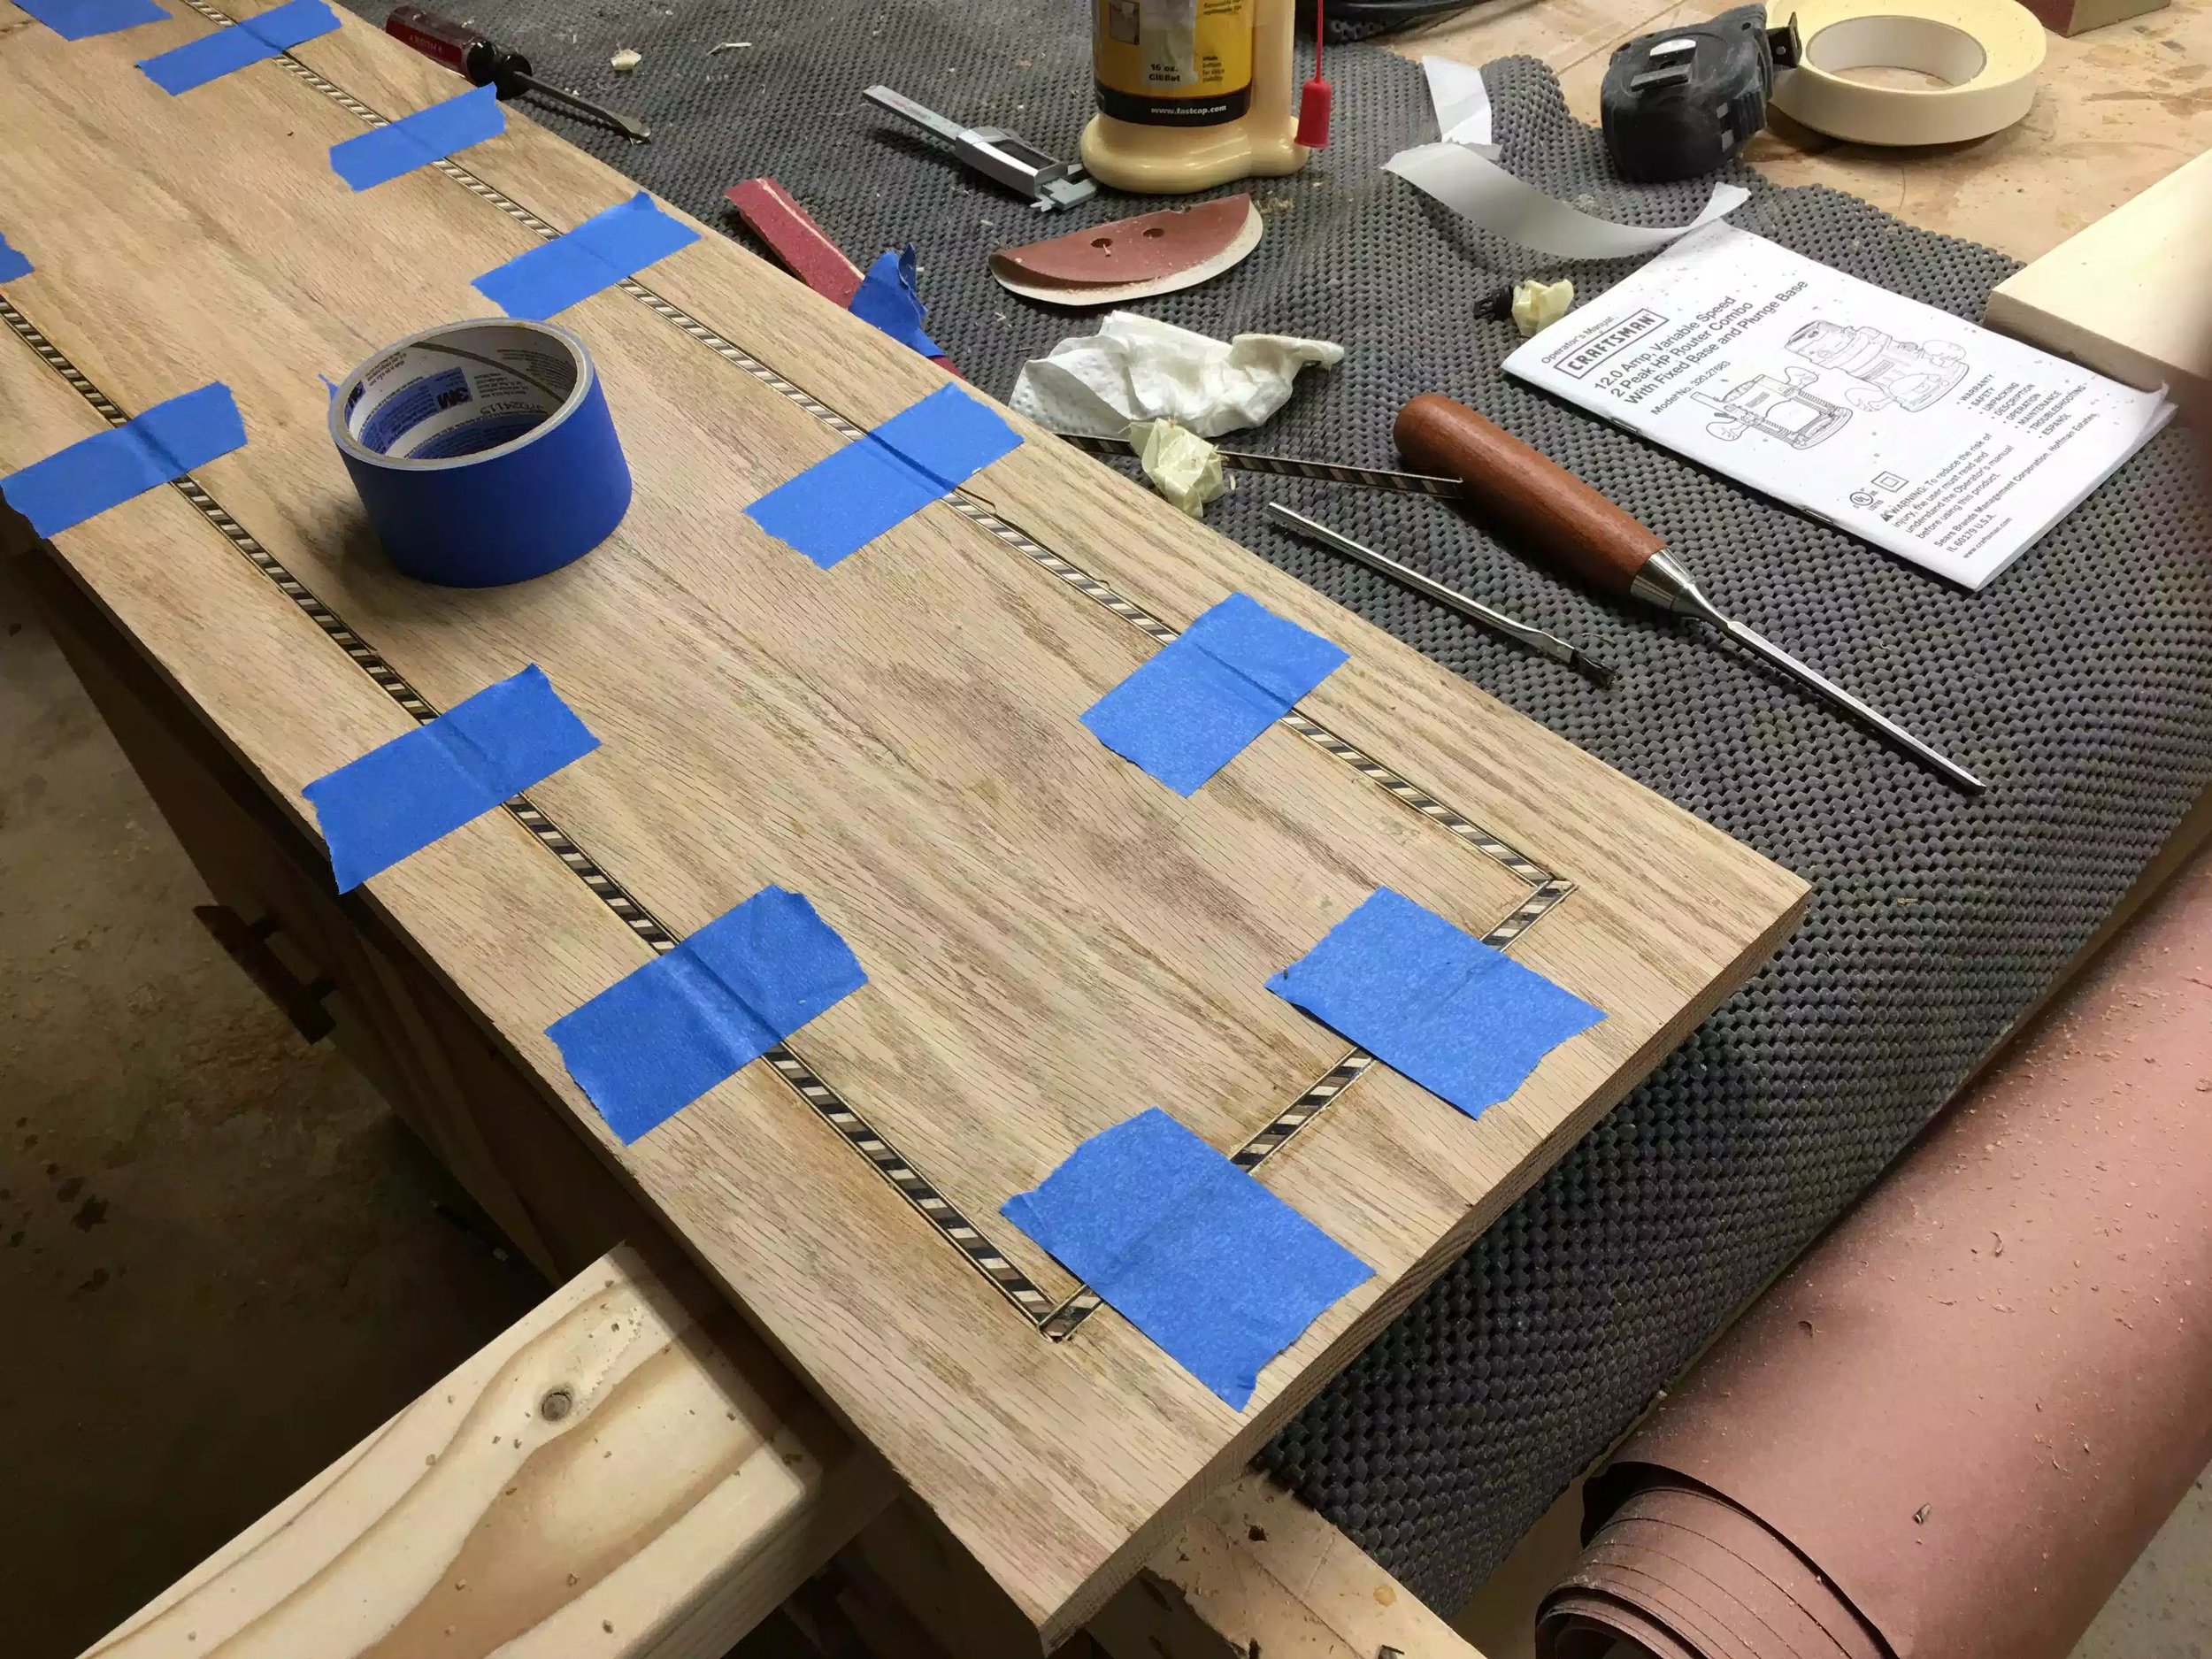
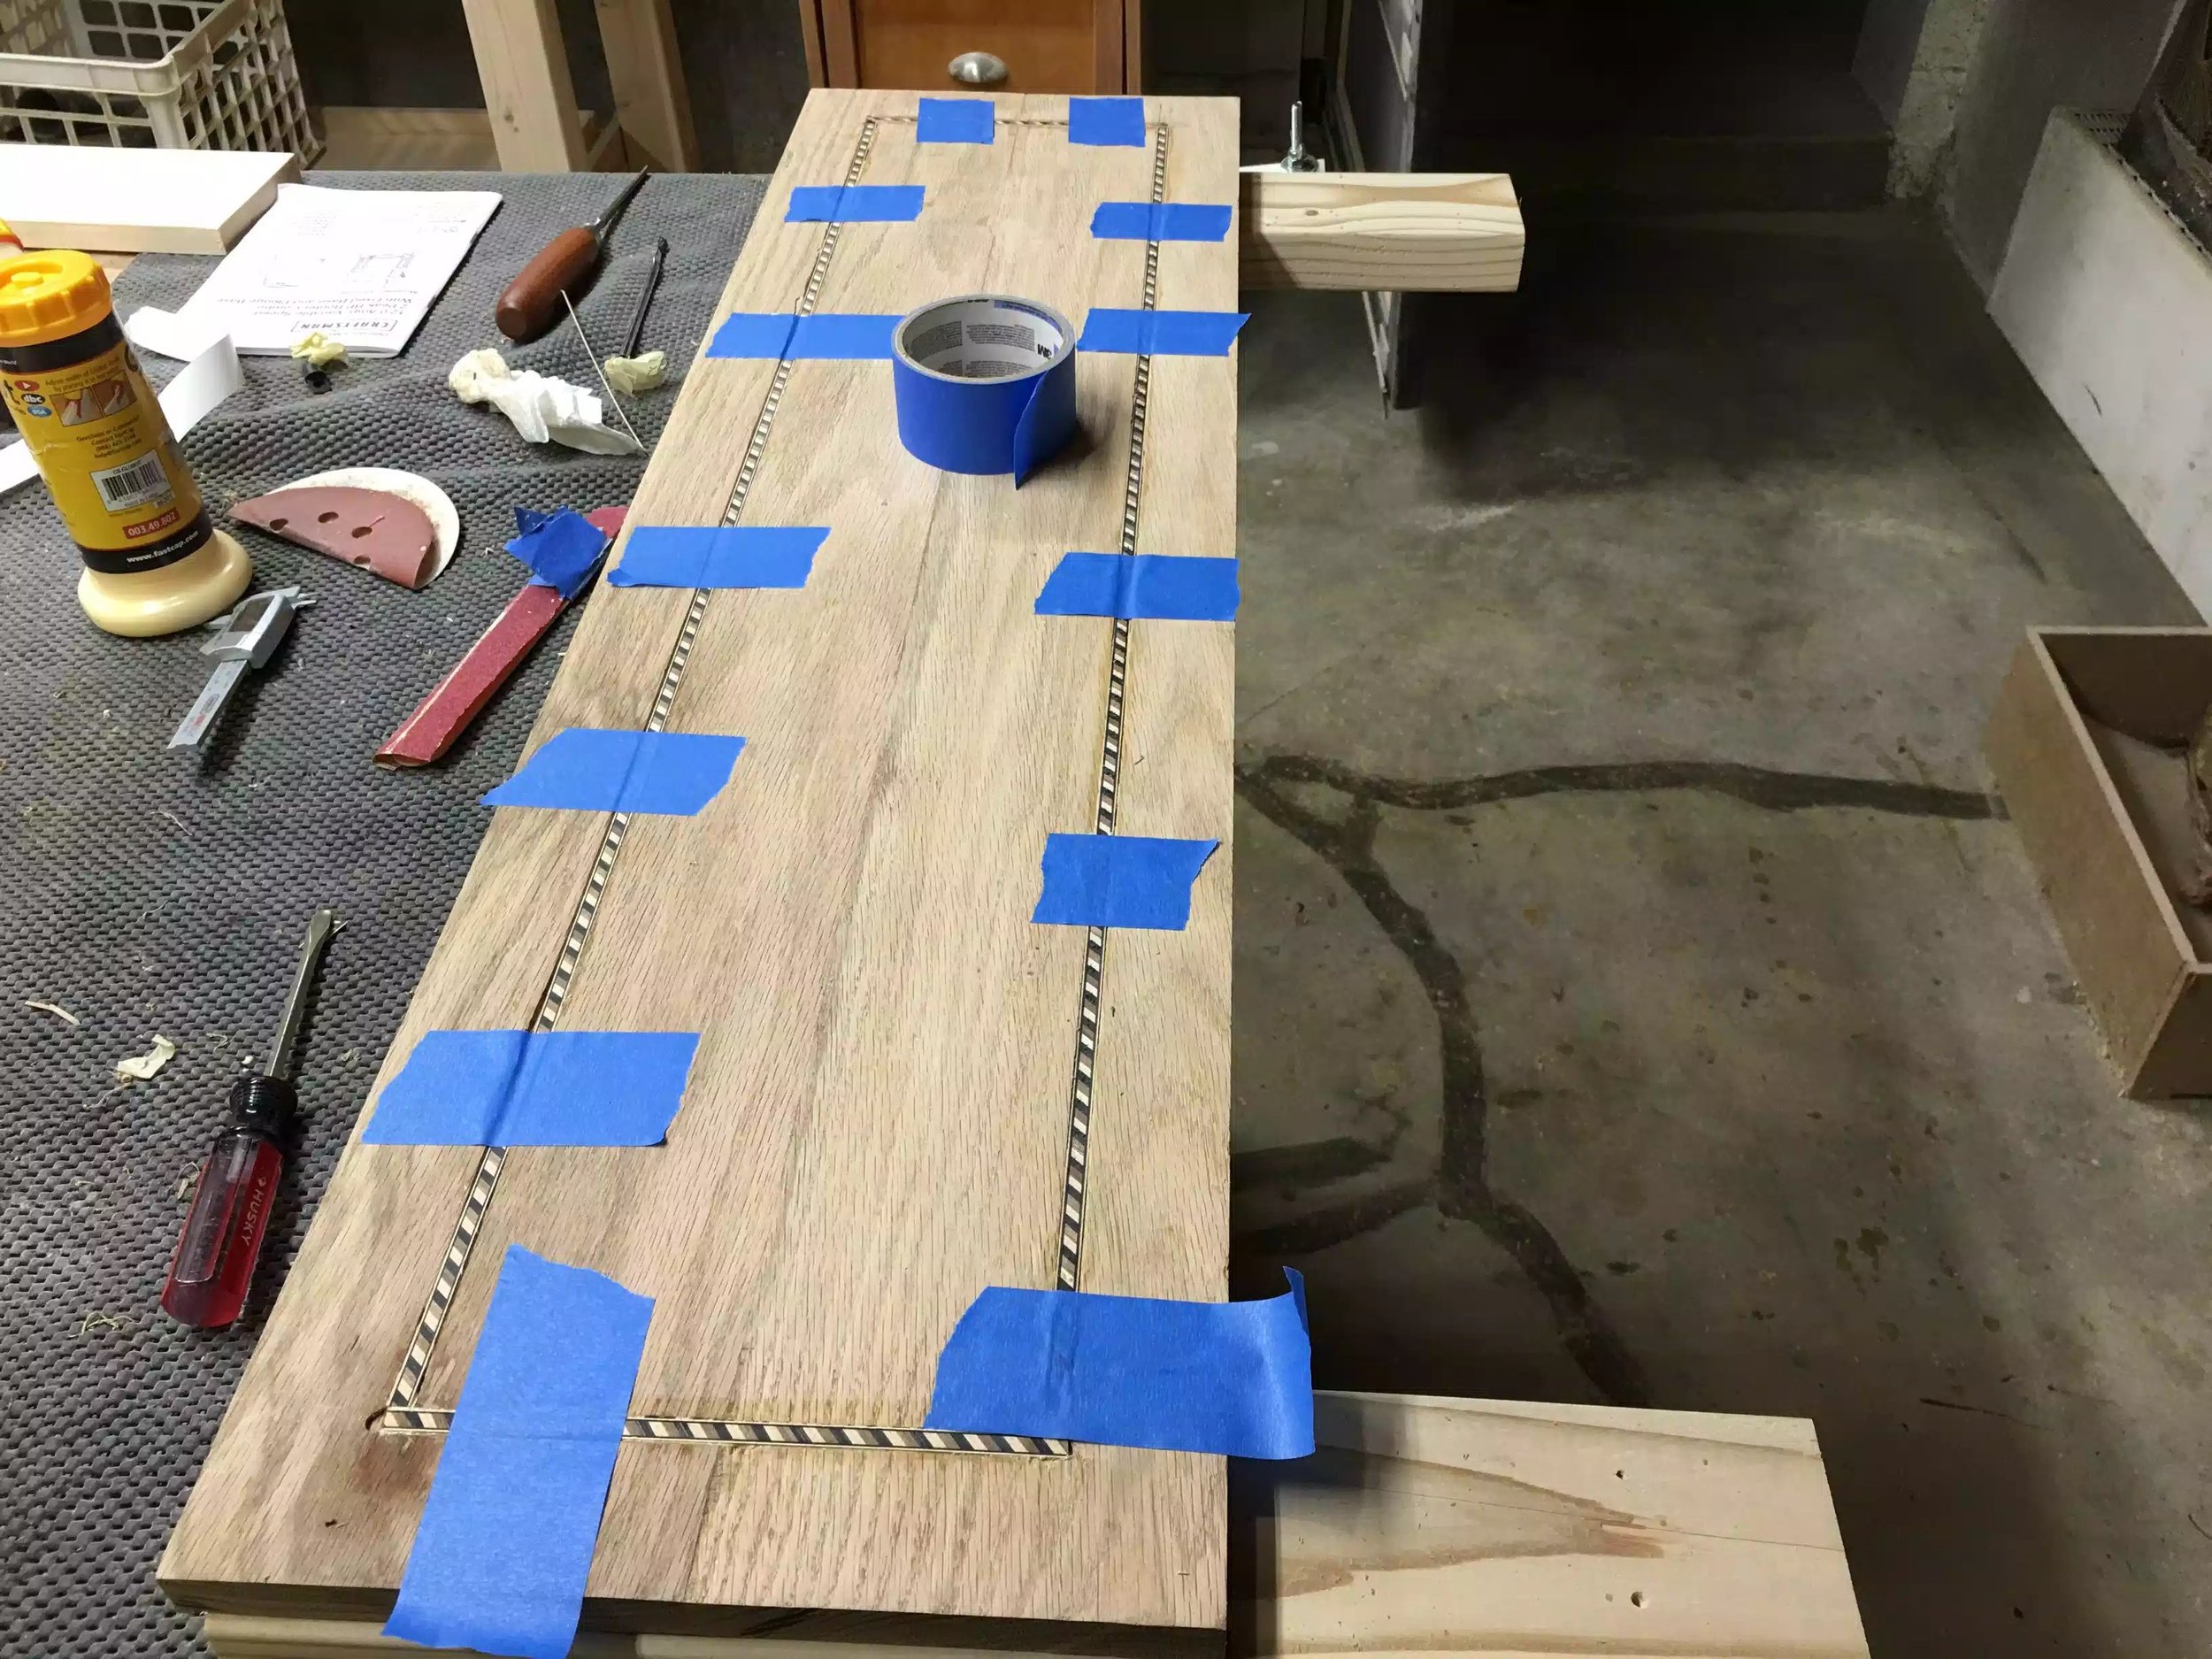
This detail wasn't in the original plan but when I was gluing up the top and having a dry assembly completed I thought that the table needed something else, when I went to my local Woodcraft store they had a sale on some 1/4" wide inlay material, so it hit me to be a little adventurous and try adding inlay to my project for the first time. (So many firsts in this project, love that).
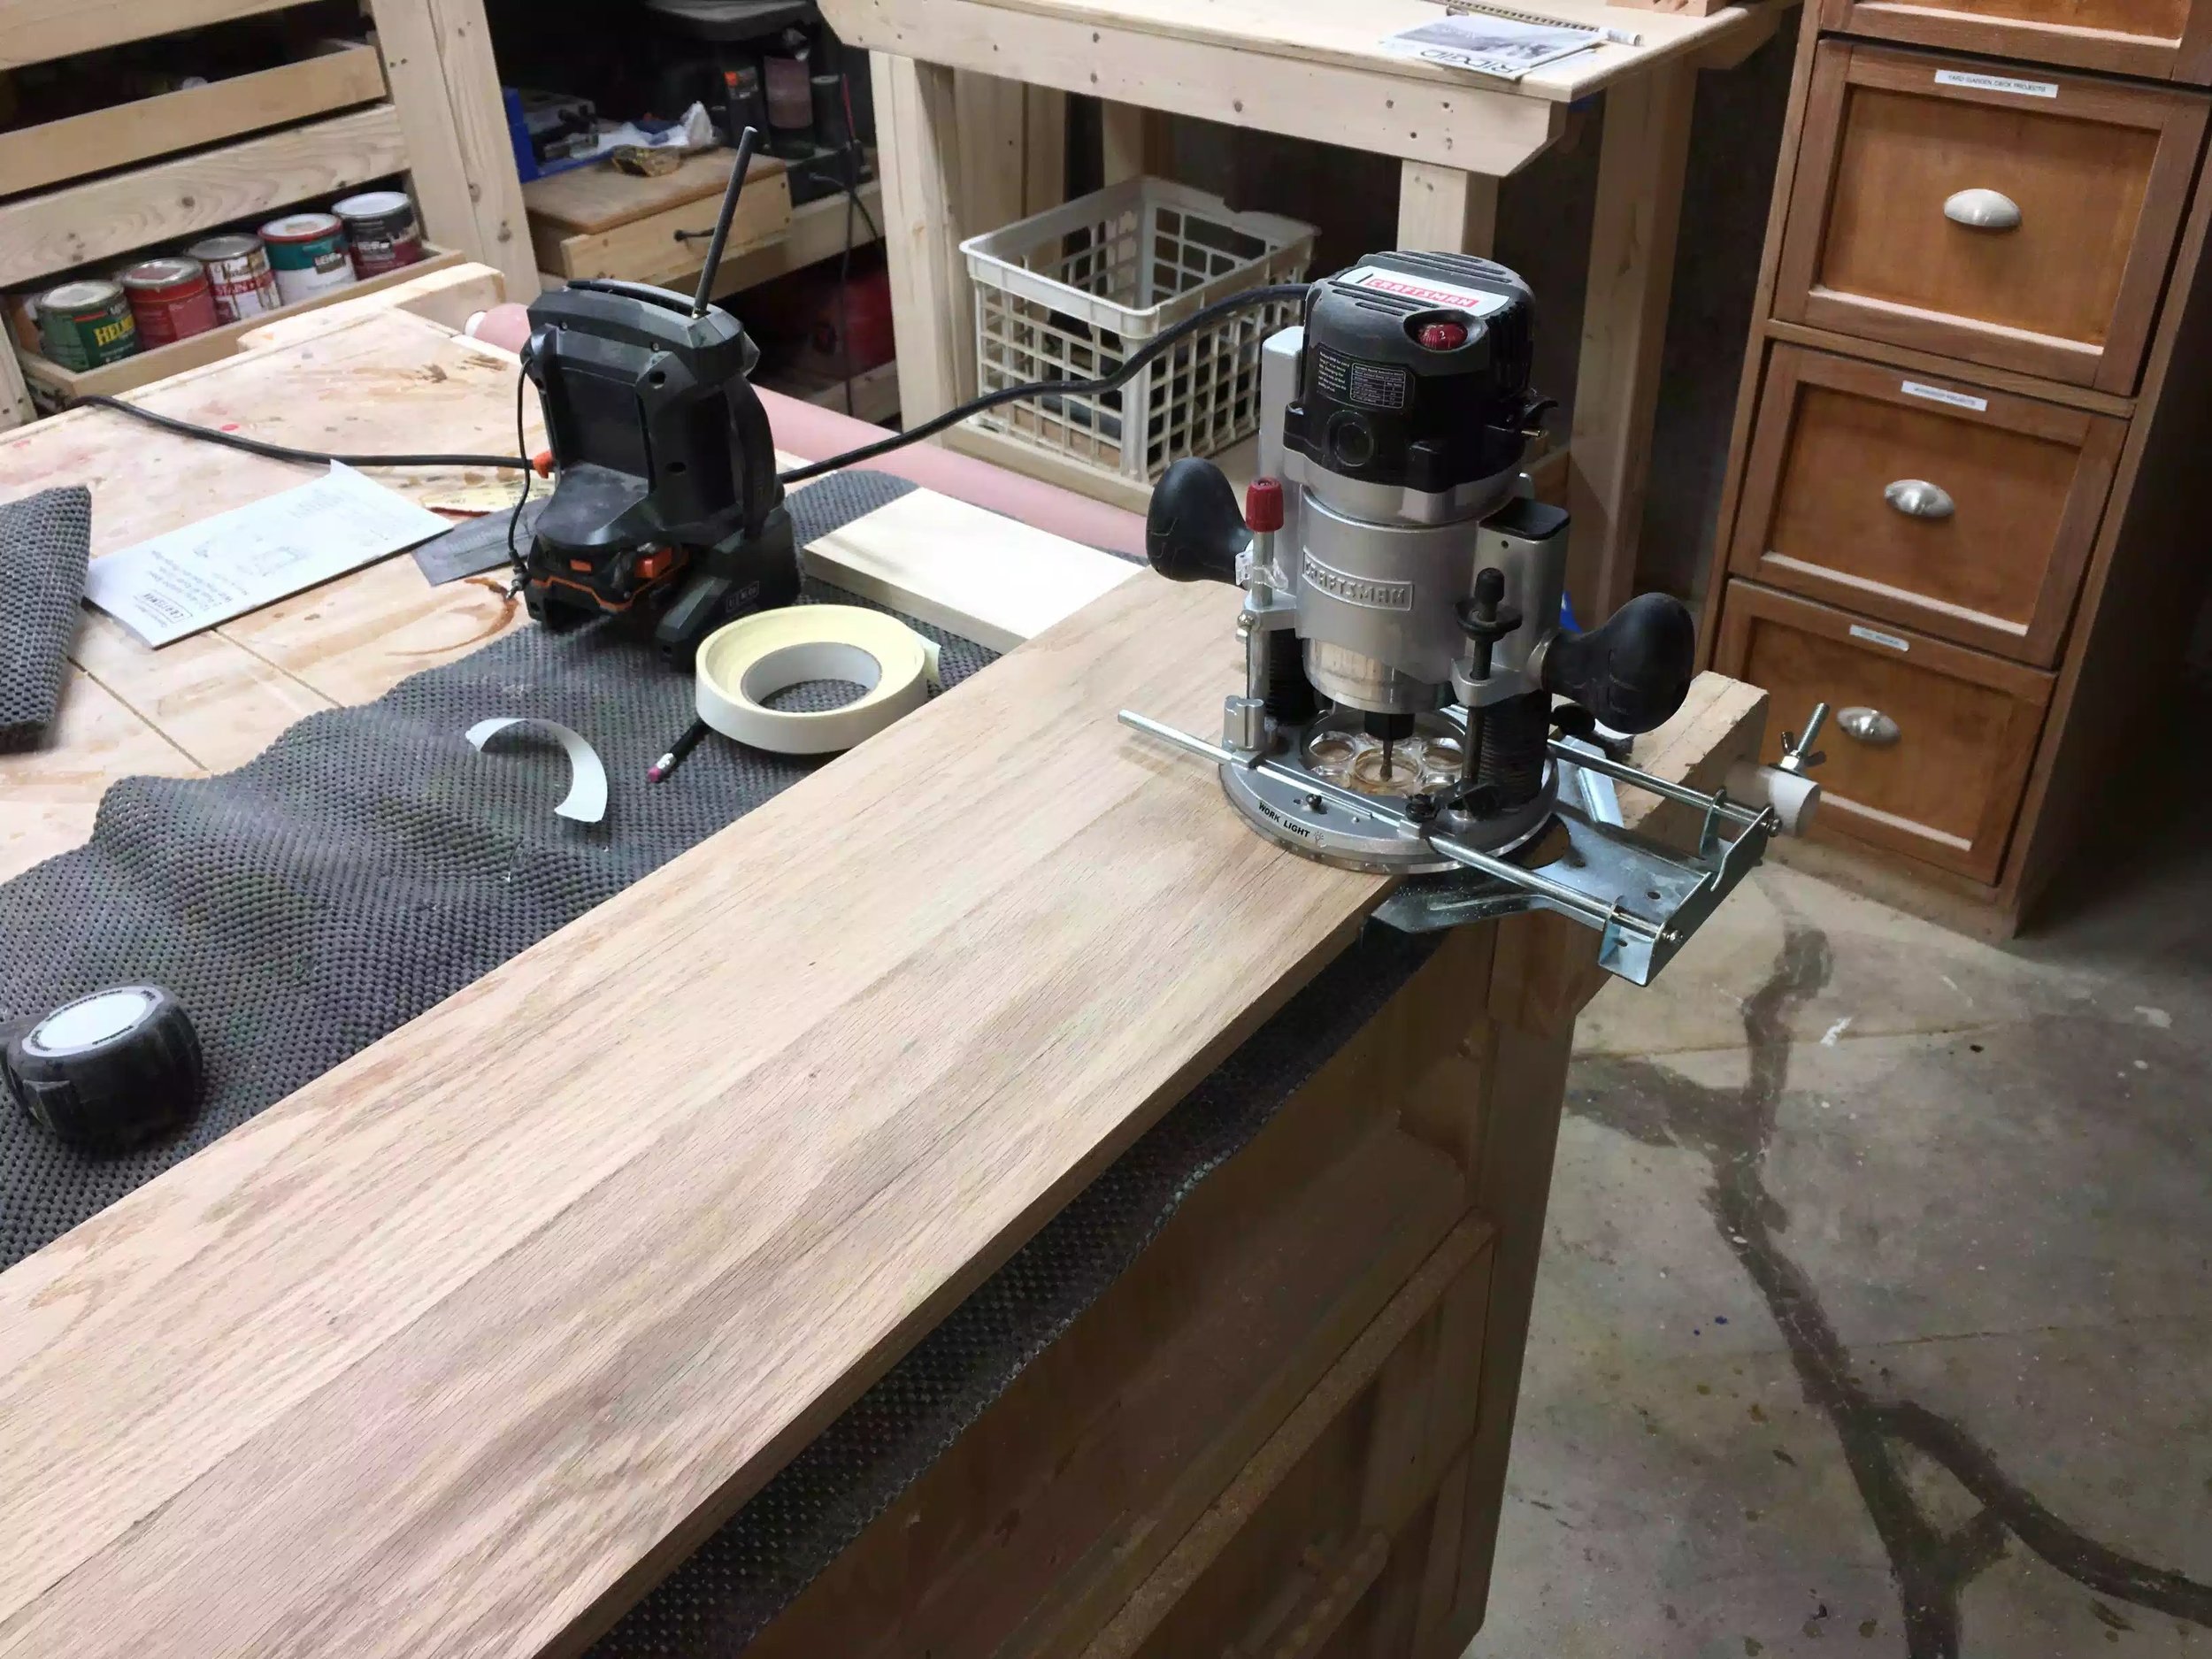
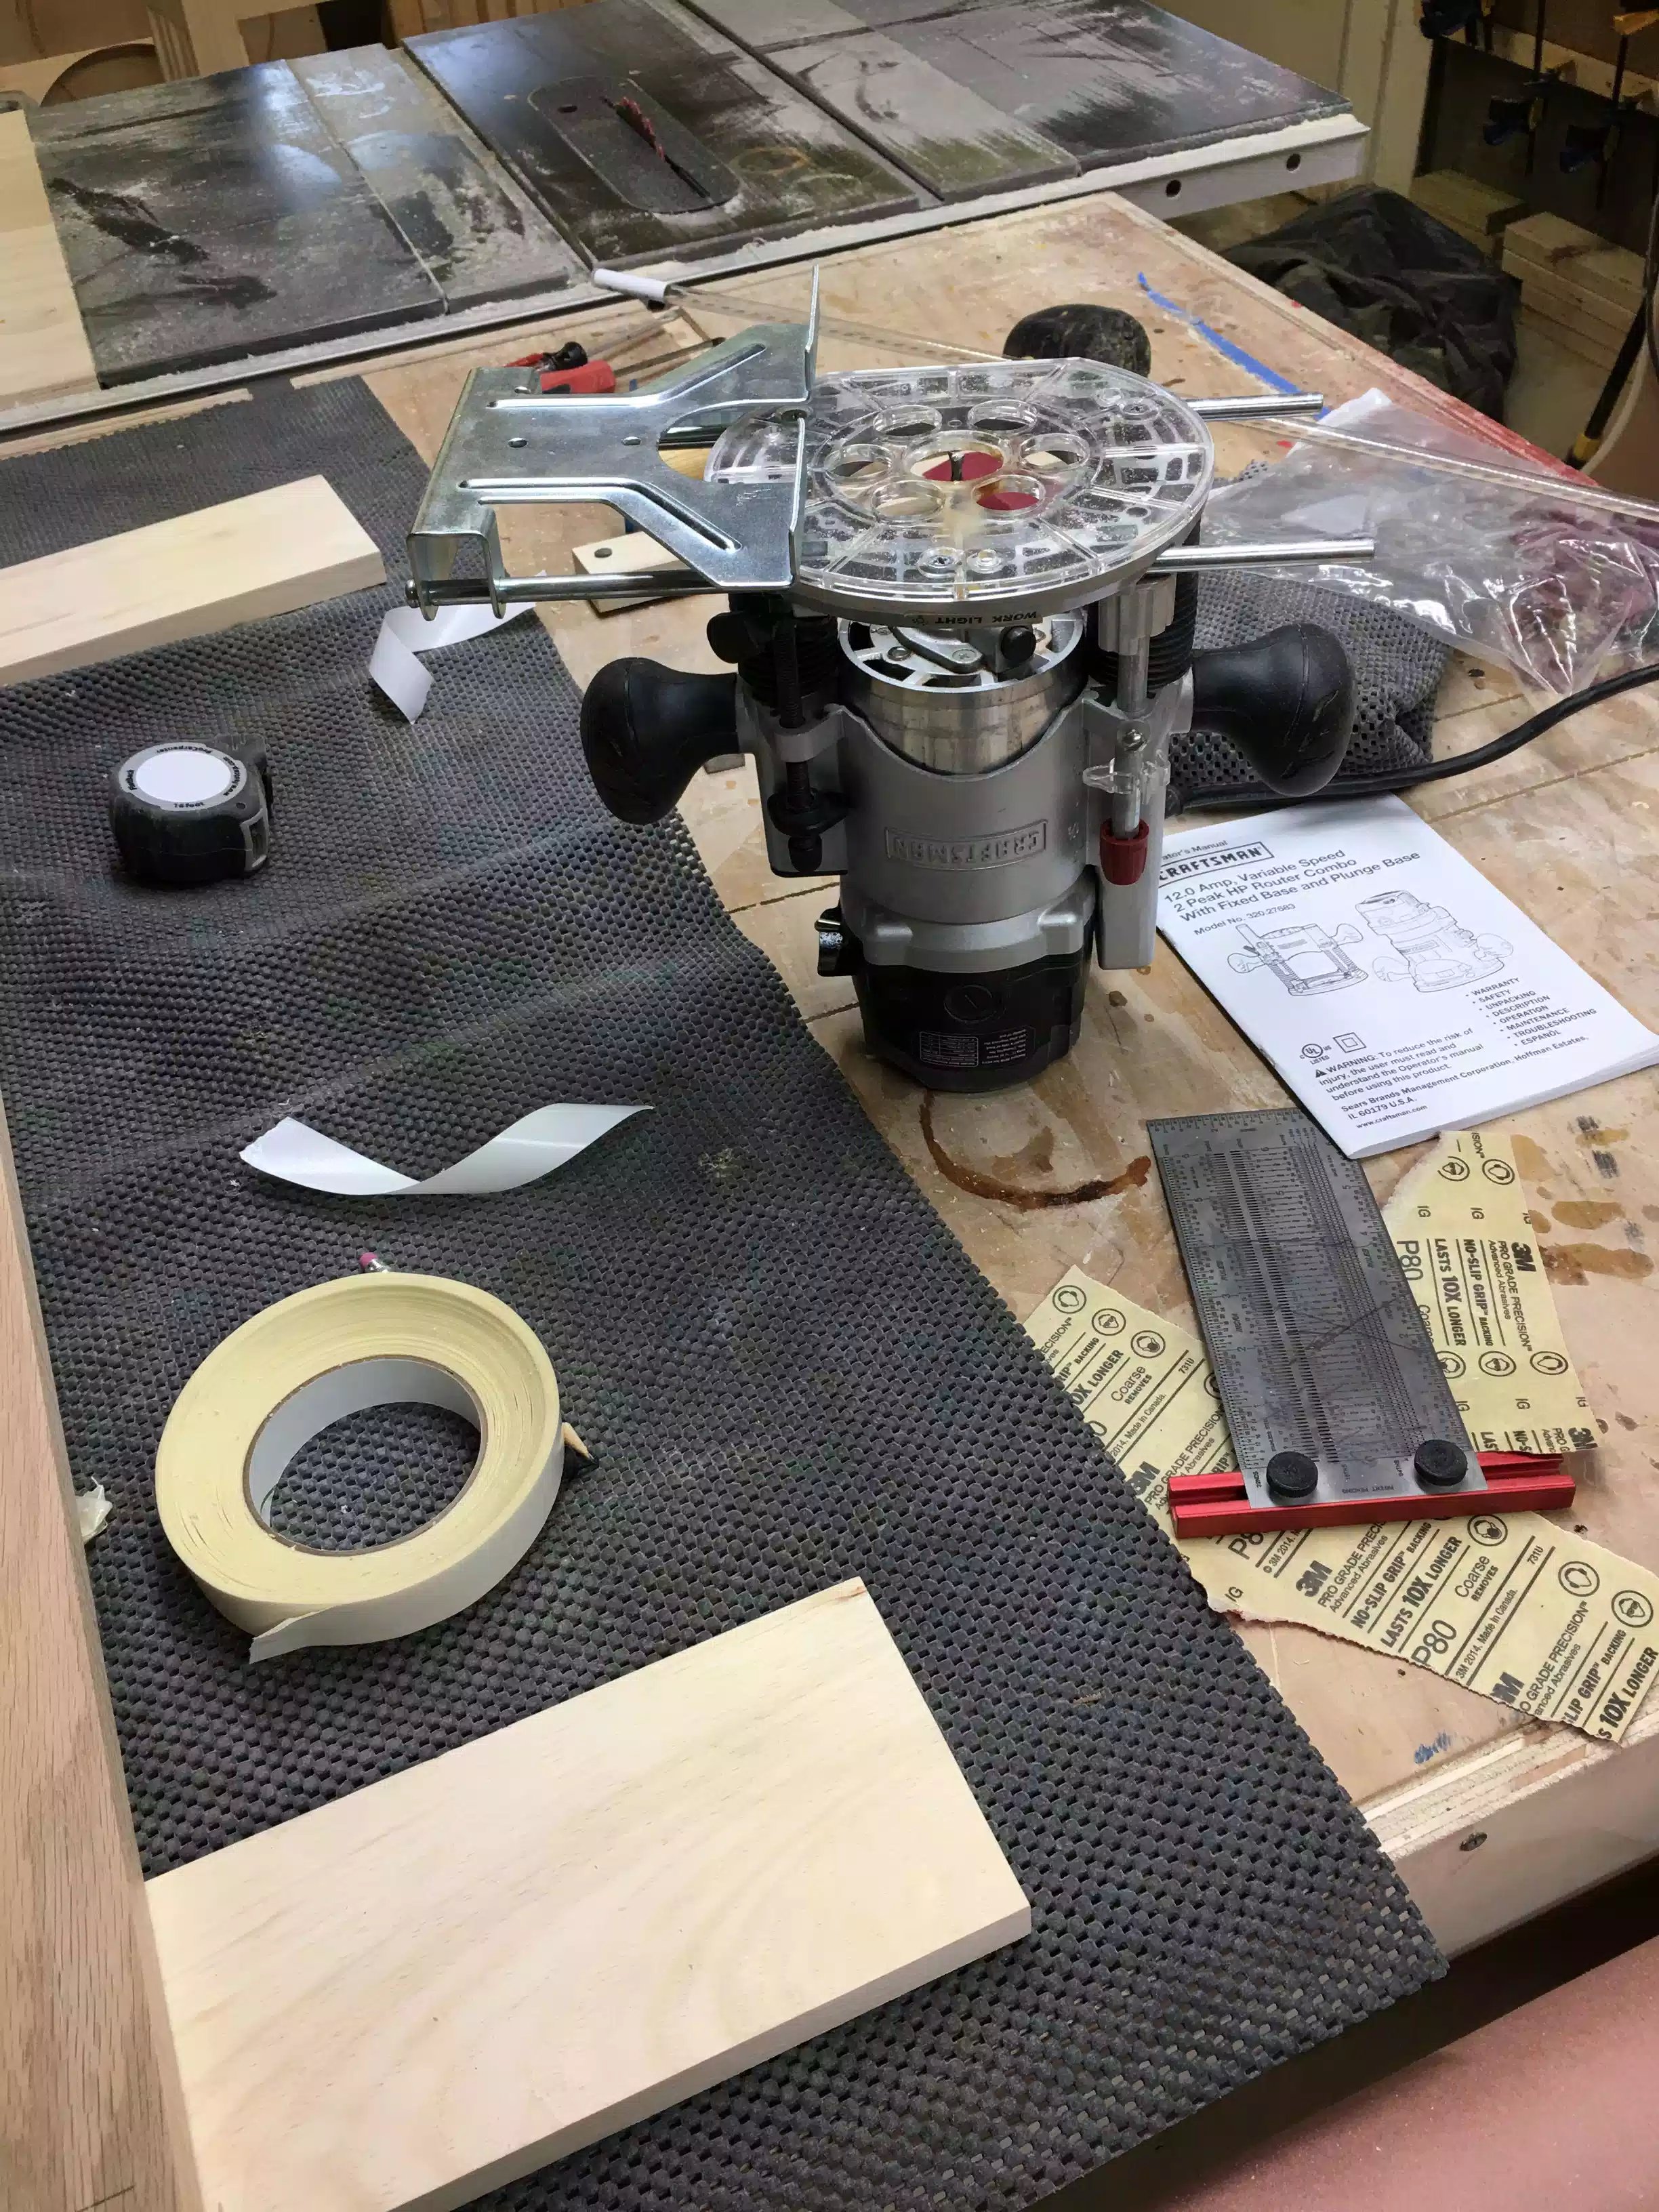
- My first step in doing this was determining where I would like to place the inlay and also the design pattern did I want 2 separate designs on the top or did I just want to add the inlay to the perimeter of the board, so I decided to go with the perimeter of the board and I measured 1 3/4" from the outside edge and laid out my lines as to where I needed to route the groove, which brings me to the router I have never used the router for this.
- Since I was working on the inside of the board and not the edges I didn't feel comfortable using the router table because I could see the cutting edge of the bit and therefor couldn't determine where to stop the board, if the piece was smaller in length and width I could just use stop blocks but that wasnt the case. So for the first time I used my edge guide with the plunge router to see what I was cutting and see my stop lines. It came out OK accept the depth stop on my router moved a fraction while performing the cuts and I ended up with an uneven groove for the inlay to fit into. Also the bit I was using was 1/4" spiral up-cut bit and my inlay was also a 1/4" wide so I didn't have a lot of room to maneuver the inlay into position so I used a sanding block to widen the groove a hair. In hindsight I think I will use a 5/16" router bit when using 1/4" wide inlay, but all in all I enjoyed the task and ill definitely be using inlays more, just need to find a better place to purchase them from.
- While I had the router out I decide to add the ogee profile on the table top
Below you can see the pictures of me doing everything pertaining to the inlay, such as marking out the board, using the router edge guide and a finished image after the board was finished with Poly-Acrylic finish

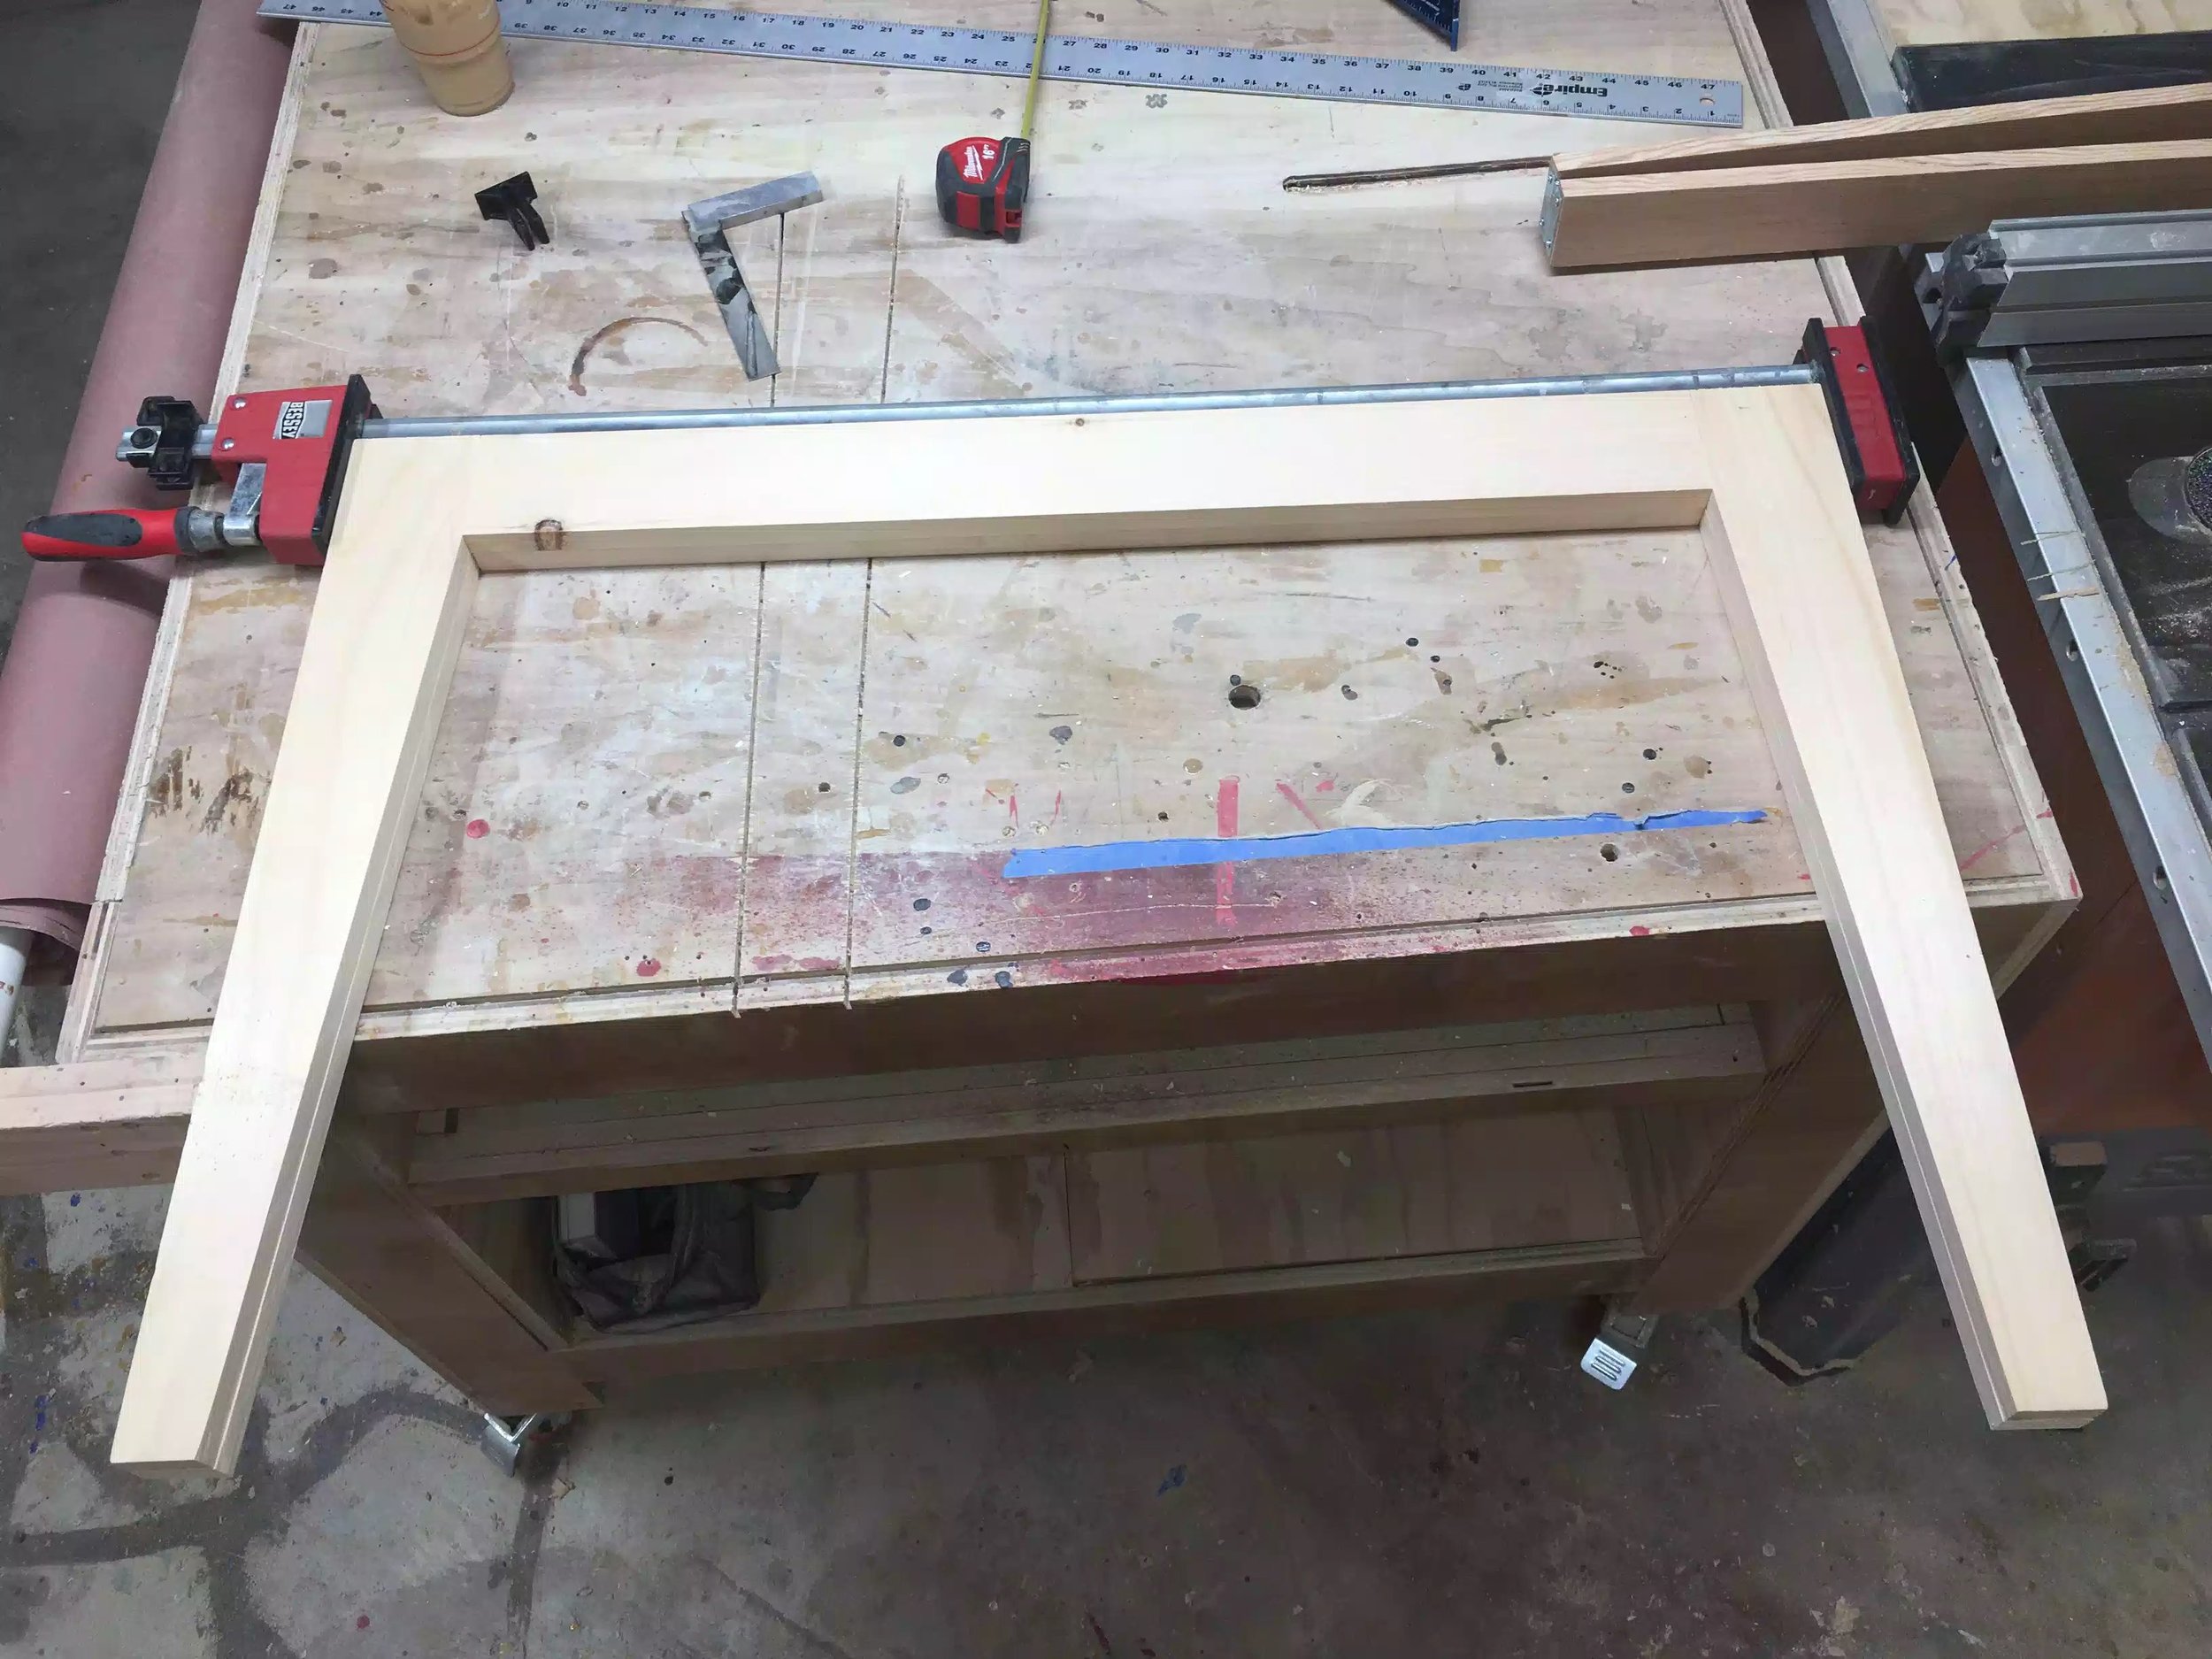
FINISHING UP
So up-to this point it took me 4 days to get this far and all that is left is applying the finish and securing the top to the base.
There really isn't much to talk about except that it took me 4 days to complete the finishing on the project because it took 2-4 hours drying time between coats and that is basically all the time I have to spend in the shop, I added 3 coats of Minwax Poly-Acrylic sanding in beteen each coat with 220 grit sand paper. You can see a few staging photos of how I set up the table top and frame for receiving the finish.
I opted to keep the table top on the bench while adding the finish as it was easier to do, however with the entire base or frame of the table being so low to the ground I decided to raise it up to eye level using my workhorses and I am glad I did as this phase oft he project took along time
Completed Console Table: In its new home
I really enjoyed this project and I hope you have enjoyed reading this project page , if you would like to see and read my blog on this project please click this link