
DRILL PRESS
PROJECTS
DRILL PRESS CART
(08/2018)
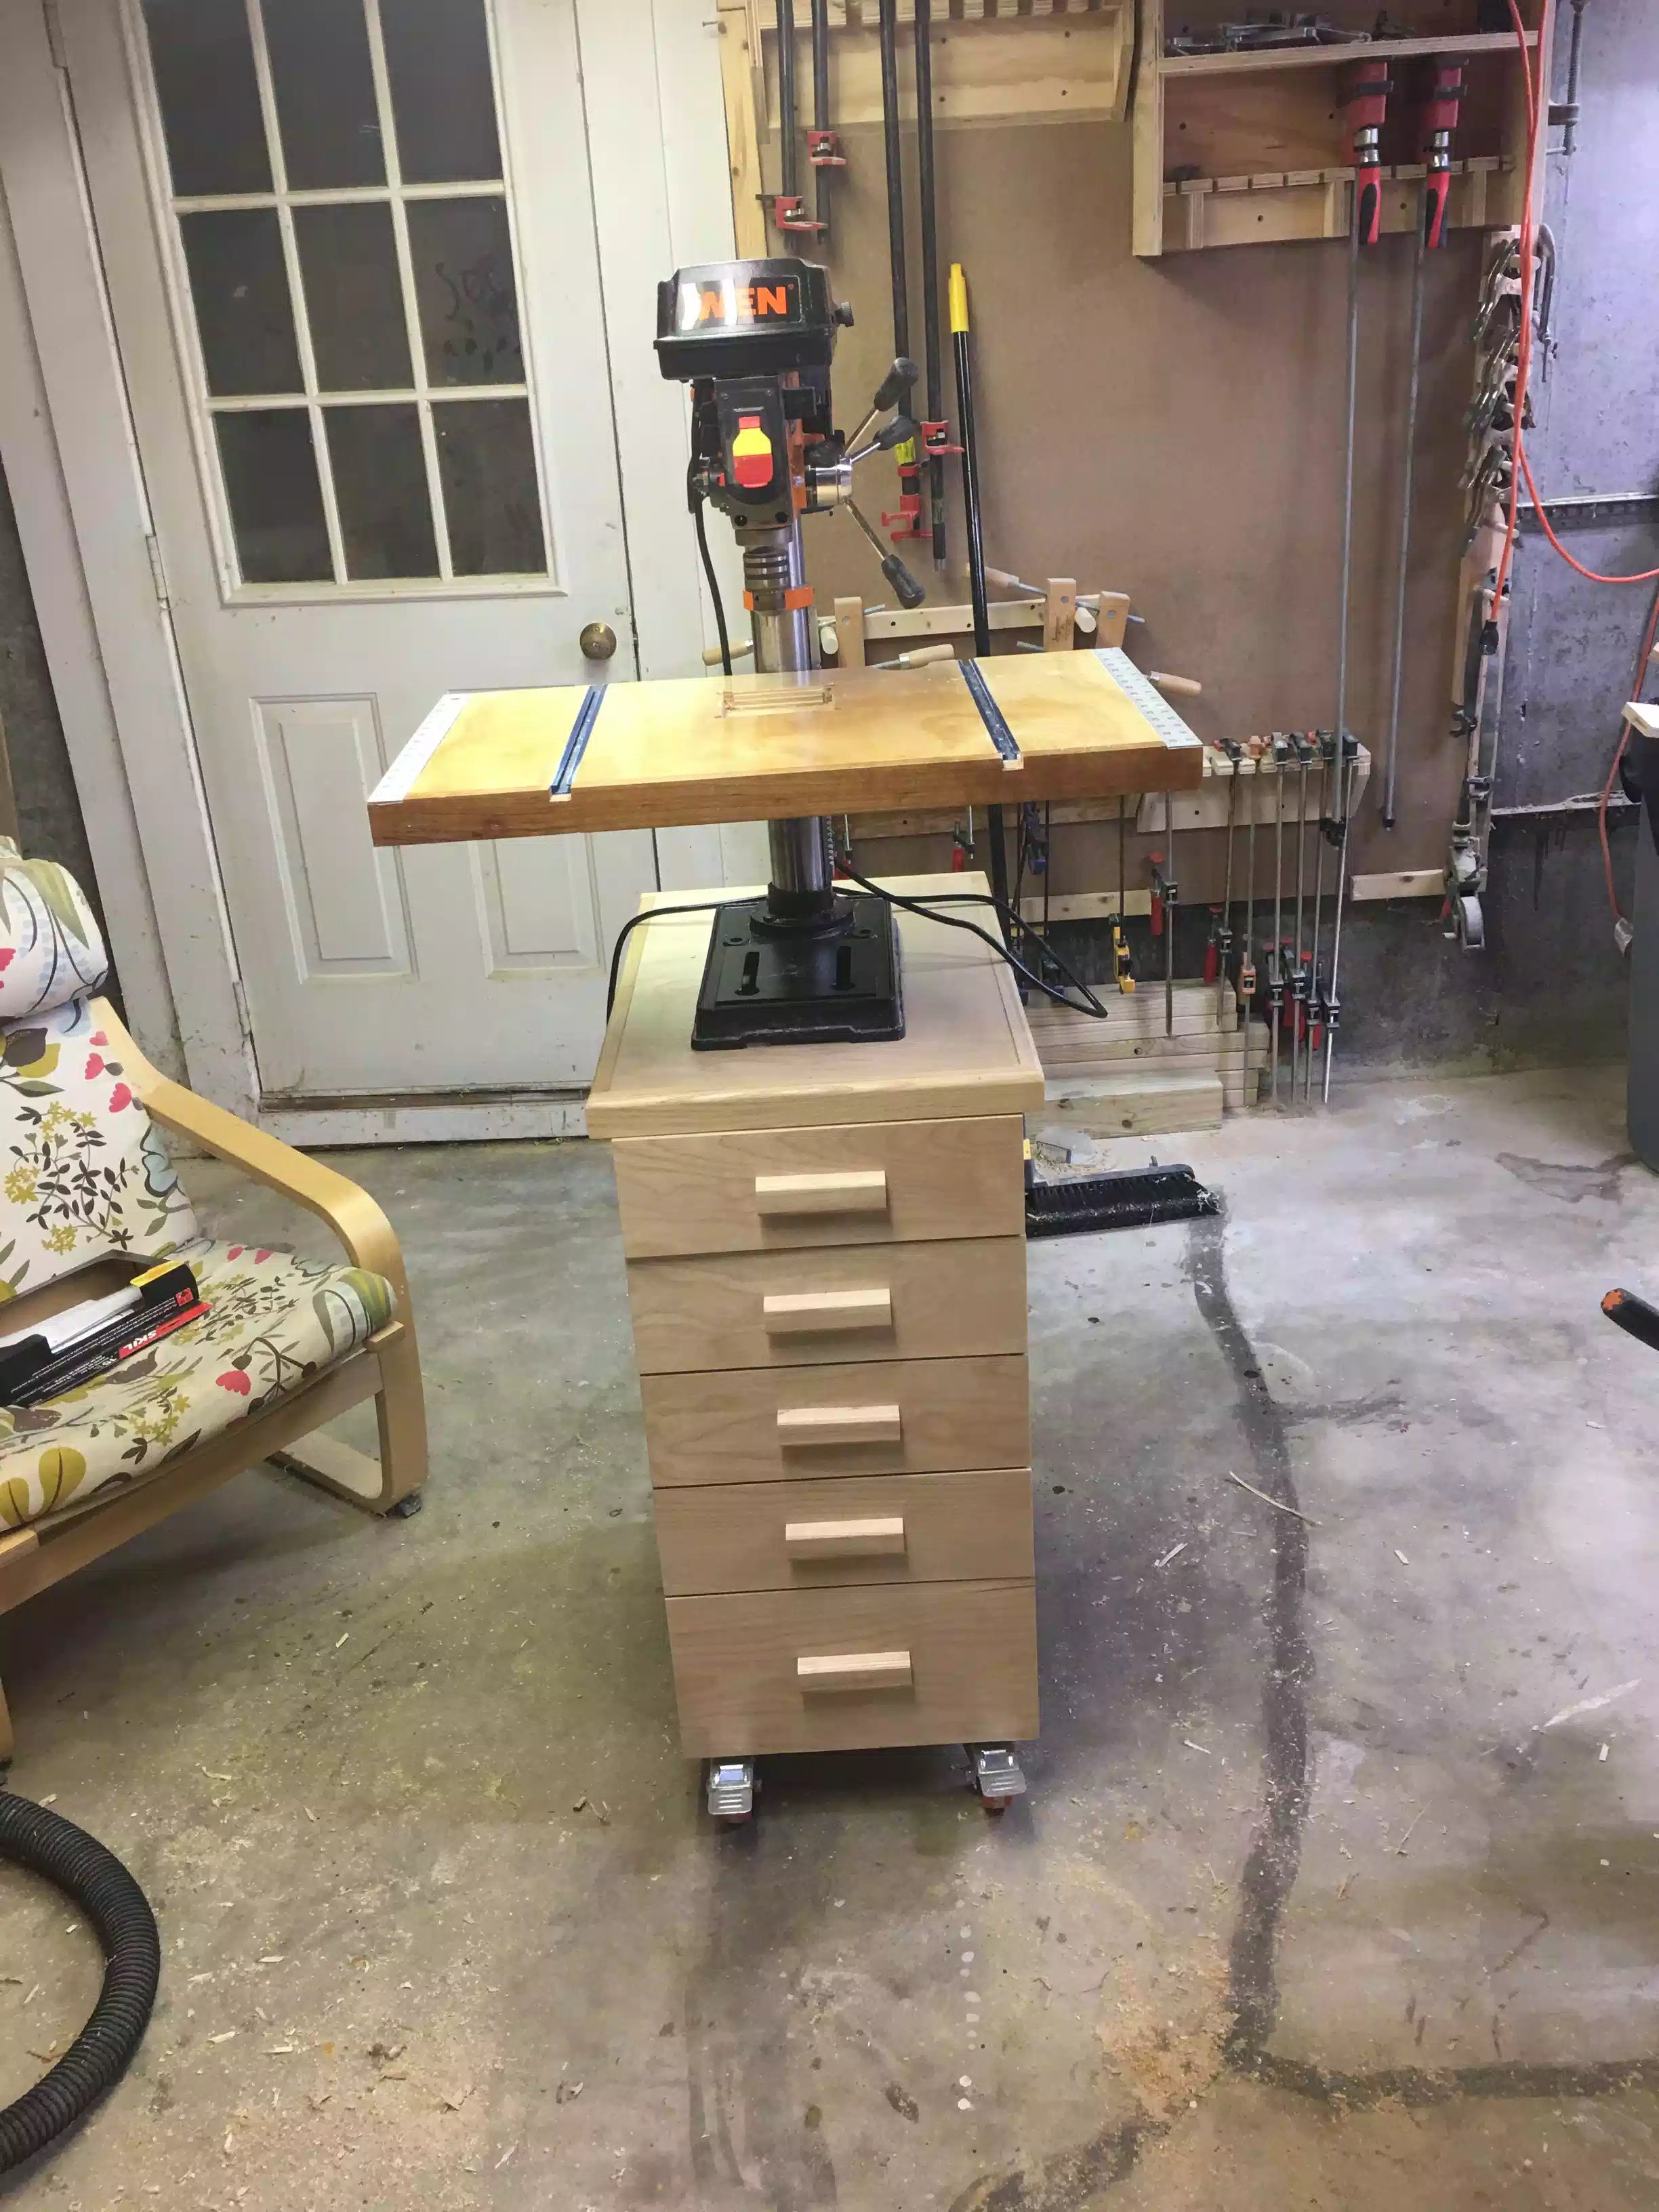
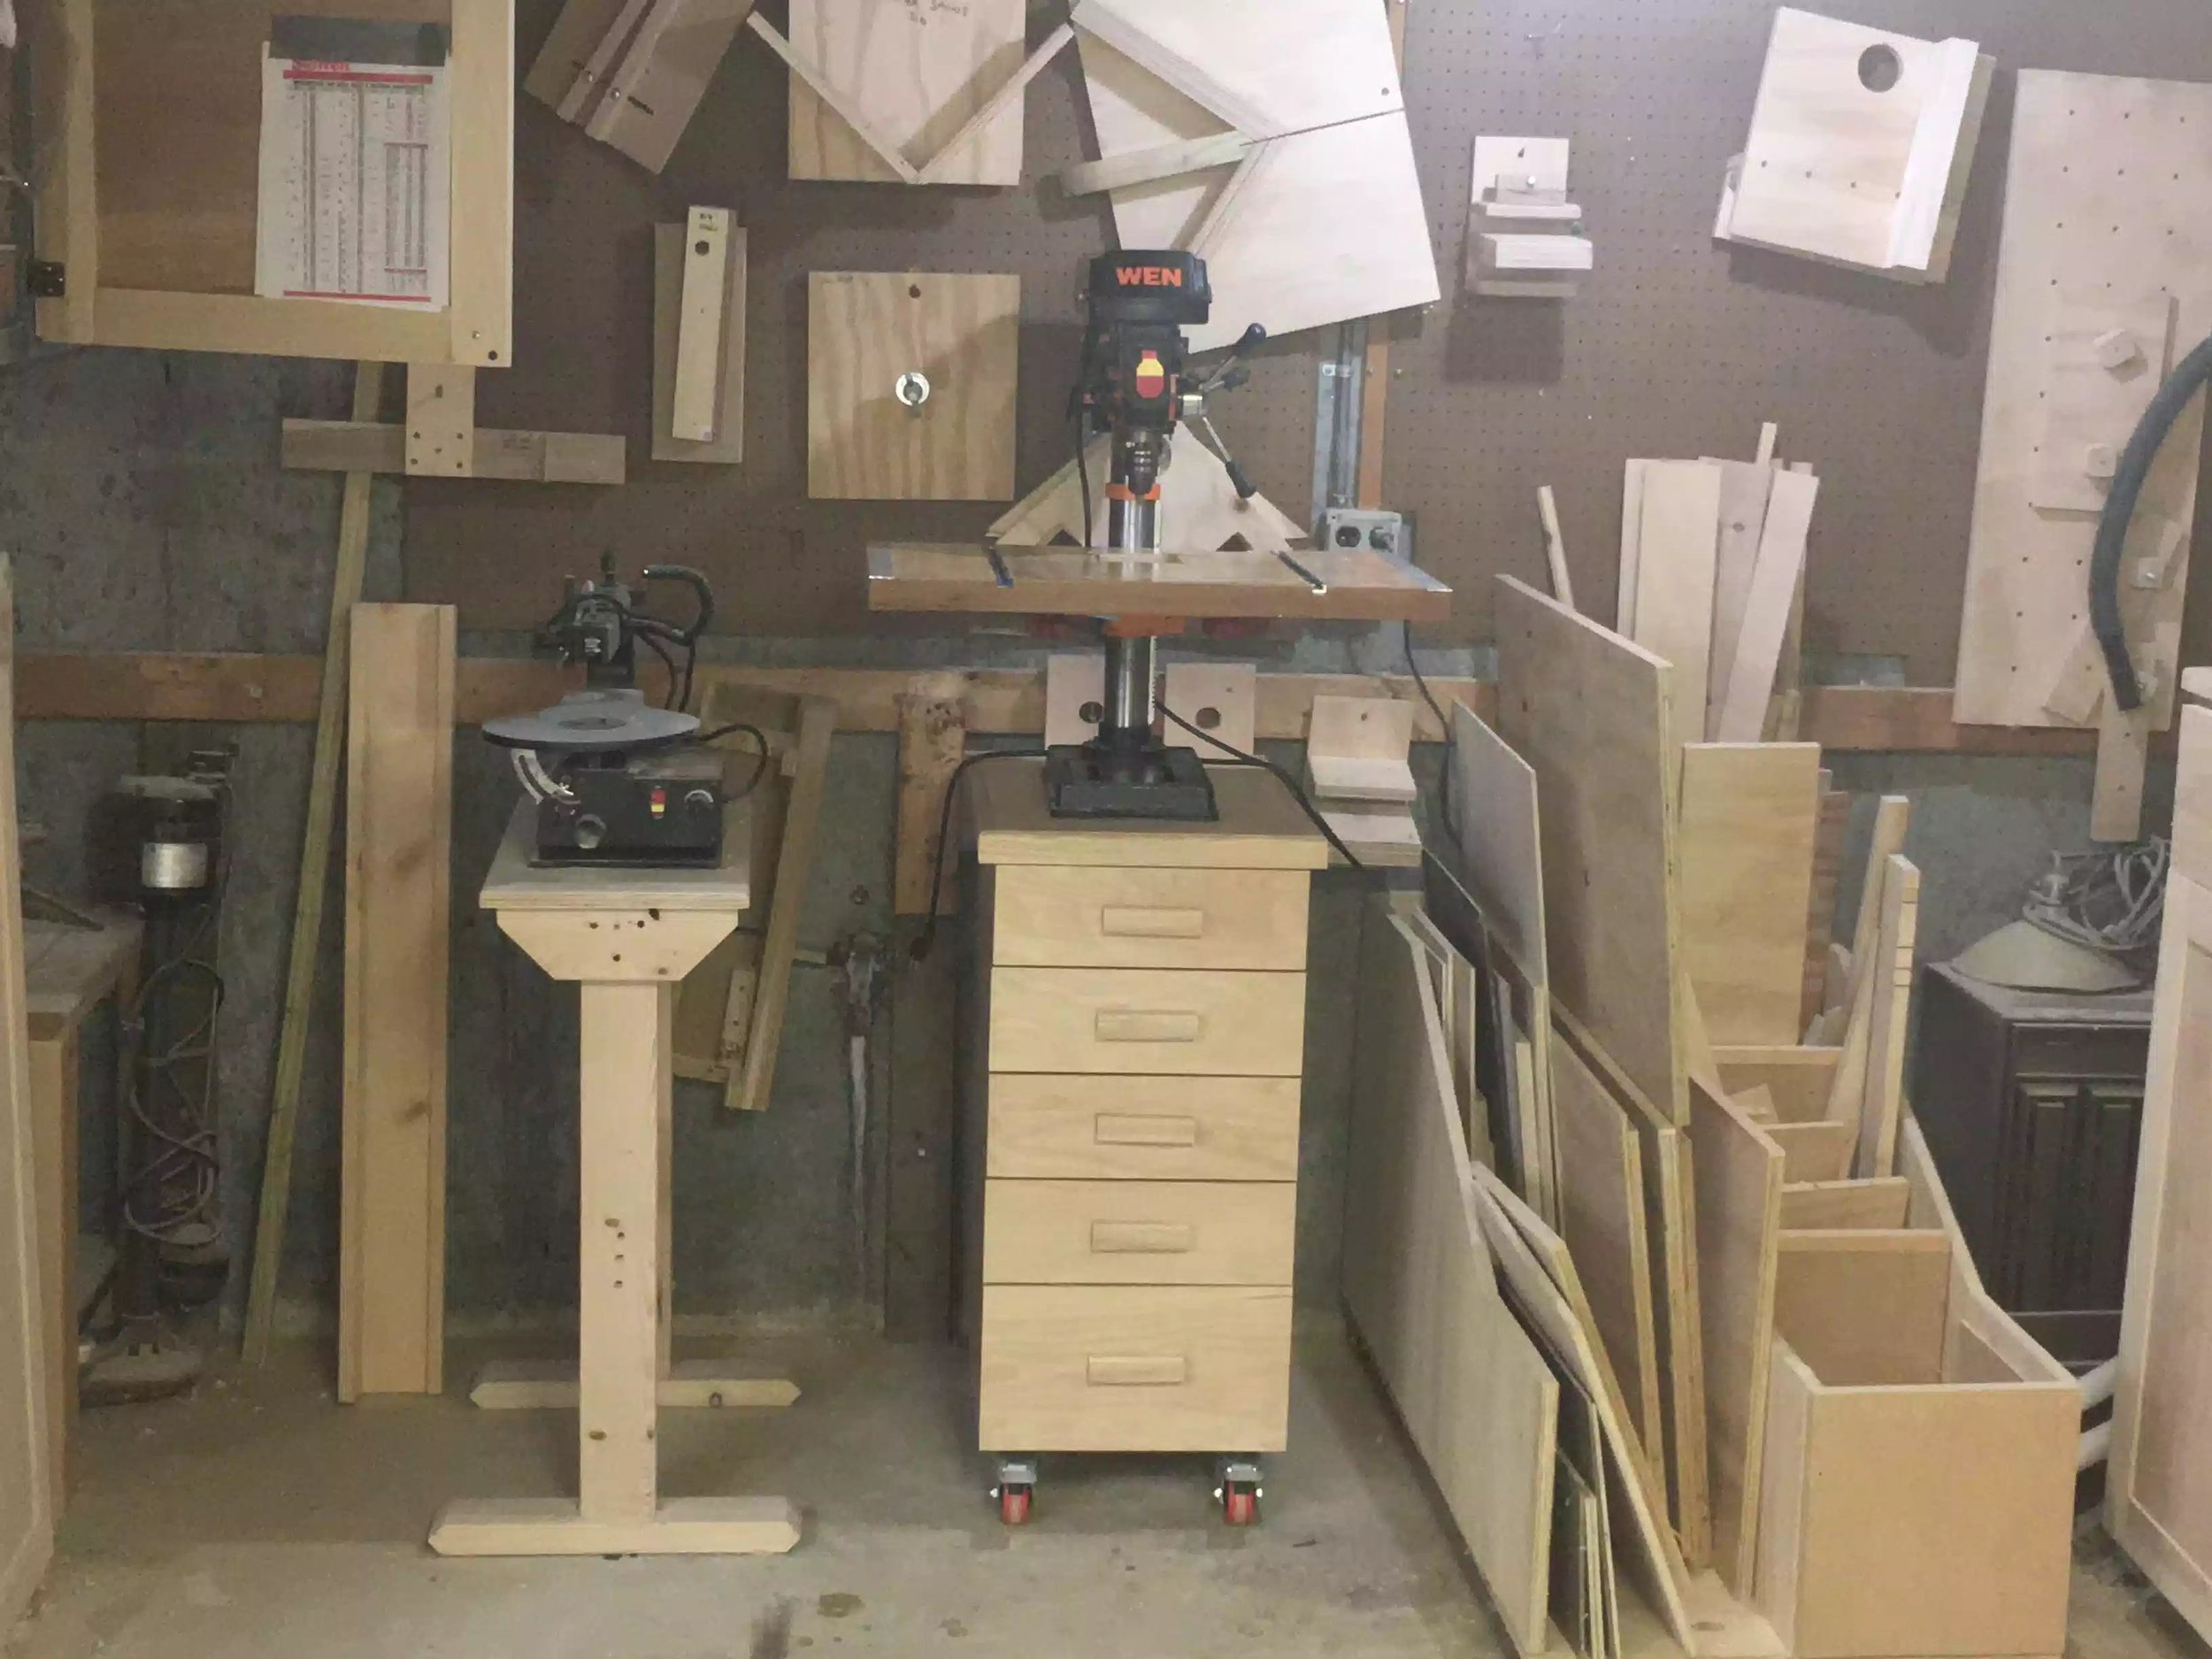
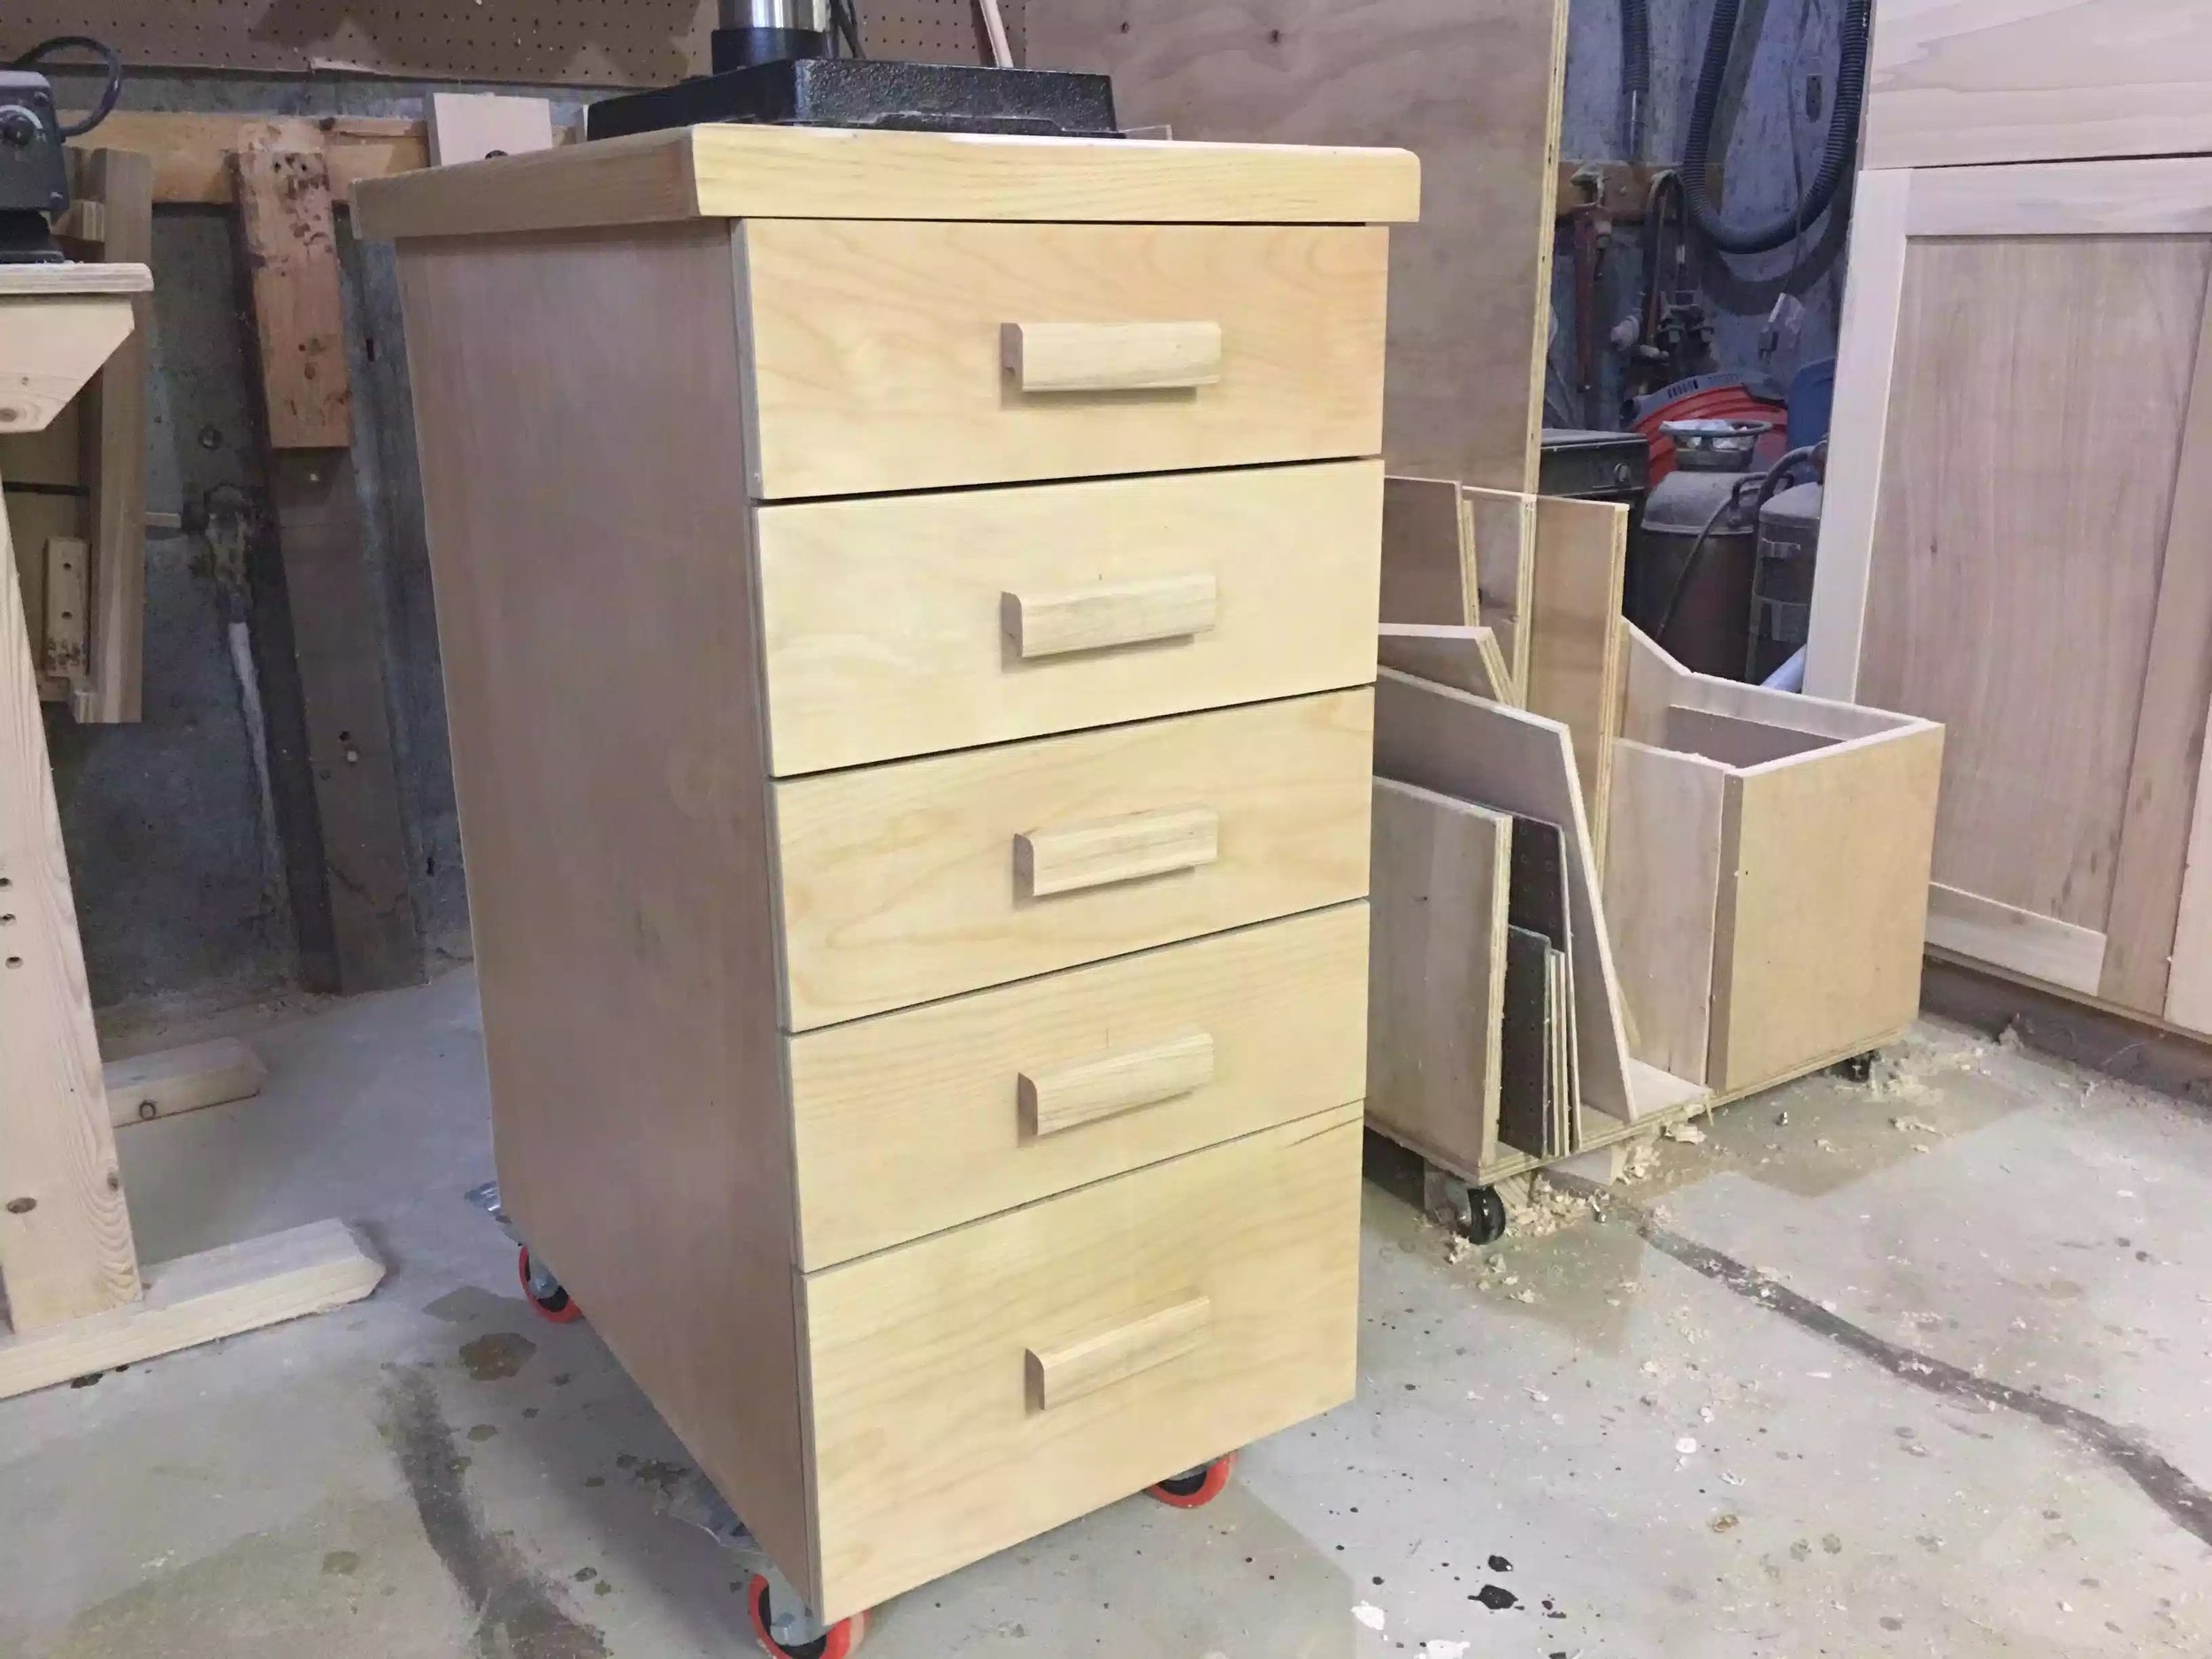
After a week of fleeting moments in the shop I have finally finished the drill press cart and I have to say that it looks awesome and even more importantly that that it makes more room and floor space available in that ugly corner of my shop.
SHOPPING LIST
Full sheet of 3/4" birch plywood (not baltic birch)
A half sheet of 1/4" plywood
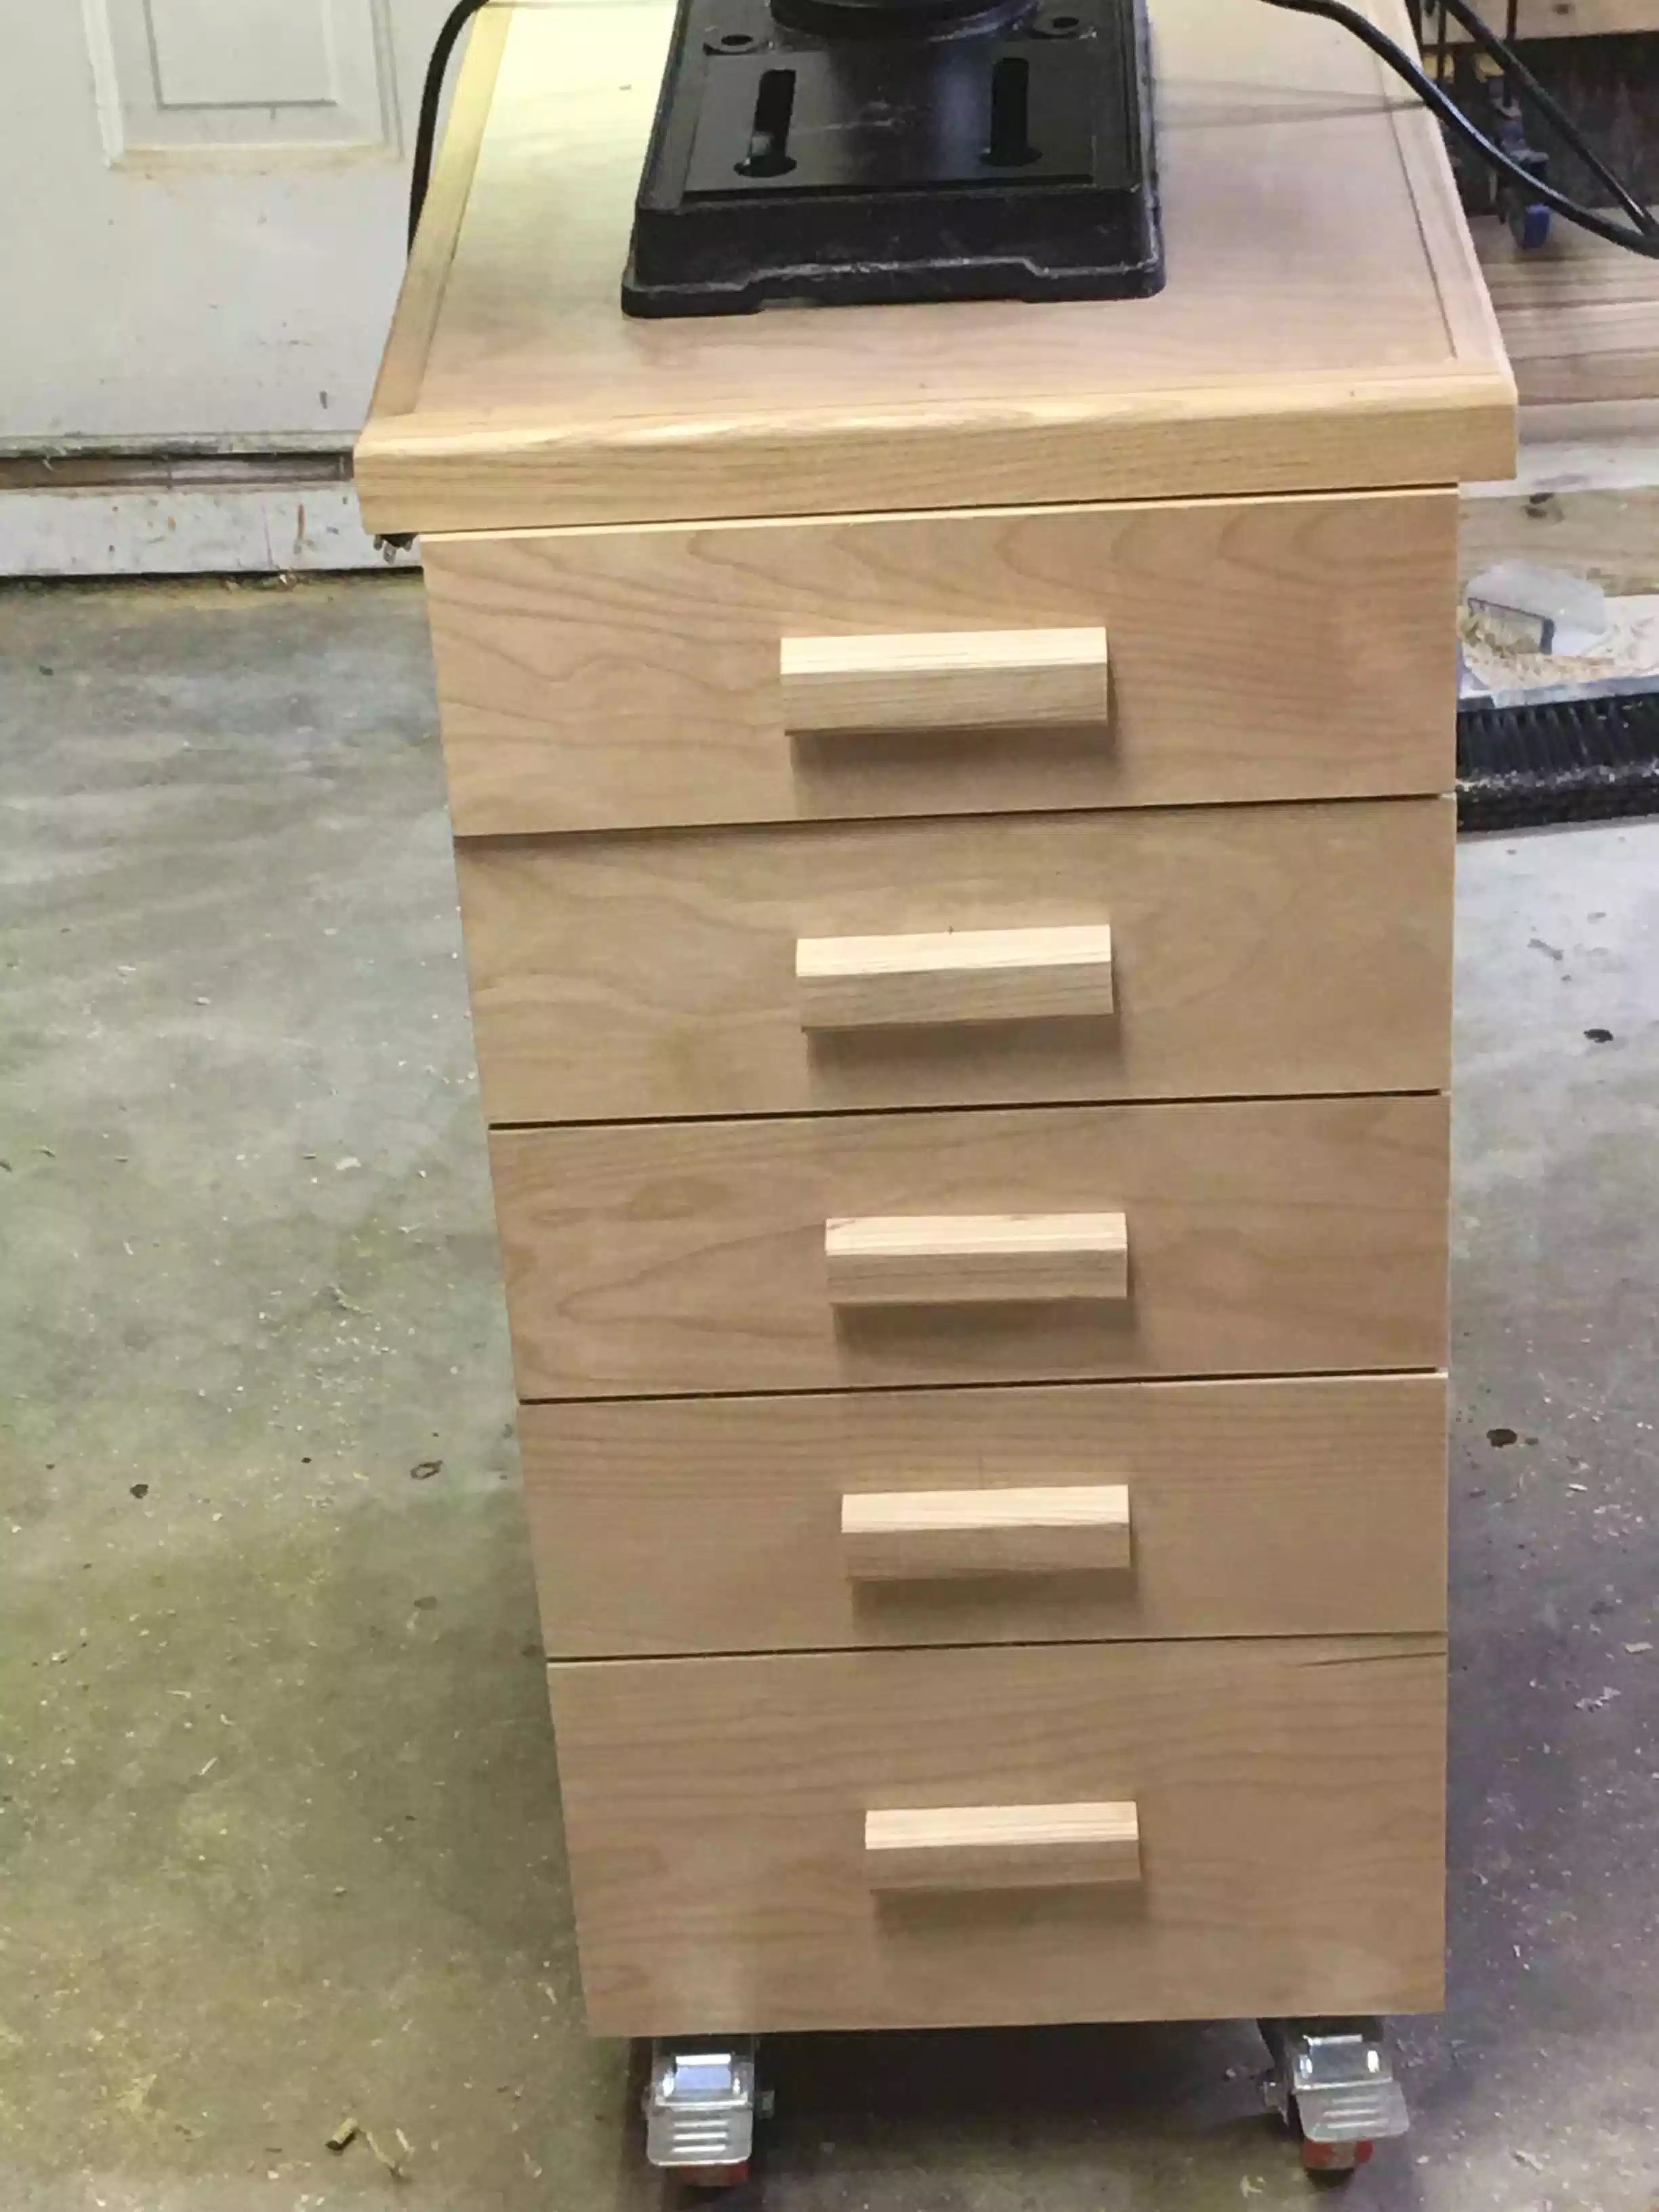
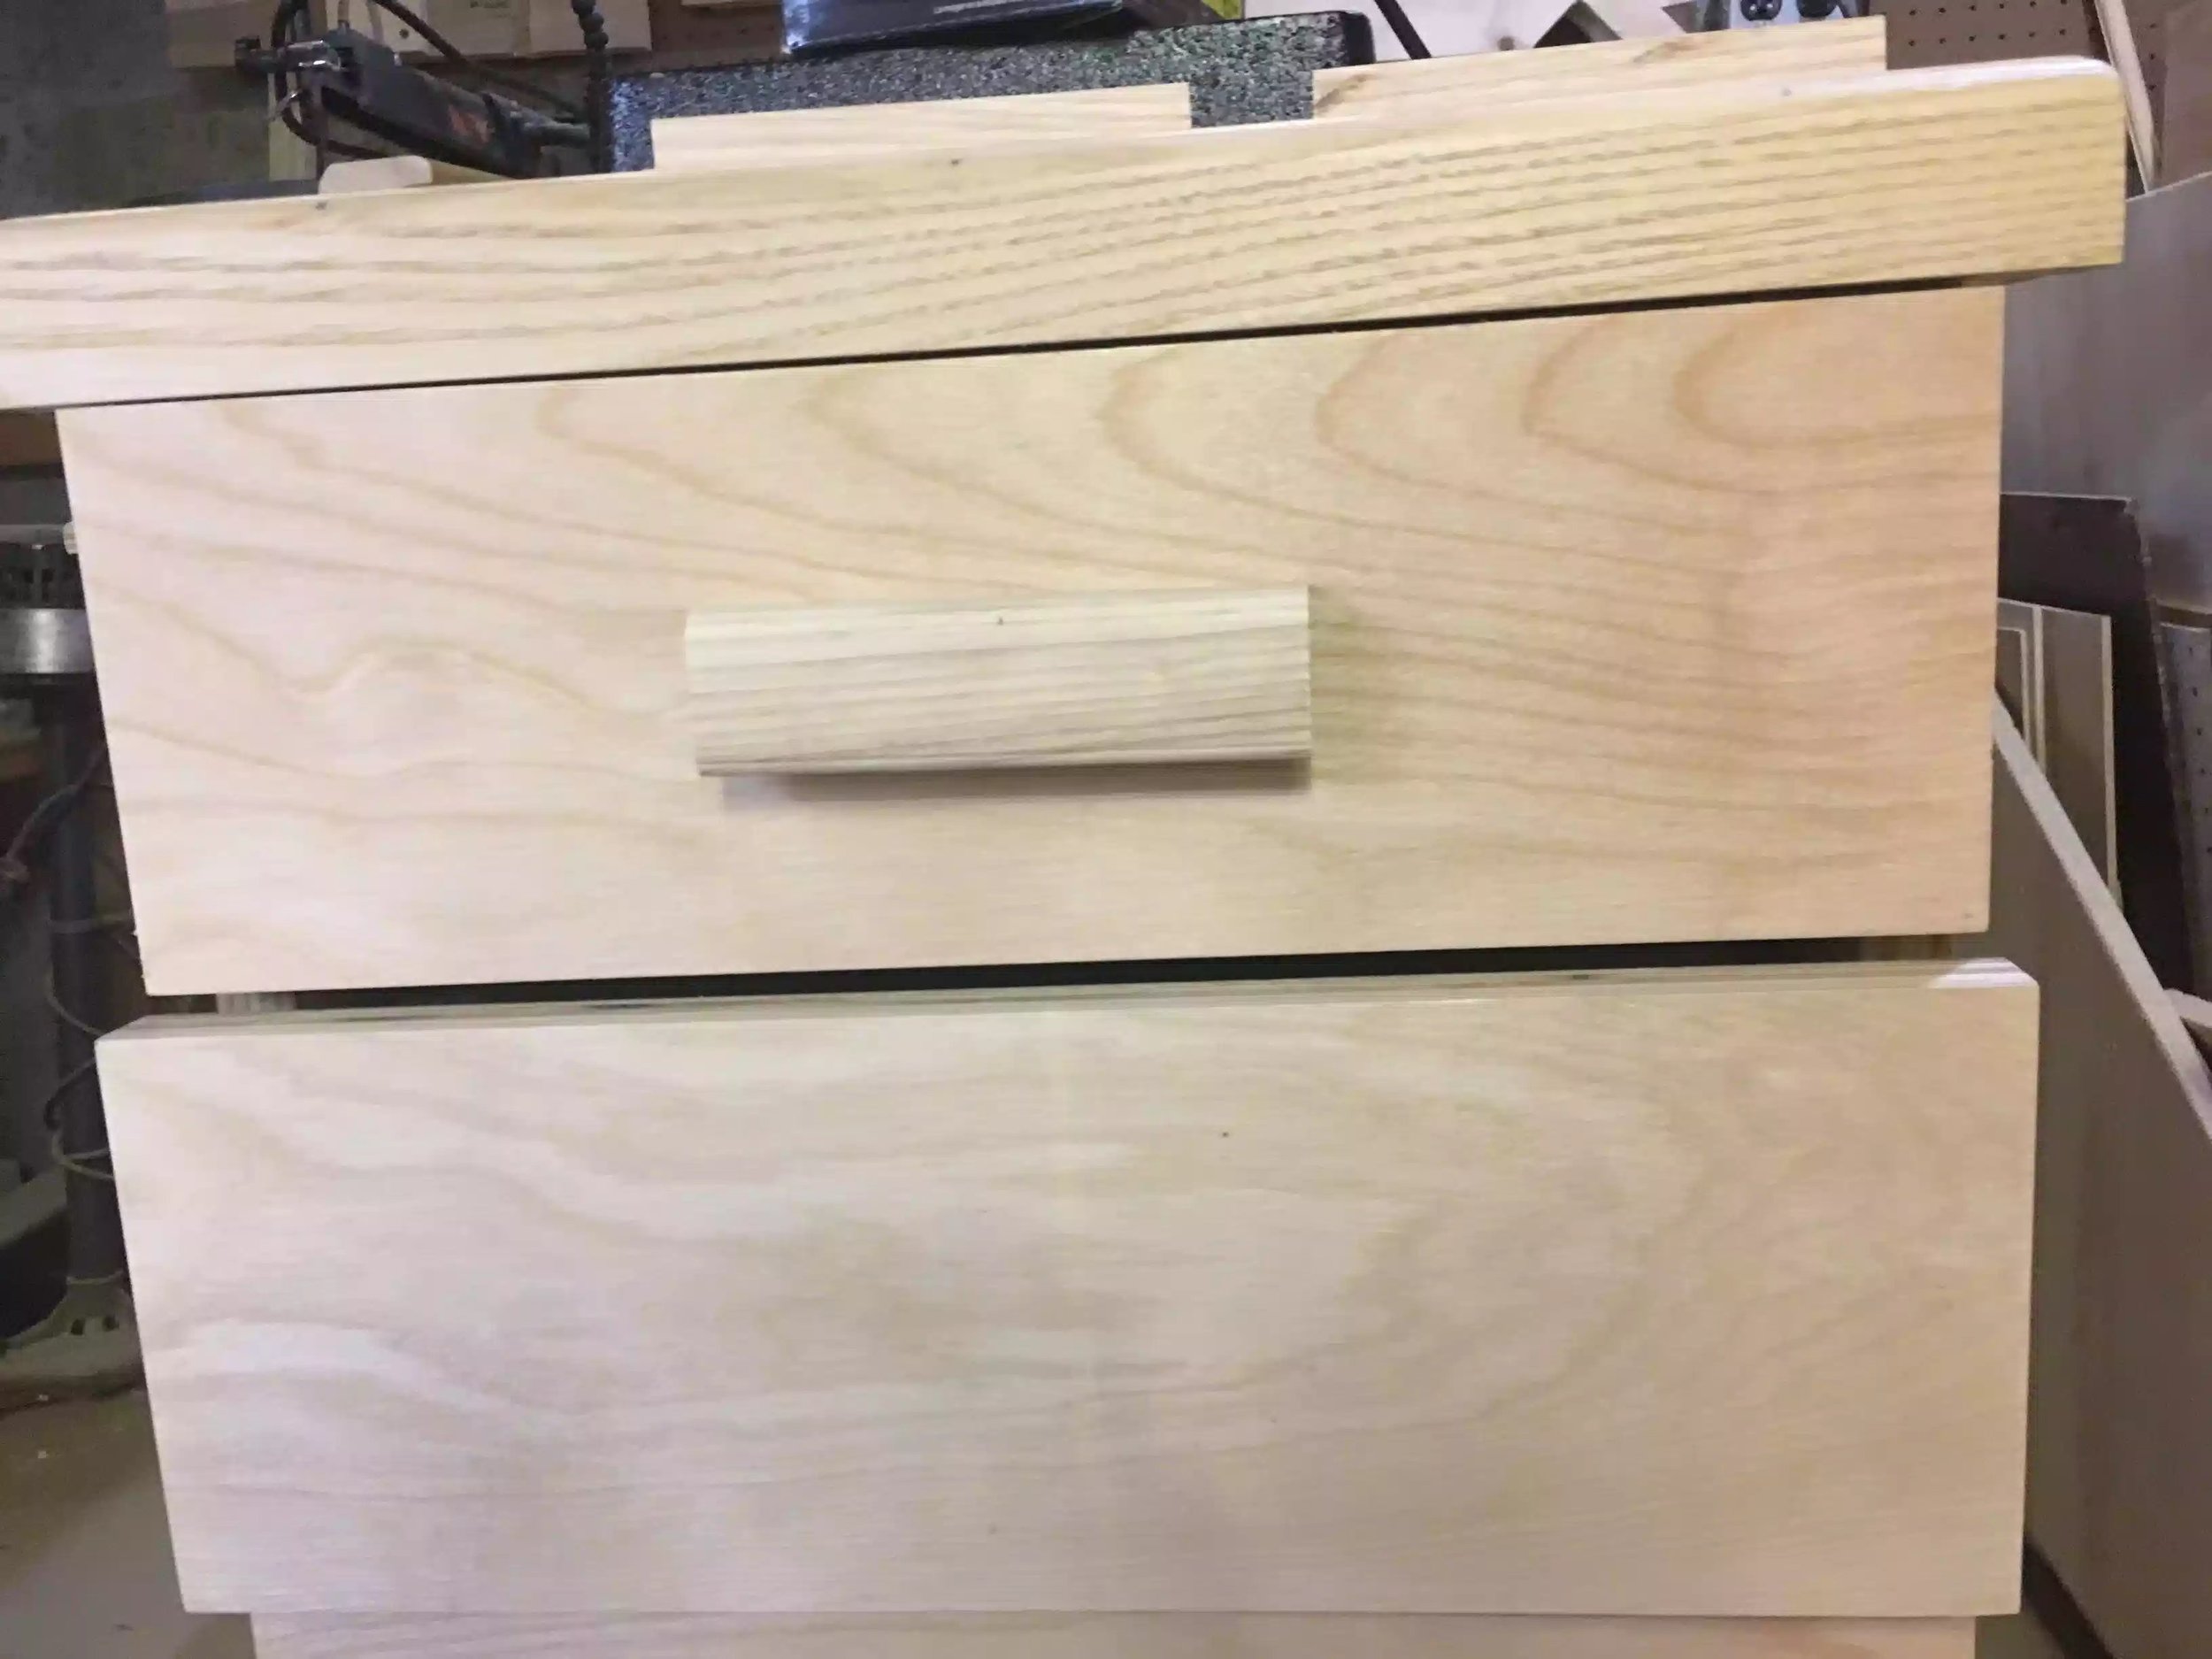
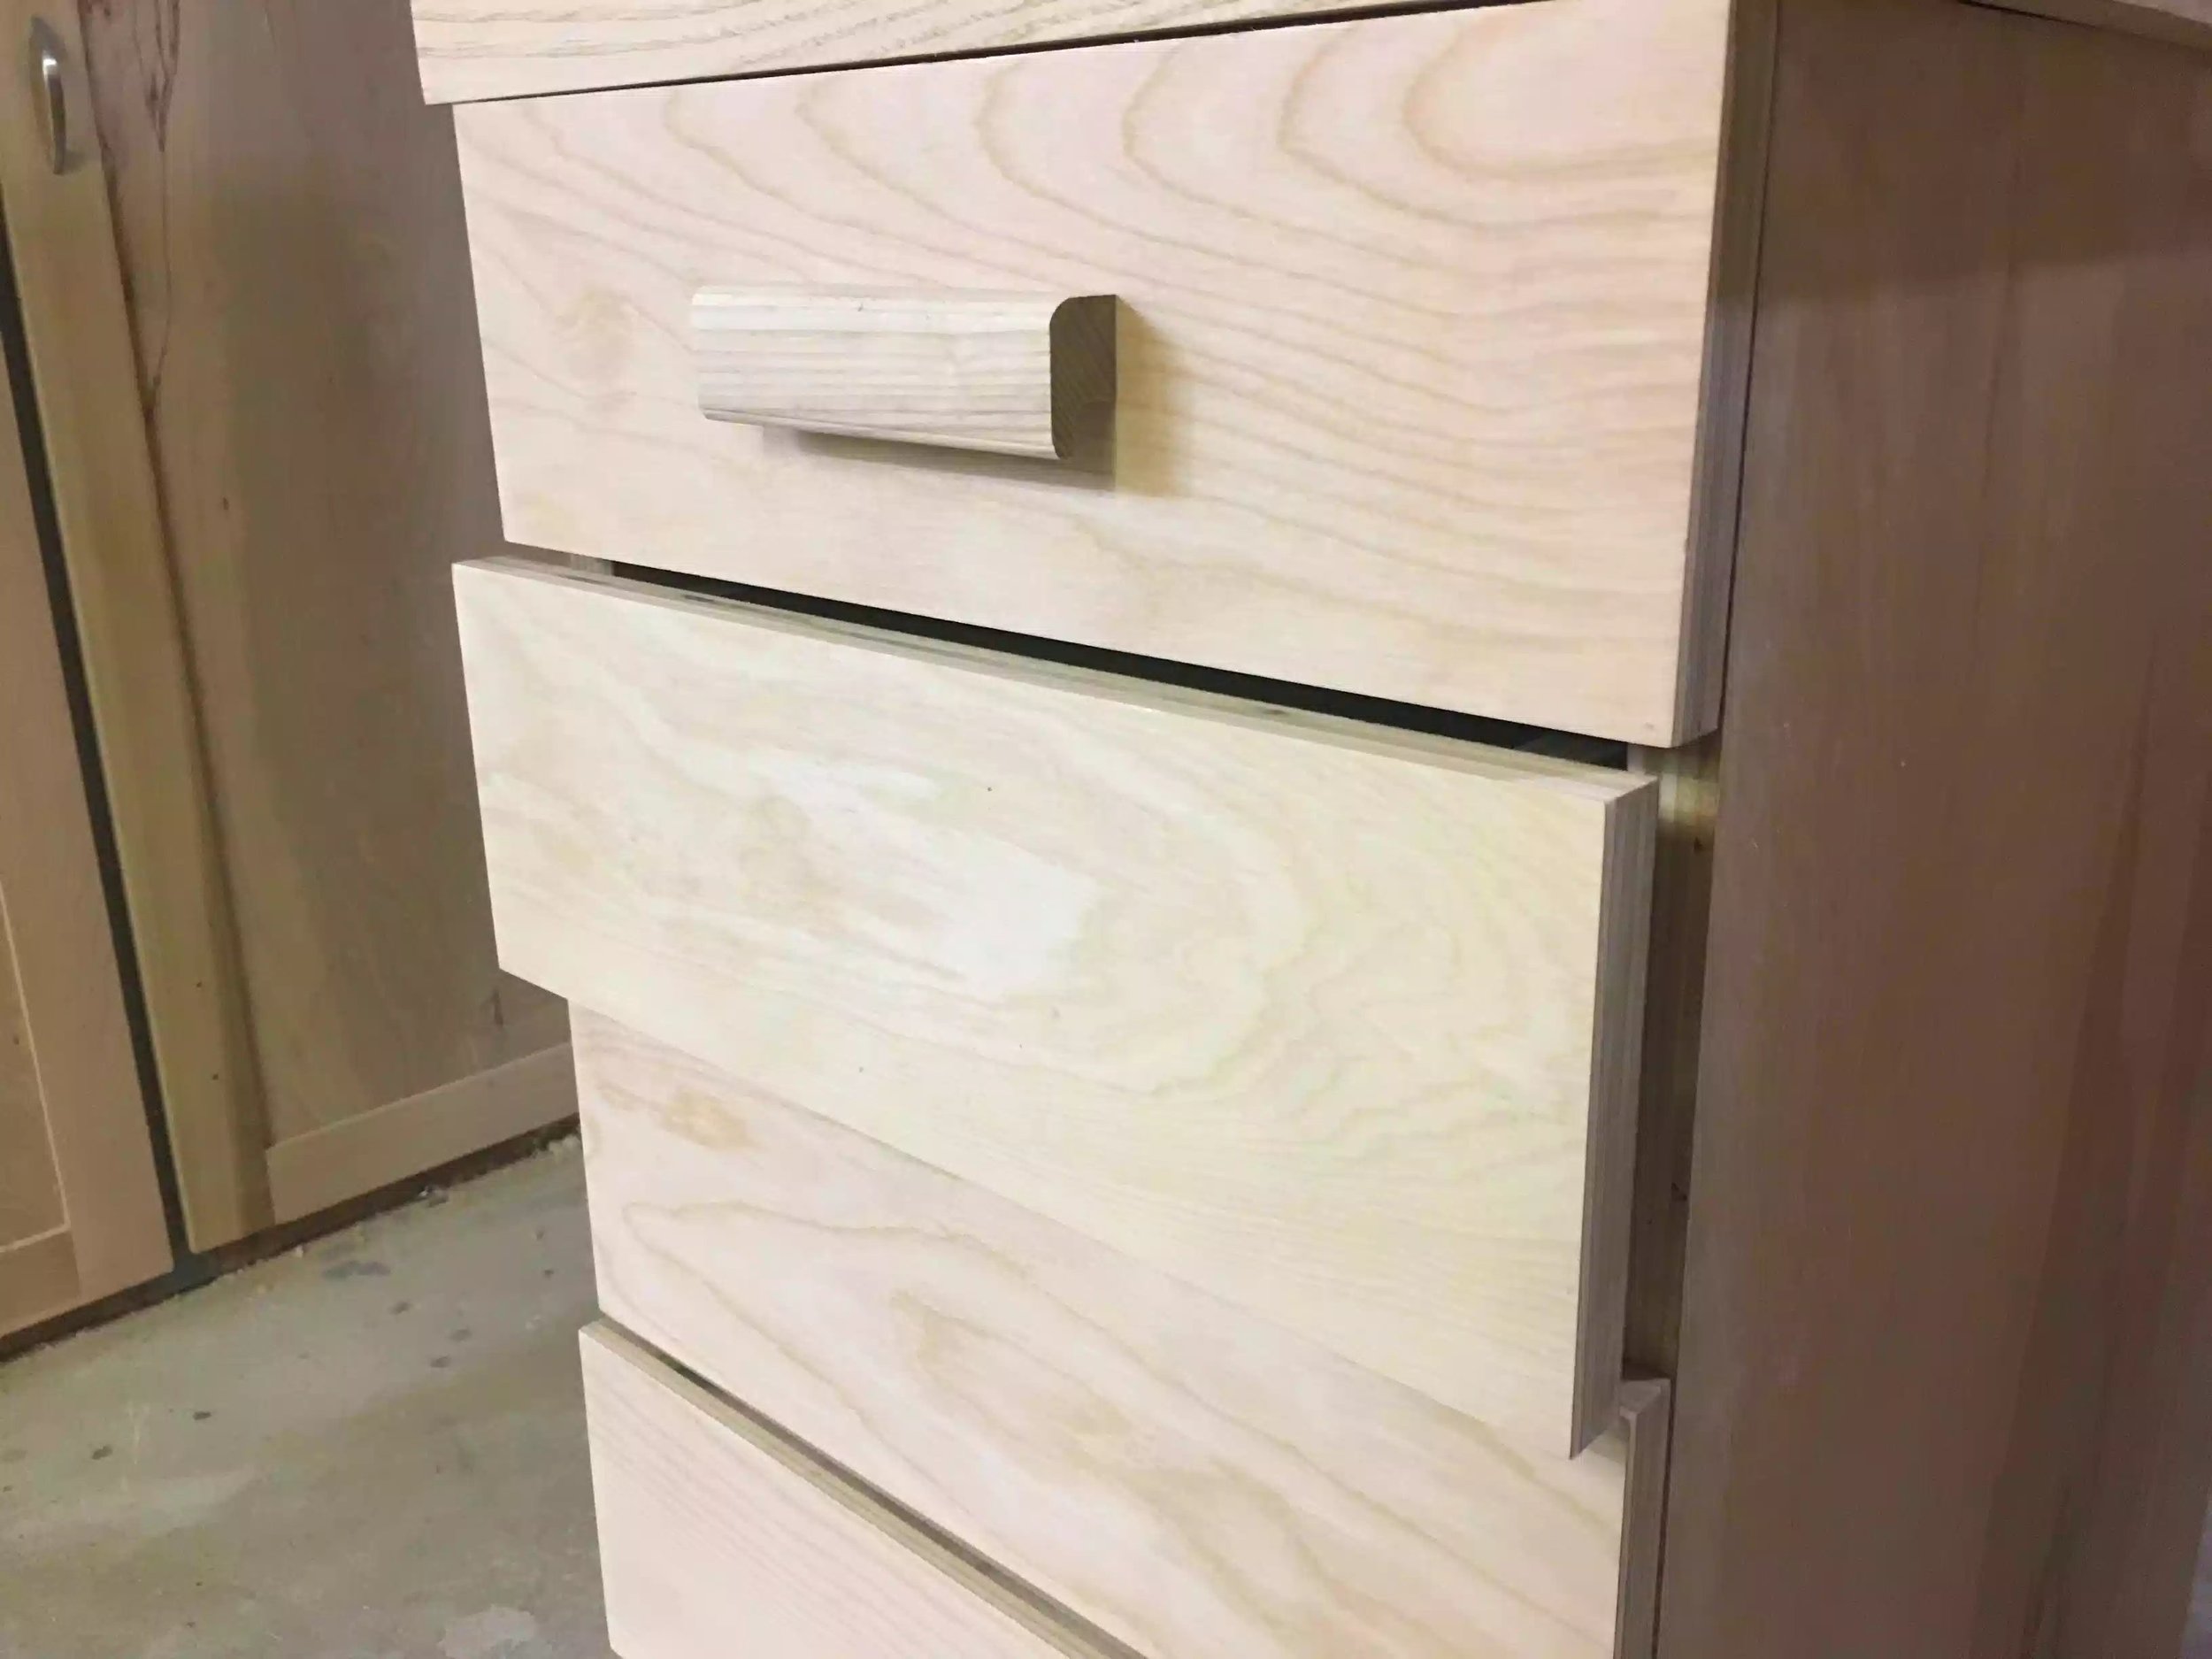
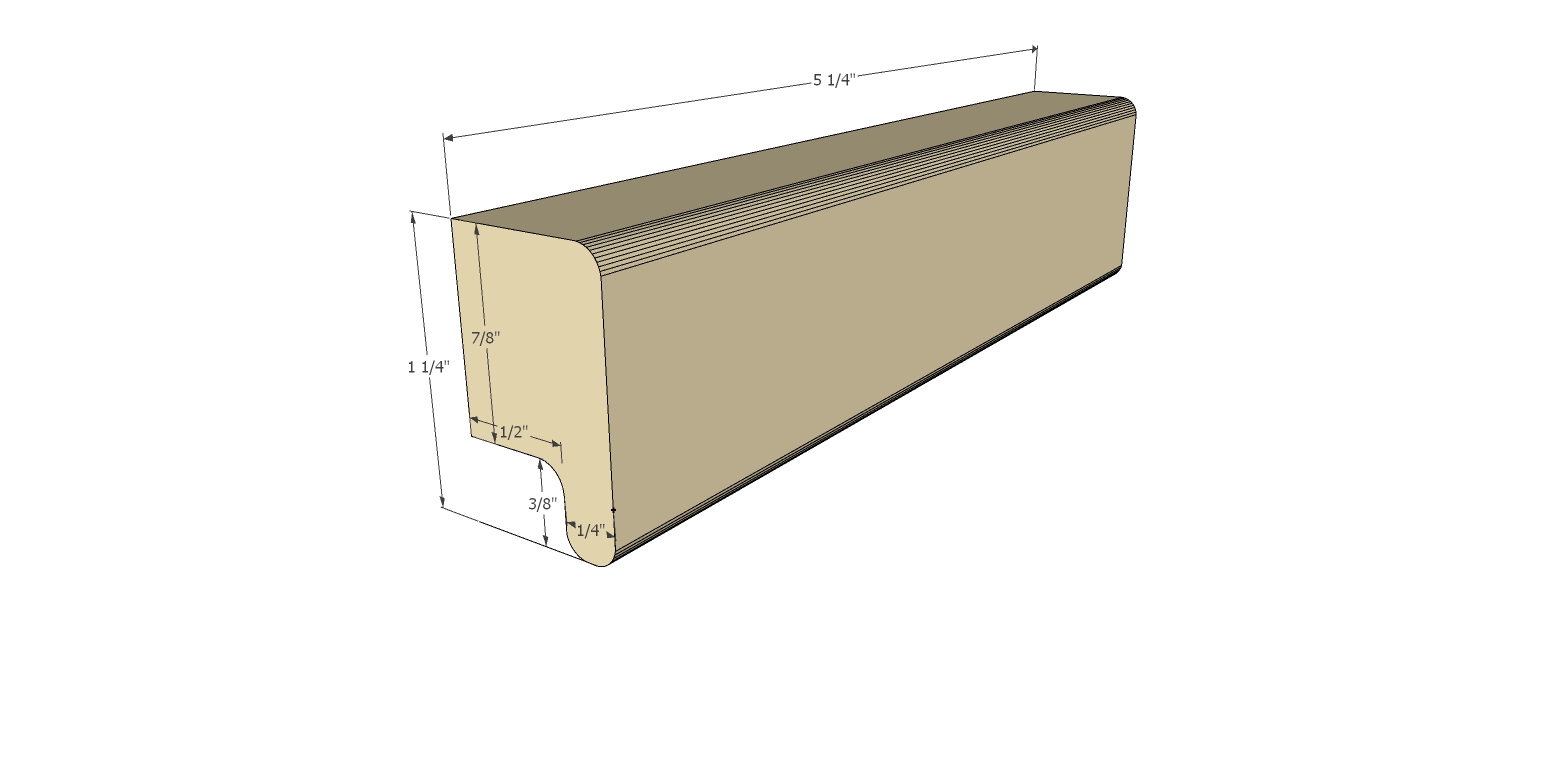
I purchased some ash hardwood to use for the table top edge banding and I also used the leftovers to make my own drawer pulls that I am very happy about.
3" casters @4
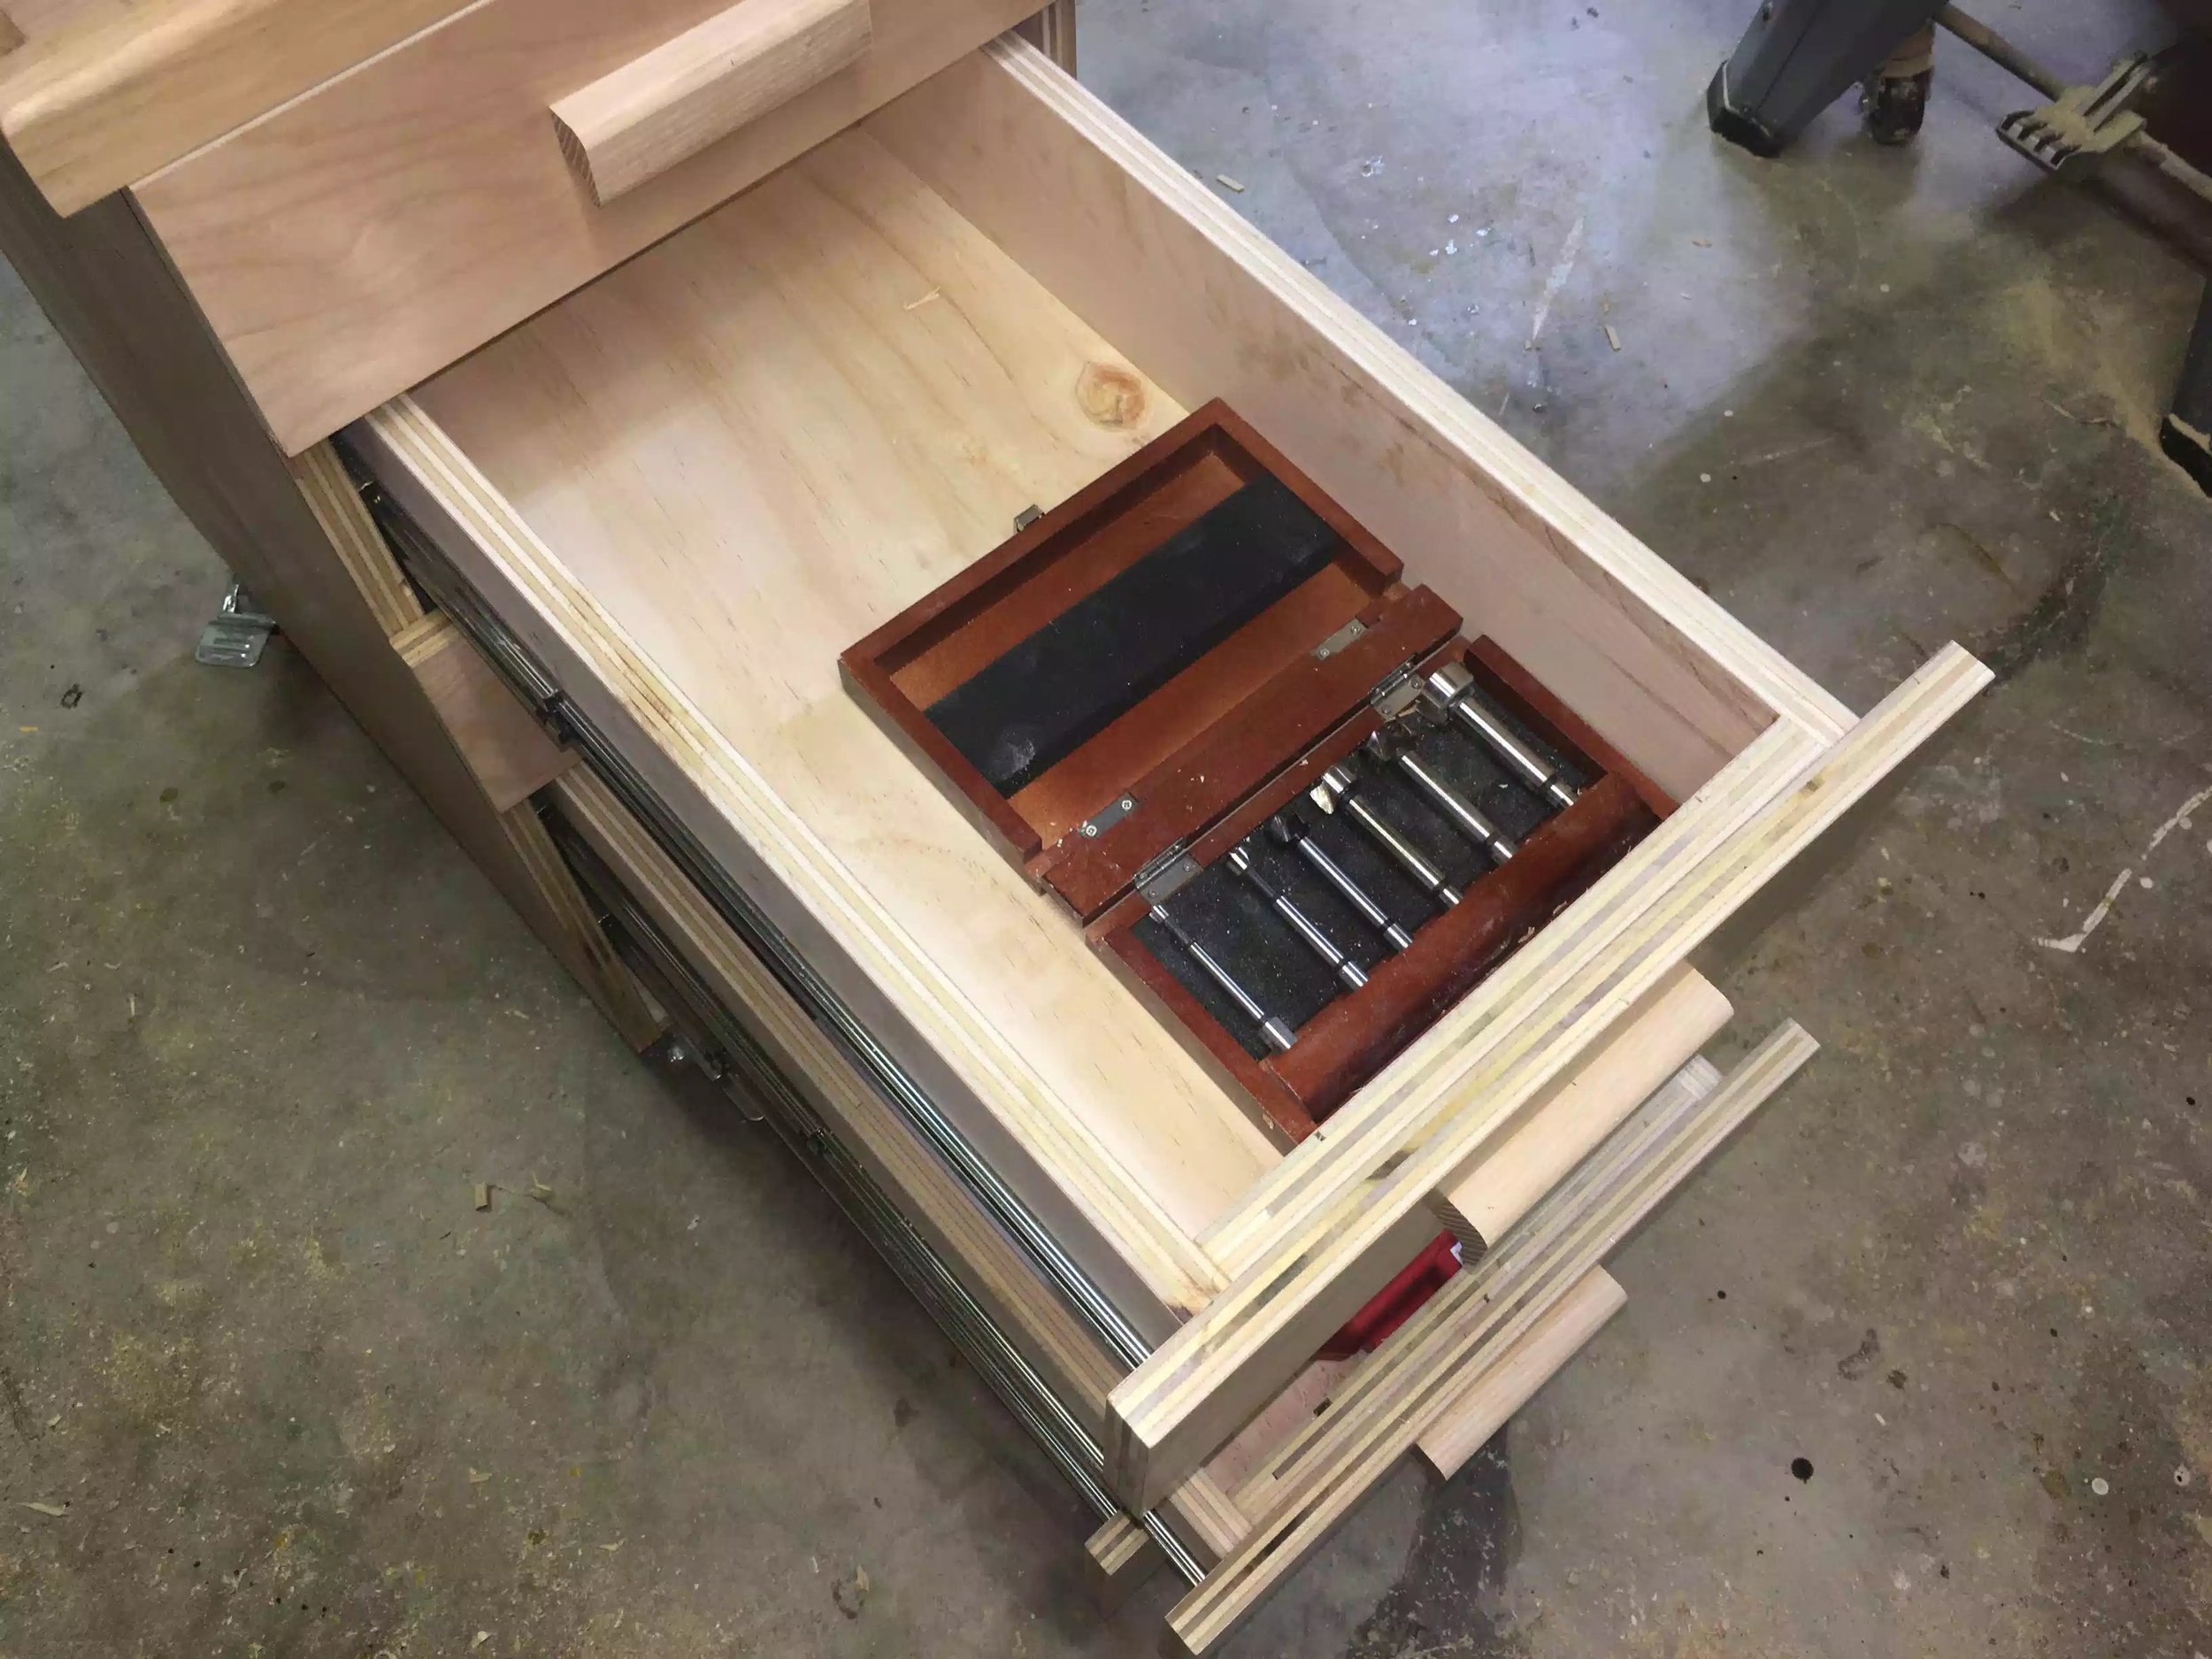
22" full extension drawer slides @5
Finished it in polycrylic.
JOINERY
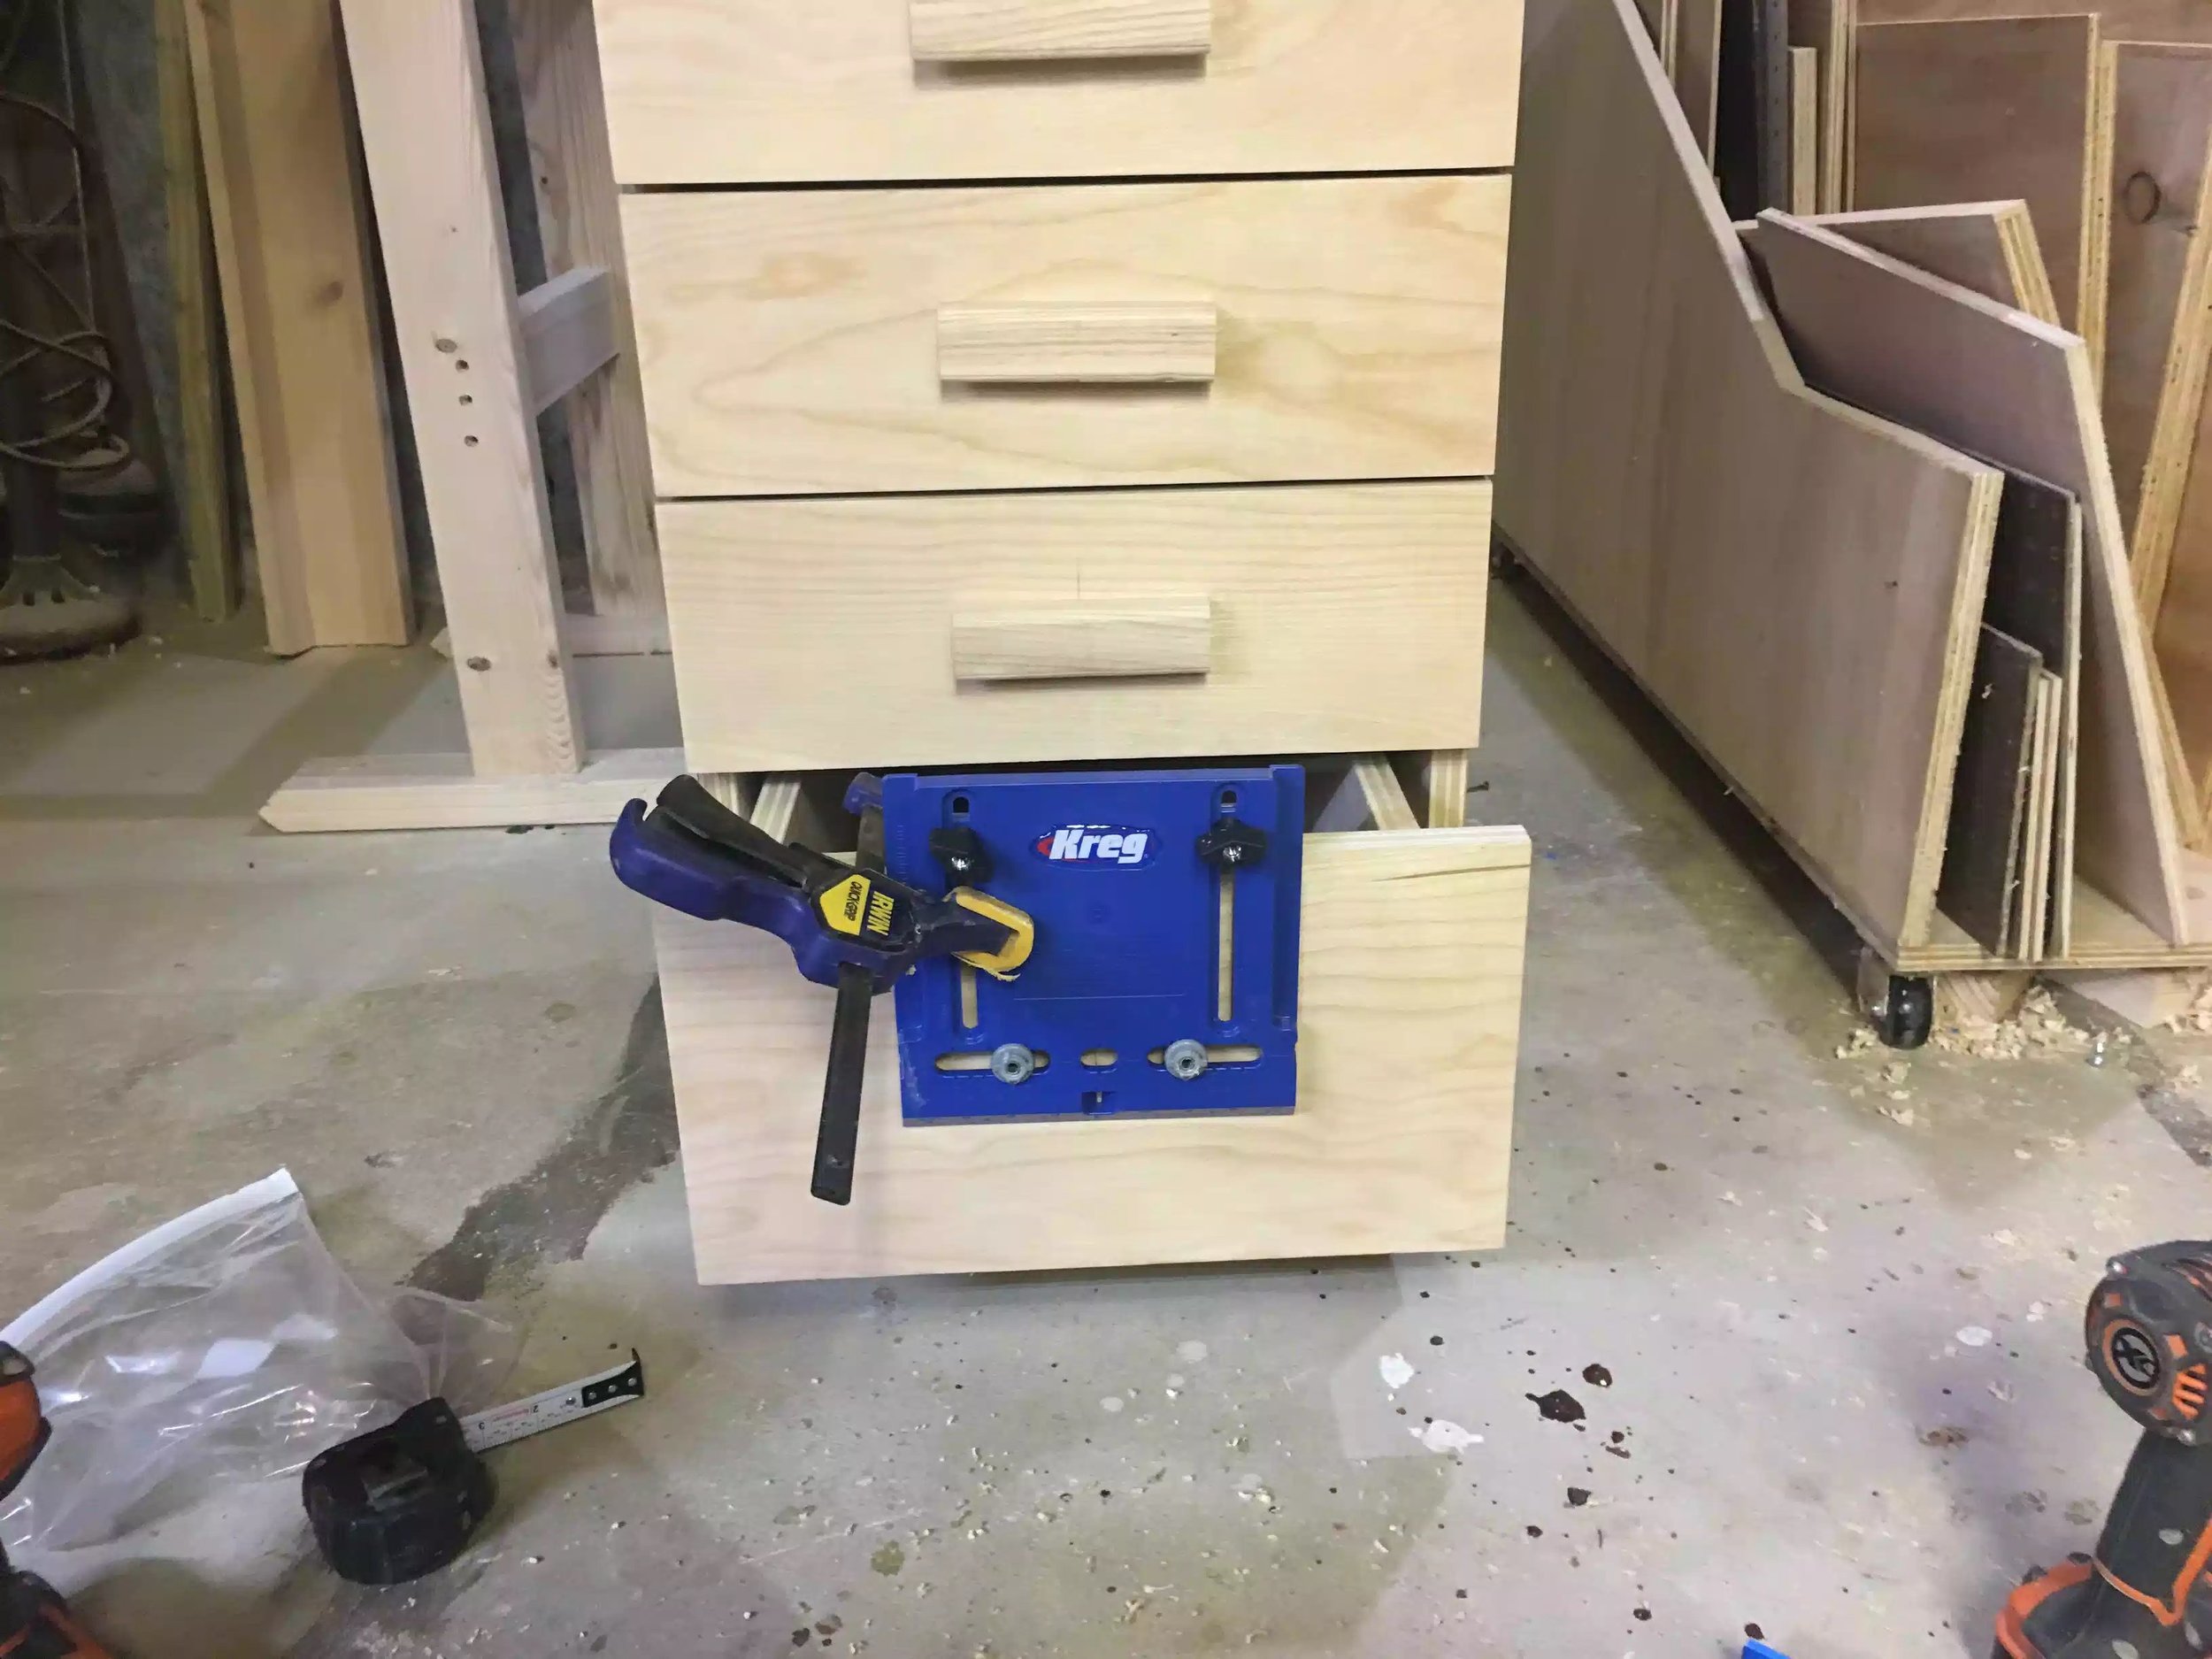
Since this was a shop project I didn't use any fancy joinery for the case I simply used pocket holes and 1-1/4" pocket hole screws to join the case parts together along with glue.
FEATURES
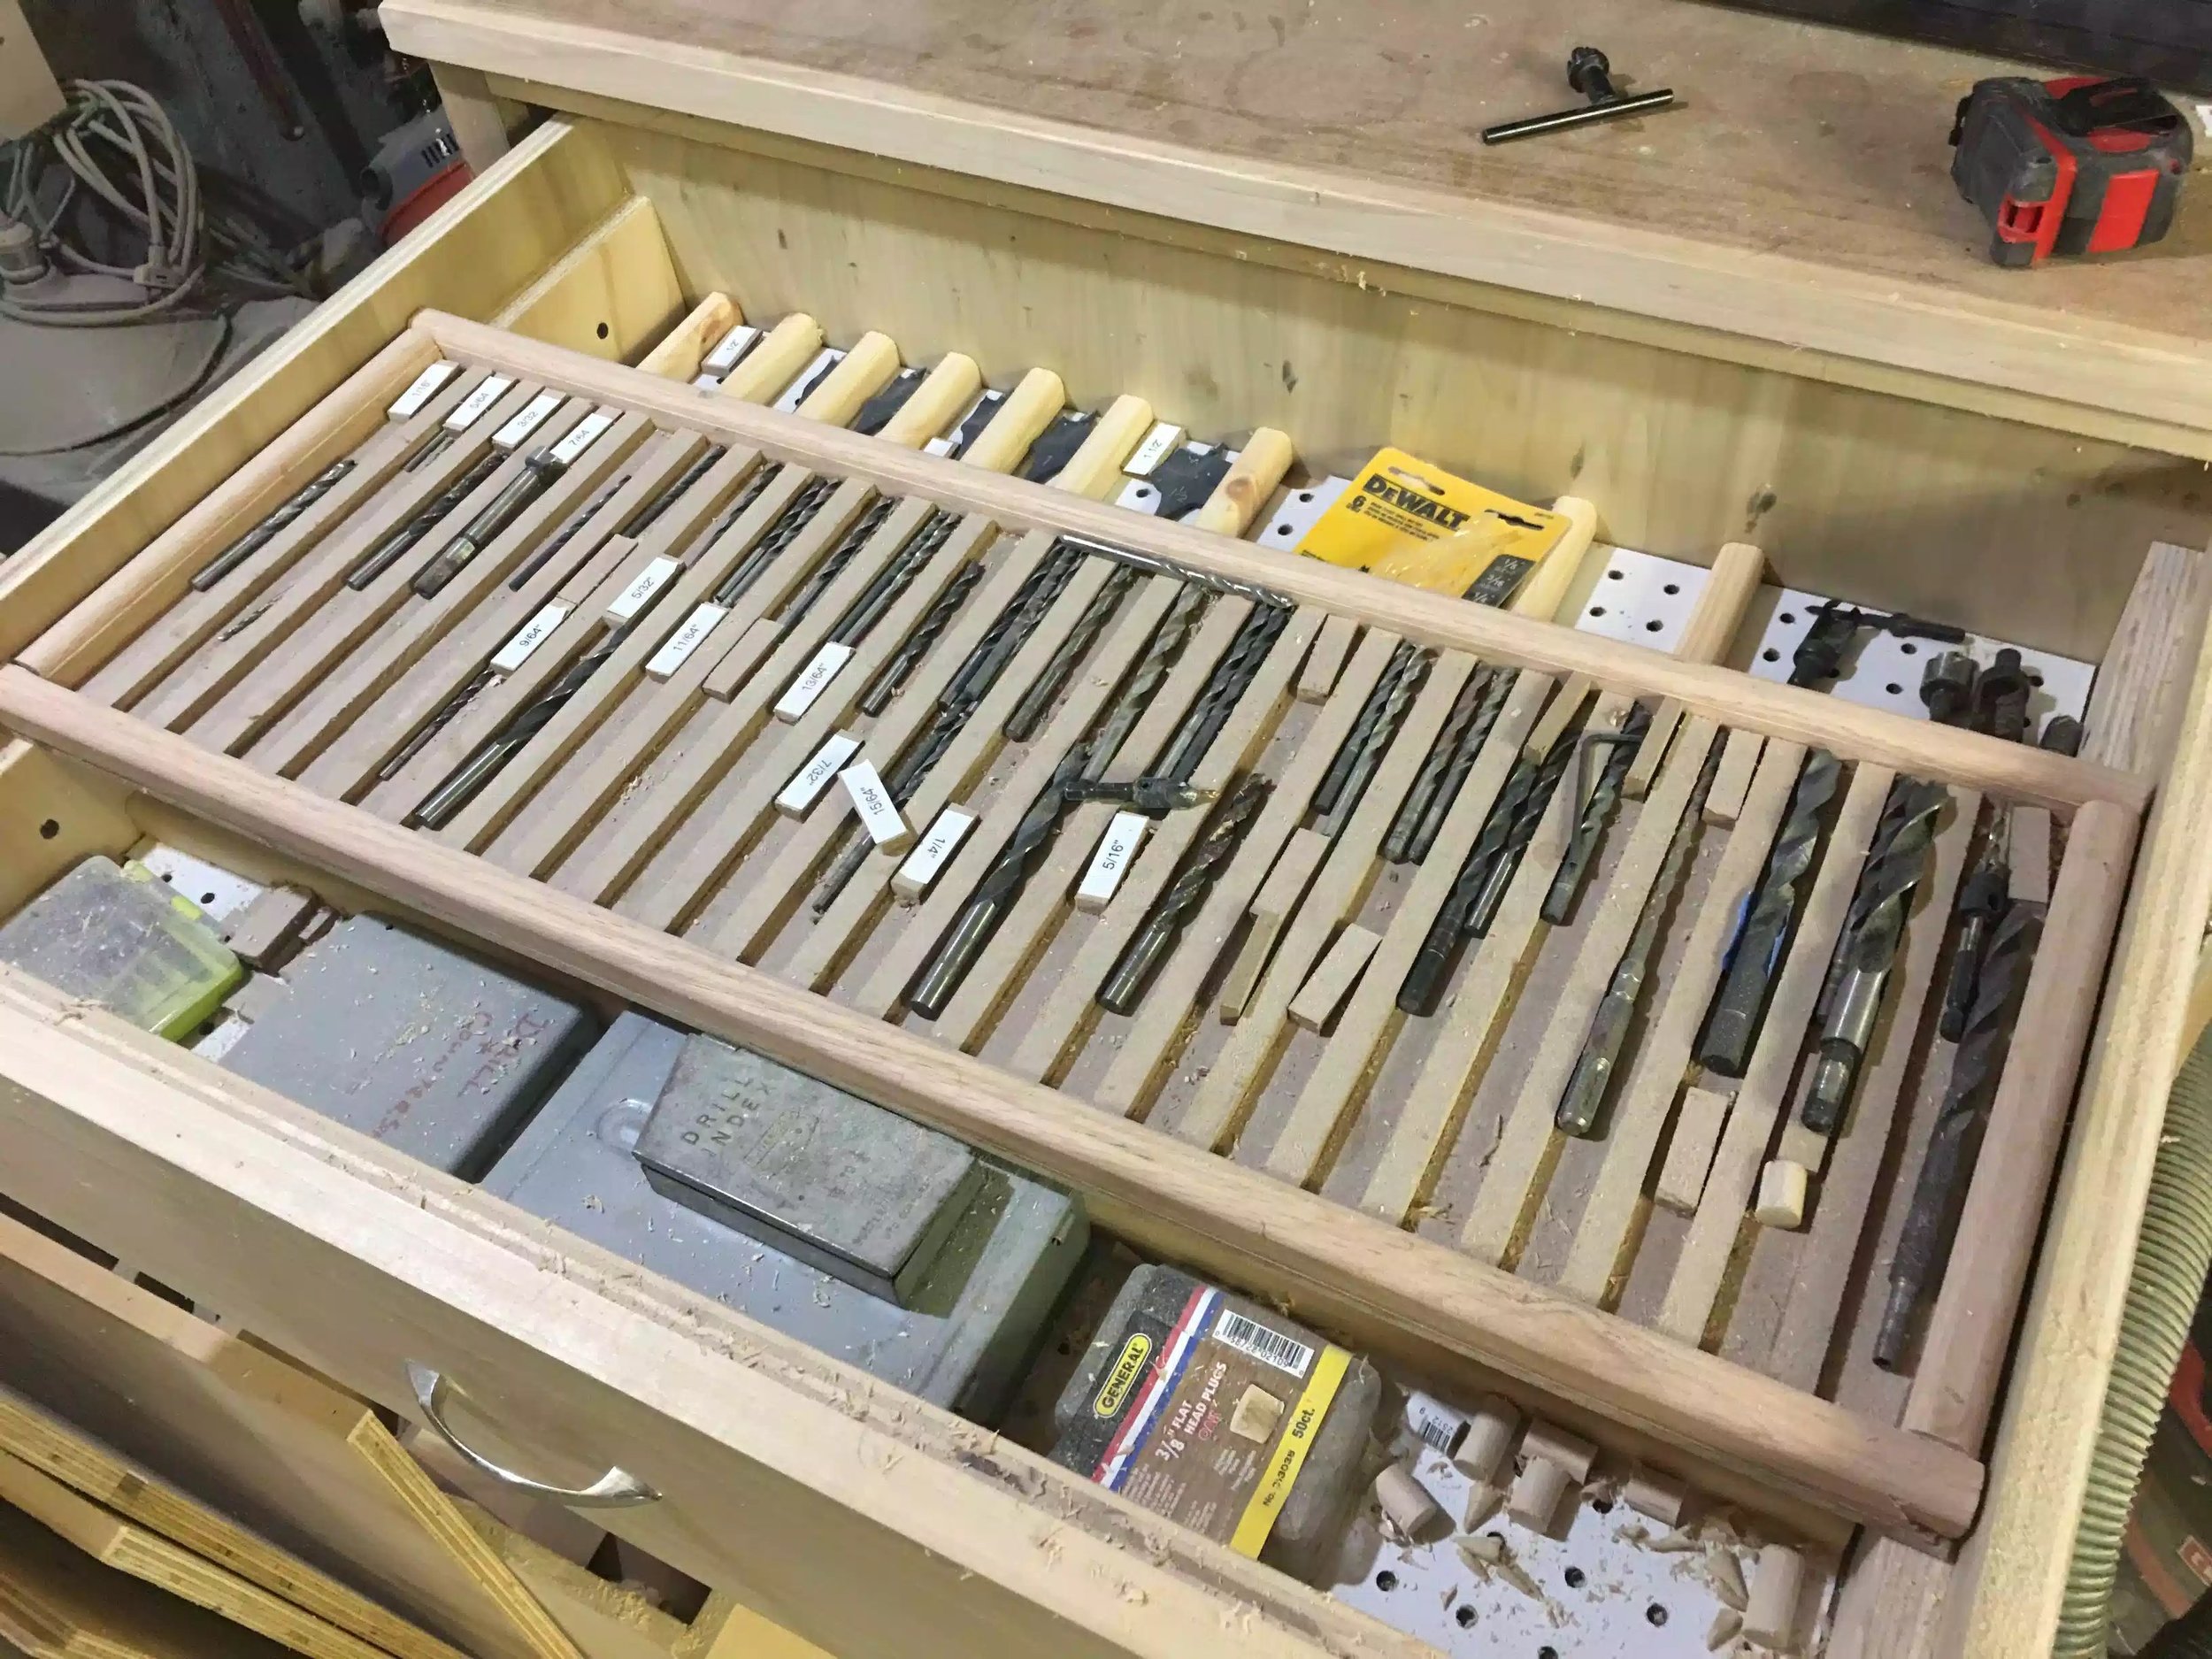
5 full extension drawers which gives me ton of stroage
34" x 22" x 16"
The whole cart is portable which in my opinion is a must in any wood-shop.
I made my own drawer pulls out of ash which was a very fun project.
If you would like to make this cart, I am selling plans in my shop for a small fee.


DRILL PRESS TABLE
(07/2017)
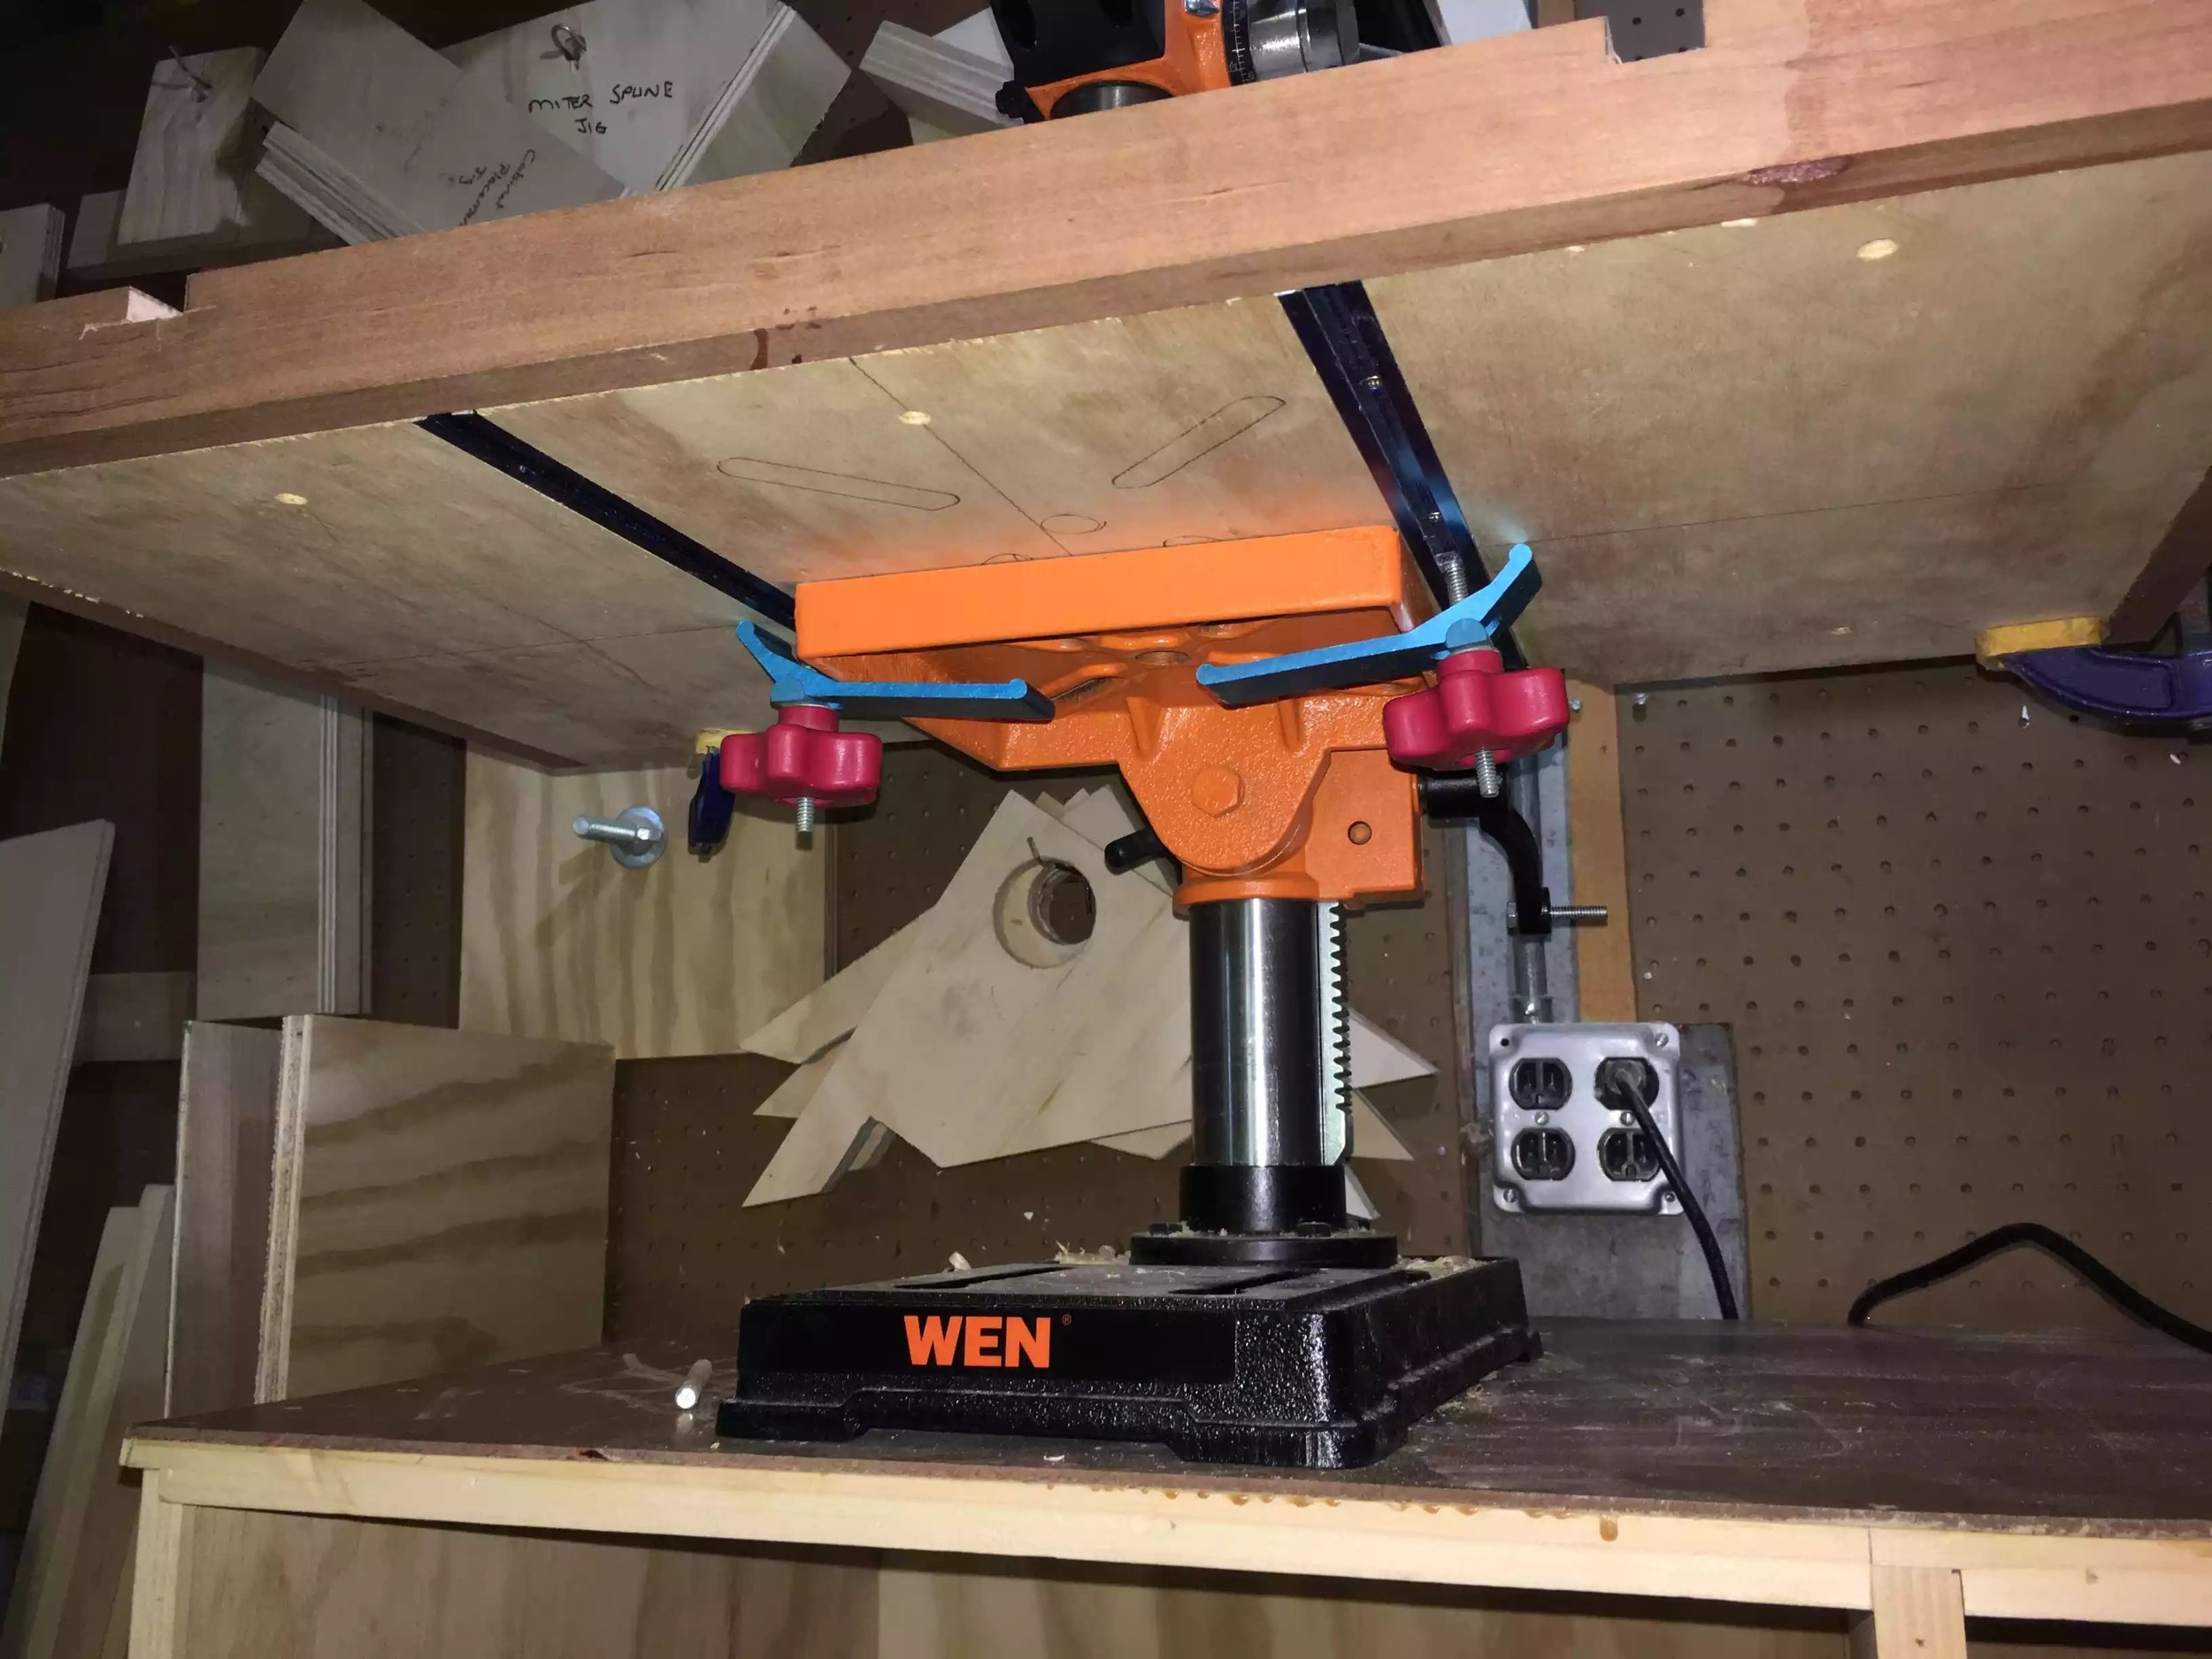
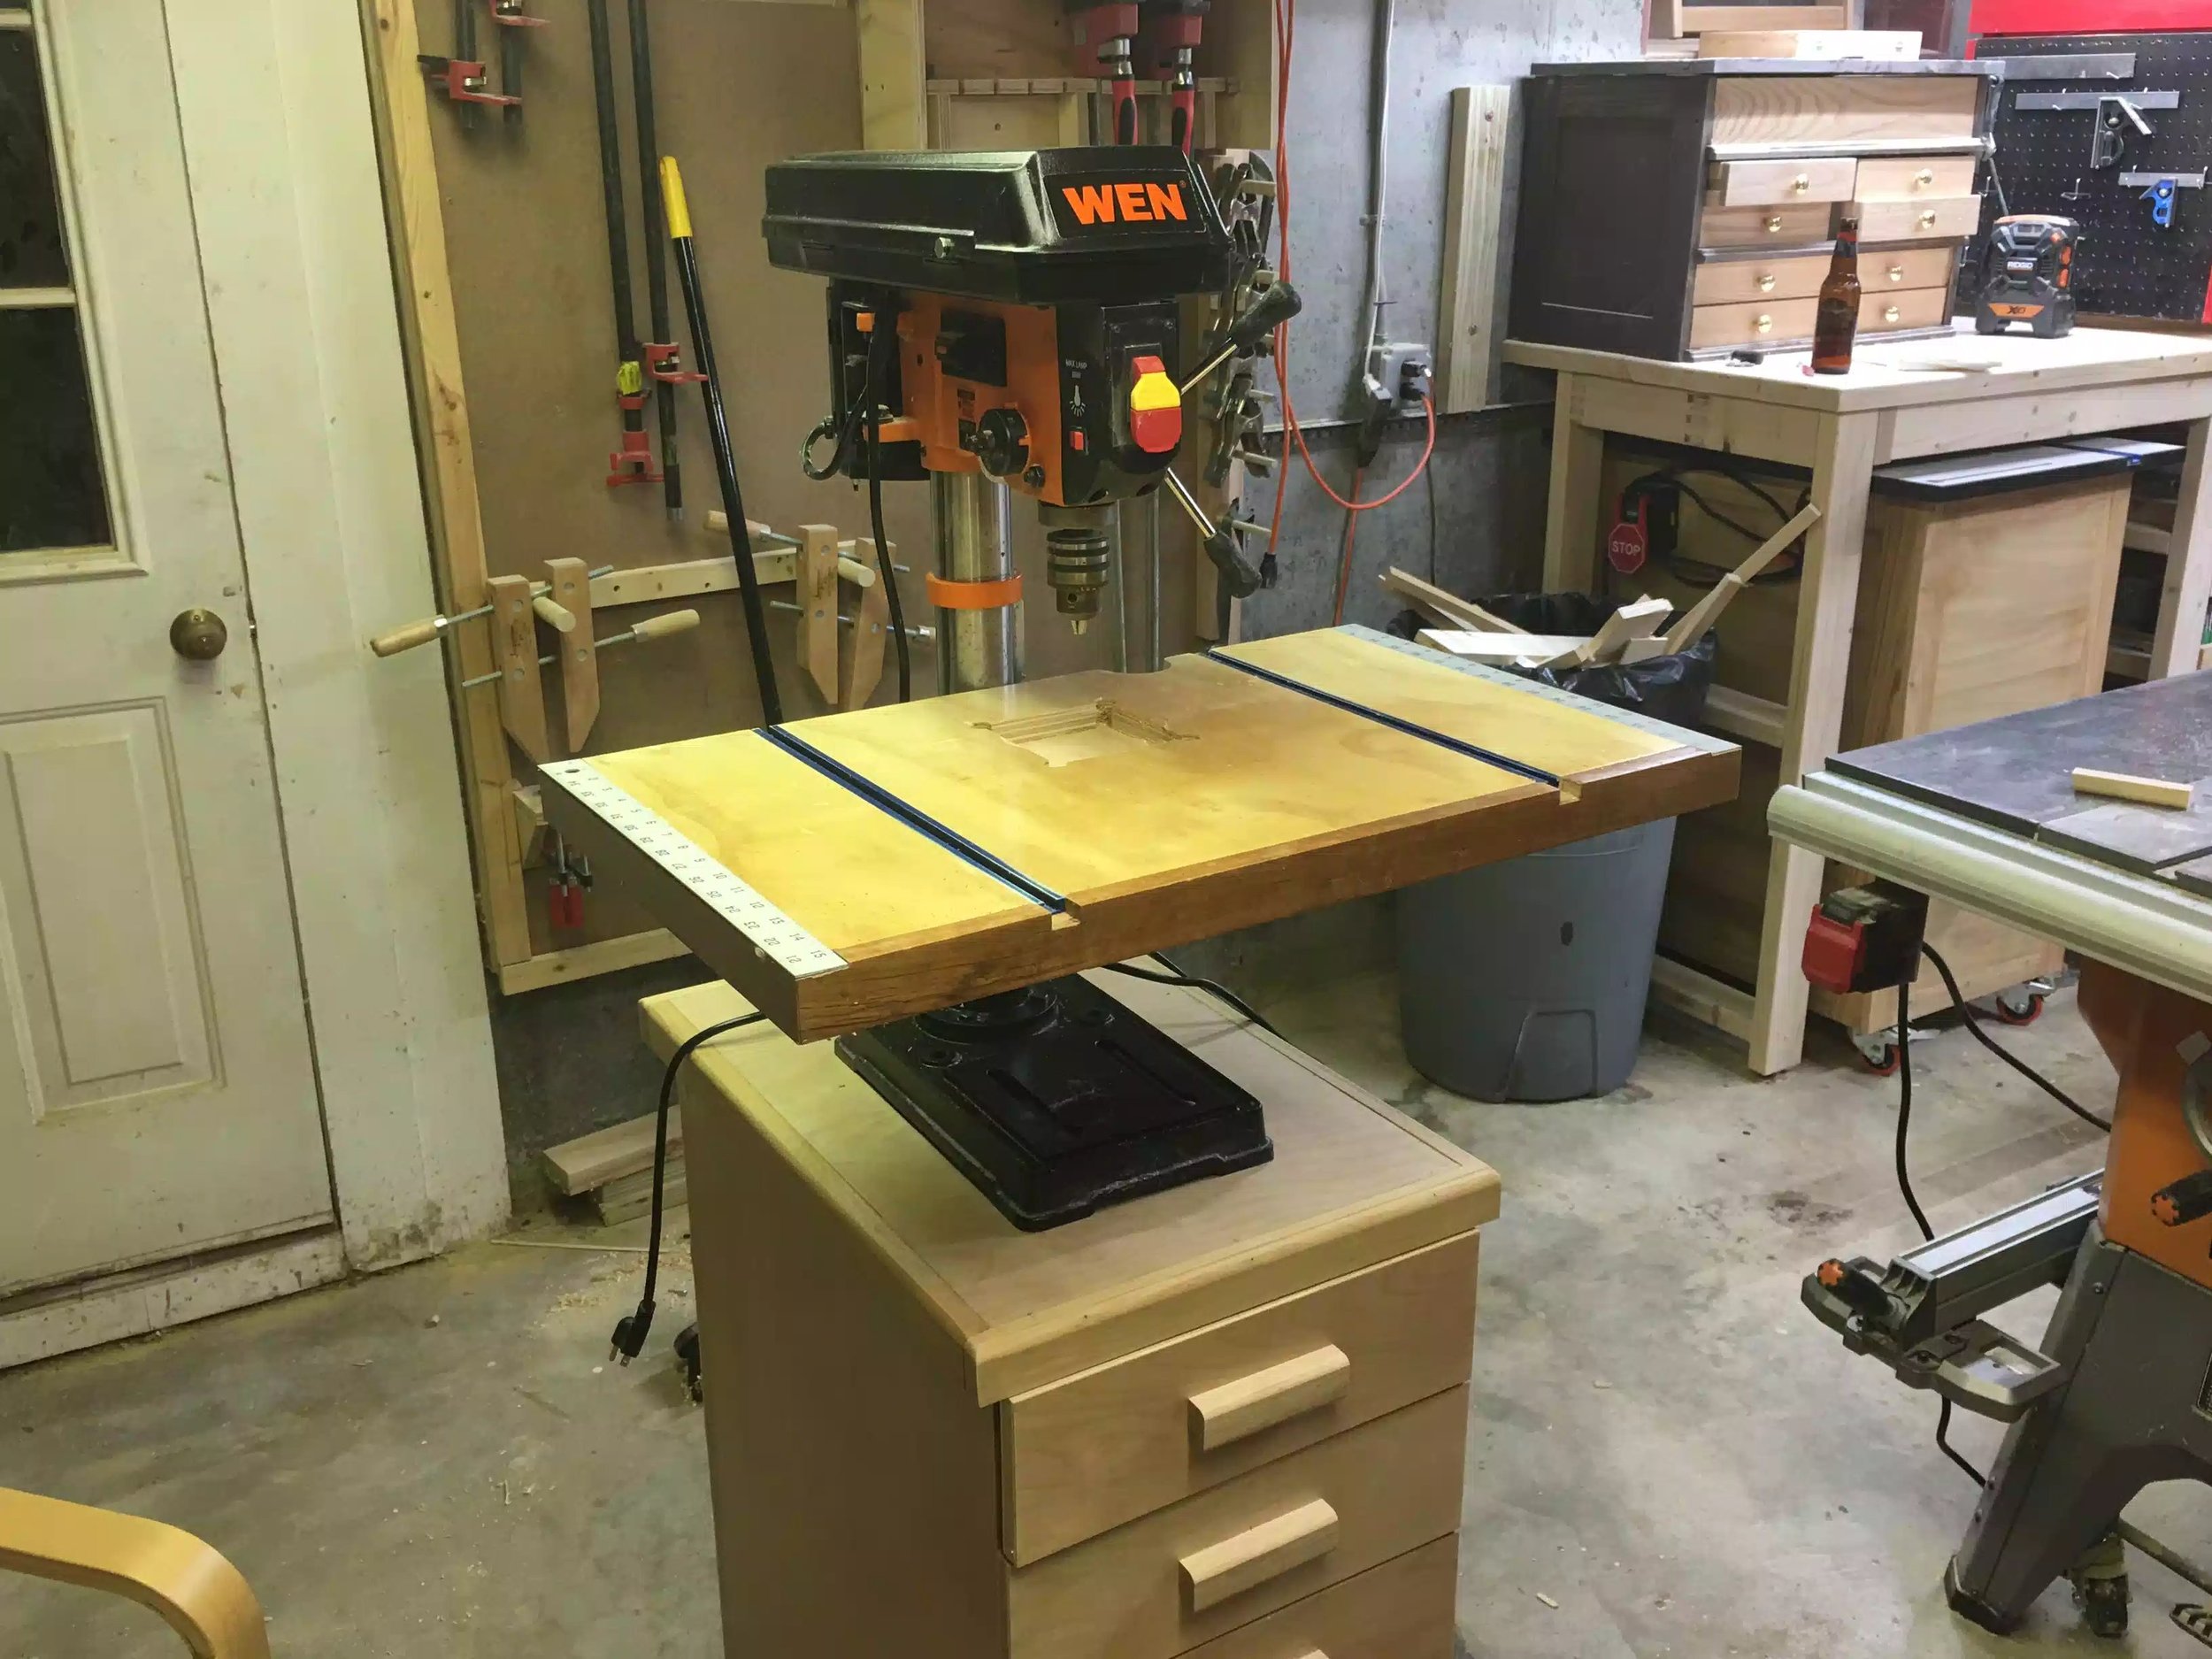
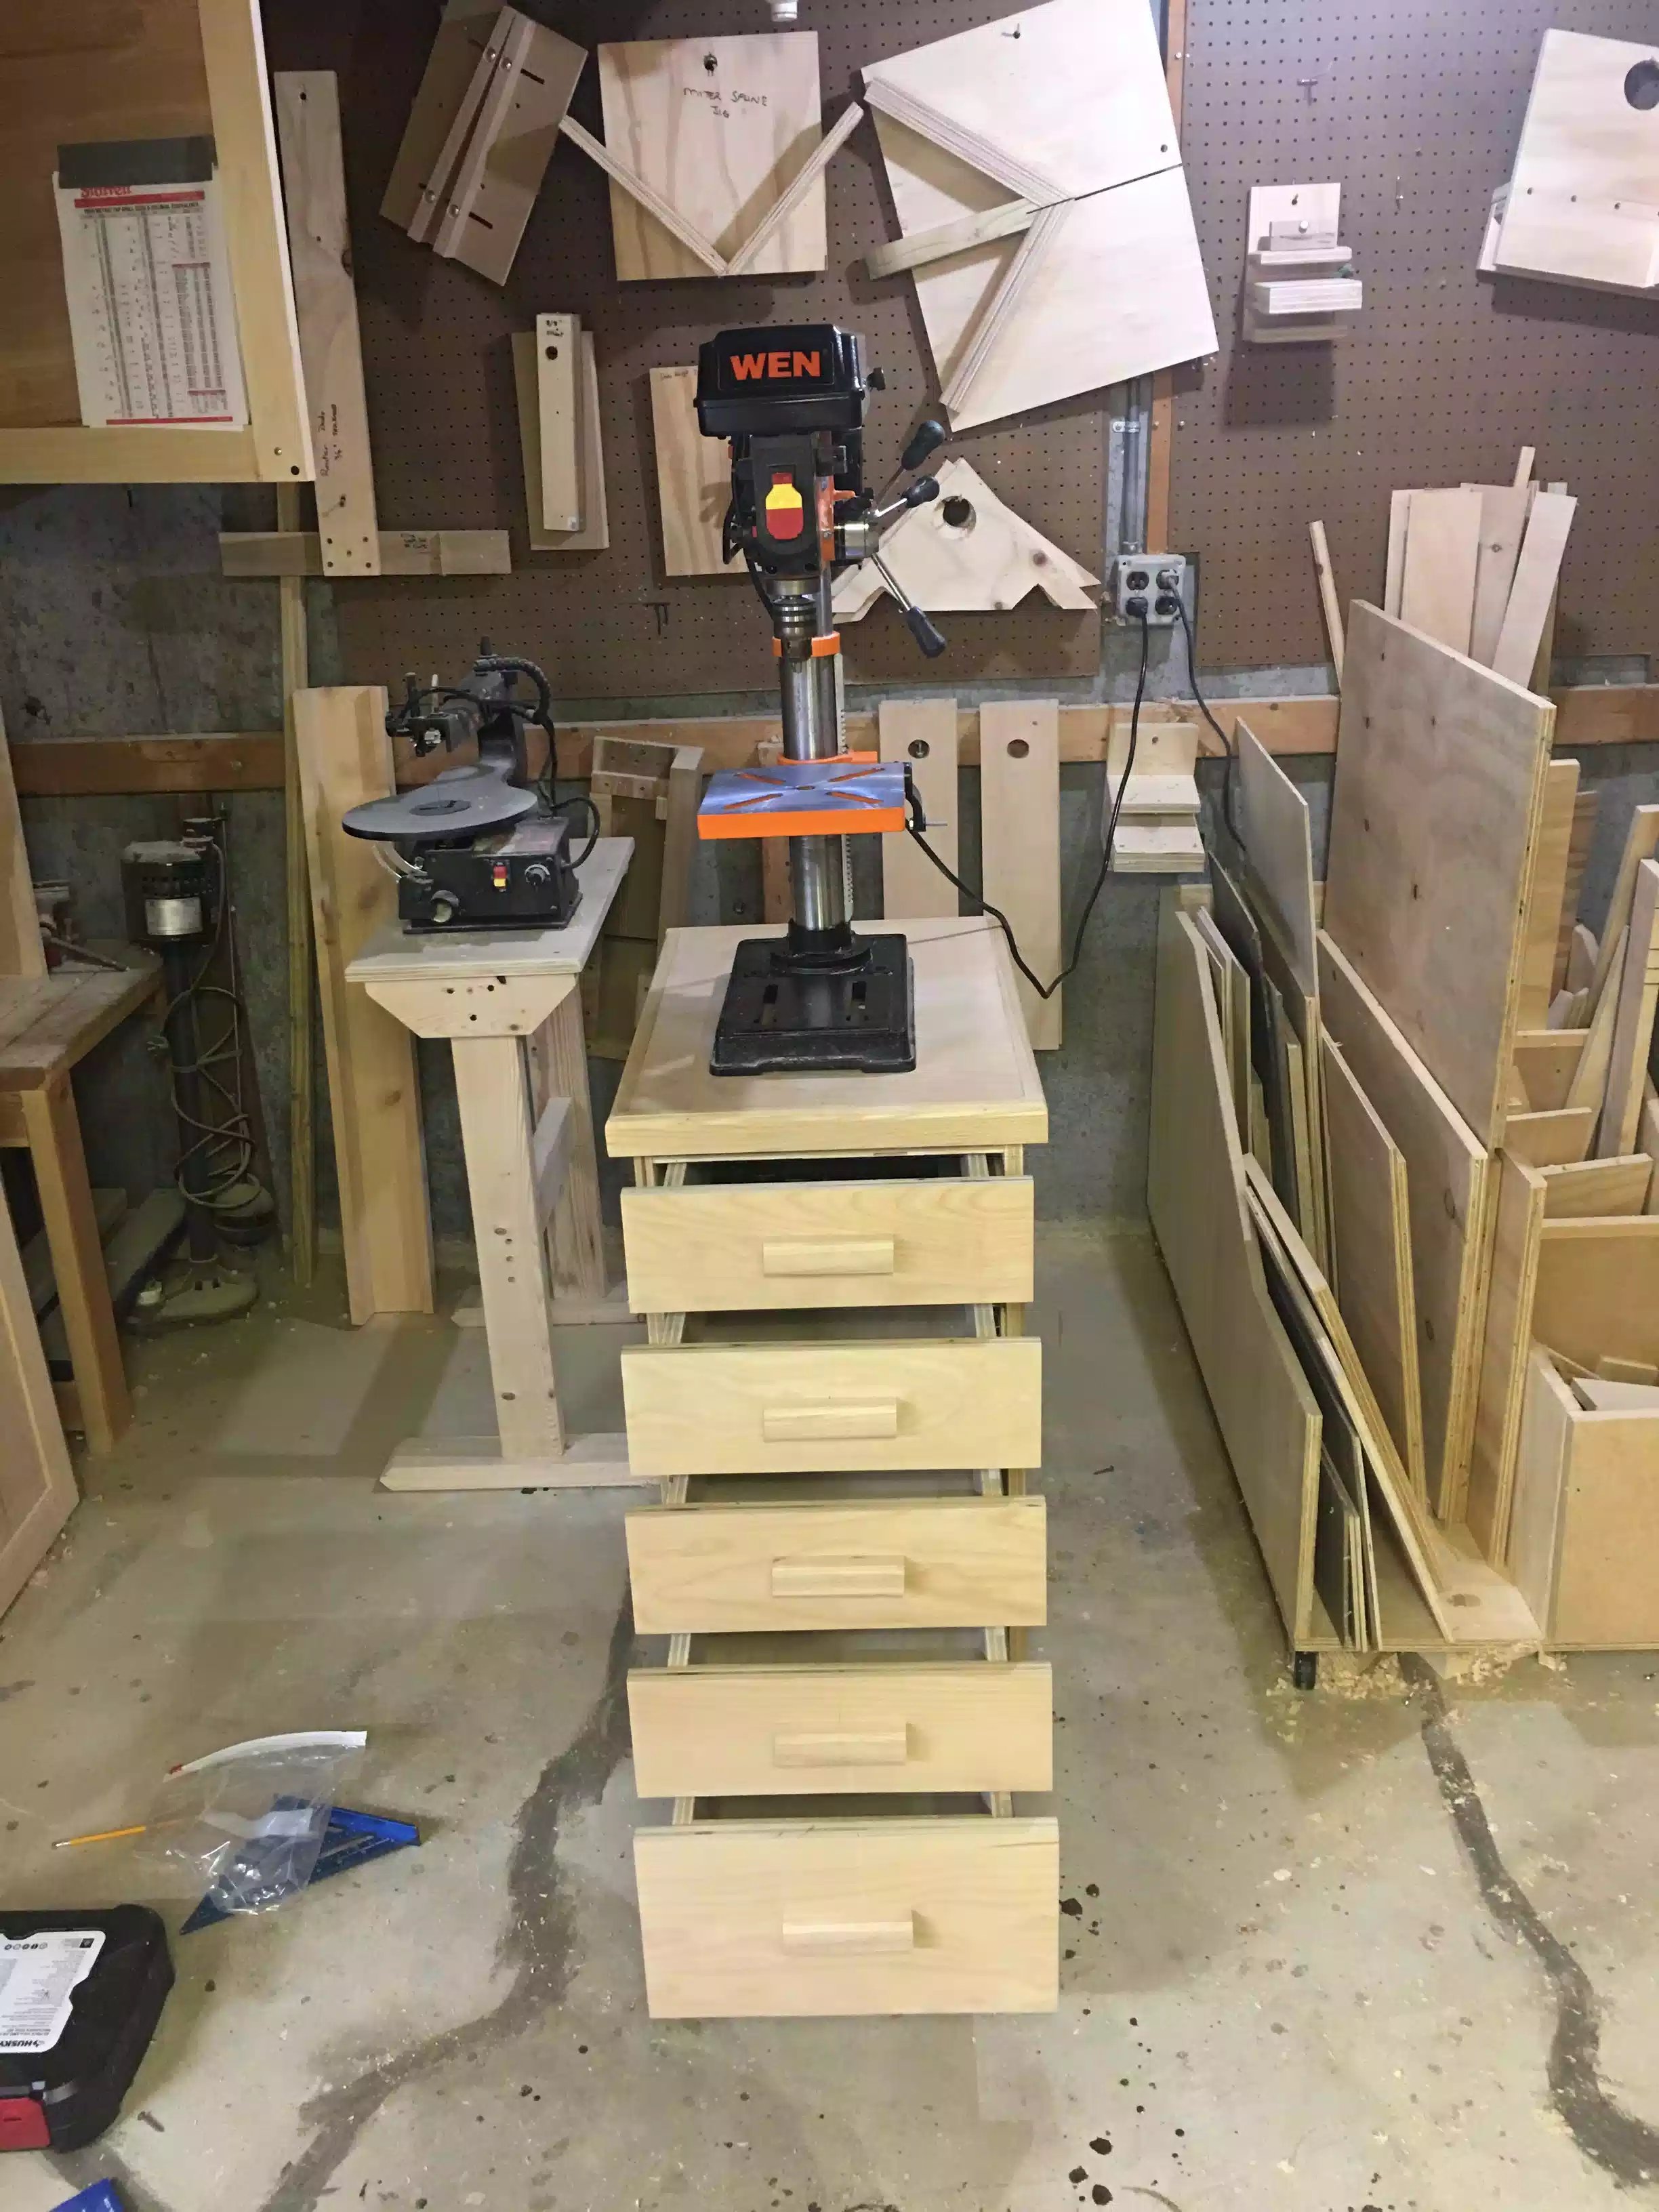
My old drill press from Harbor Press crapped out so I sold it for parts… I saw a Wen 10” benchtop drill press so I got it and I’m glad I did but the old table will not fit it now.
I got the plans online you can see the plans and video here
Materials Needed:
(2) 3/4” plywood with dimensions 26” W x 16” D
(2) Kreg Mini Track 4’ lengths
(1) Kreg Top Track 2’ length
Glue
Kreg Production stop
(1) 1×2x7’ Cherry Wood
Construction:
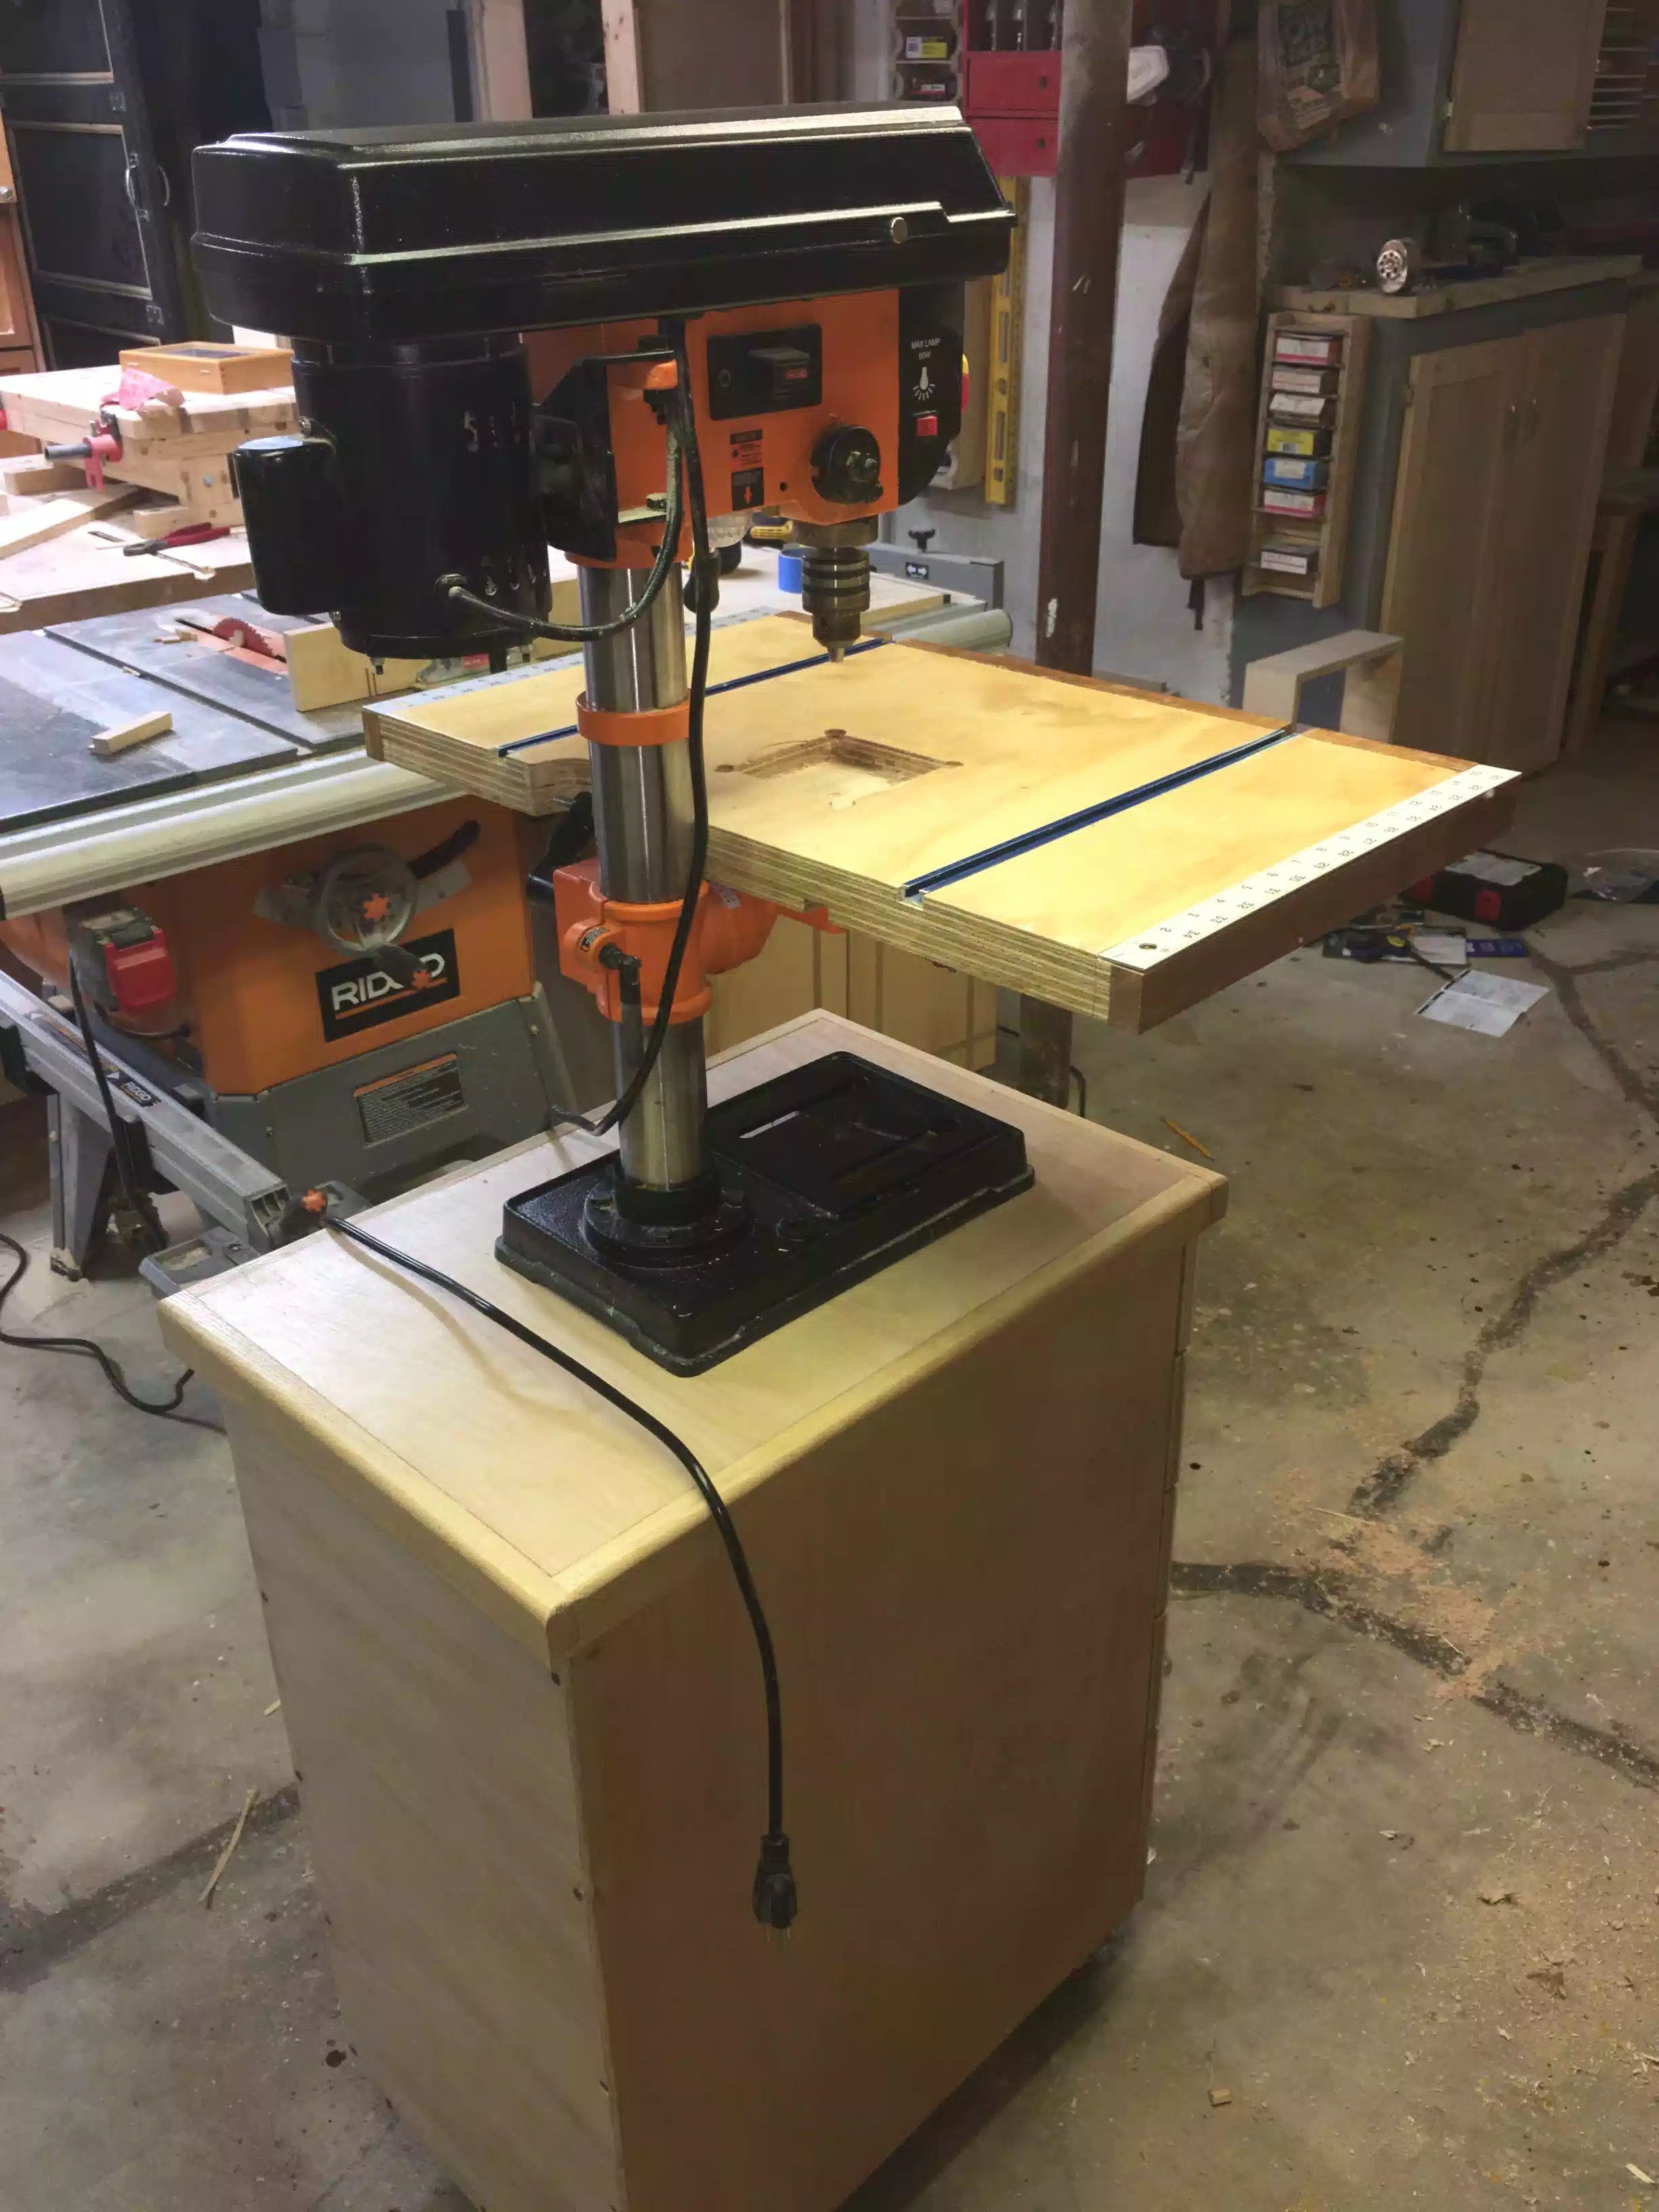
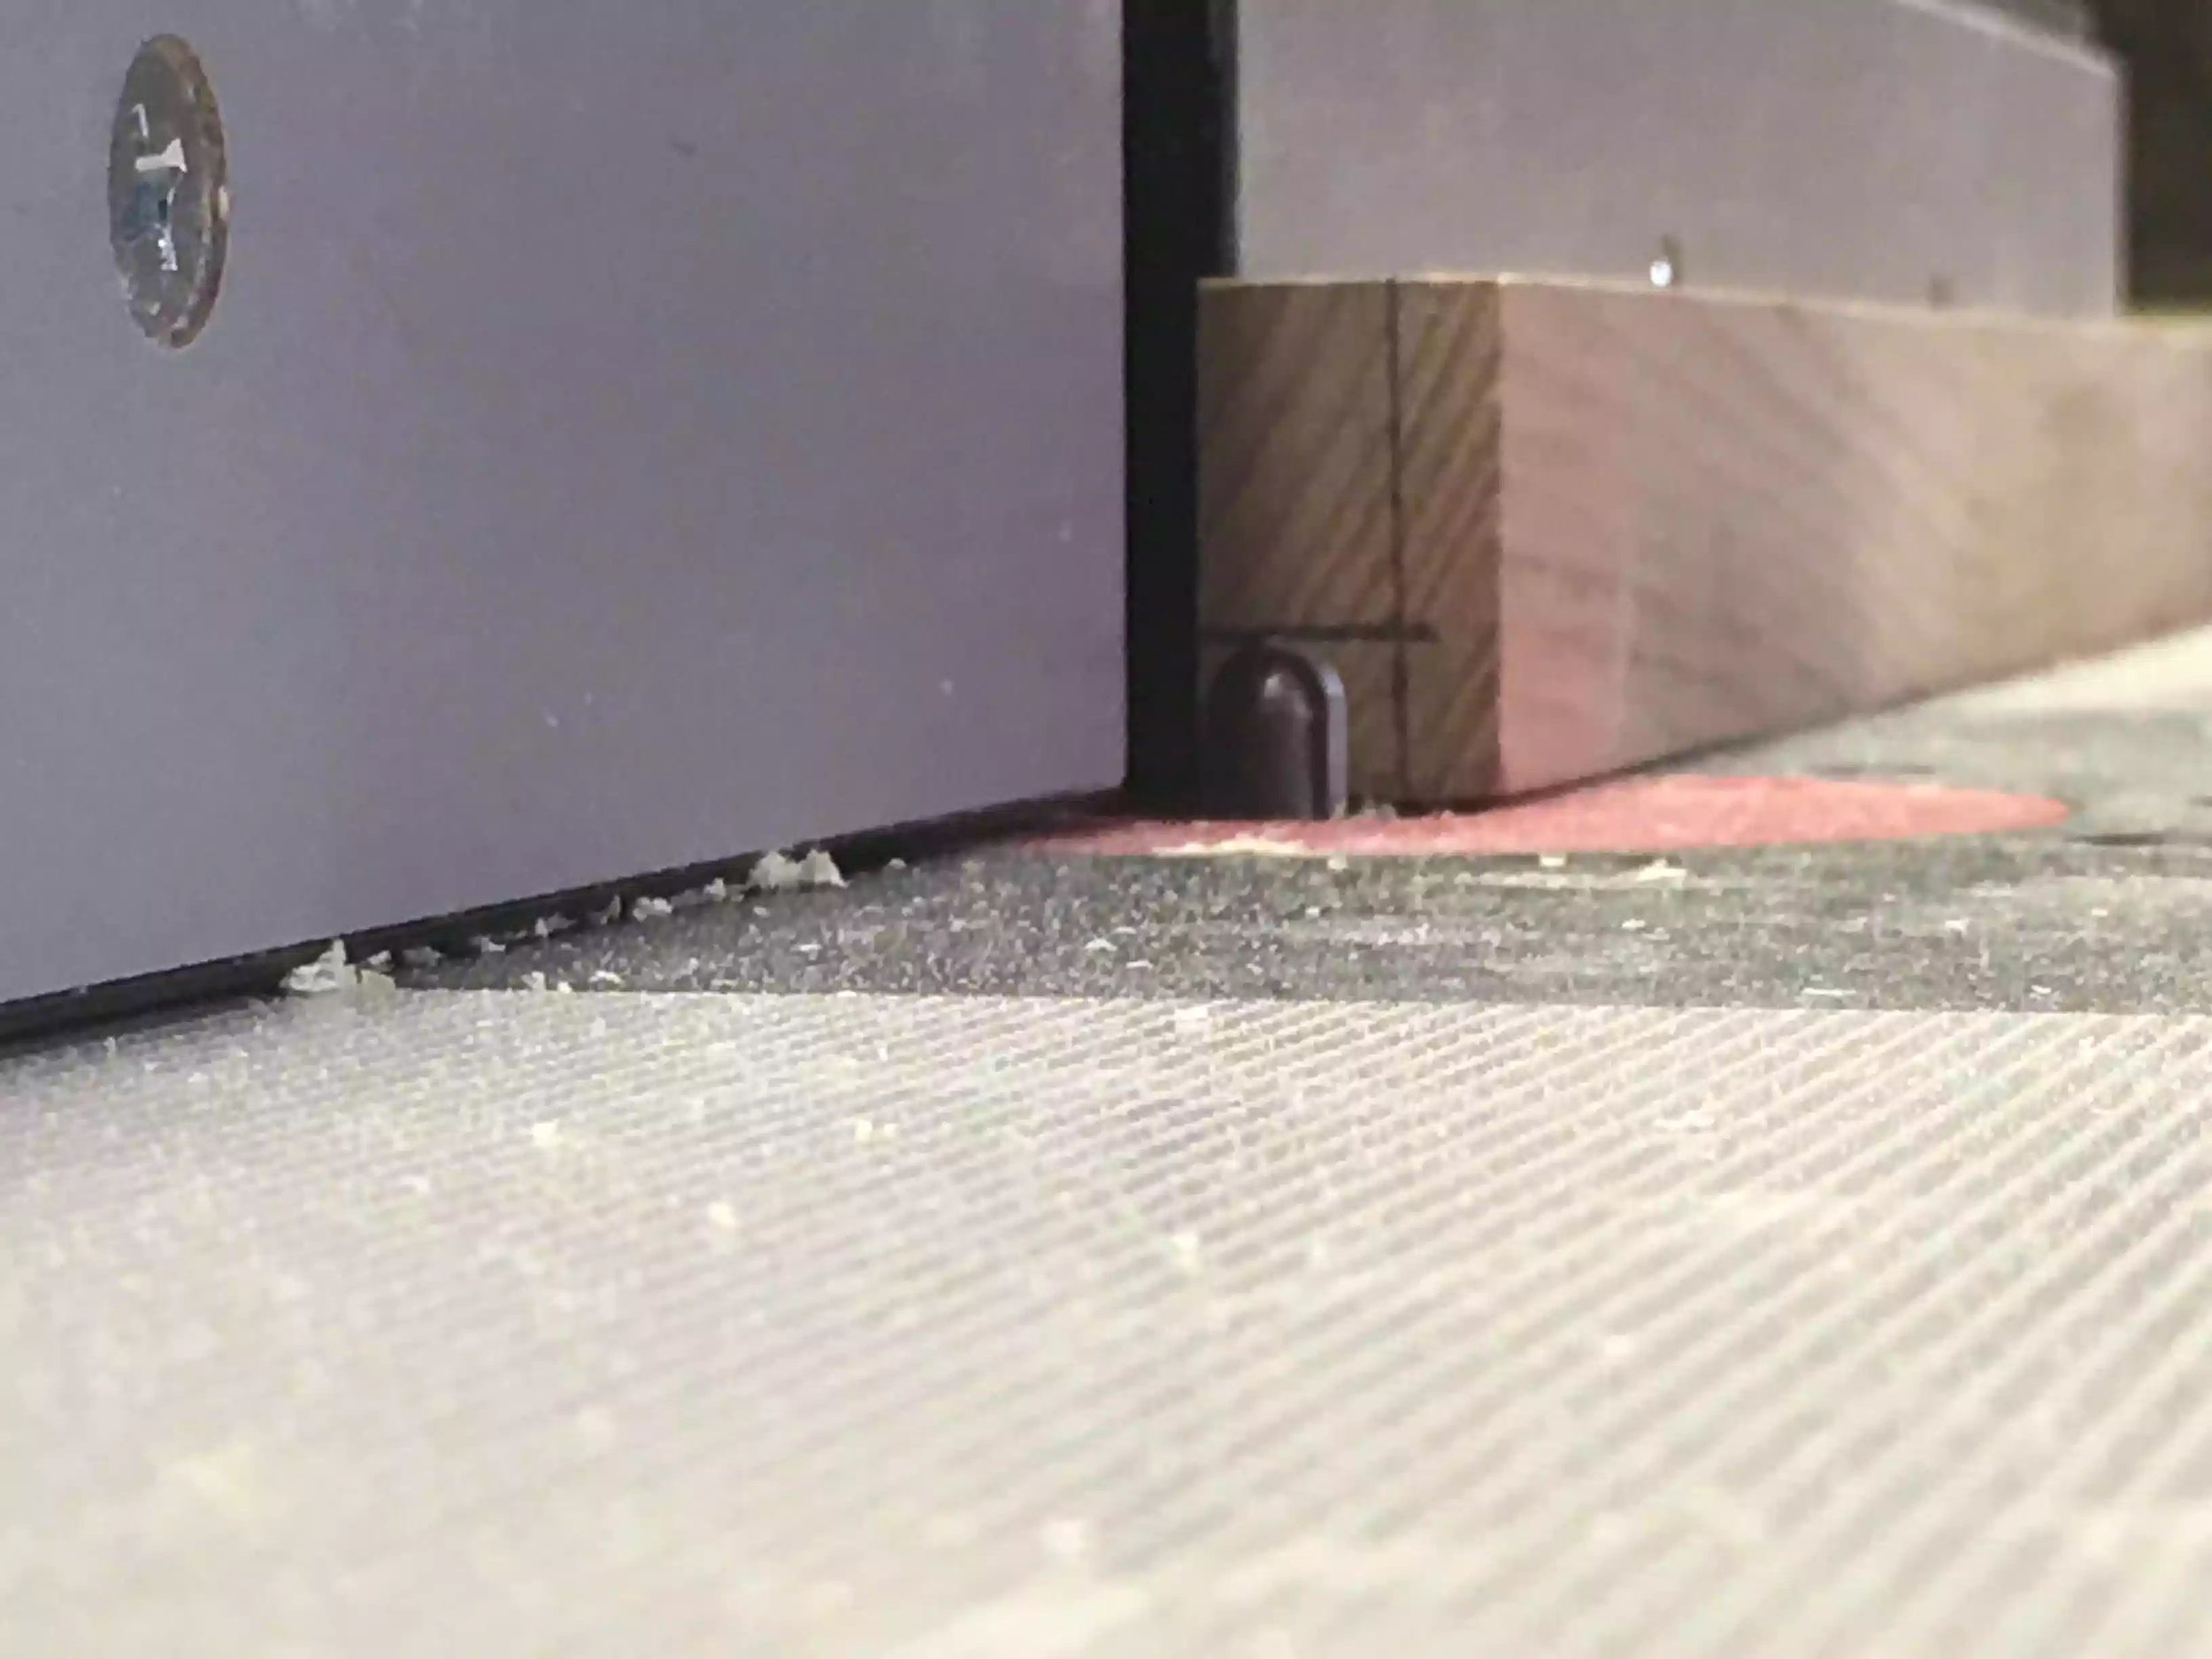
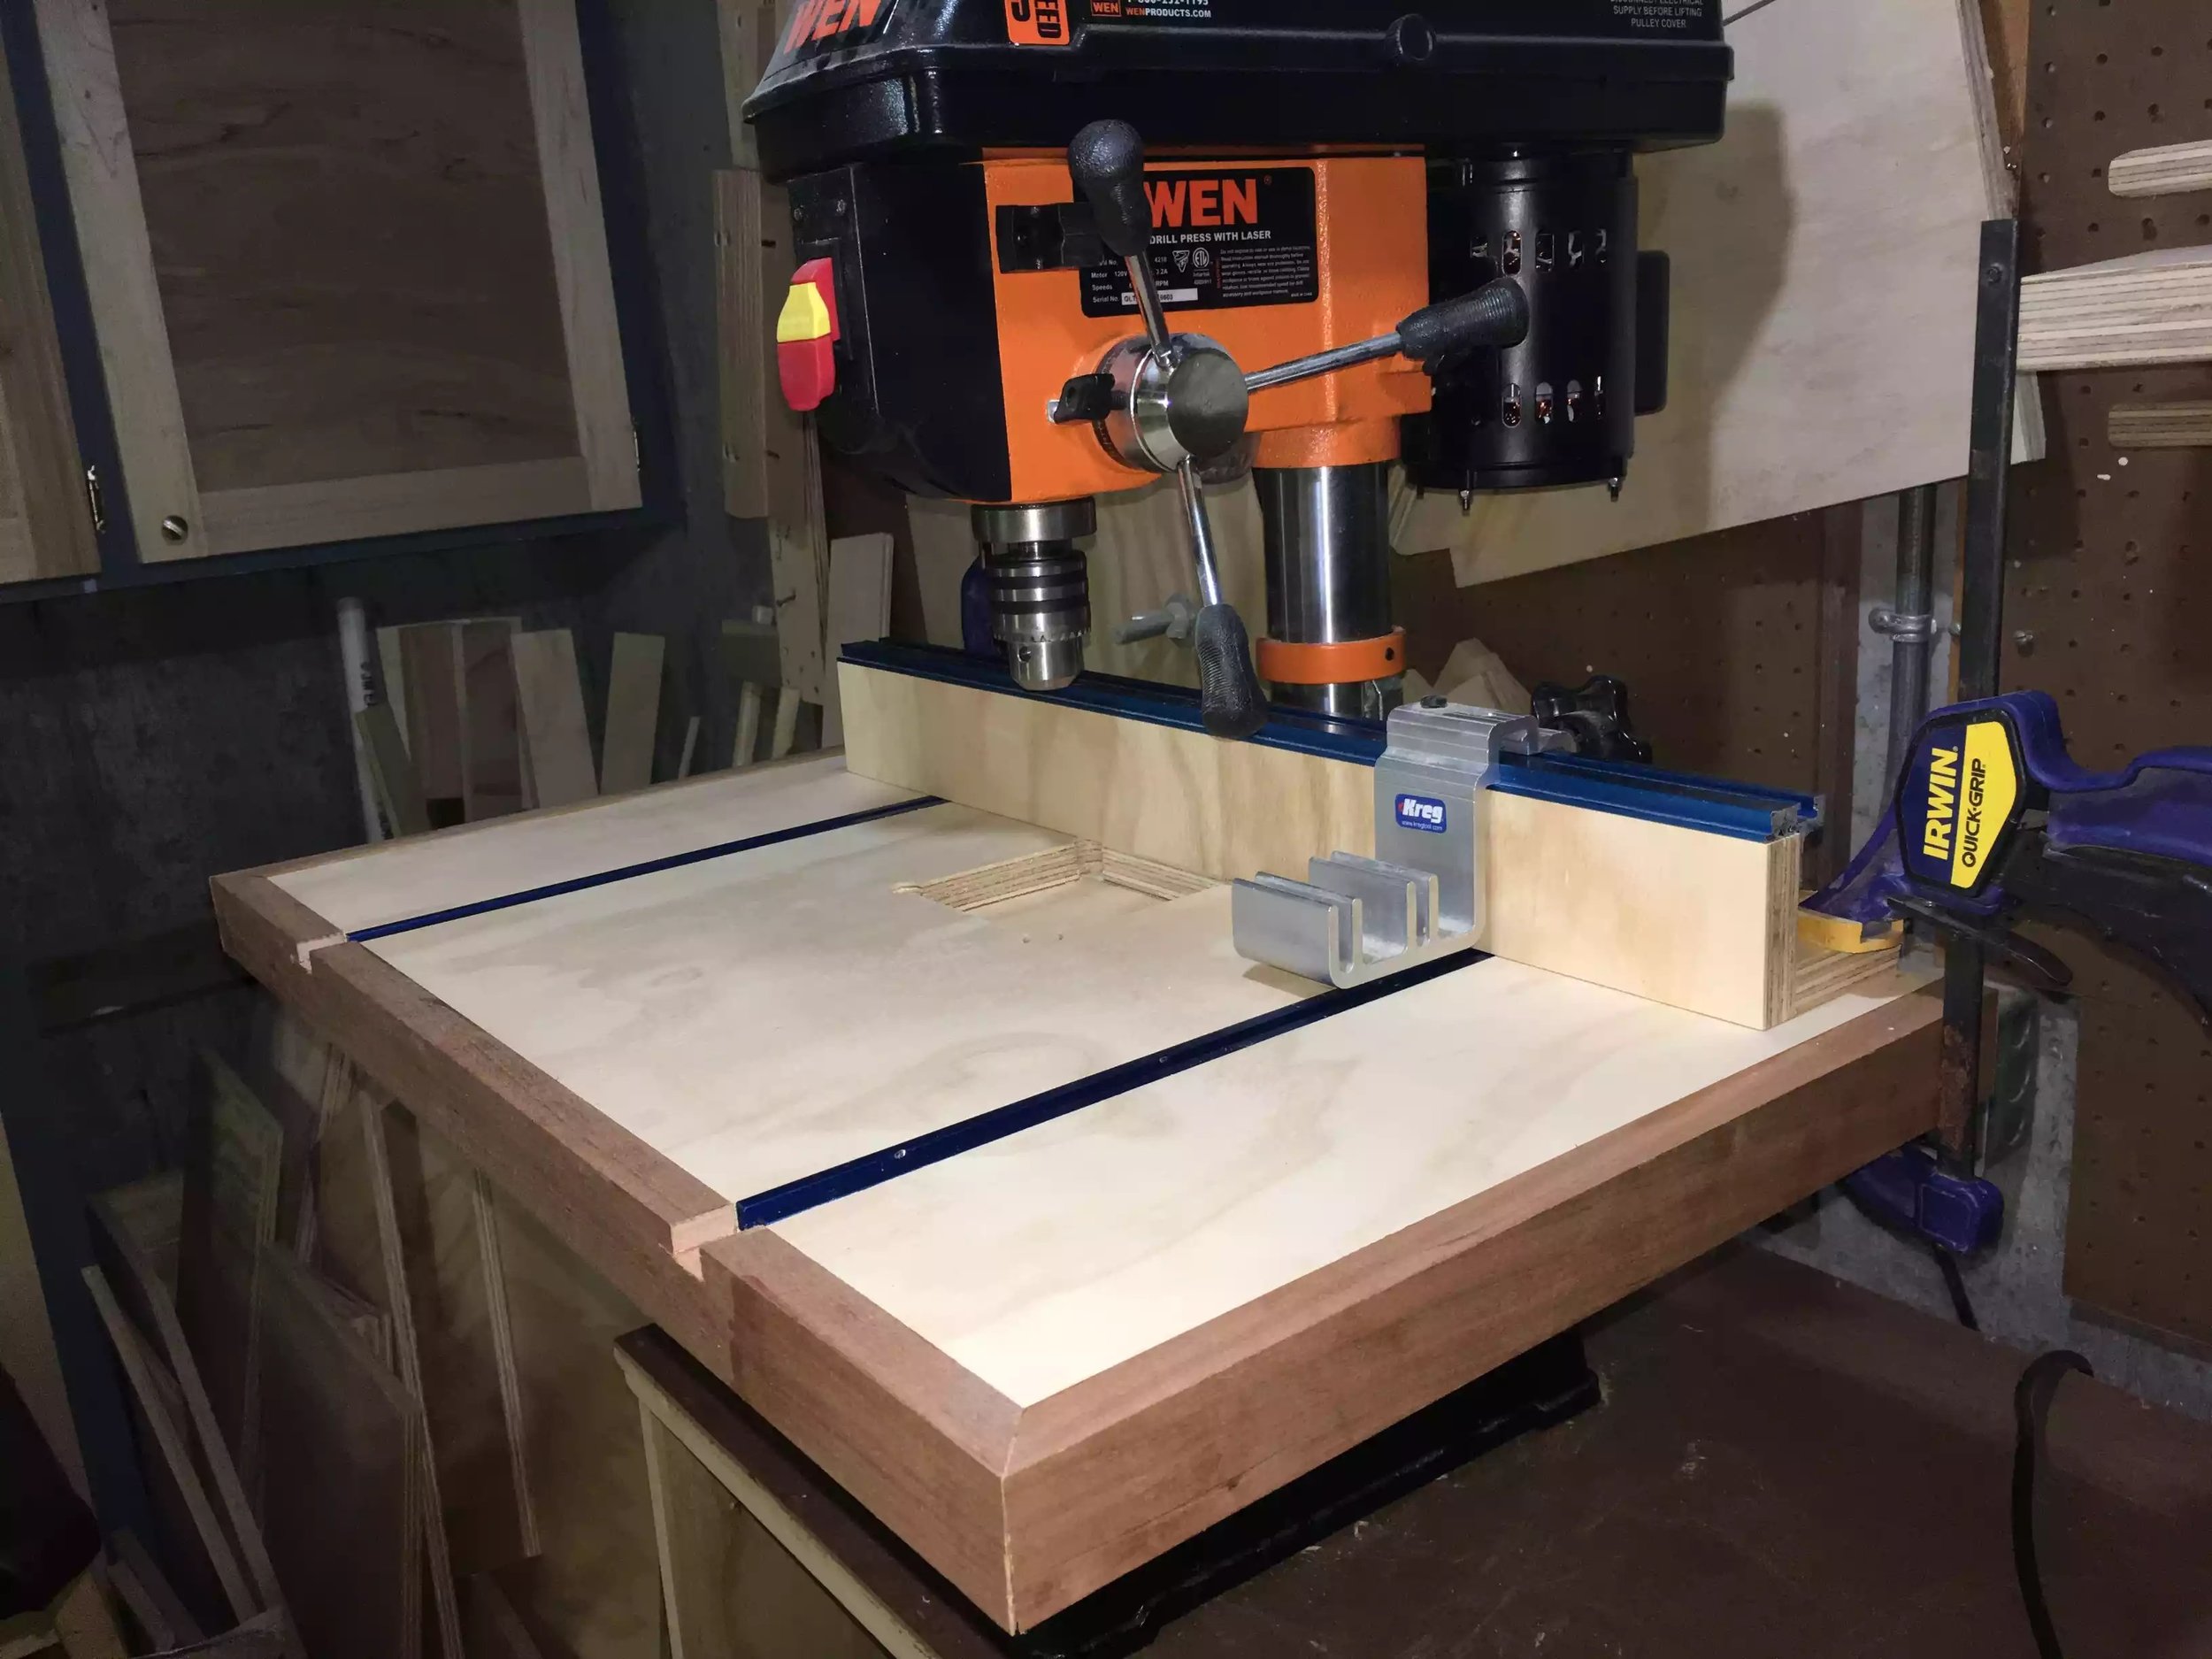
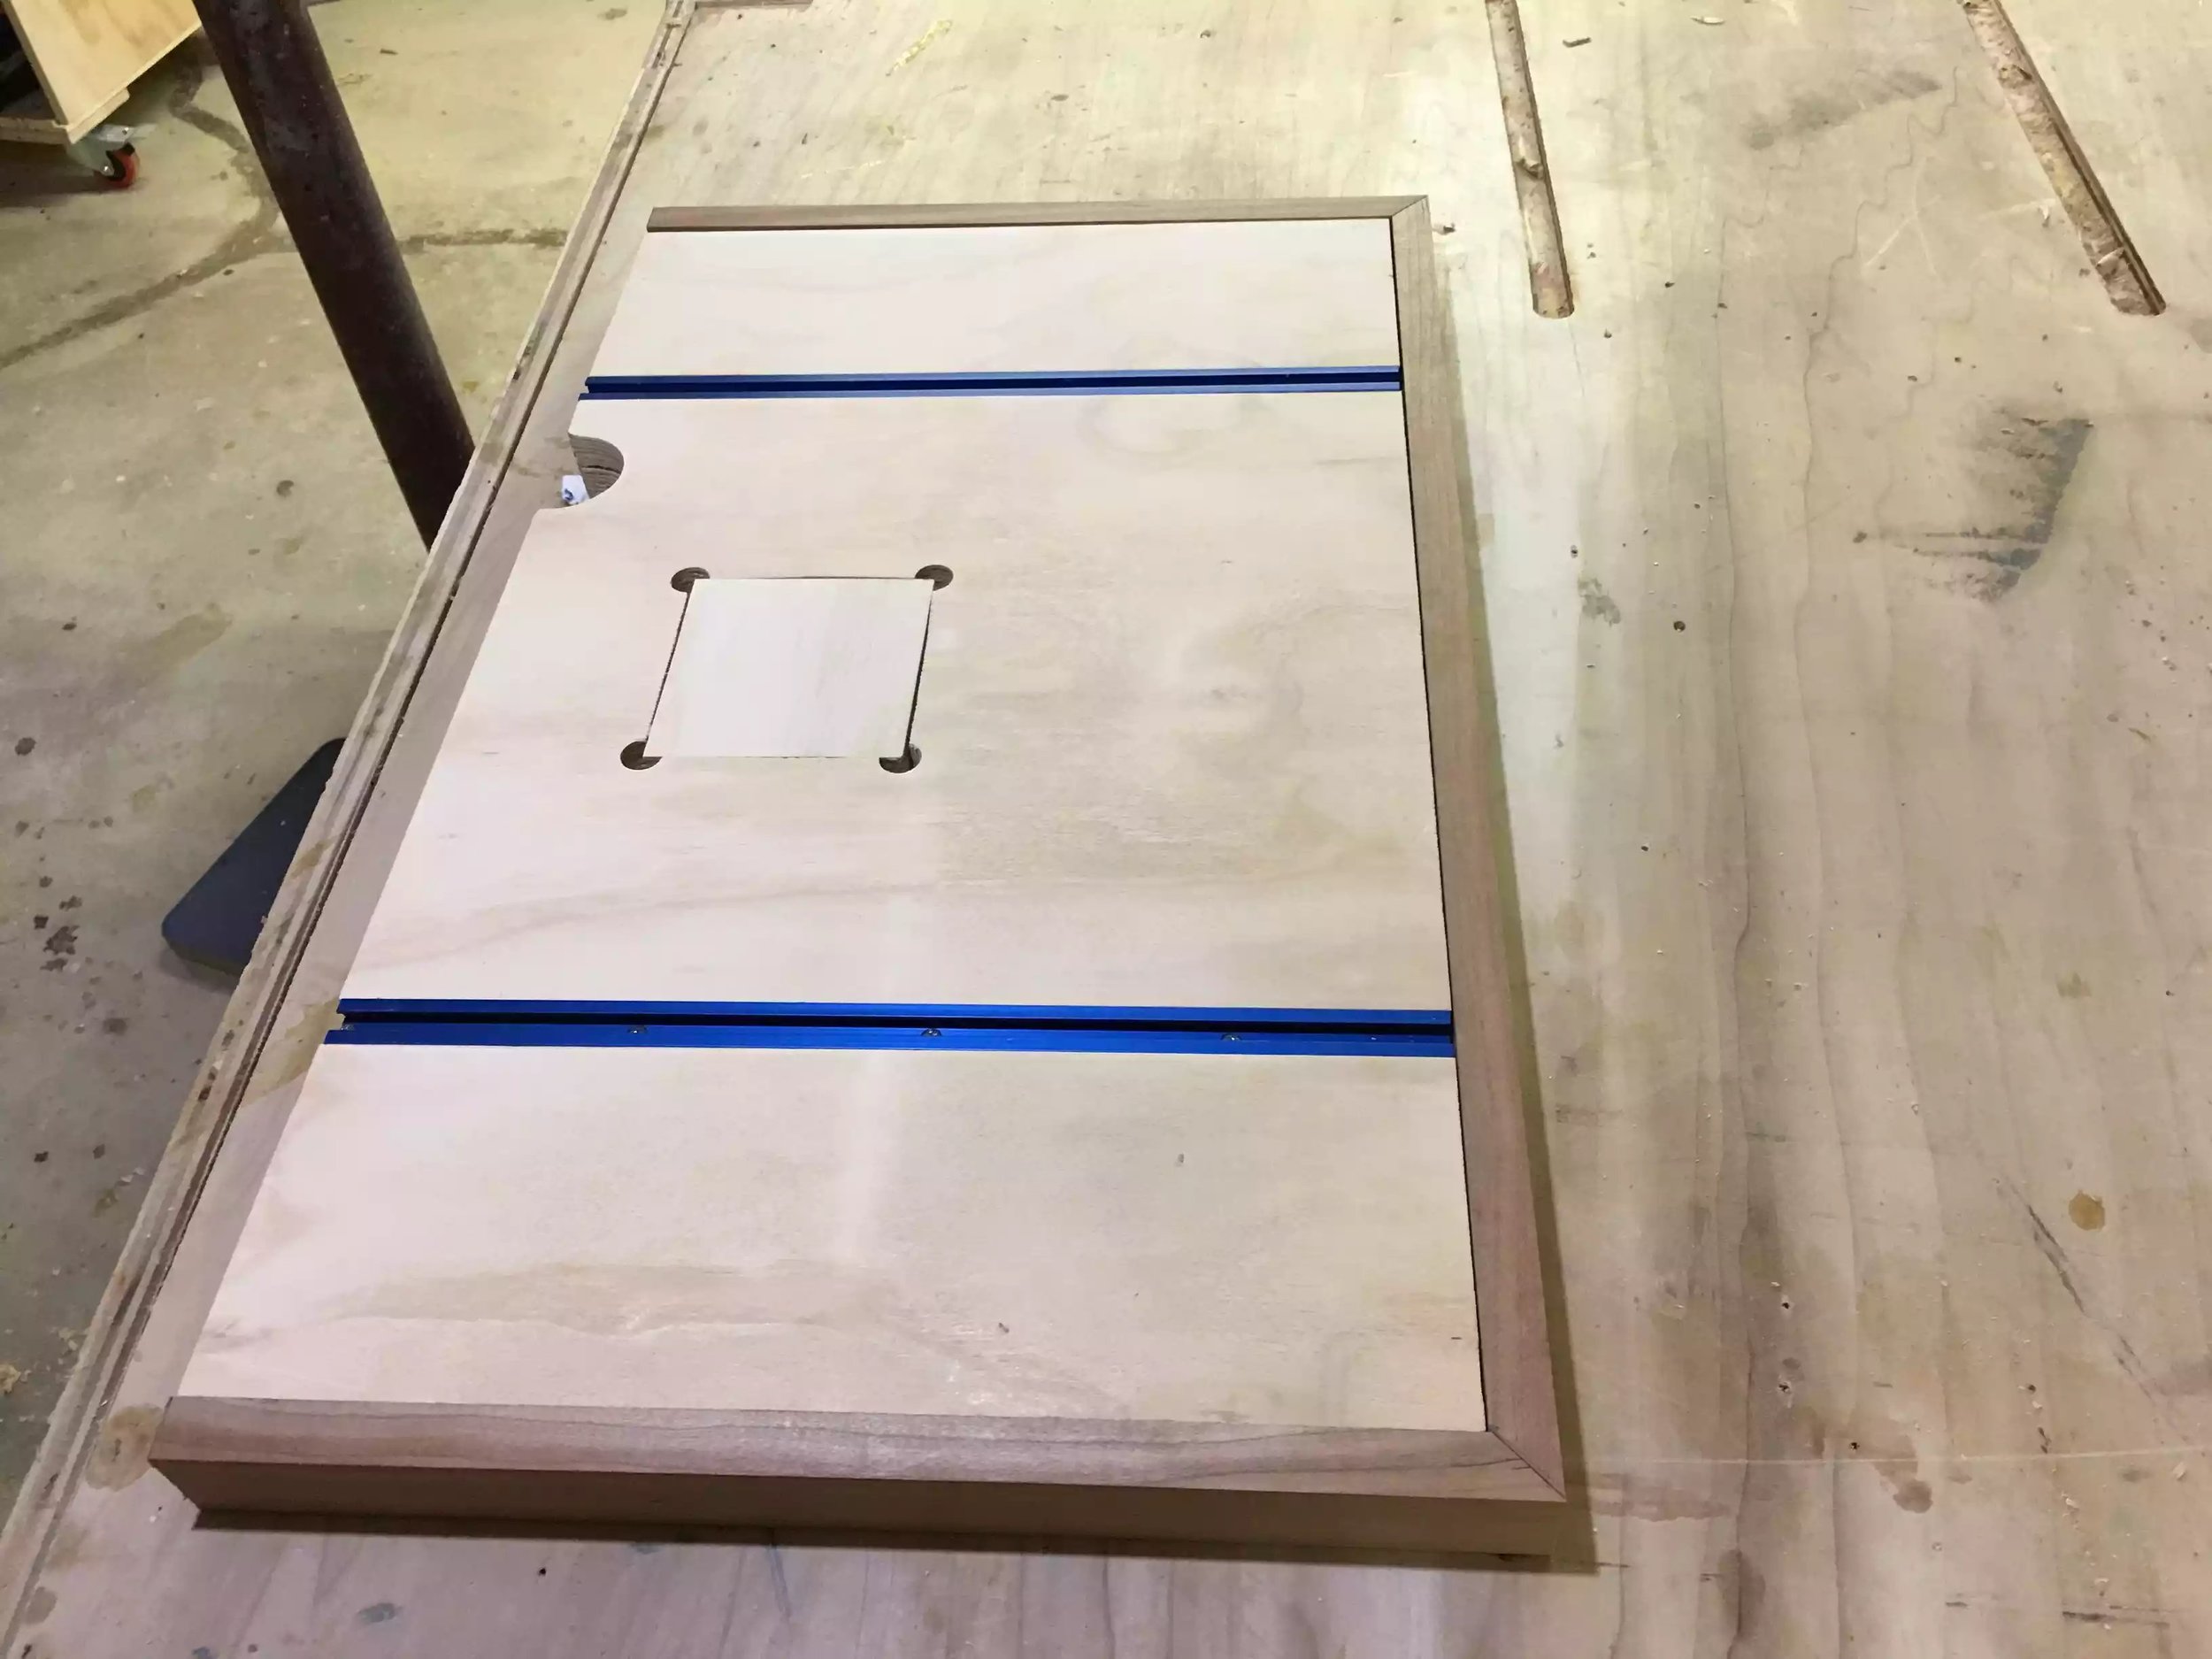
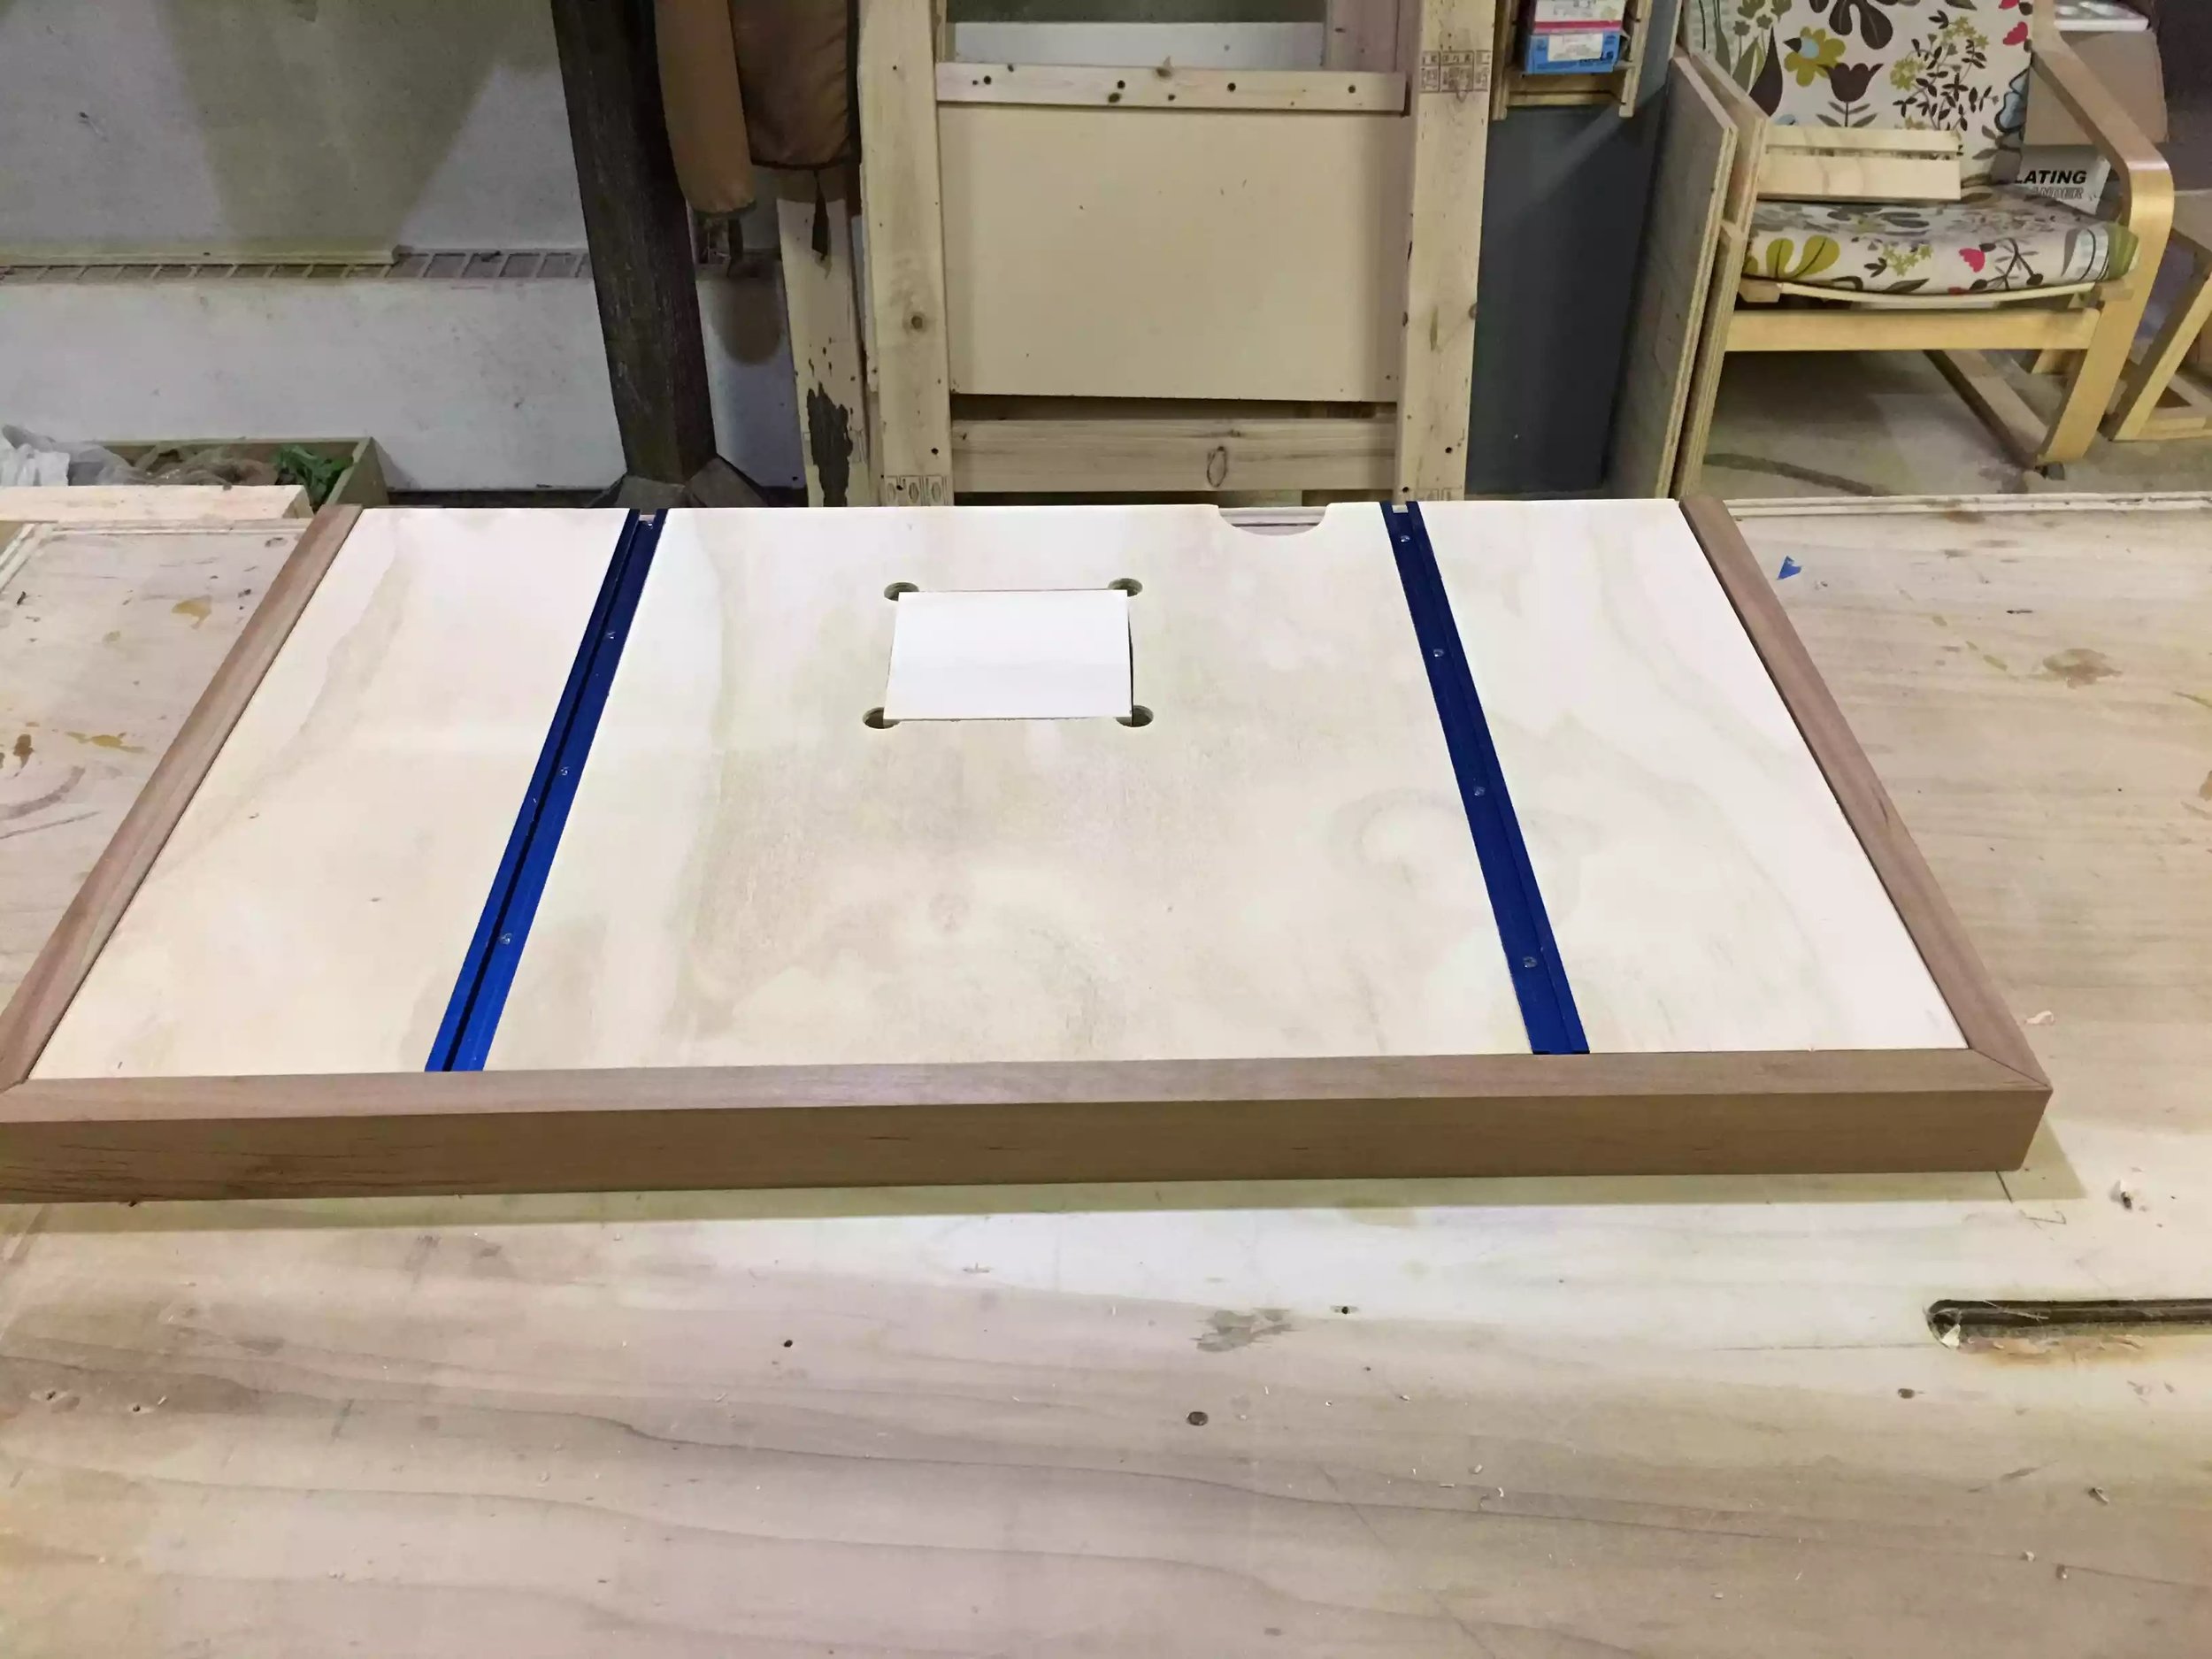
After cutting the panels to size I cut 3/4” dado 5” away from each side and 3/8” deep to receive the Kreg mini track then I cut a 4”x4” square out of the top piece so I could have a sacrificial plate so that when I destry it when drill it can be replaced.
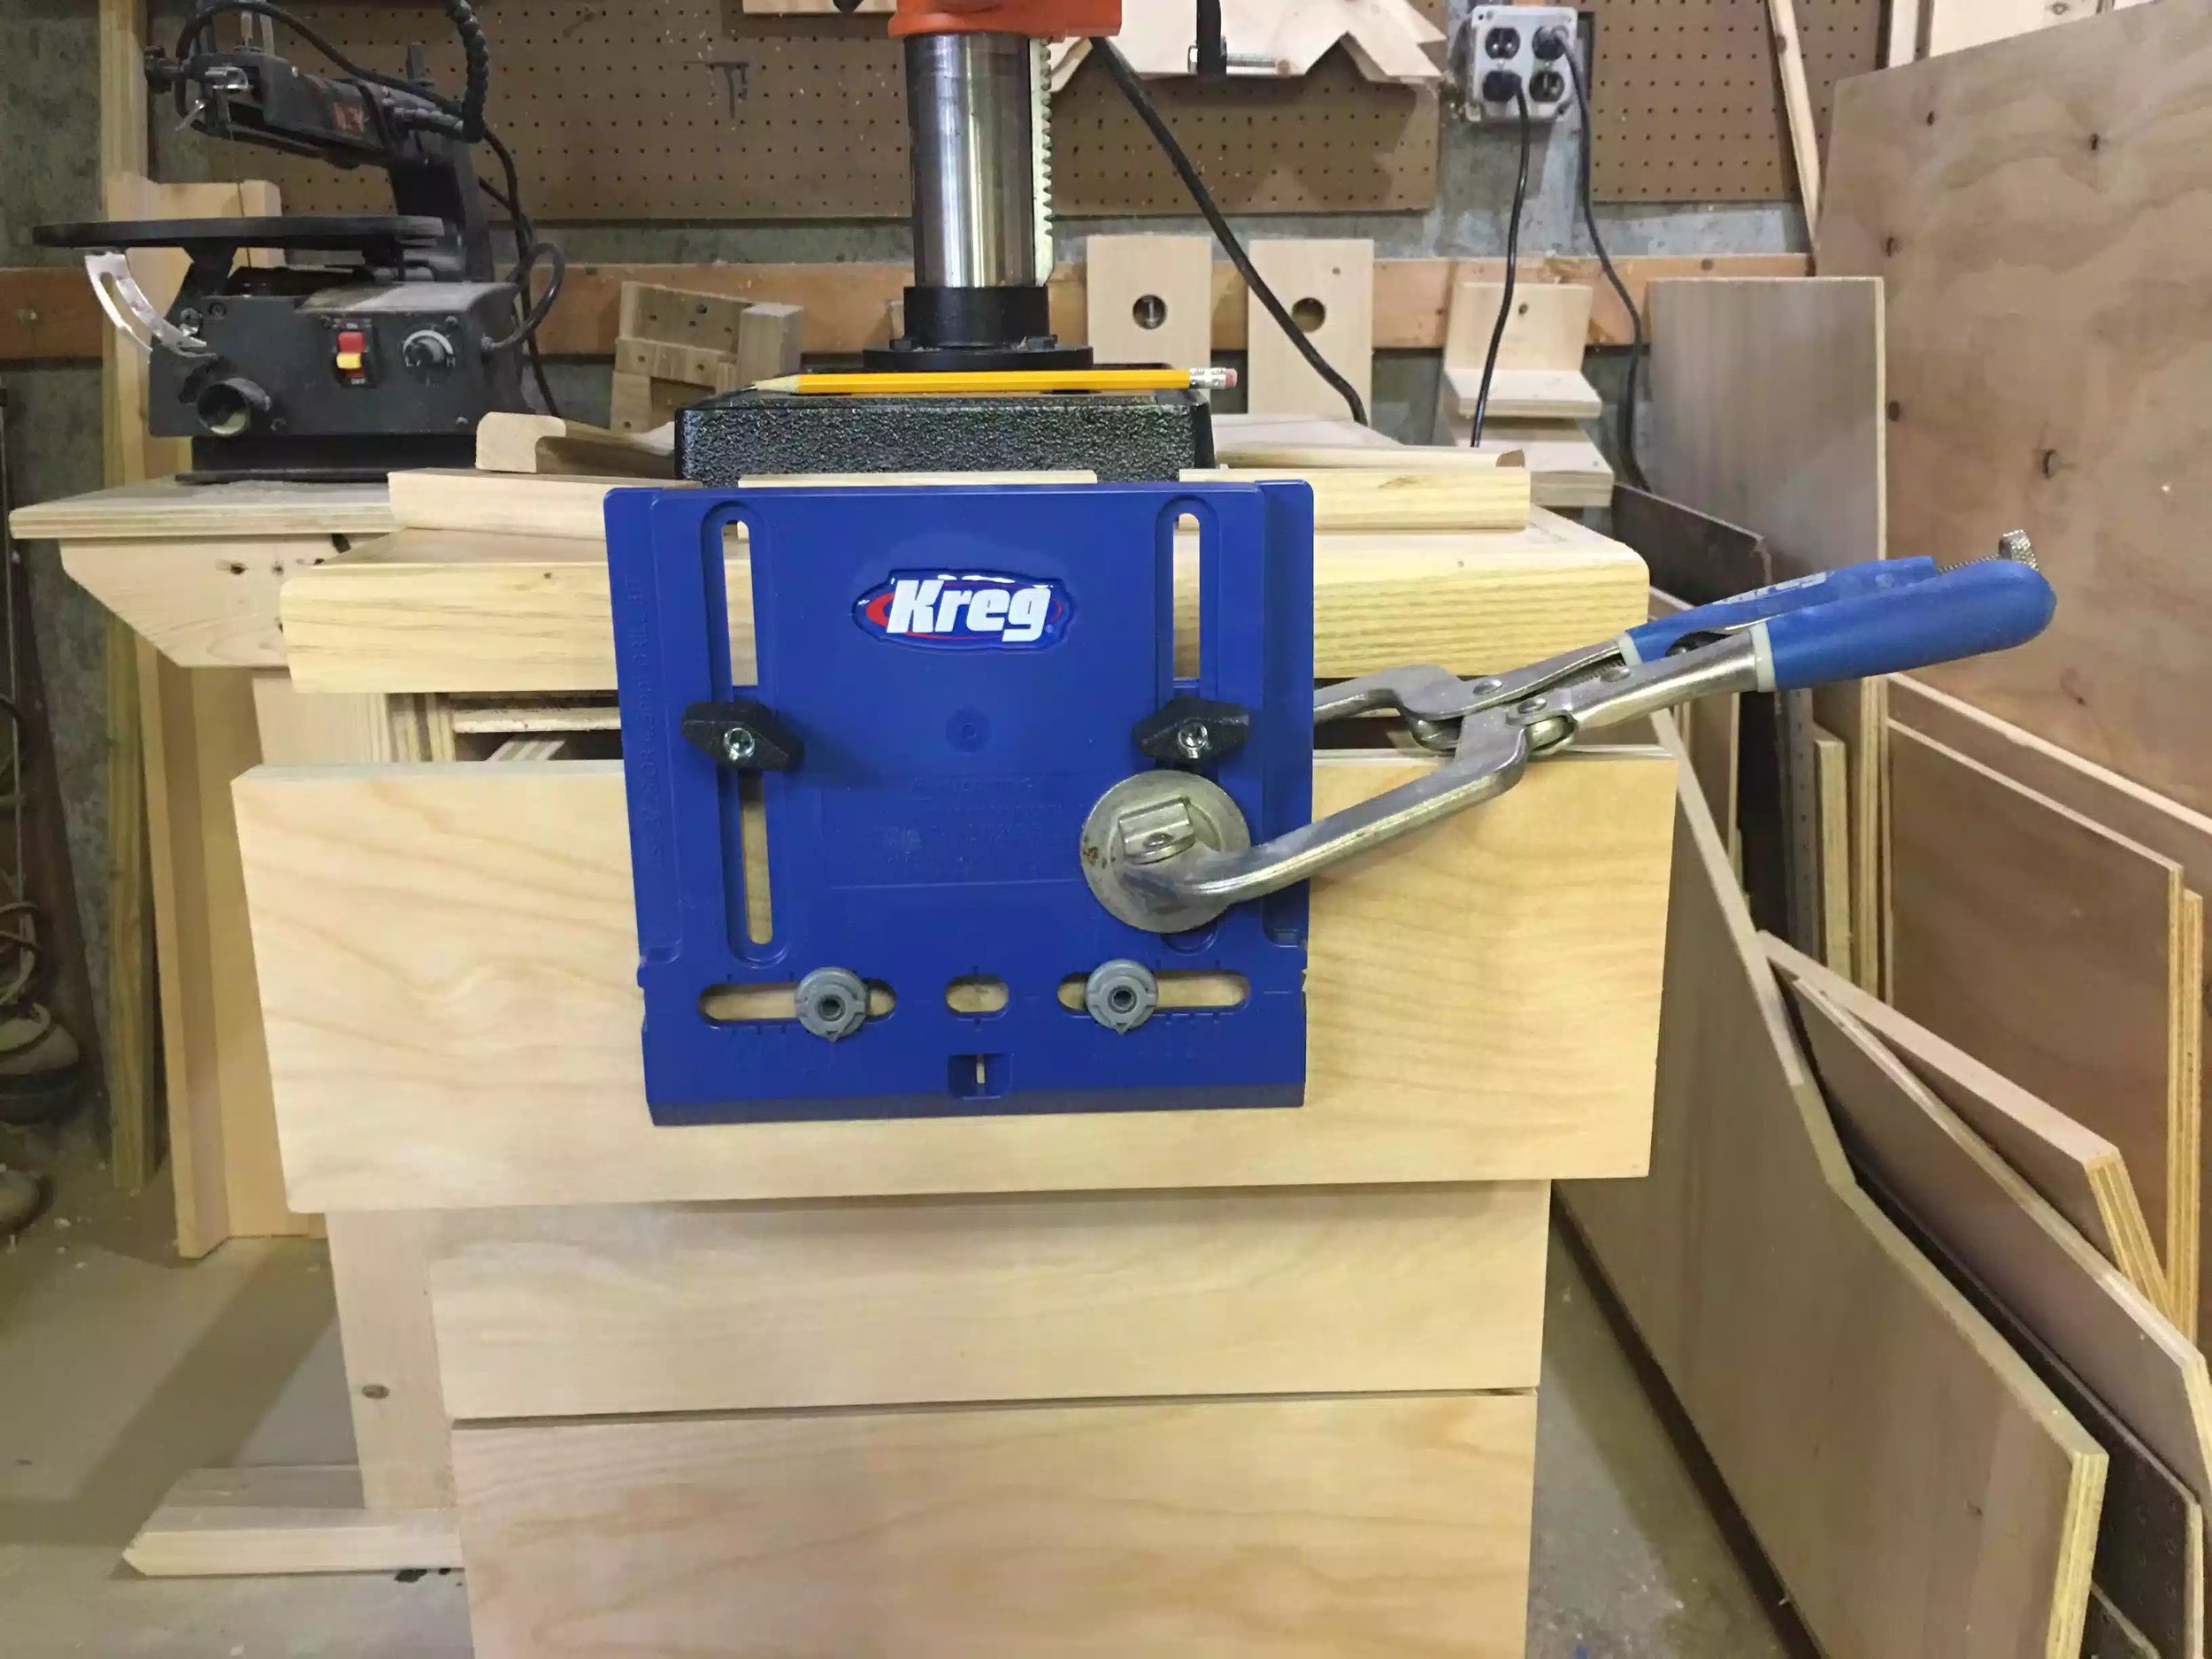
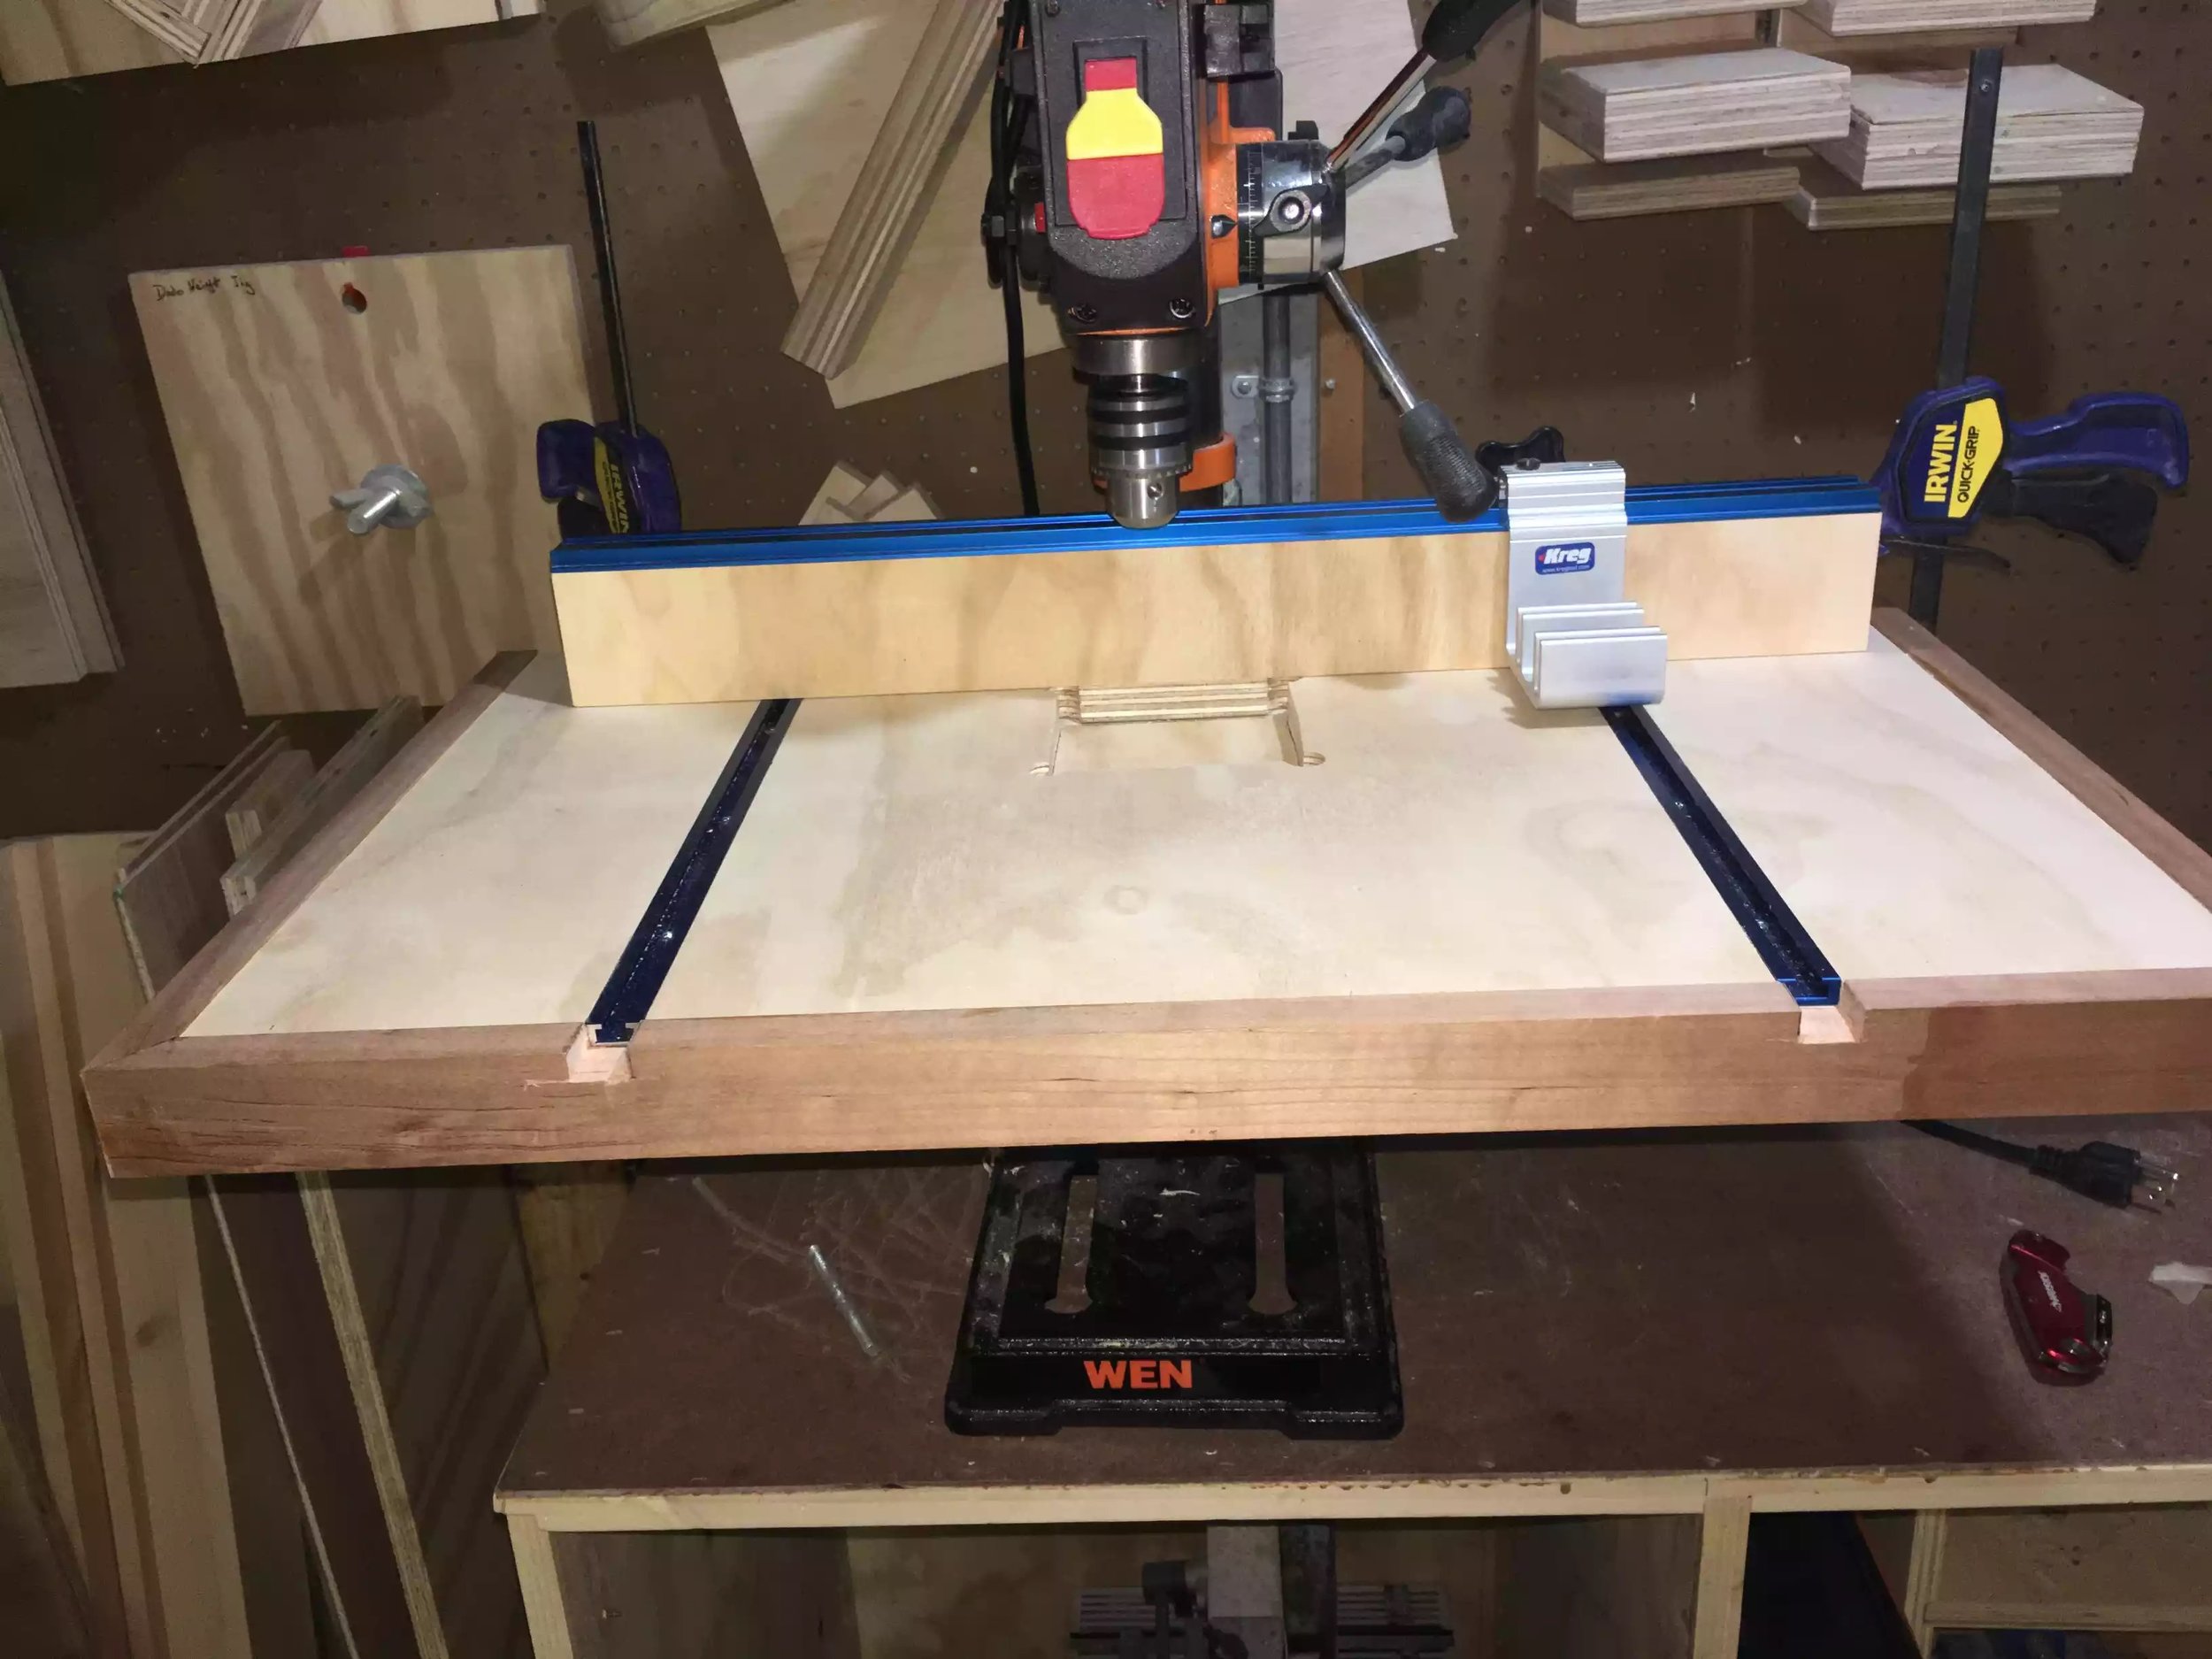
I placed the glued up panel on the metal drill press table to get some key measurement , mainly to identift where I need to cut out mini track dado so as that I can secure the drill press table.
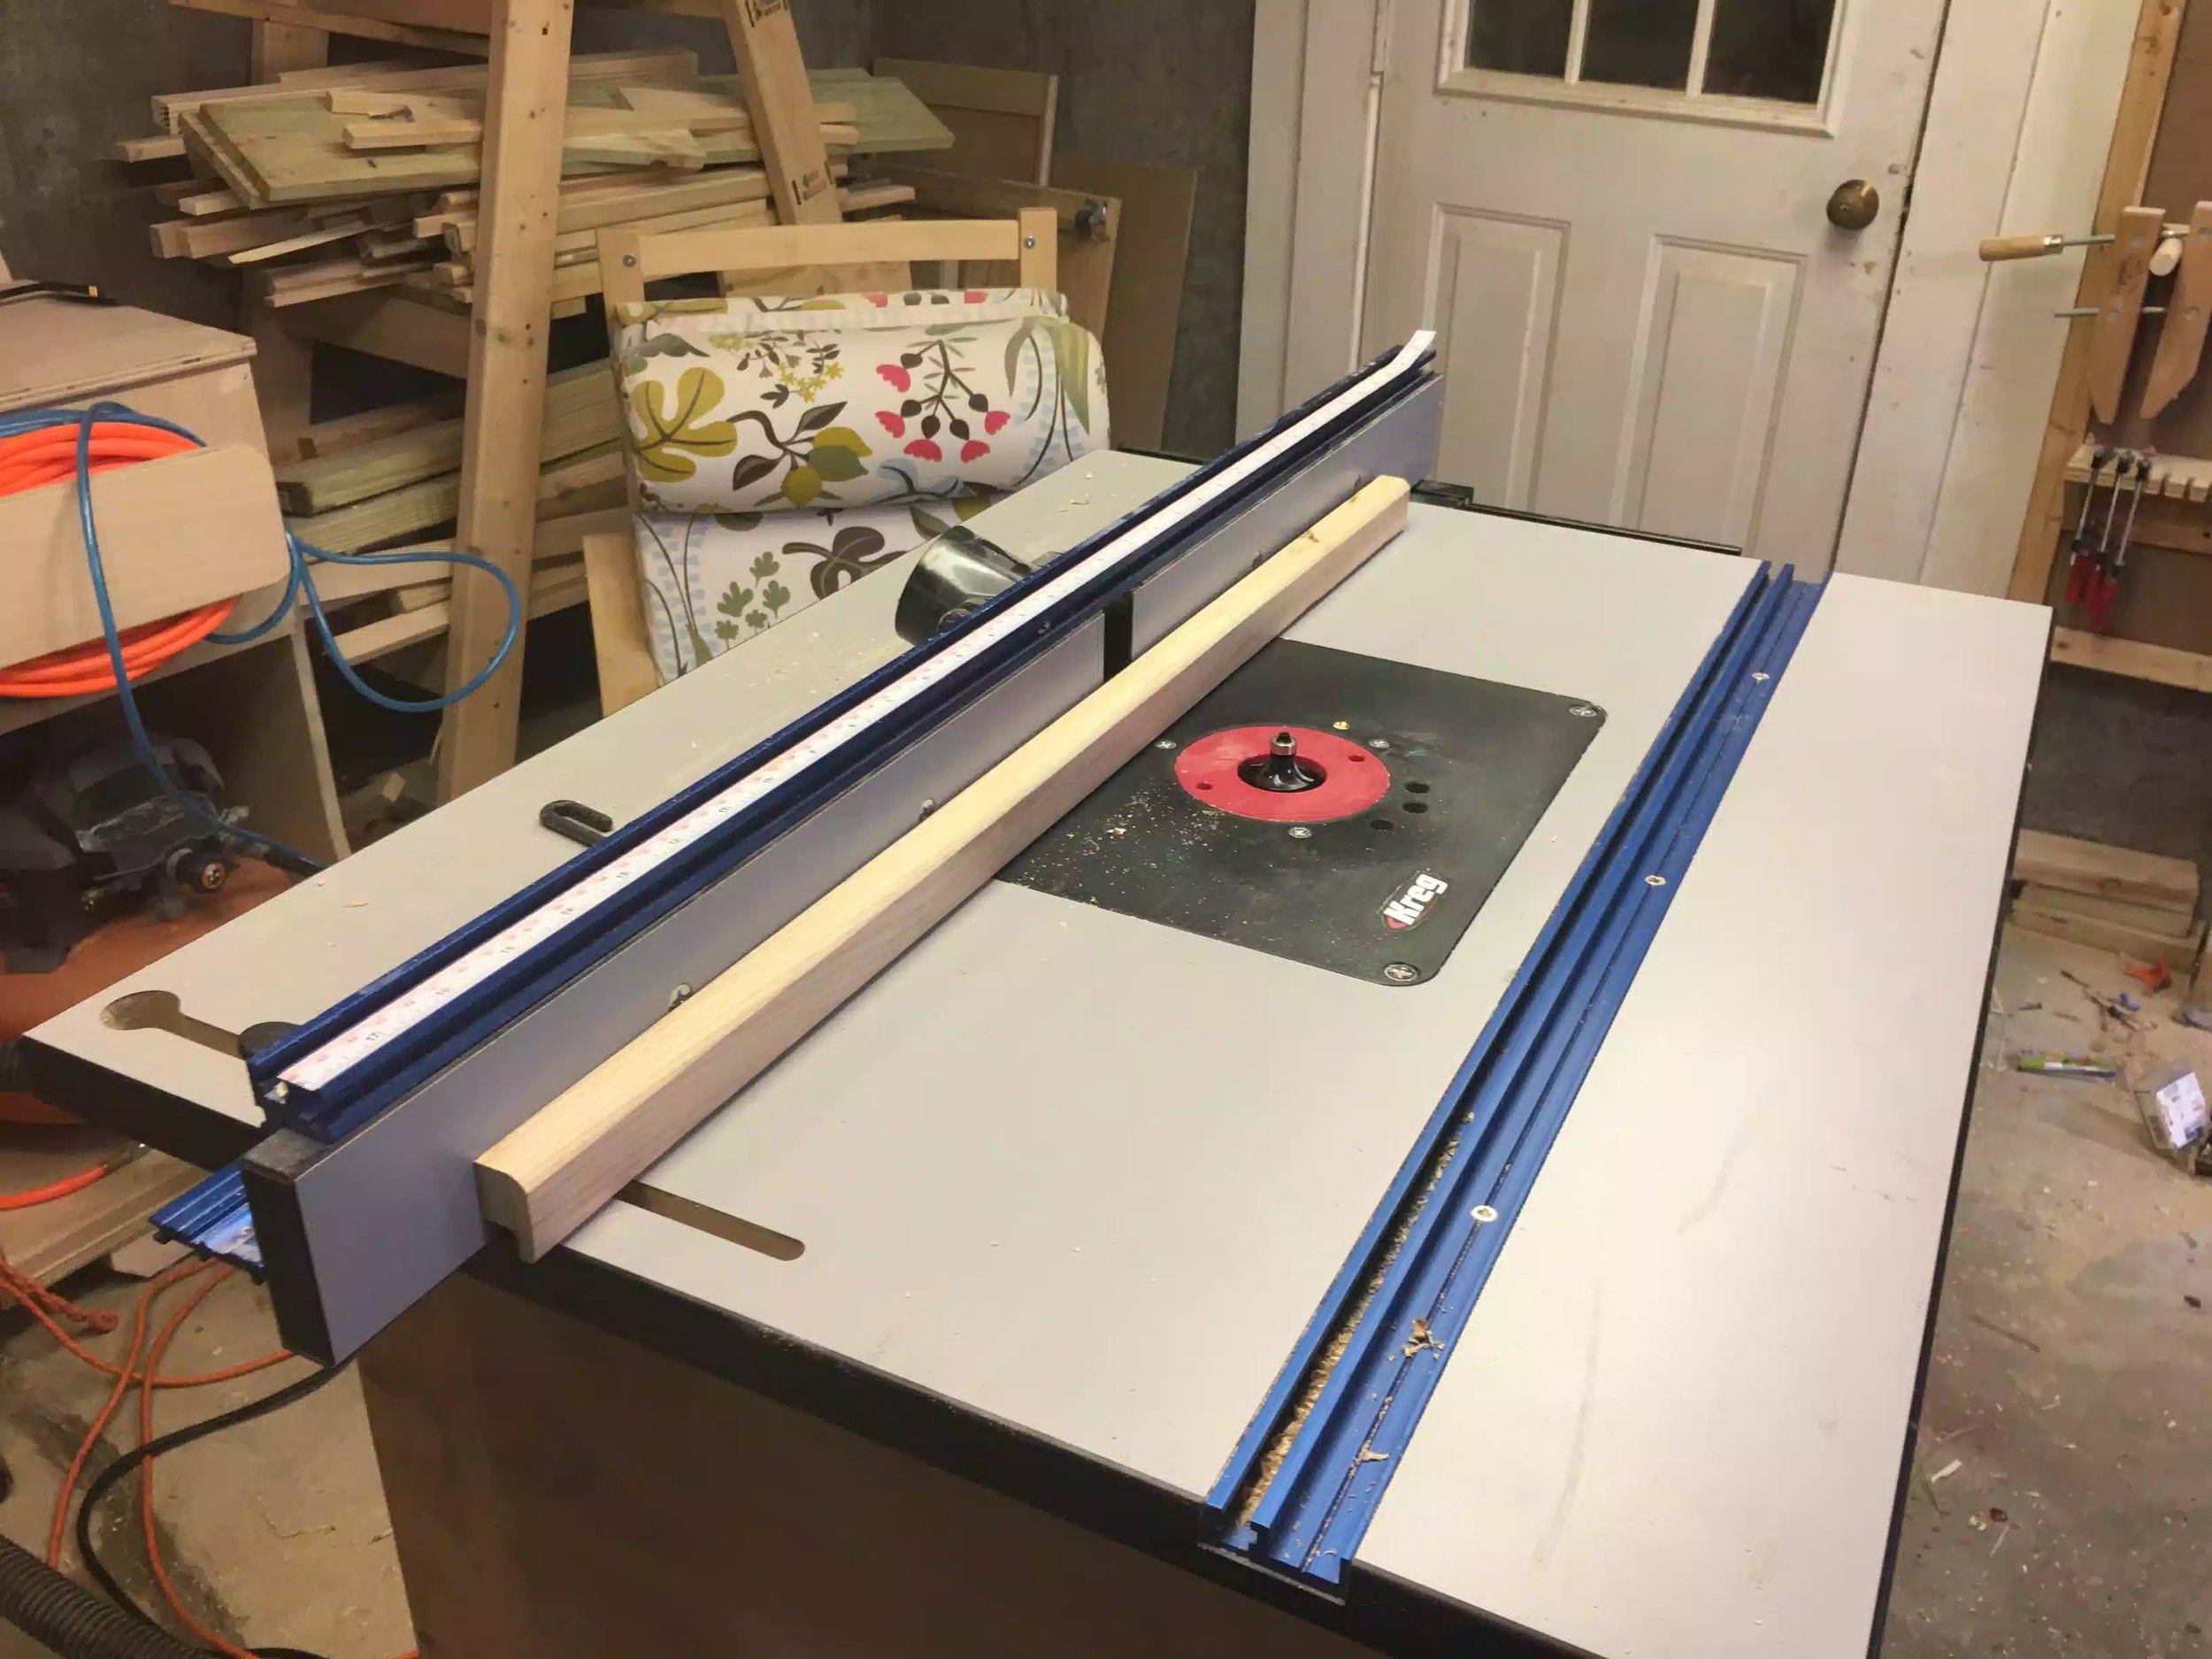
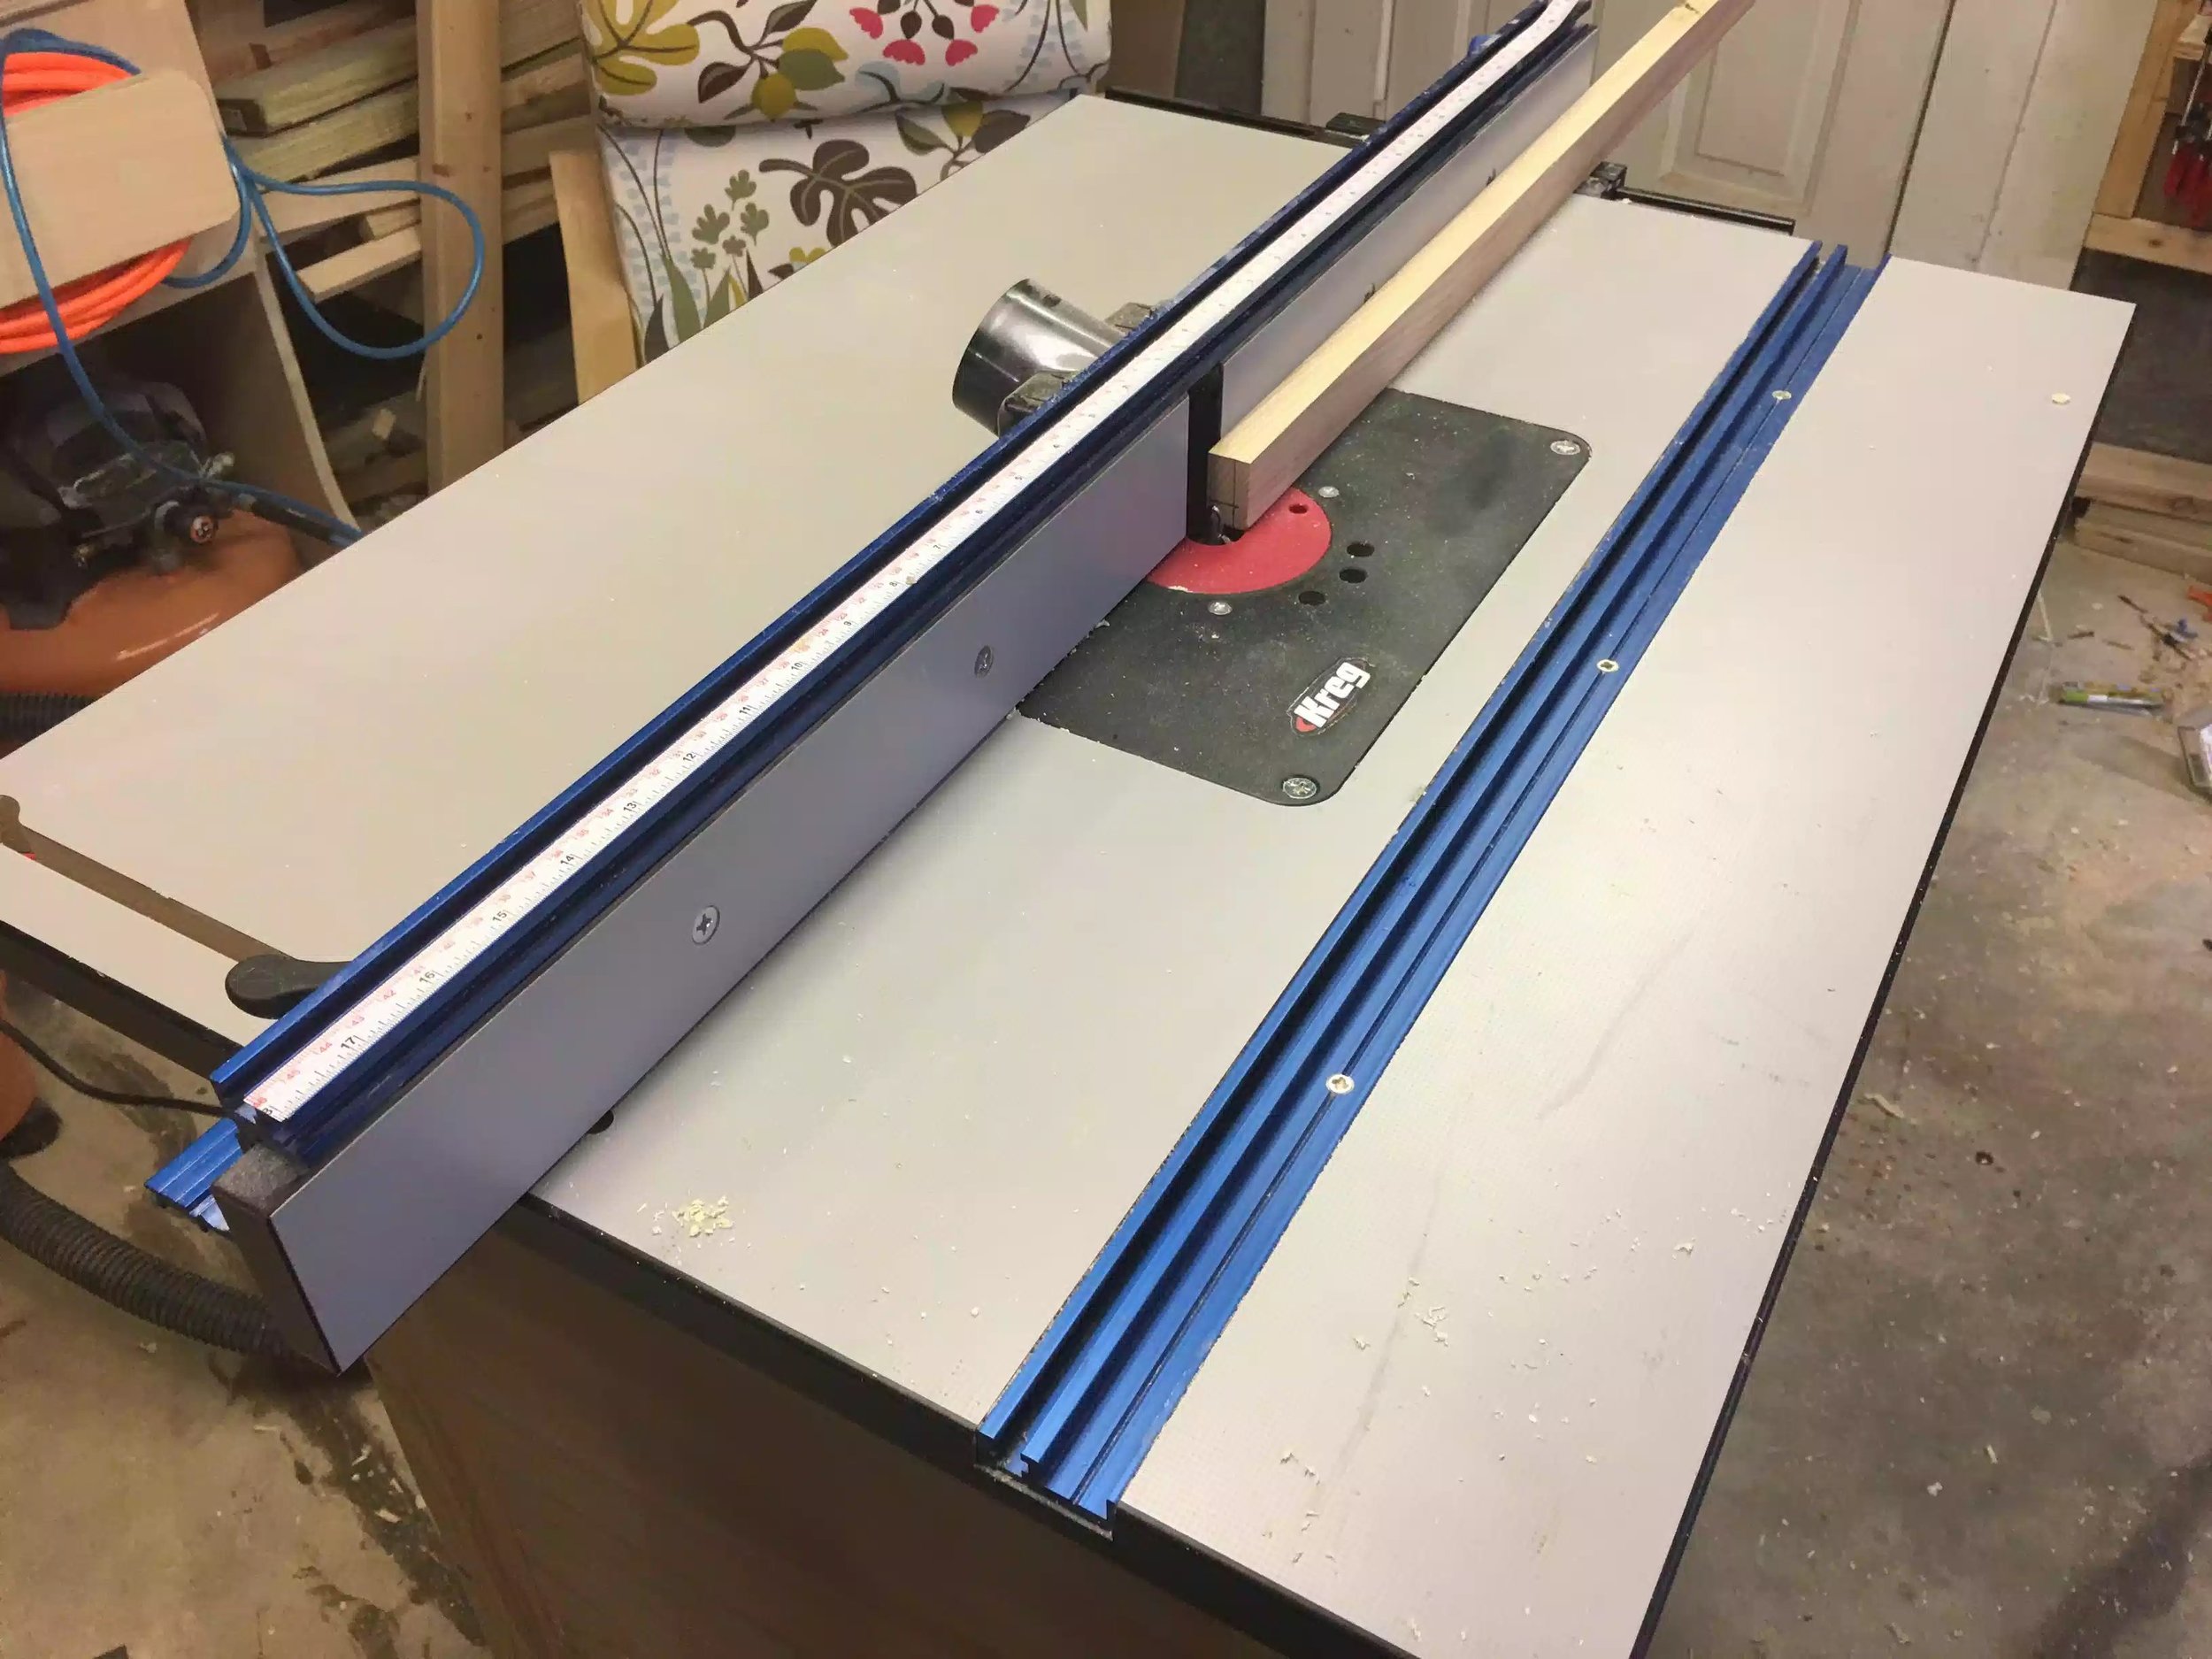
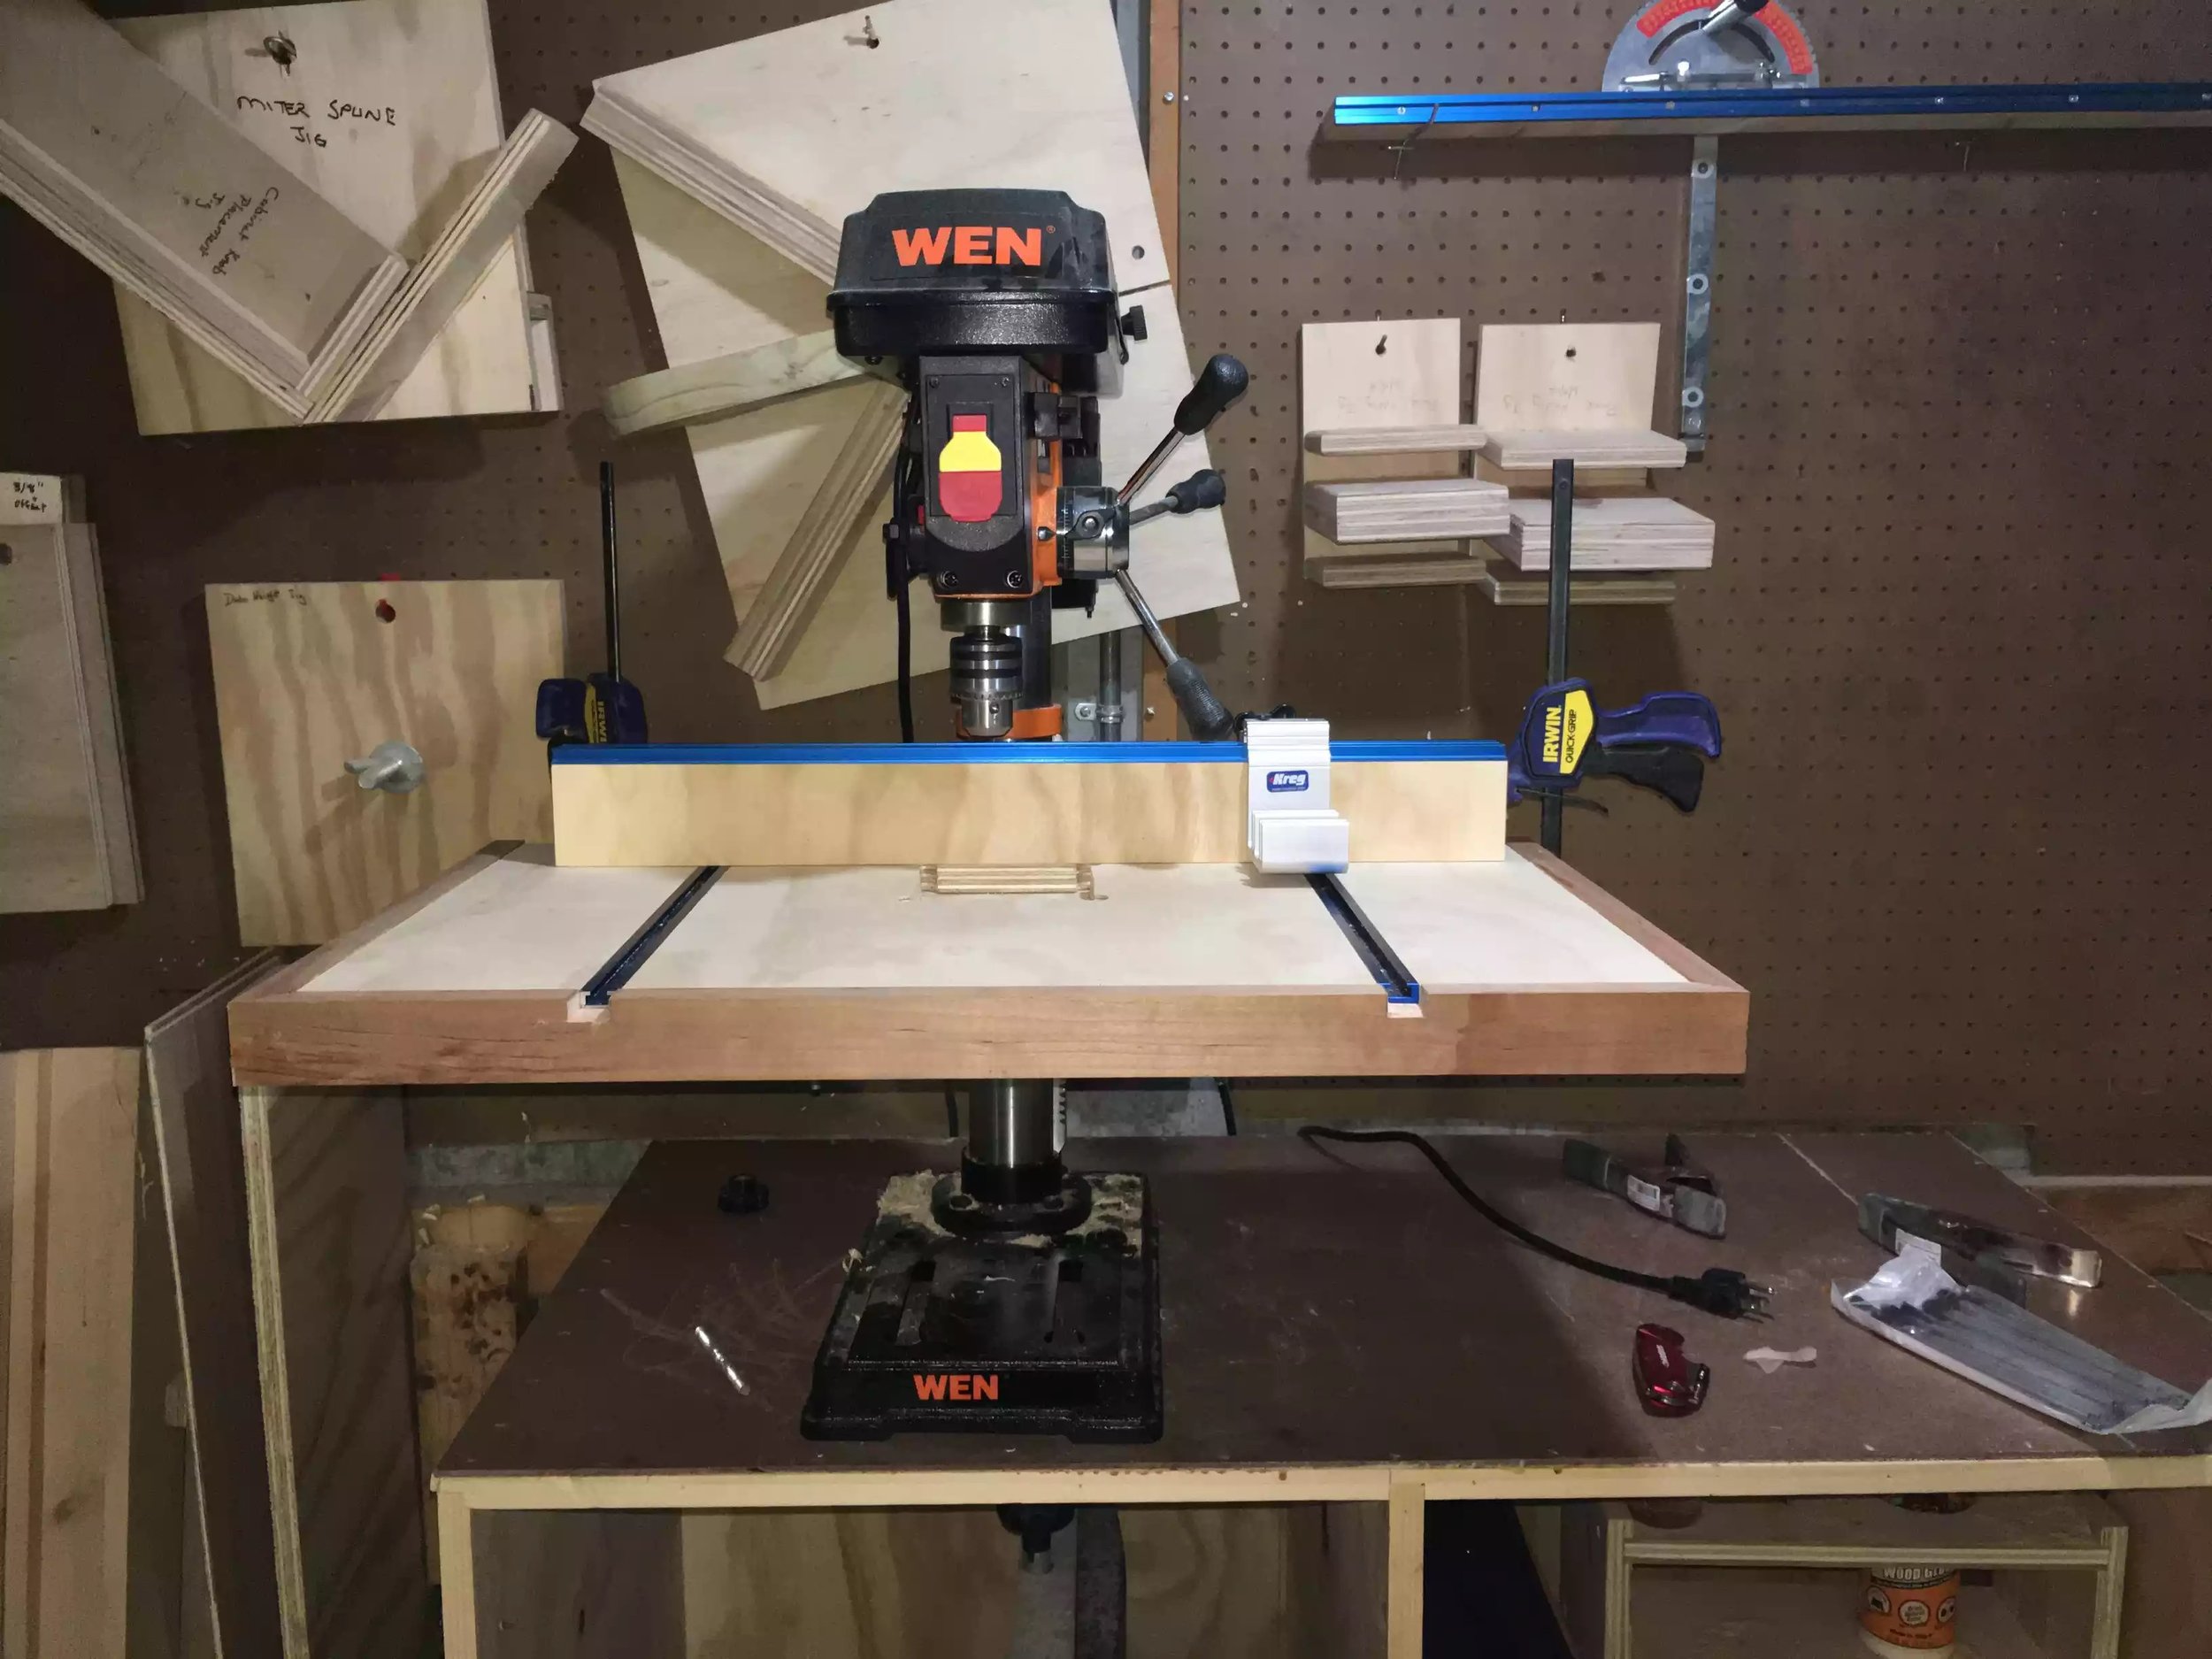
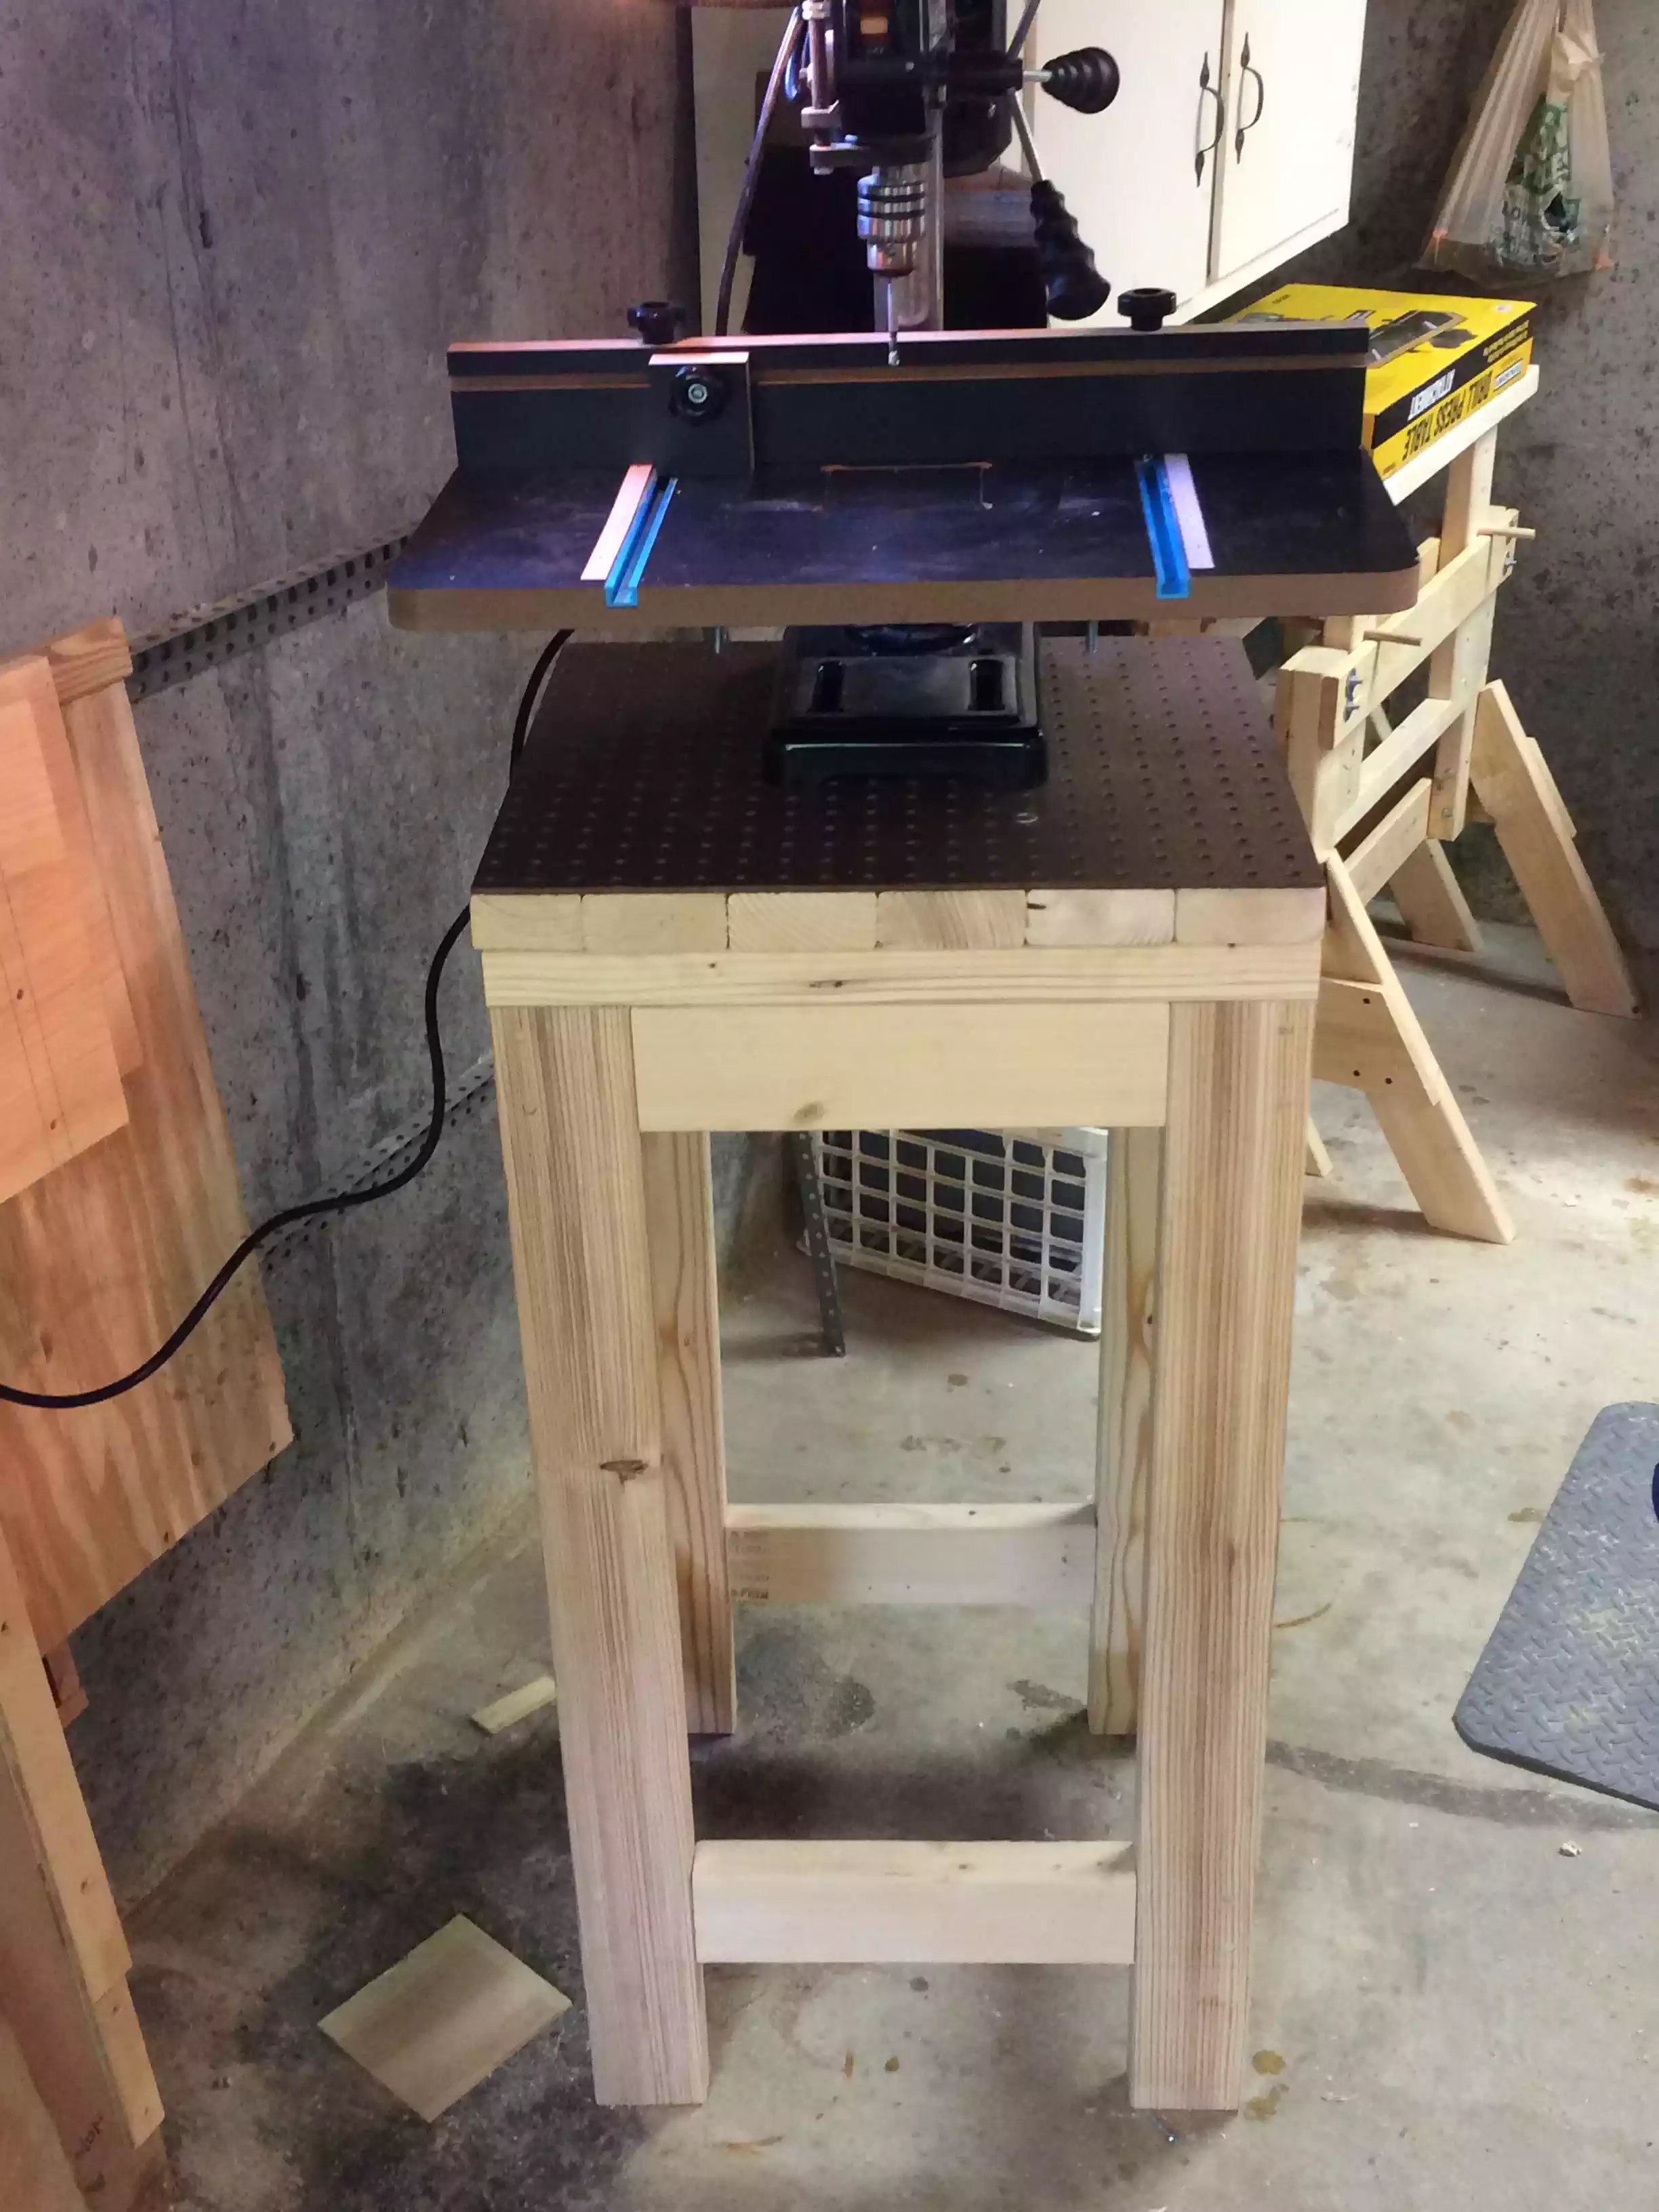
The Fence construction is very easy its just pieces of 2.5” high x 24” long and I used glue and pocket hole screws to join it together then drilled 2 1/4” holes to establish where the fence will receive t track bolts so as that I can slide the fence from the front to the back of the table.
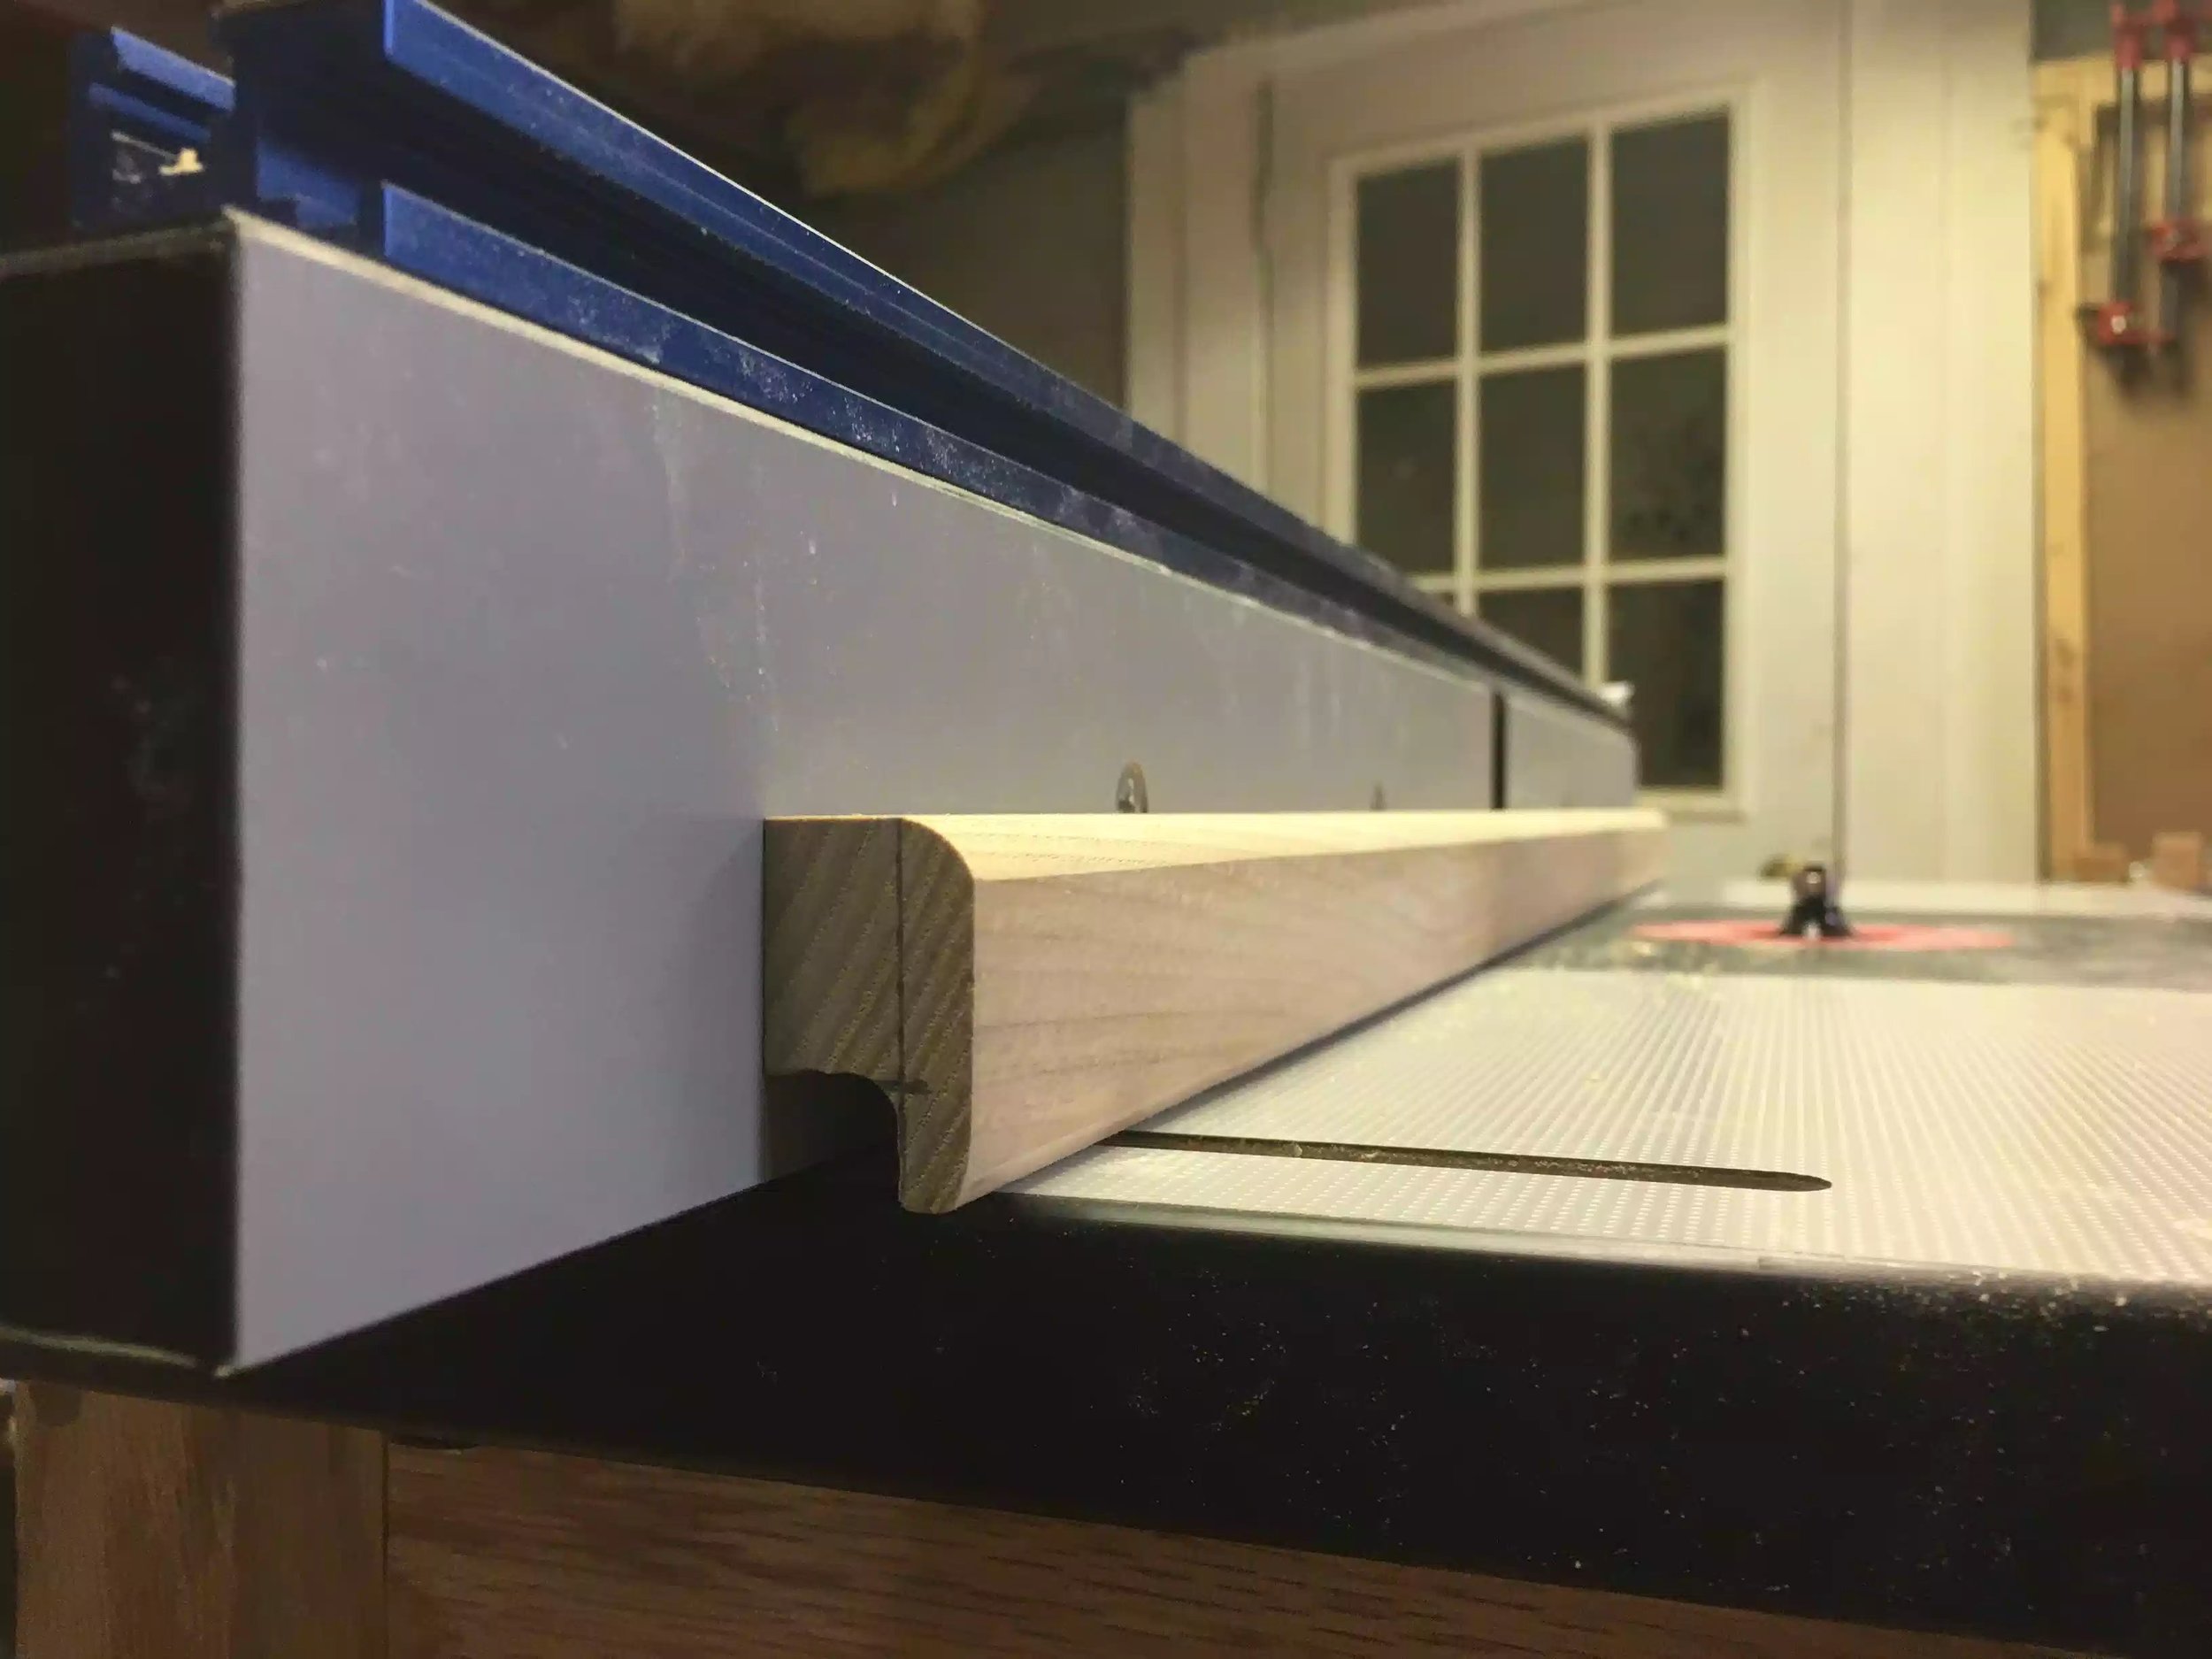
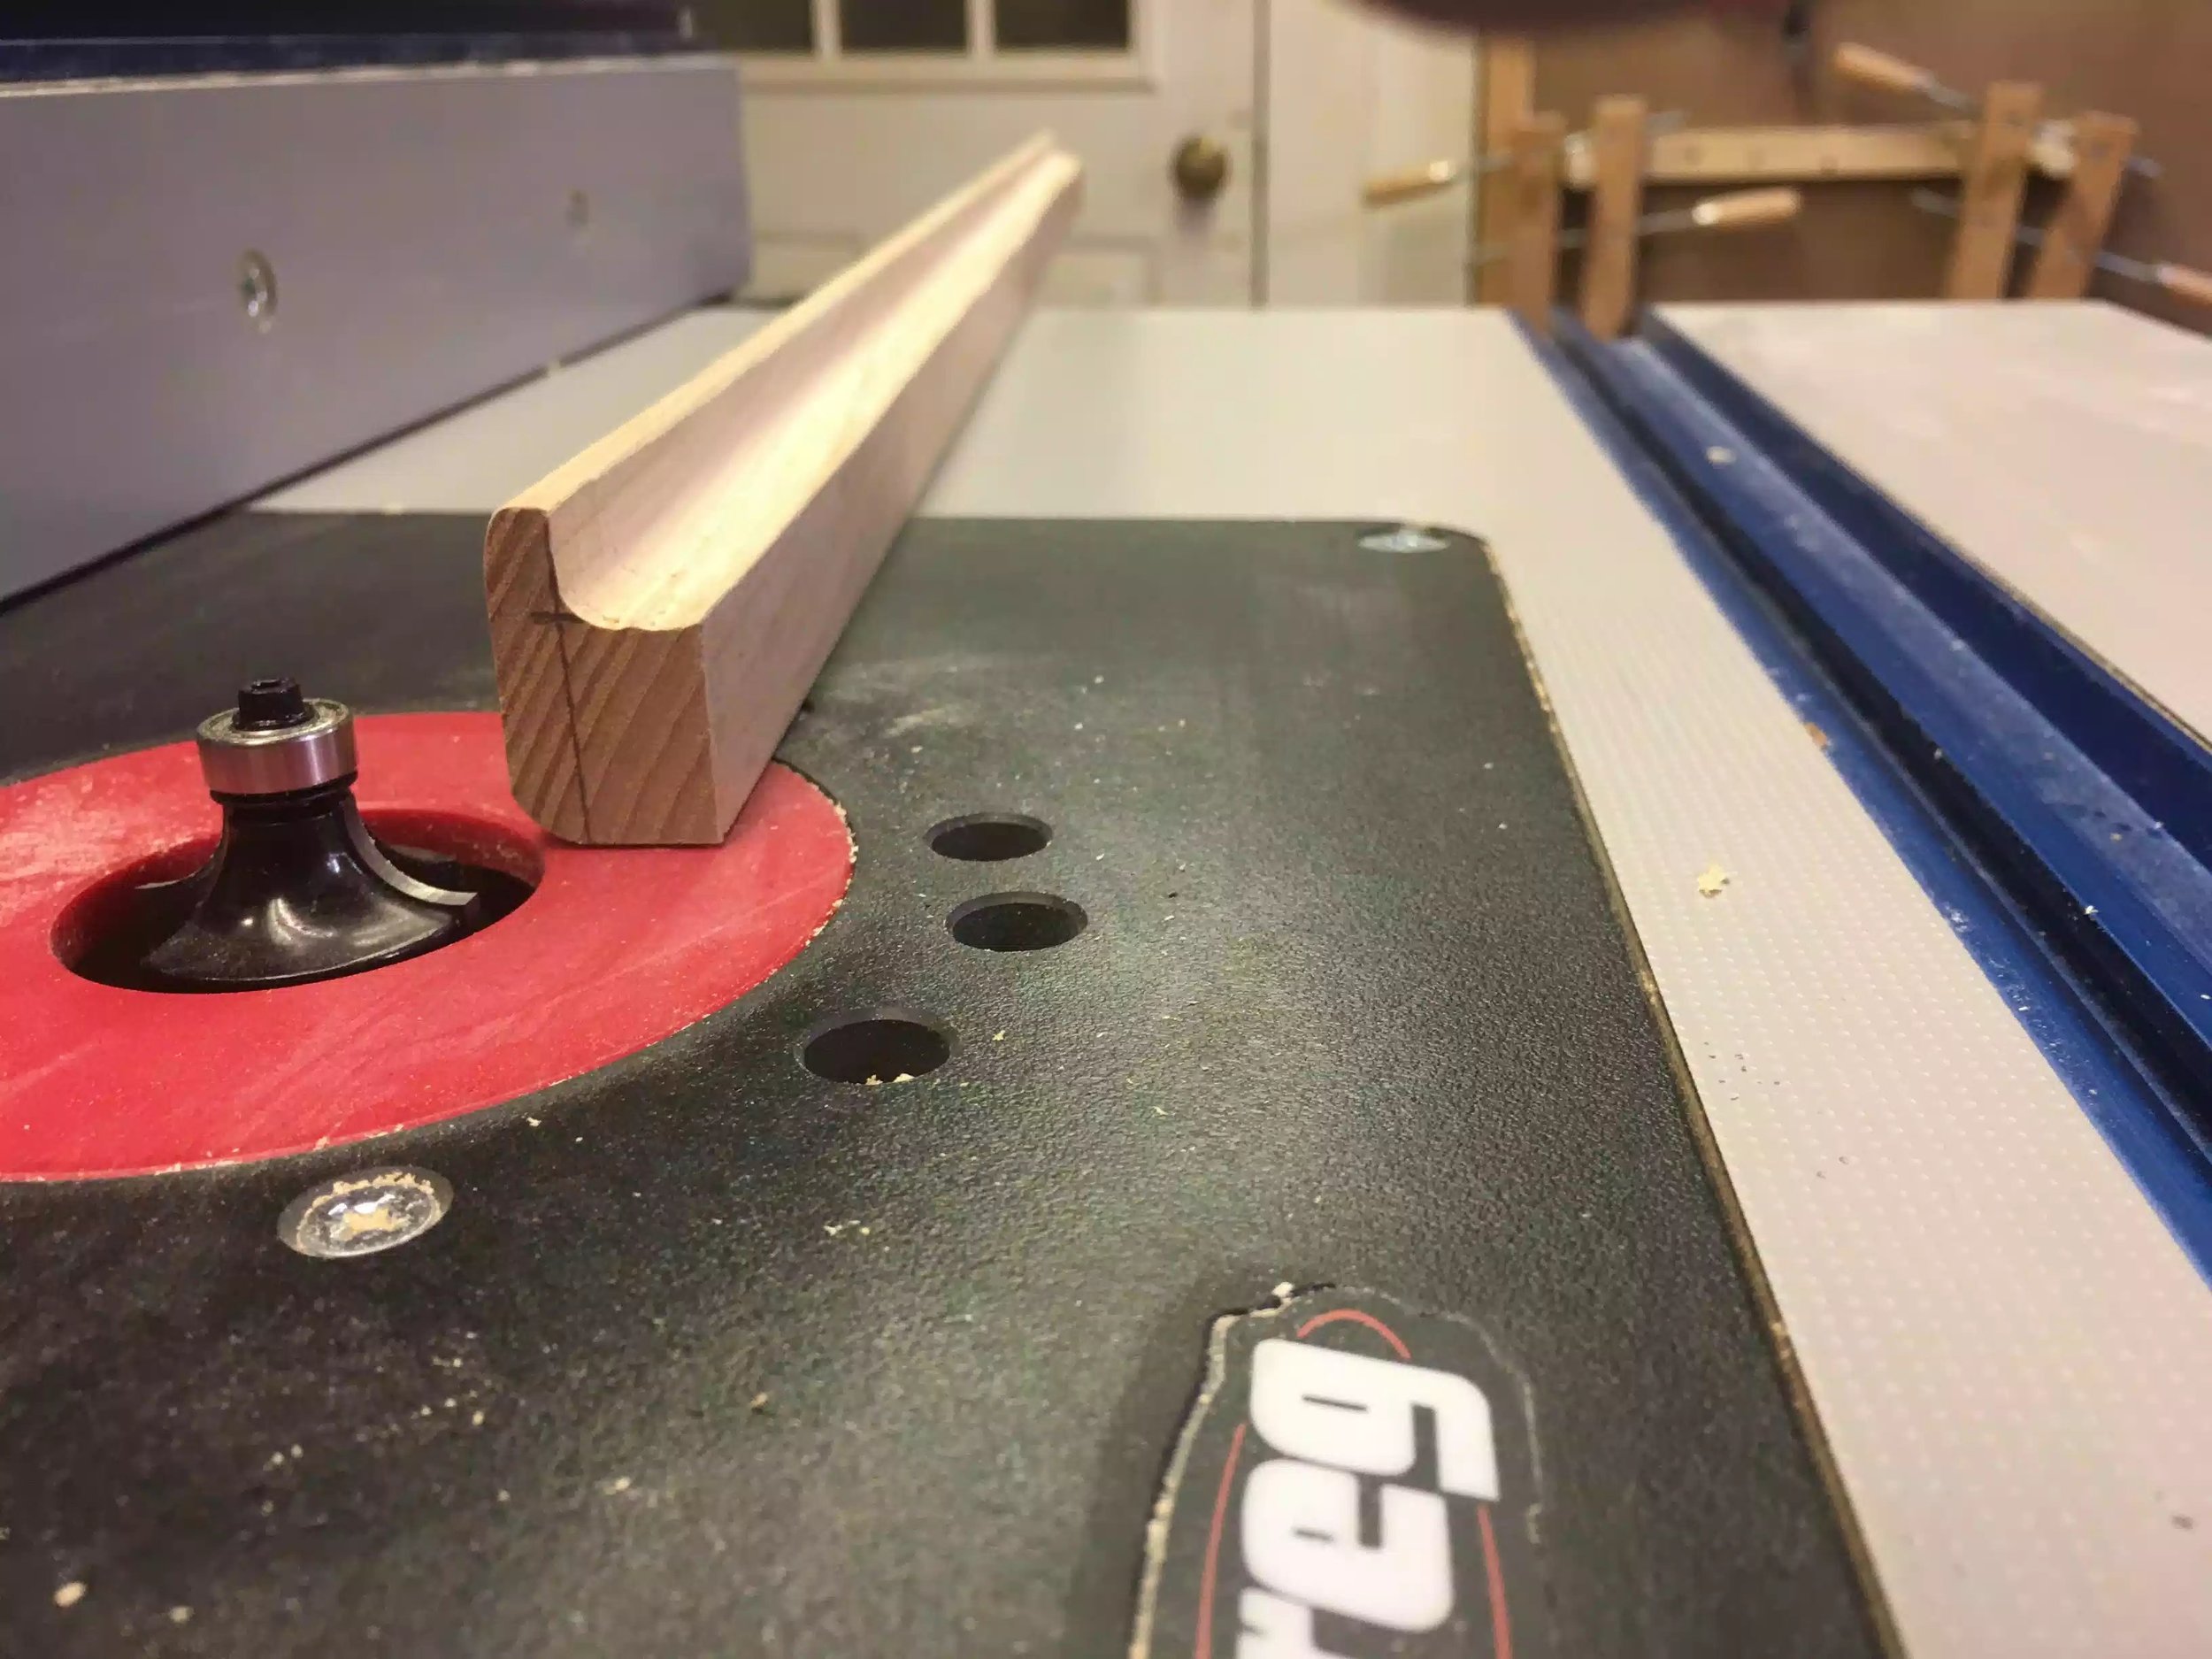
All that was left was to put 1×2 cherry in which I mitered the corner at 45 degrees..
All in all I think it came out great
DRILL PRESS STAND
(10/2015)
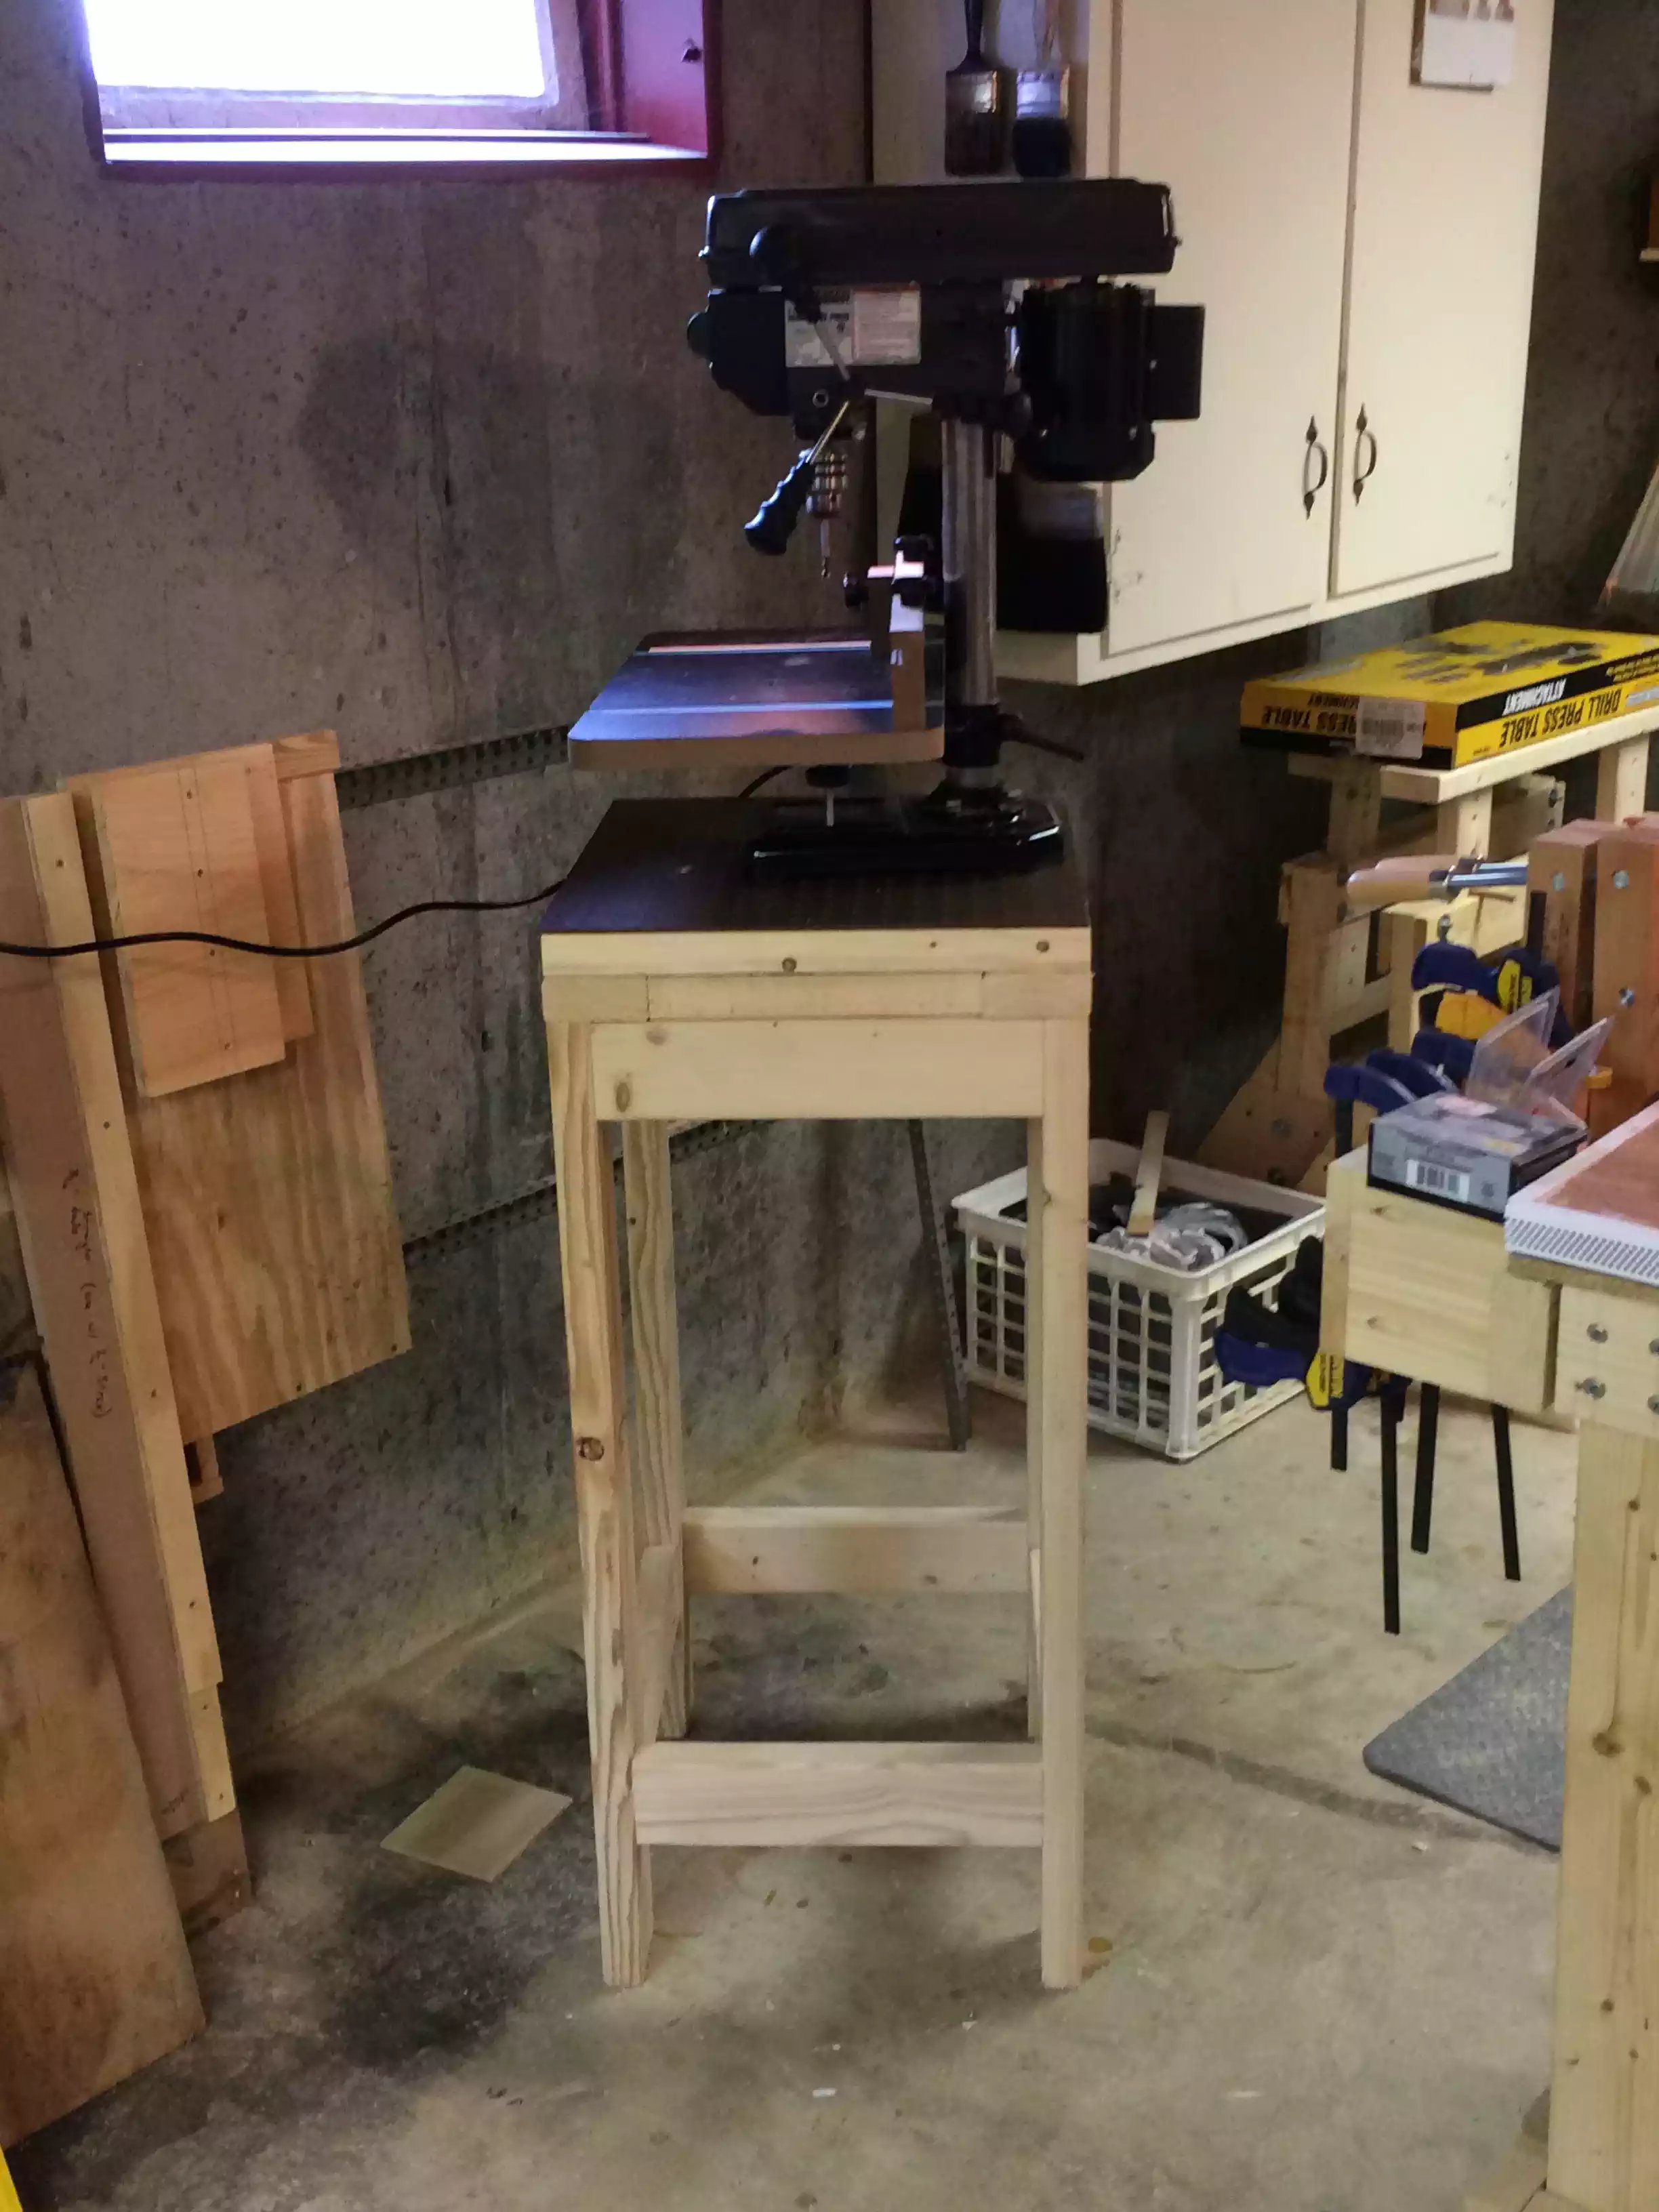
Although I am describing this as a Drill Press stand, you could alter its use and use it for whatever you wanted.
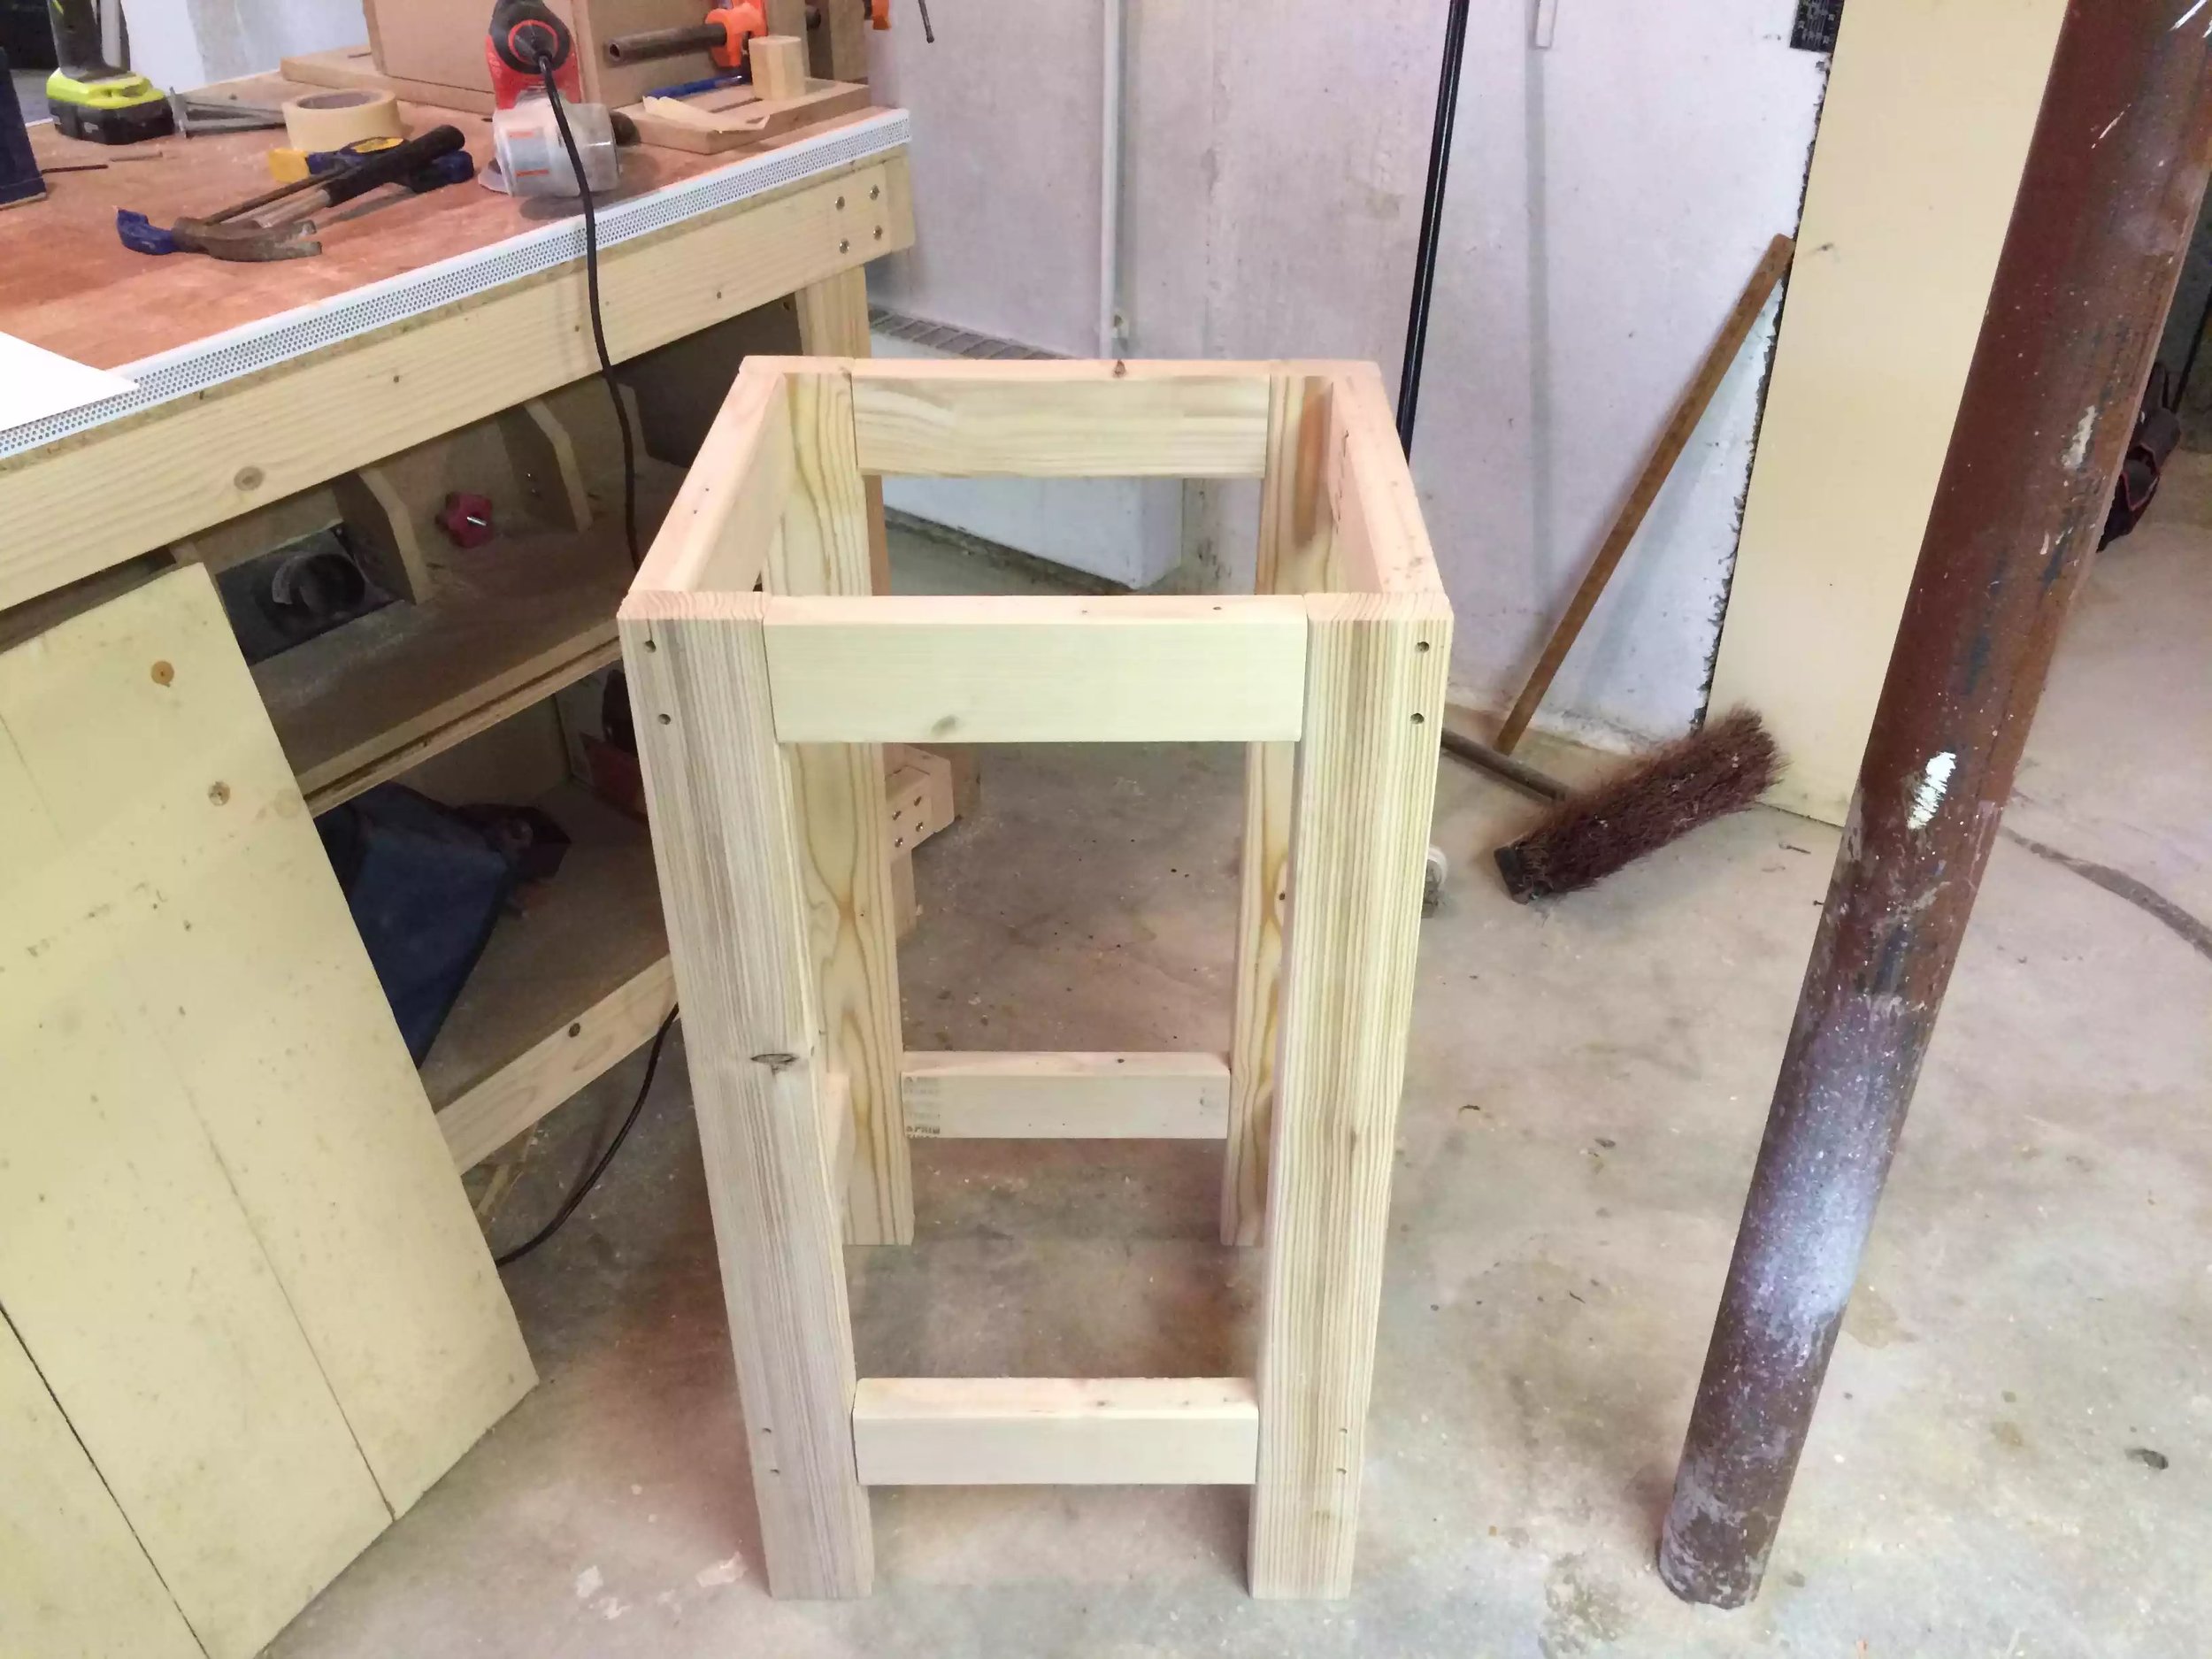
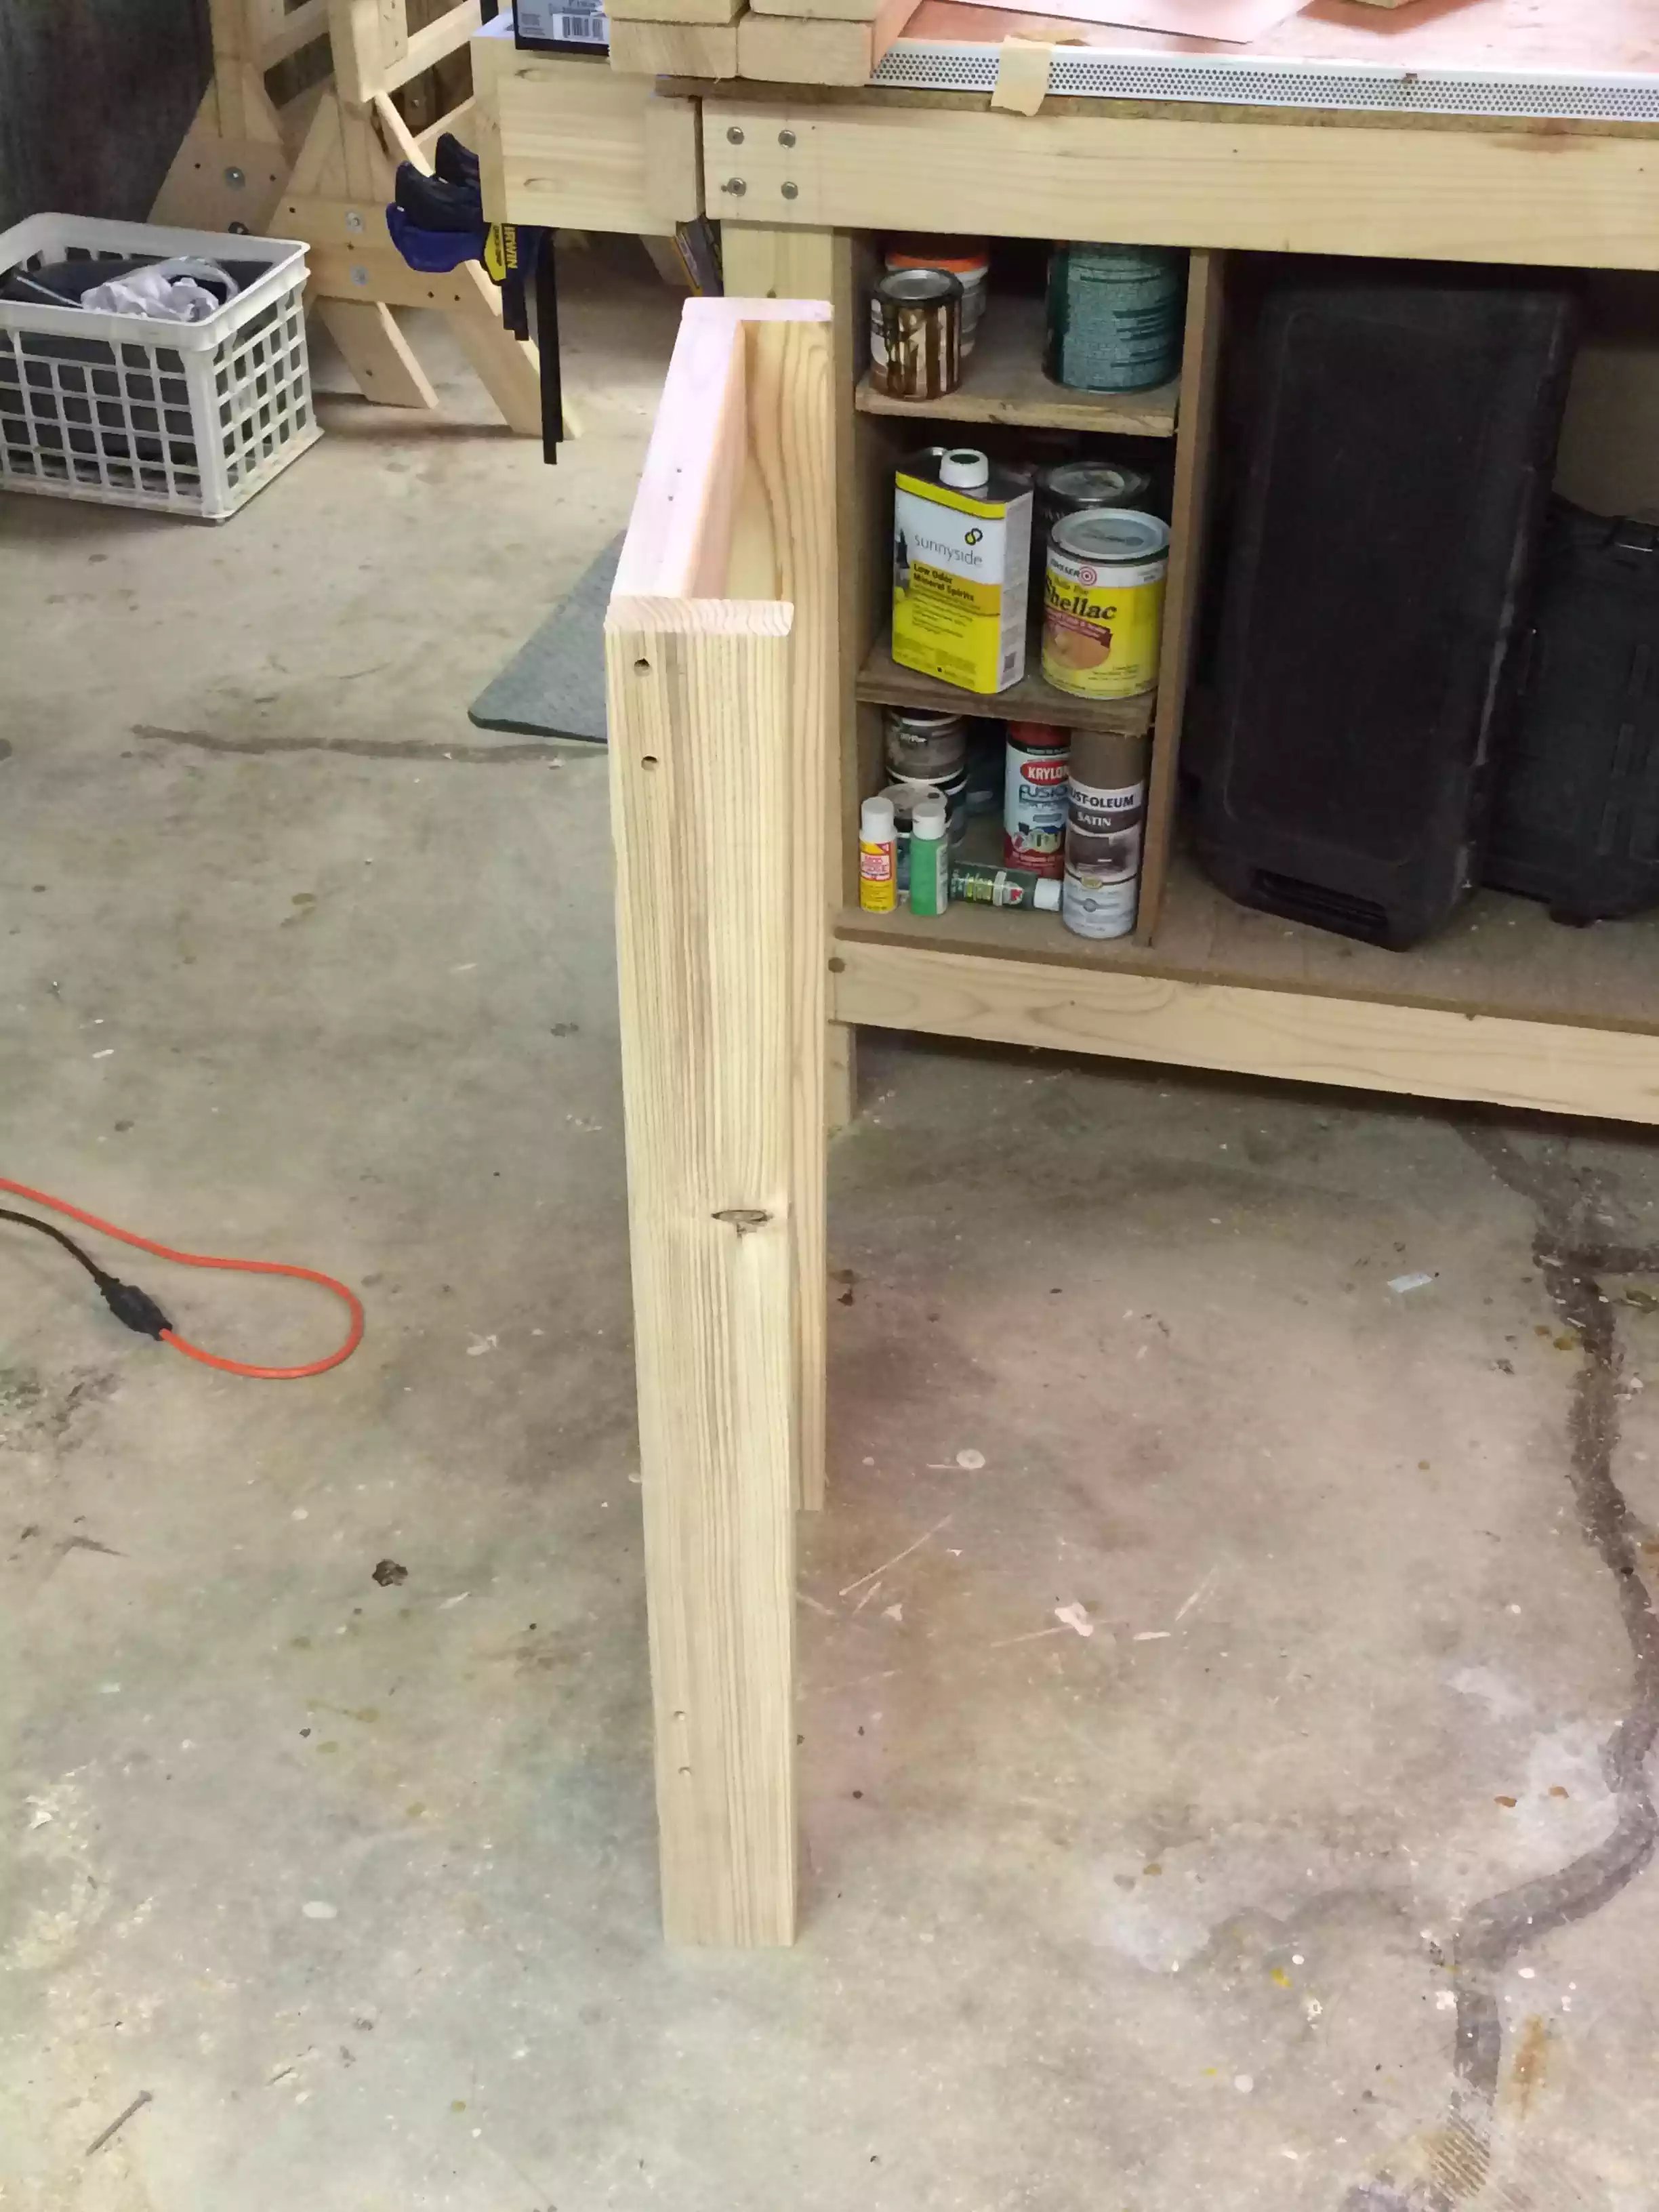
So I recently purchased a new drill press table and now it won’t fit under my bench so I decided to build a stand for it out of some scrap I had and I also used some repurposed 2×4’s.
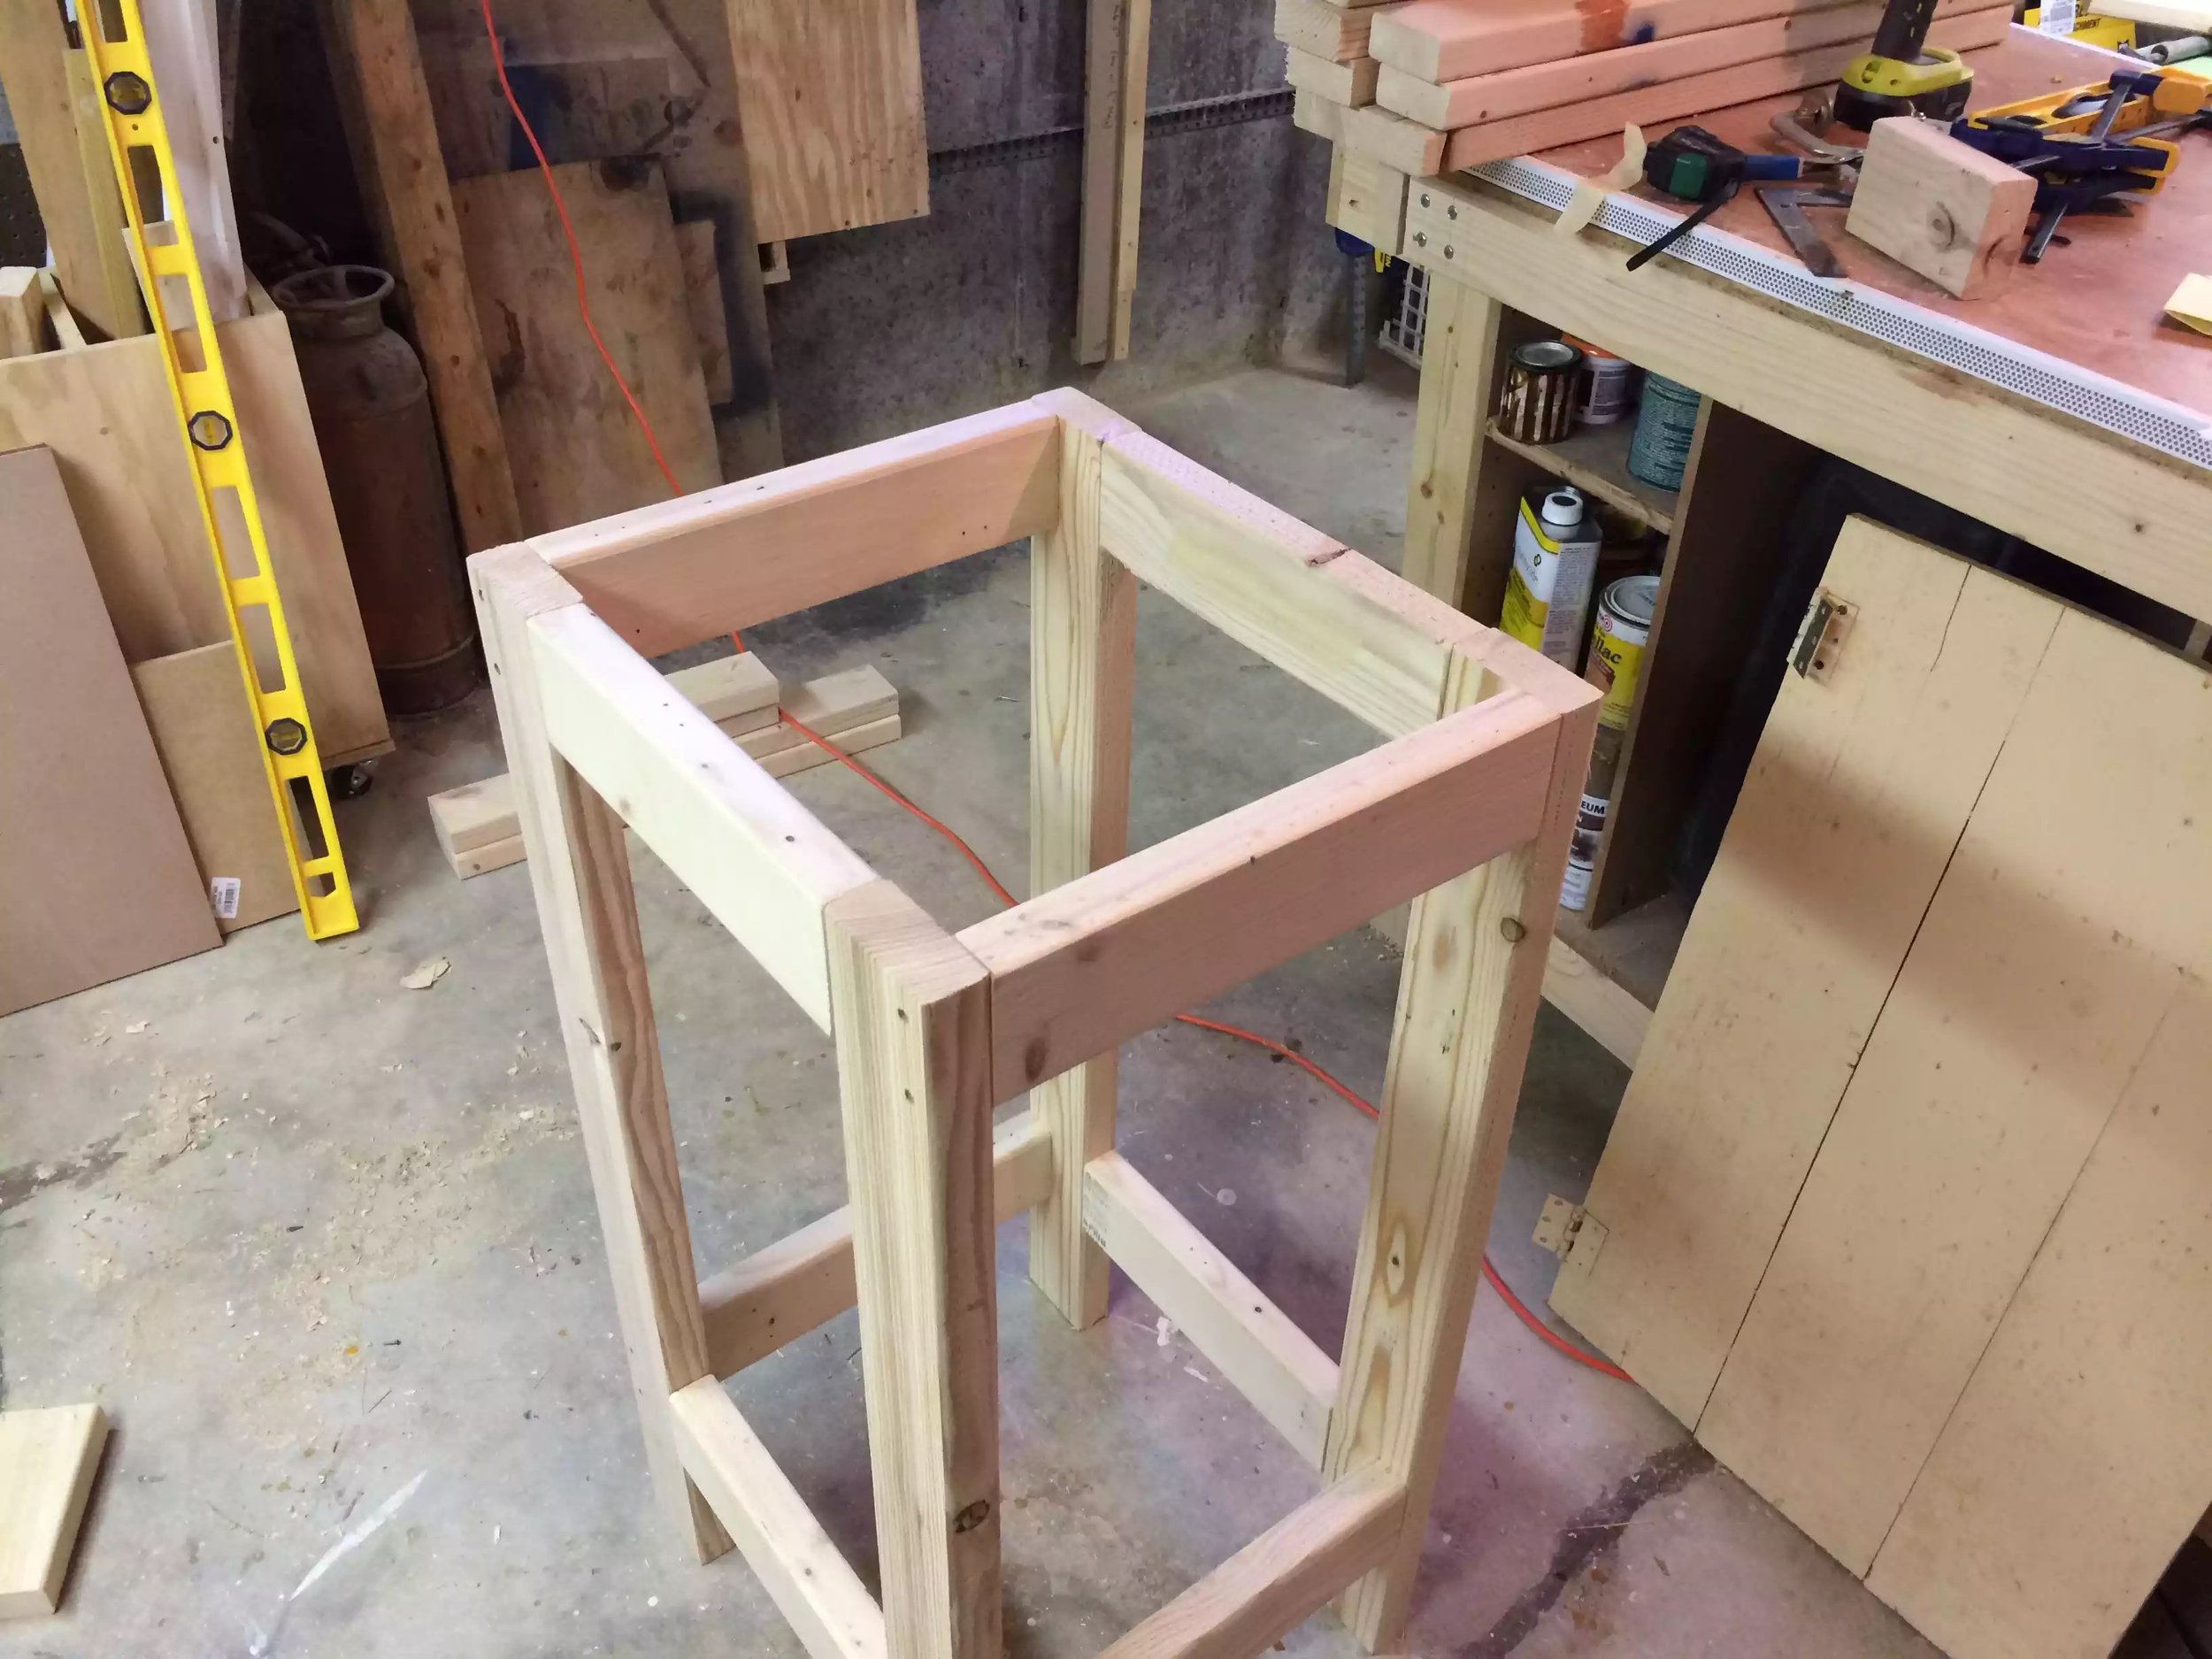
The entire project was built from 2×4’s and some leftover pegboard.
The dimensions are 40” high x 22” wide and 18” deep.
It’s all held together by pocket holes and screws that are hidden by wood plugs. It came out great and I’m looking forward to saving my back by not lifting it anymore.
This project is extremely easy so there is no detailed instructions, basically examine the project pictures and you can see how its all done. No fancy joinery just screws, I don't thing I even used glue.