
MISCELANEOUS STORAGE
PROJECTS
SHELVING UNIT & BENCH
(04/2018)
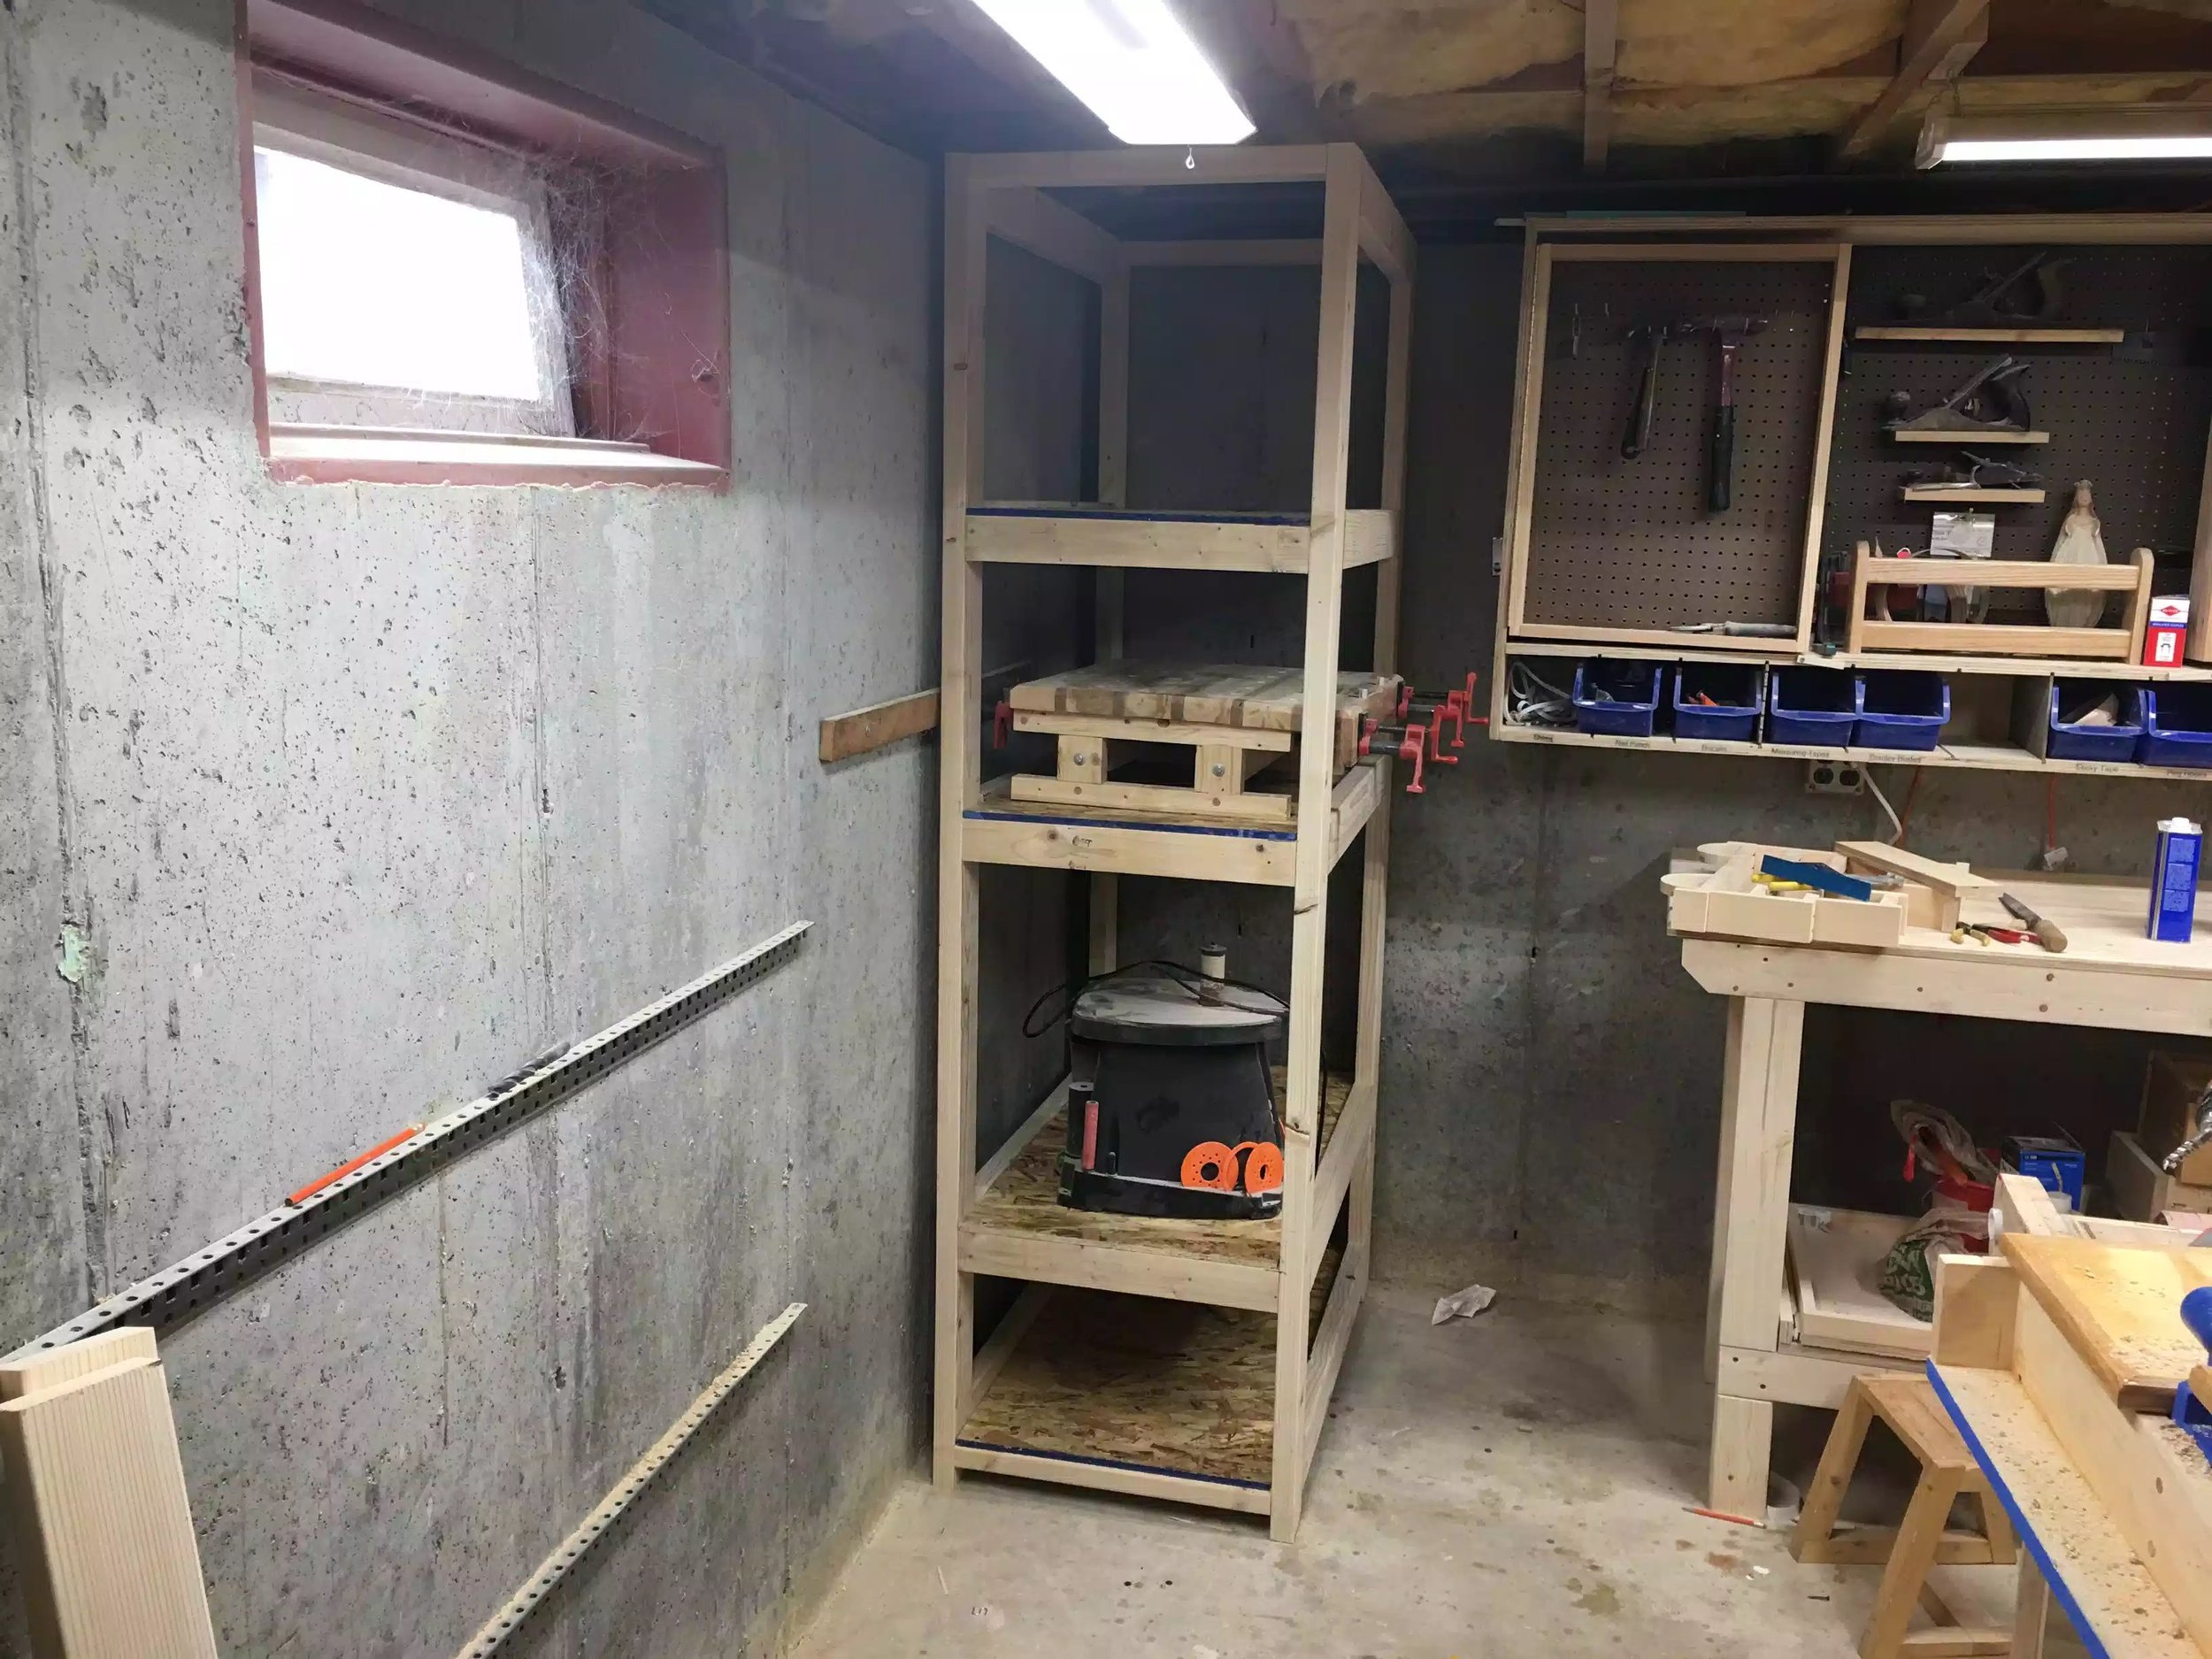
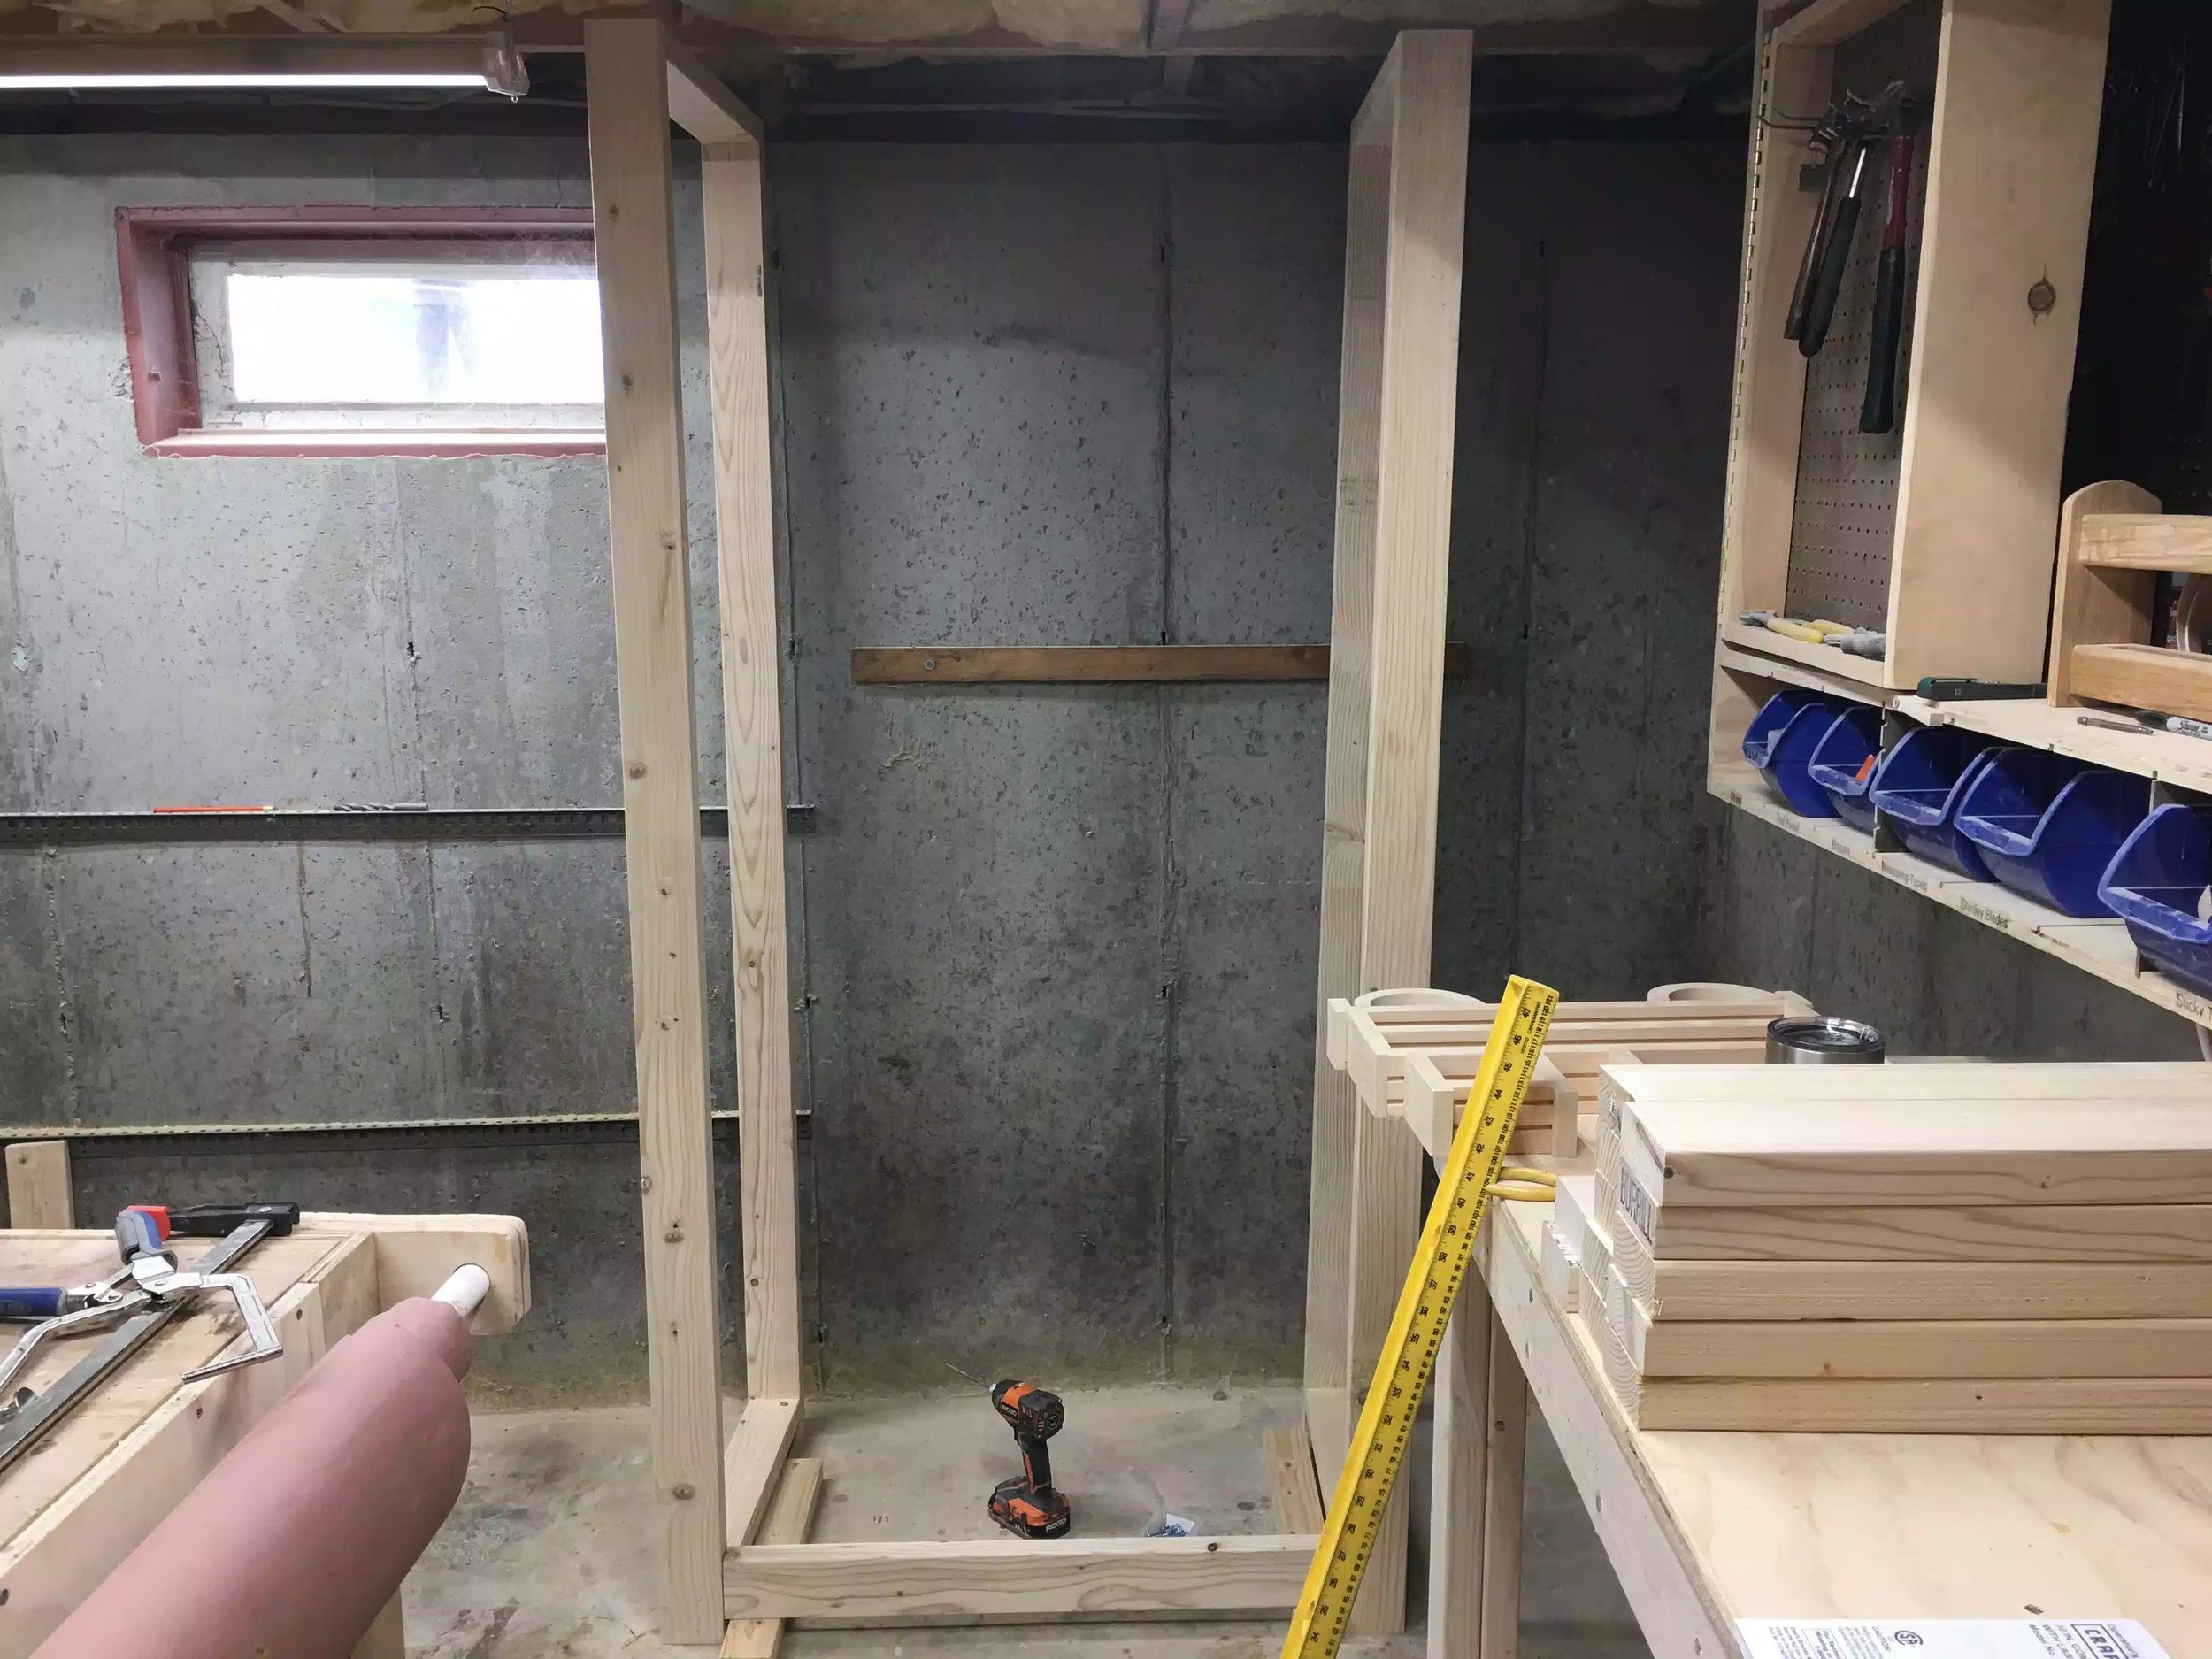
I am in a big reorganization mode in the shop for the past few weeks and I decided to take down an old wall cabinet and put a shelving unit in there instead.. you can see what it looked like before below

Shop before the new project went in, totally took advantage of all the empty shop space below the wall cabinet.
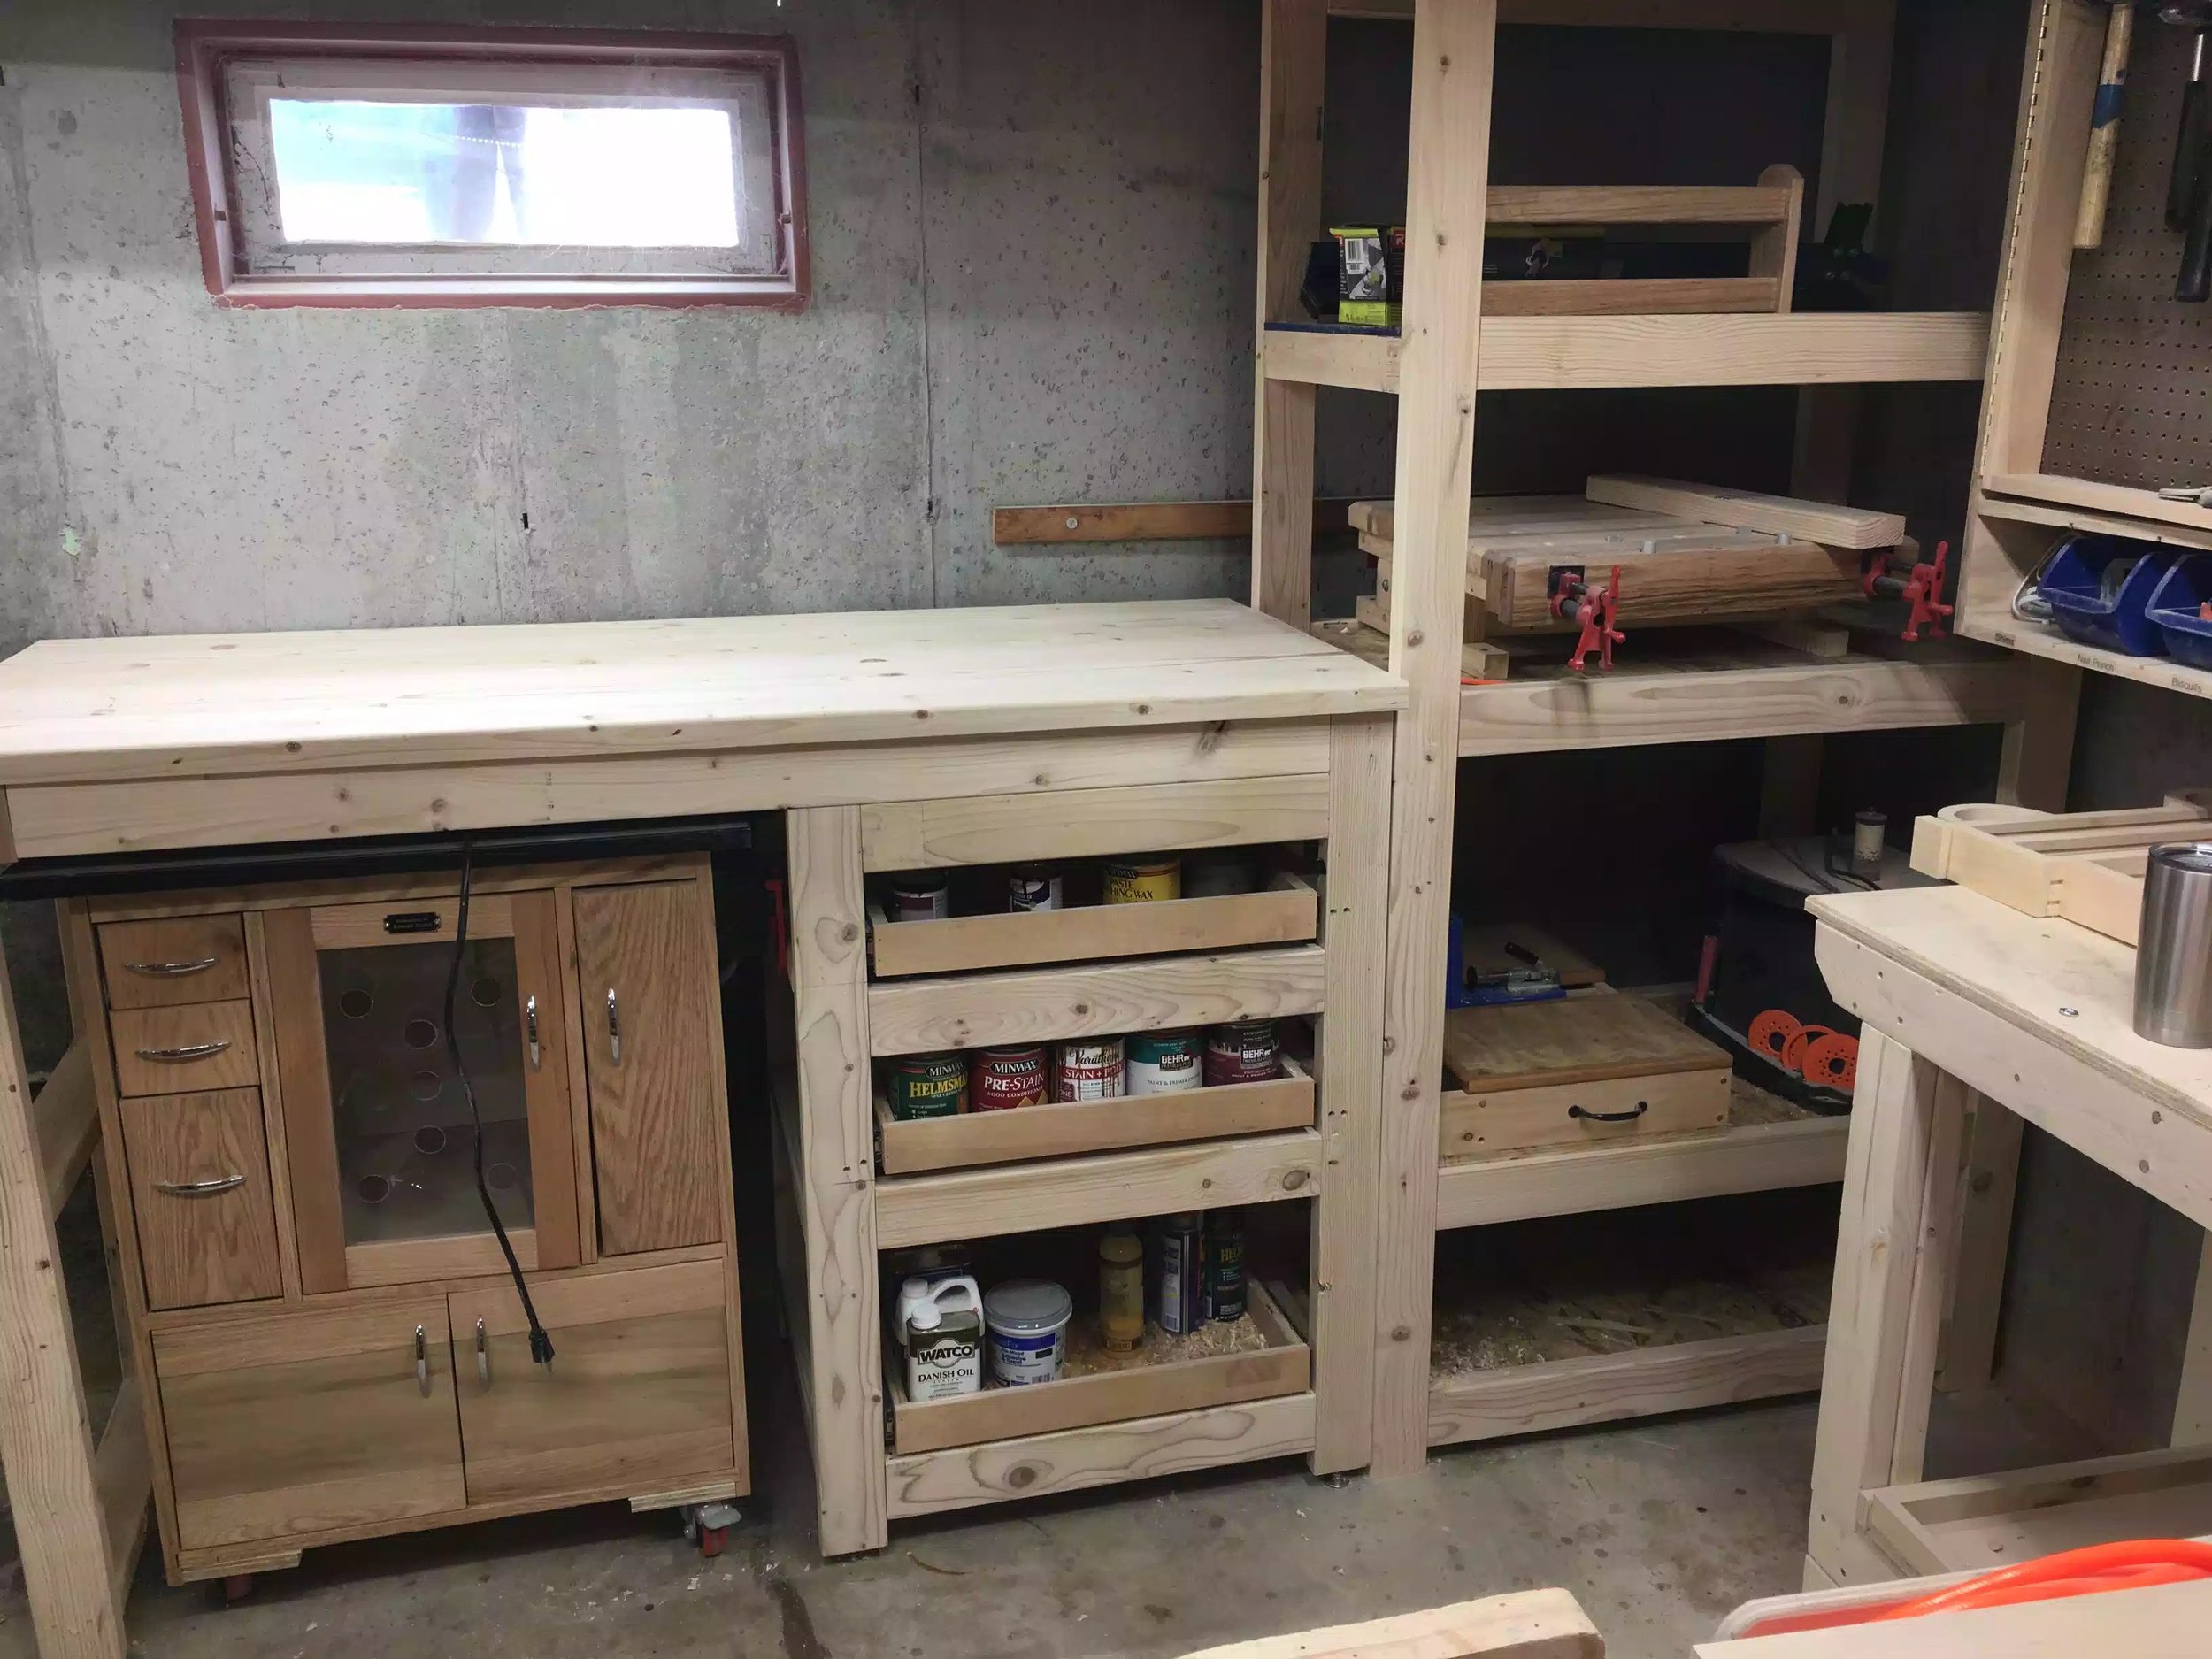
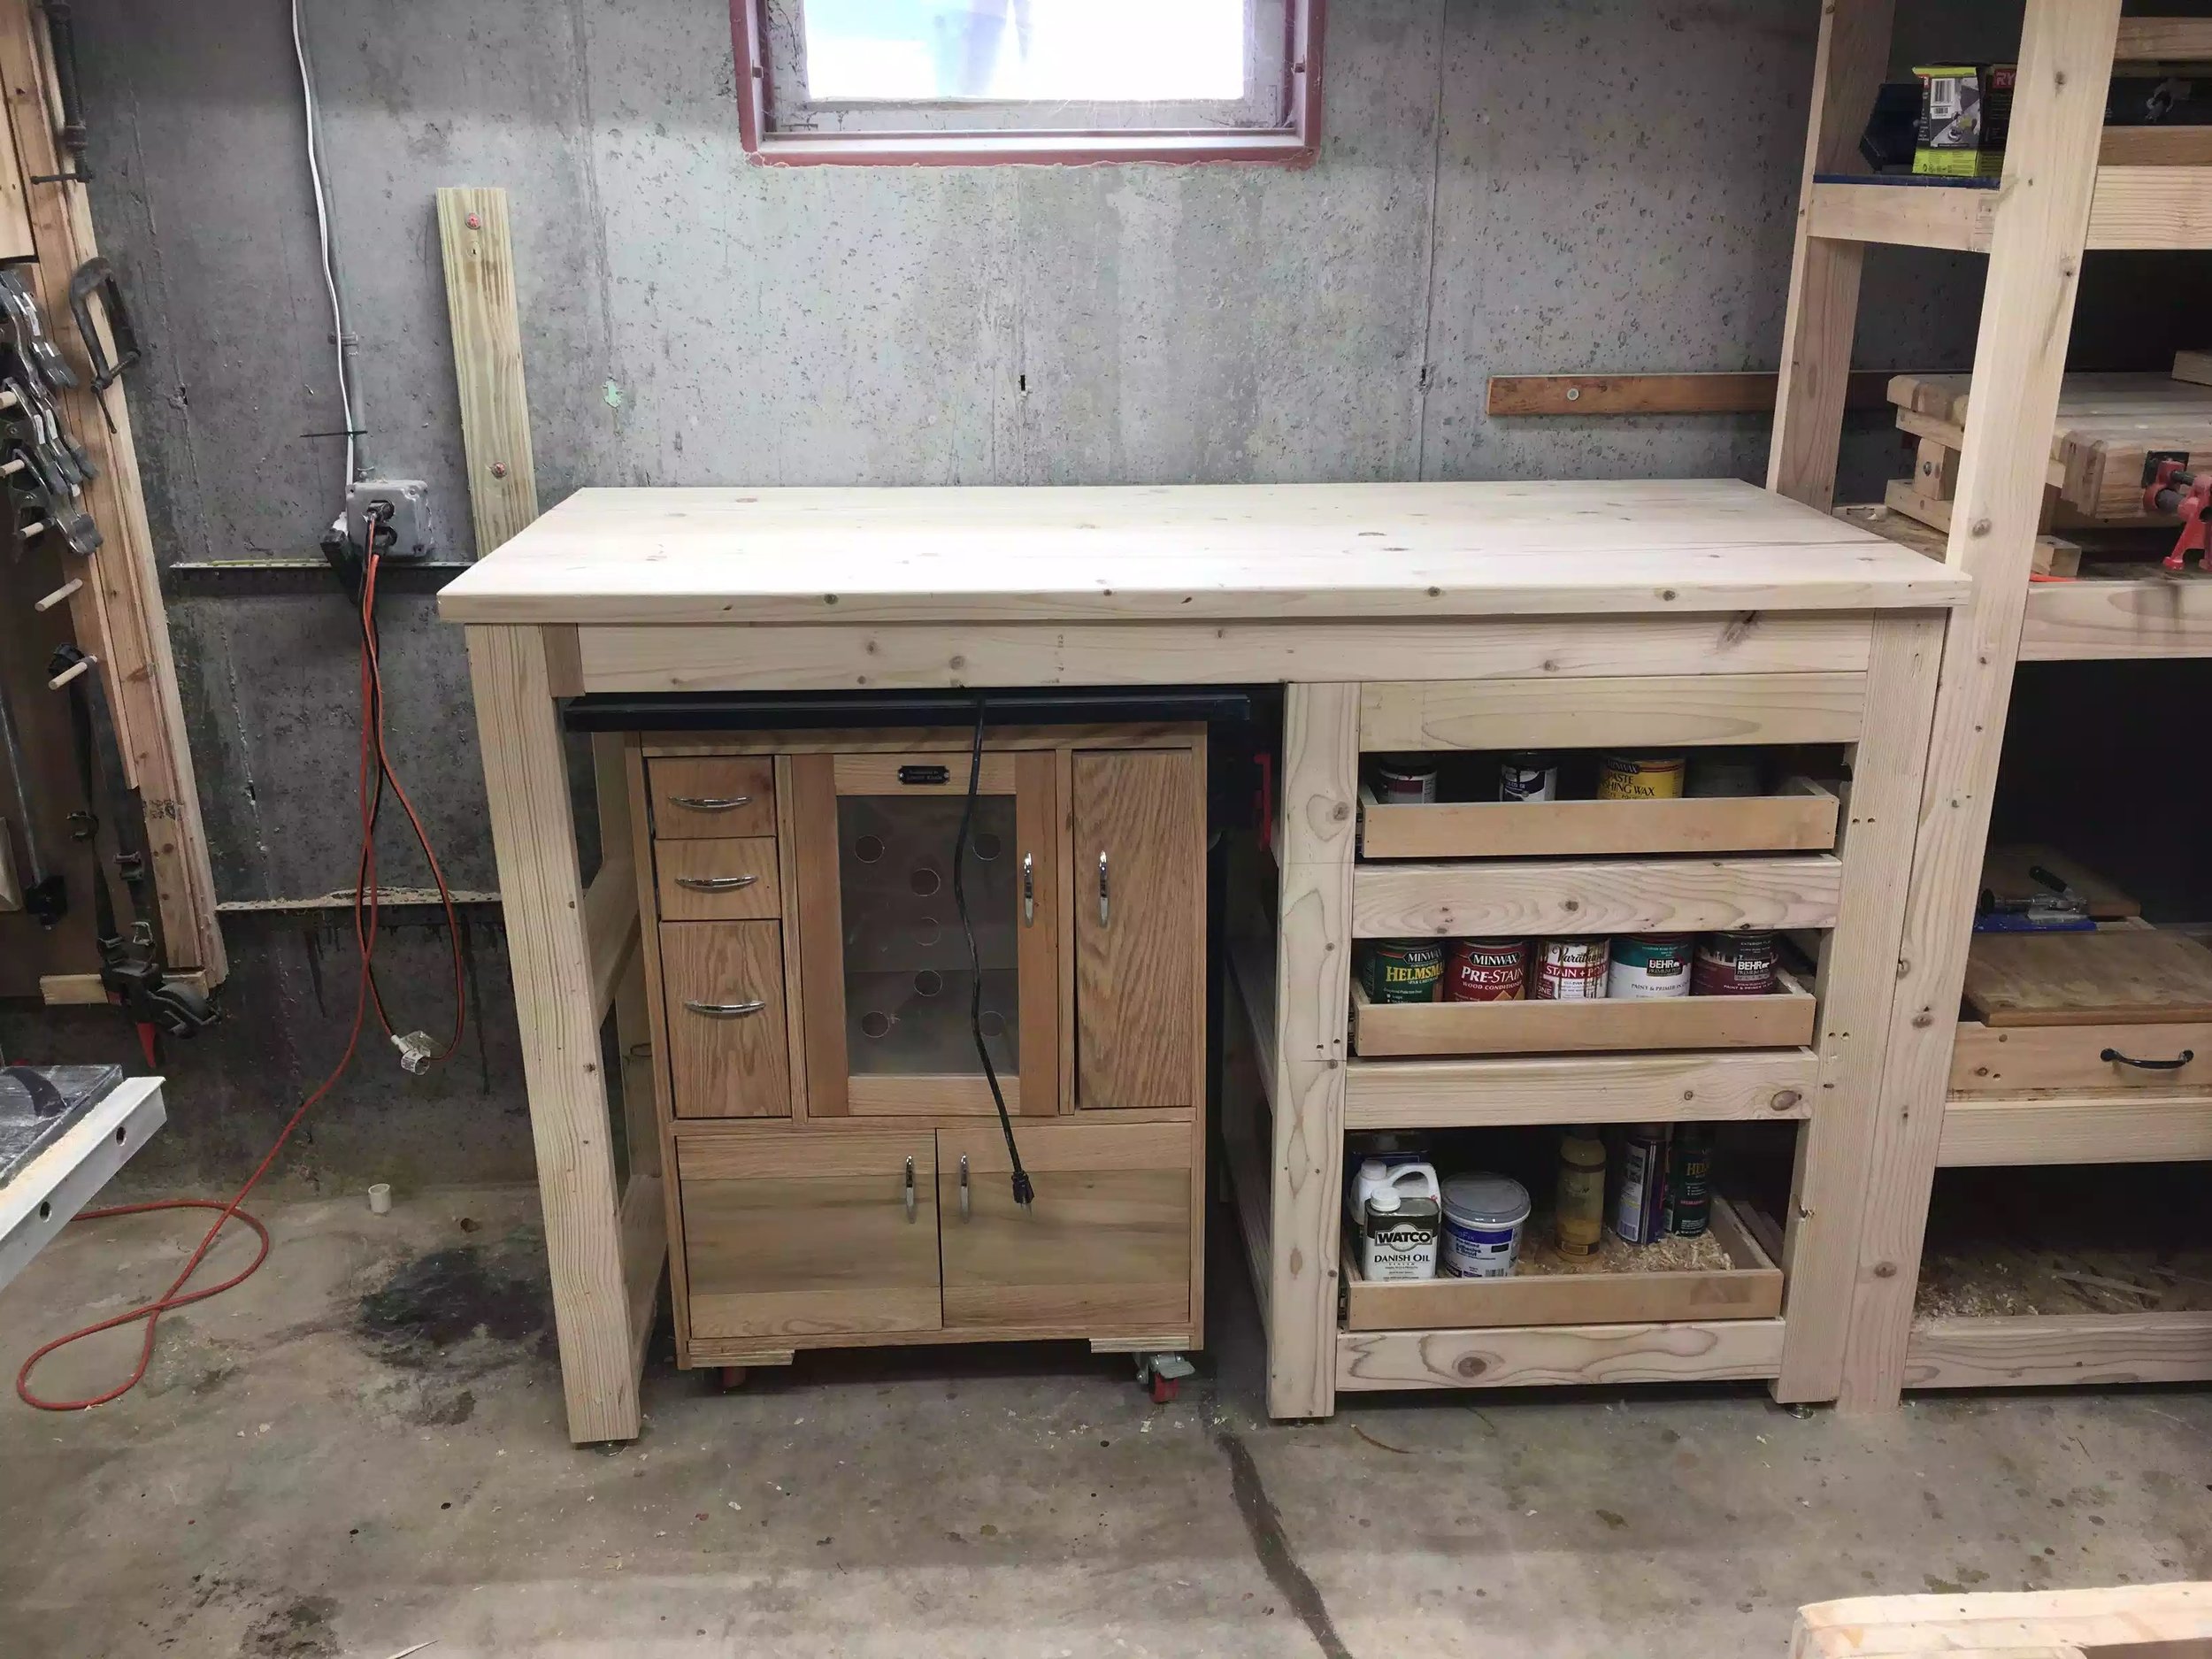
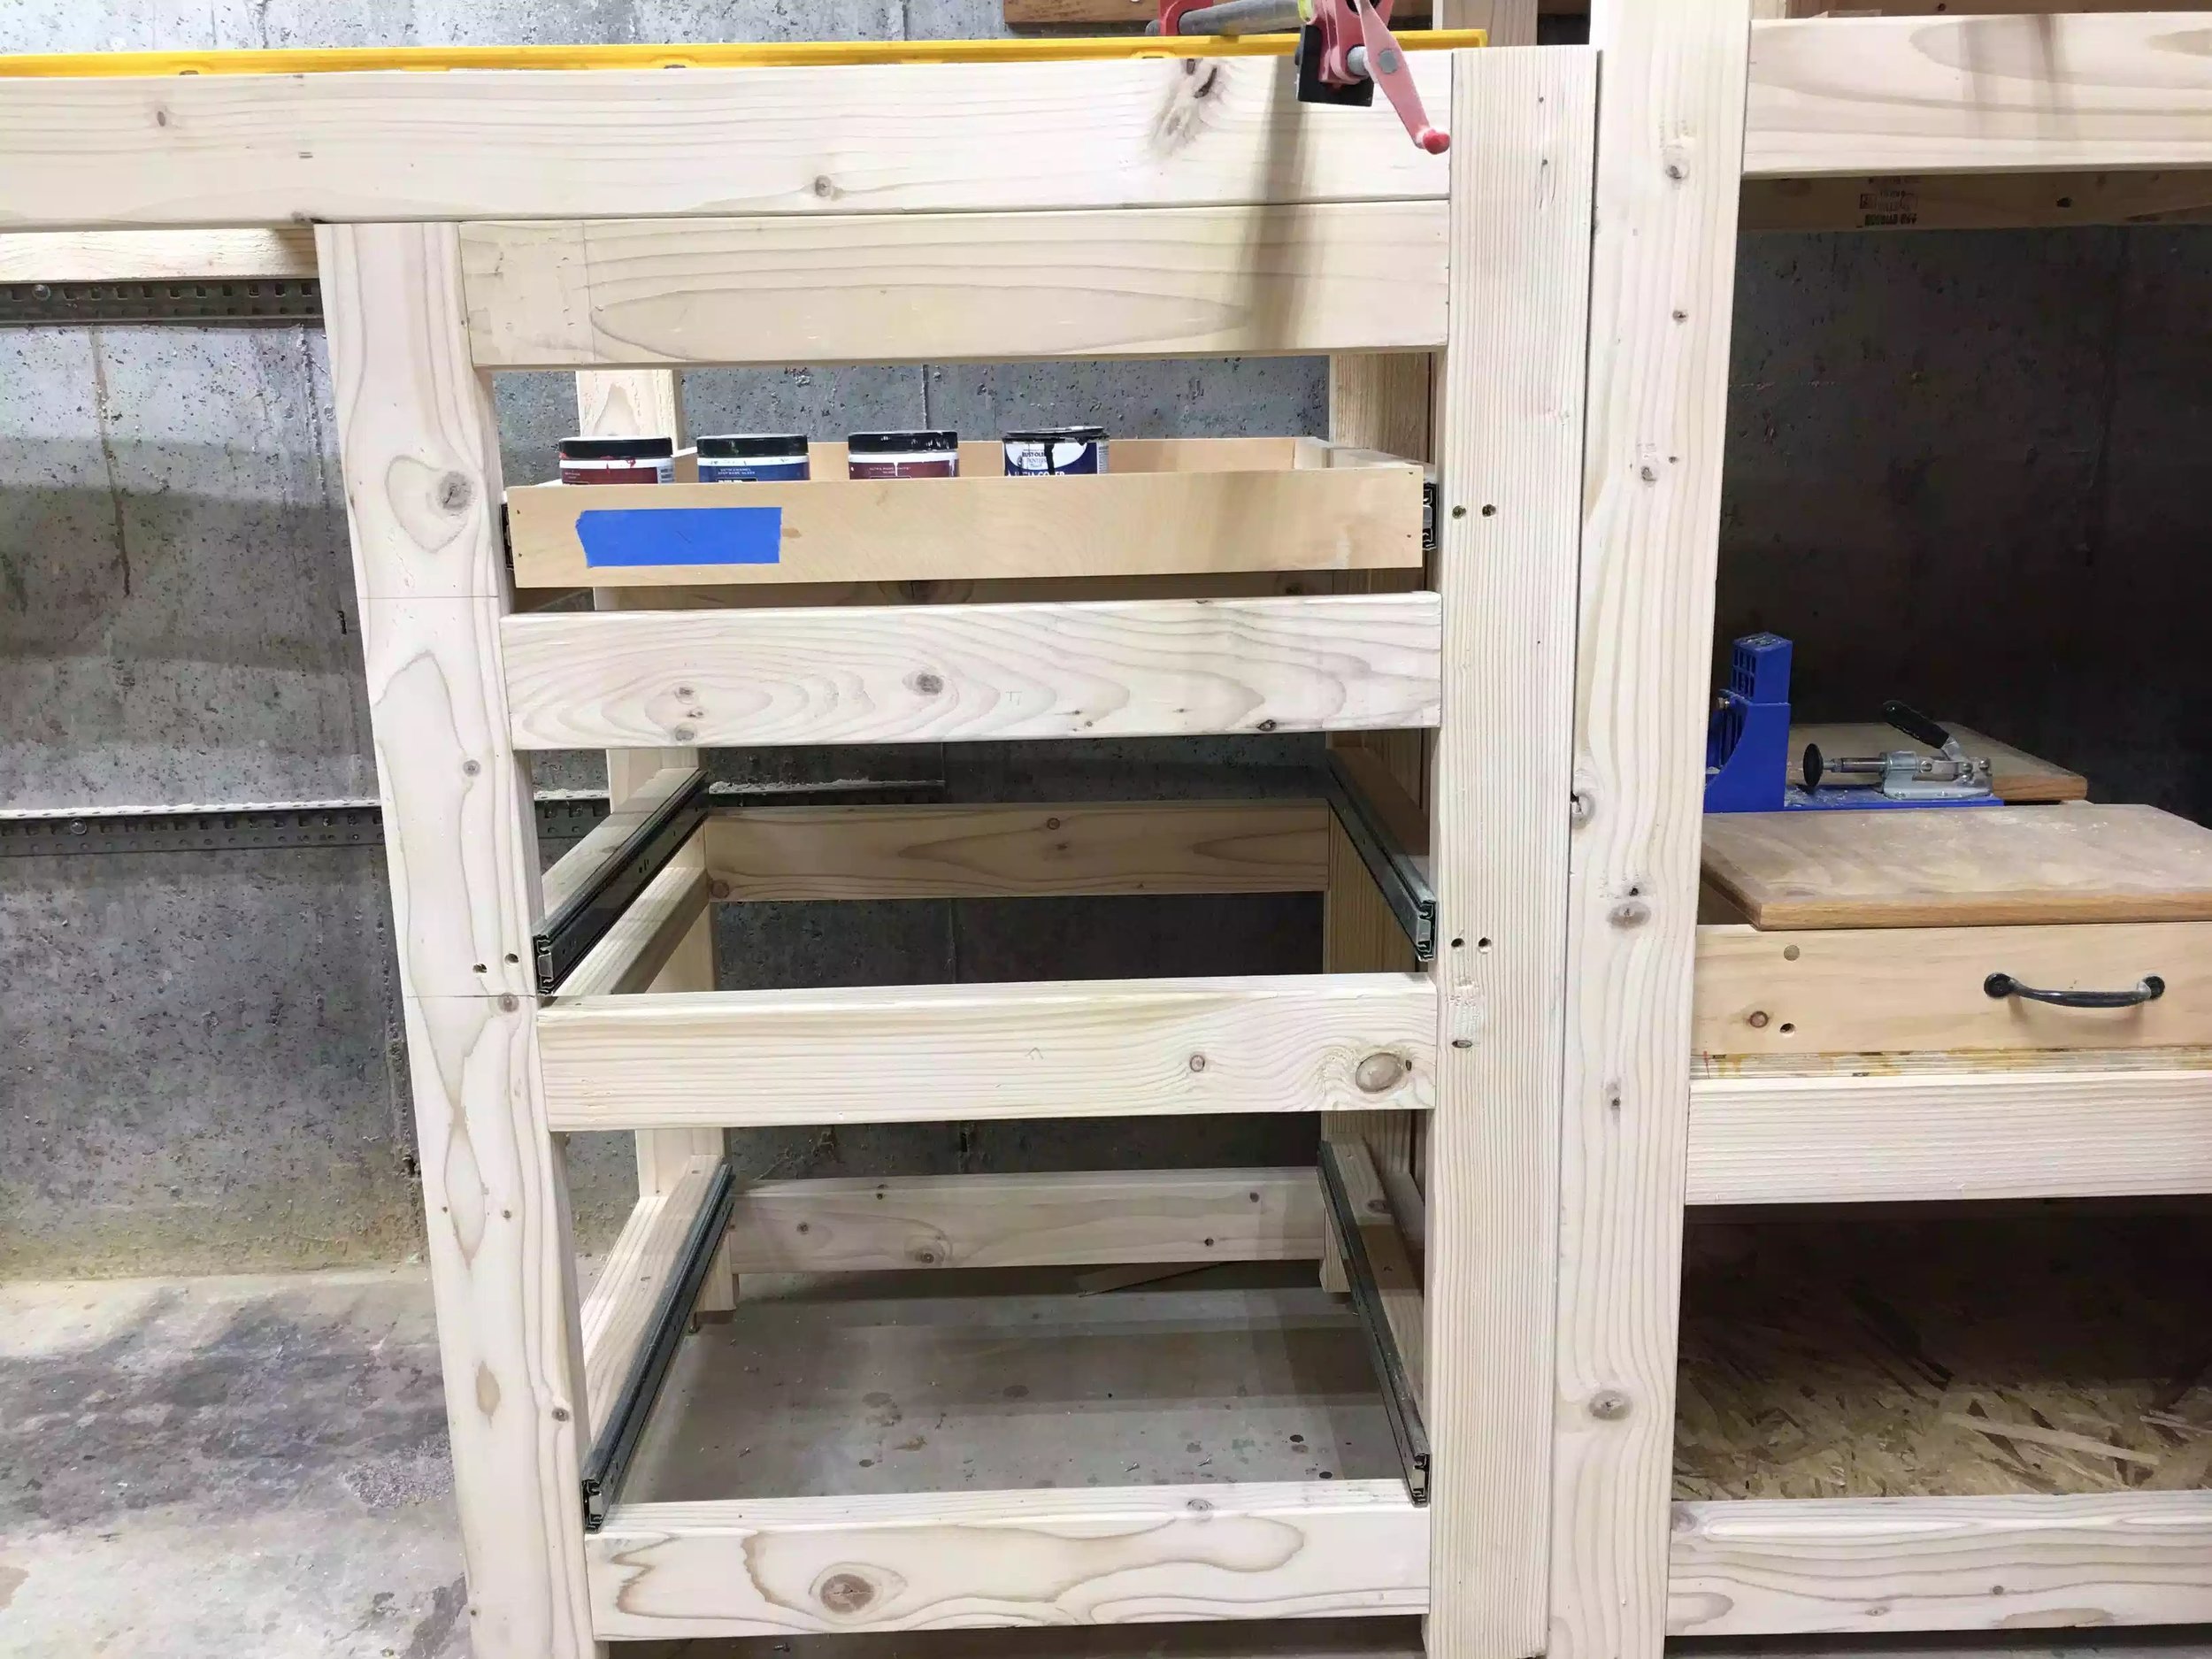
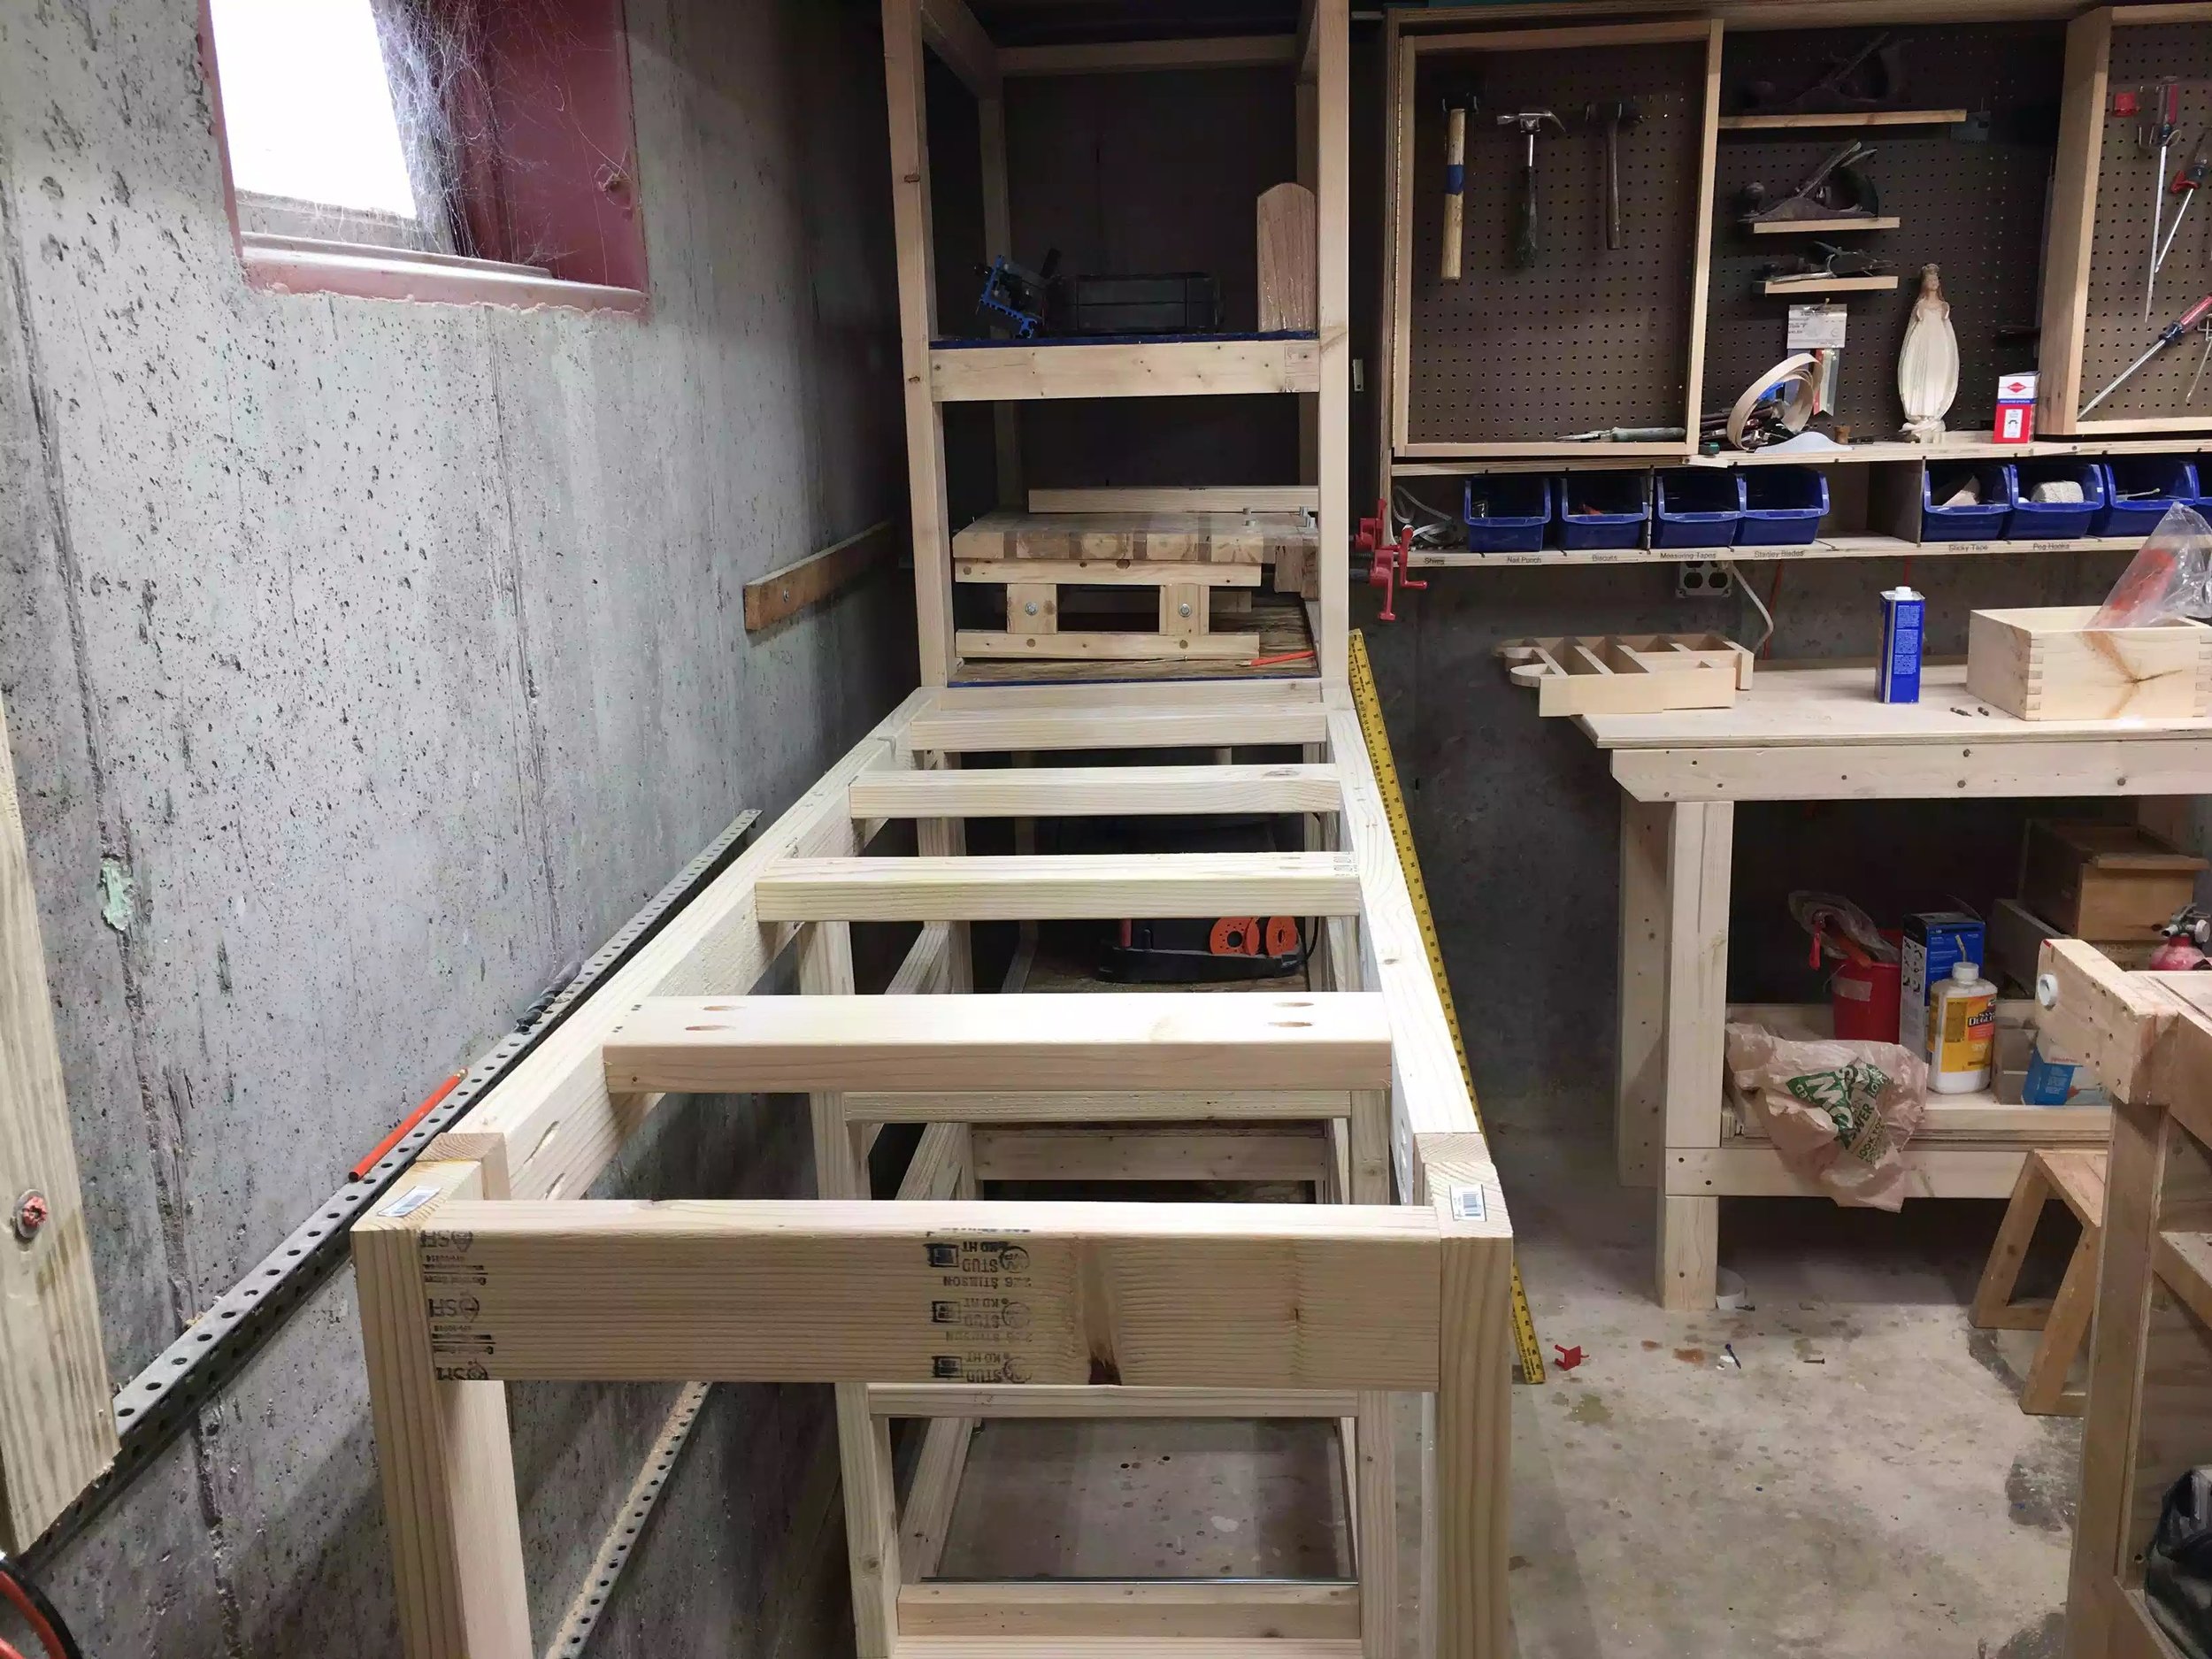
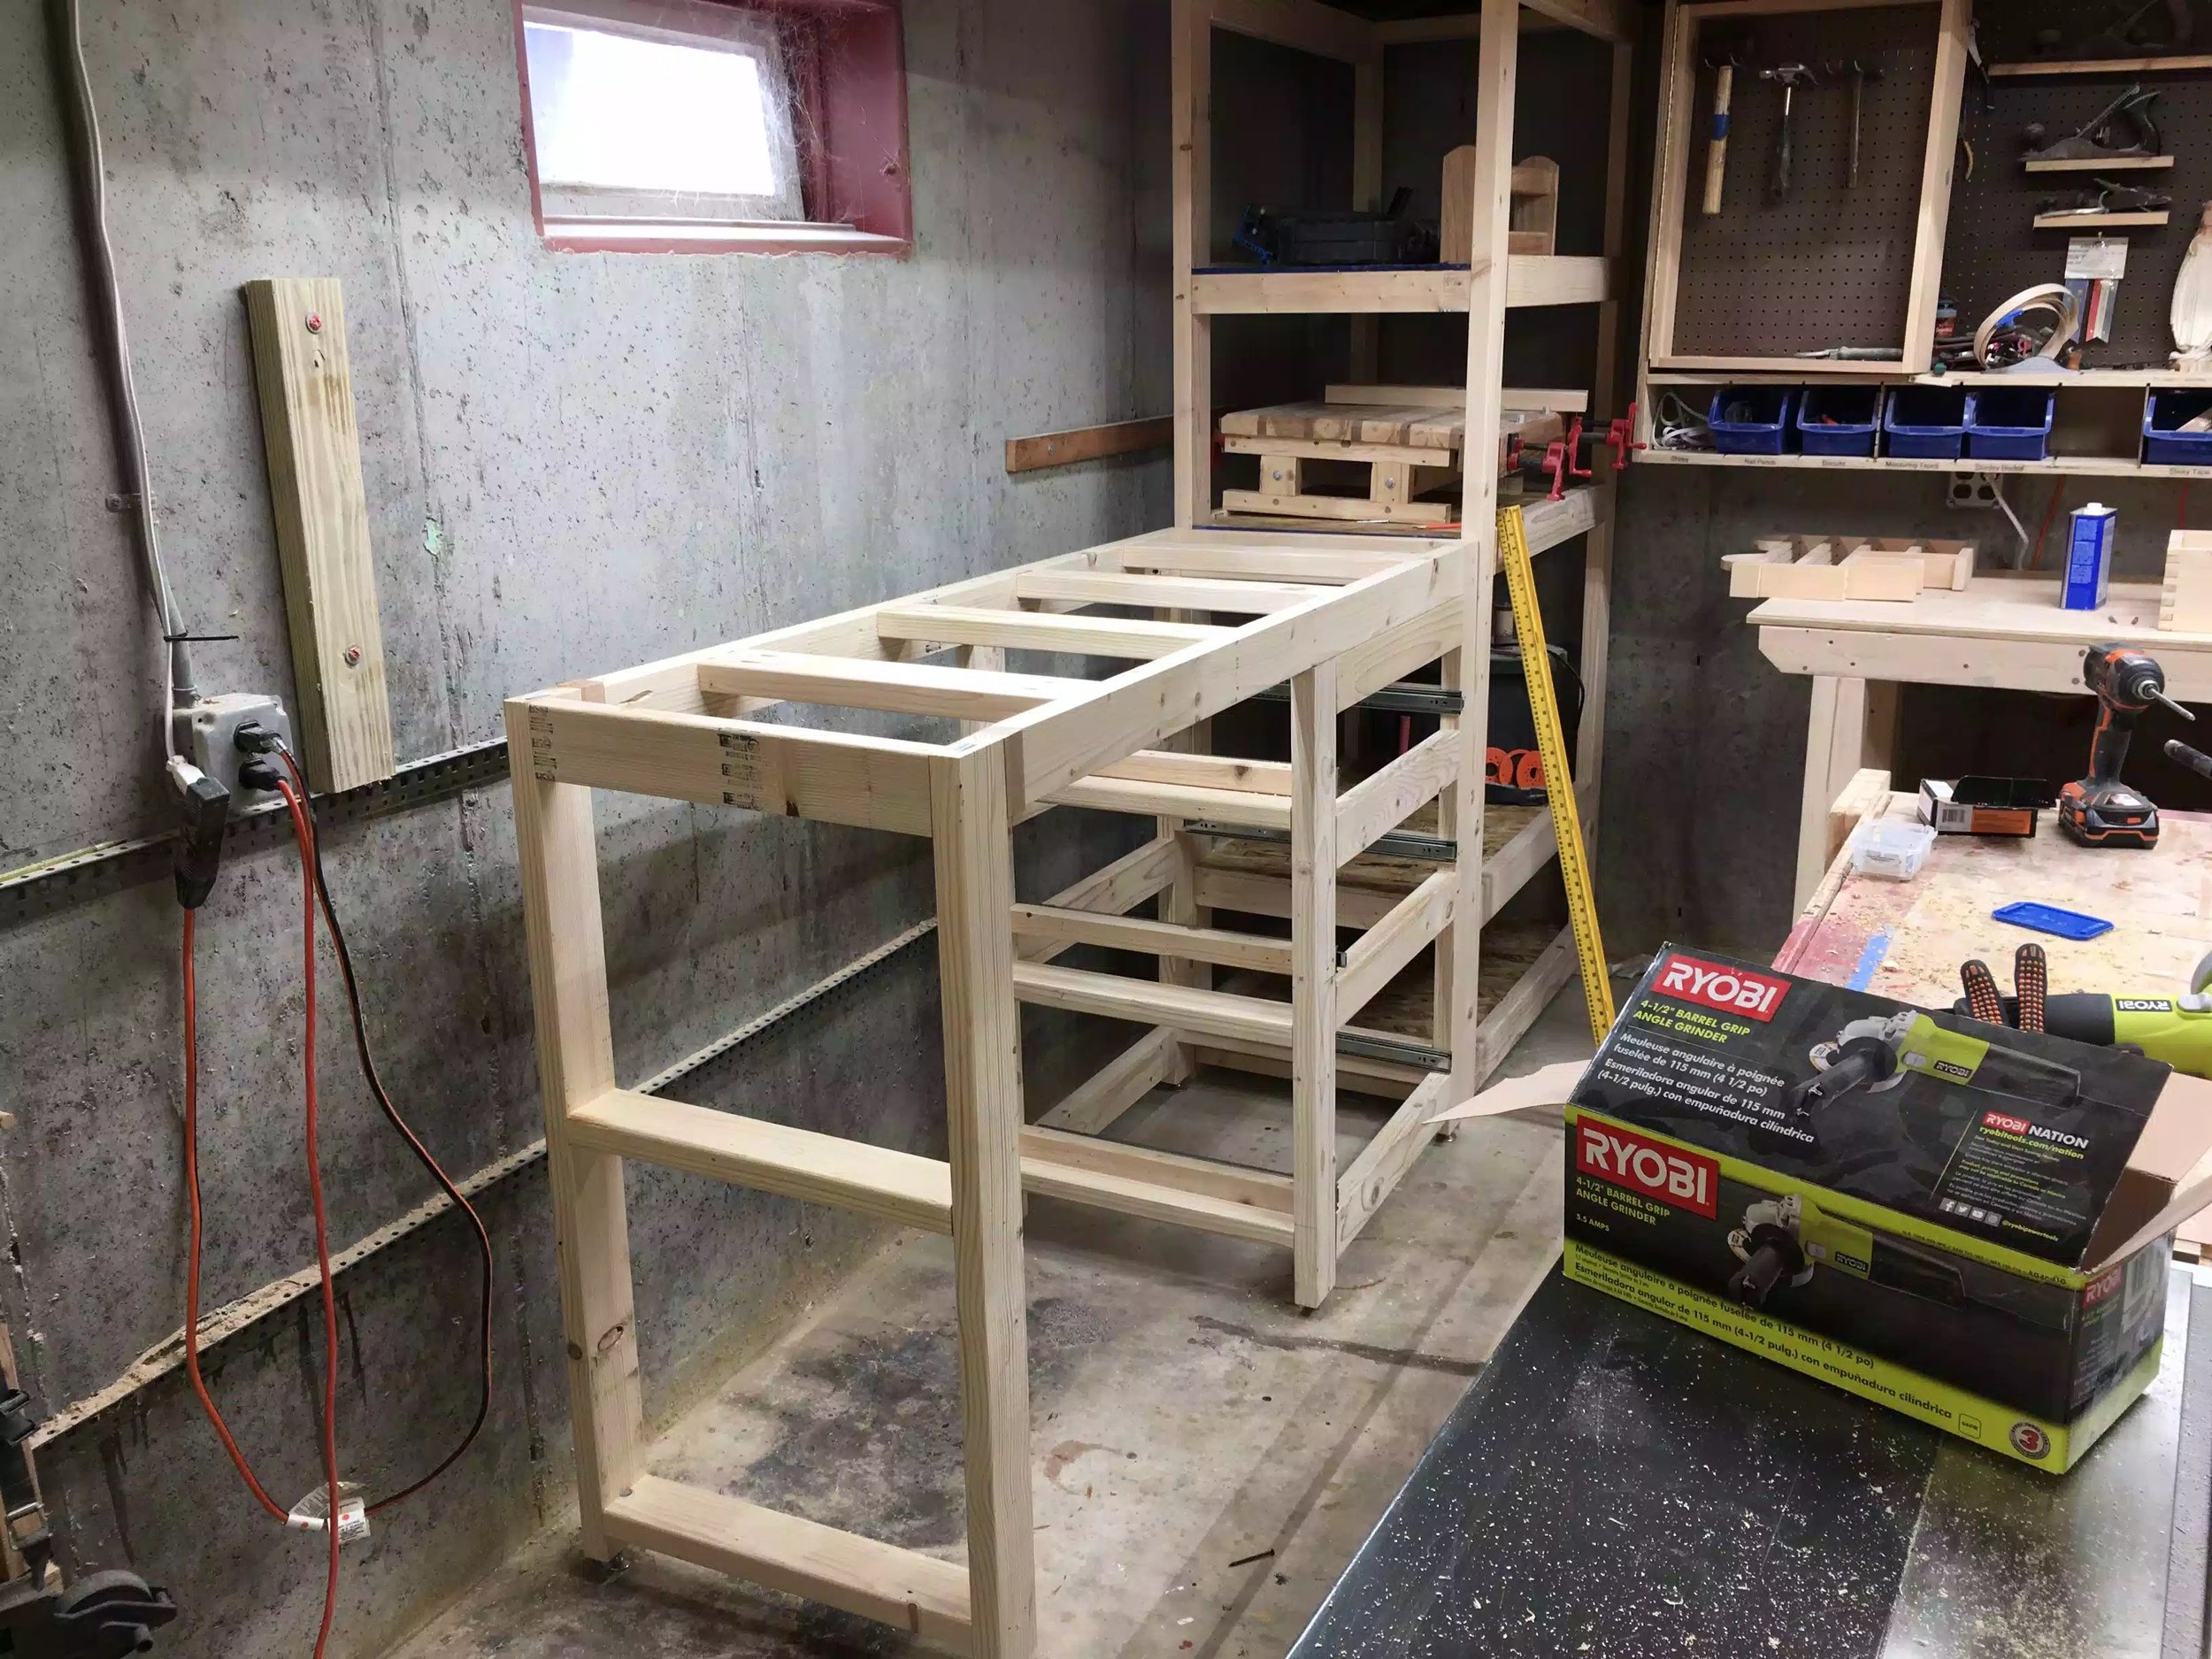
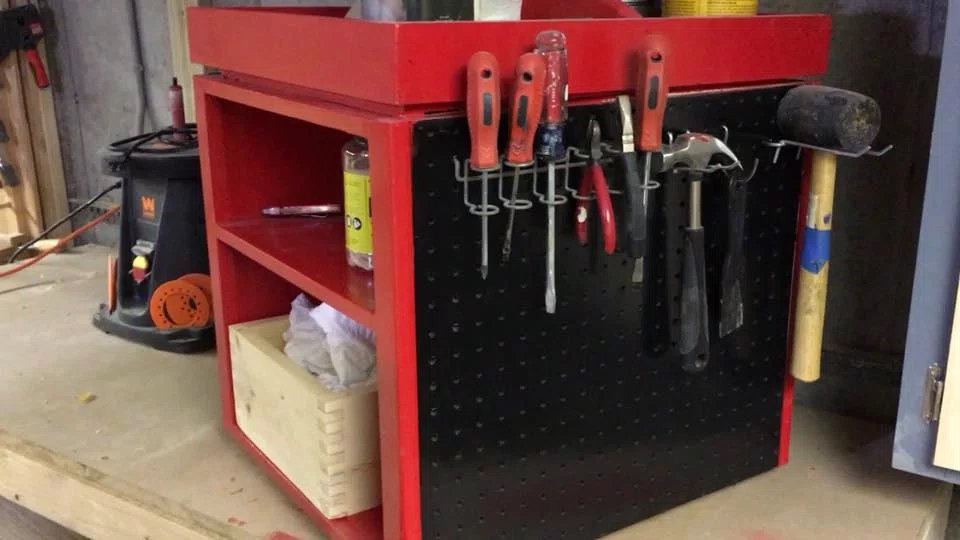
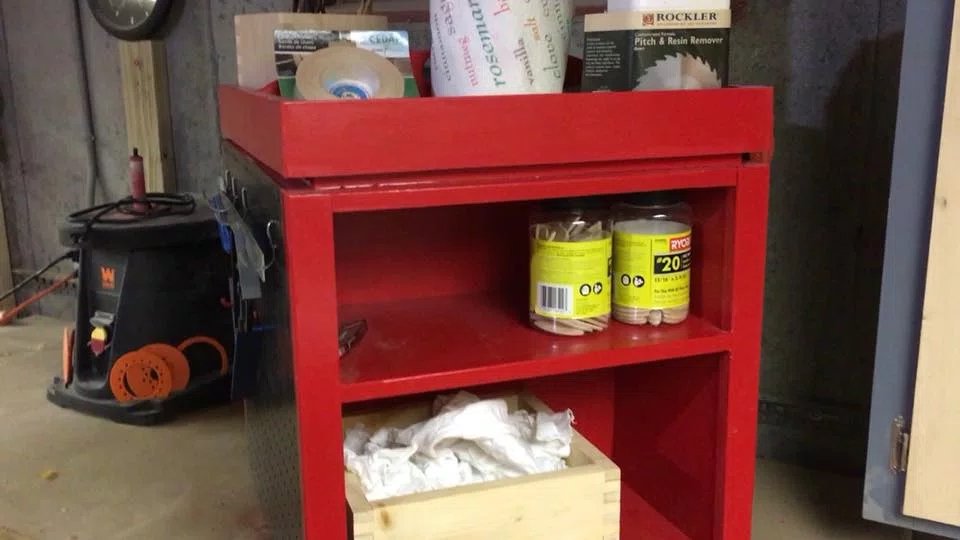
After deciding on what I want to achieve I set out some very basic plans and built the entire unit out of 2×4’s and since I was going to re-use the benchtop I already had in the picture above I didn’t need to make one.
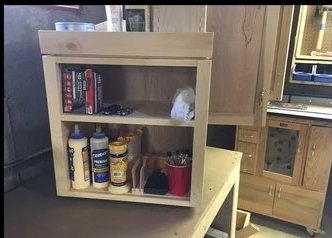
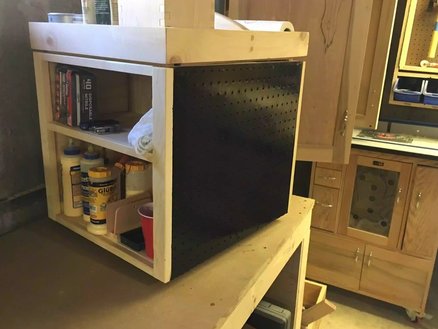
I used Pocket Hole screw and glue to build it and I have to say its rock solid. The only thing that I wasn’t mad about it the height of the bench because I needed to fit my Router table under it which is about 42” high.
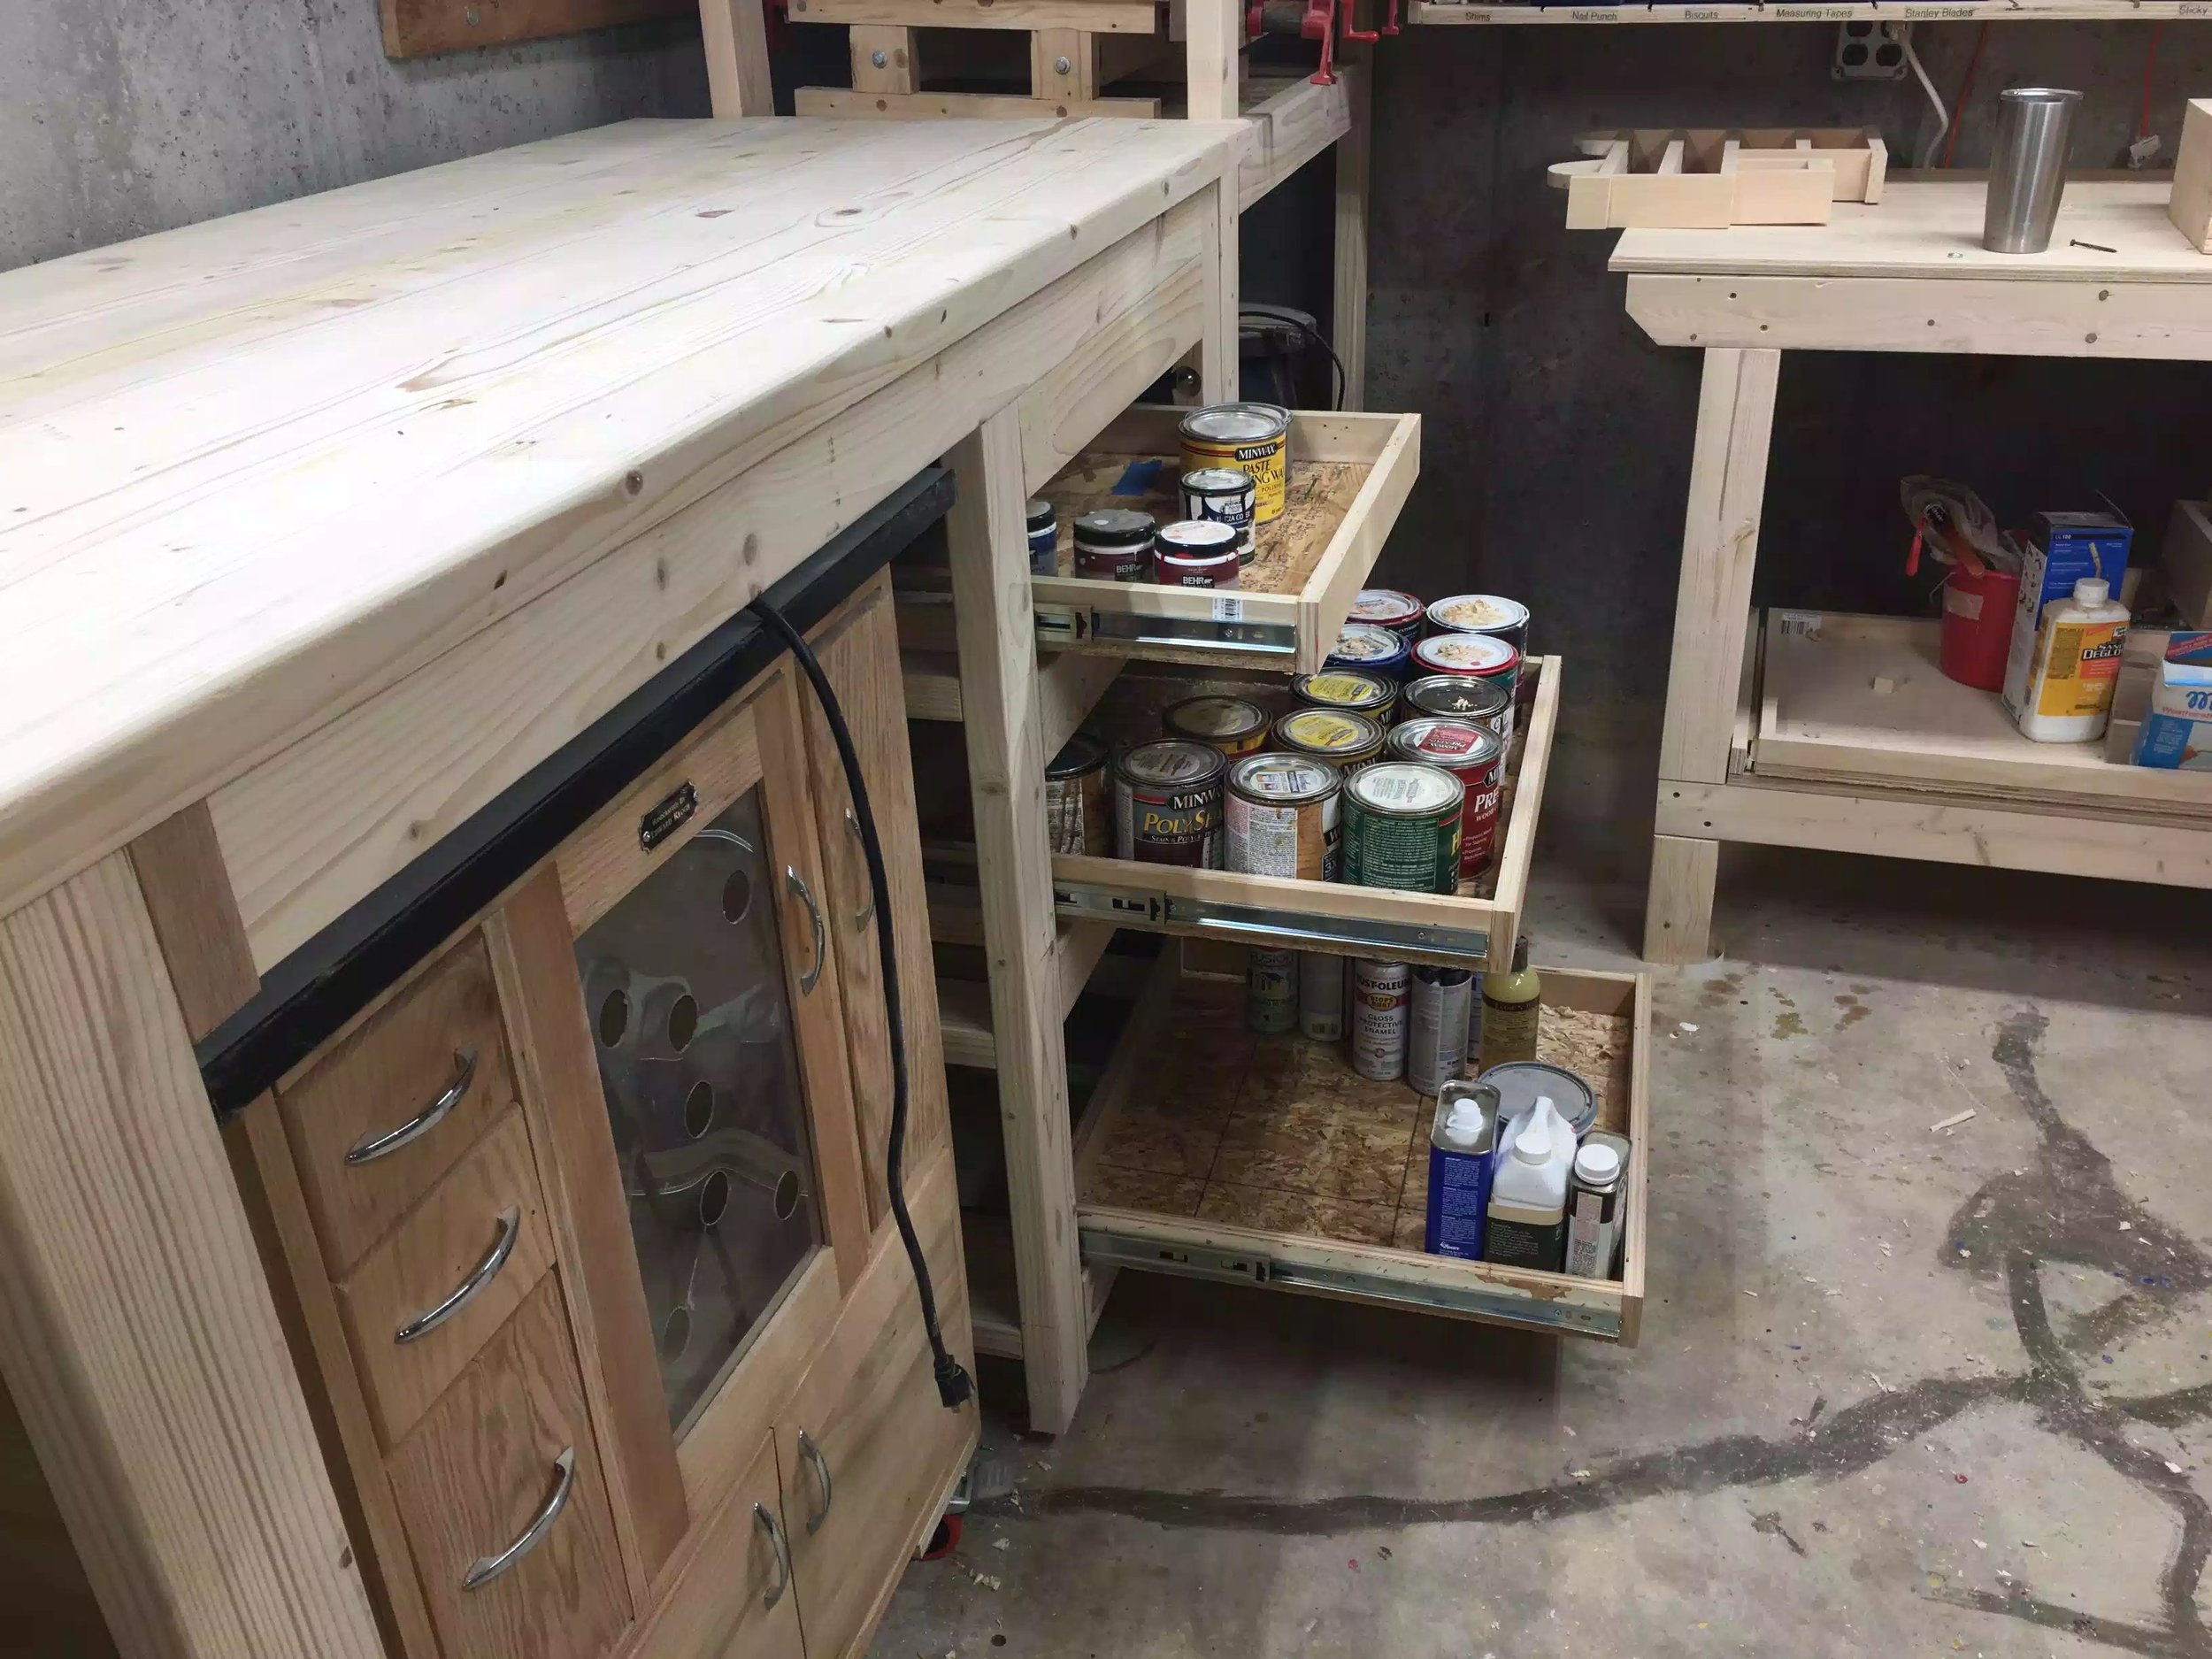
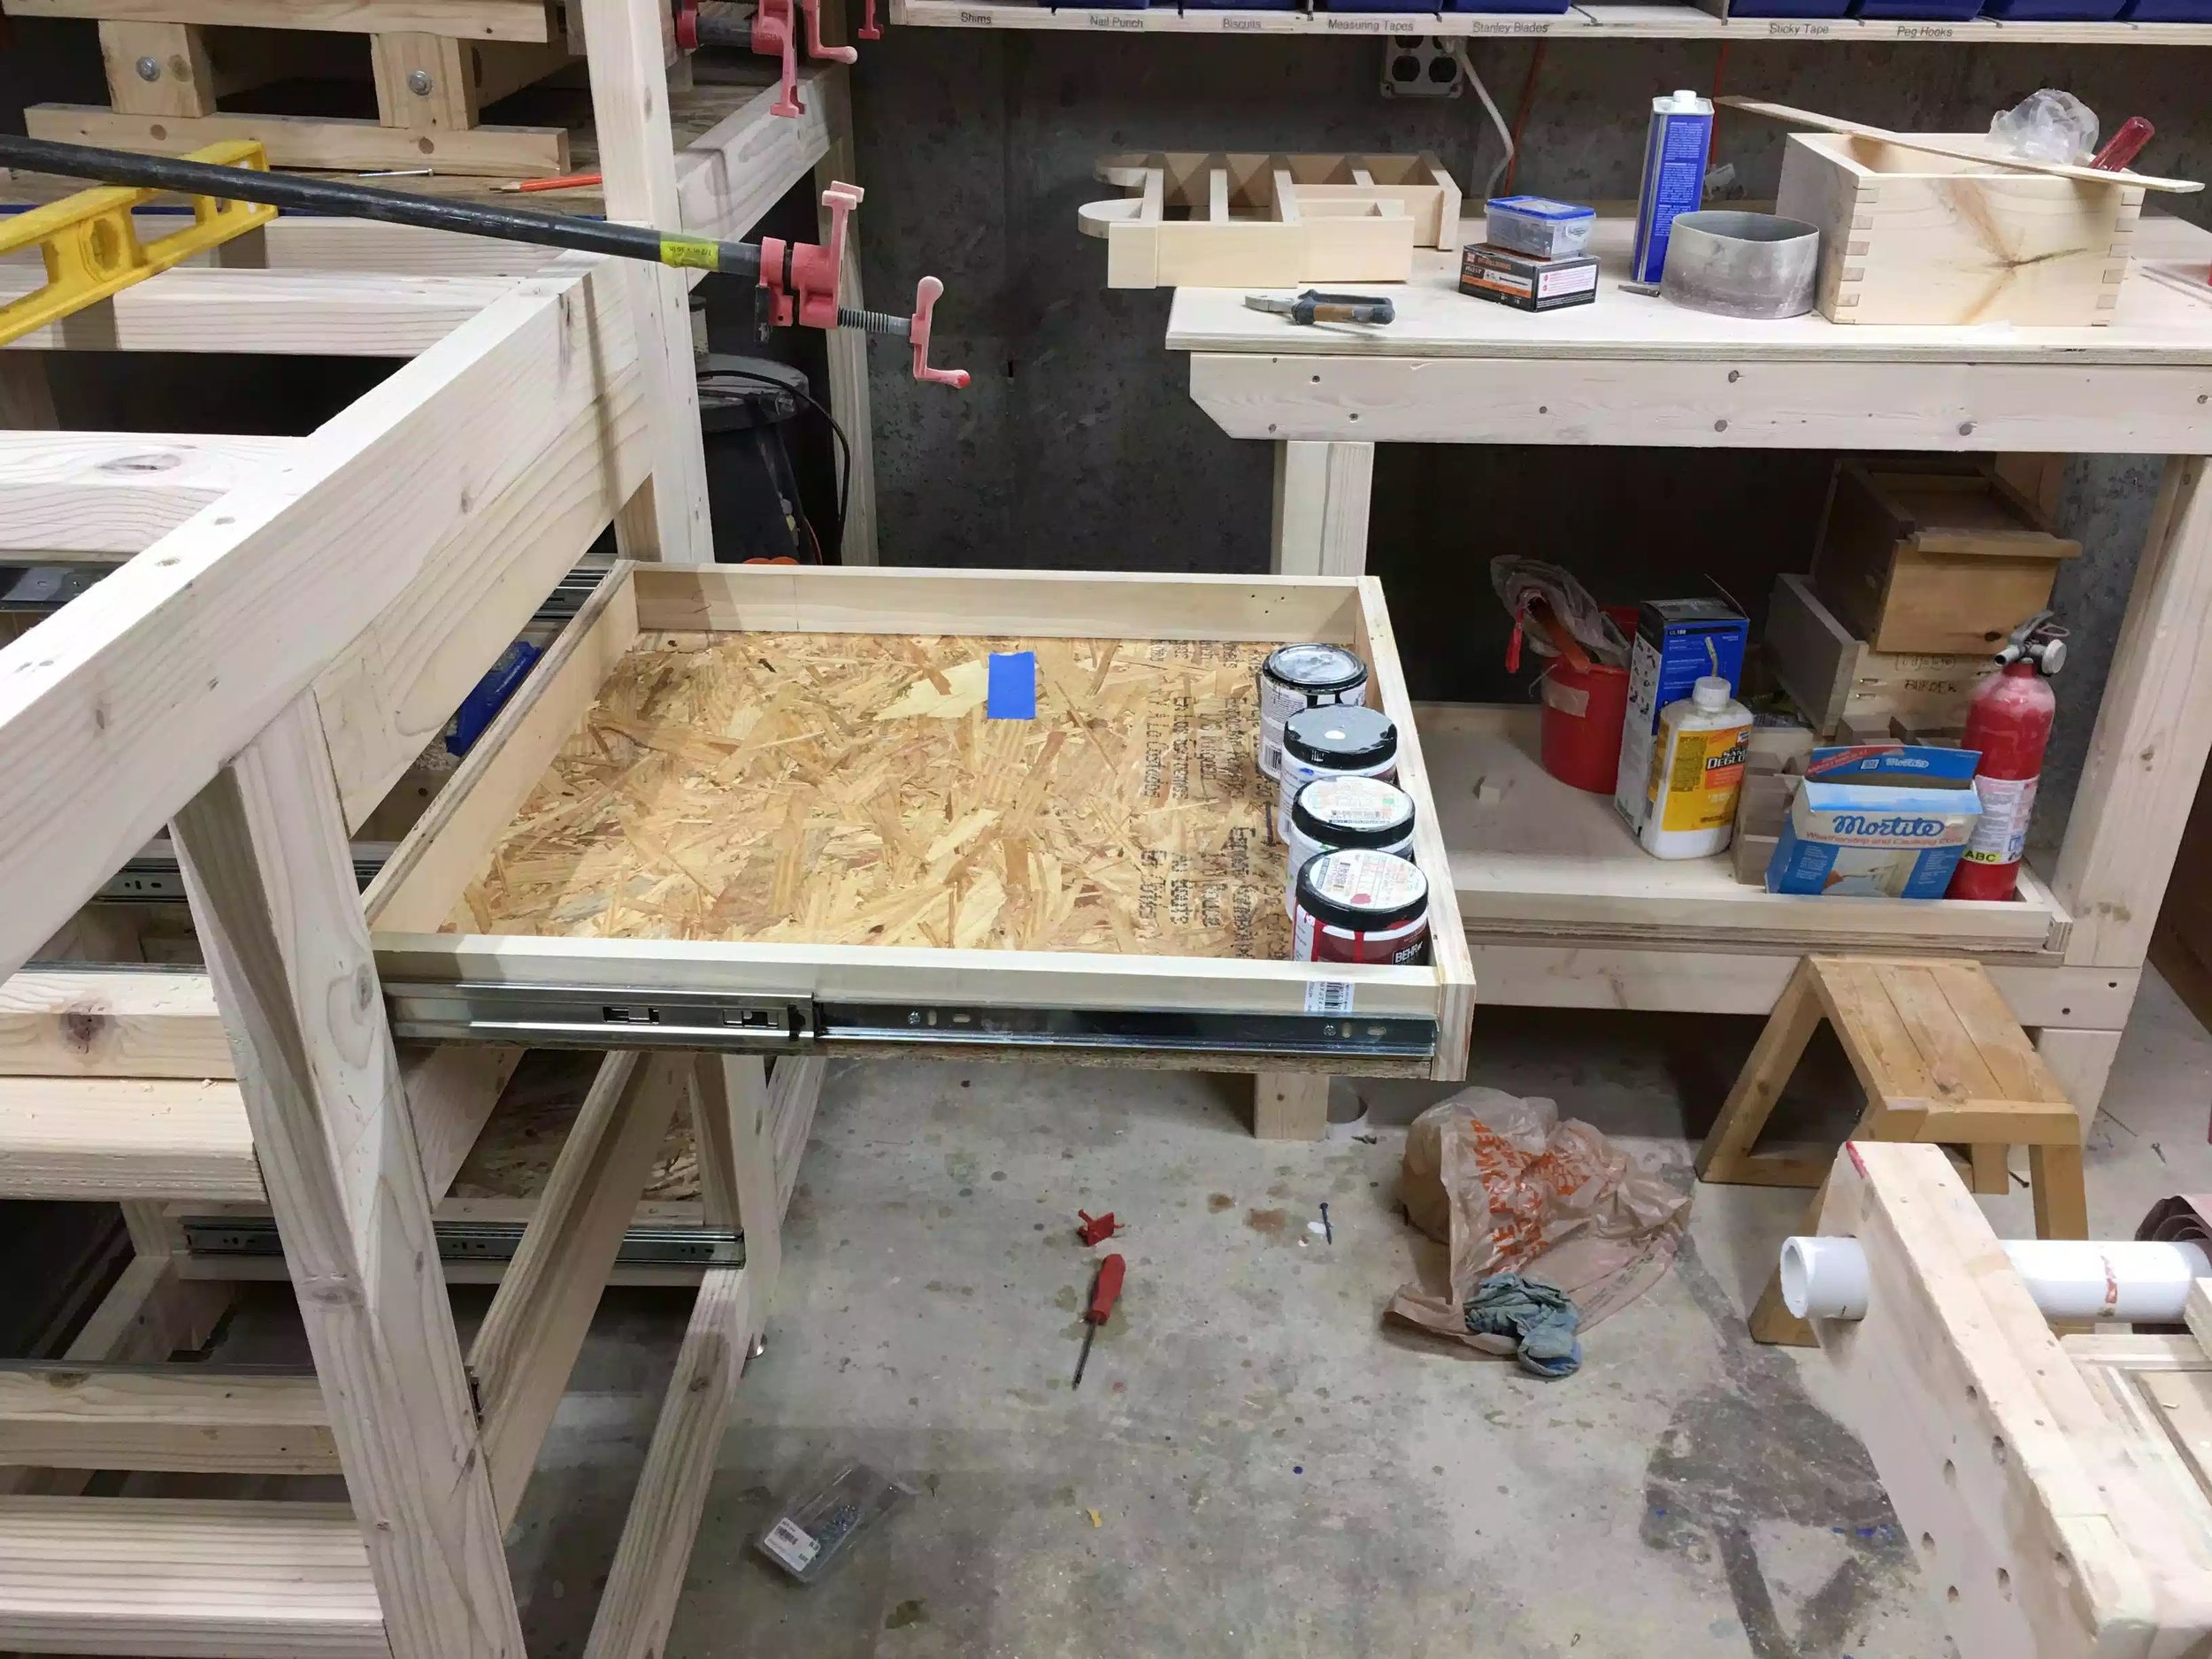
I also put 3 drawers for all my paints and stains since that was all stored in the wall cabinet I took down.
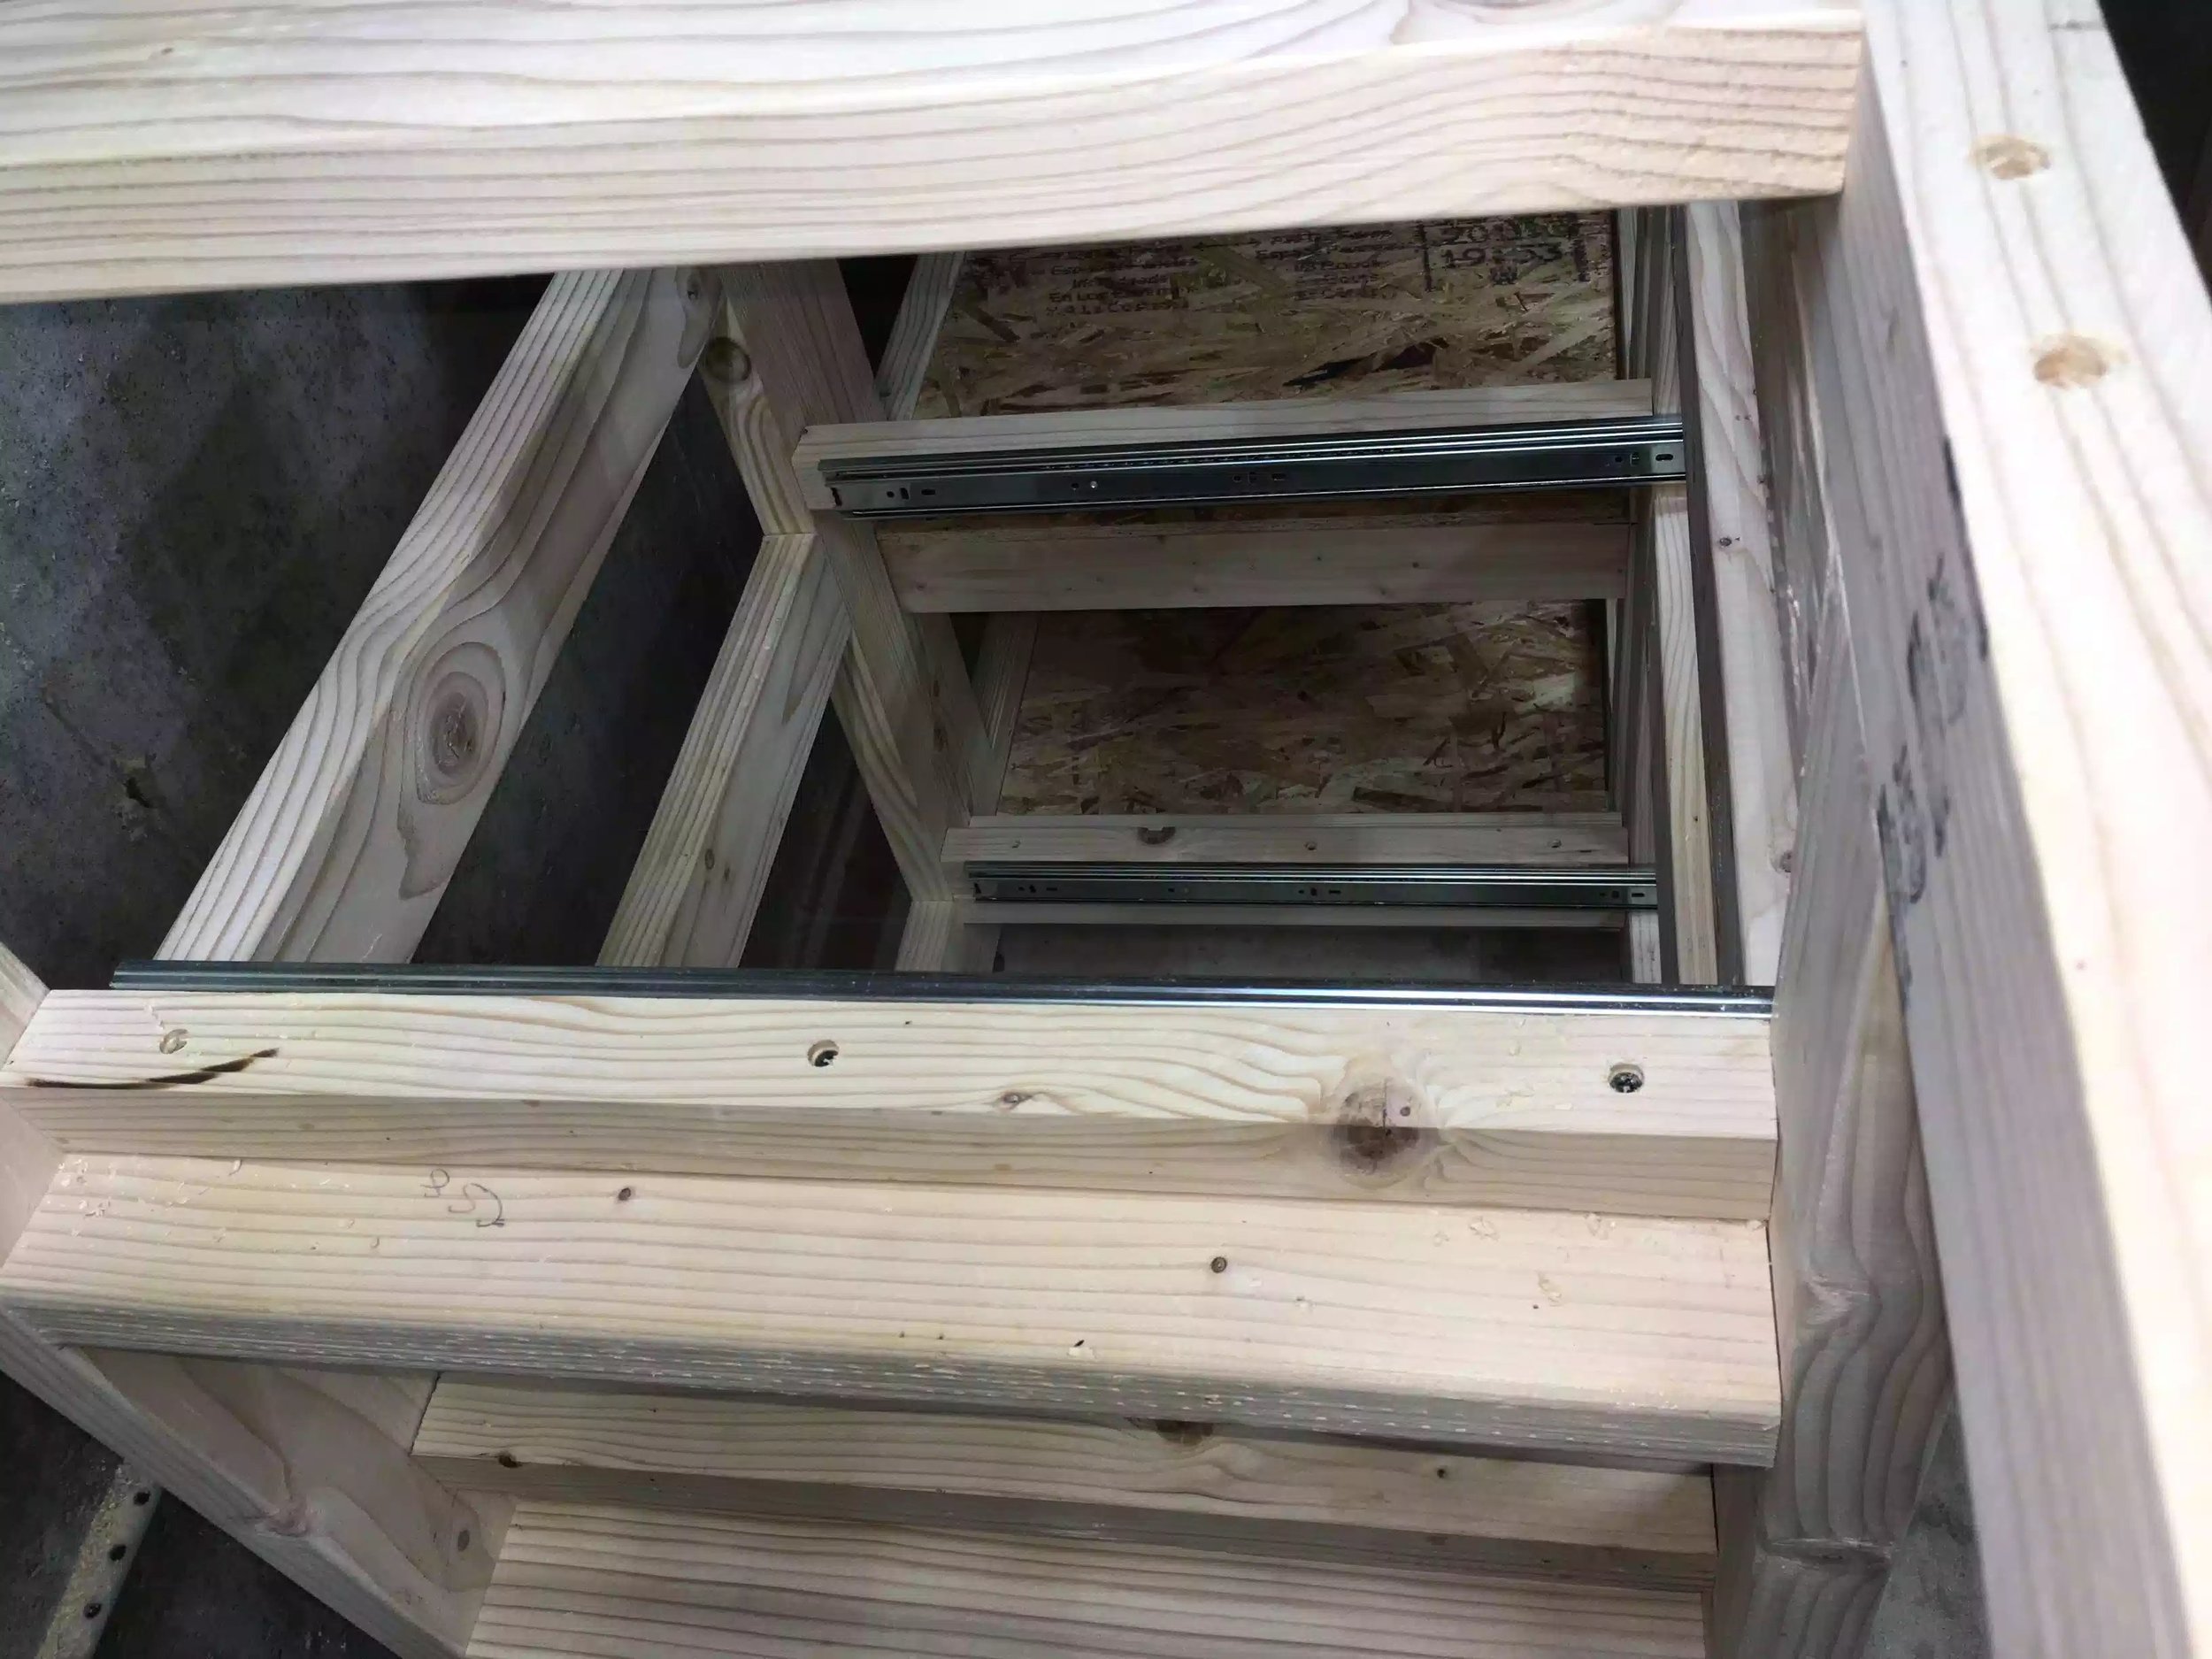
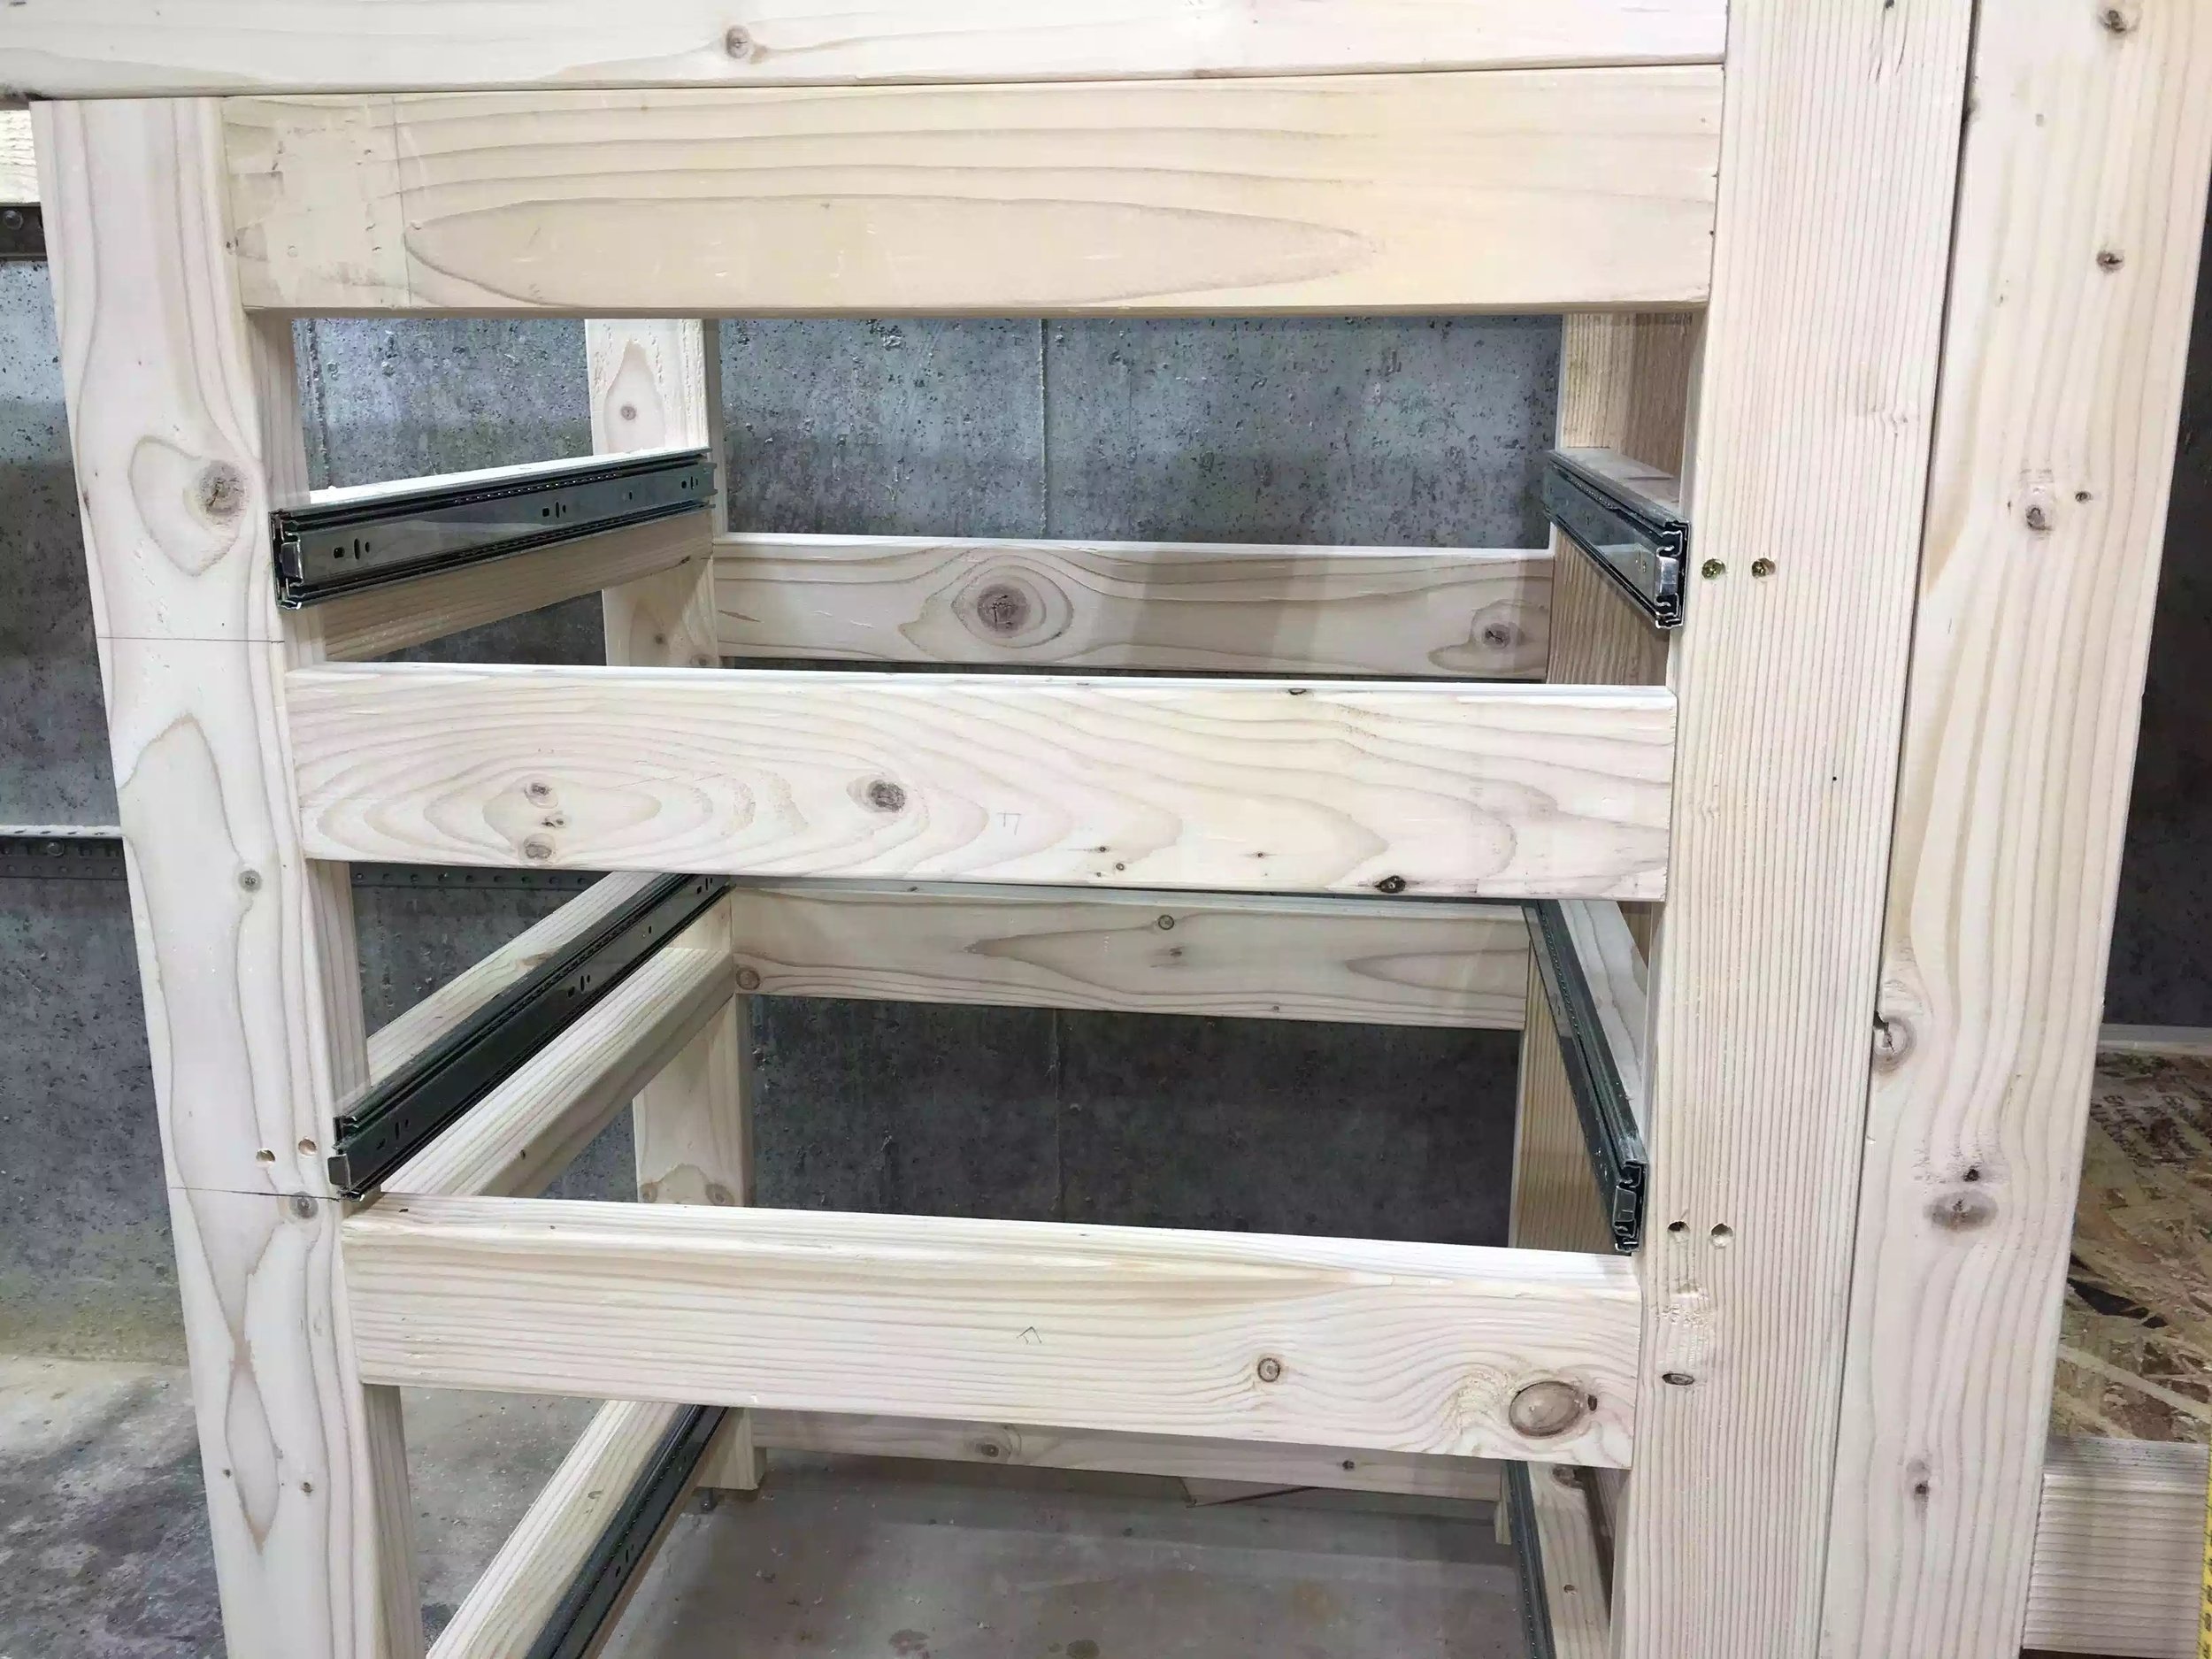
One more thing I purchased 10 full extension drawers slides on EBay at a great deal $50.00 and they were awesome if I had purchased 10 at Home Depot that would have set me back $160
Anyway I hope you like it and thanks for looking.
LAZY SUSAN UNIT
(10/2017)
I have been slowly working on my workshop to-do list since I haven’t had any paying projects in a little while and I’m looking forward to making some projects with some color the shop has been looking very drab lately .
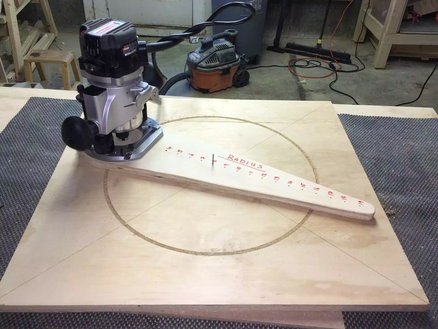
The design I used came from Bob Clagett from I Like to Make Stuff
I really like some of his projects and you should check it out he also has an instruction video on how to make it, and I have put a link to the project here
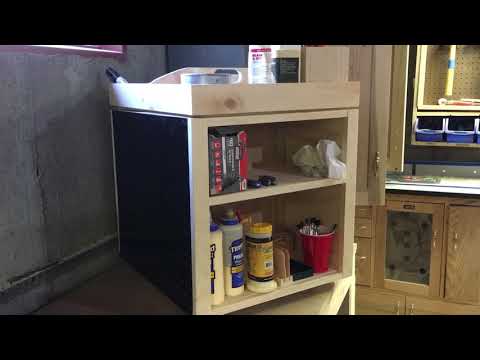
One other thing since this project is a moving one I attached my own little YouTube video on the finished project … this isn’t an instructional video just a little look at the final article
4 Drawer filing cabinet
(06/2017)
I know that it has been a little while since I have been on the site but its only because my computer was down and to be honest I needed a little break.
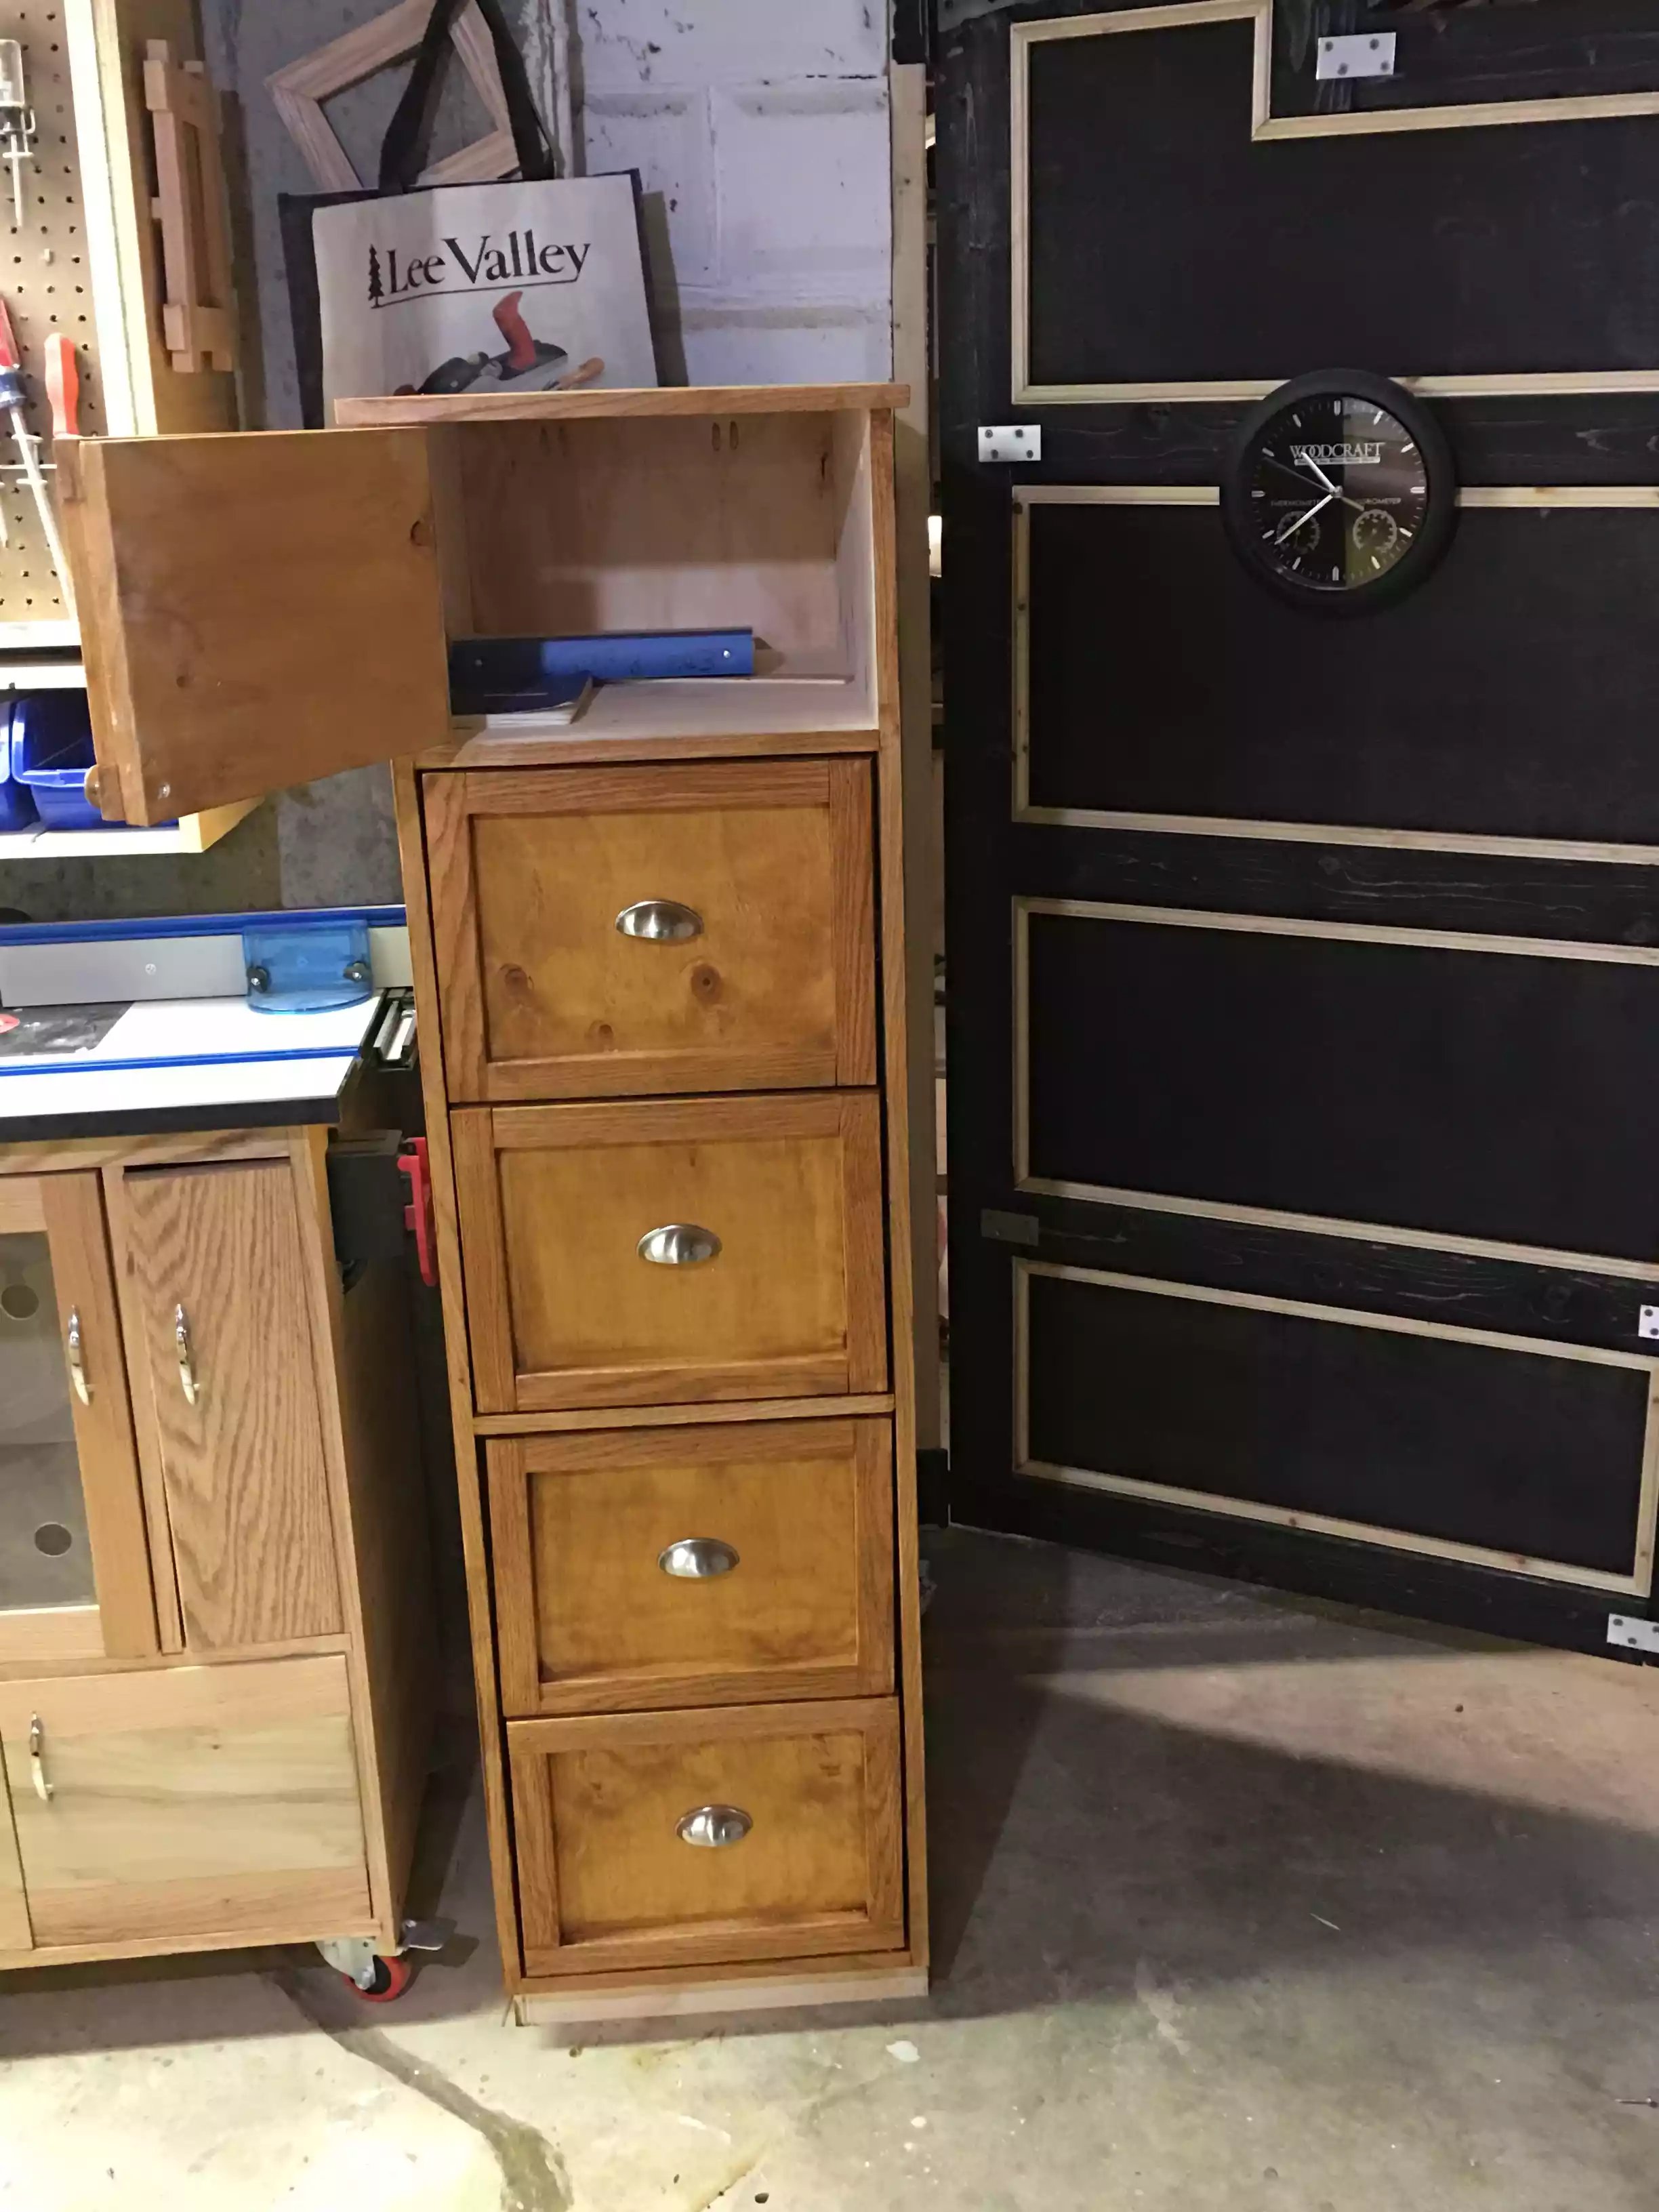
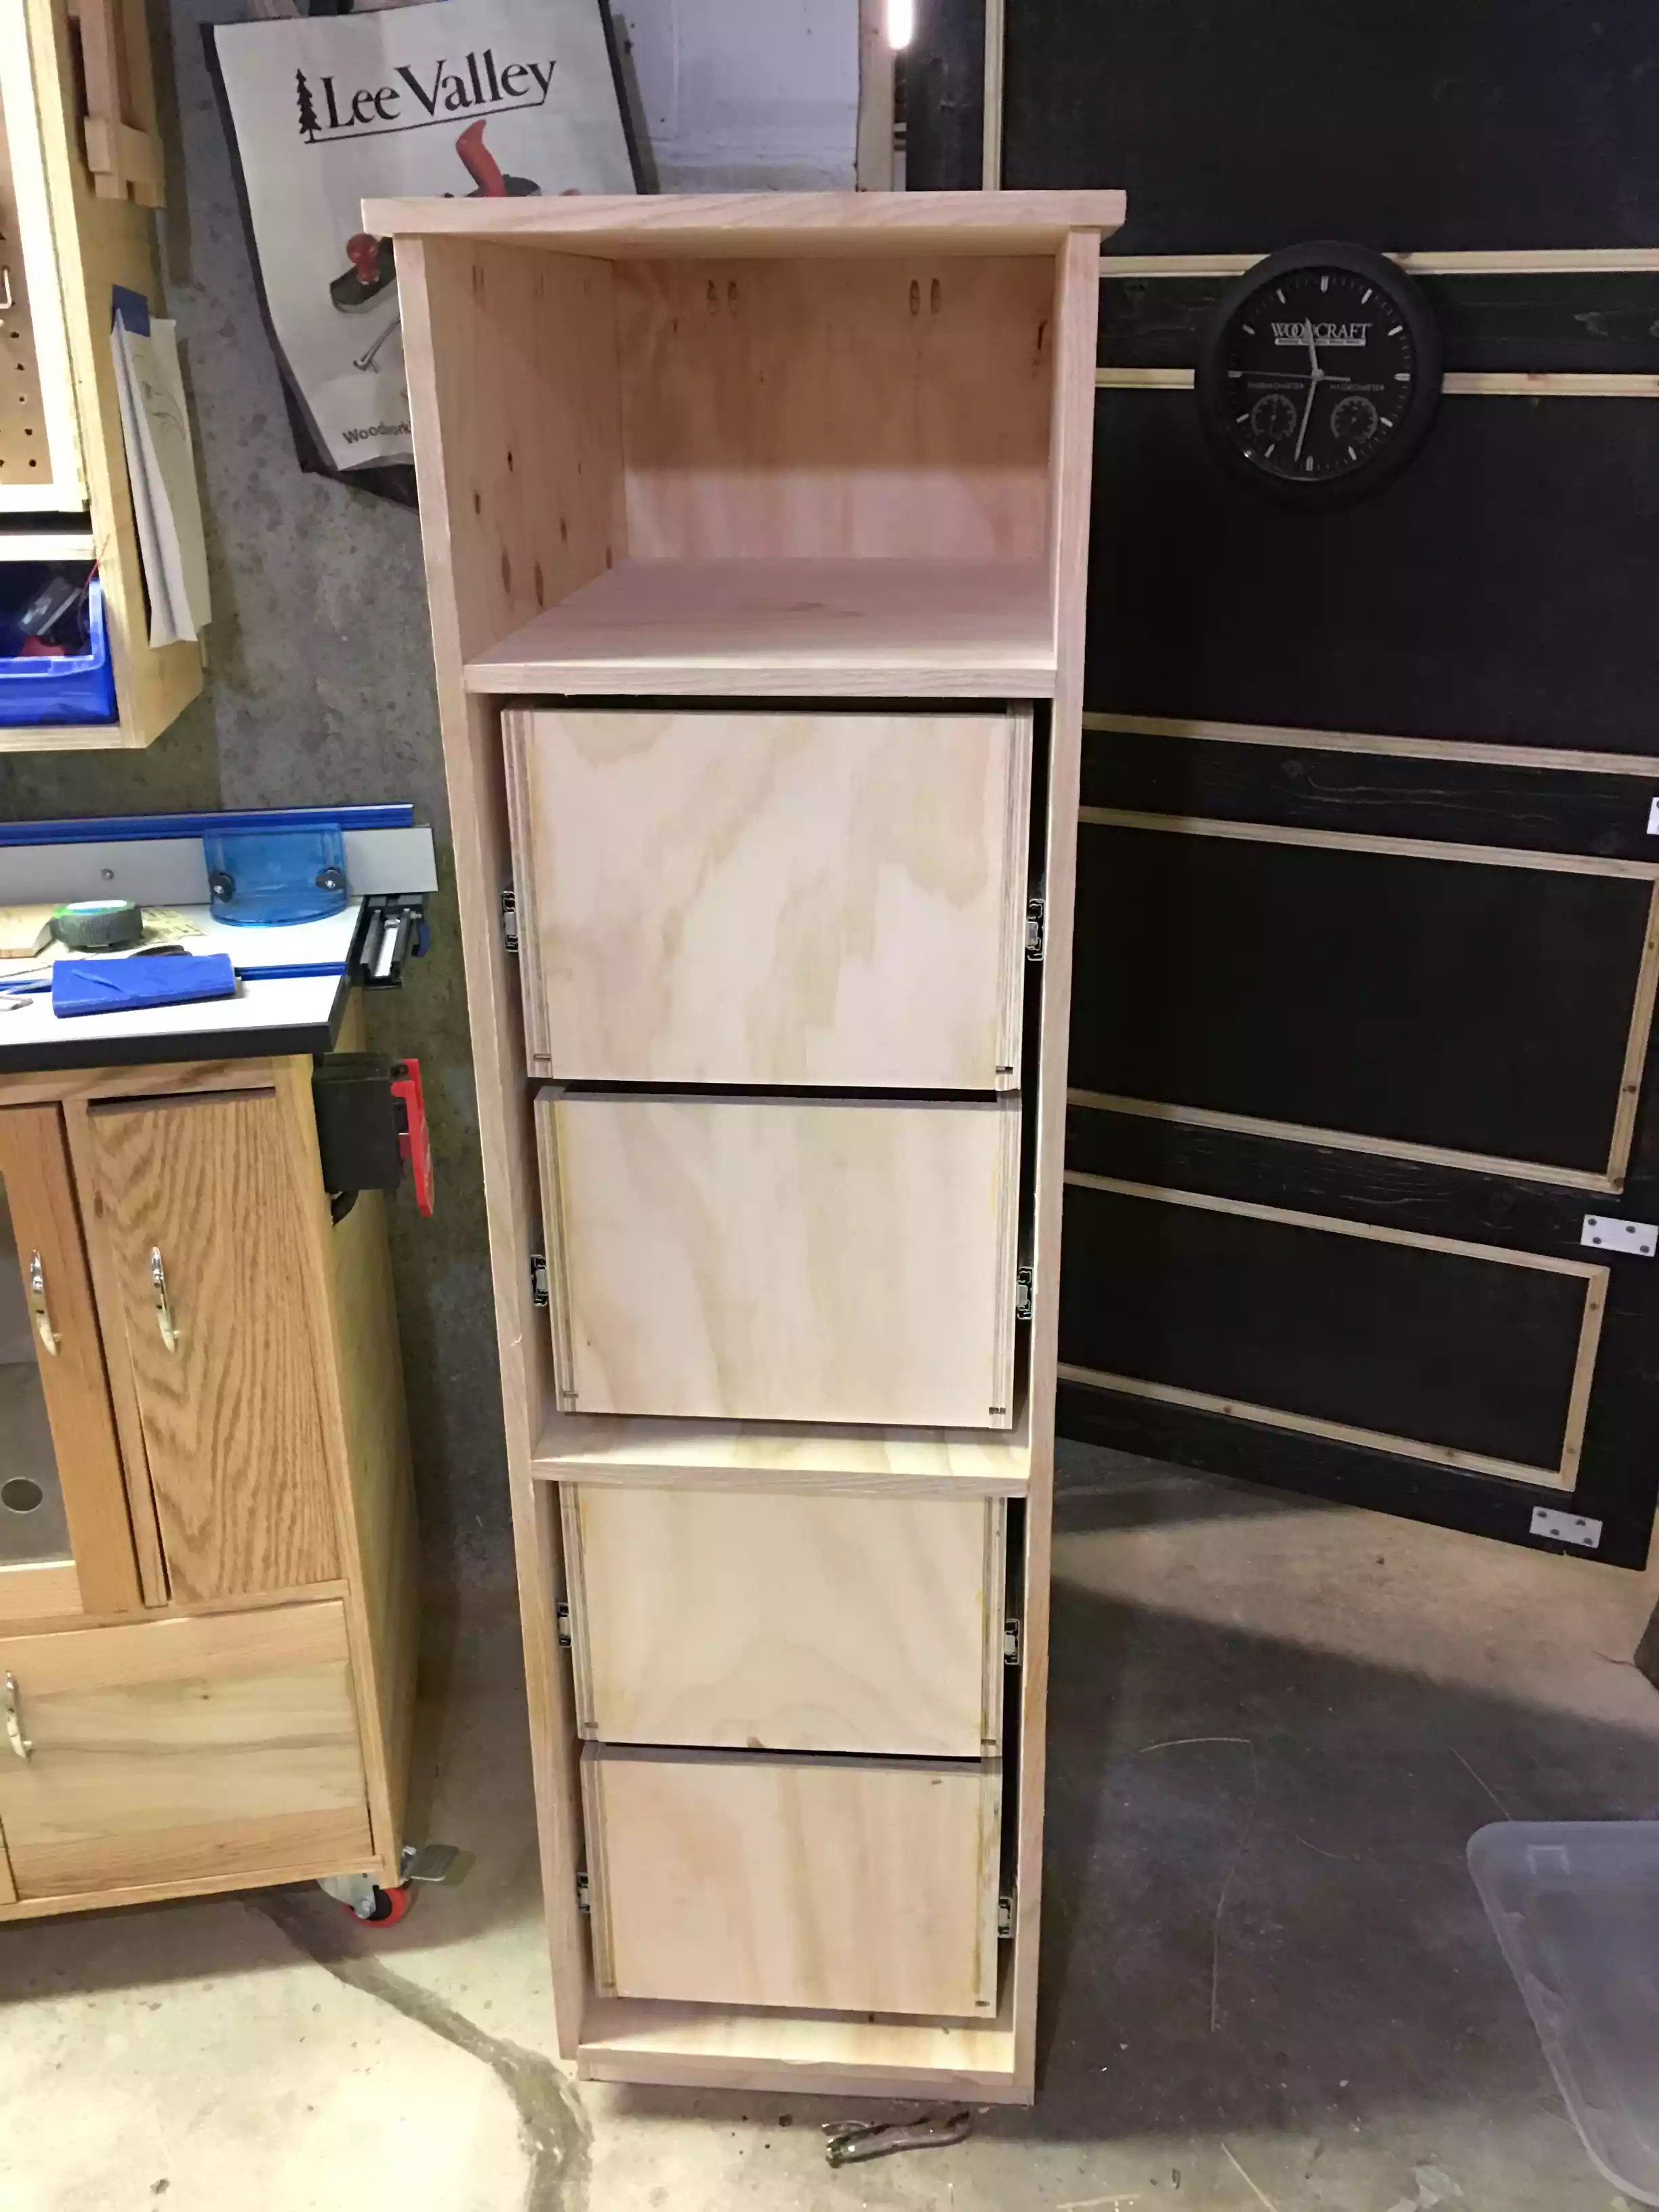
This project has been long over due and I was tired of tripping over my files and Sketchup plans so I decided to make myself this filing cabinet.
I thought that I would save myself some money and just use 3/4’ sheet goods and stain it, I also a a few first in this project such as I never used iron on veneer before and it came out ok.. I think its a skill you get better at the more you use it…
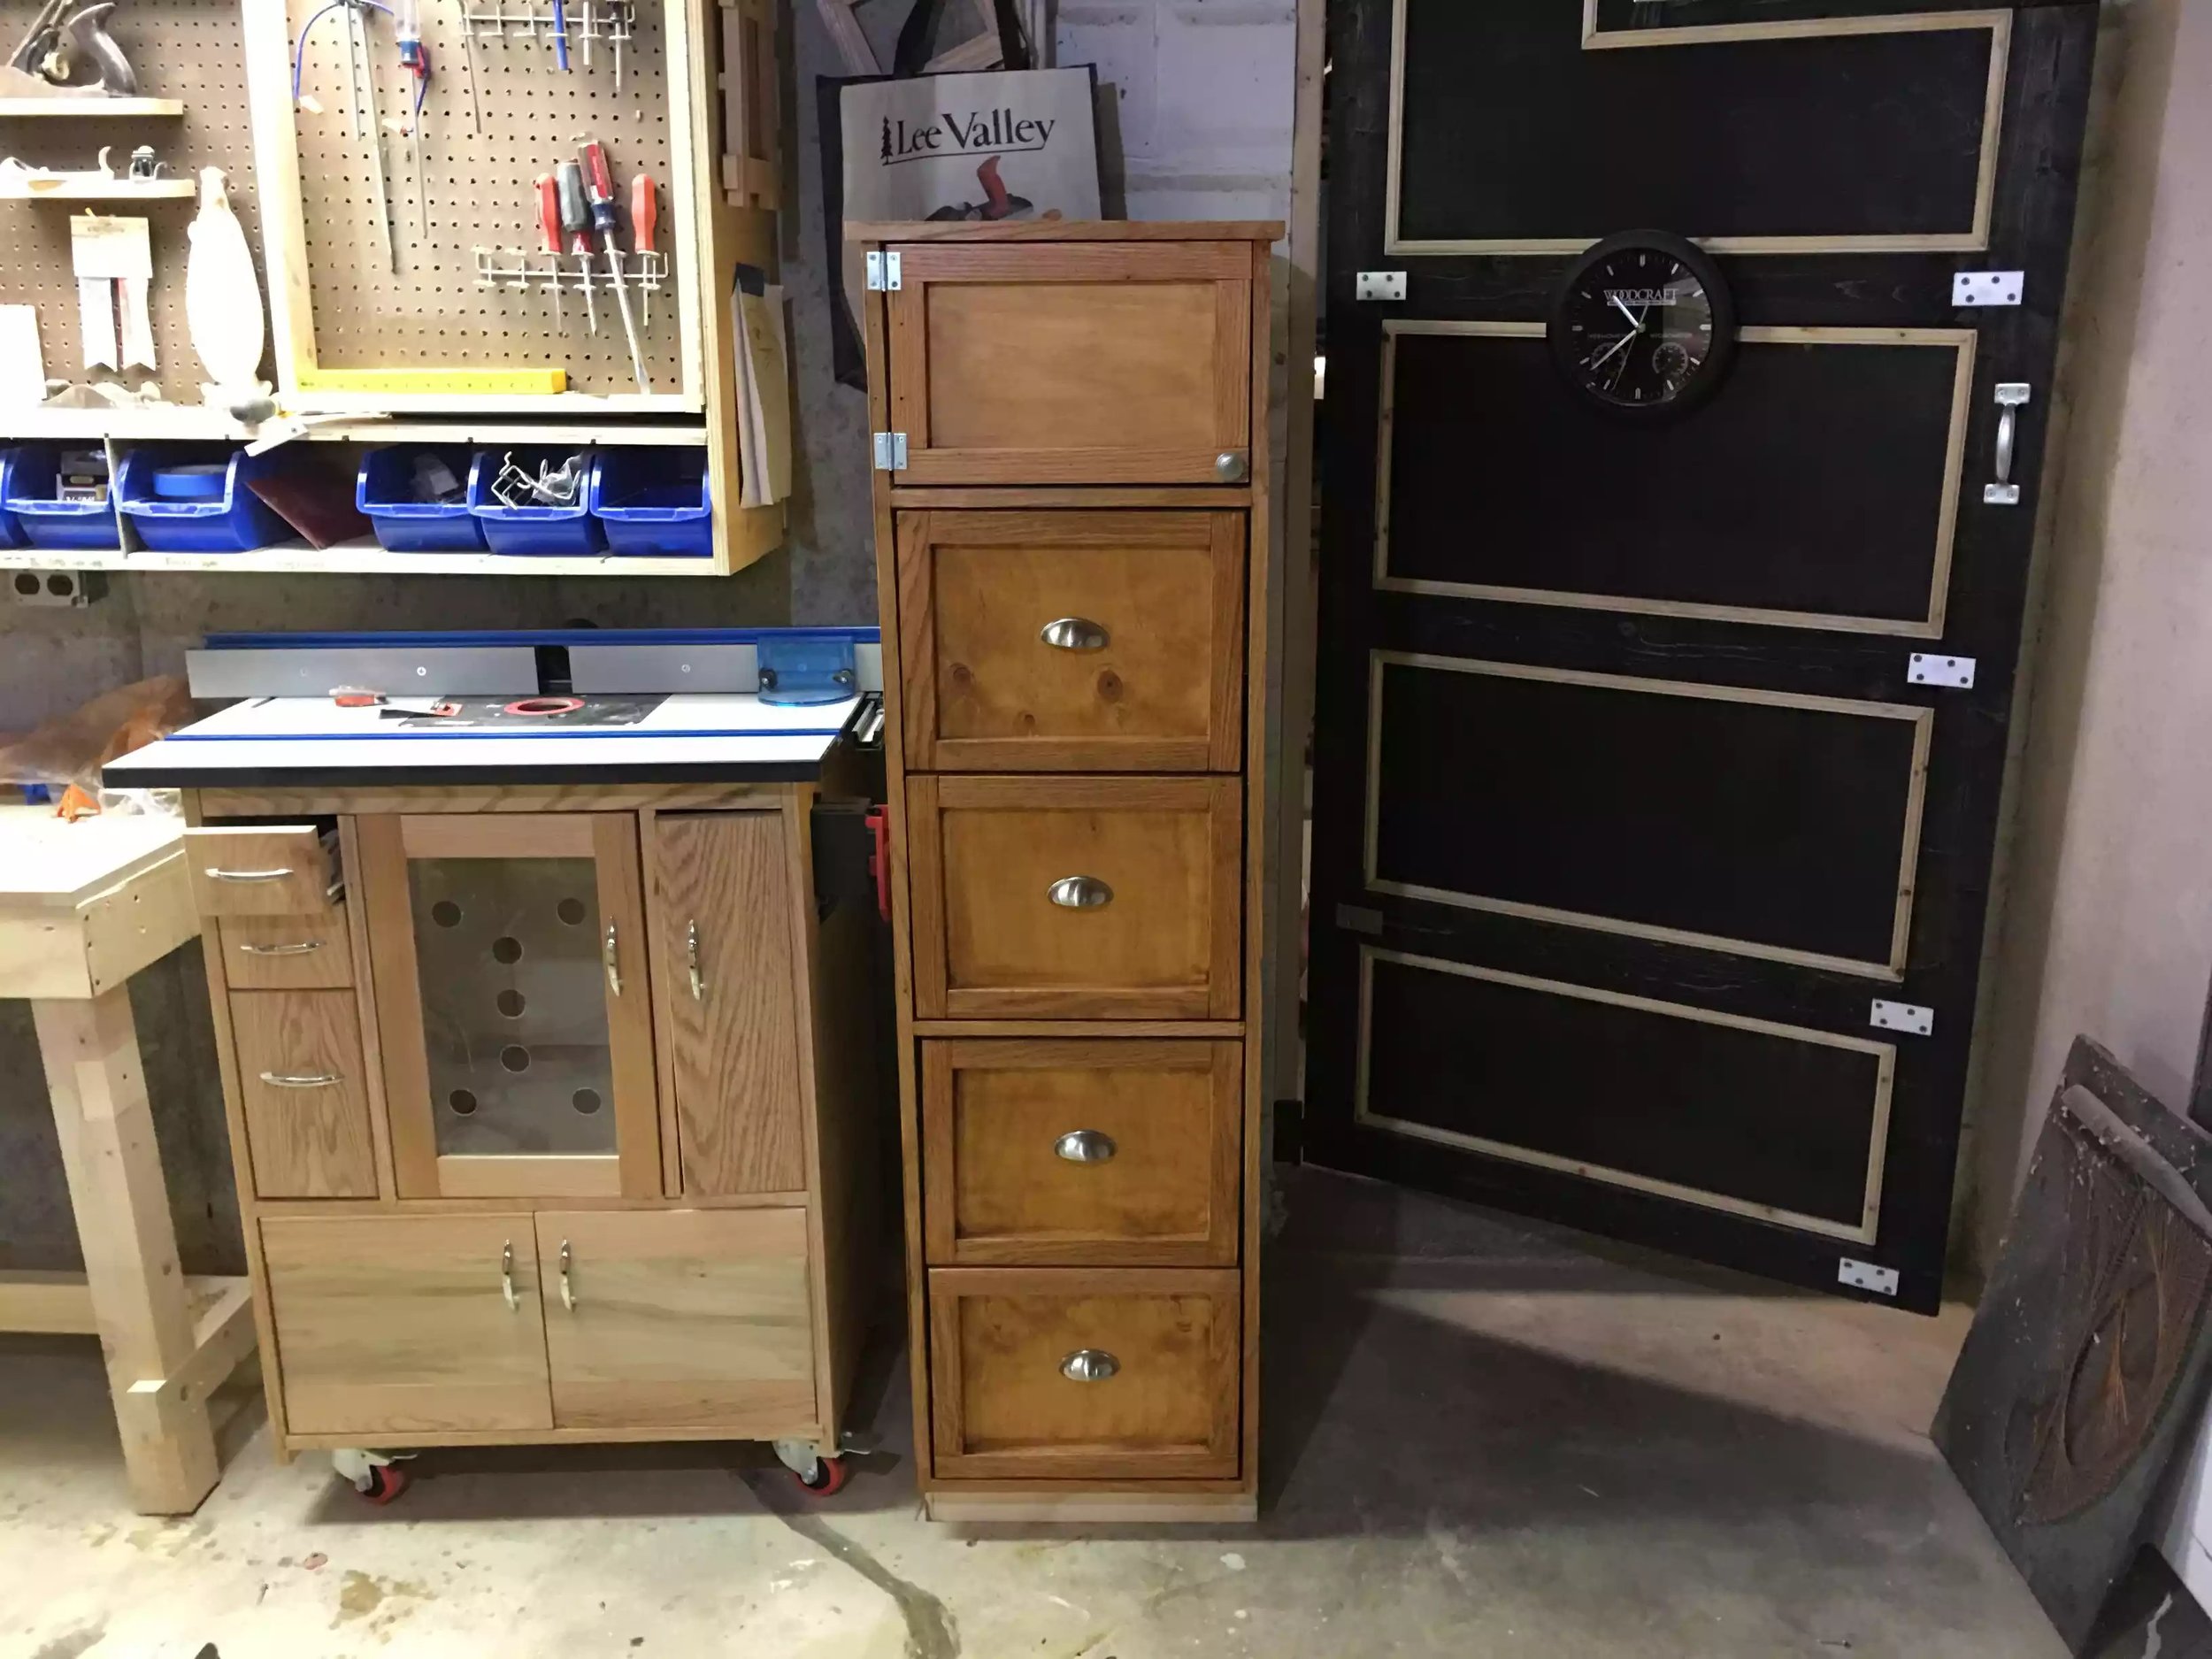
Dimensions:
Height 60” x 17” Wide x 24” Deep
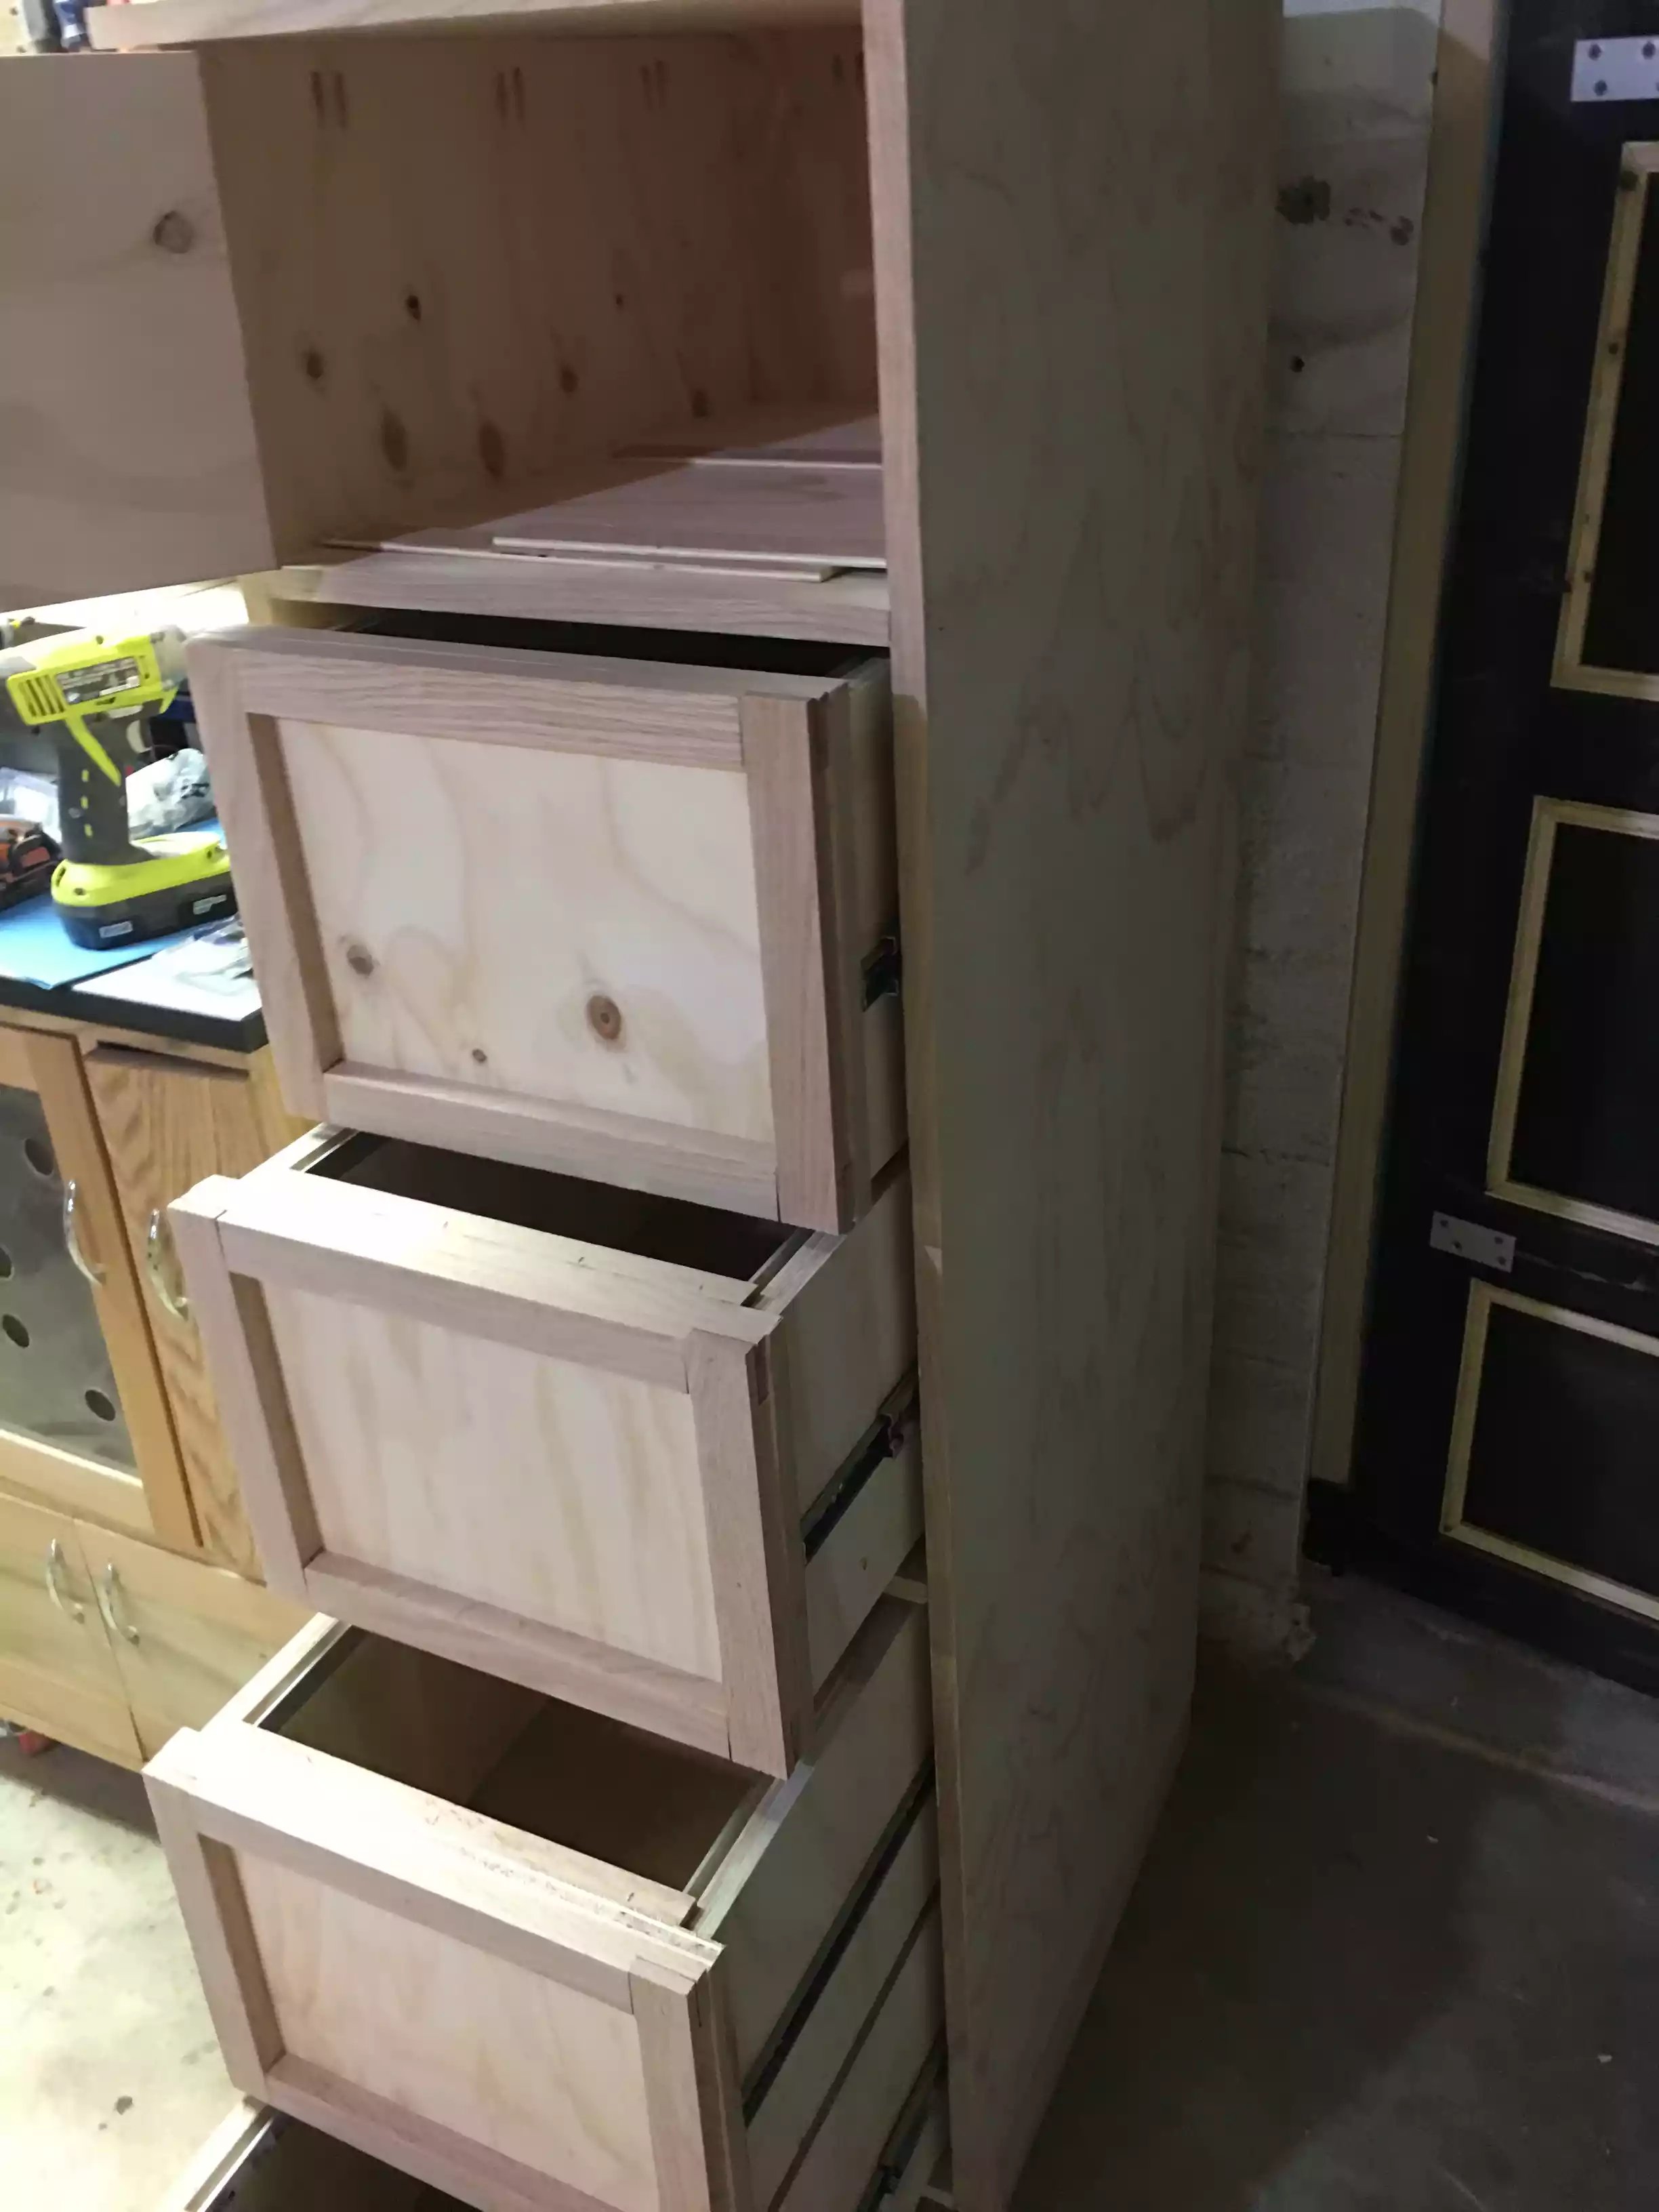
Drawer & Slides:
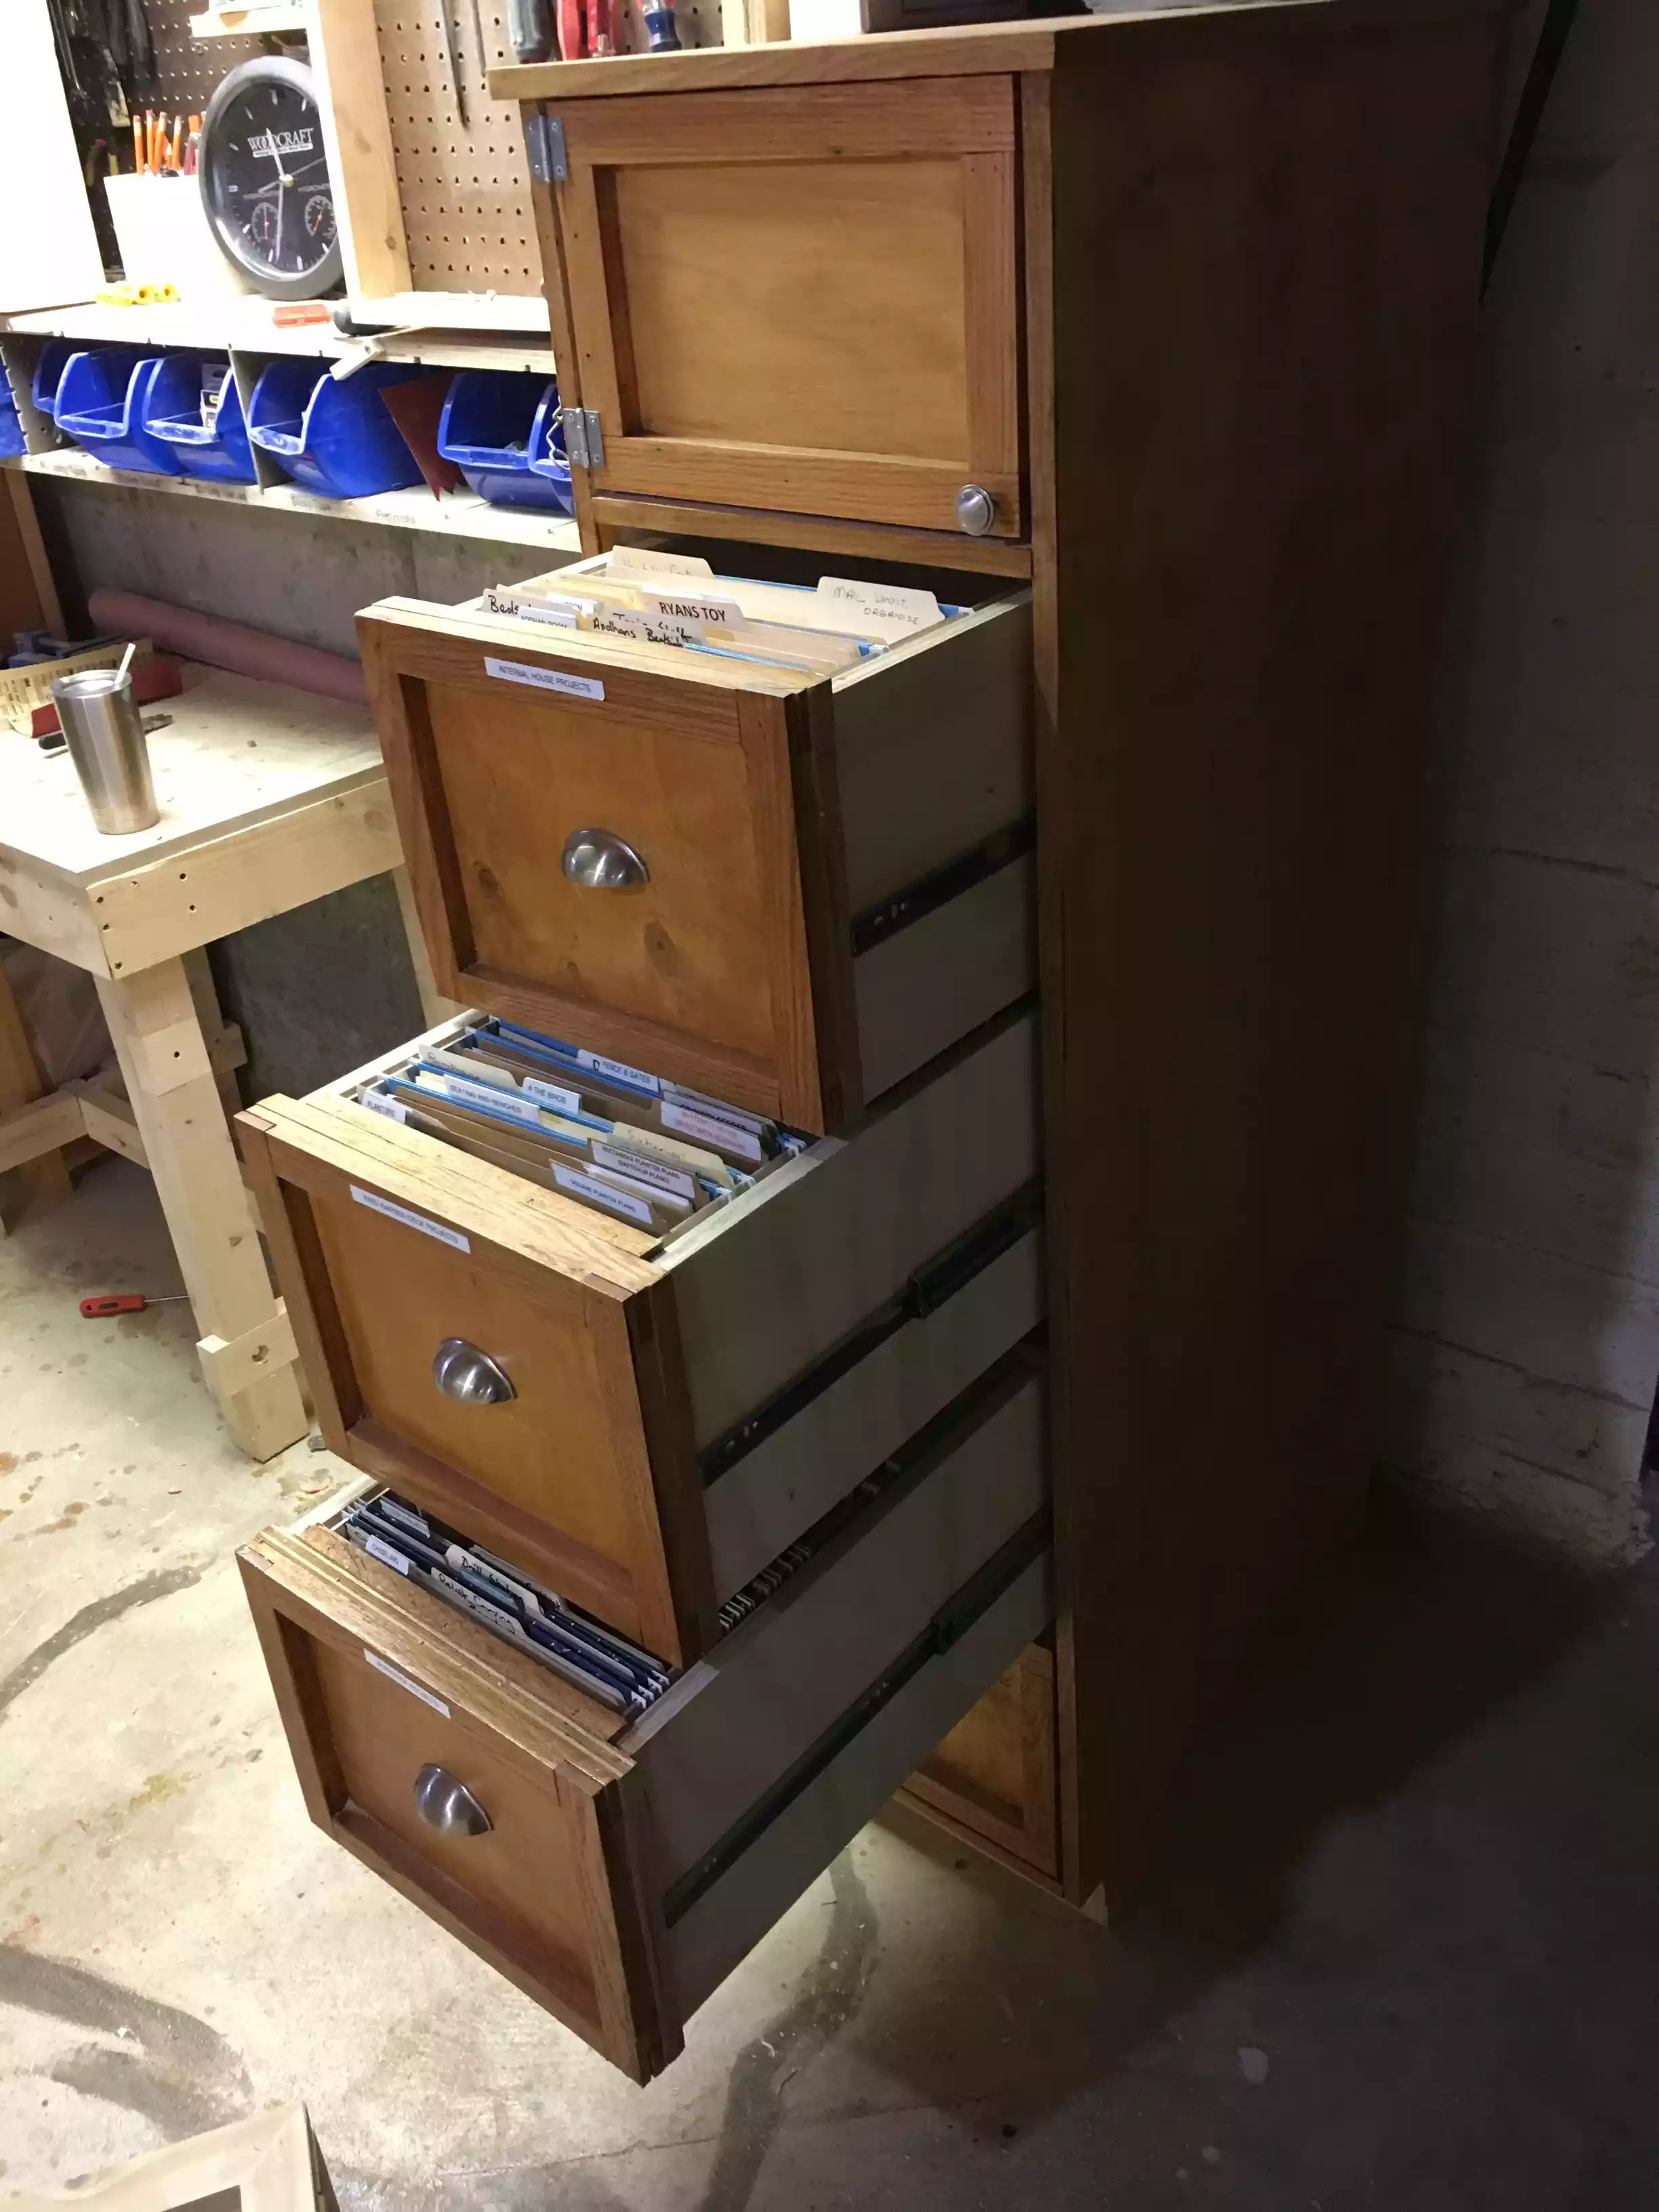
I used 21” full extension soft close drawer slides and I am glad I did.
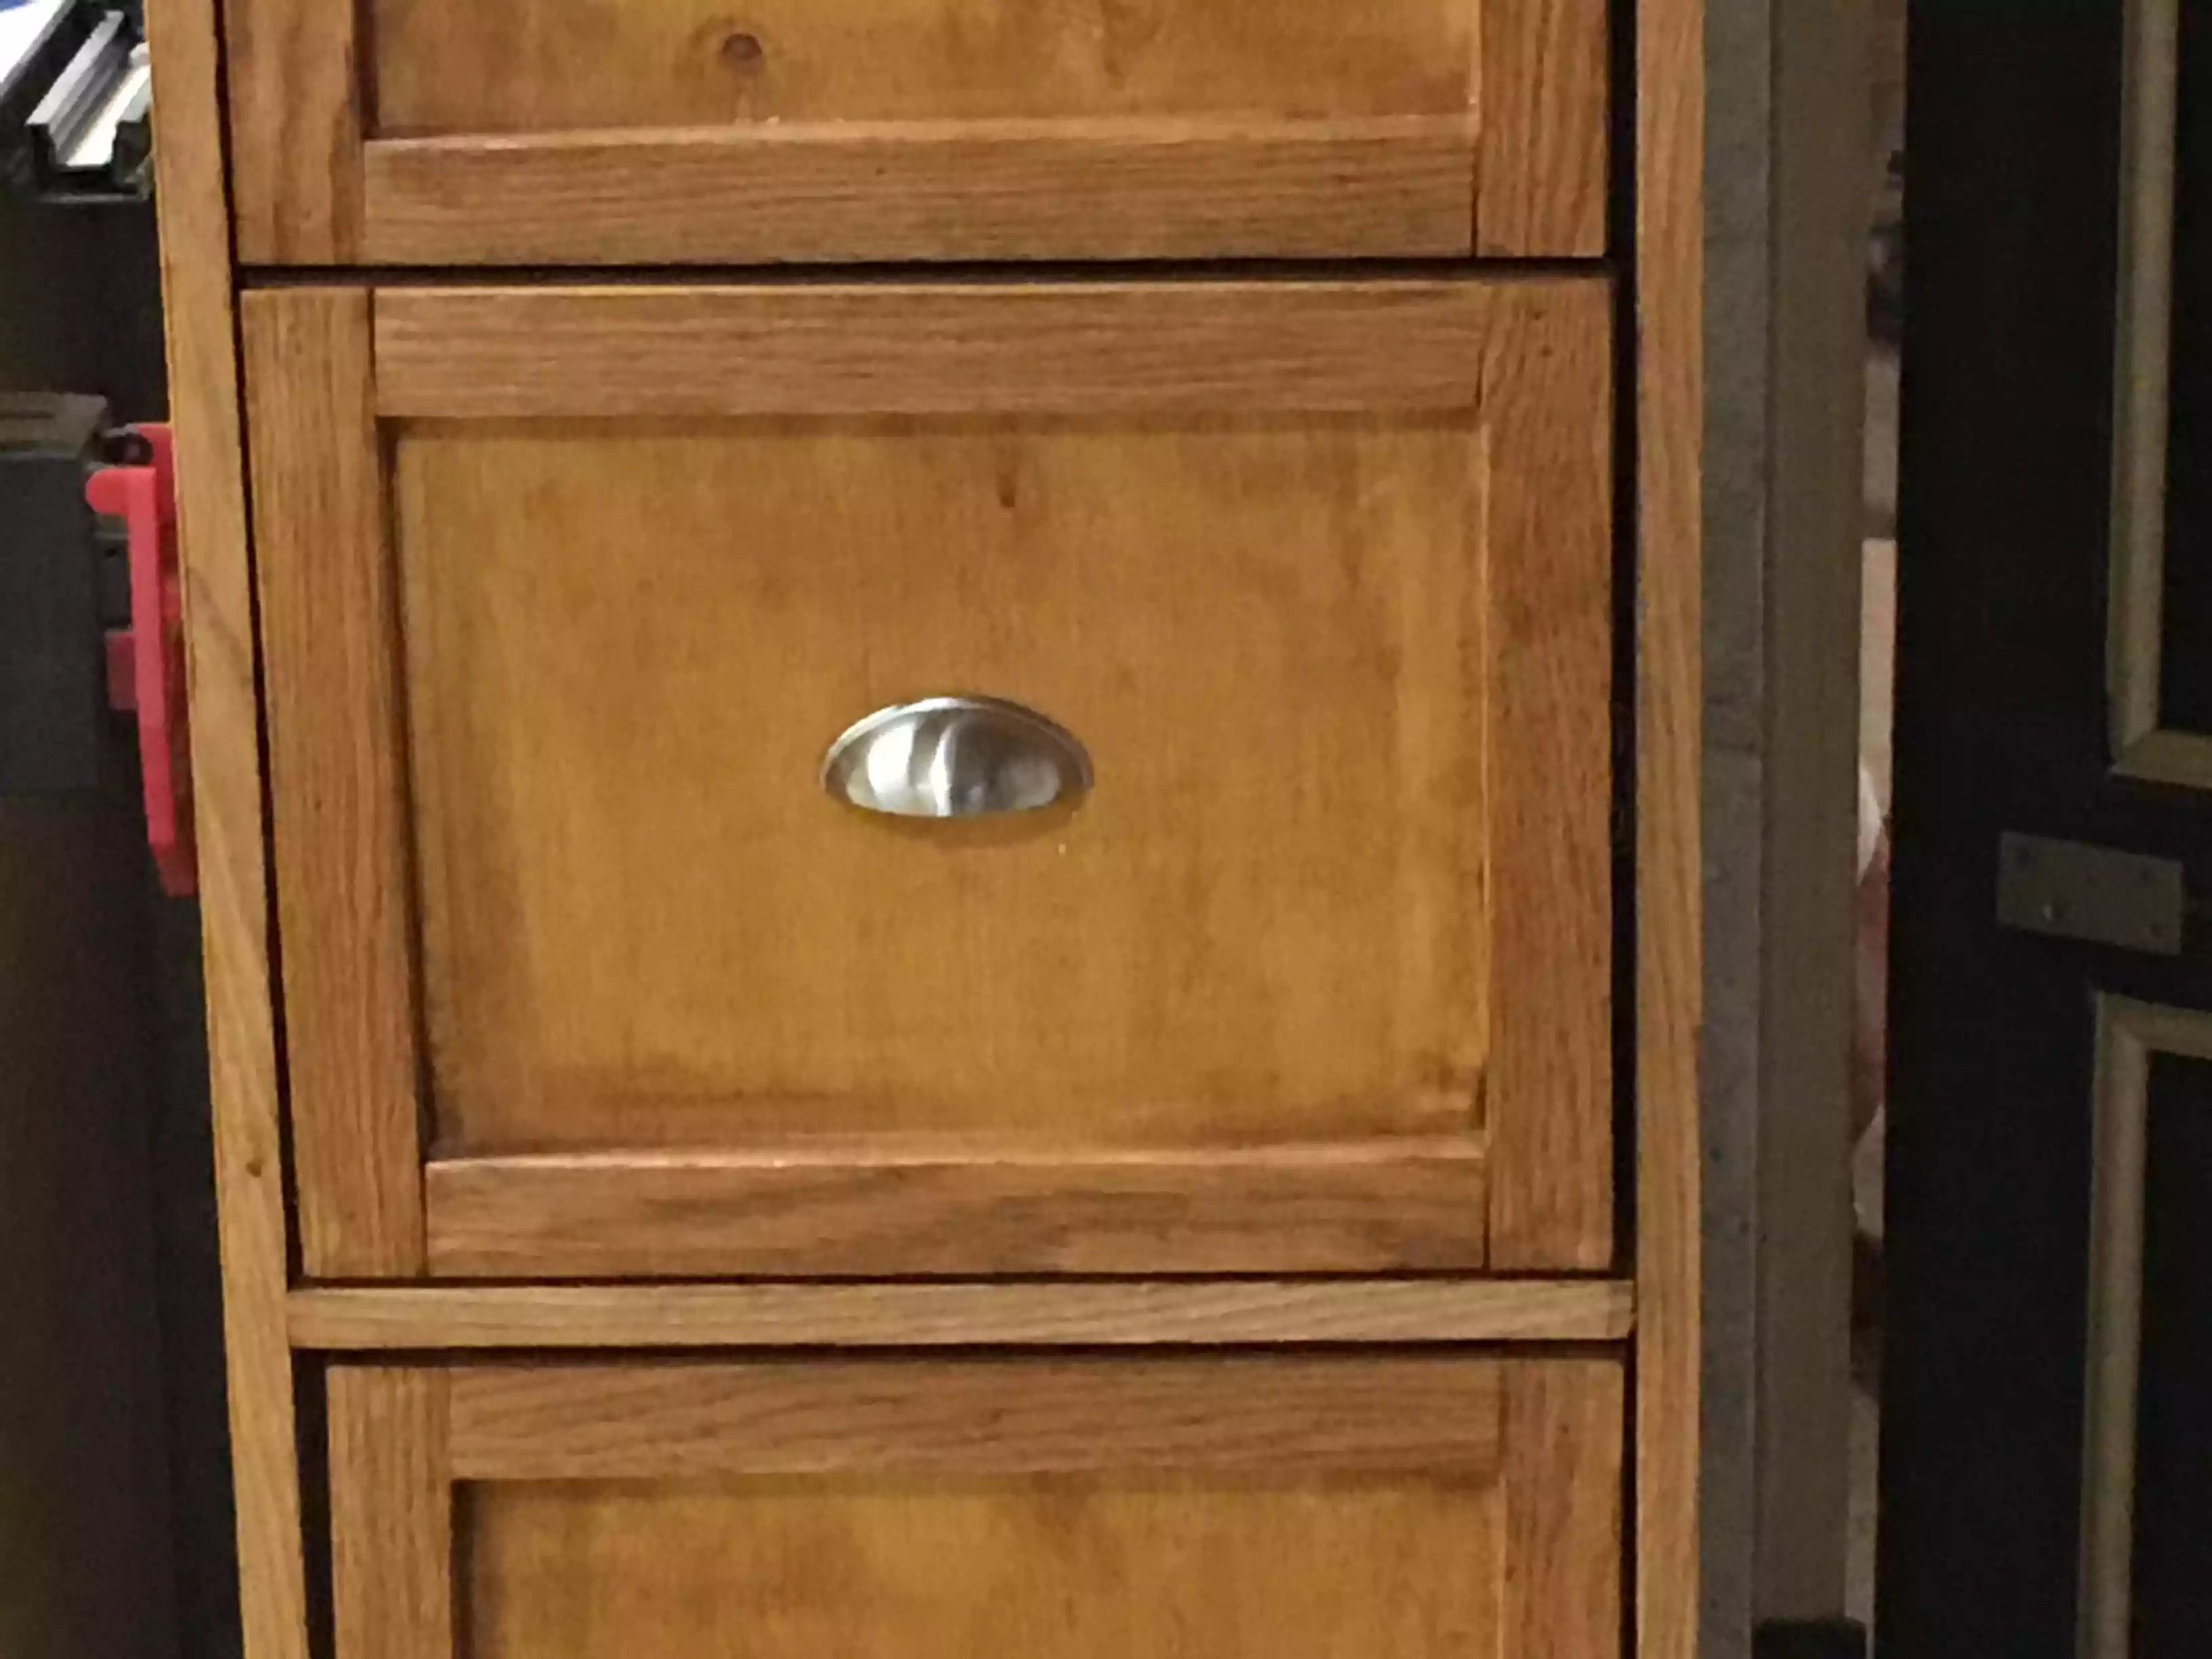
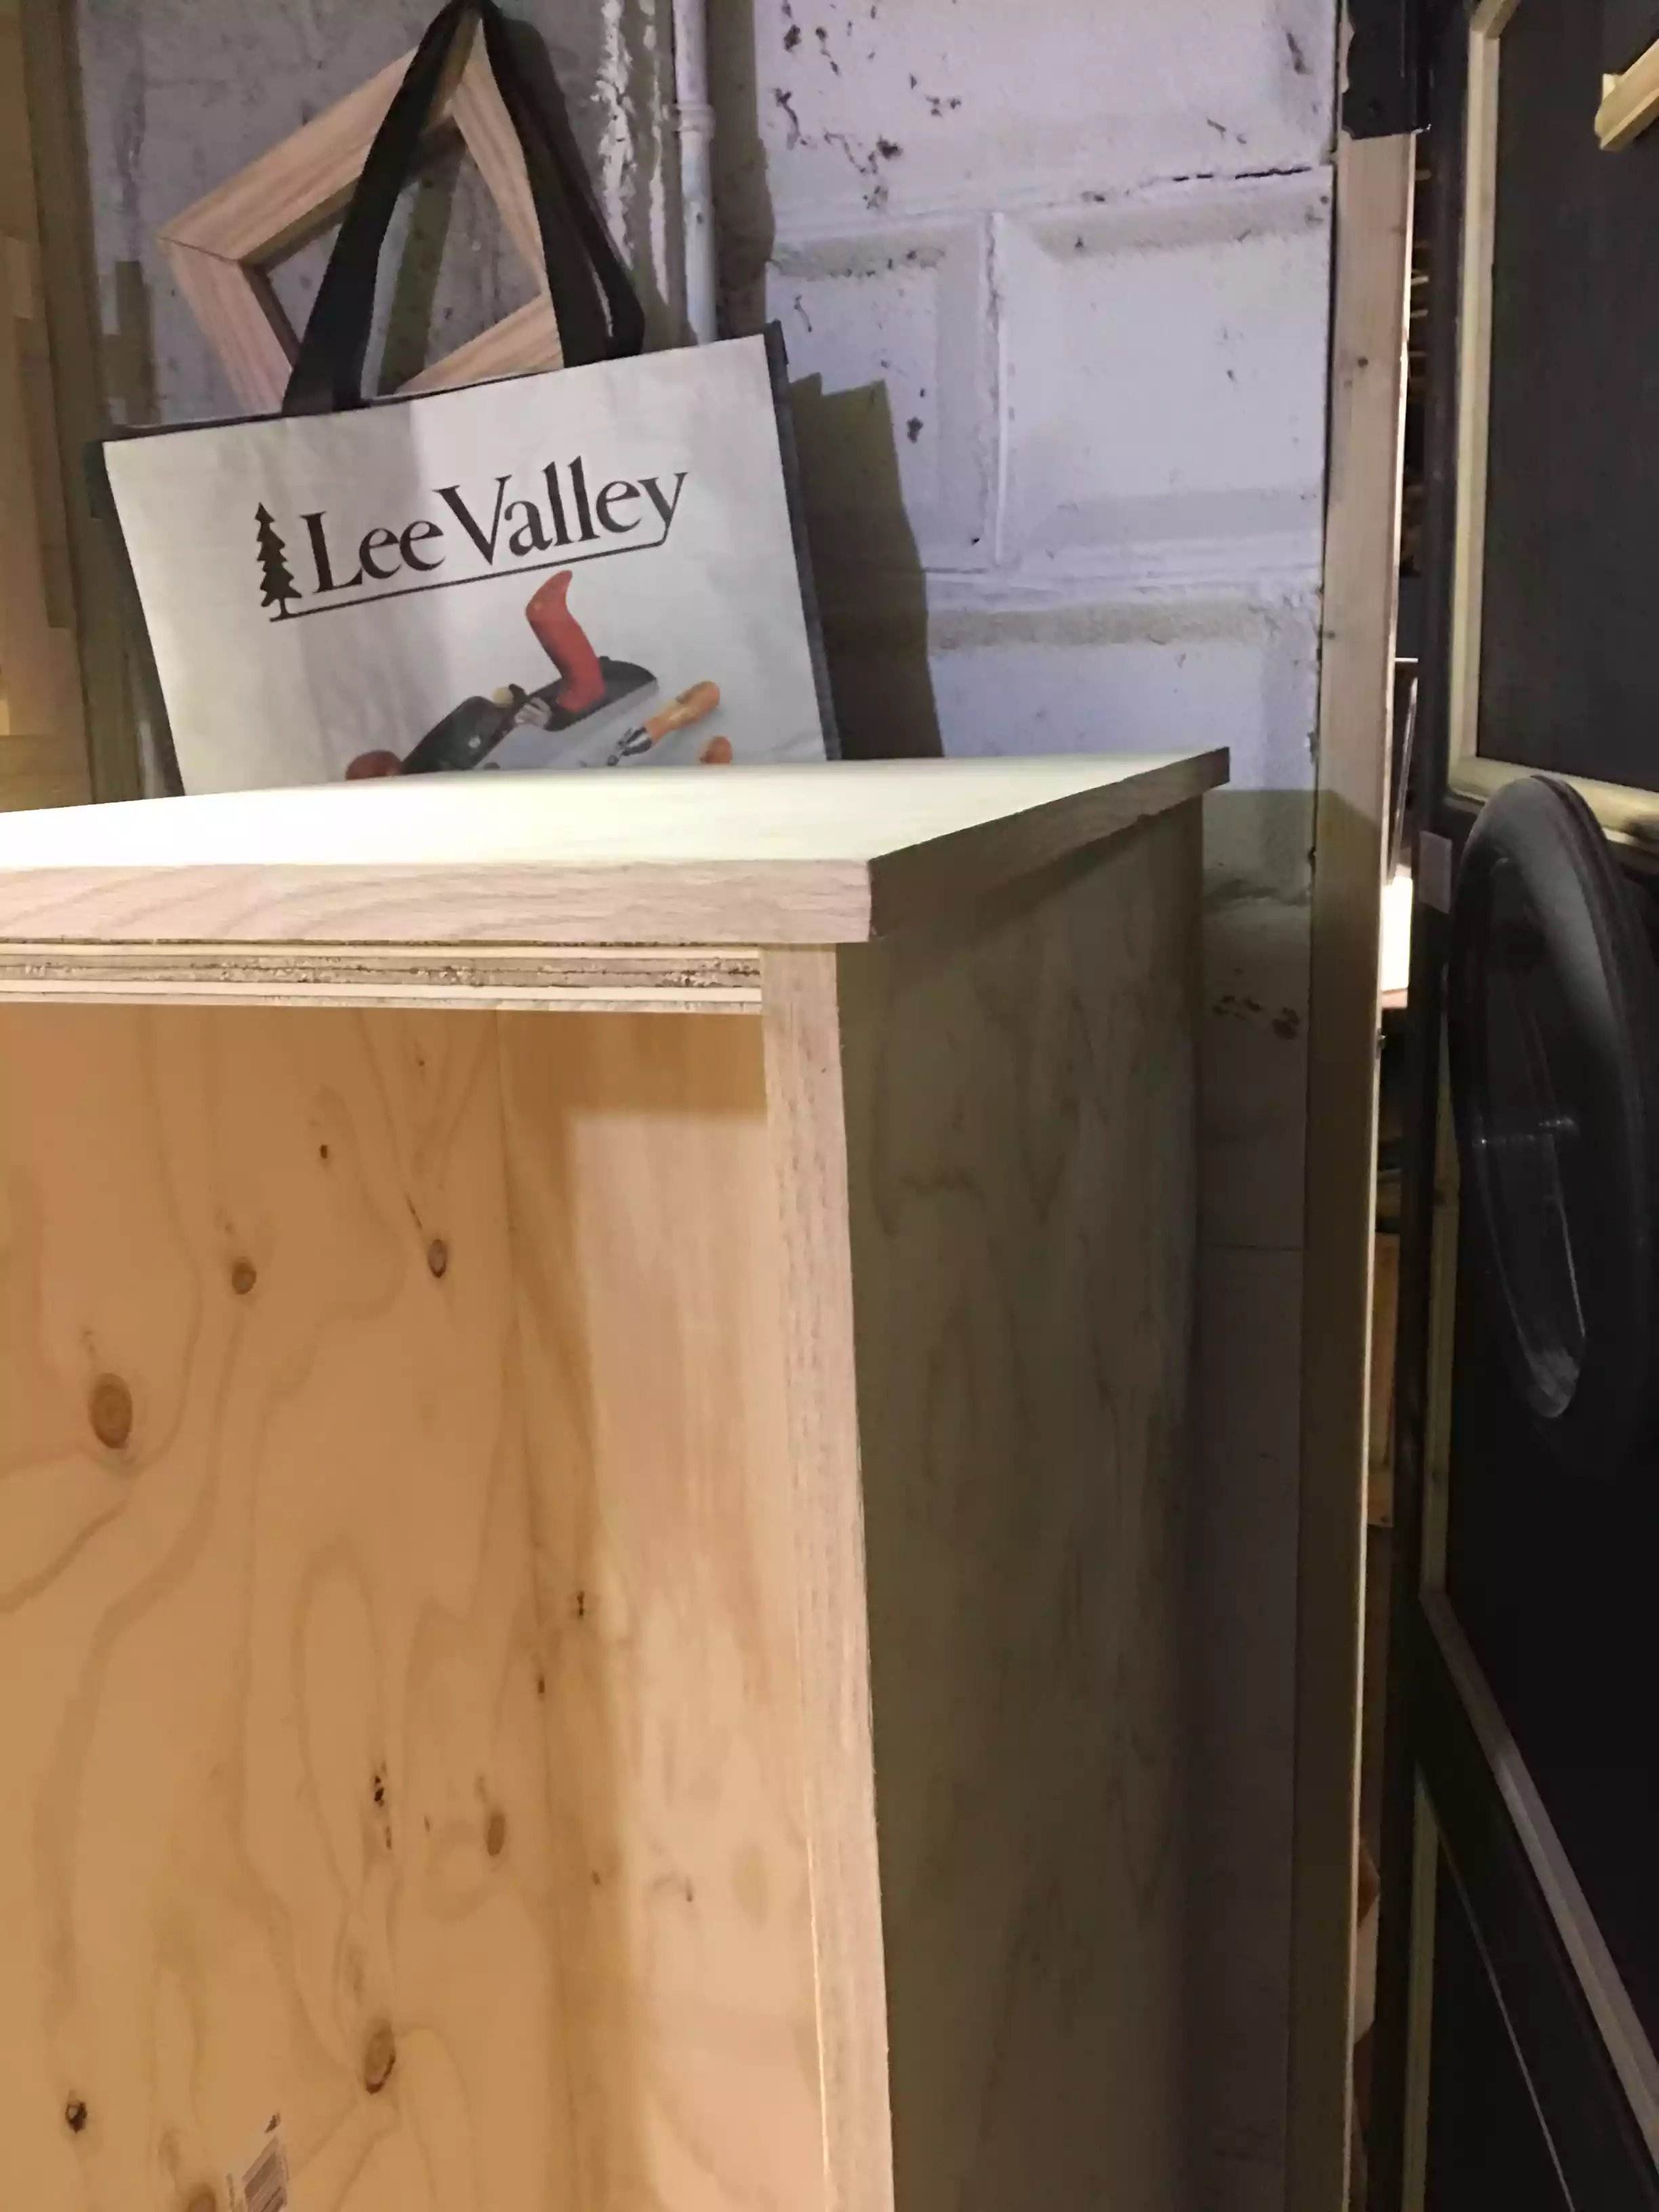
Solid Wood Trim:
Since I was going for the shaker style I used 2×1 solid oak for the drawer fronts and over I think it came out great.. I also used oak veneer iron edging to cover up all them unsightly plywood edges.
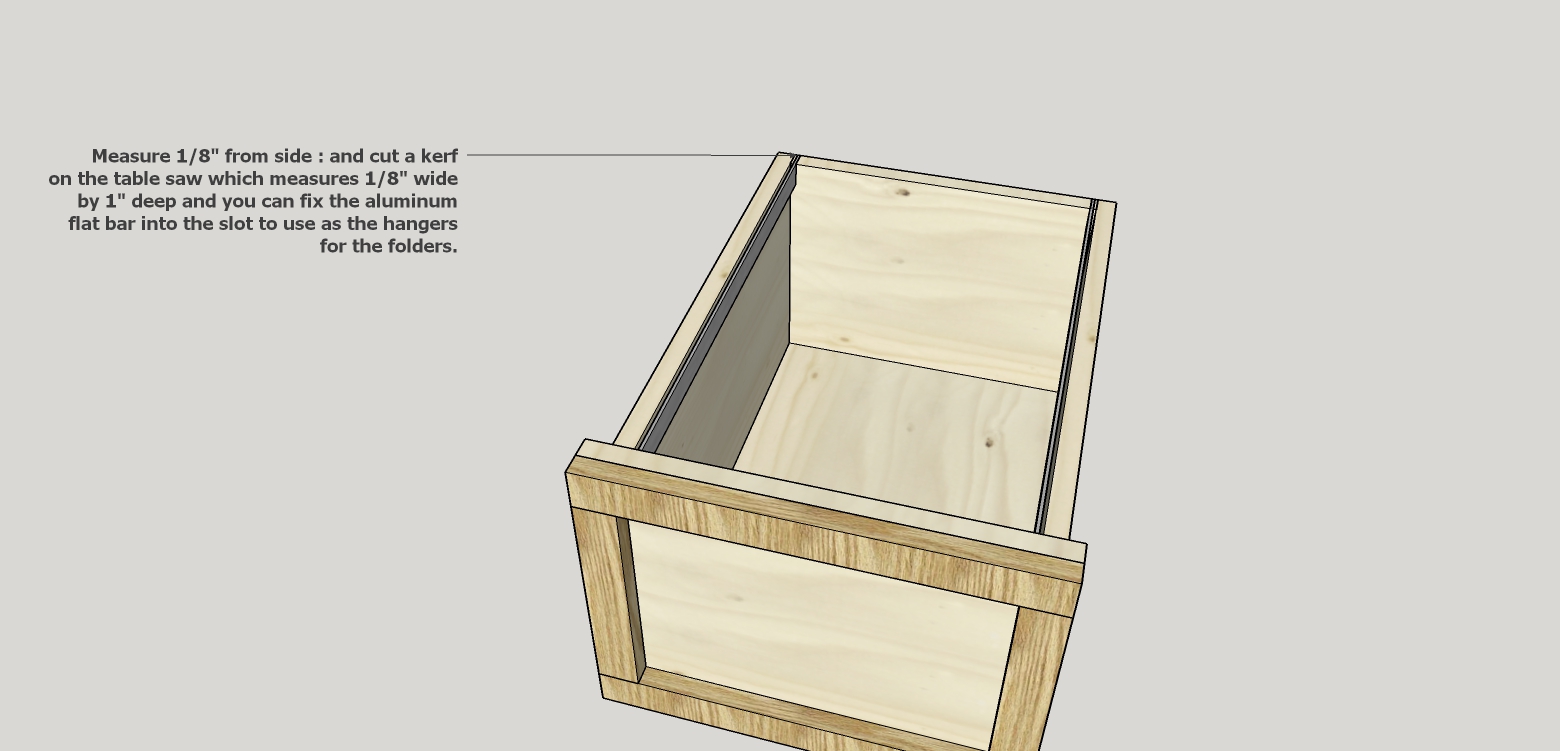
One of the problems I encountered was how to hang the actual files and I scored the internet and came up with a very practical and inexpensive way of achieving that: I purchased some flat 1/8” x 1/2” flat aluminum bar and cut a 1/8’ kerf in the front and back of the drawers and just slotted them home.
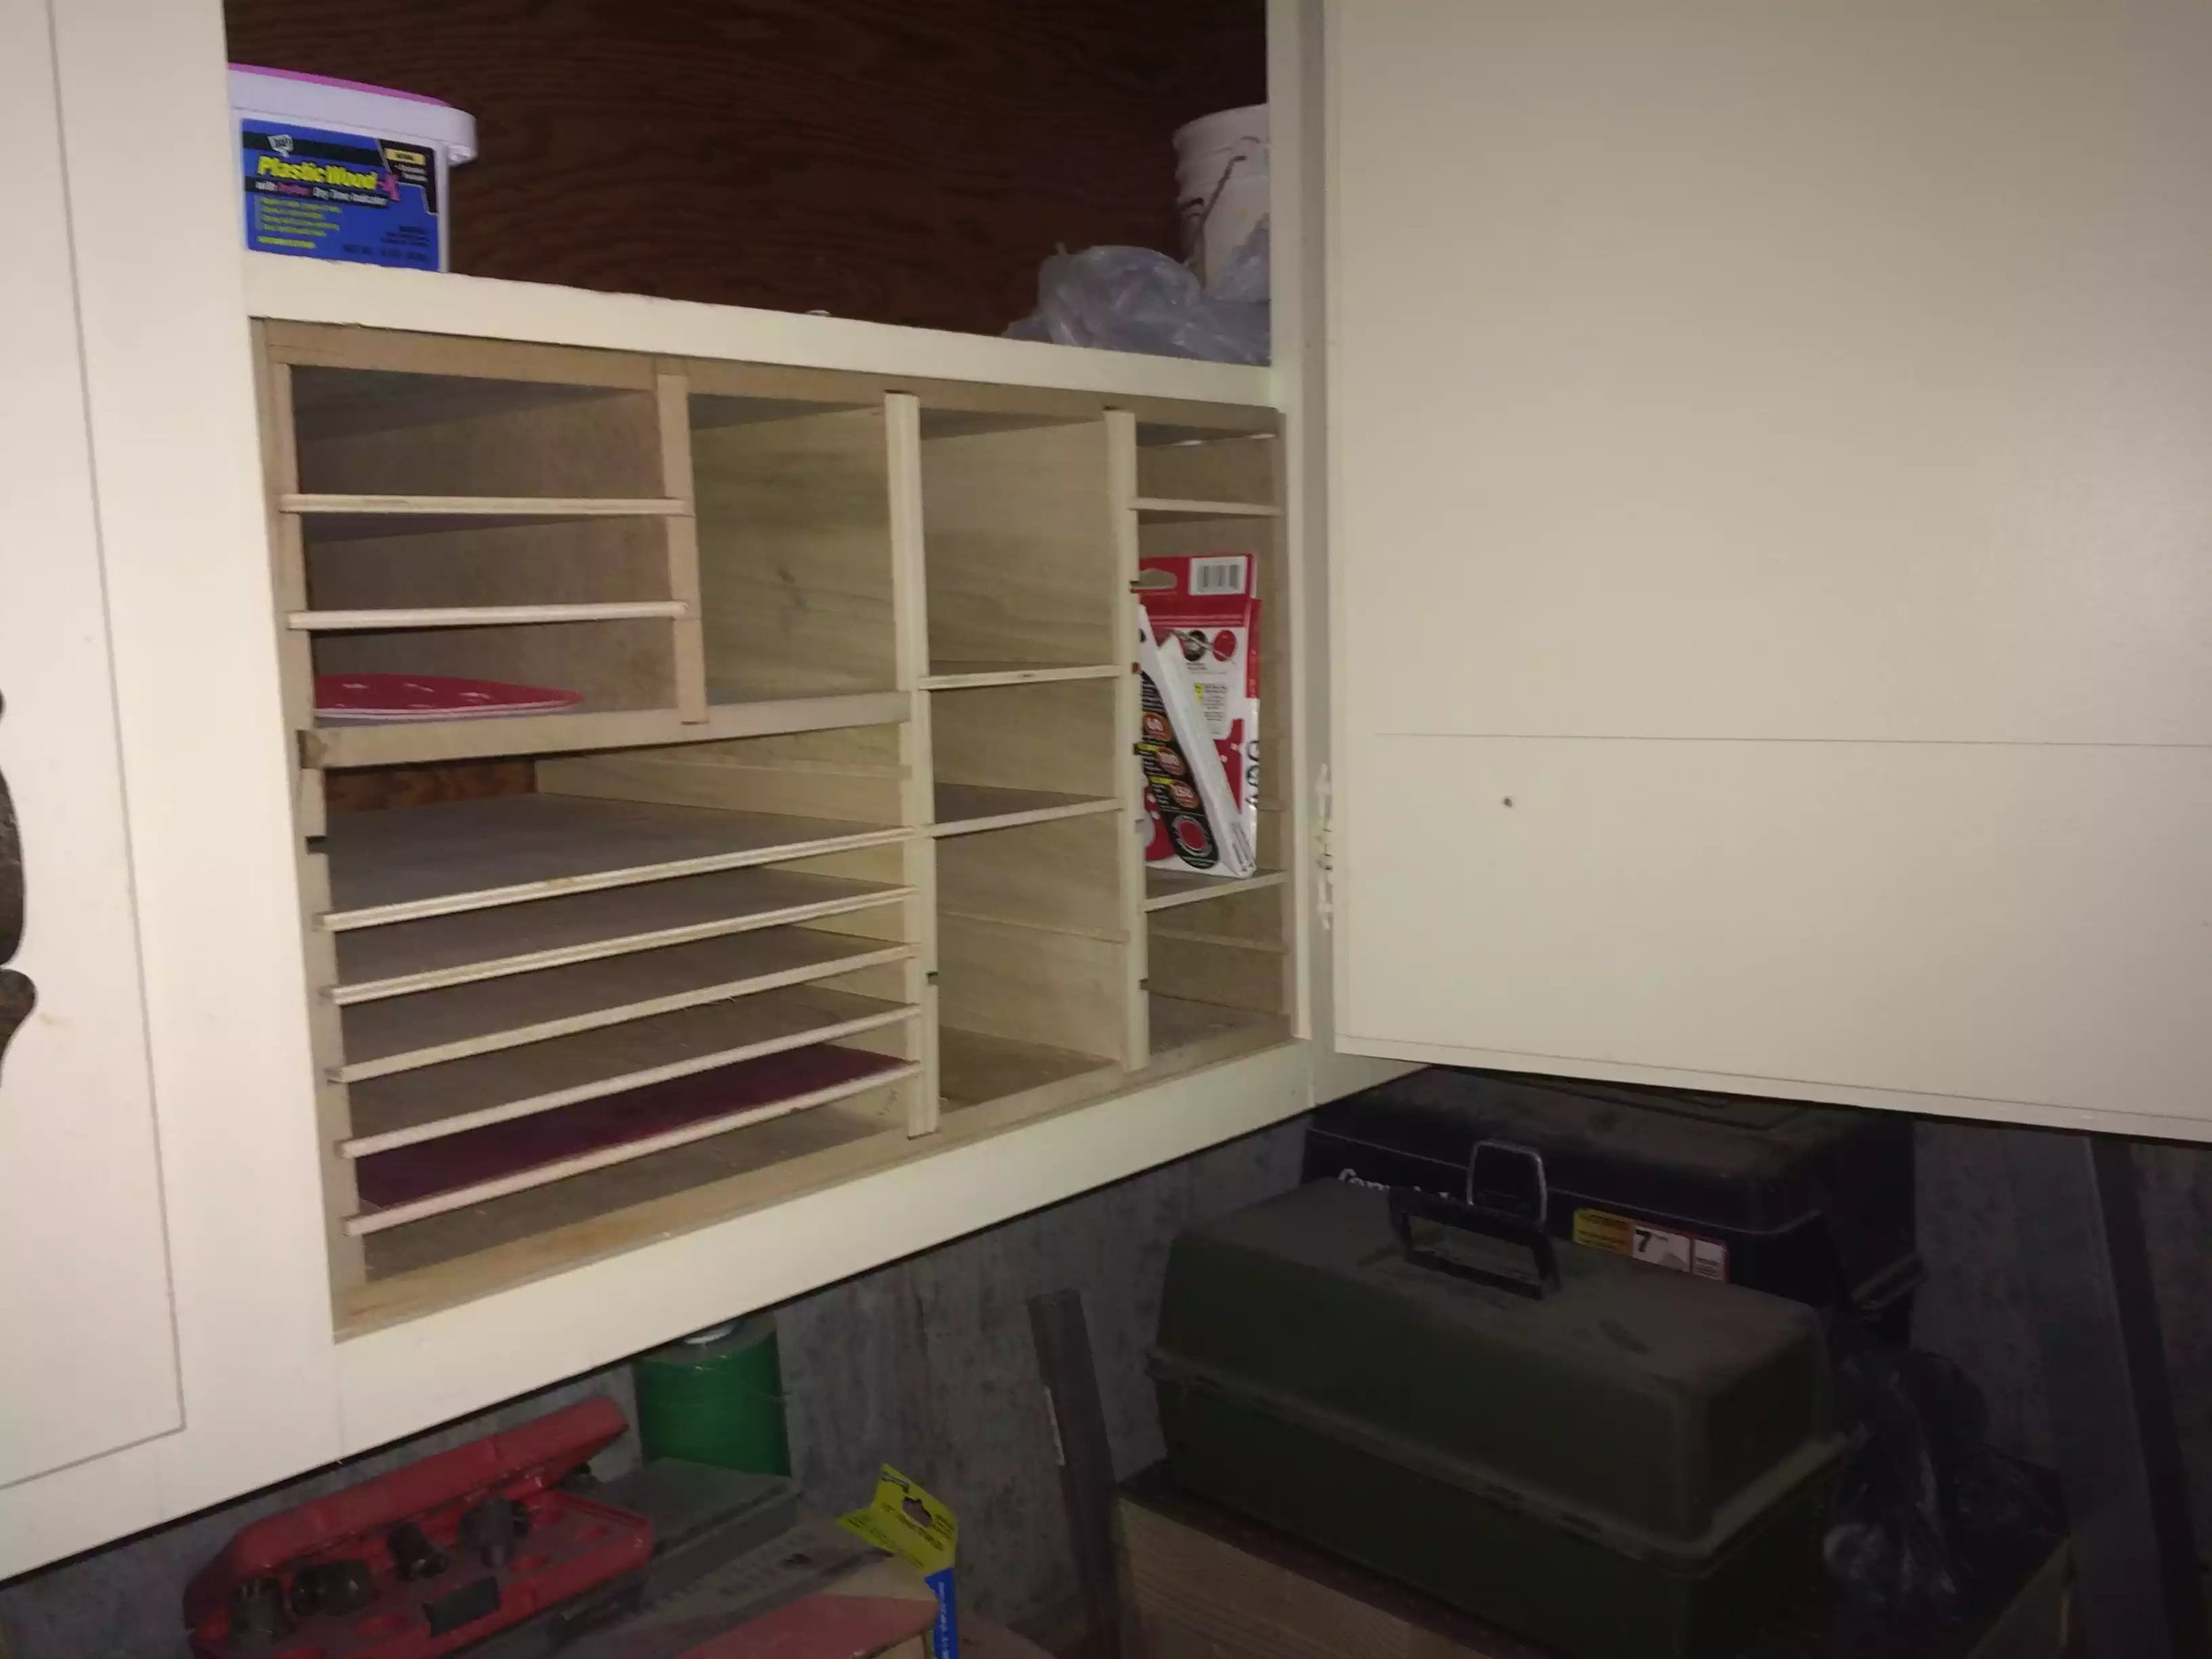
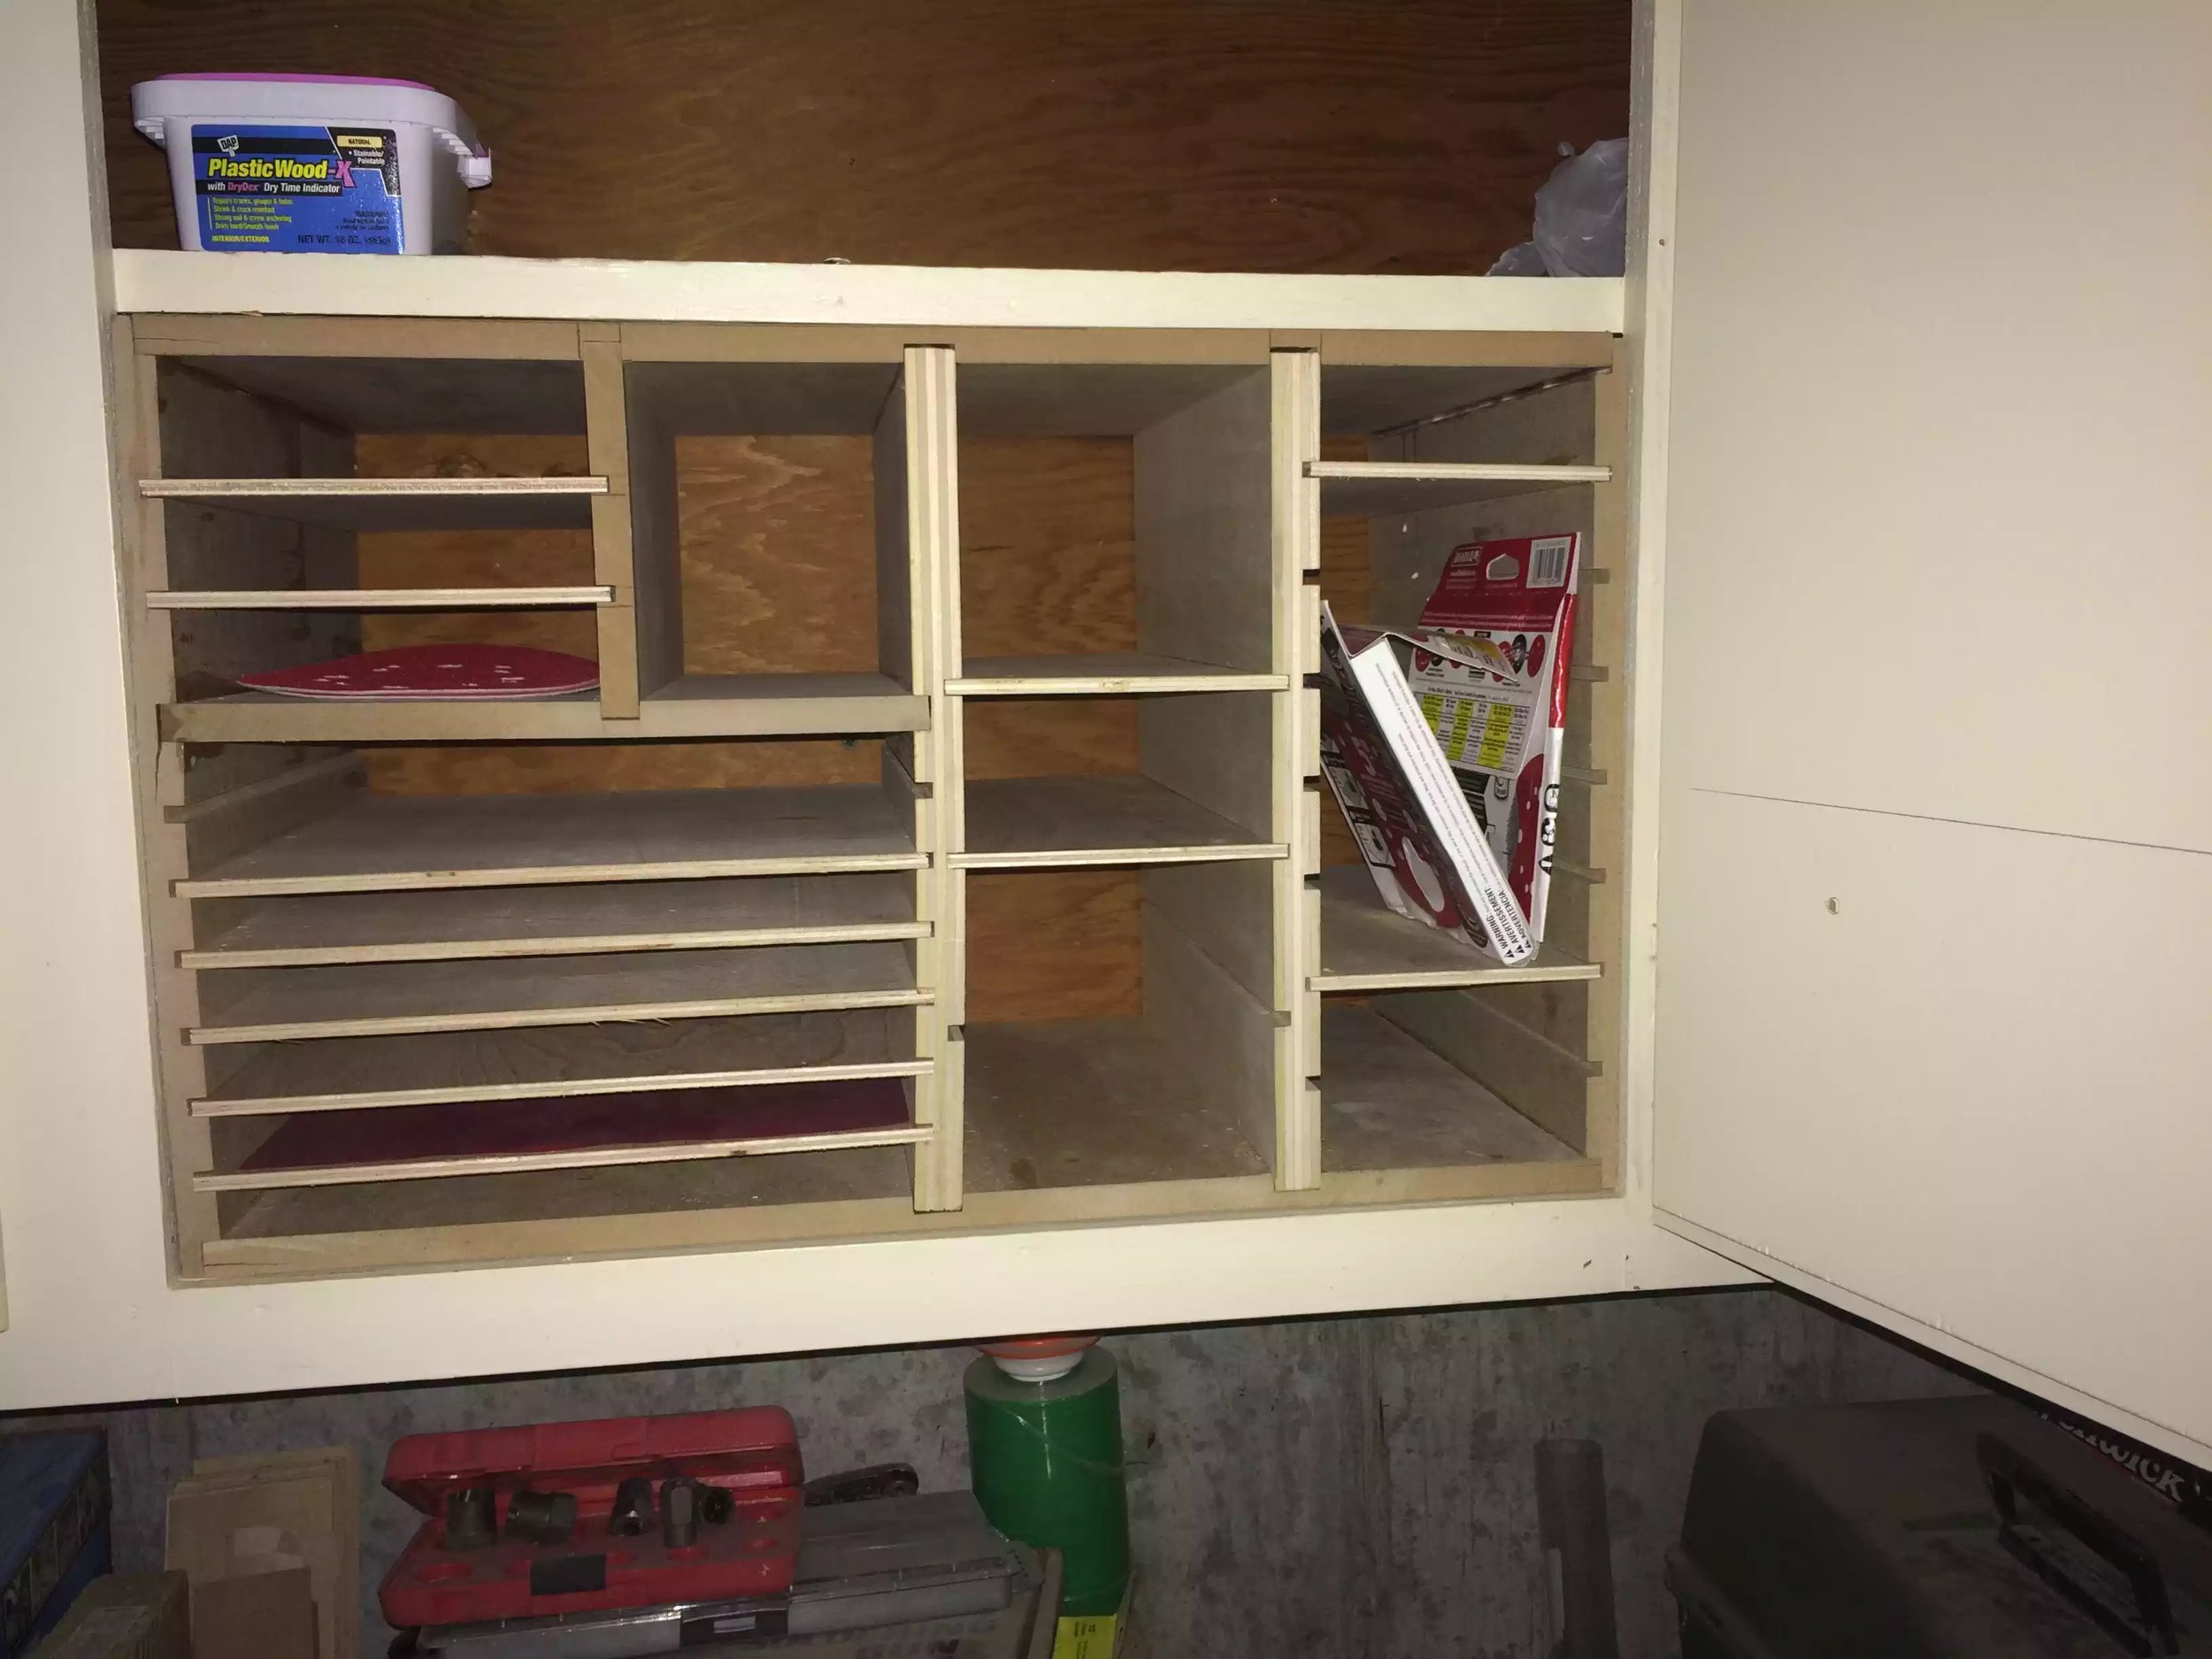
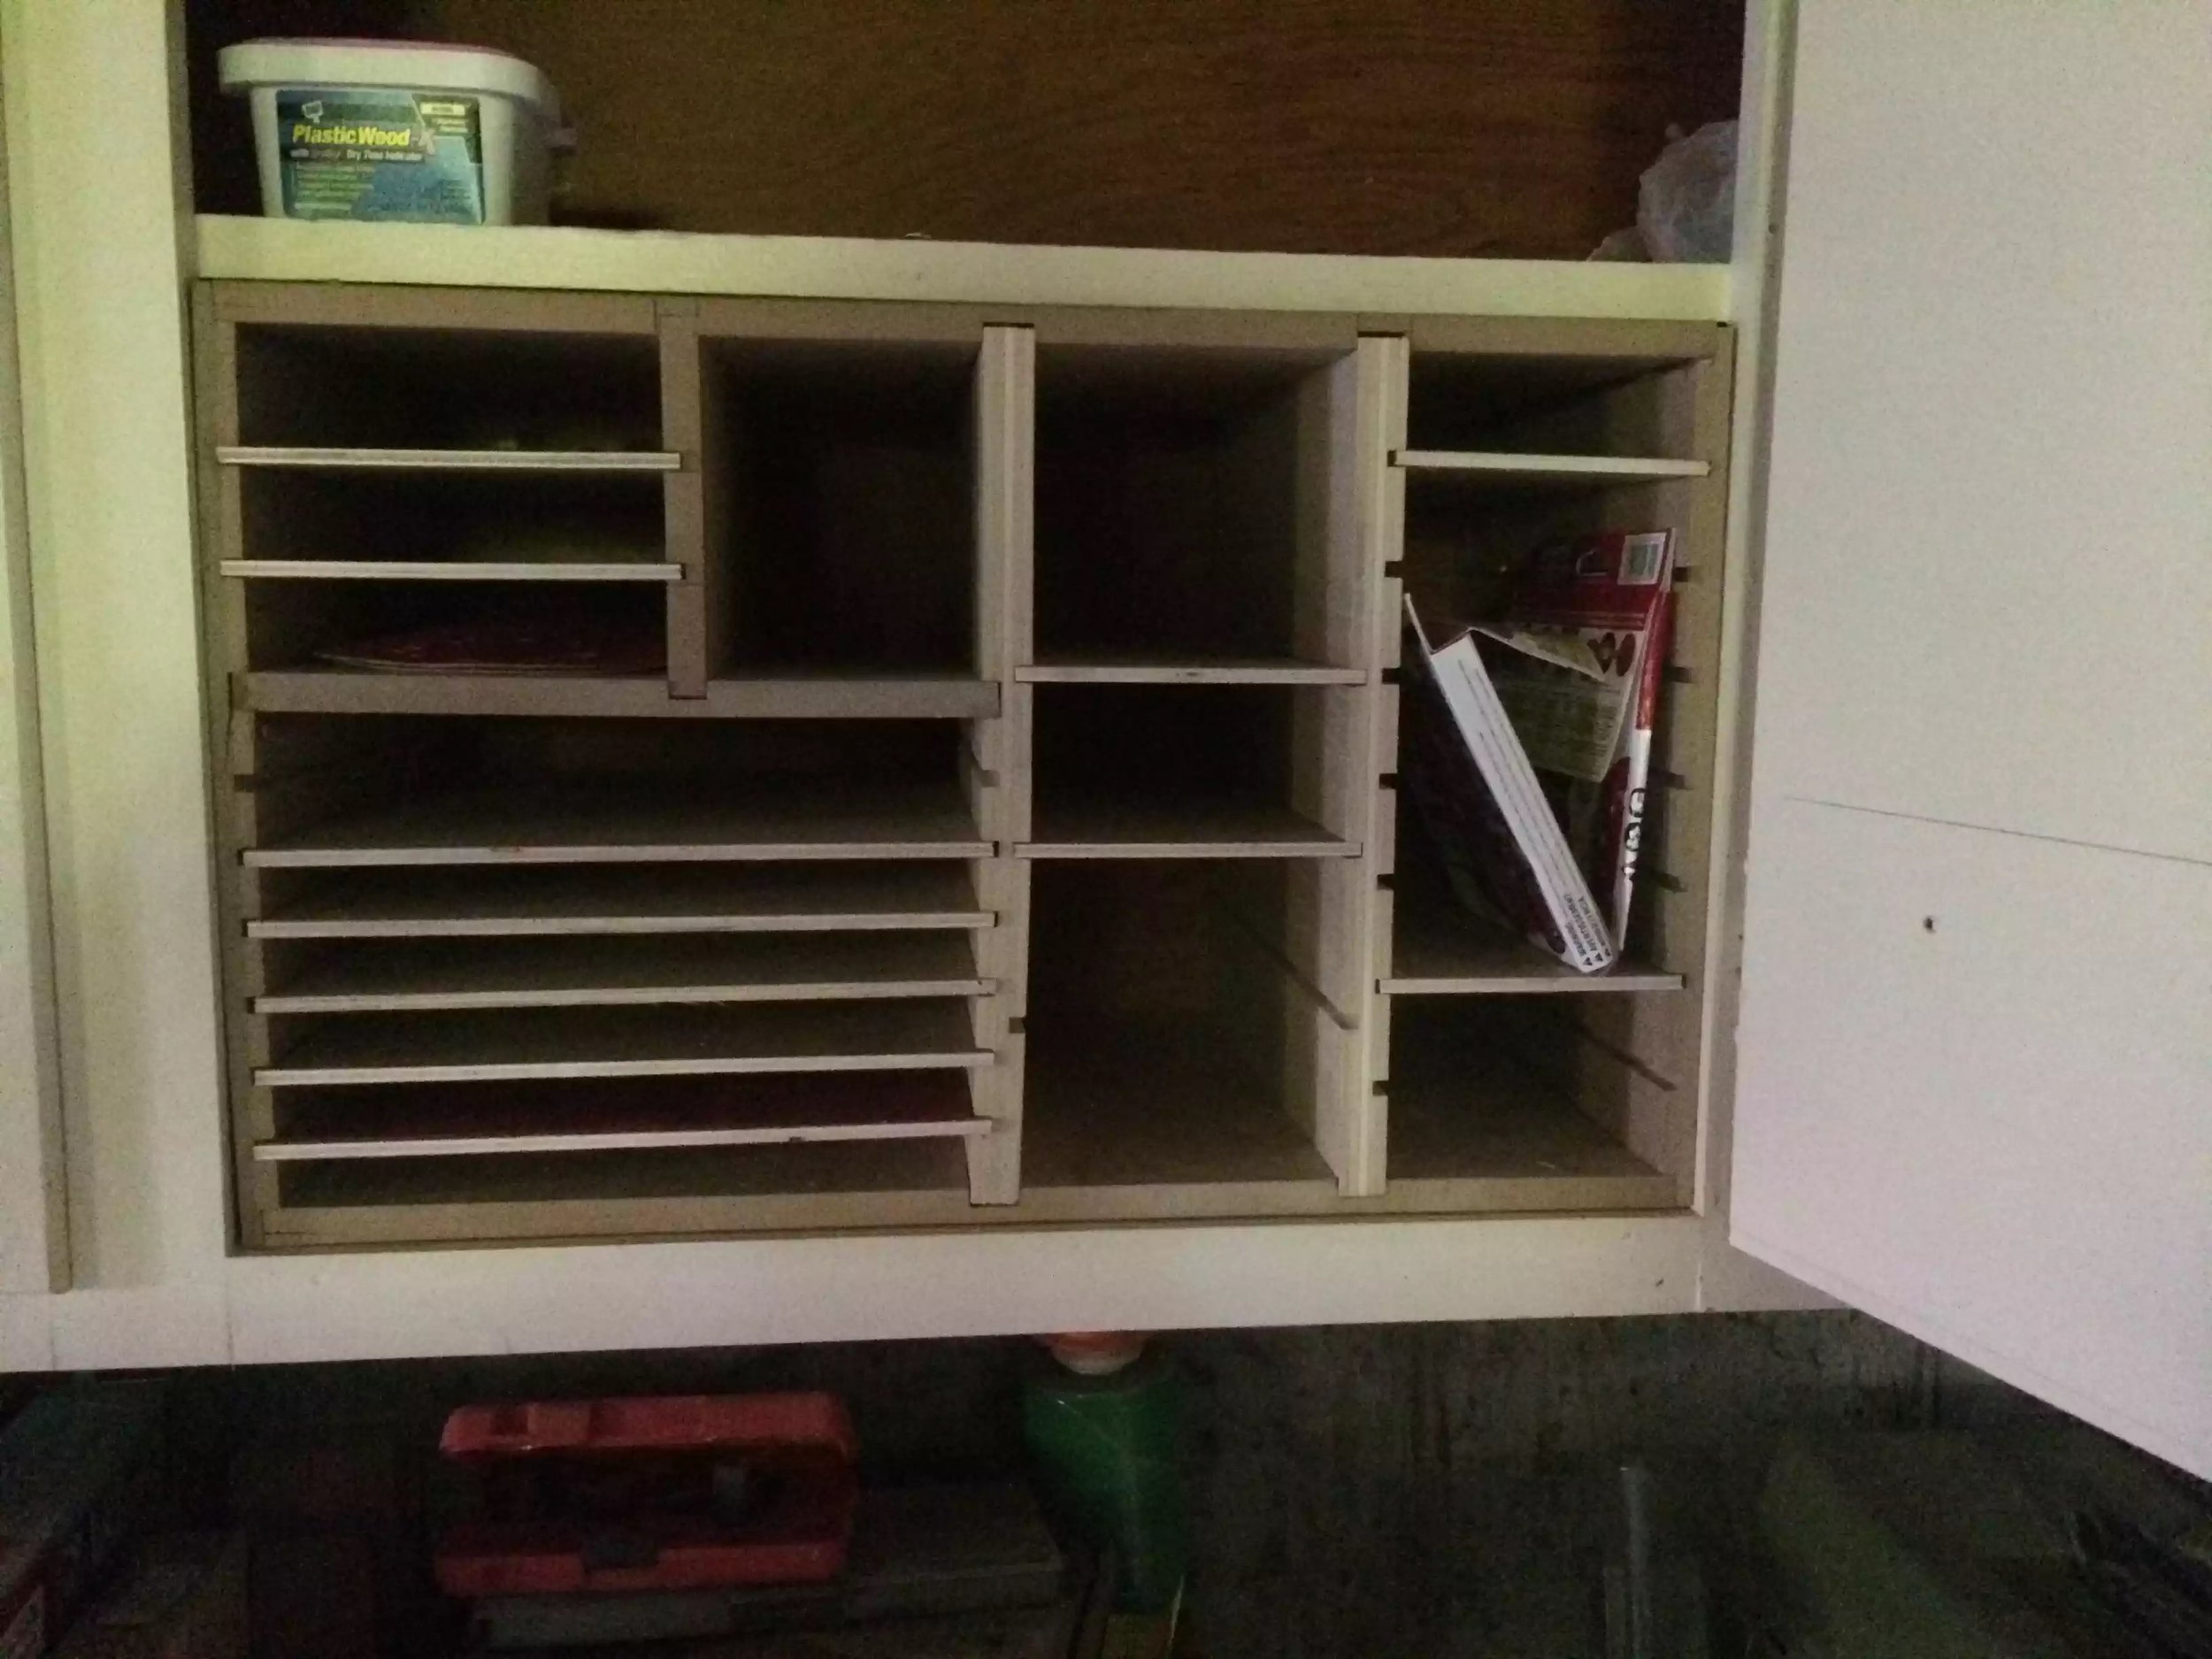
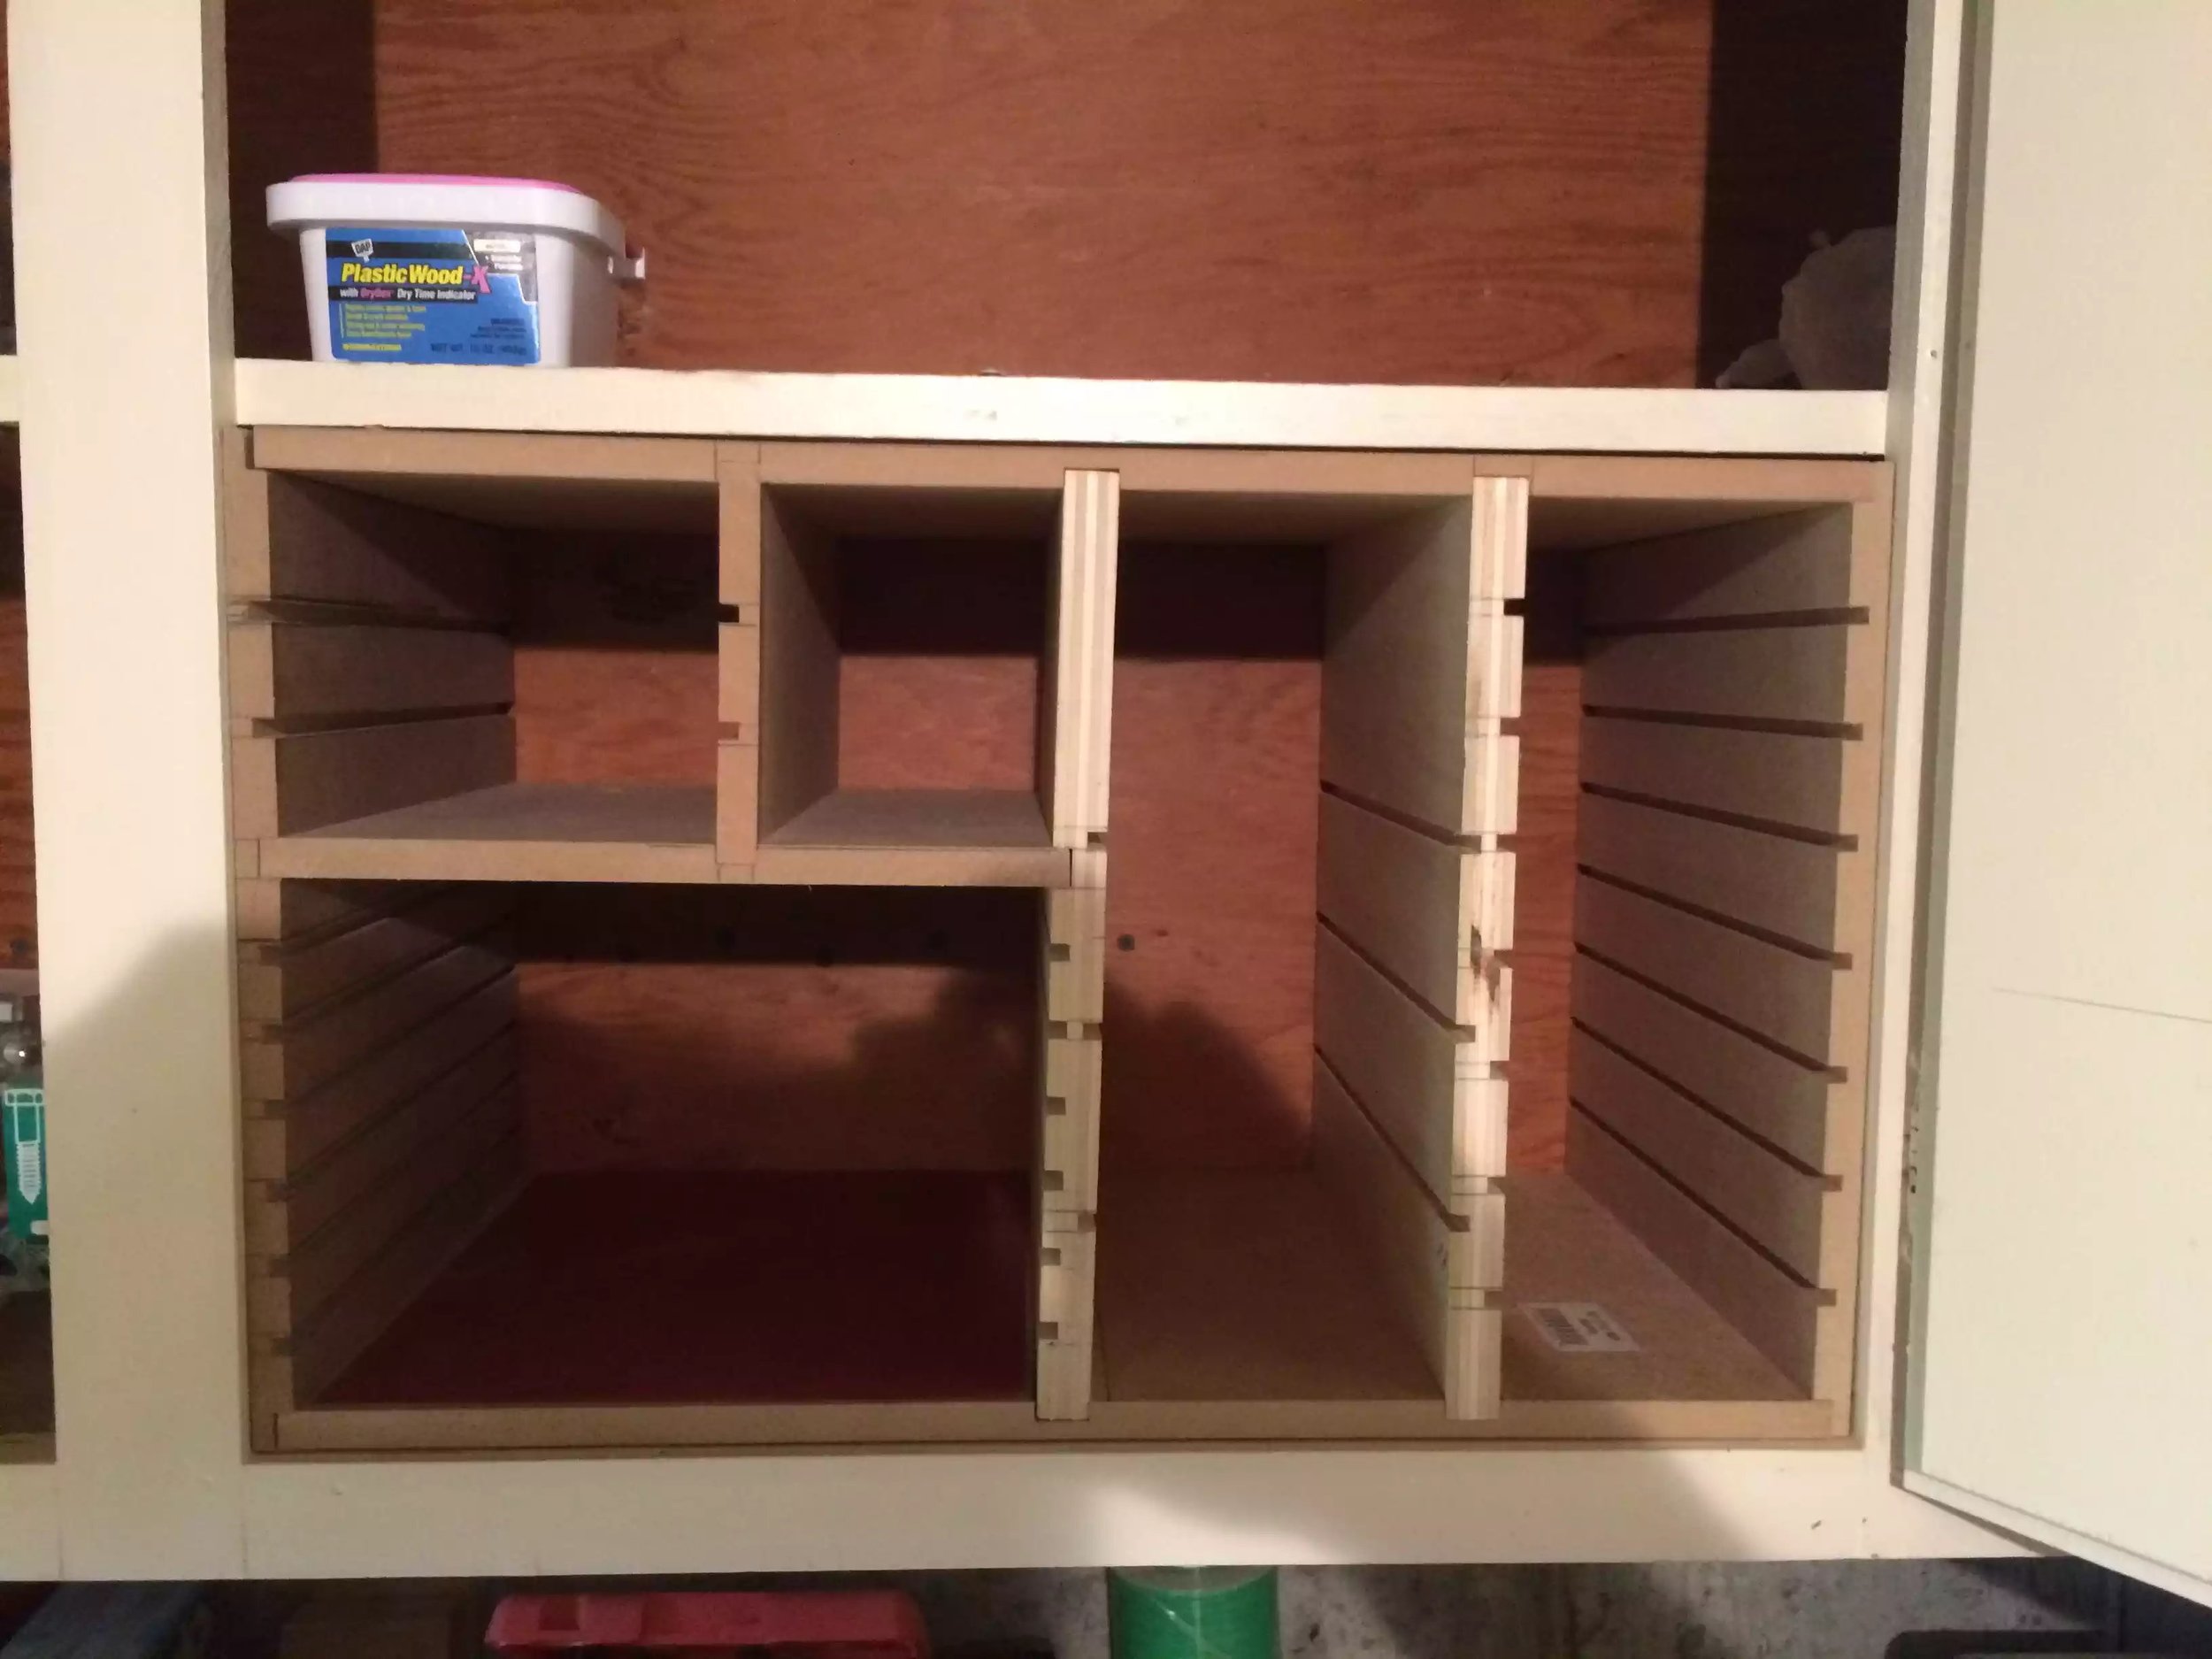
sandpaper storage built-in
(05/2016)
I was very tired of looking for sandpaper for various projects & machines and they seemed to be everywhere they shouldnt be.
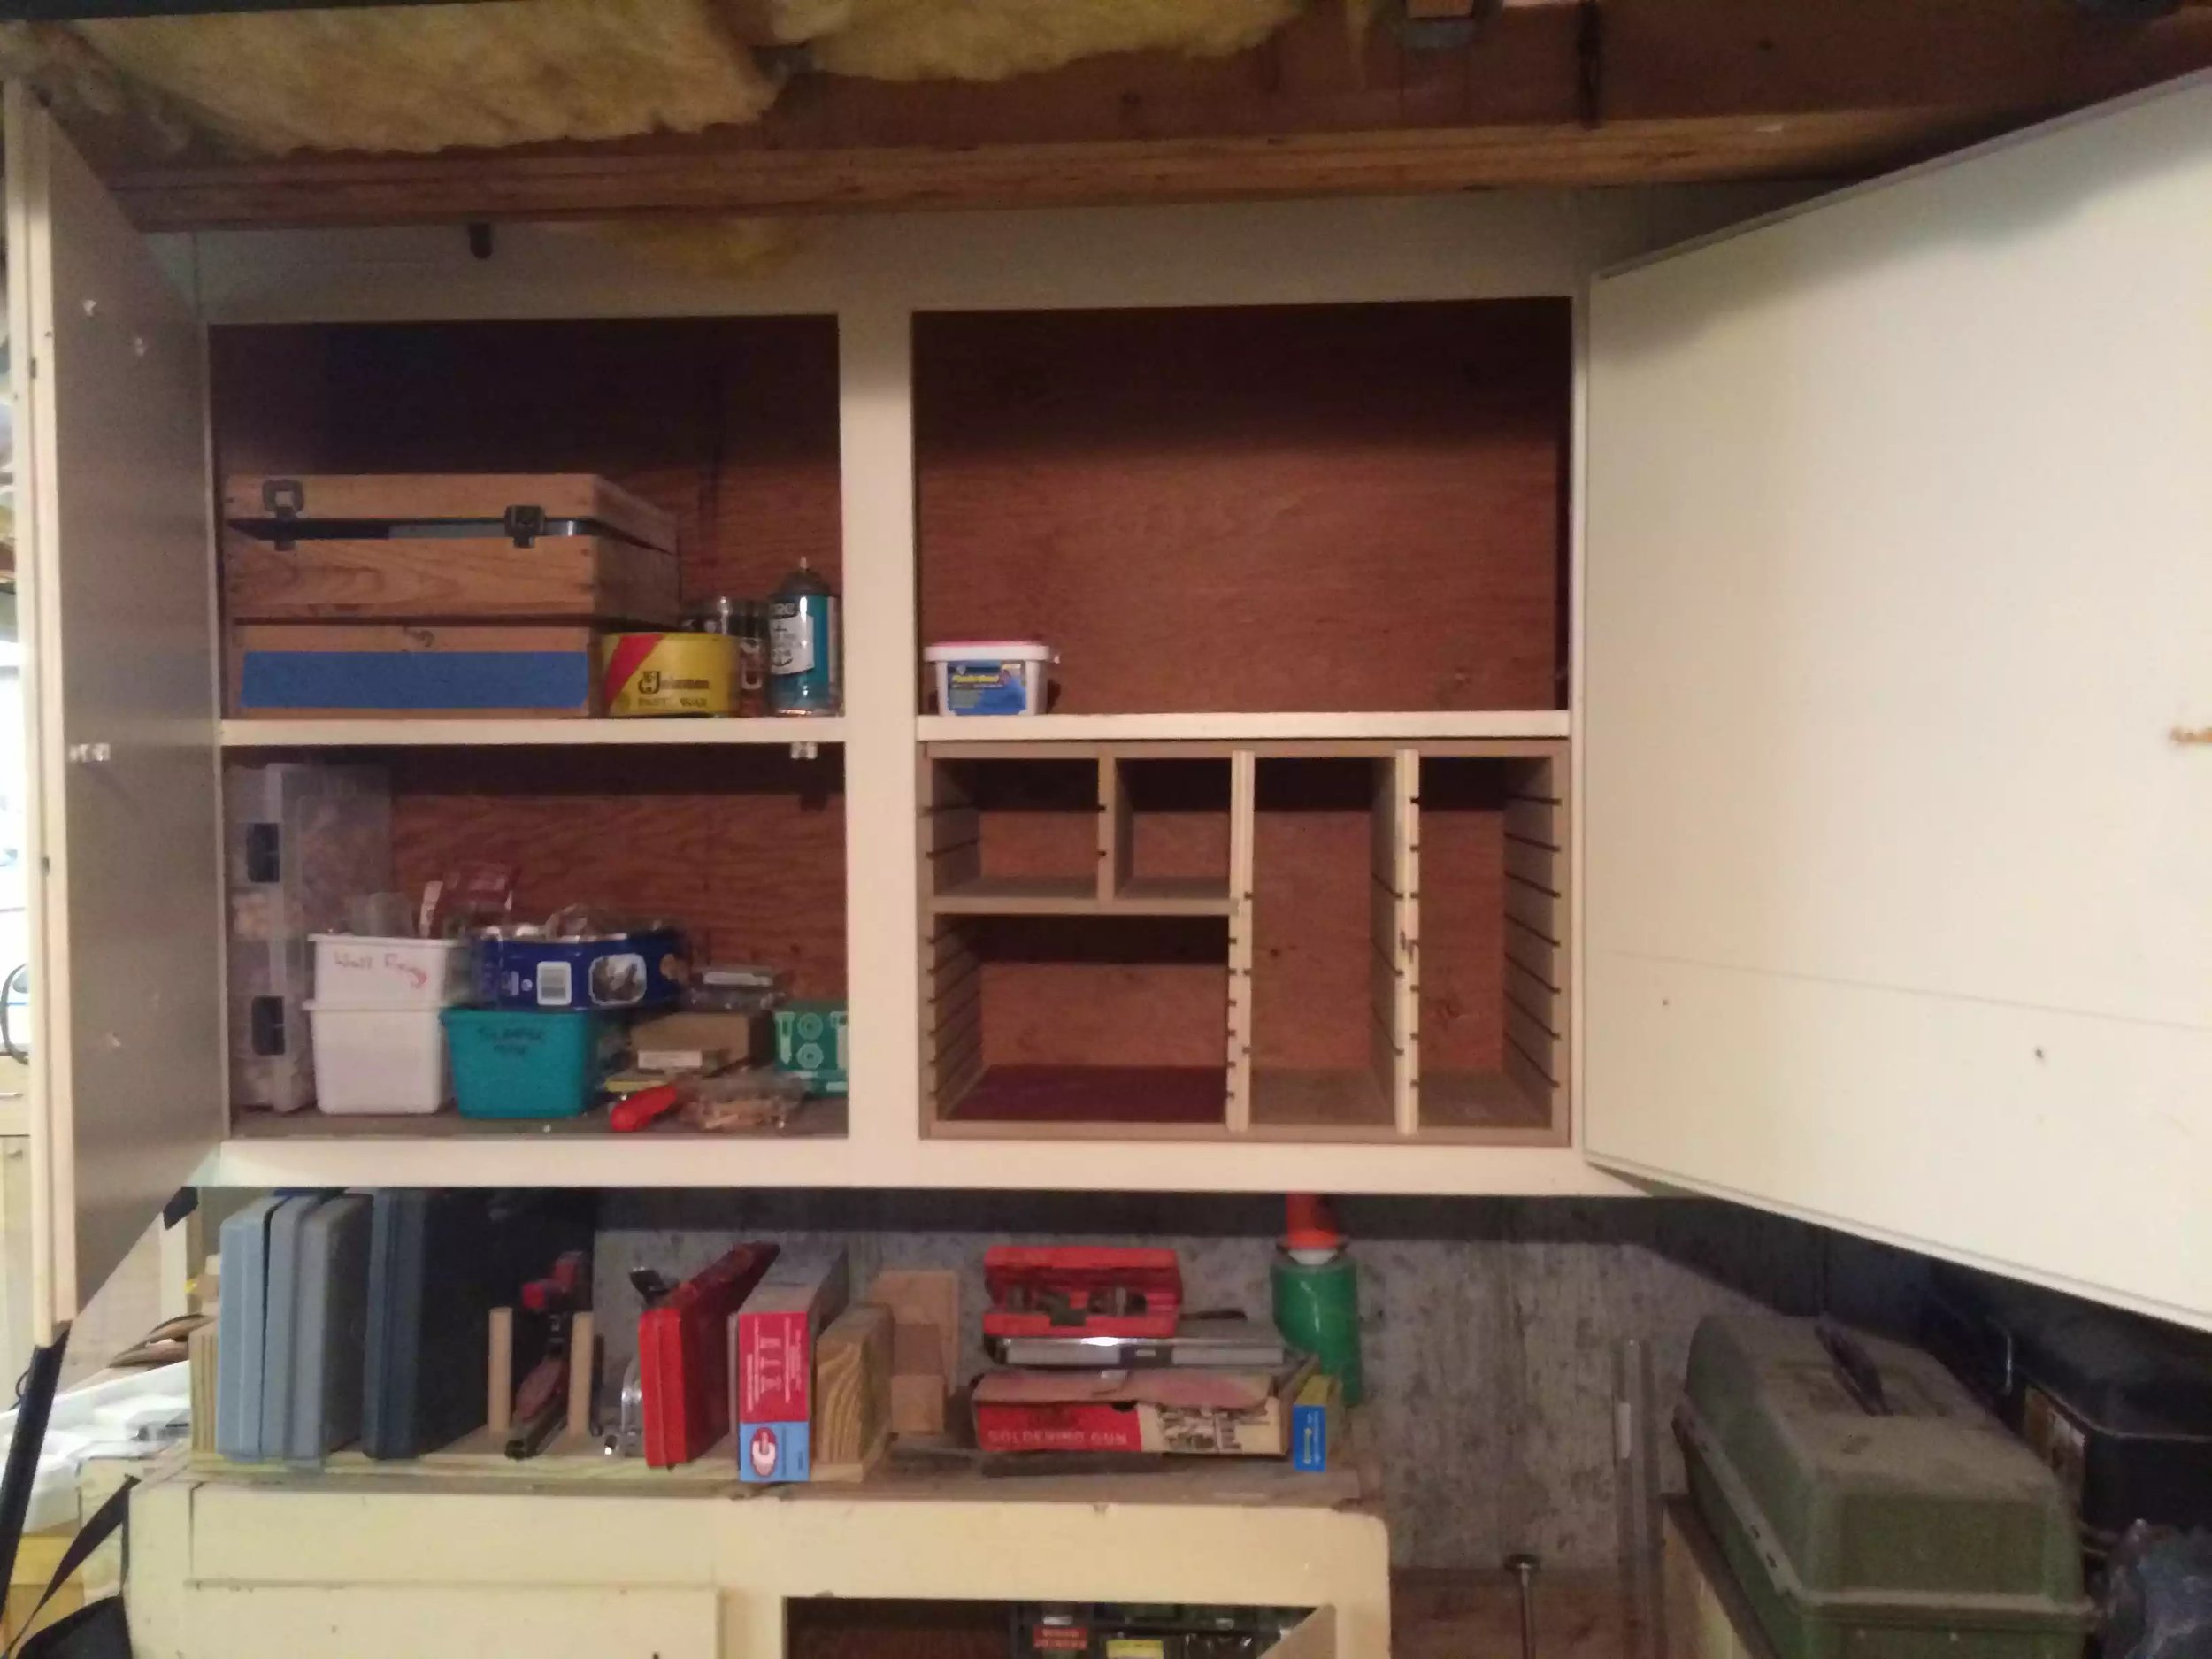
So I found this idea on Pinterest and I tweeted the dimensions so as that it would fit in a misused wall cabinet that I have, I’ll try and repurpose these 2 double wall cabinets that I have for better utilitization.
- Anyway back to the unit, it’s made of 1/2” MDF ( not my choice material but I was using scraps and need to clear out and make room for new material, the outer box is MDF but the divider pieces would be. Mix of 1/2” MDF and 3/4” plywood… Again what I had on hand.
- The dimensions are about 12” high by 20” wide x 11” deep.
- I set the organizer so as that it would accommodate all forms of sandpaper, full sheets, orbital sander discs, and belt sander belts.
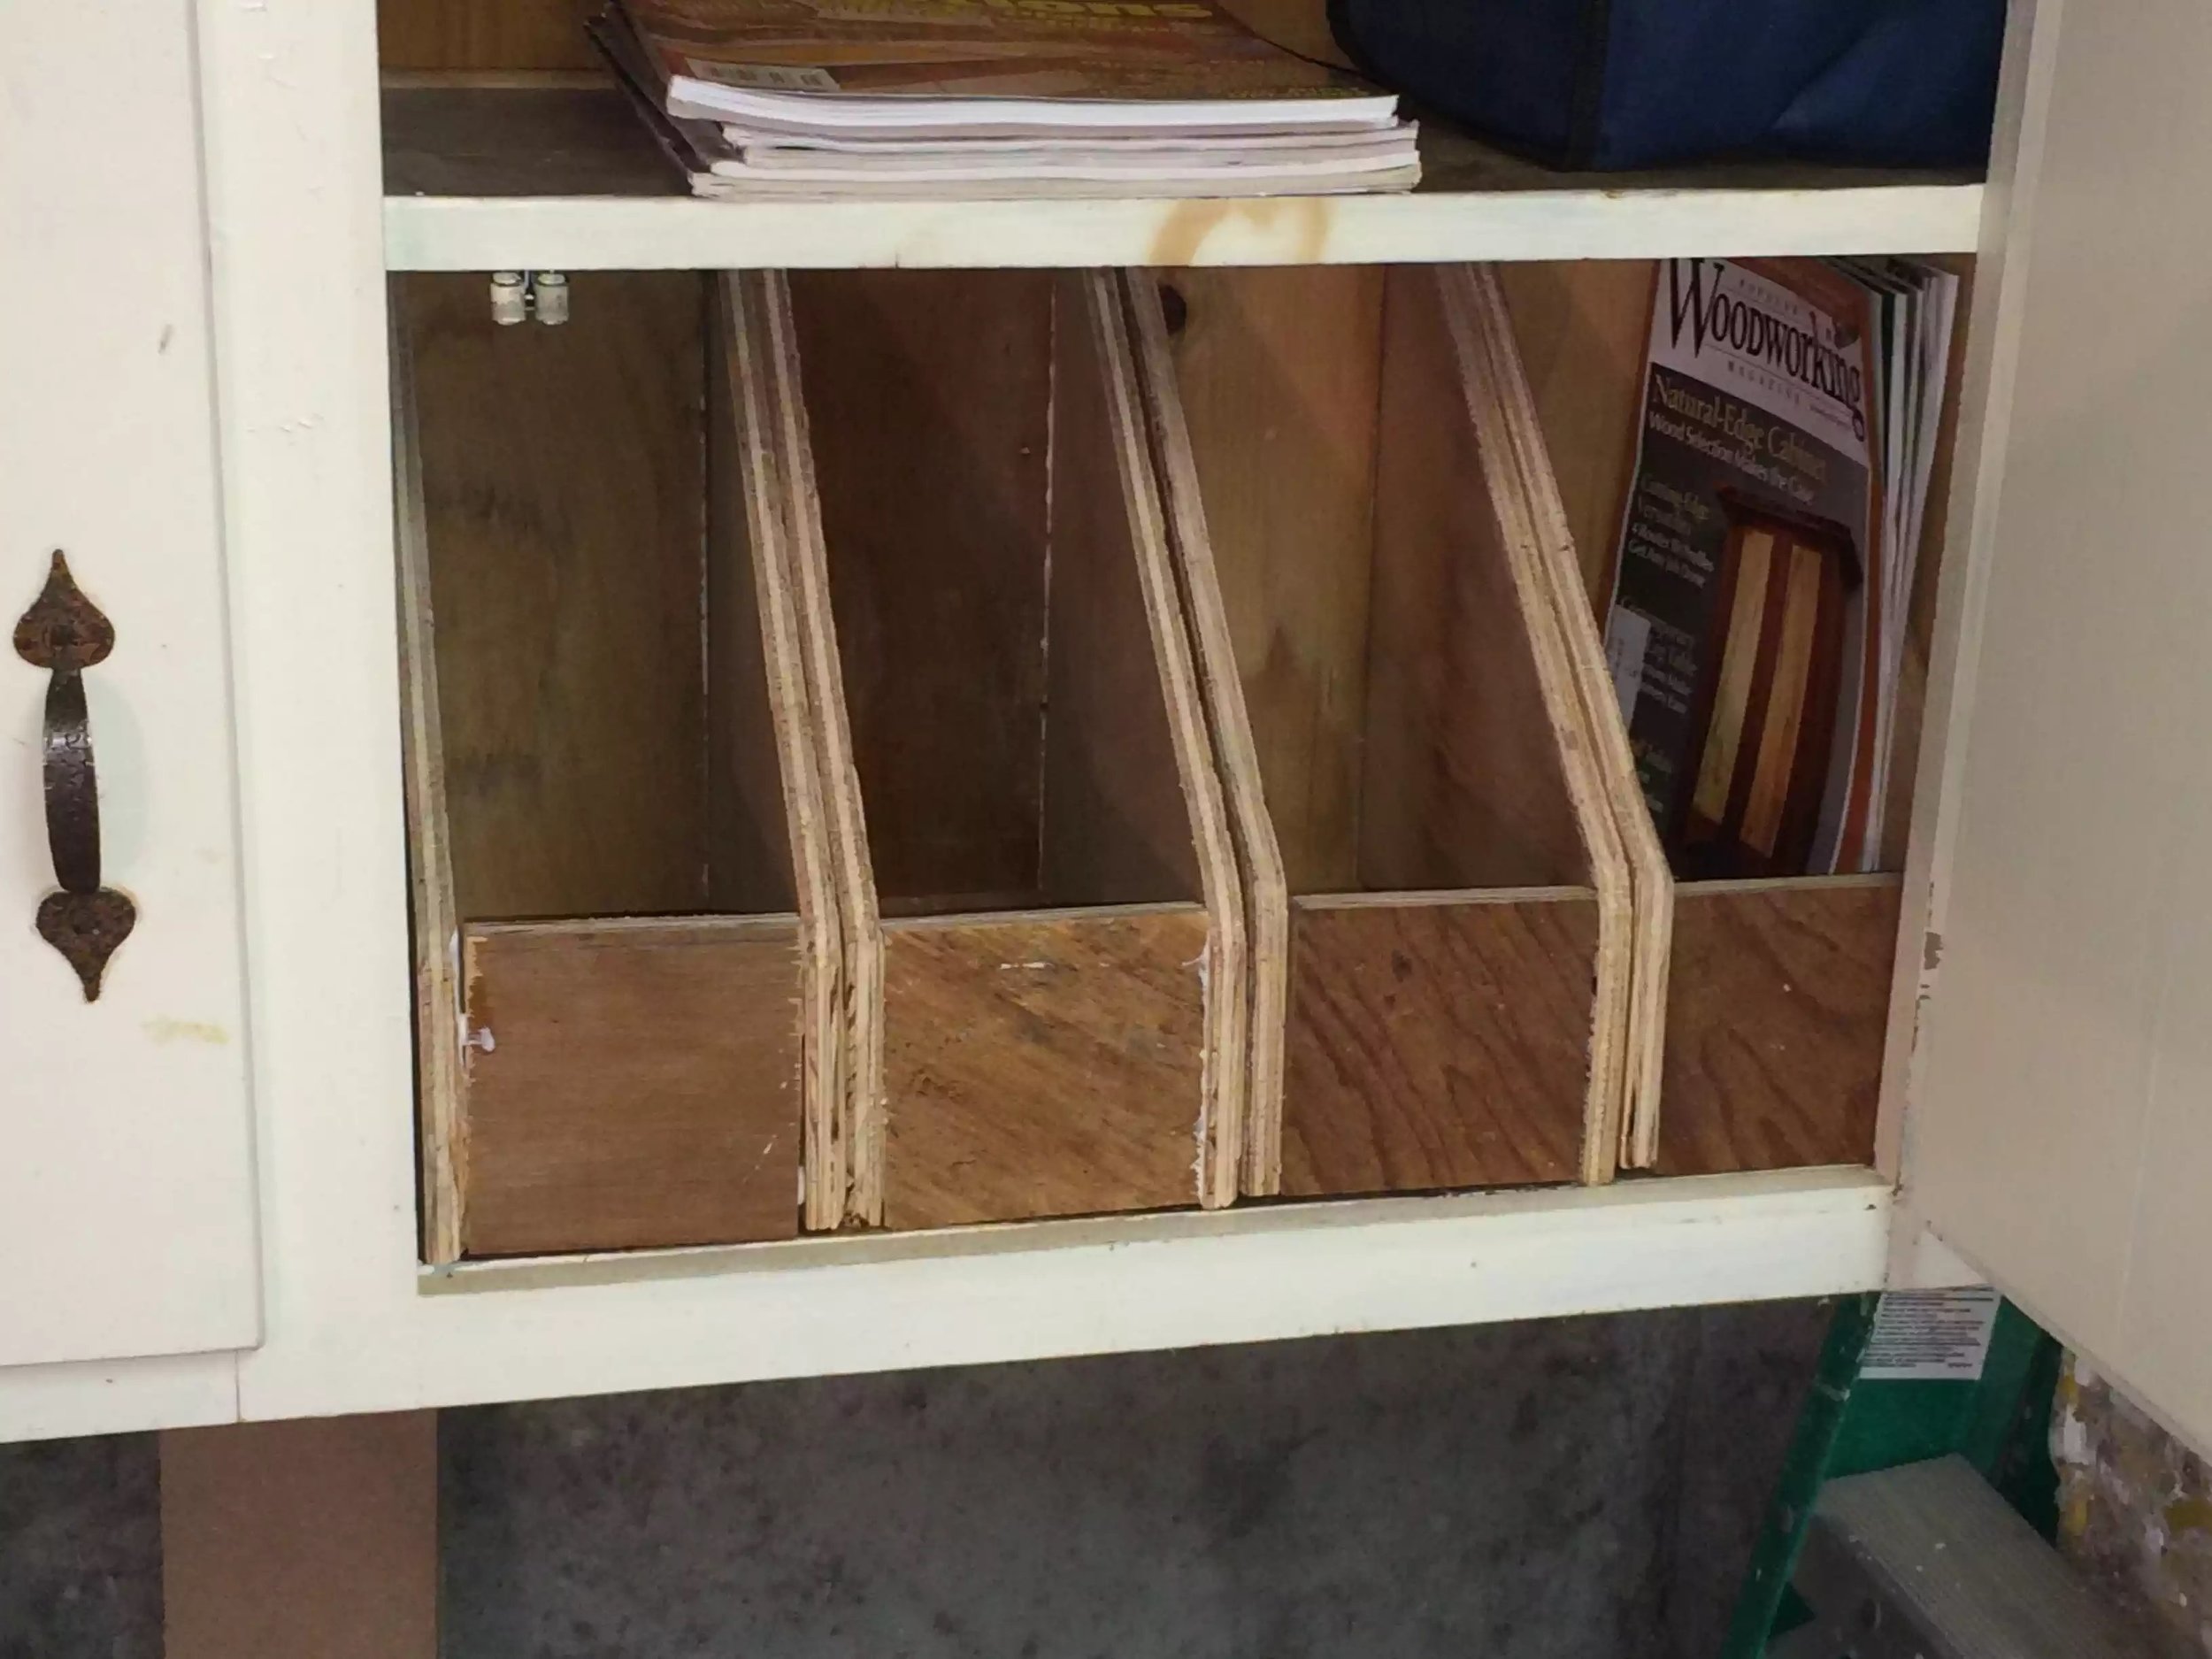
- The entire unit is made of a series of dados and rabbits and all the as paper rests on 1/4” plywood sheets that can be pulled out of the unit for easy access.
I know it’s not pretty but it’s extremely functional and I got a lot of experience using my dado stack..
Thanks for looking and if you need a organization idea for sandpaper feel free to use this one.
MAGAZINE STORAGE BOXES
(01/2016)

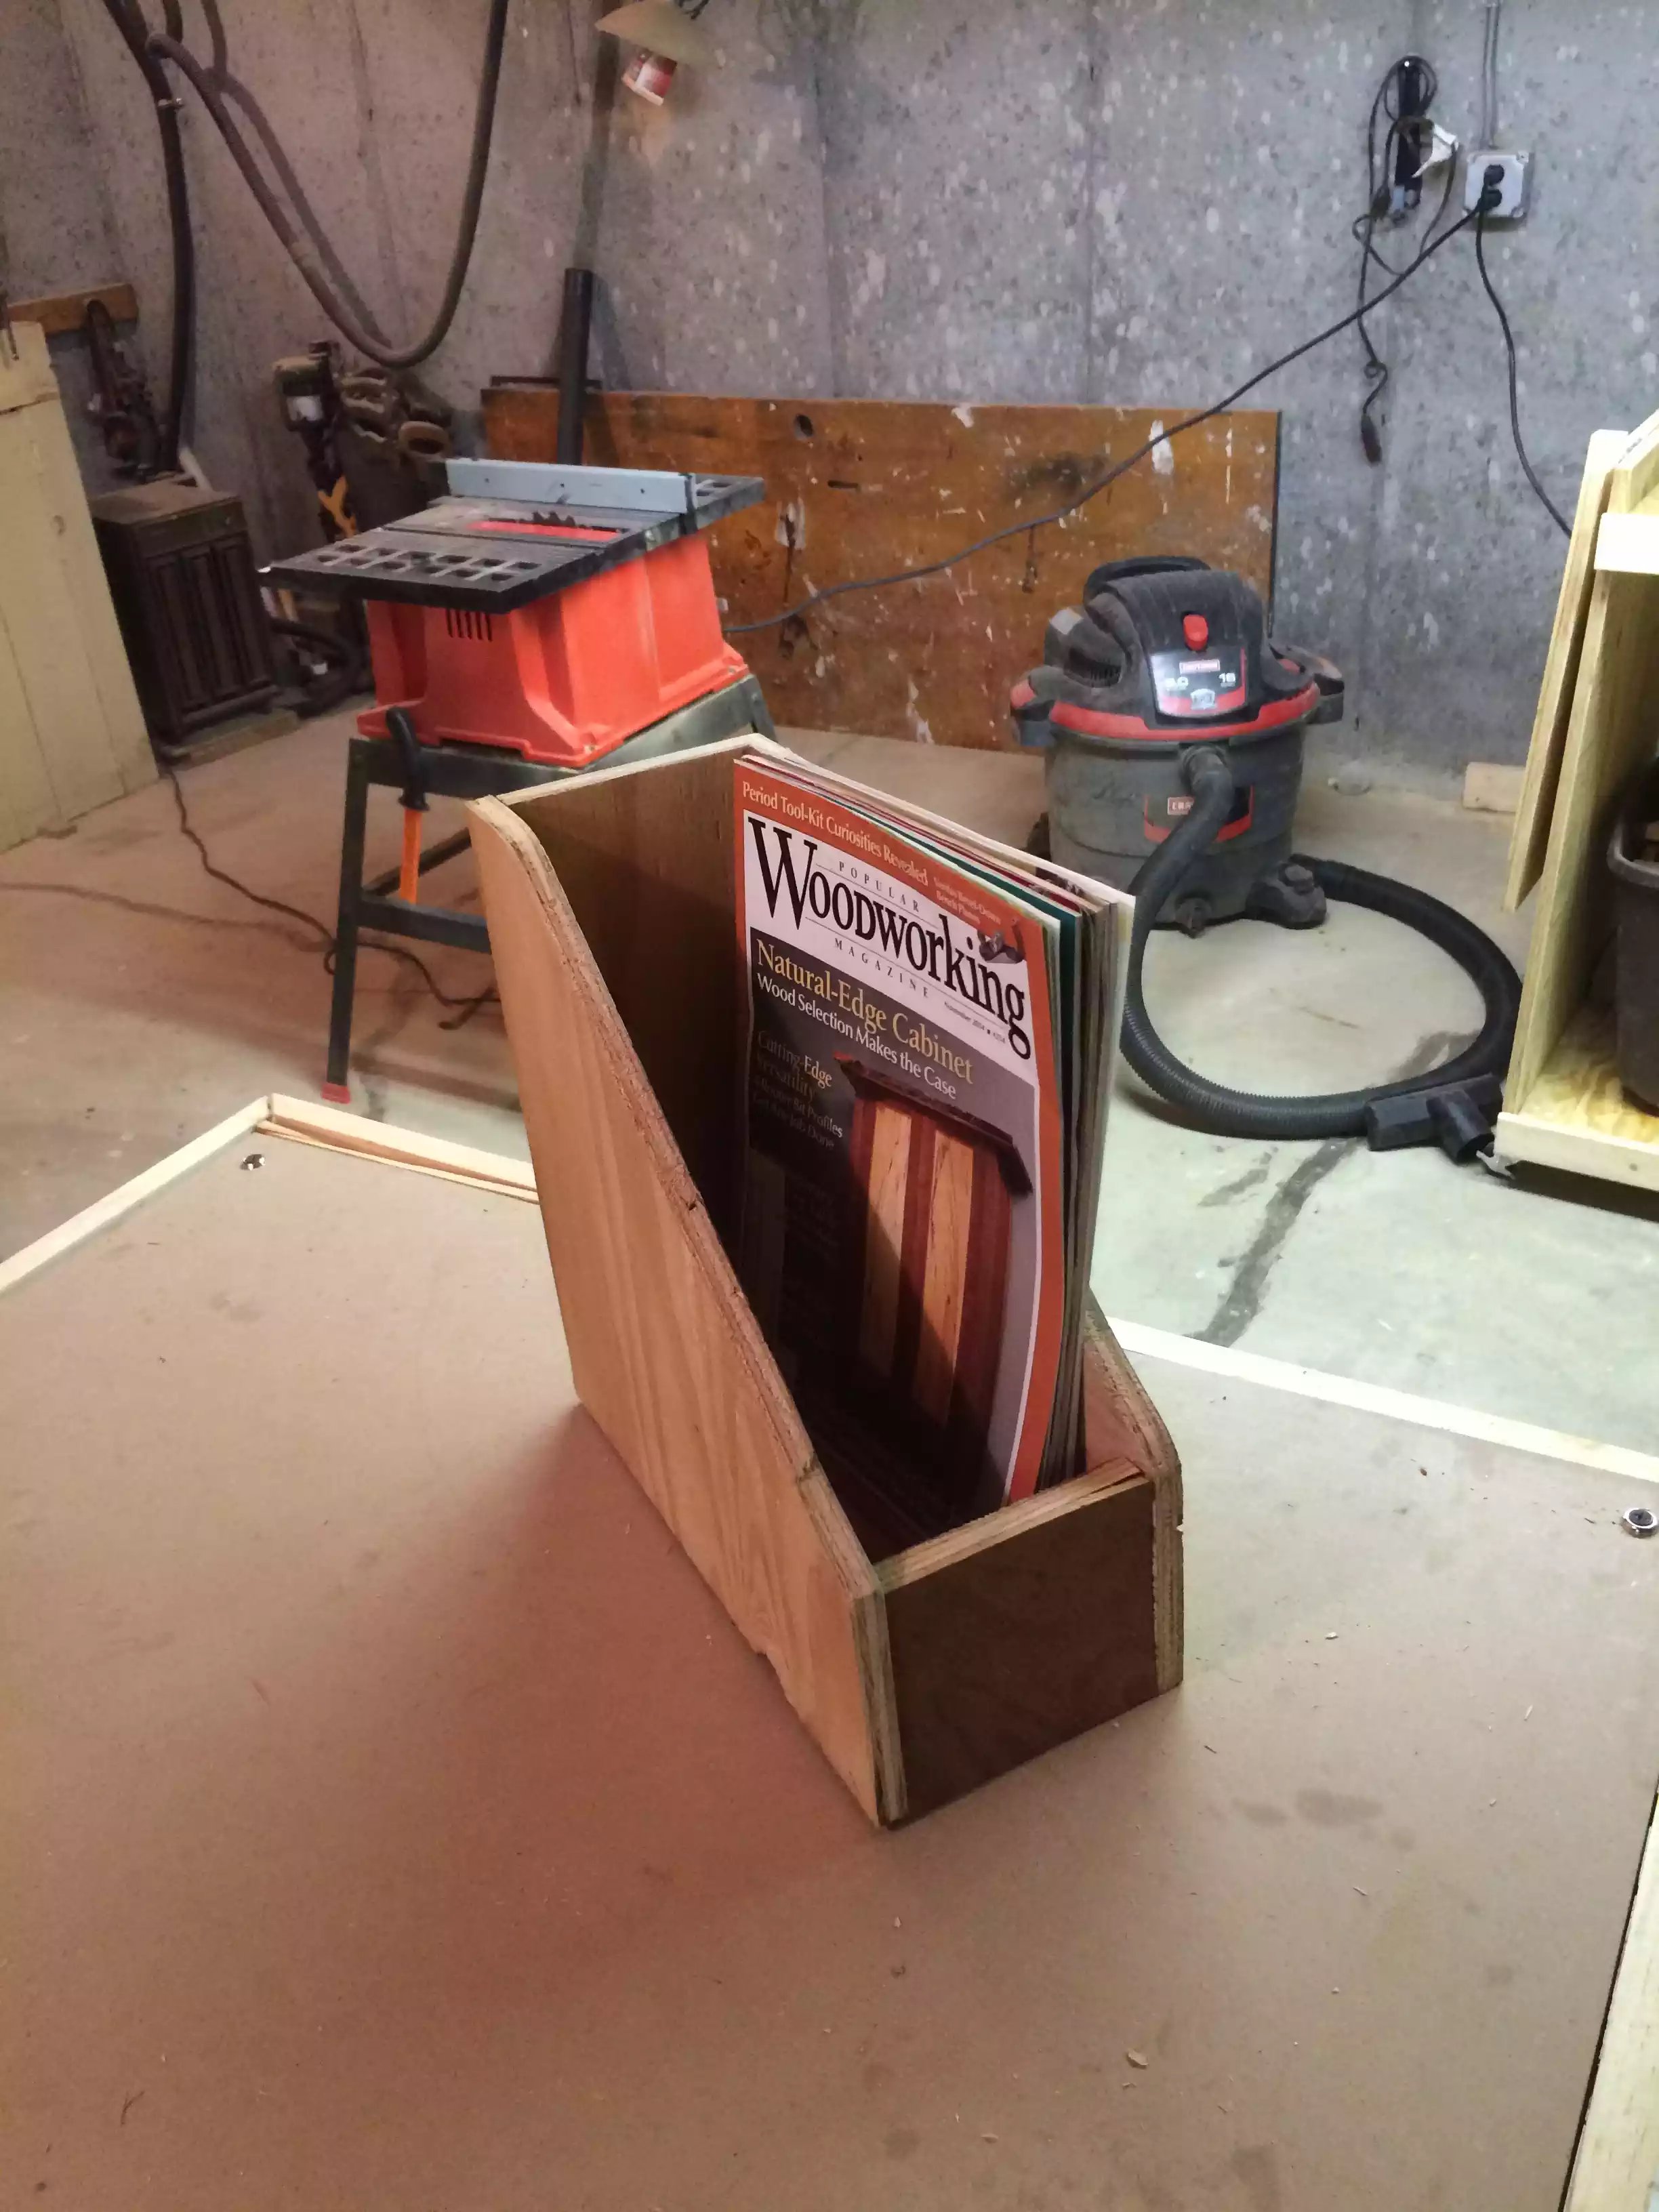
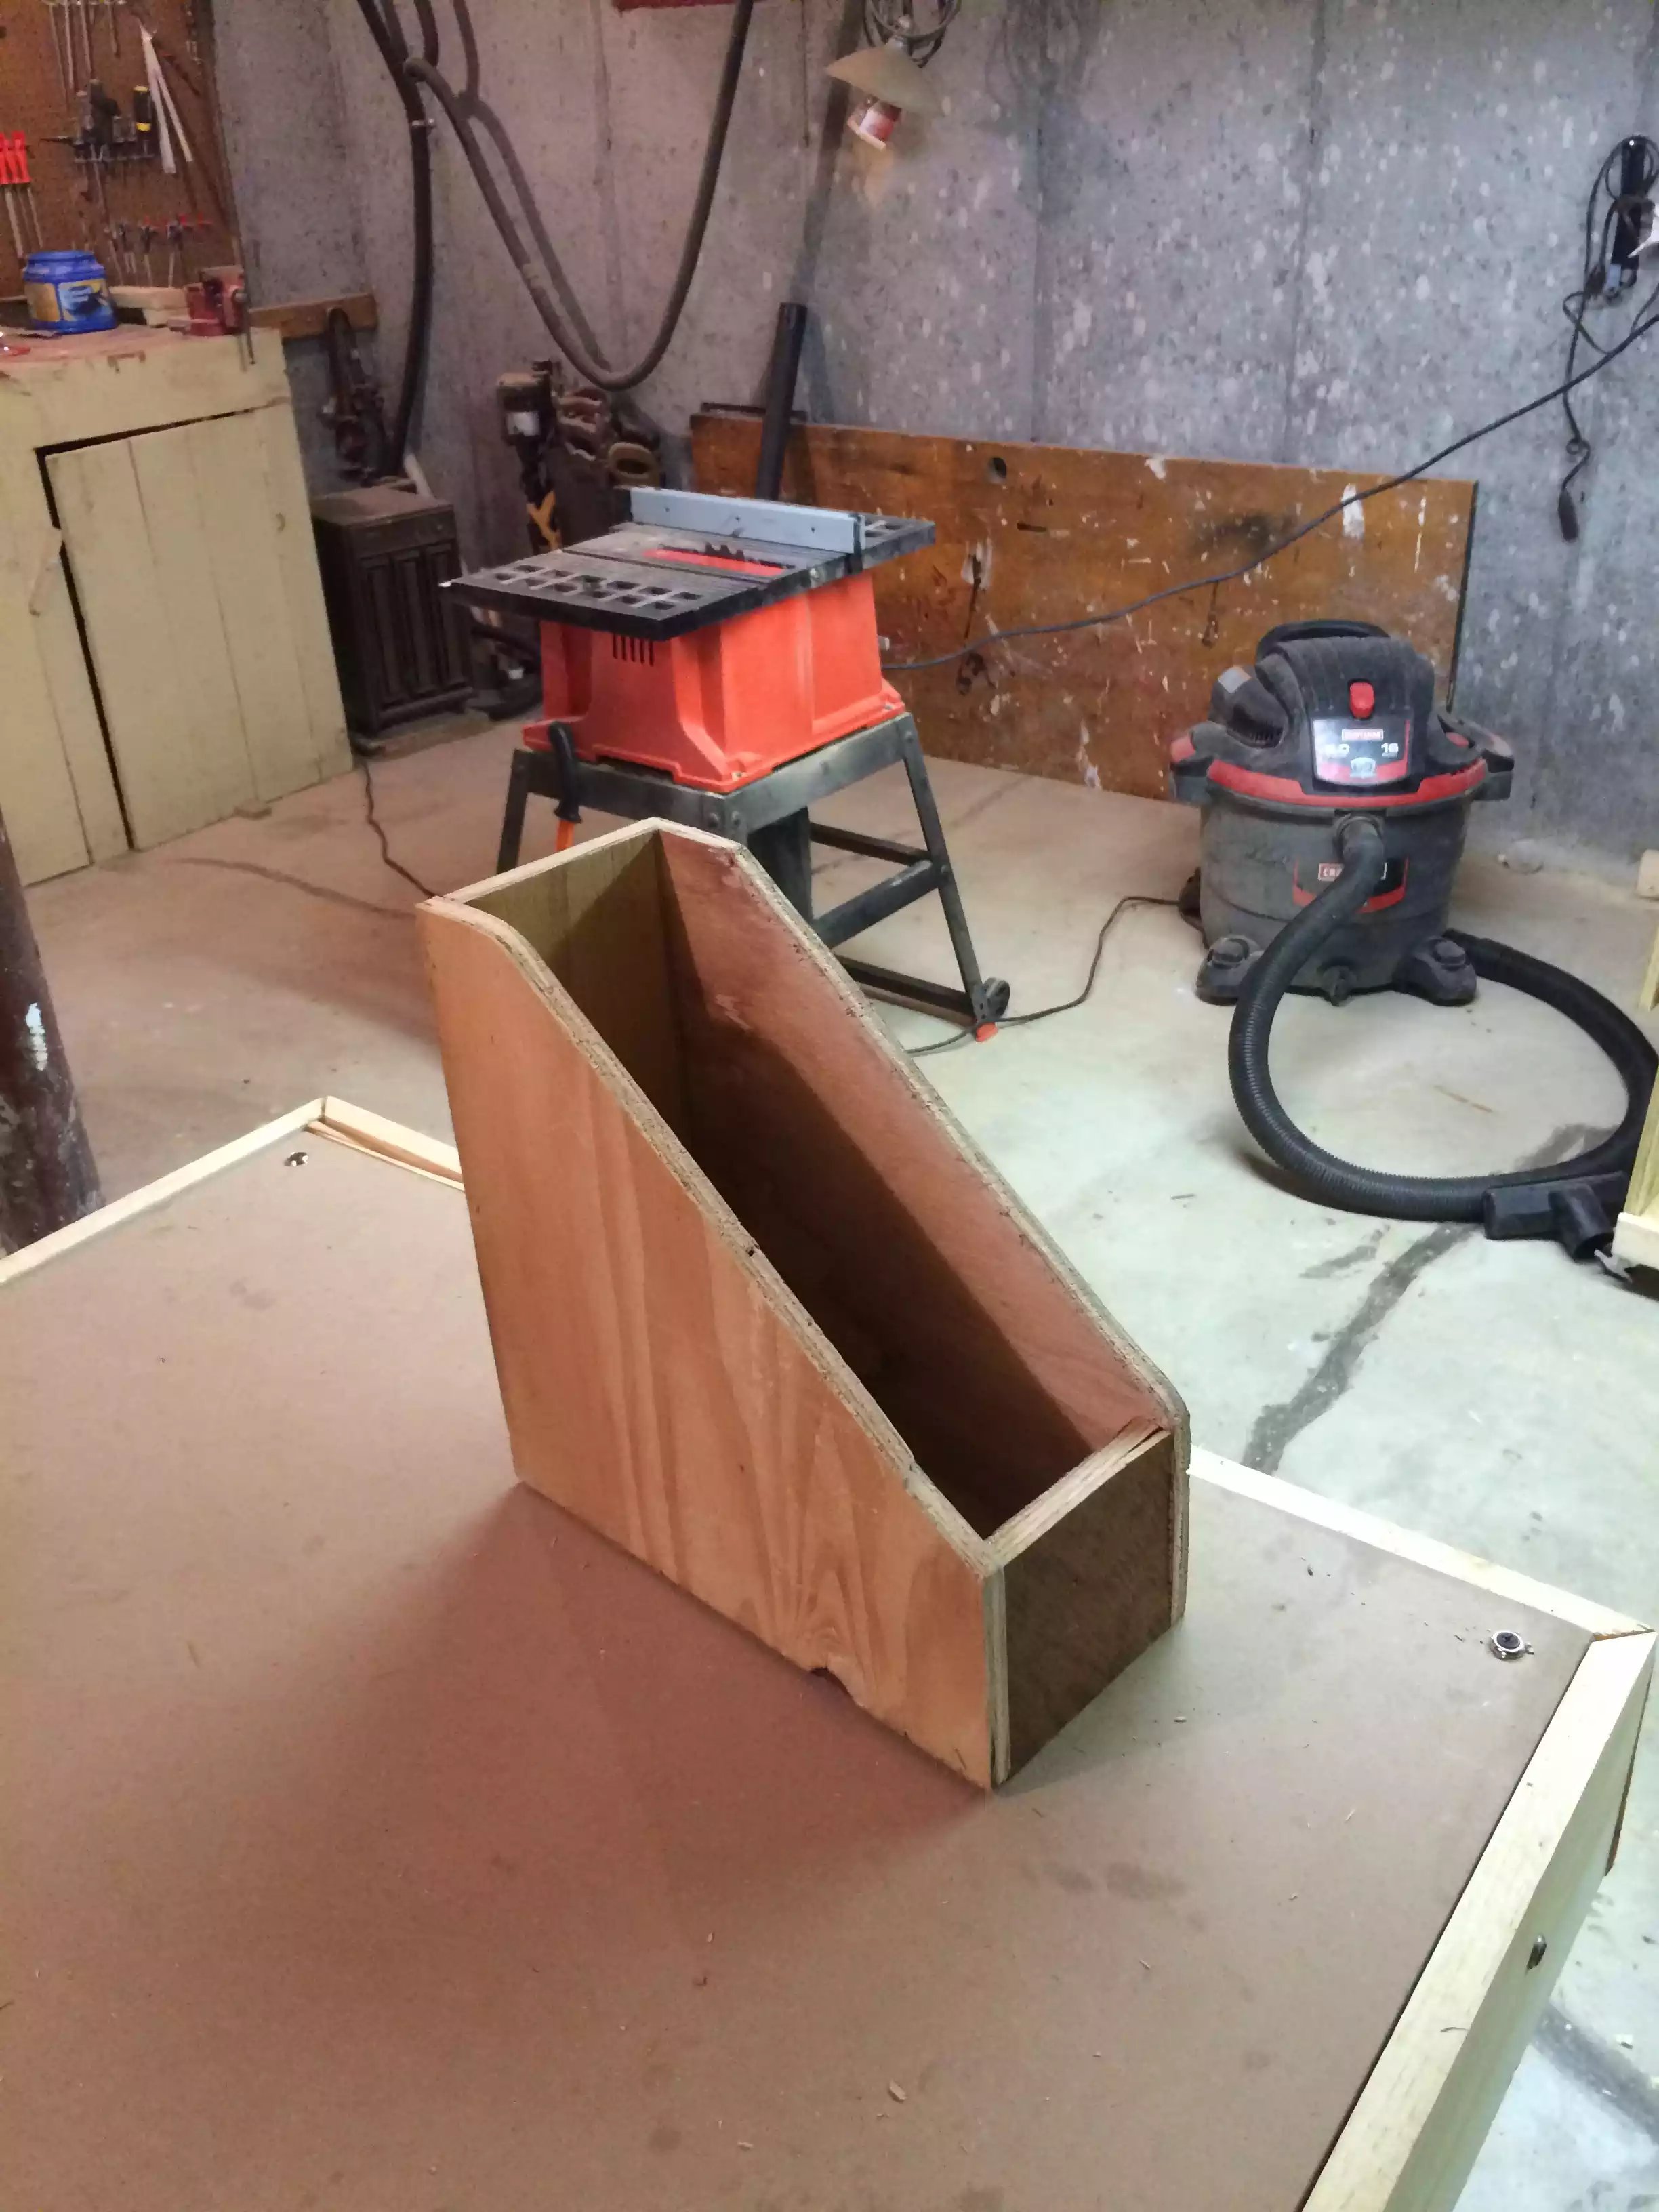
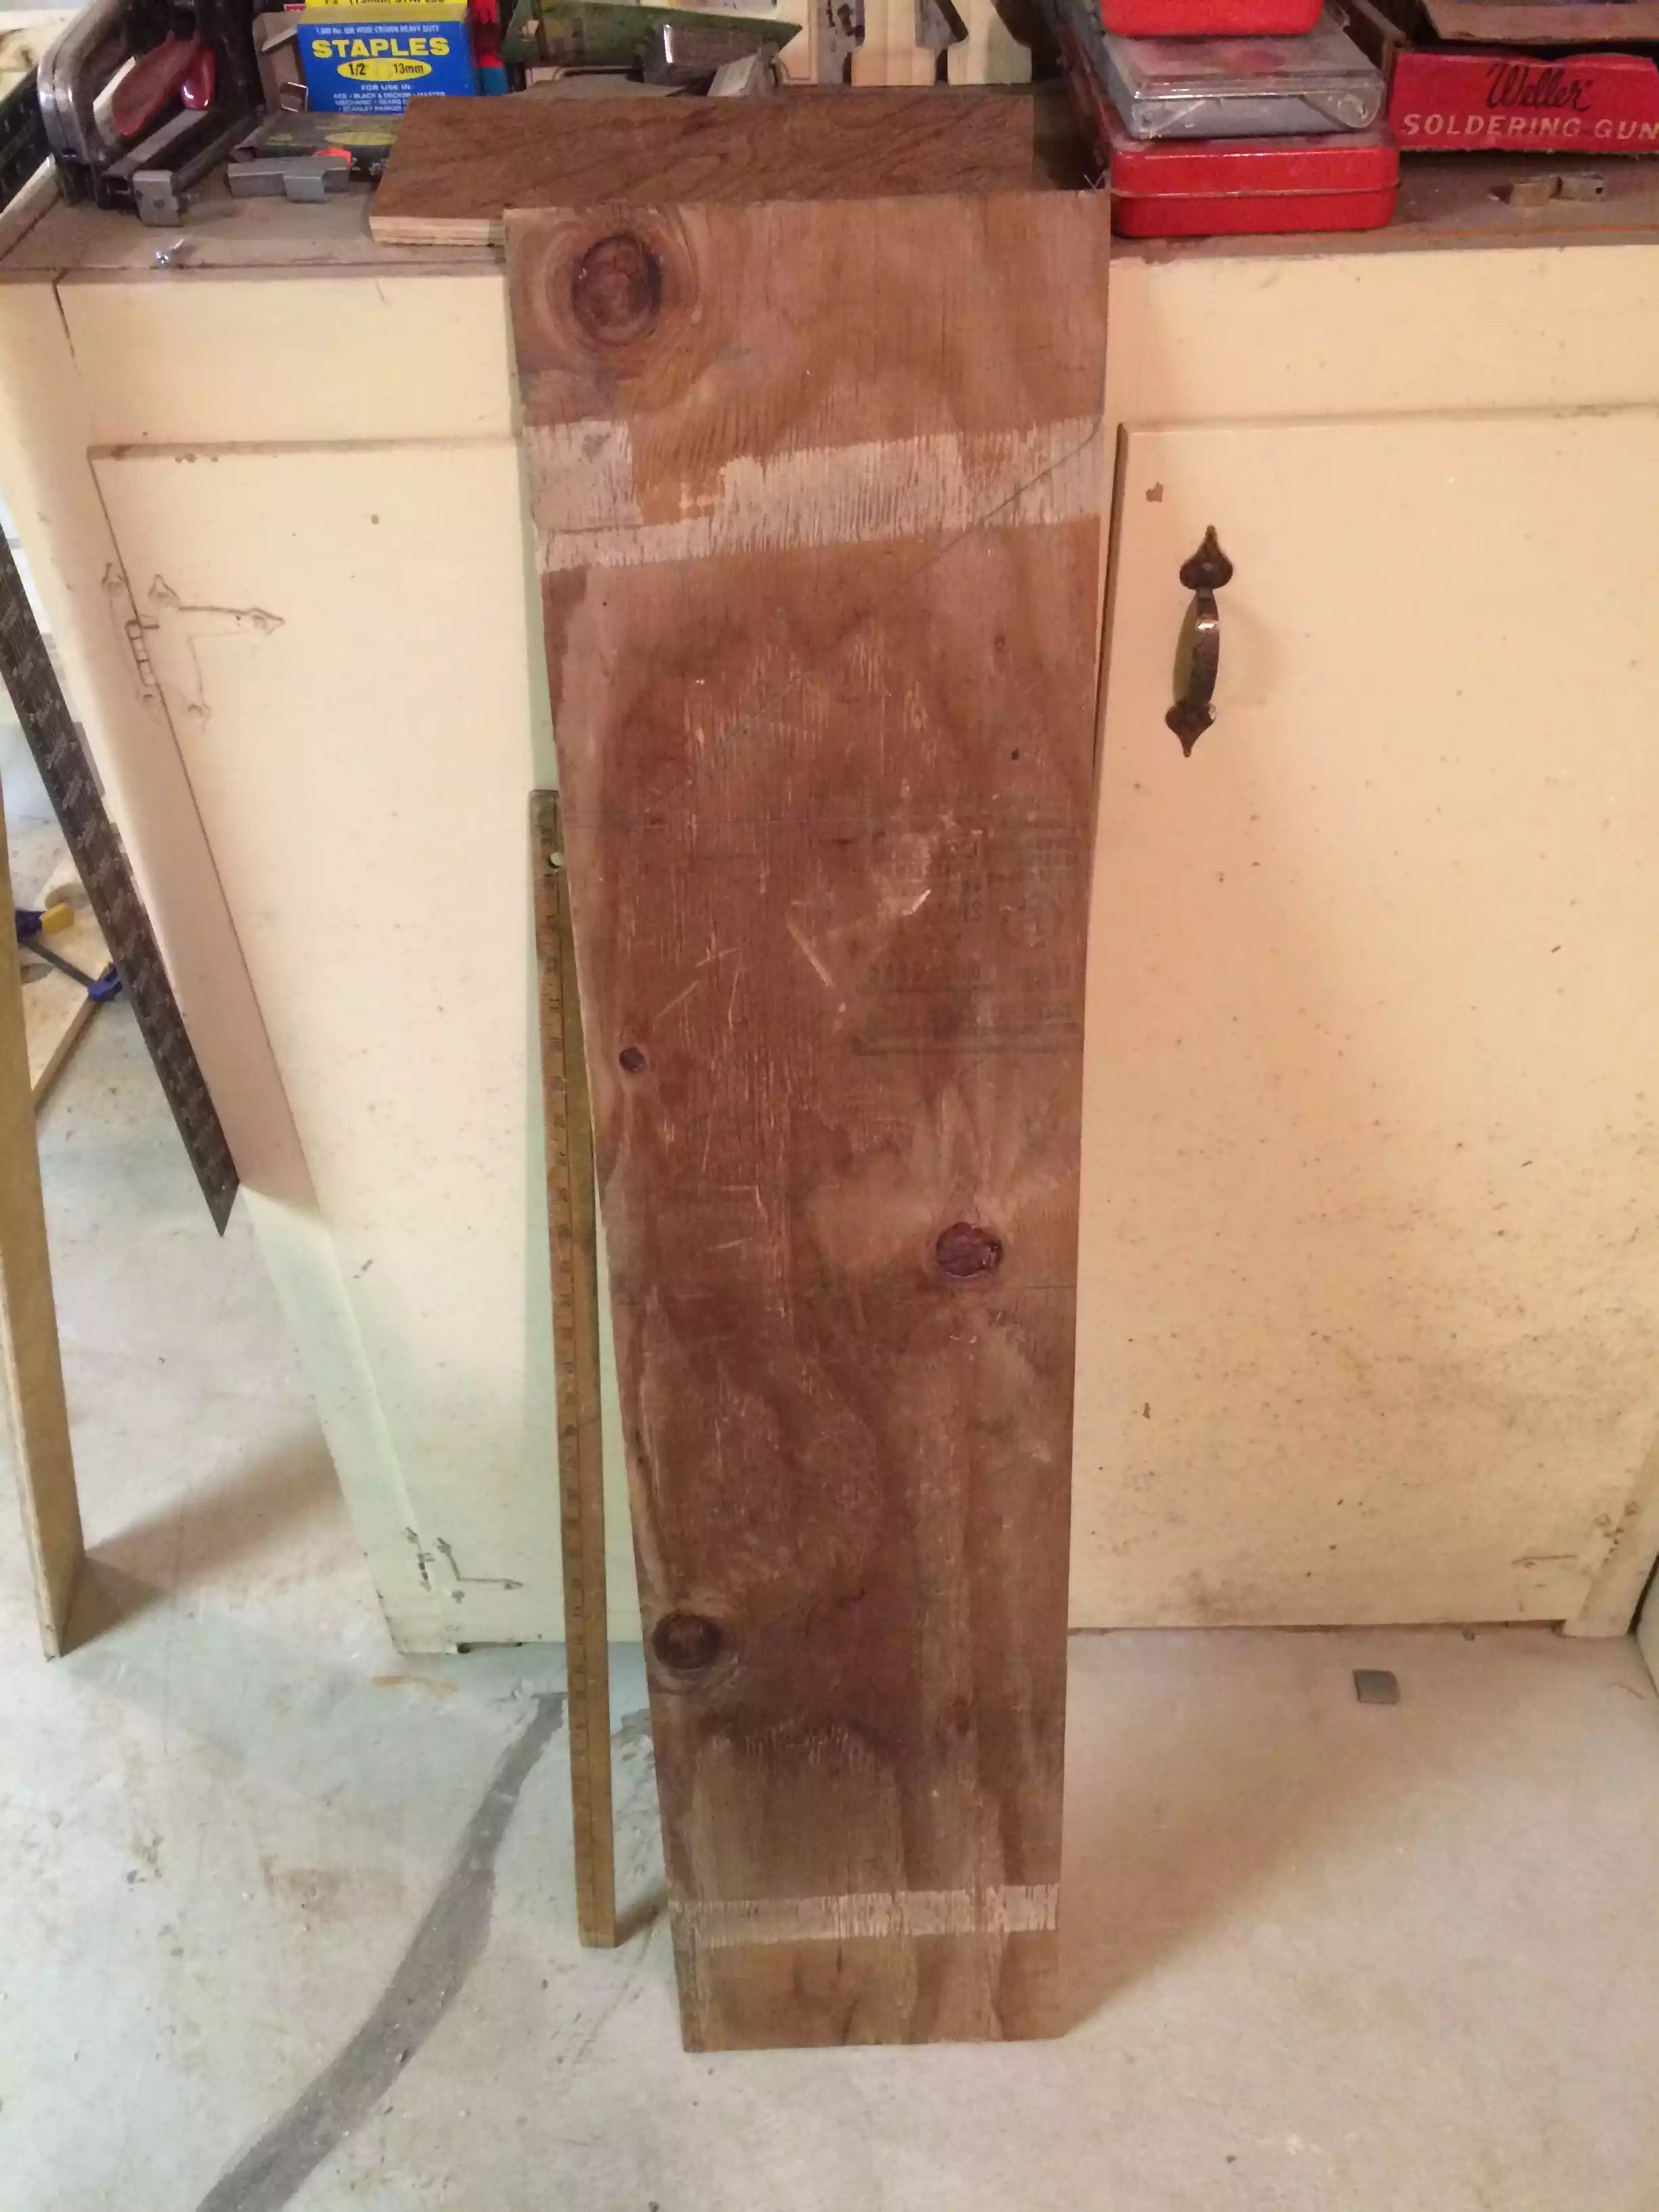
So I have been collecting a lot of magazines and even have a few periodical subscriptions. I came across this little bit of wood in my late father in laws shed and I was wondering what I could use it for;
I have seen paper or cardboard versions of this box but they were too big or not big enough to fit where I want them to go so I decided to build my own and thanks to my little wood discovery I can do it. (Thanks John)..
The white cabinet pictures in the slideshow shows the wall unit I will be putting the boxes in.. I think the bottom shelf will do.. and I plan on
making 4 of them.
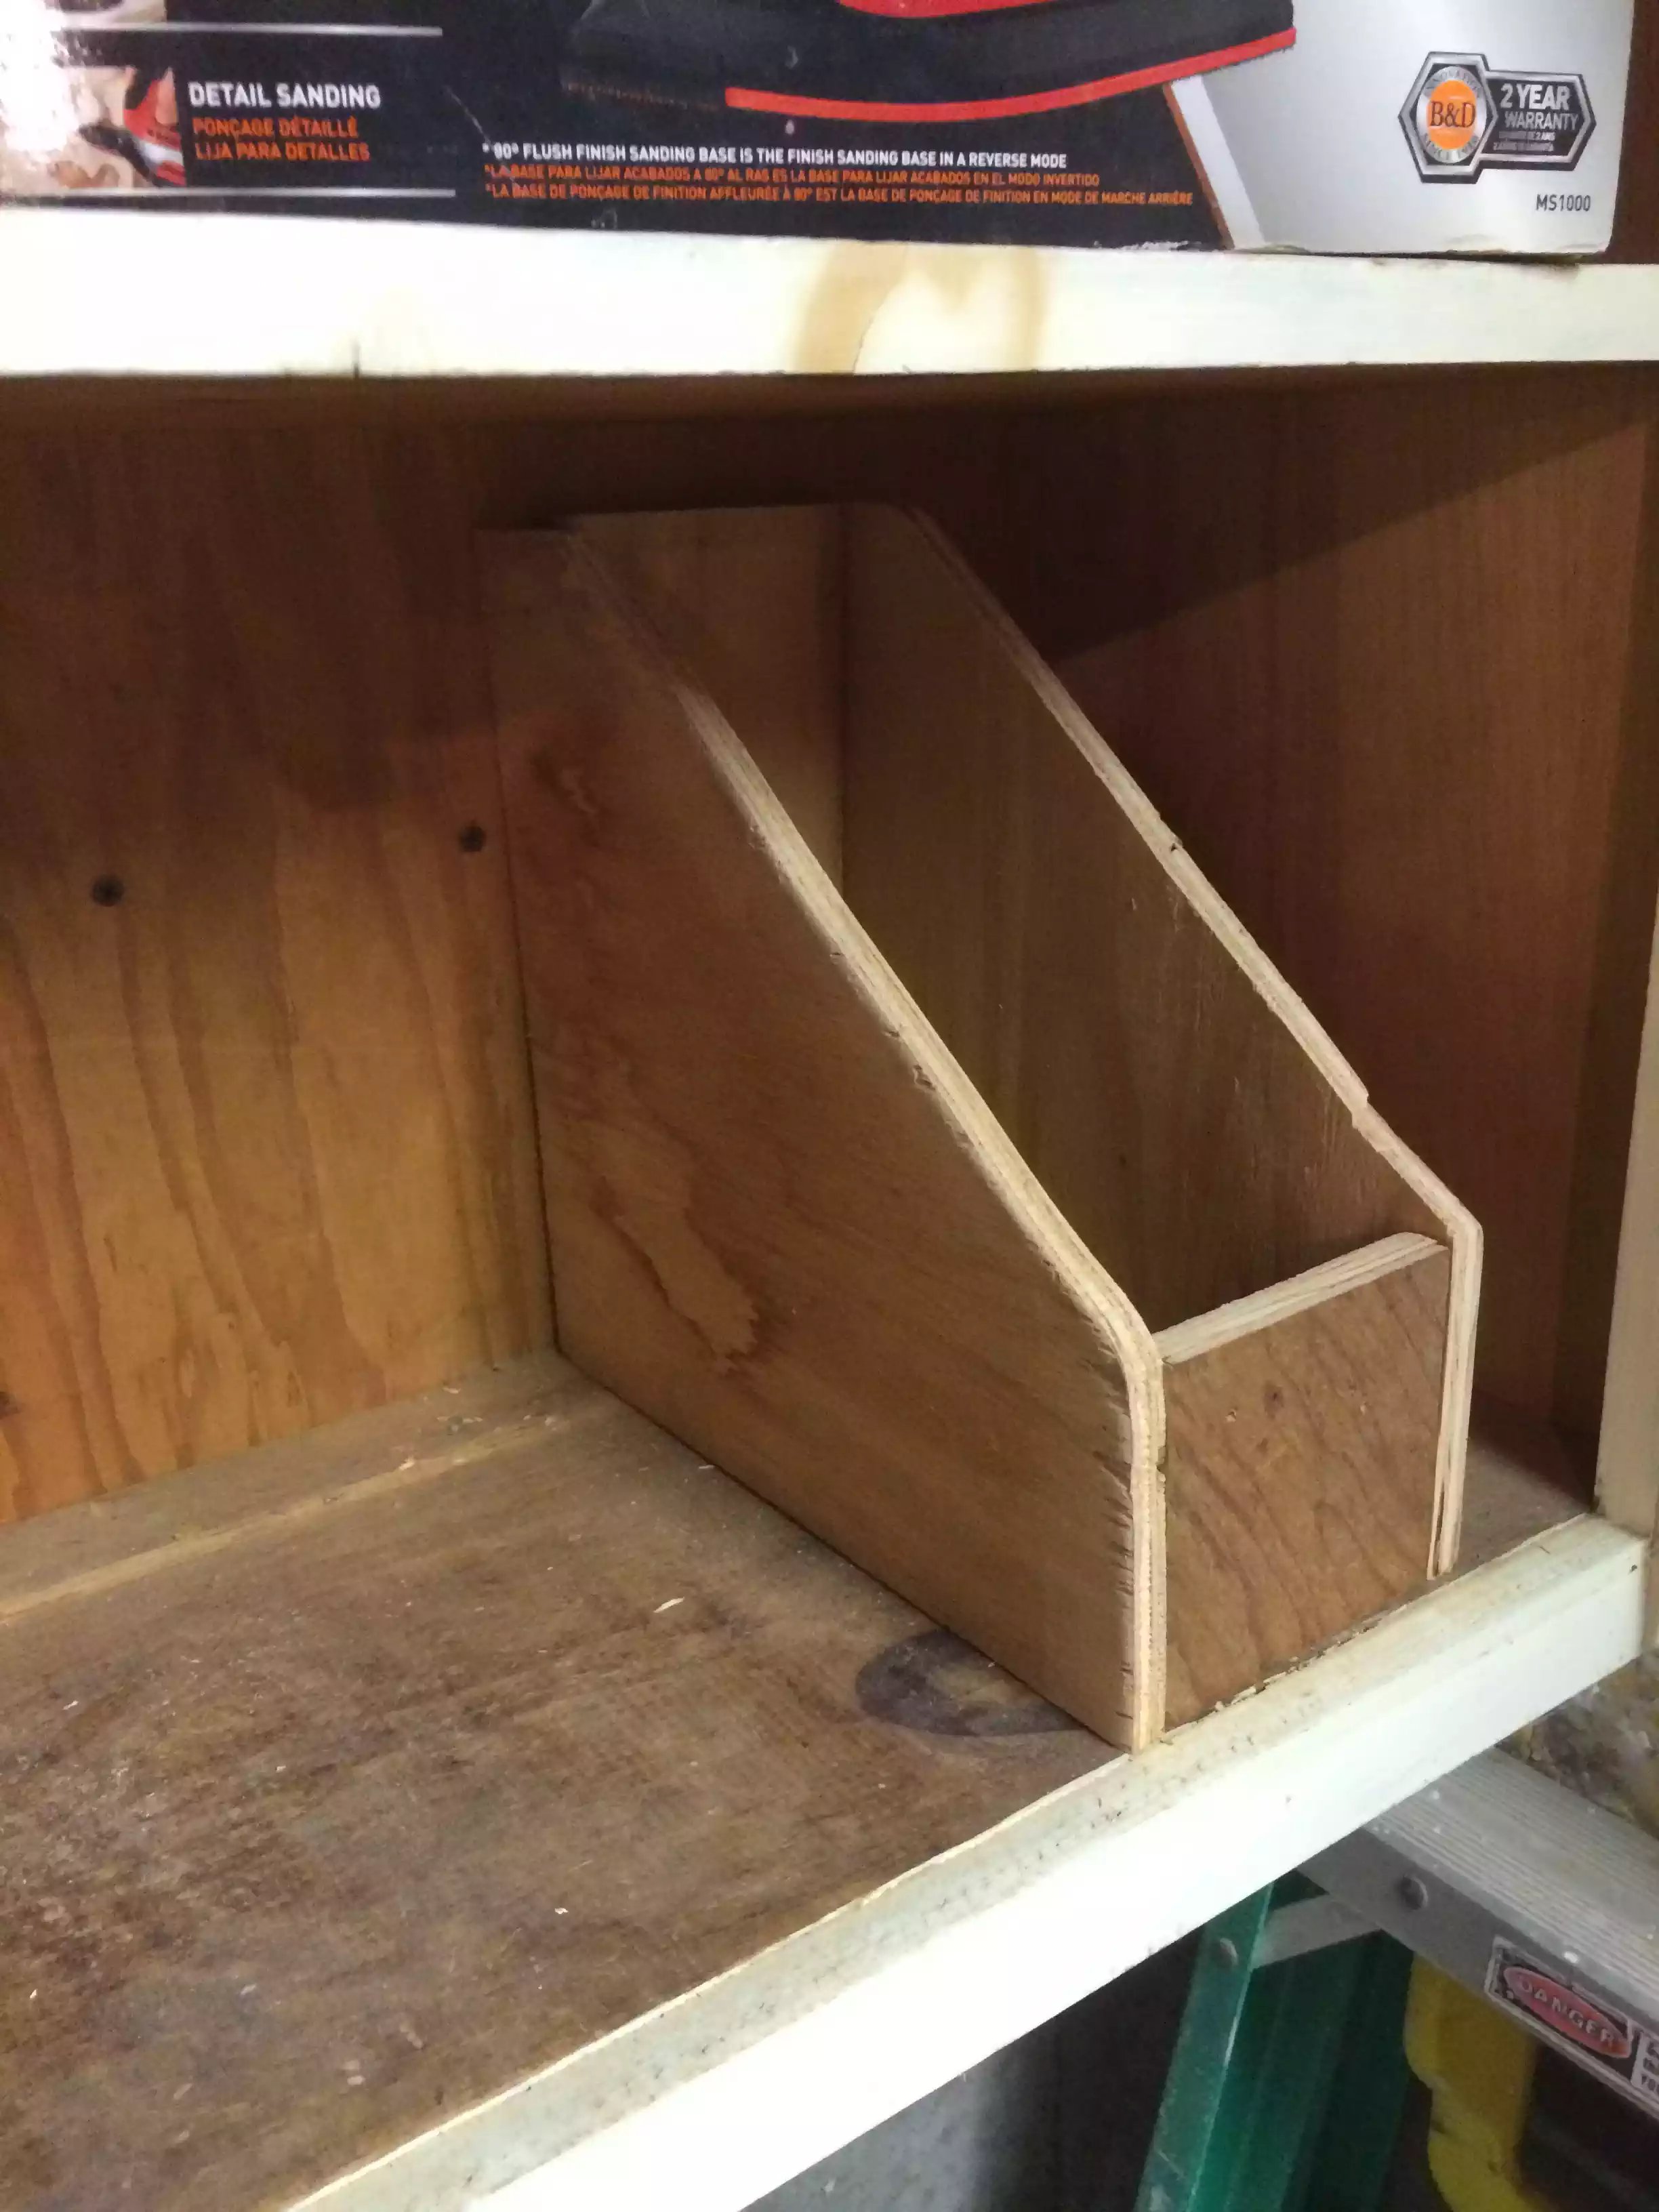
The Box Dimensions are: Sides 11”x11” with a cut from top to bottom (see diagram) Back 11” Height 4”Wide Front 4”x4” Bottom 4” Wide x 9.5” Long
After making 1 so successfully I decided to build 4 and have them side by side on the bottom shelf of one of my shelving units..