
ROUTER
PROJECTS
ROUTER TRIVET JIG
(09/2018)

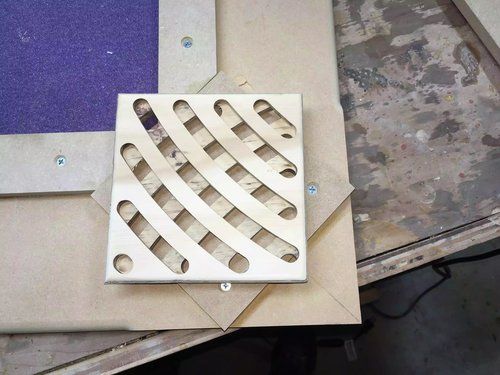
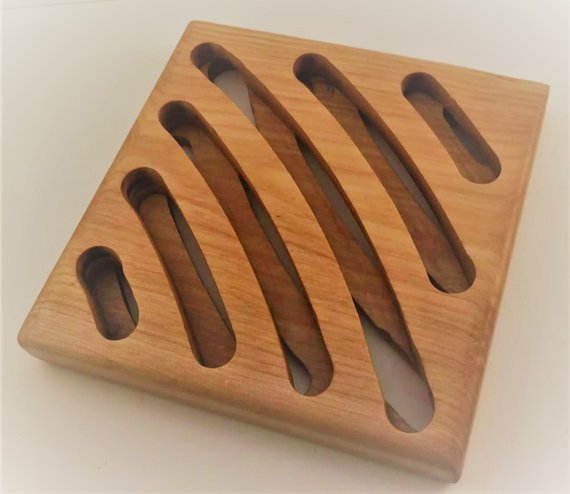
Here is the finished jig
While I am starting to right this project entry I couldn’t determine whether to place under router projects or jigs, so I guess I will be placing it in both, LOL.
Before I even start talking about the jig, let me first explain exactly what a Trivet is. Well truth be told that you probably have one in your kitchen on a counter-top or a dining table. The trivet main purpose is to protect wooden surfaces from the averse reaction of heat, hot plates or pots can damage your wooden surfaces. In much the same way as you would use a coaster to place under your coffee mug so as that you don’t leave a ring on the coffee table, a trivet is a bigger version of this and its purpose the same. Below is an example of a trivet I made.
Here is an example of one of the trivet’s I made. Mine measure 6”x6”x1” and this one is made from red birch.

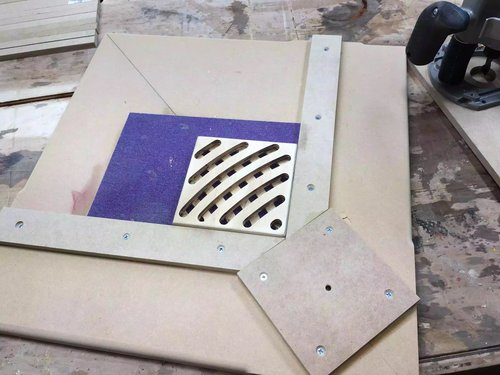
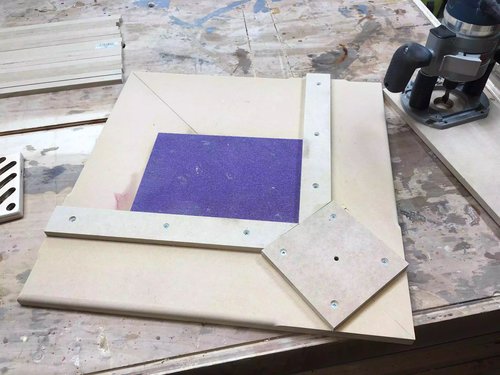
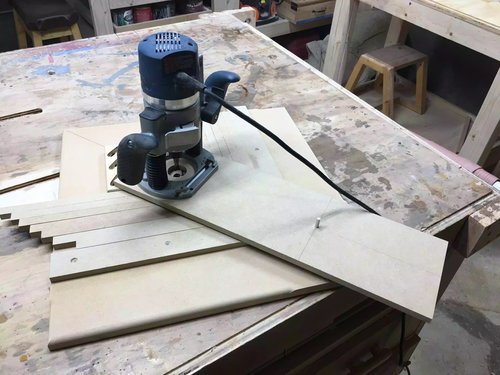
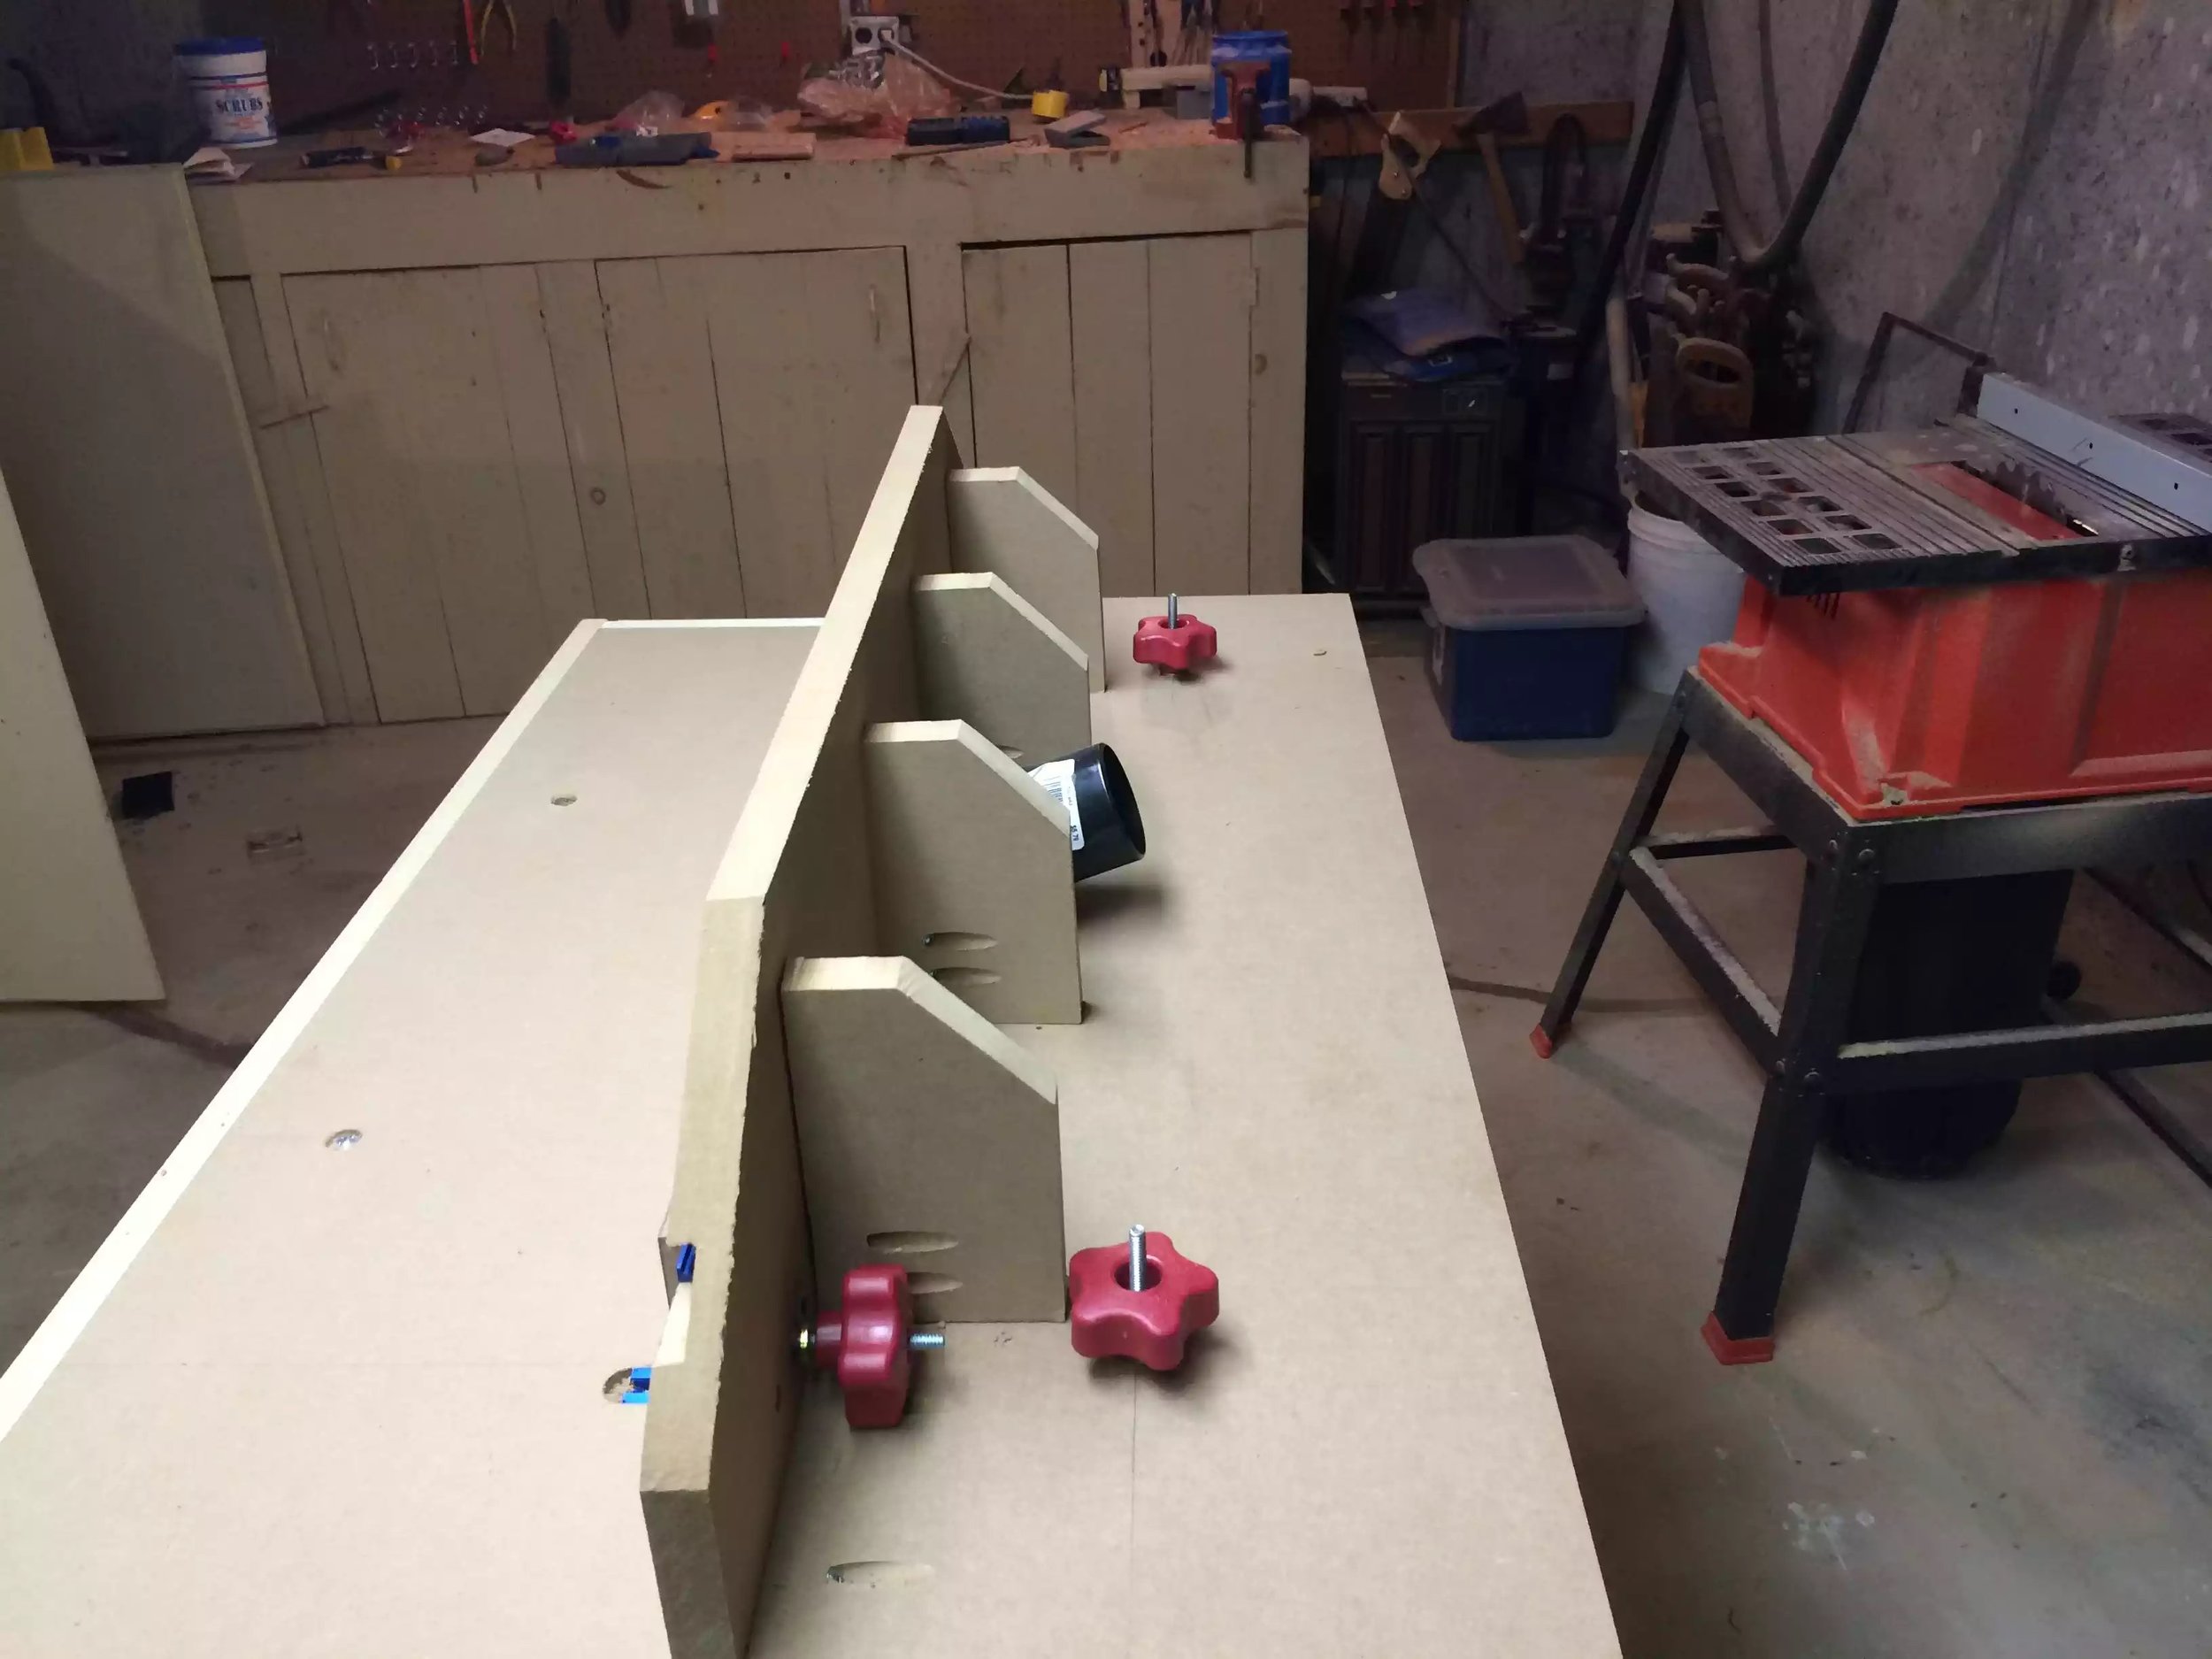
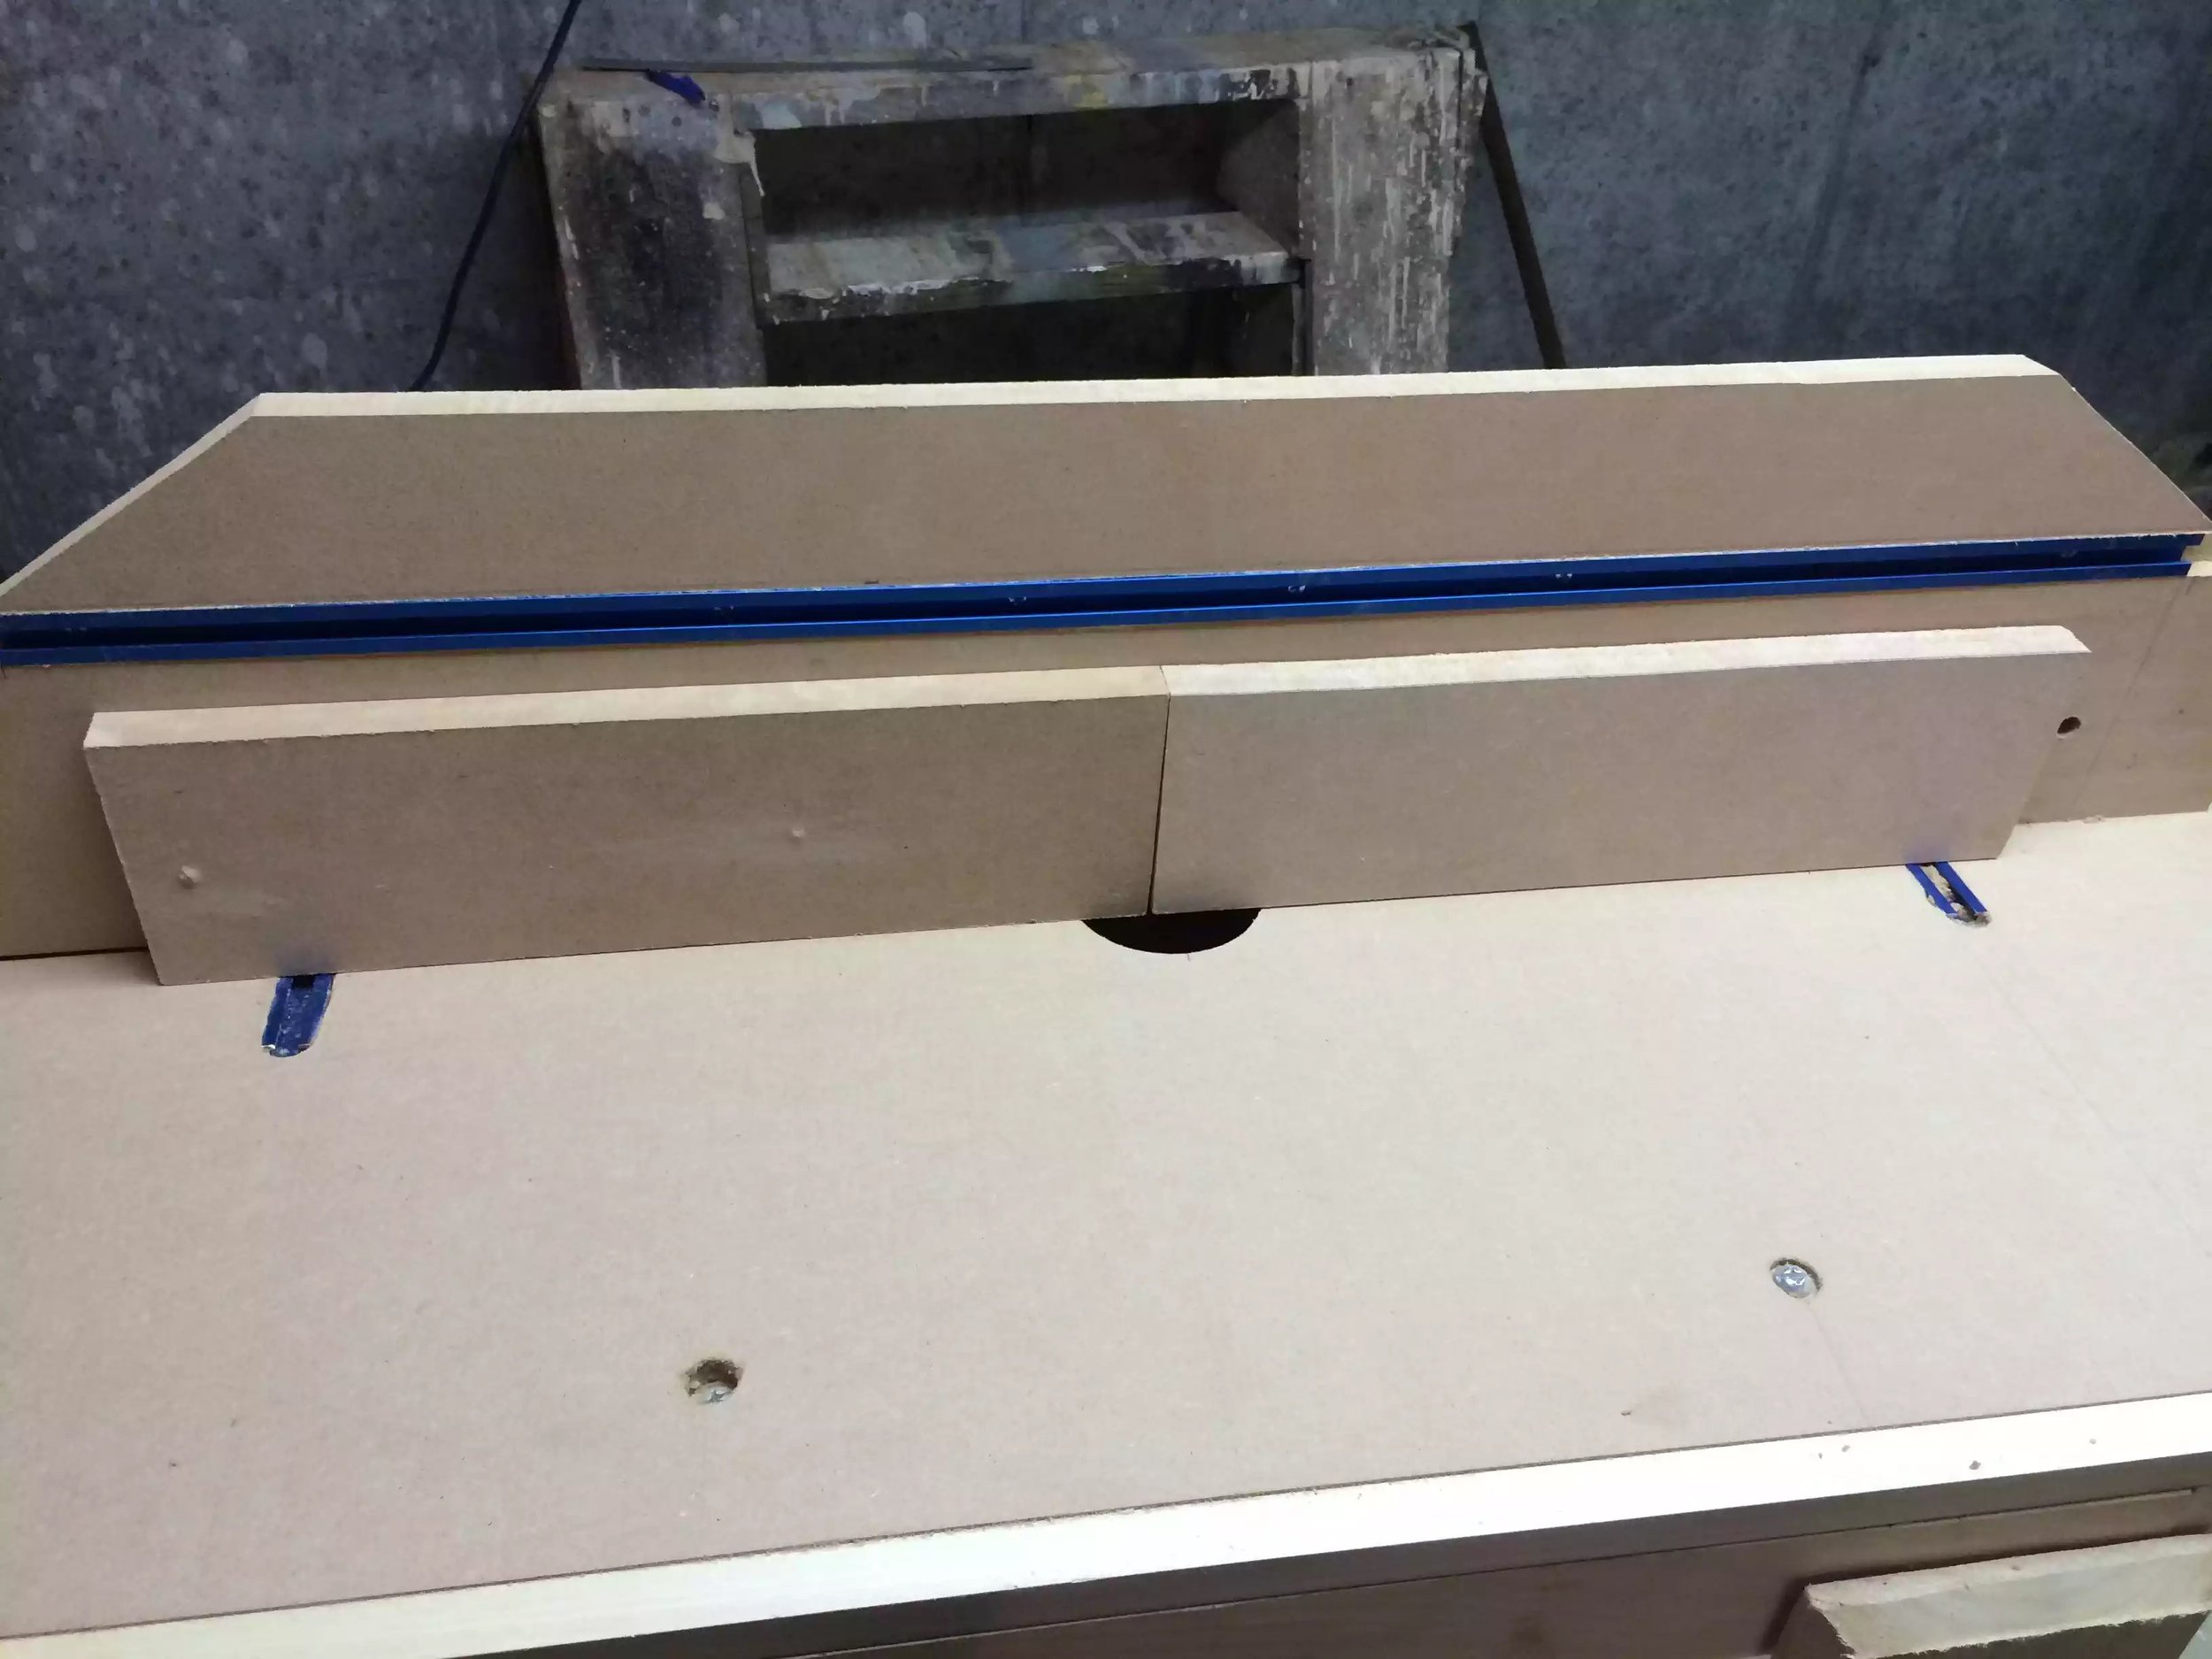
Now onto making the actual jig. The jig really couldn’t be any easier to make. Its basically a sheet of MDF with 2 fences screwed into position that meet at a 90° so as that I trivet blank can be secured in place. Next it has a trammel that is attached to a router that houses the router bit that cuts the grooves. To space the grooves you will need about 10-14 spacer strips that move the trivet blank incrementally out so as that a new groove is cut. That’s a quick and dirty explanation I will go into better detail later in this post.
To help you make the jig I detailed the build and I also giving away free plans, I will attach the links below. This project is a lot of fun and I urge you to take advantage of the free plans and make some trivets, they make a great gift and also affords you of creating something that’s fun and expresses your creative side.

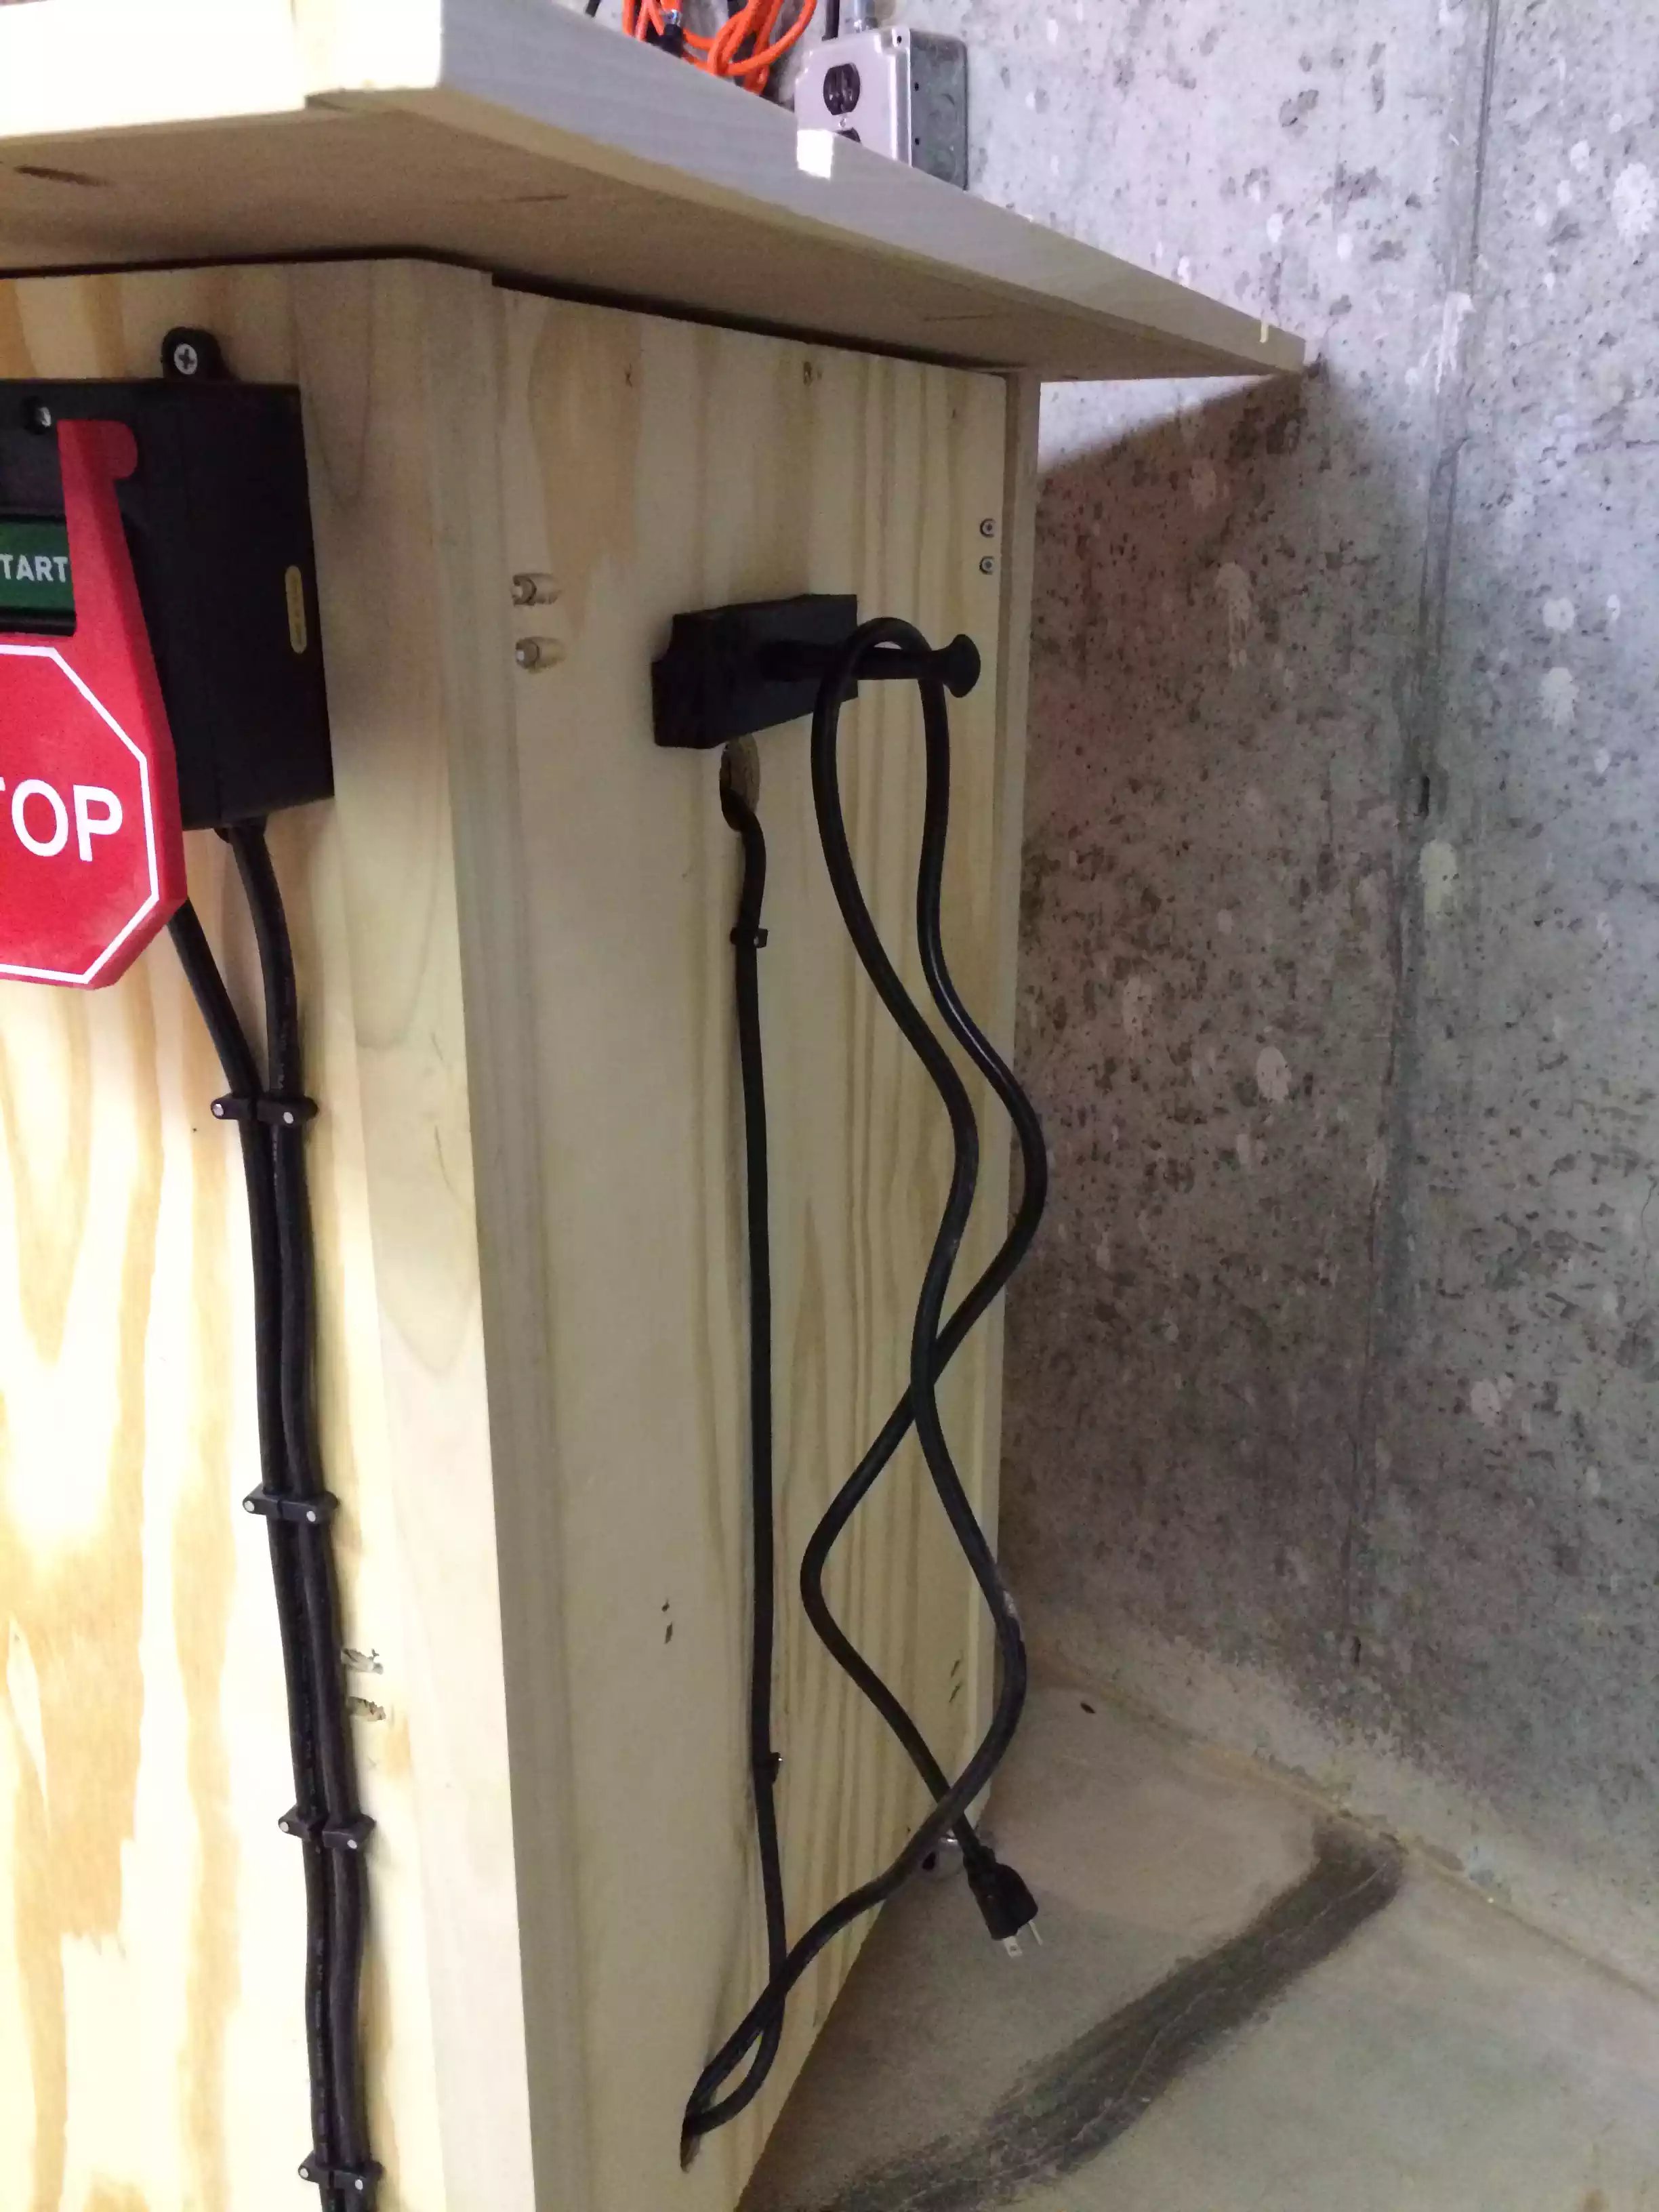
ROUTER CABINET
(03/2017)
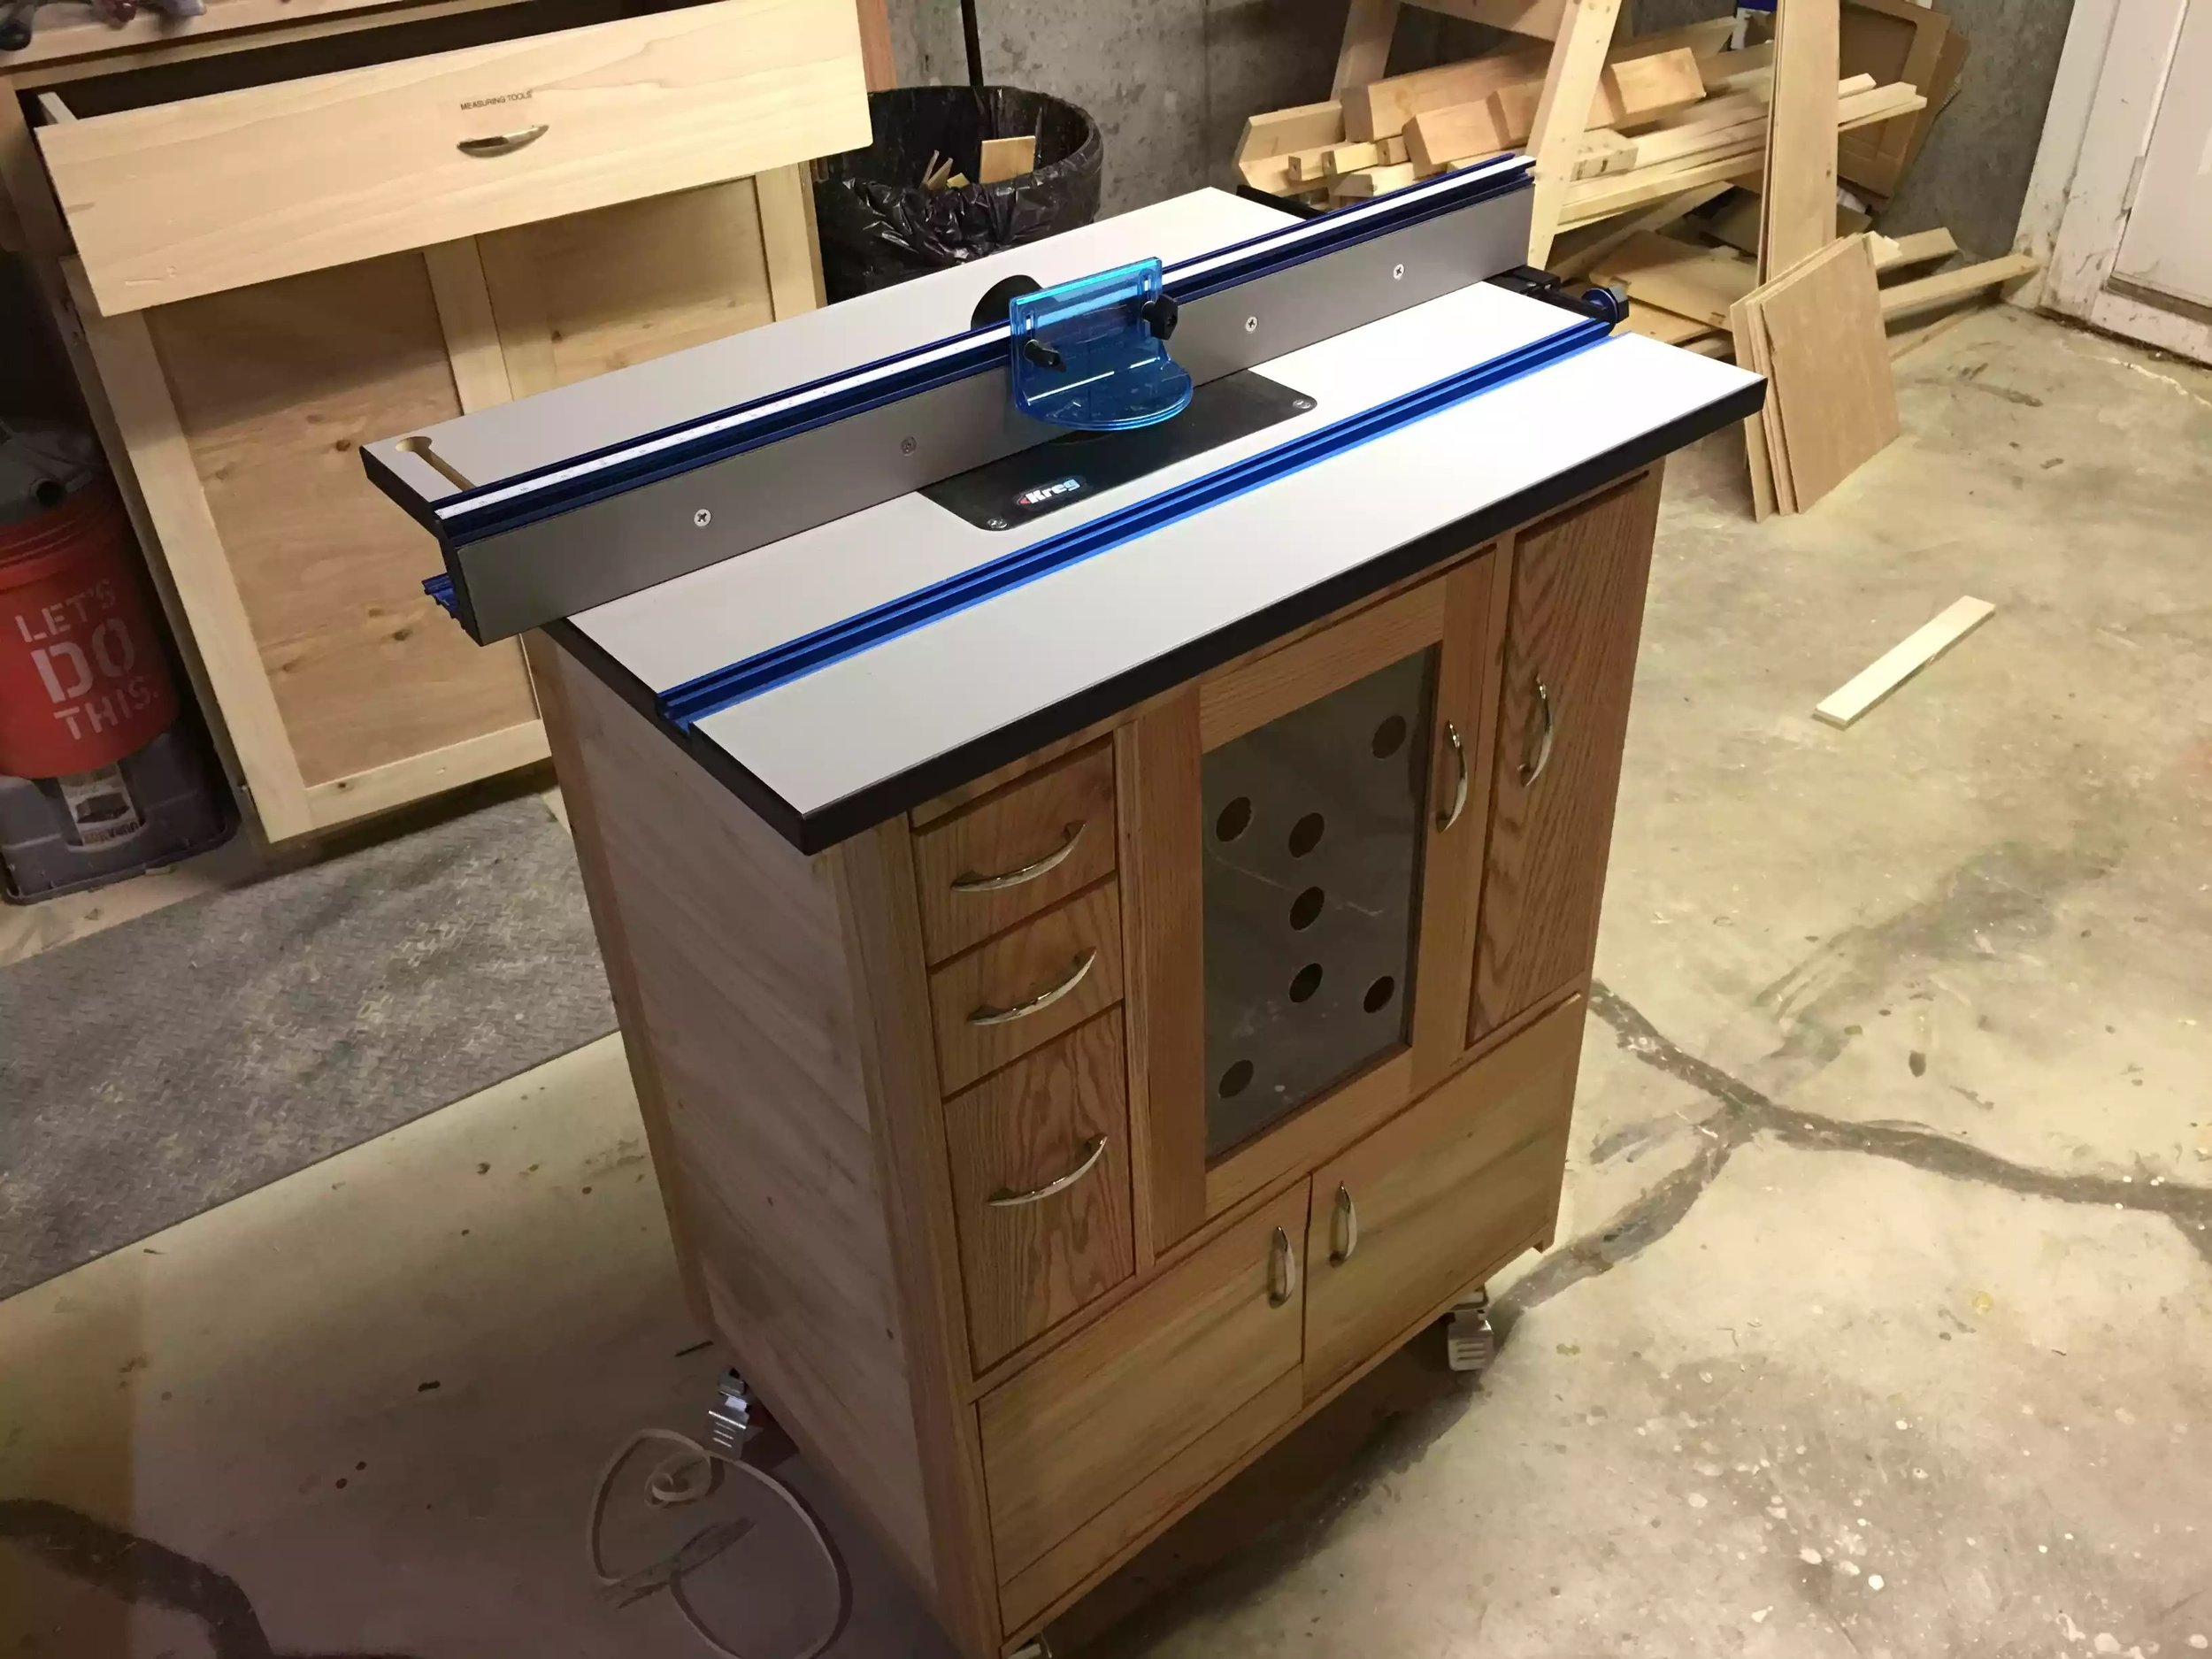

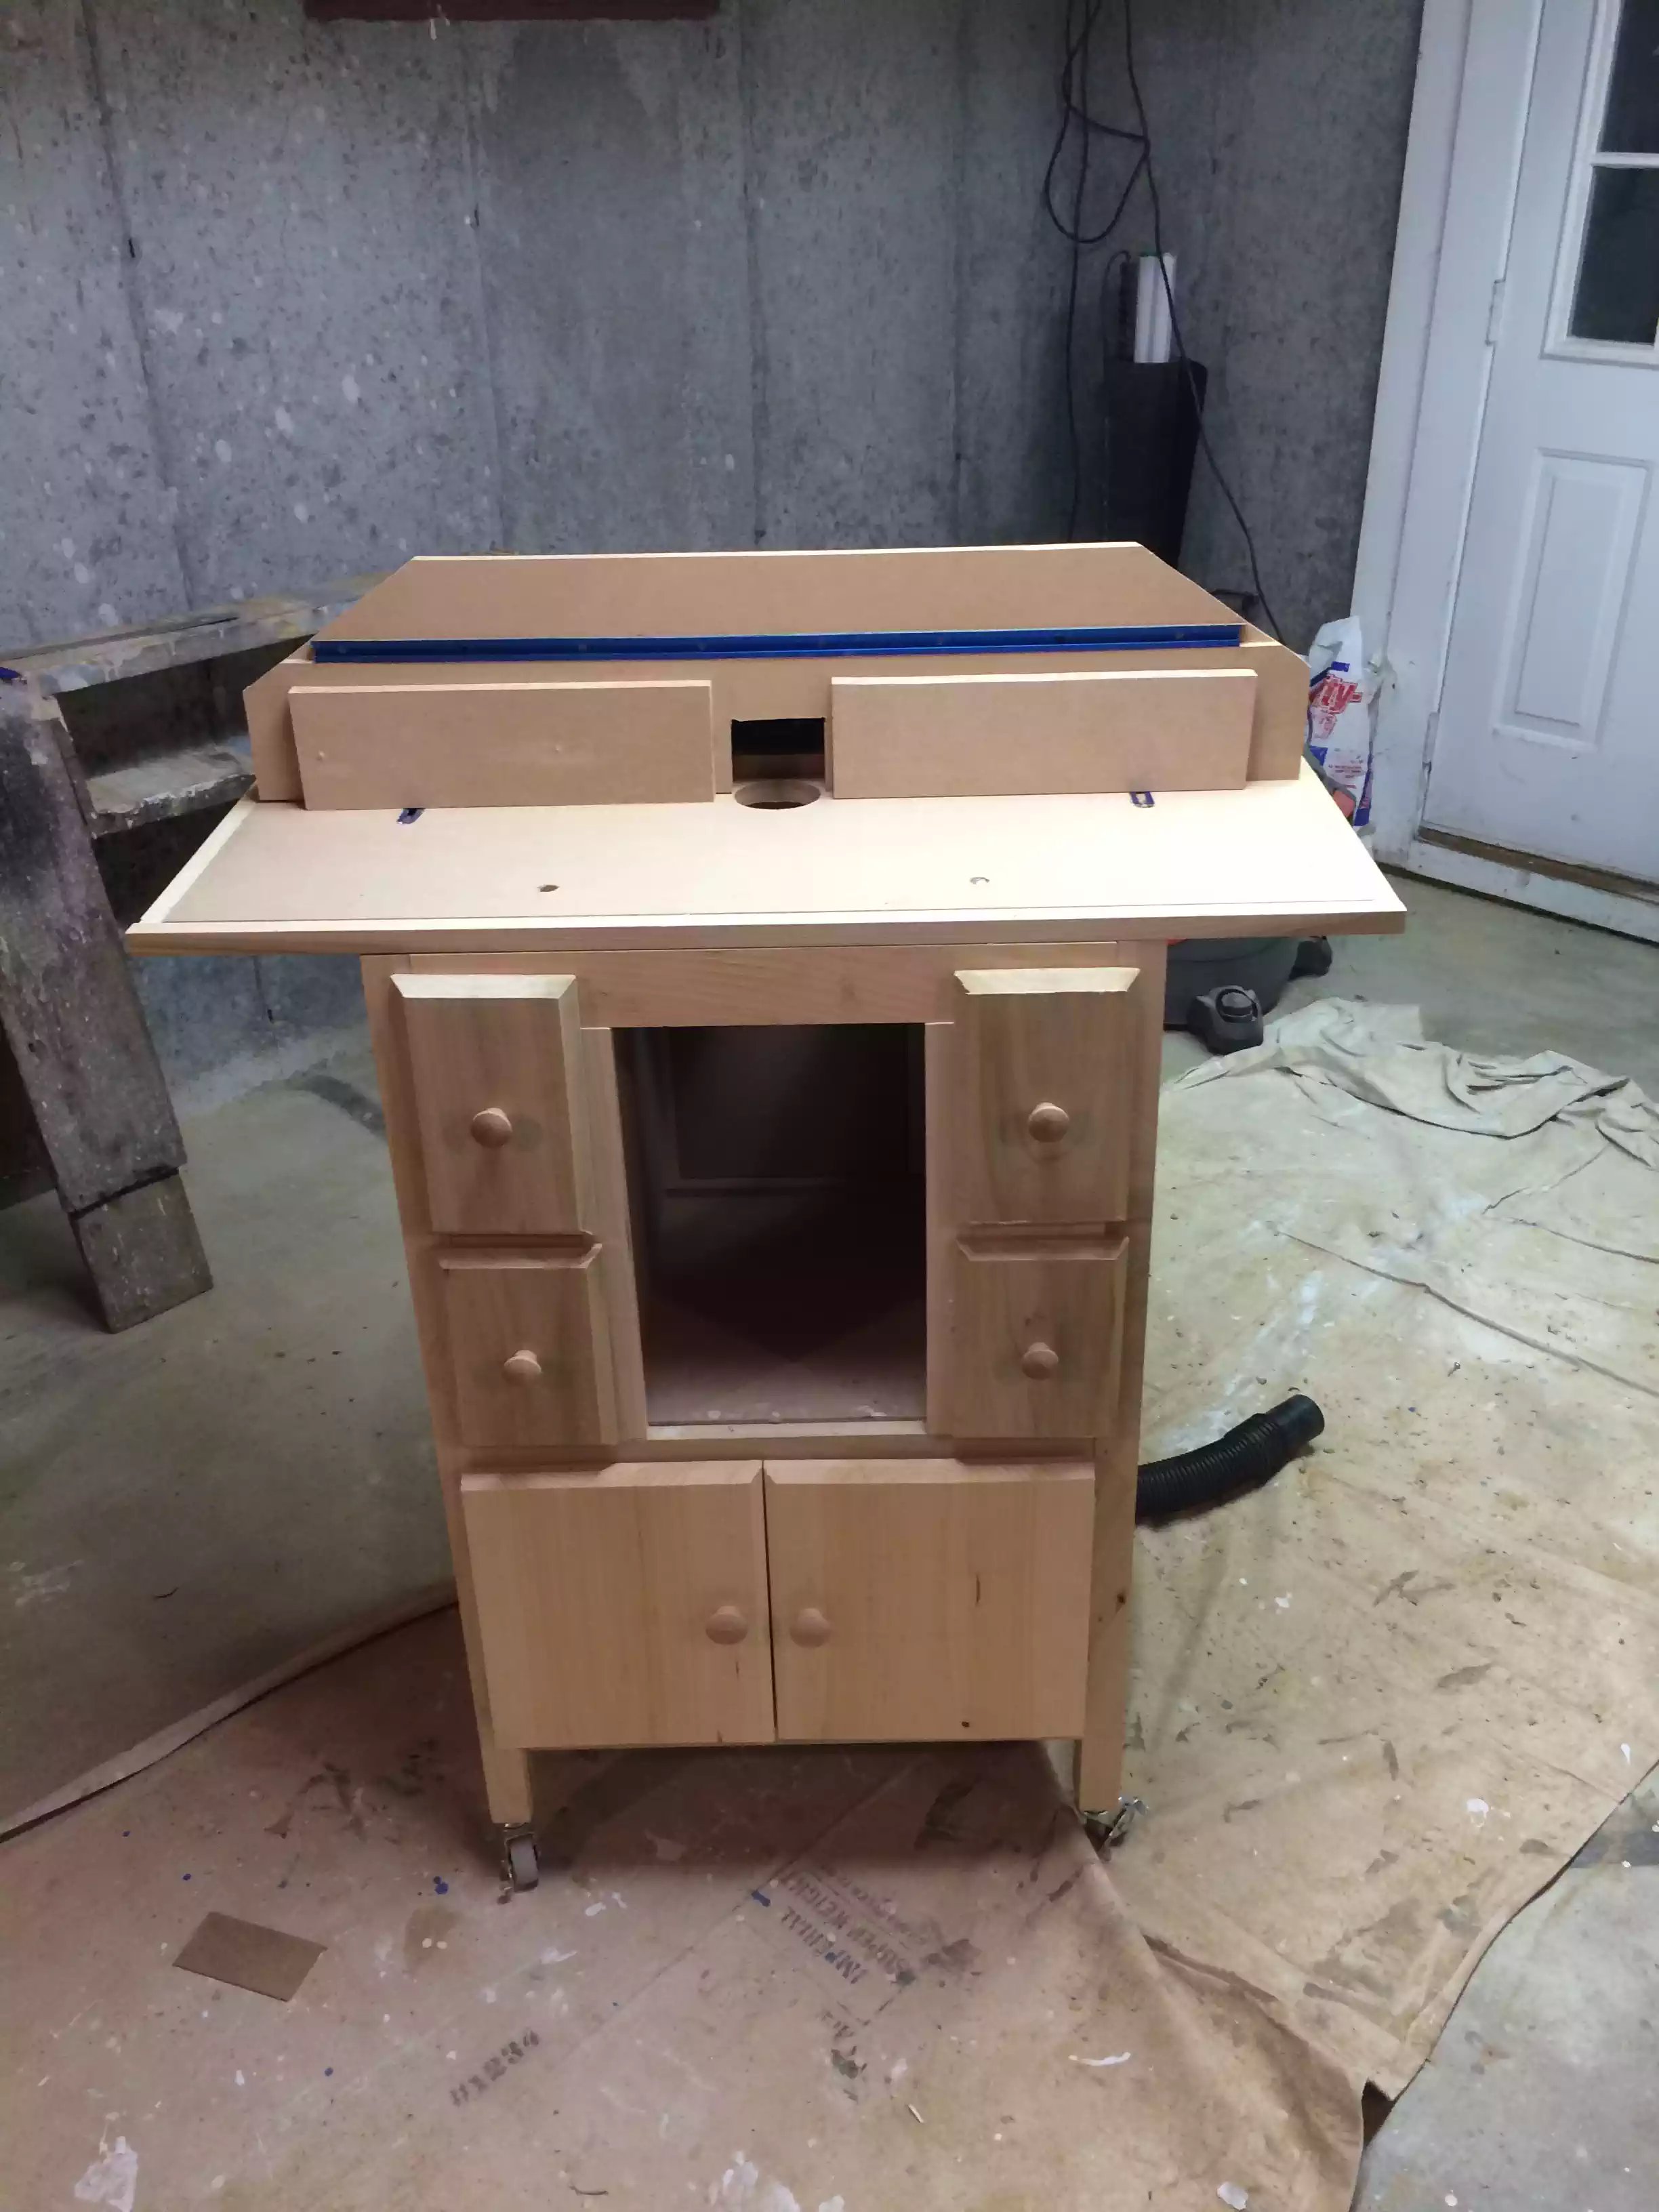
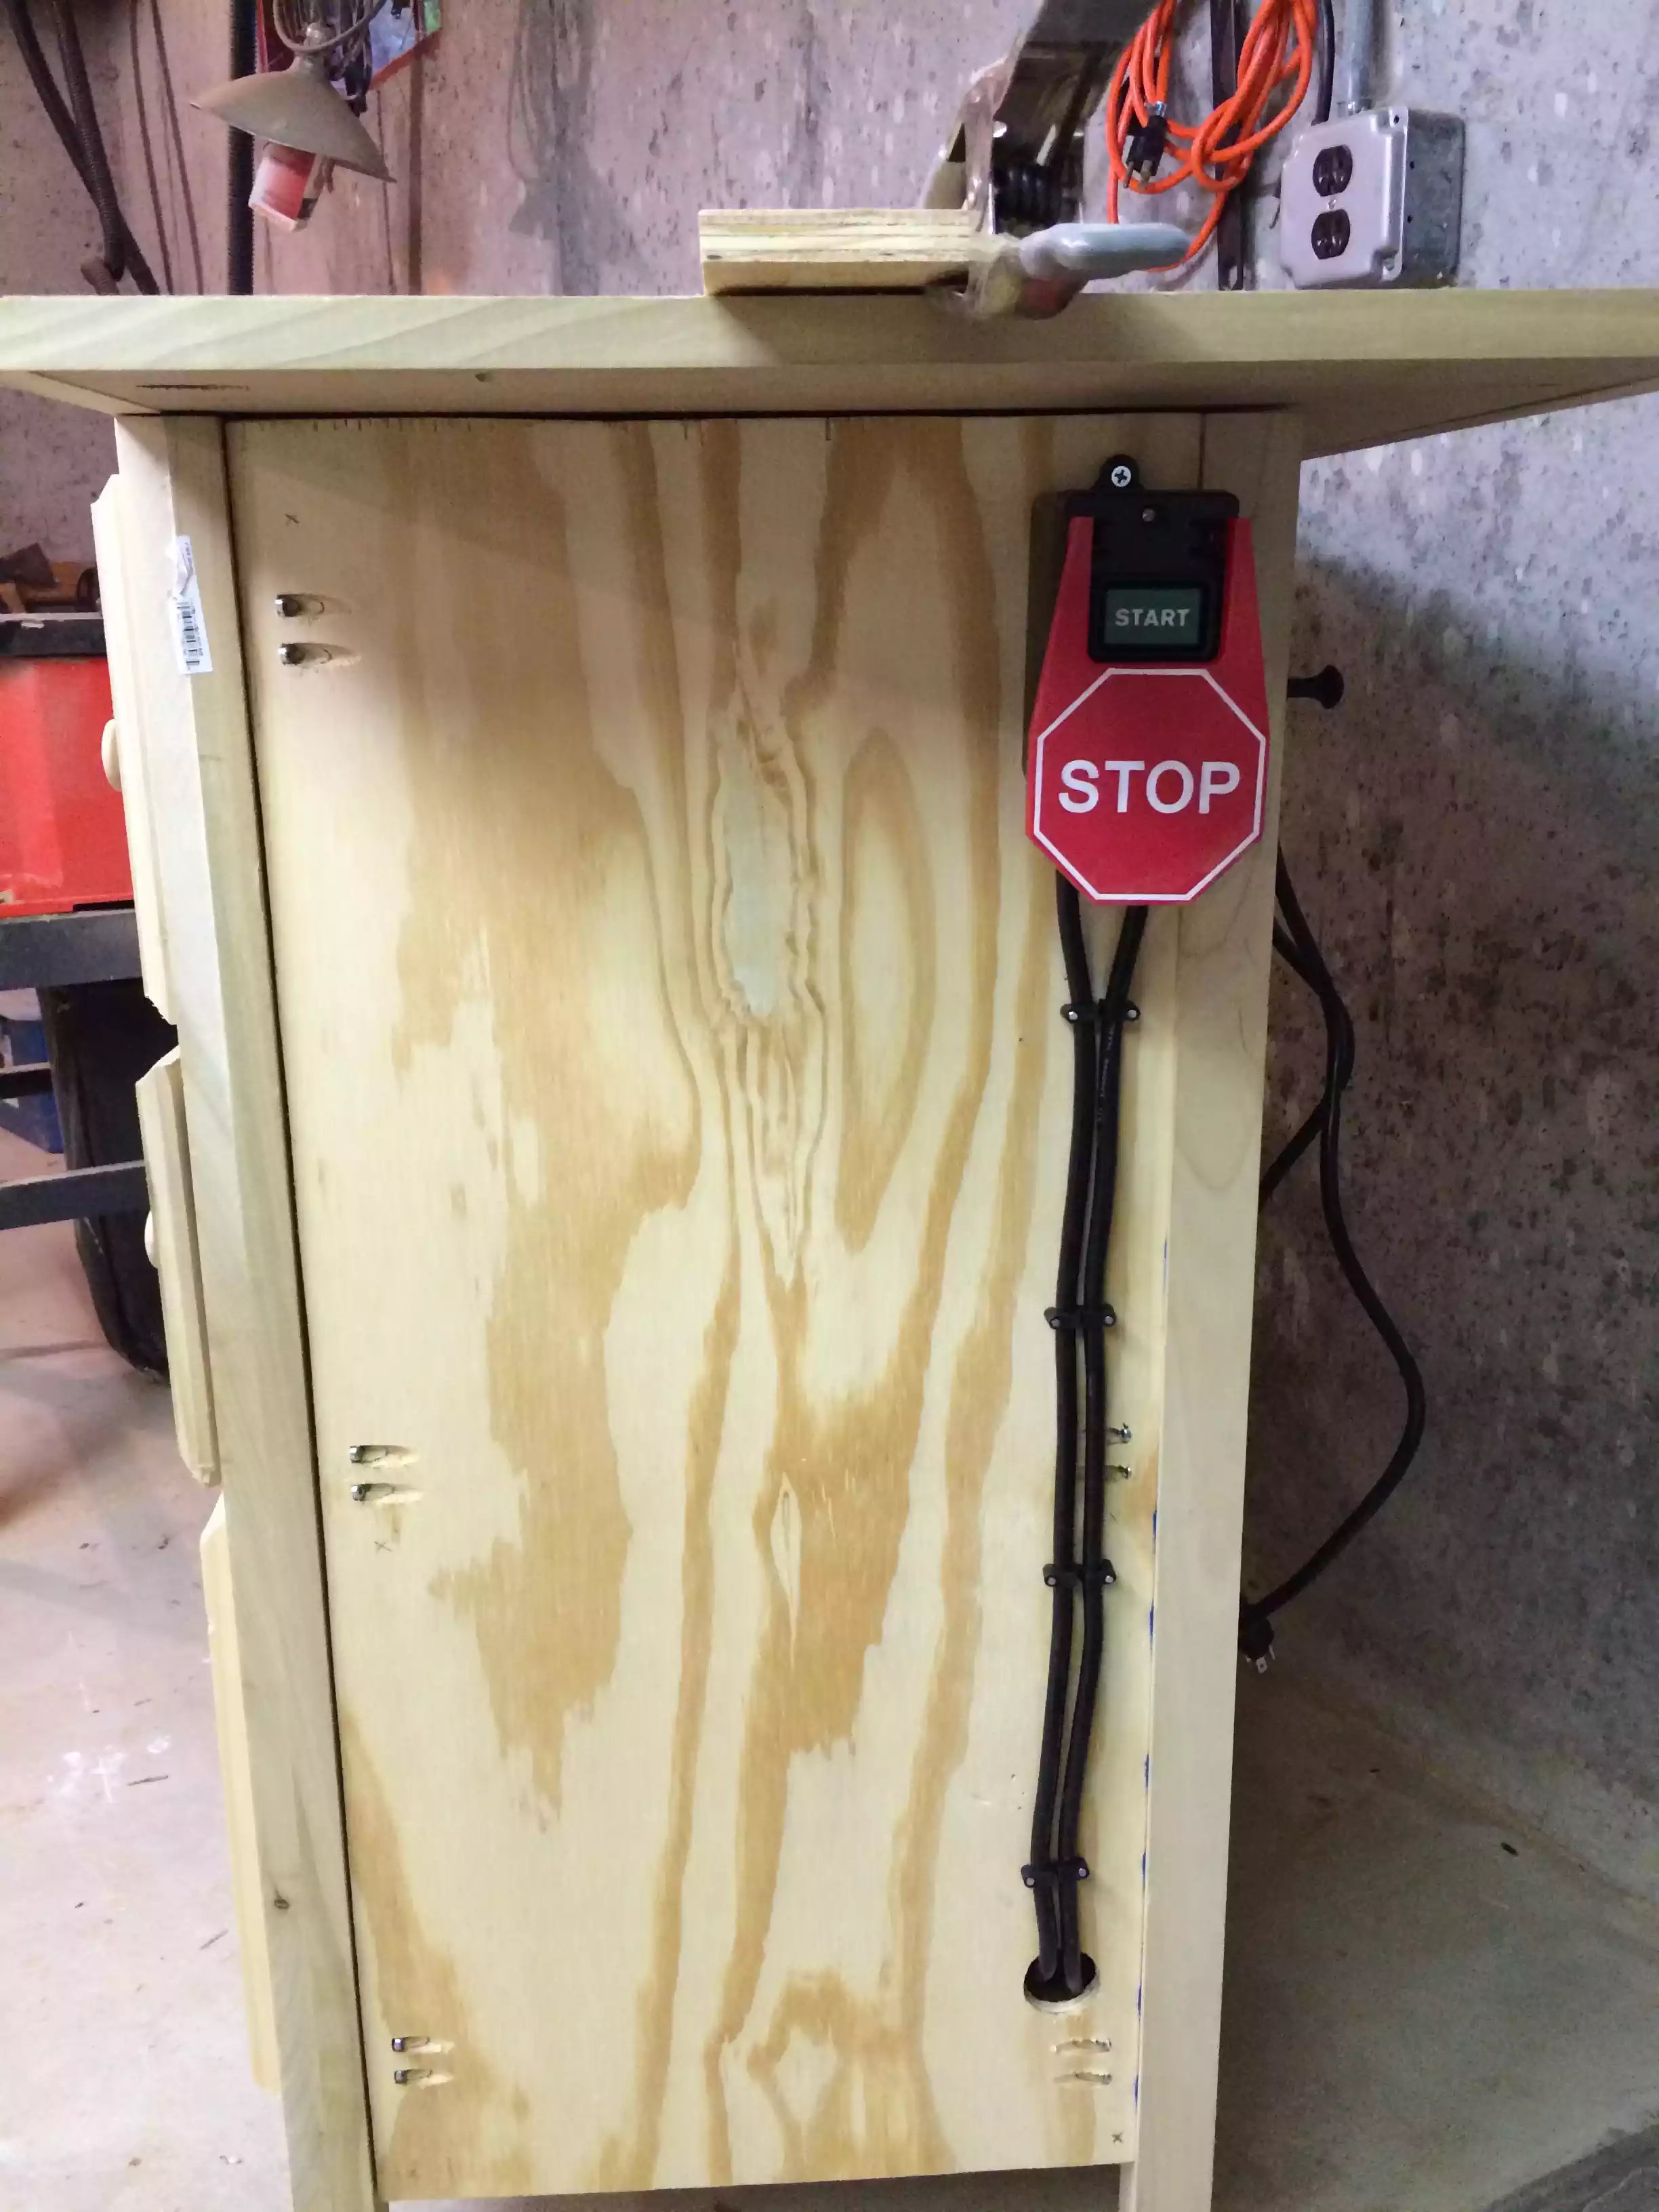
Well I have finally finished this project and I have to say it looks awesome .
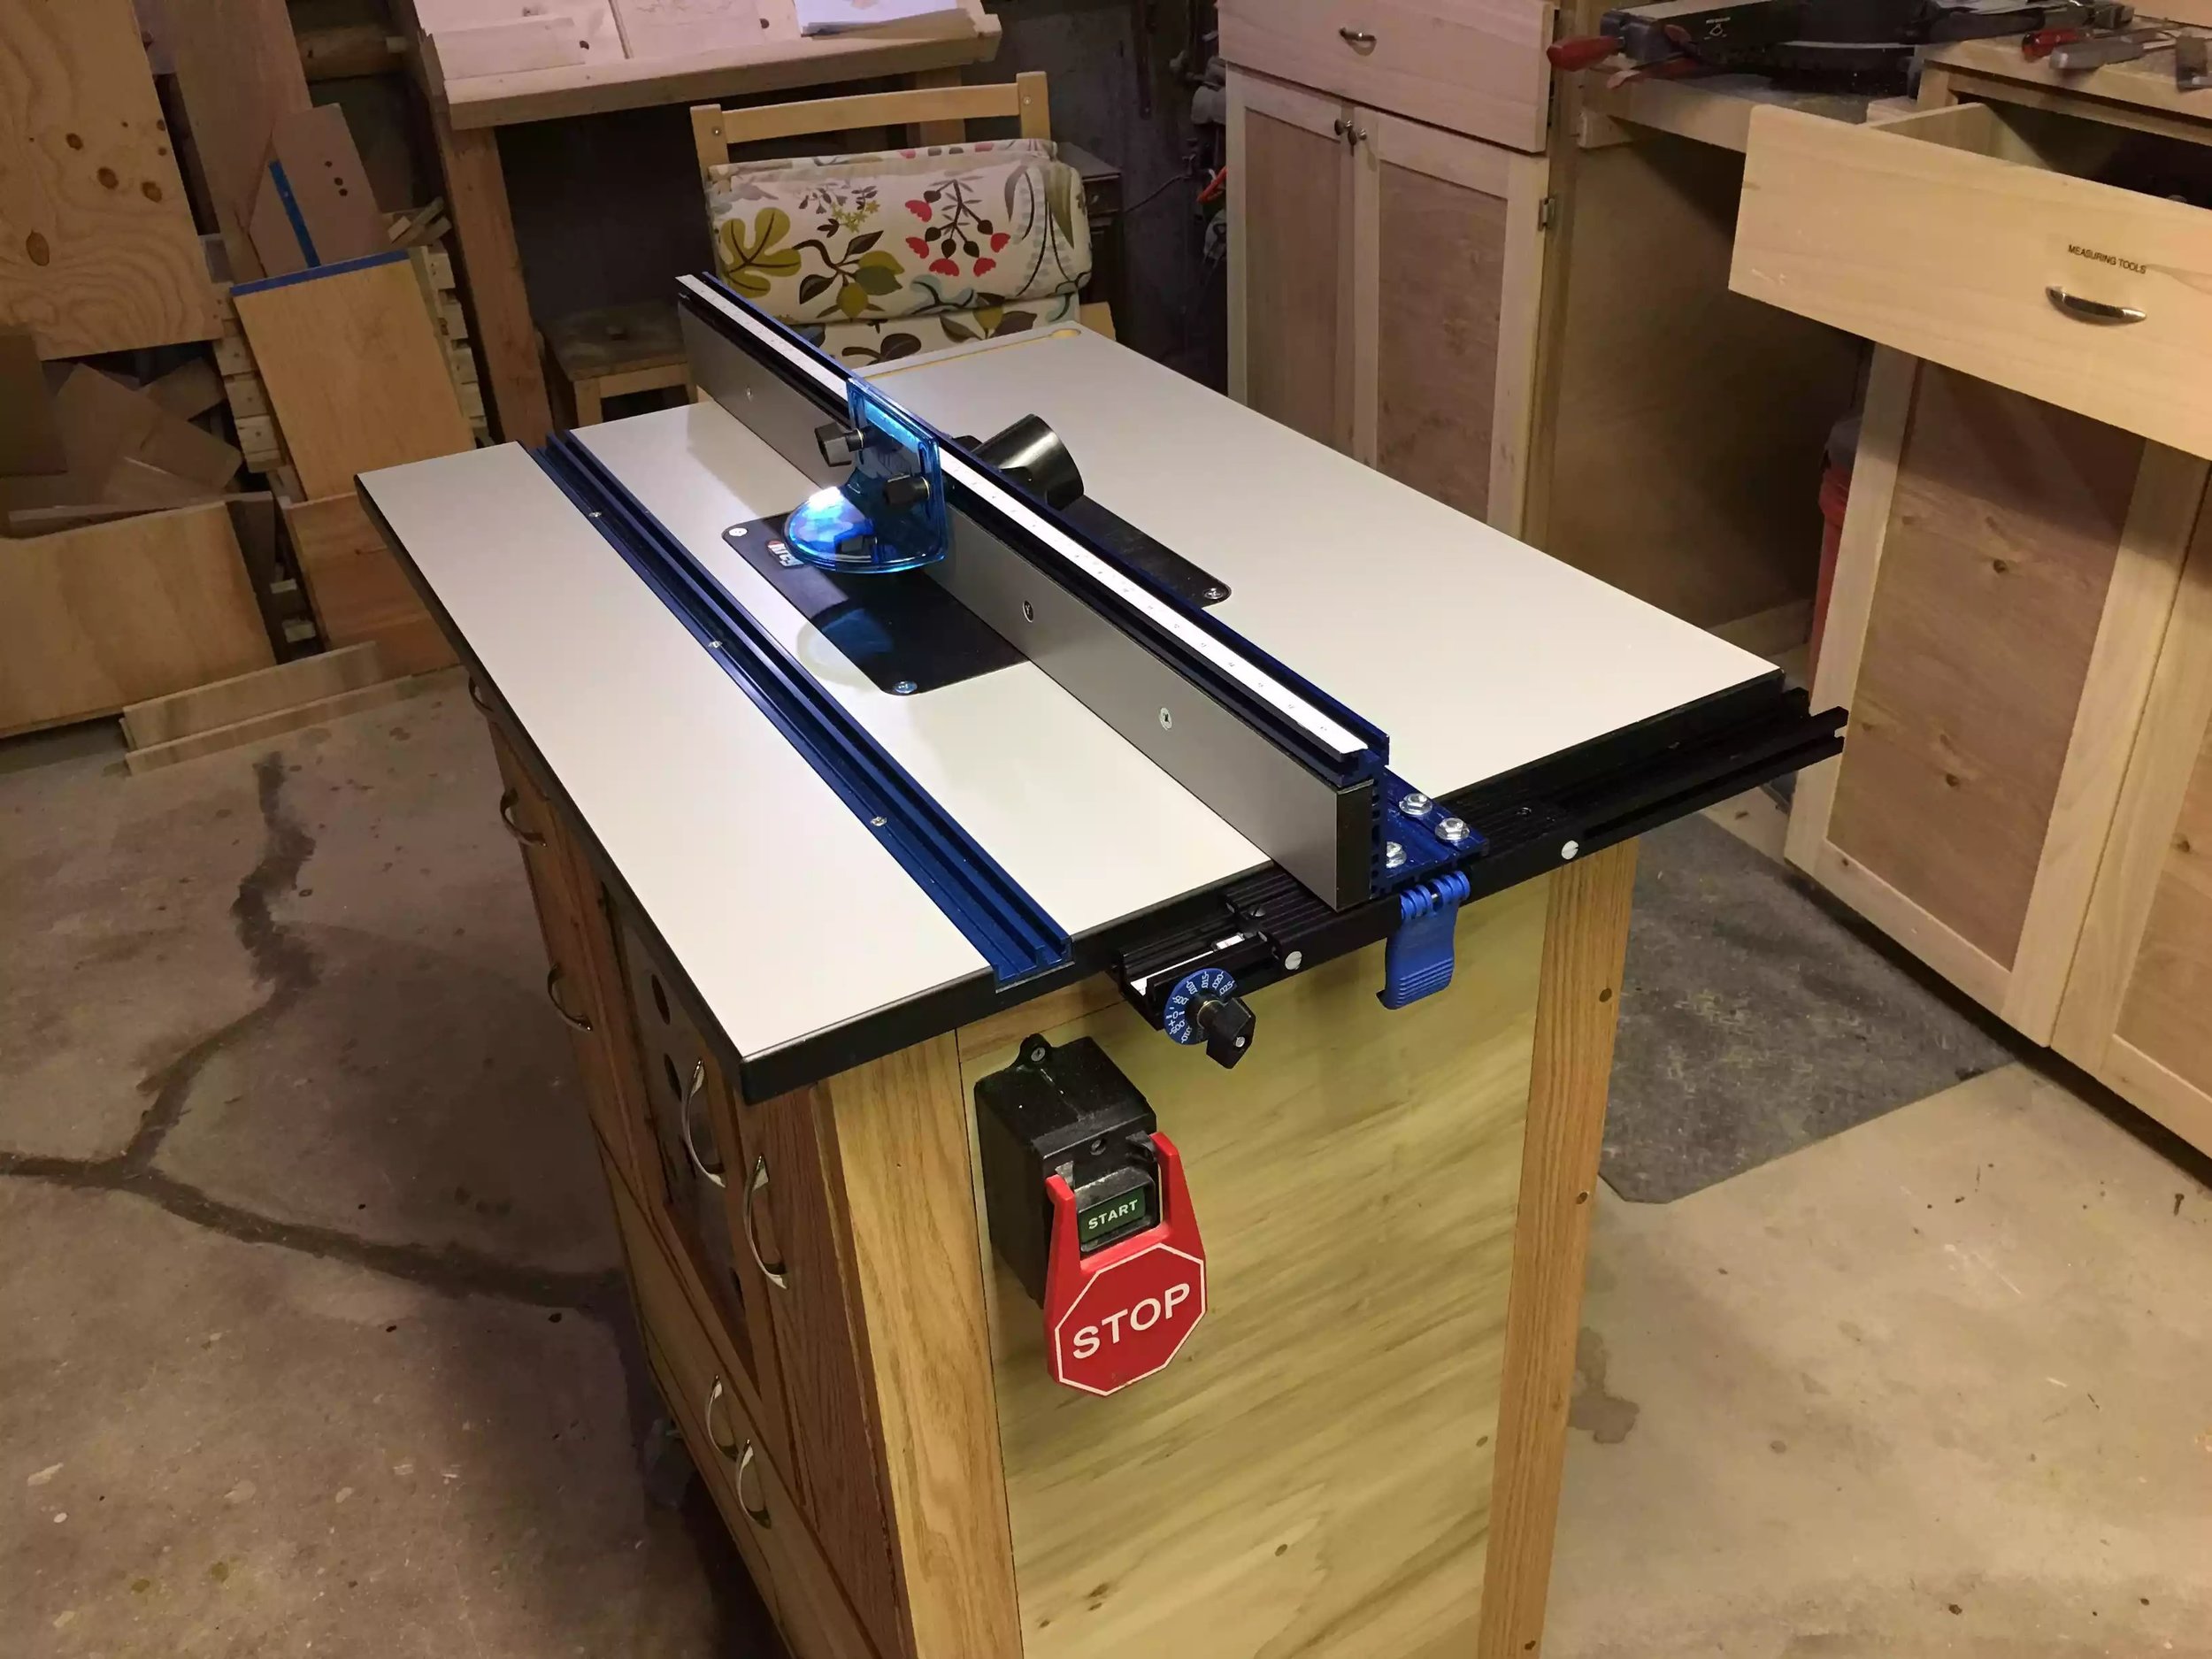
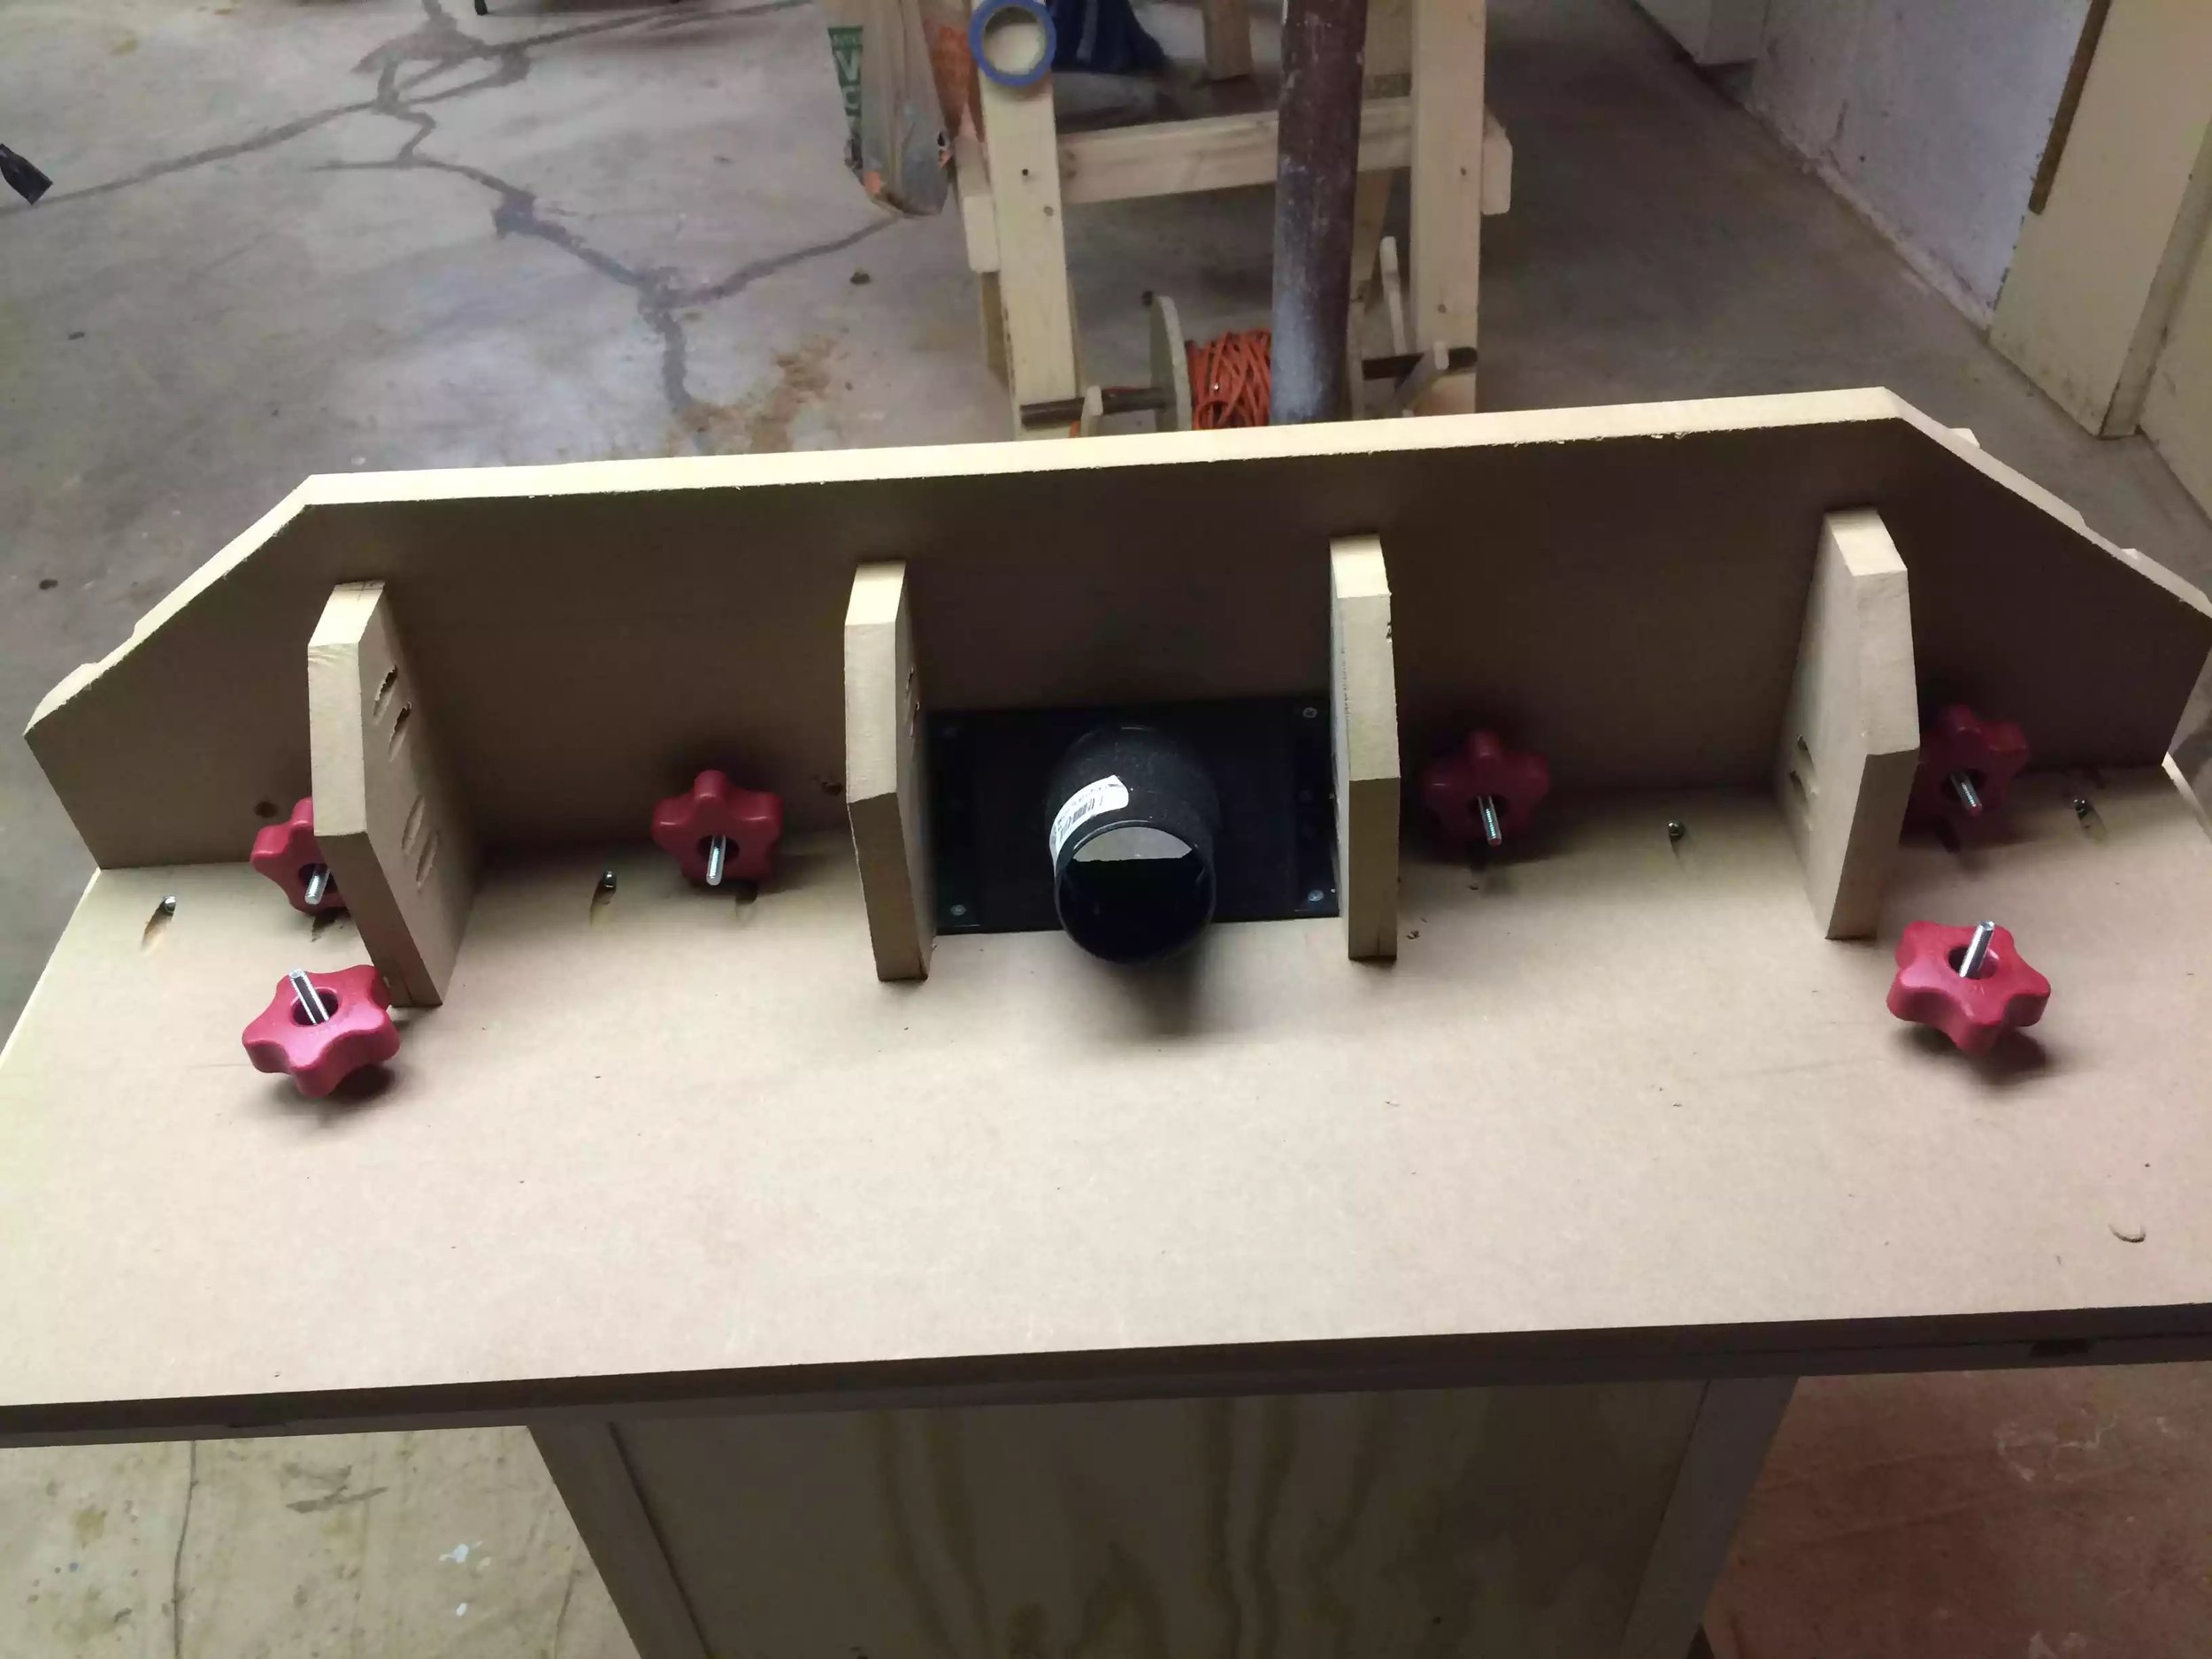
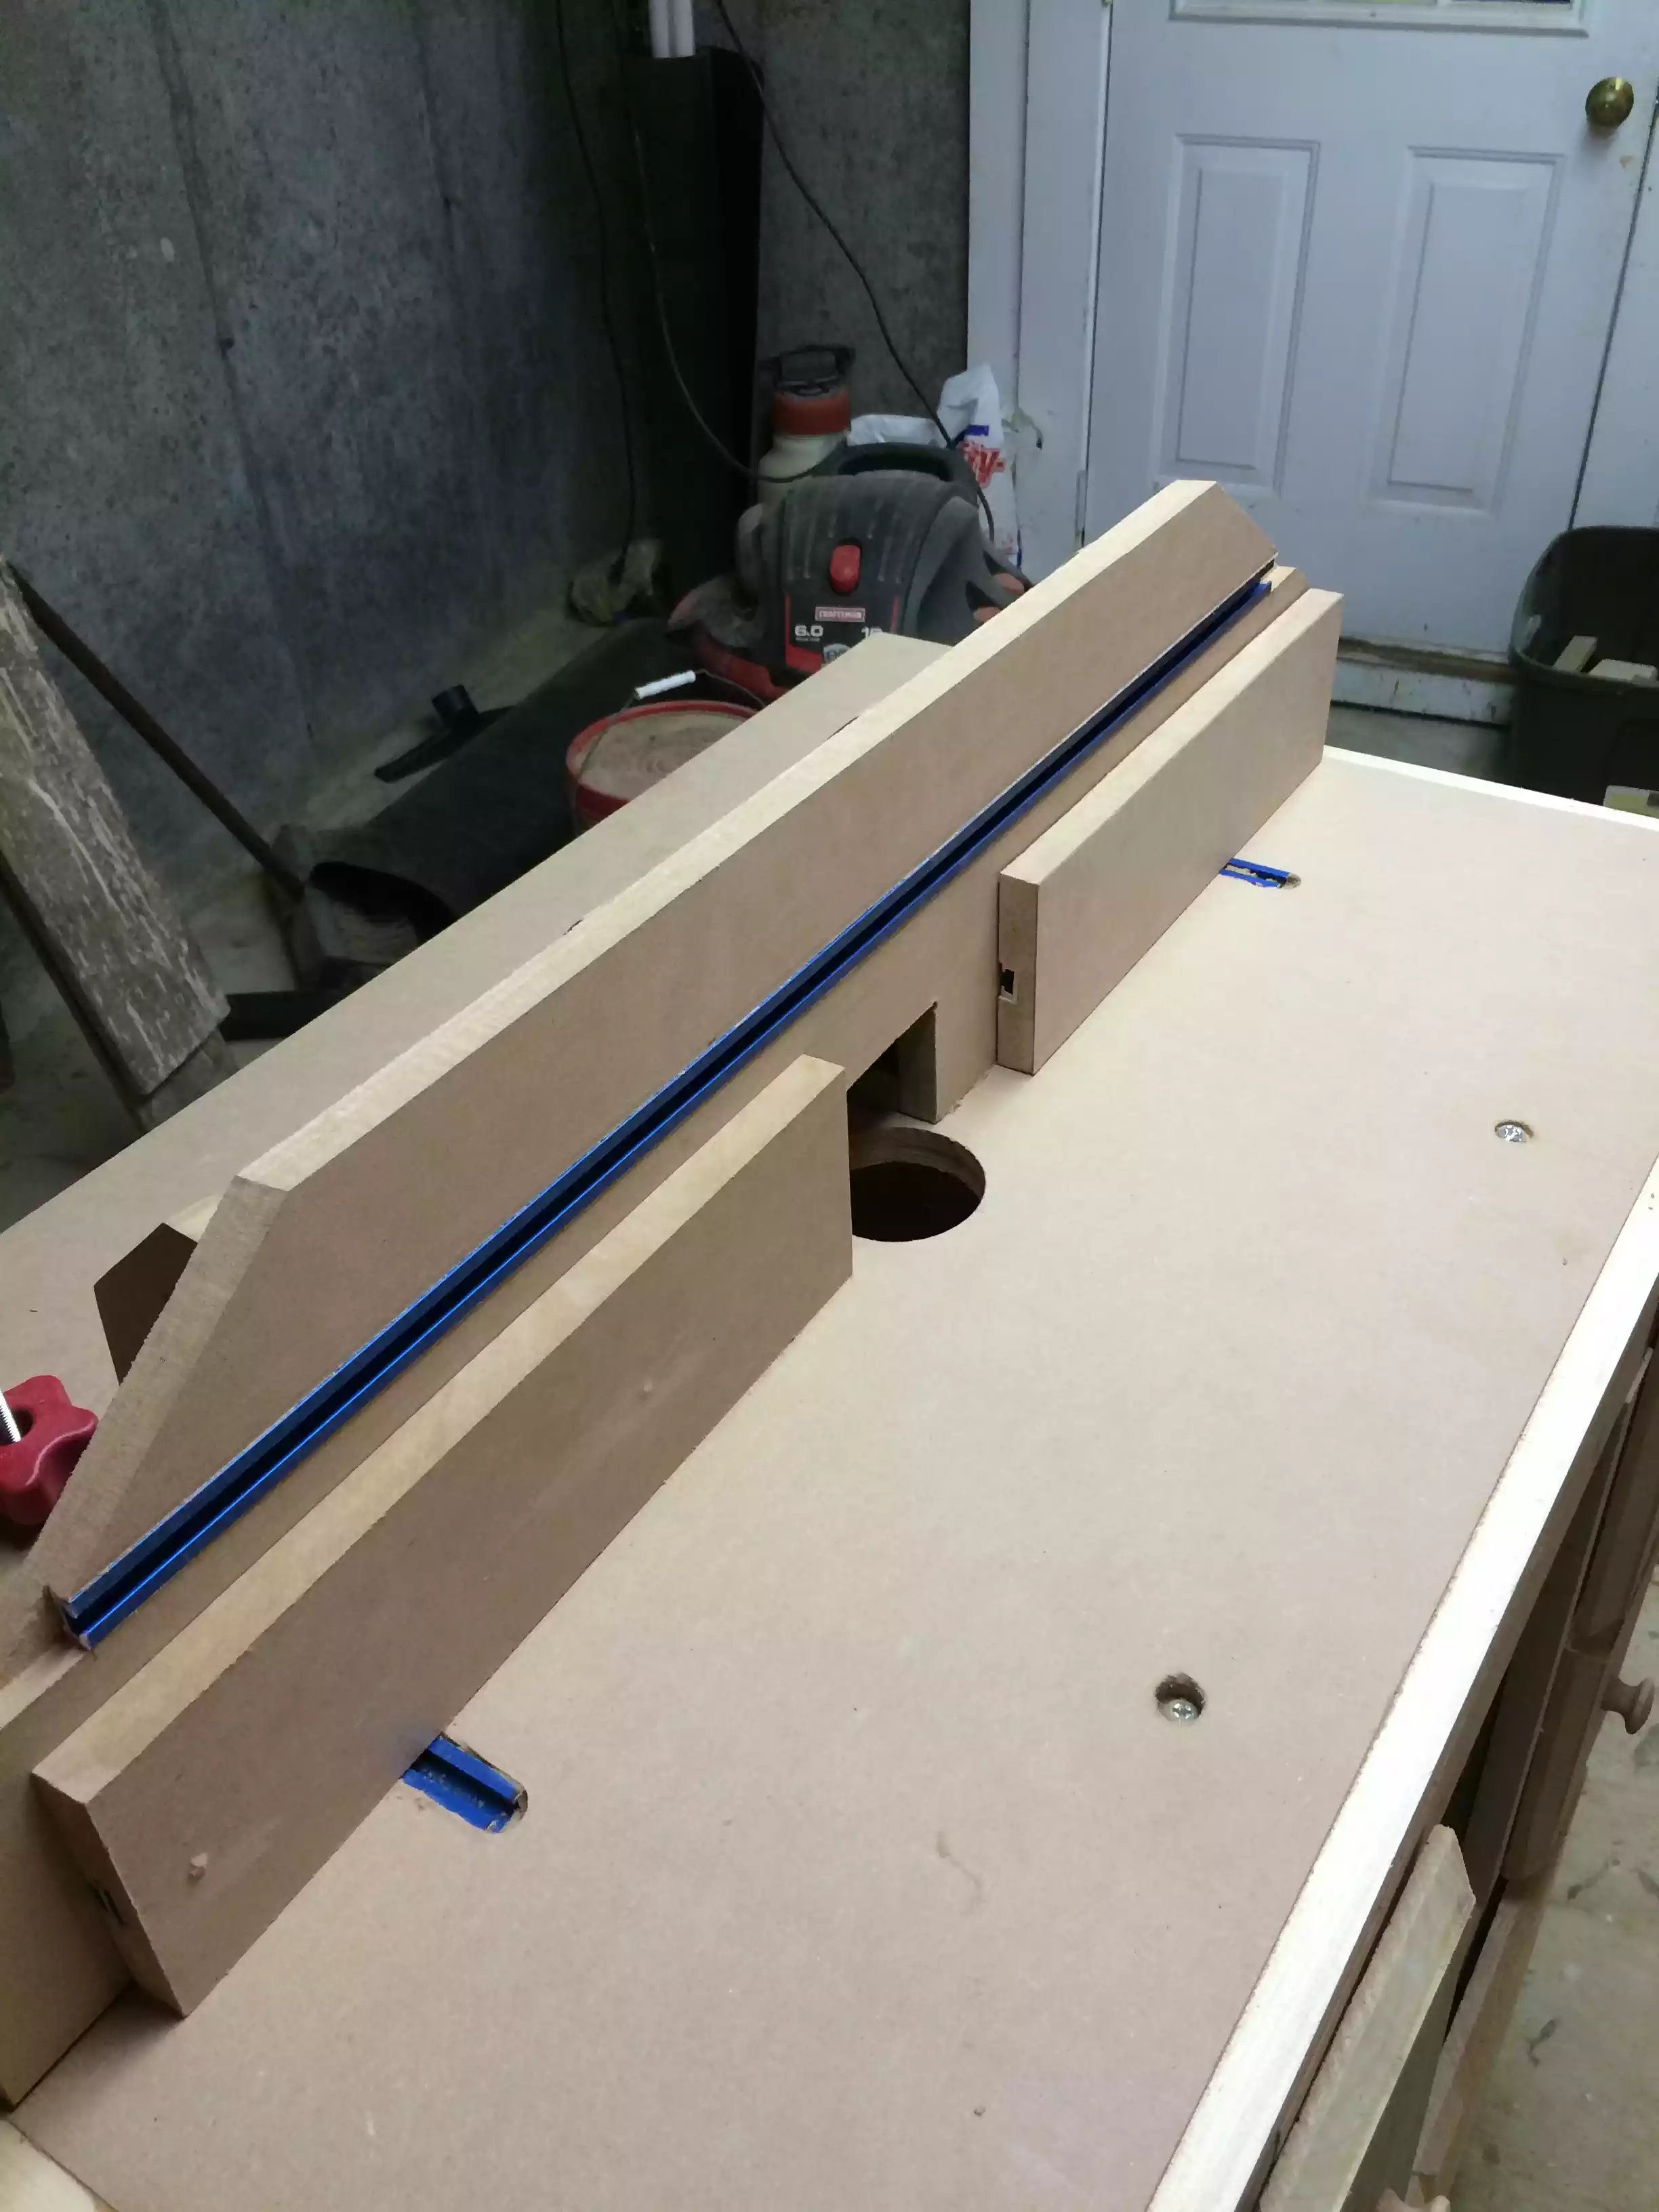
I was waiting on the Kreg precision router table and fence
And they are awesome, I love the way they mimicked a table saw fence in that it is built around a track that keeps it squared to the miter slot and bit.
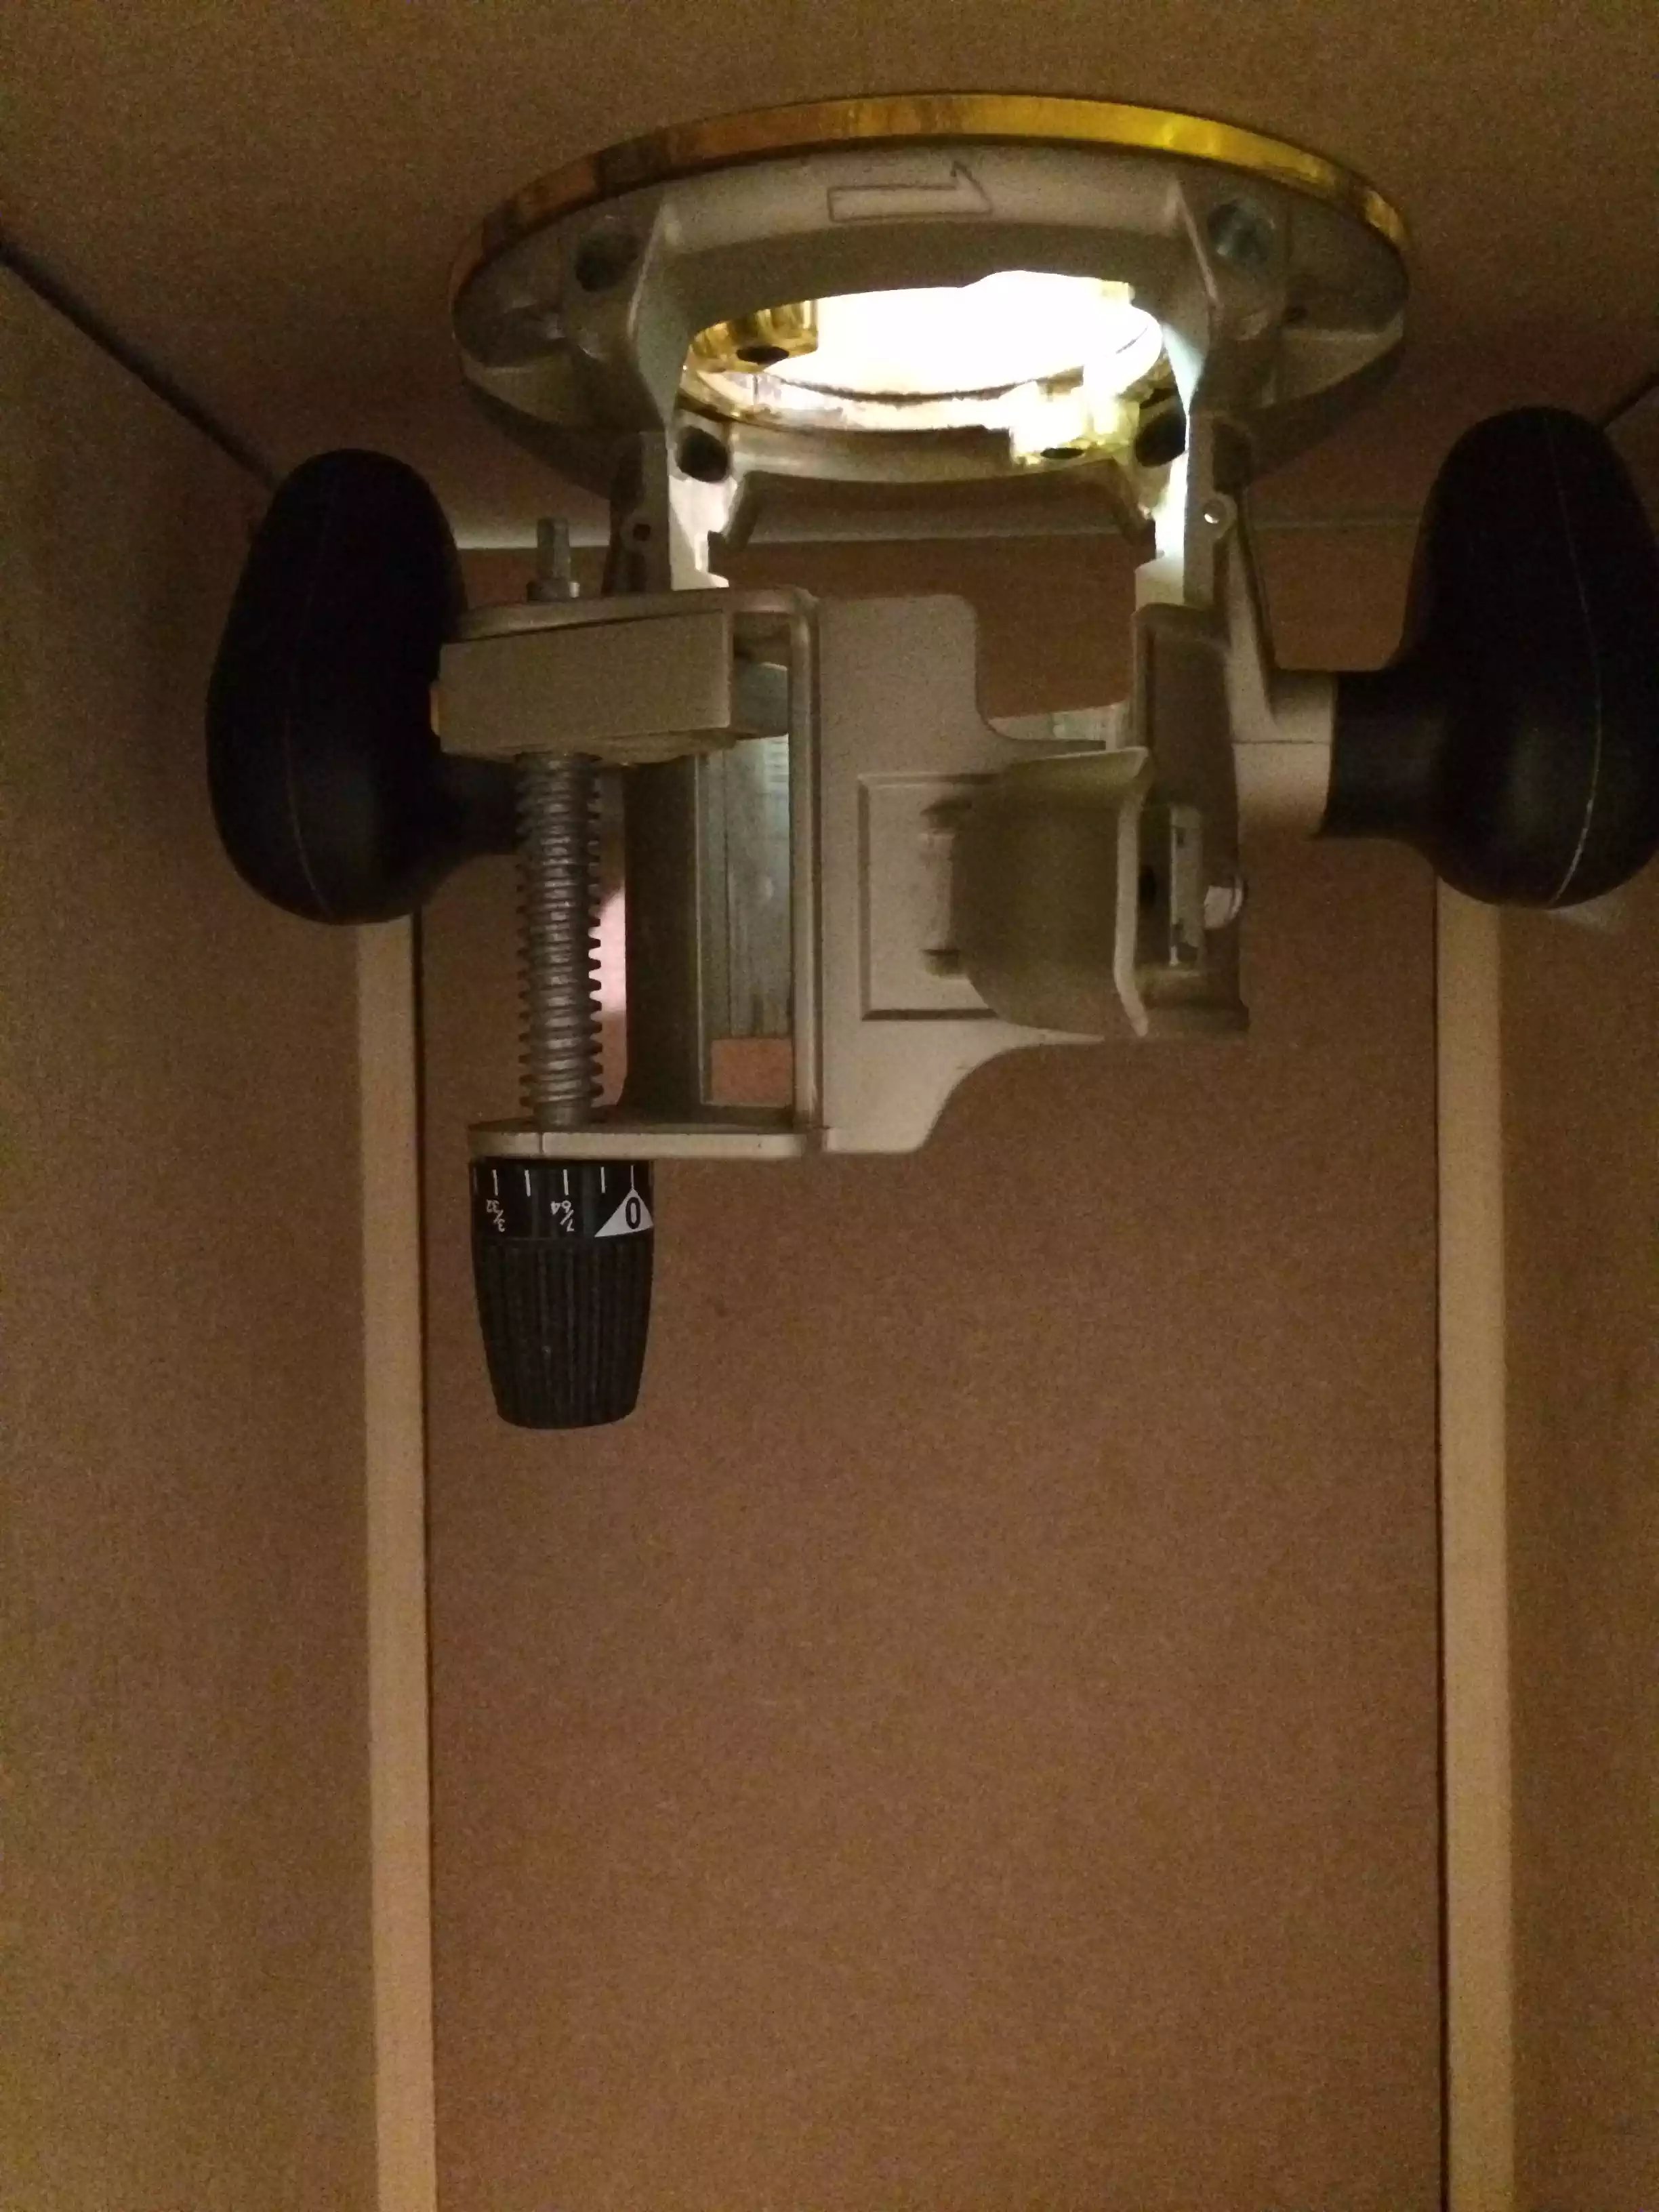
I installed my 2HP Craftsman router and I love the fact that I could drill my own holes to allow me access to the height adjustment on the router and I can also change bits easily from over the table
All and all this project did set me back a chunk of change but it will be a table and tool that I will have for a very long time ..
If you want details of the build please visit the blog. I did a lot of research on what I wanted in my new router table since the first one I made including the top and fence were all shop built.
I didn’t need a ton of bit storage as I made wall mounted router cabinet to store the endless accessories that come with this tool, you can see it here….
I created a blog detailing this project and you can find the blog below
ROUTER ACCESORIES CABINET
(11/2016)
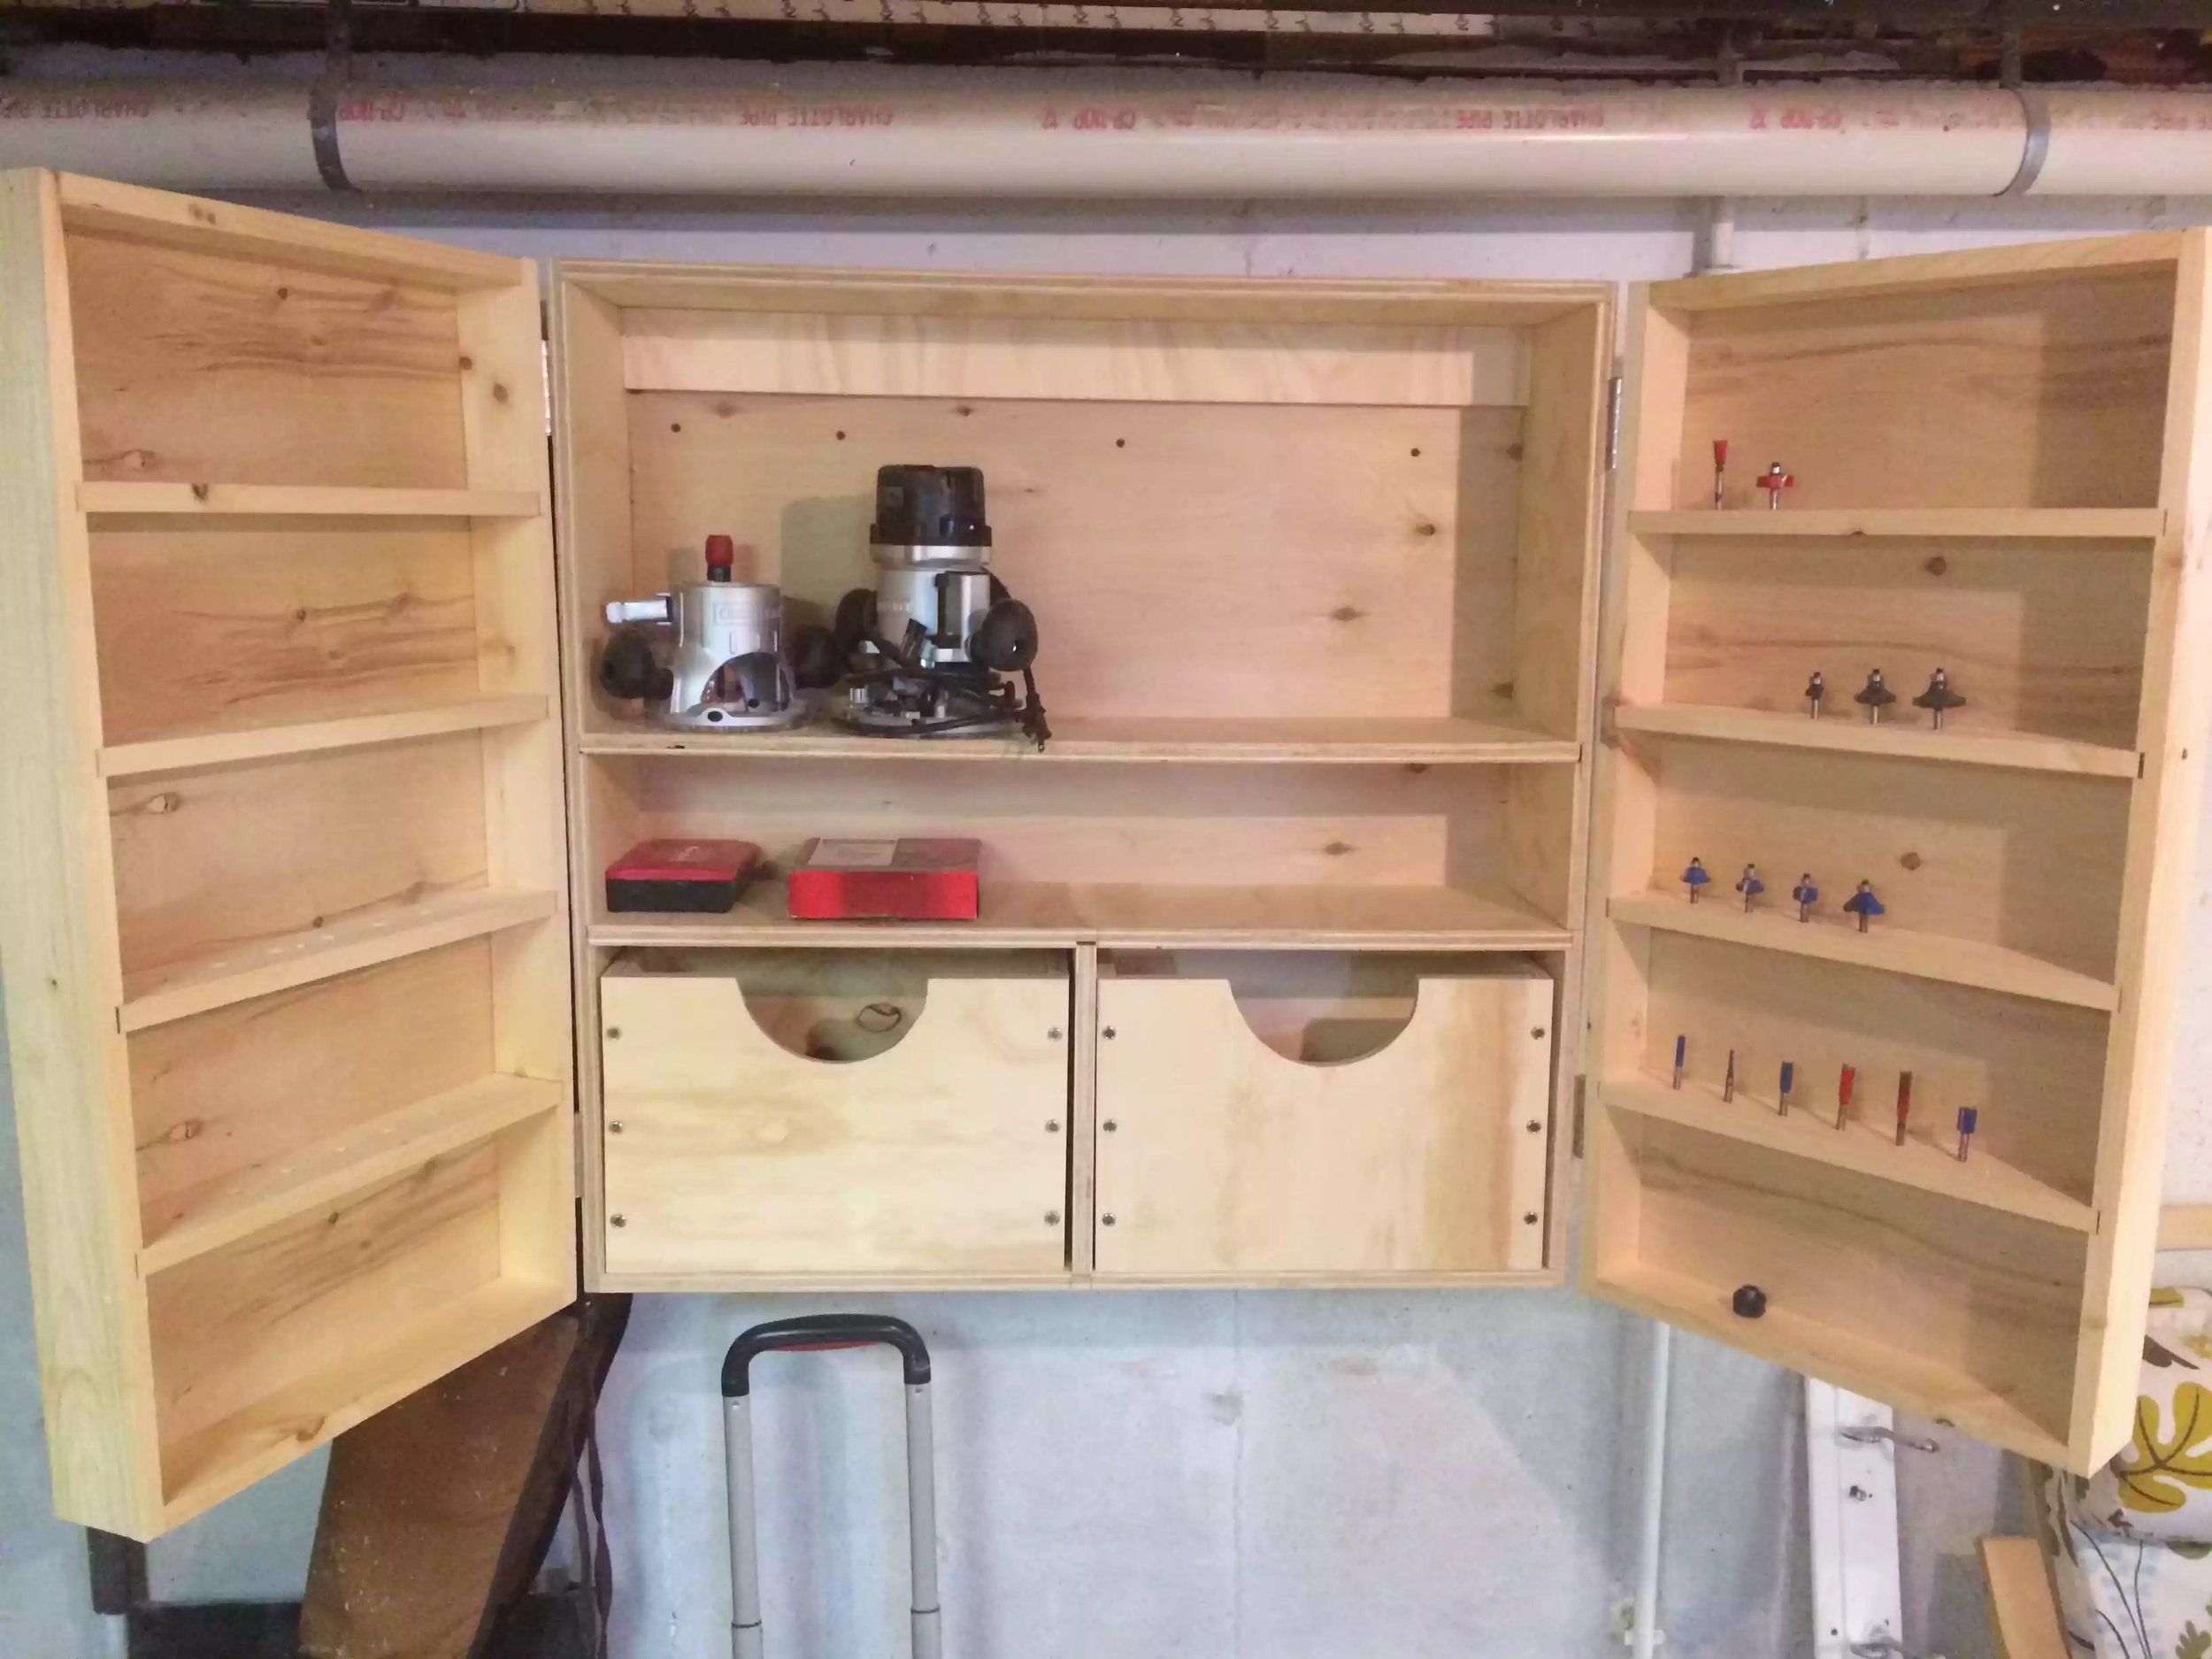
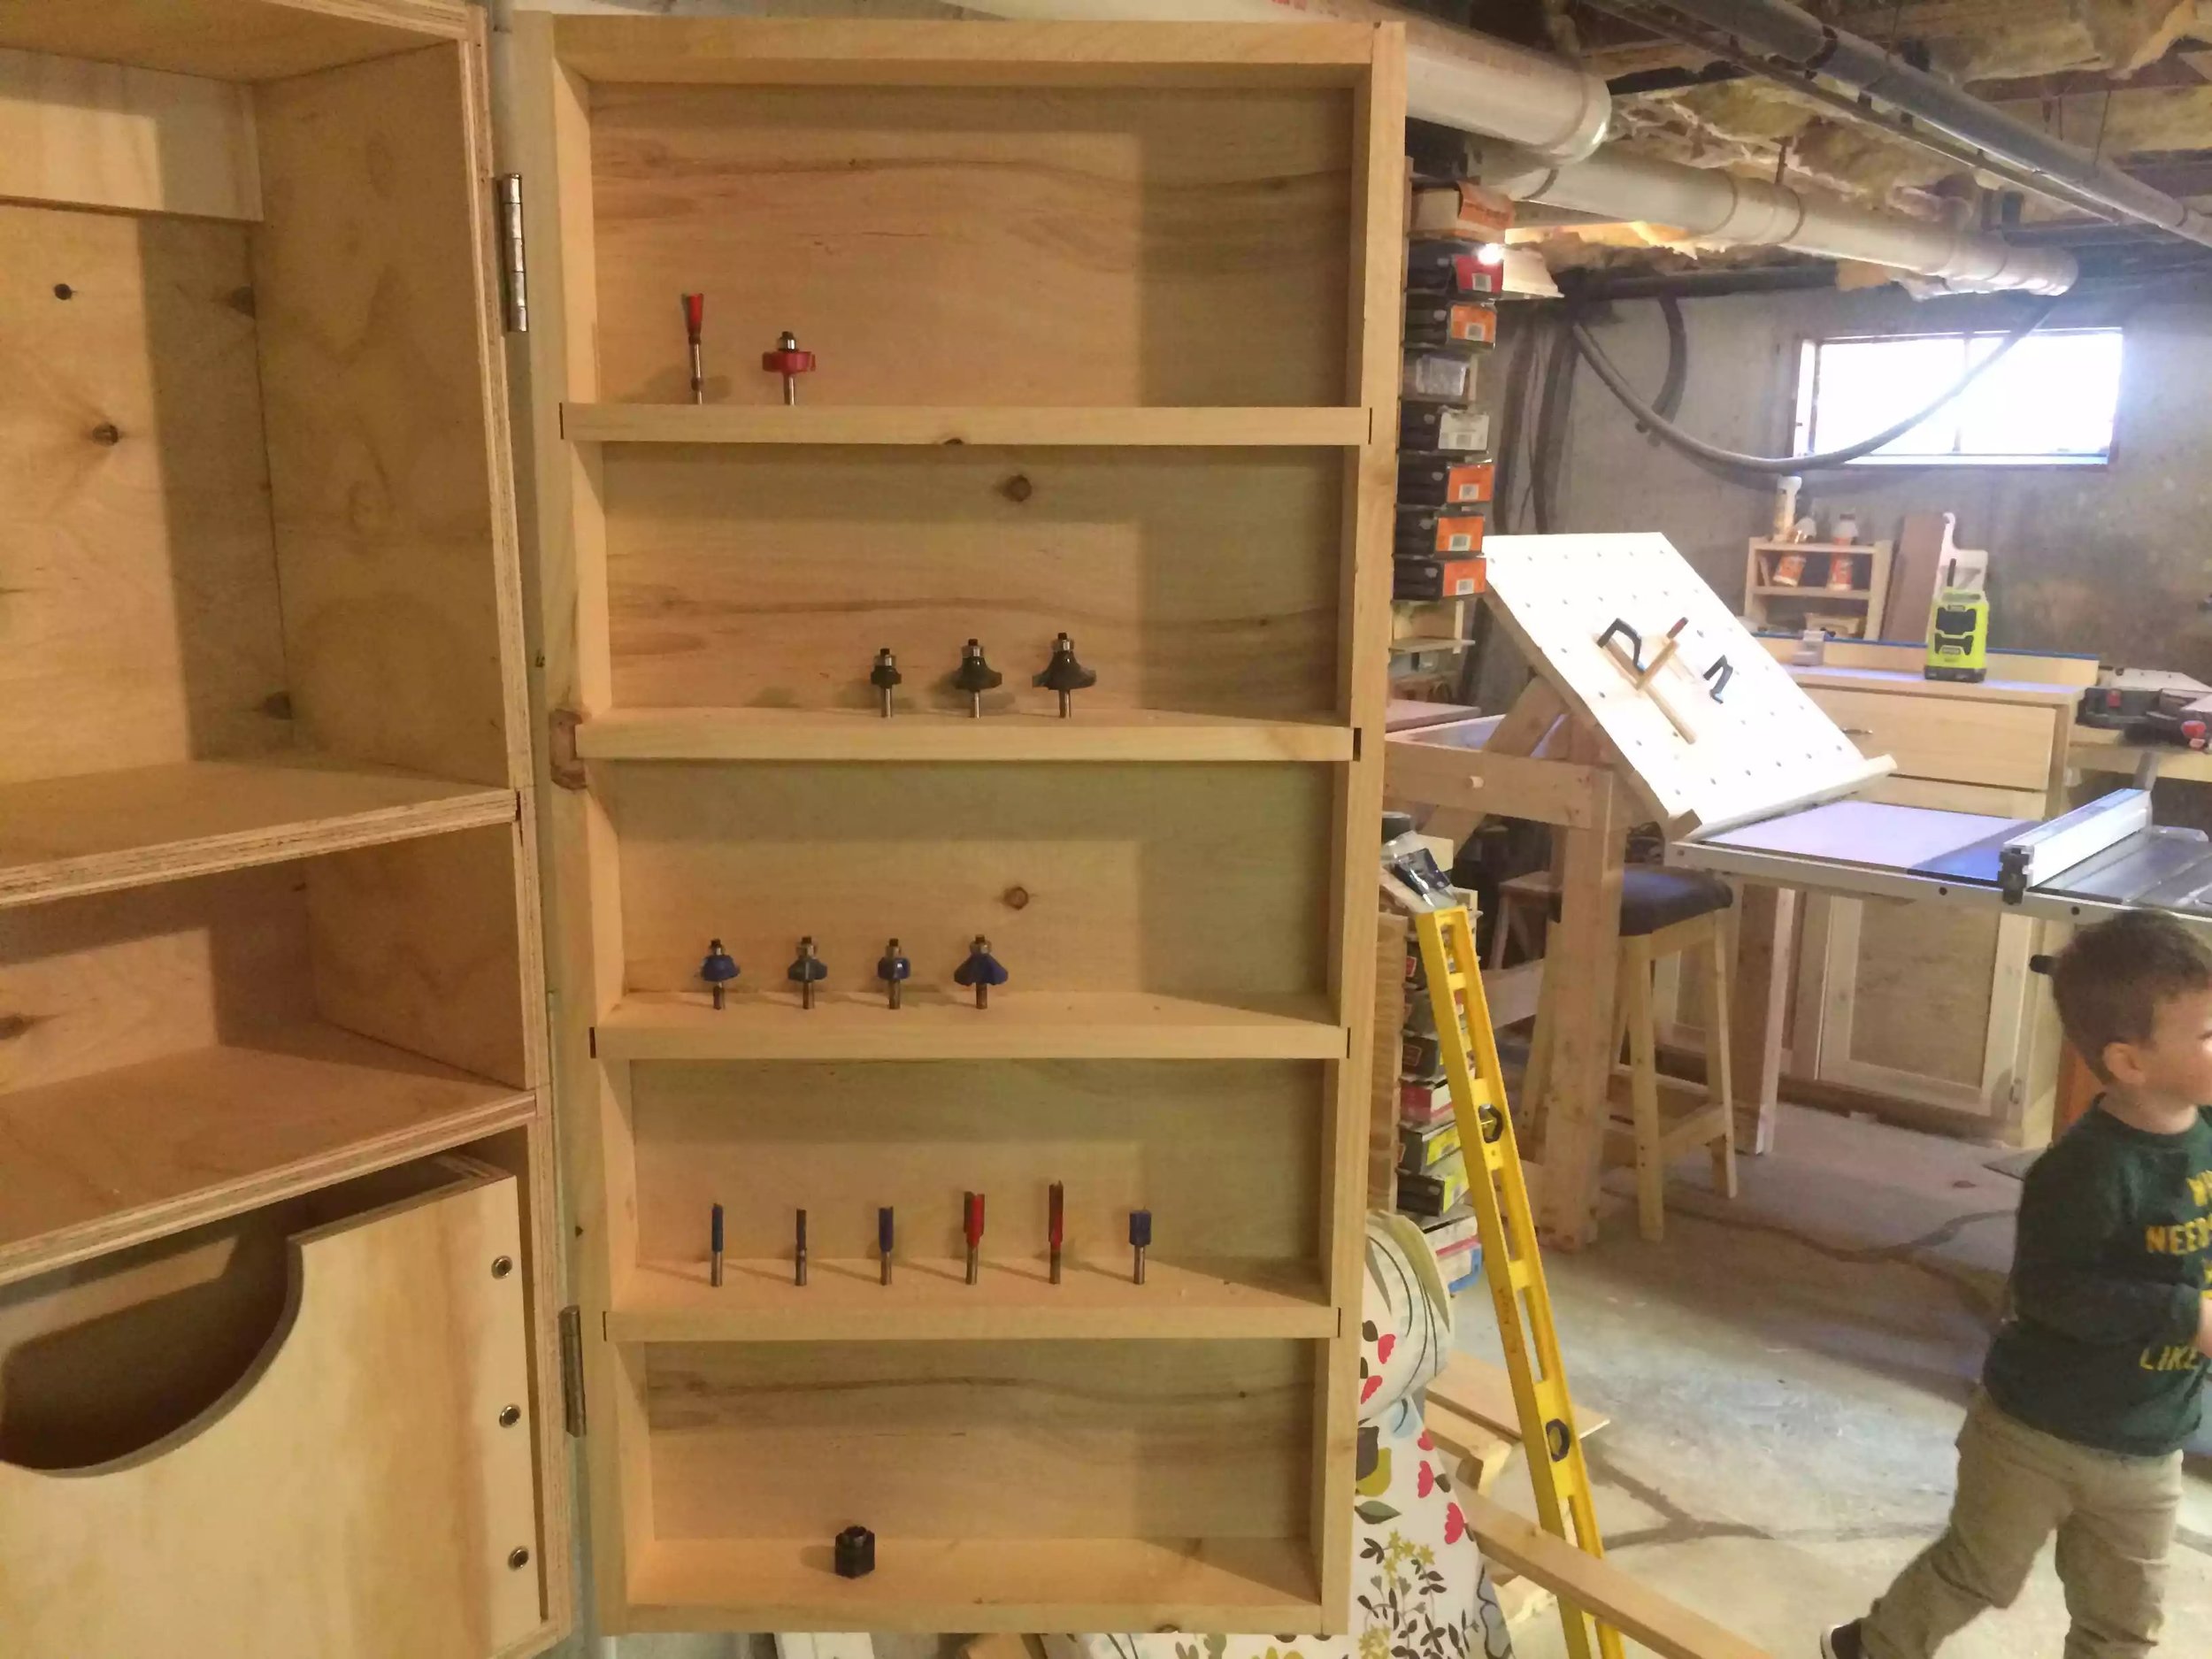

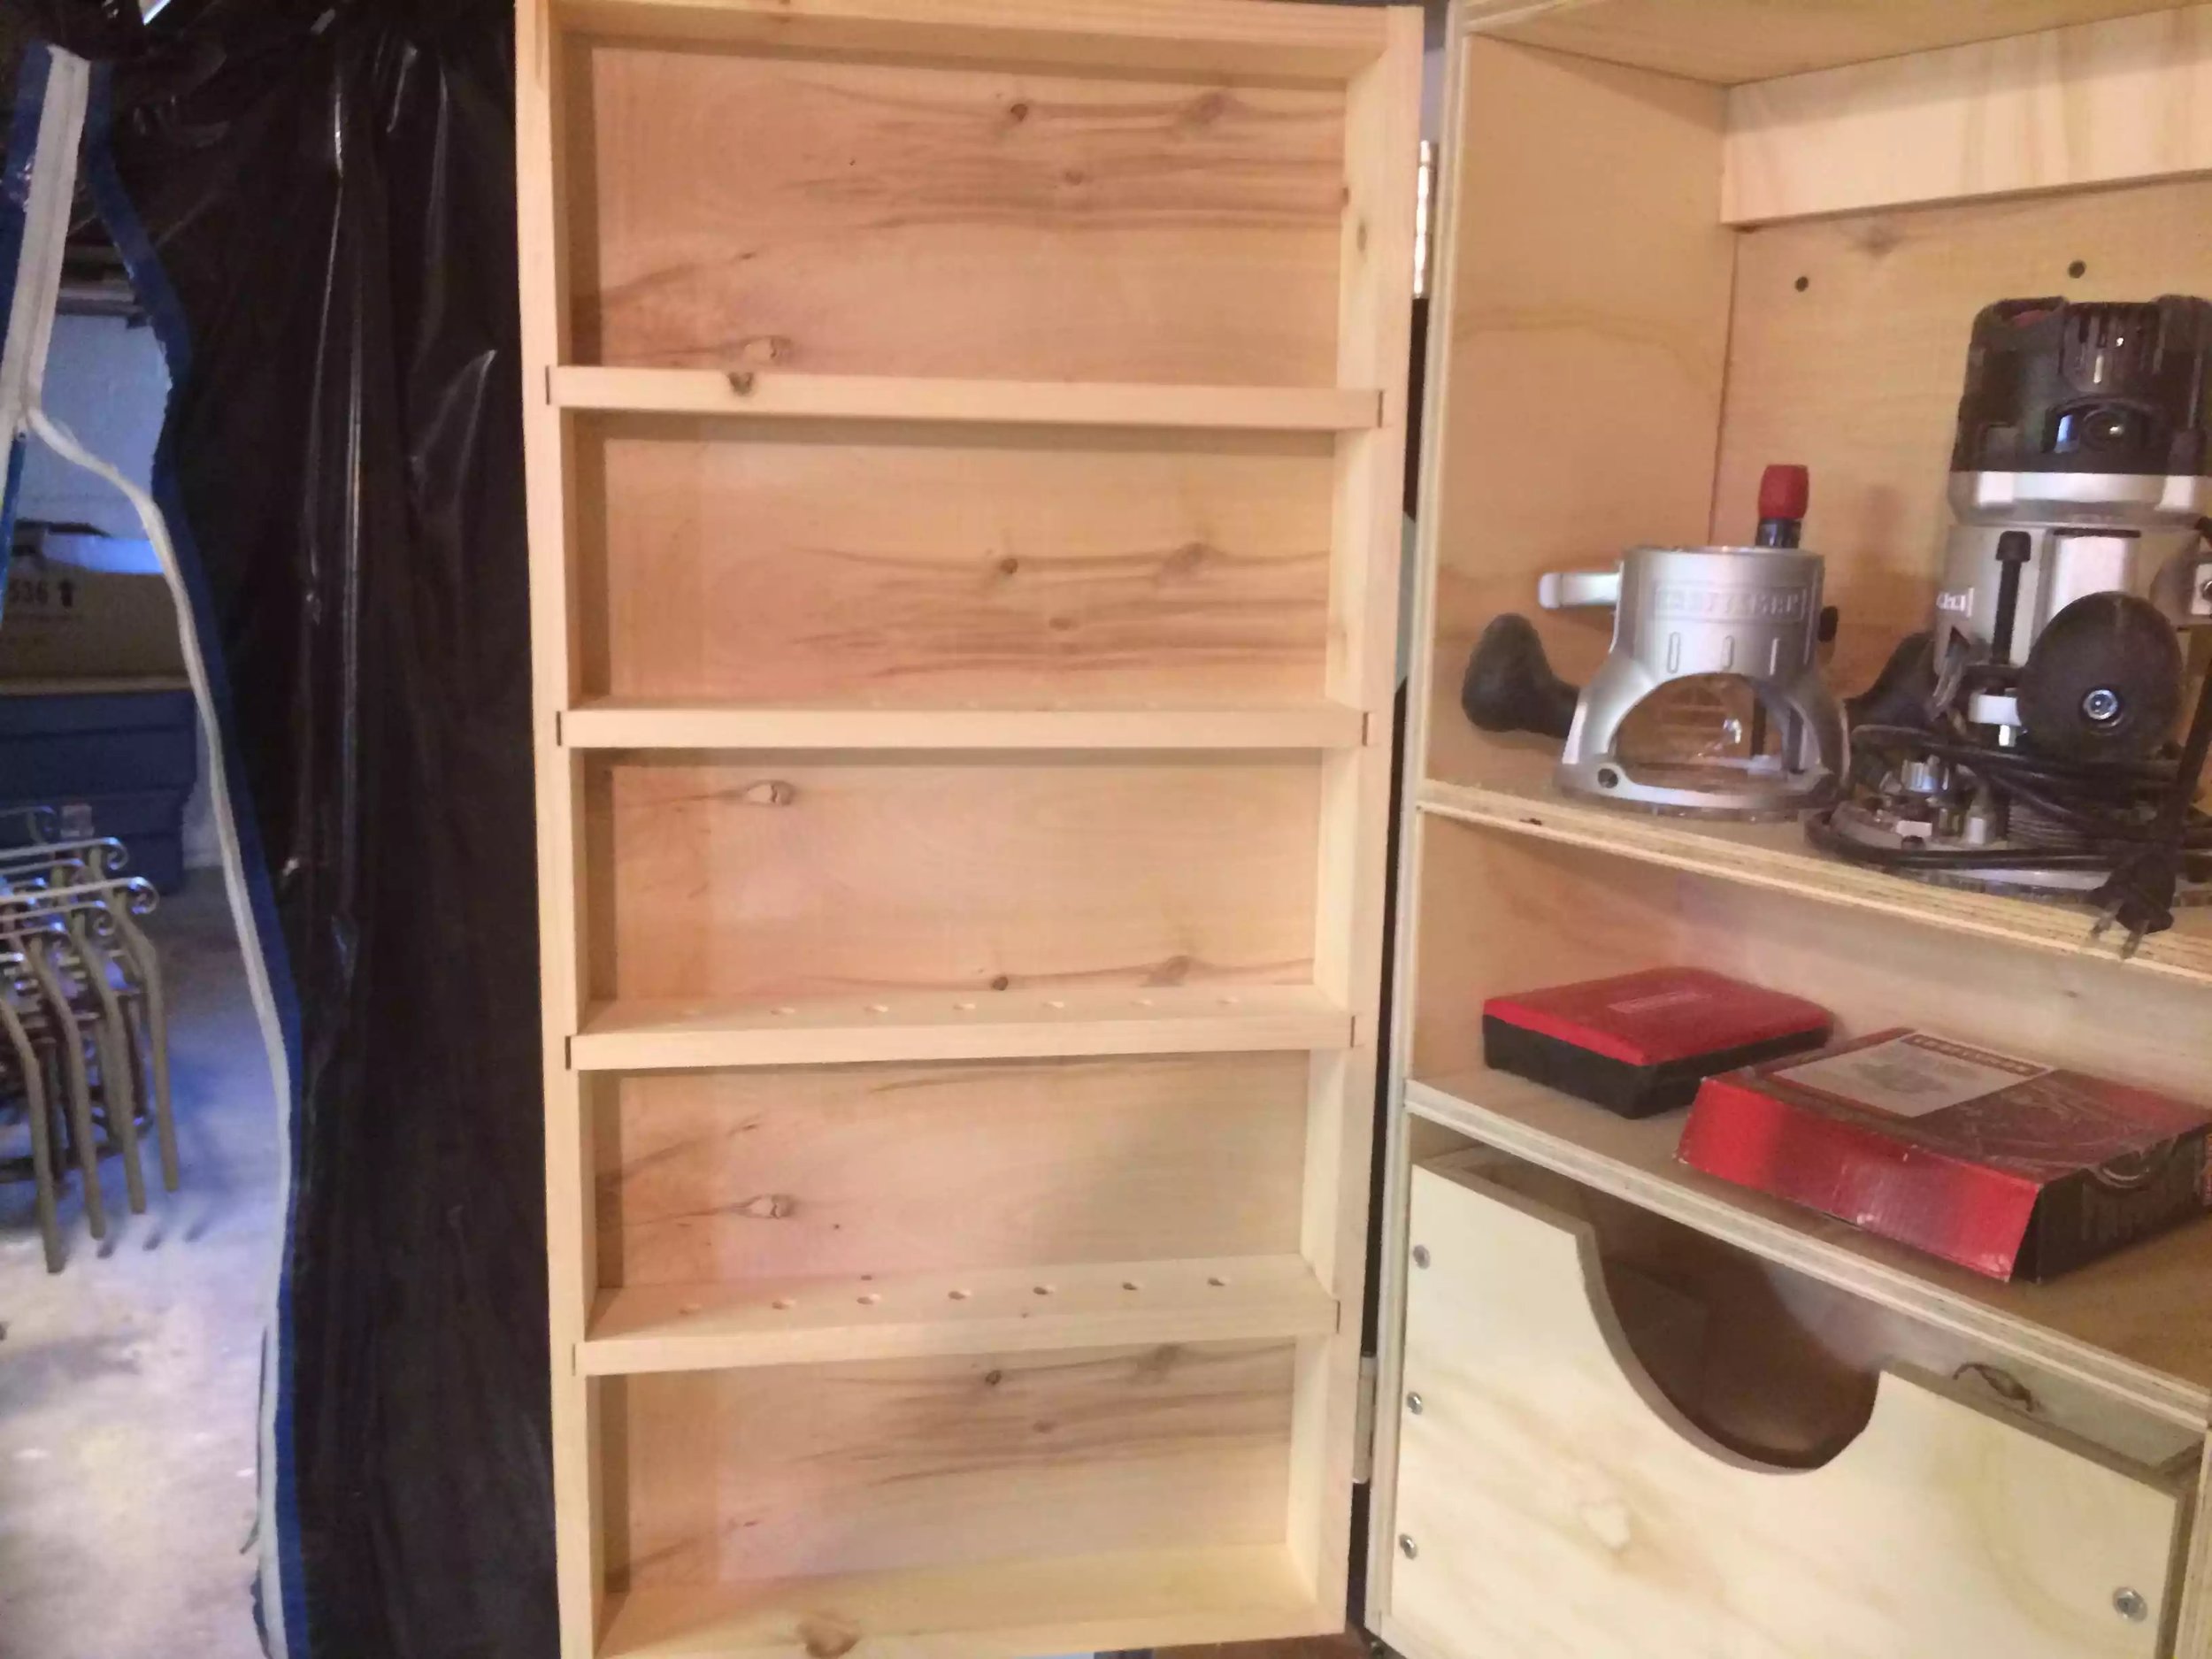
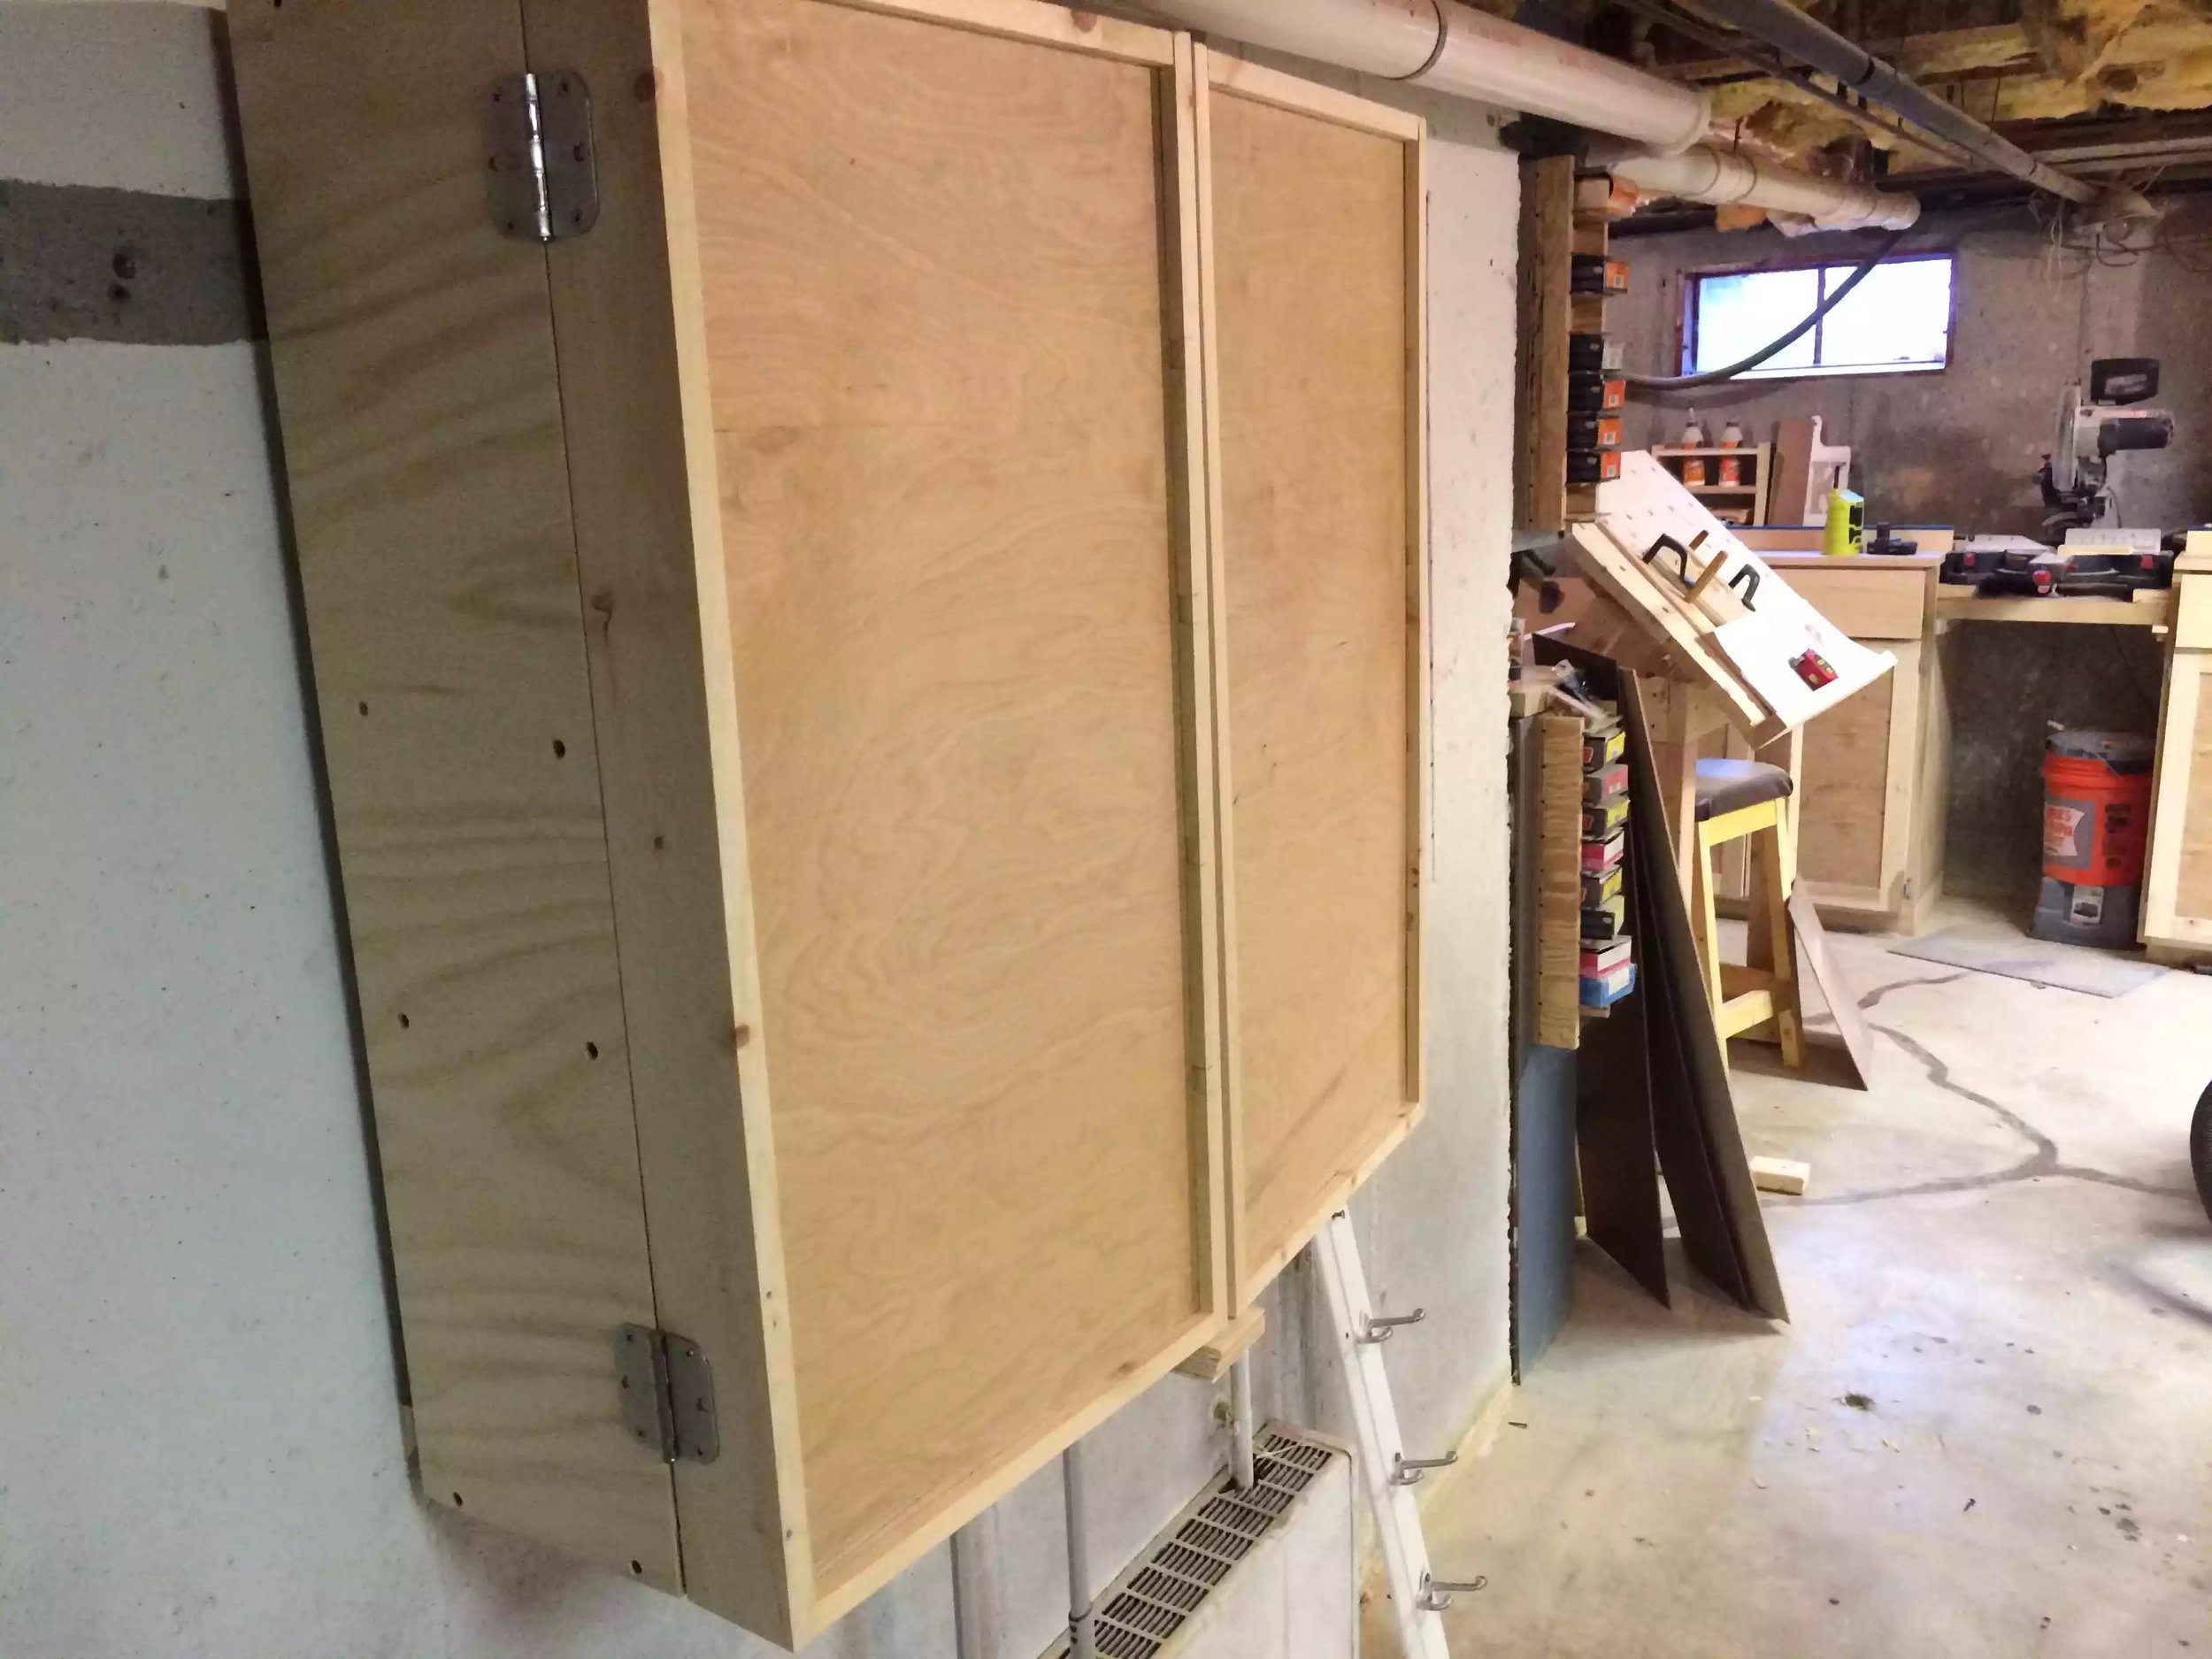
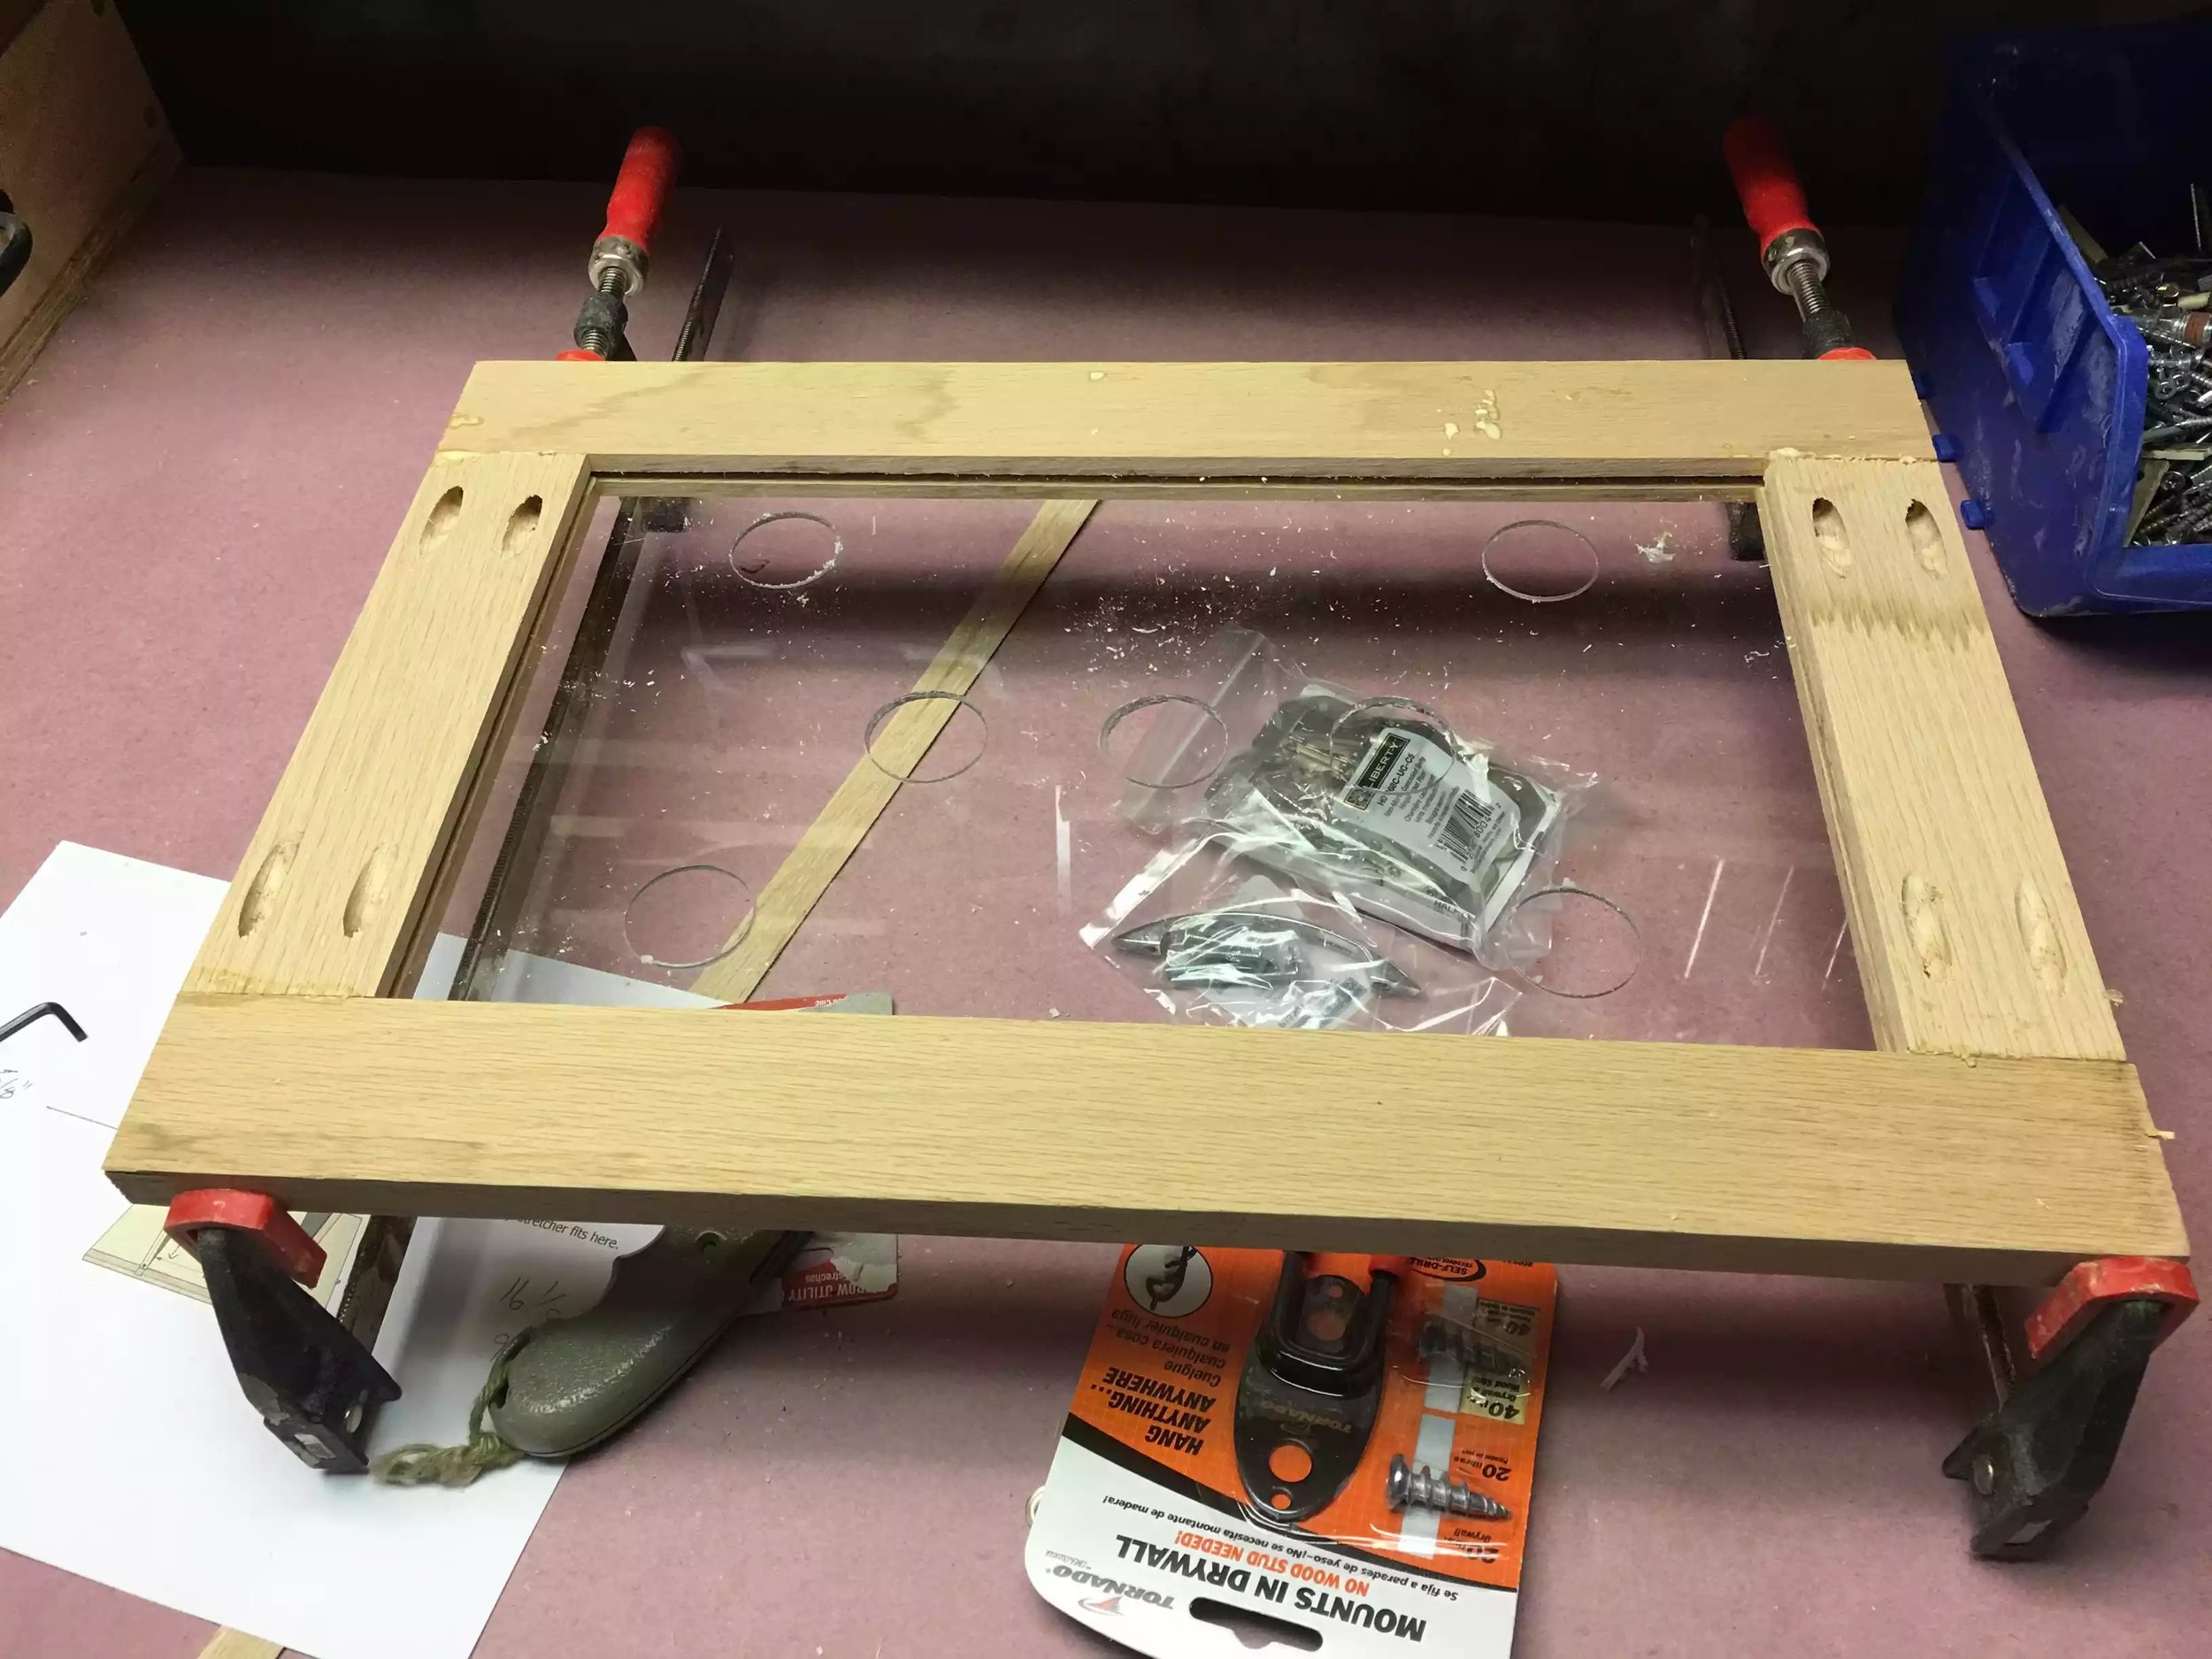
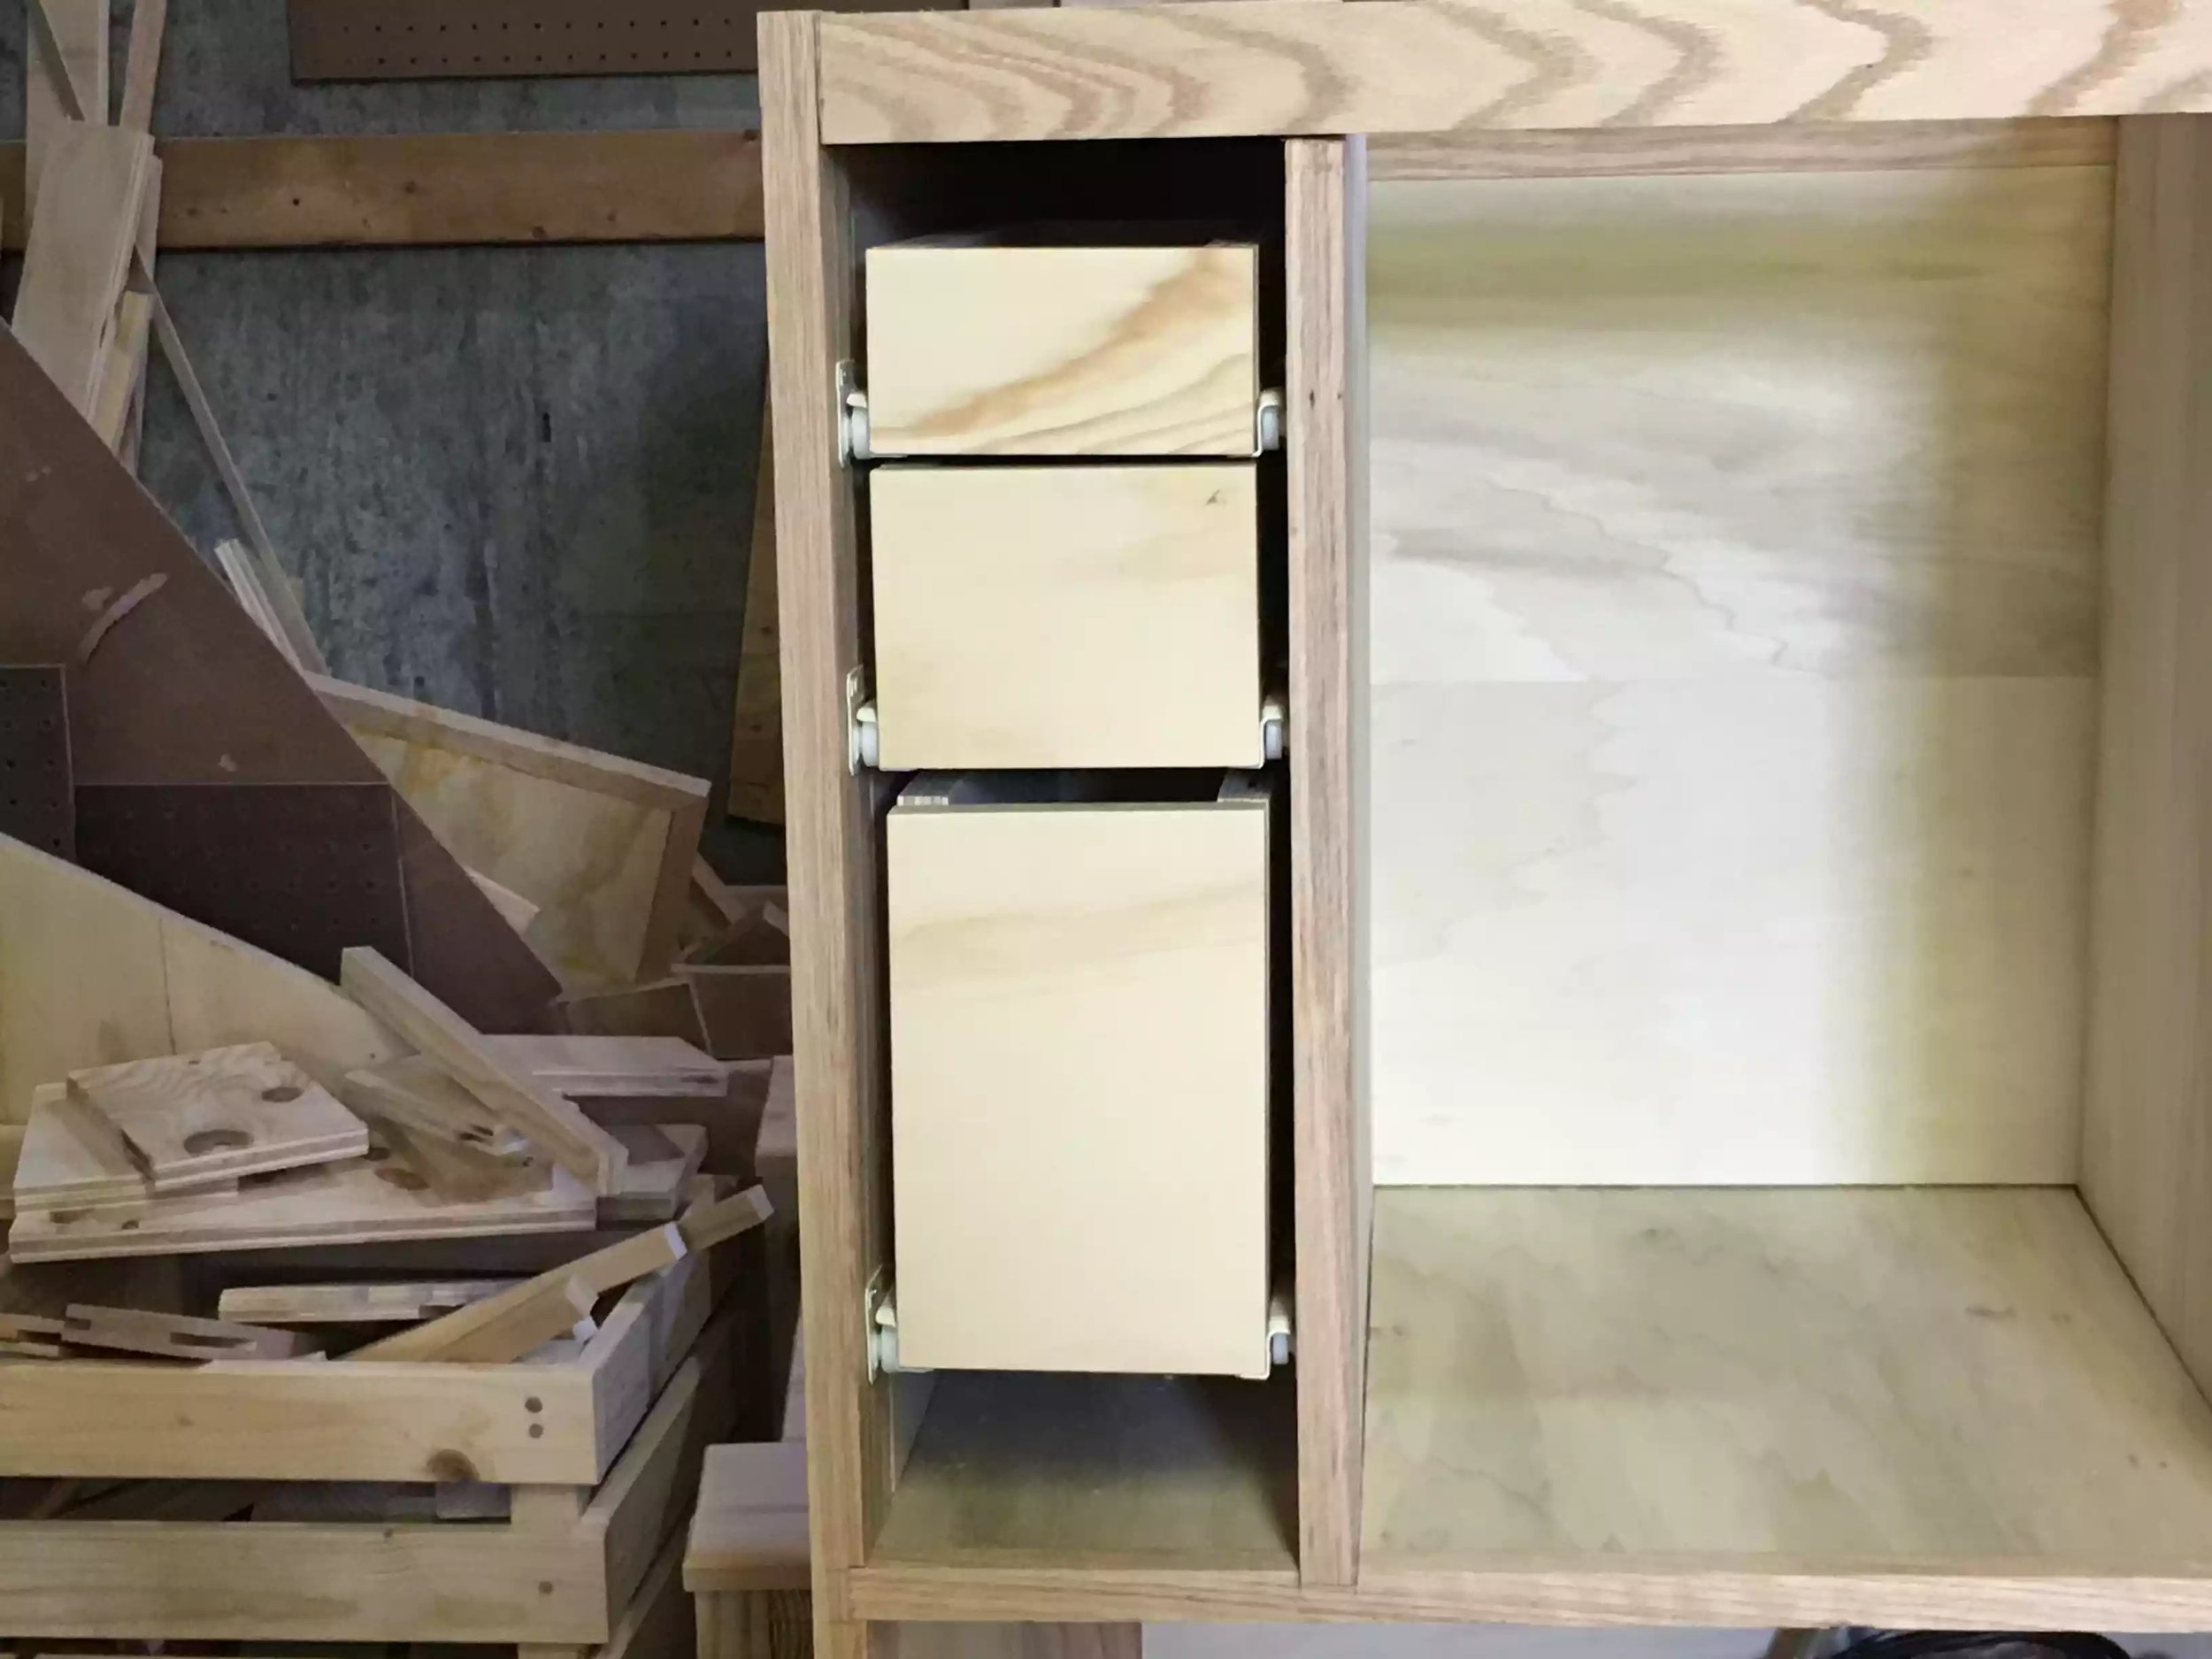
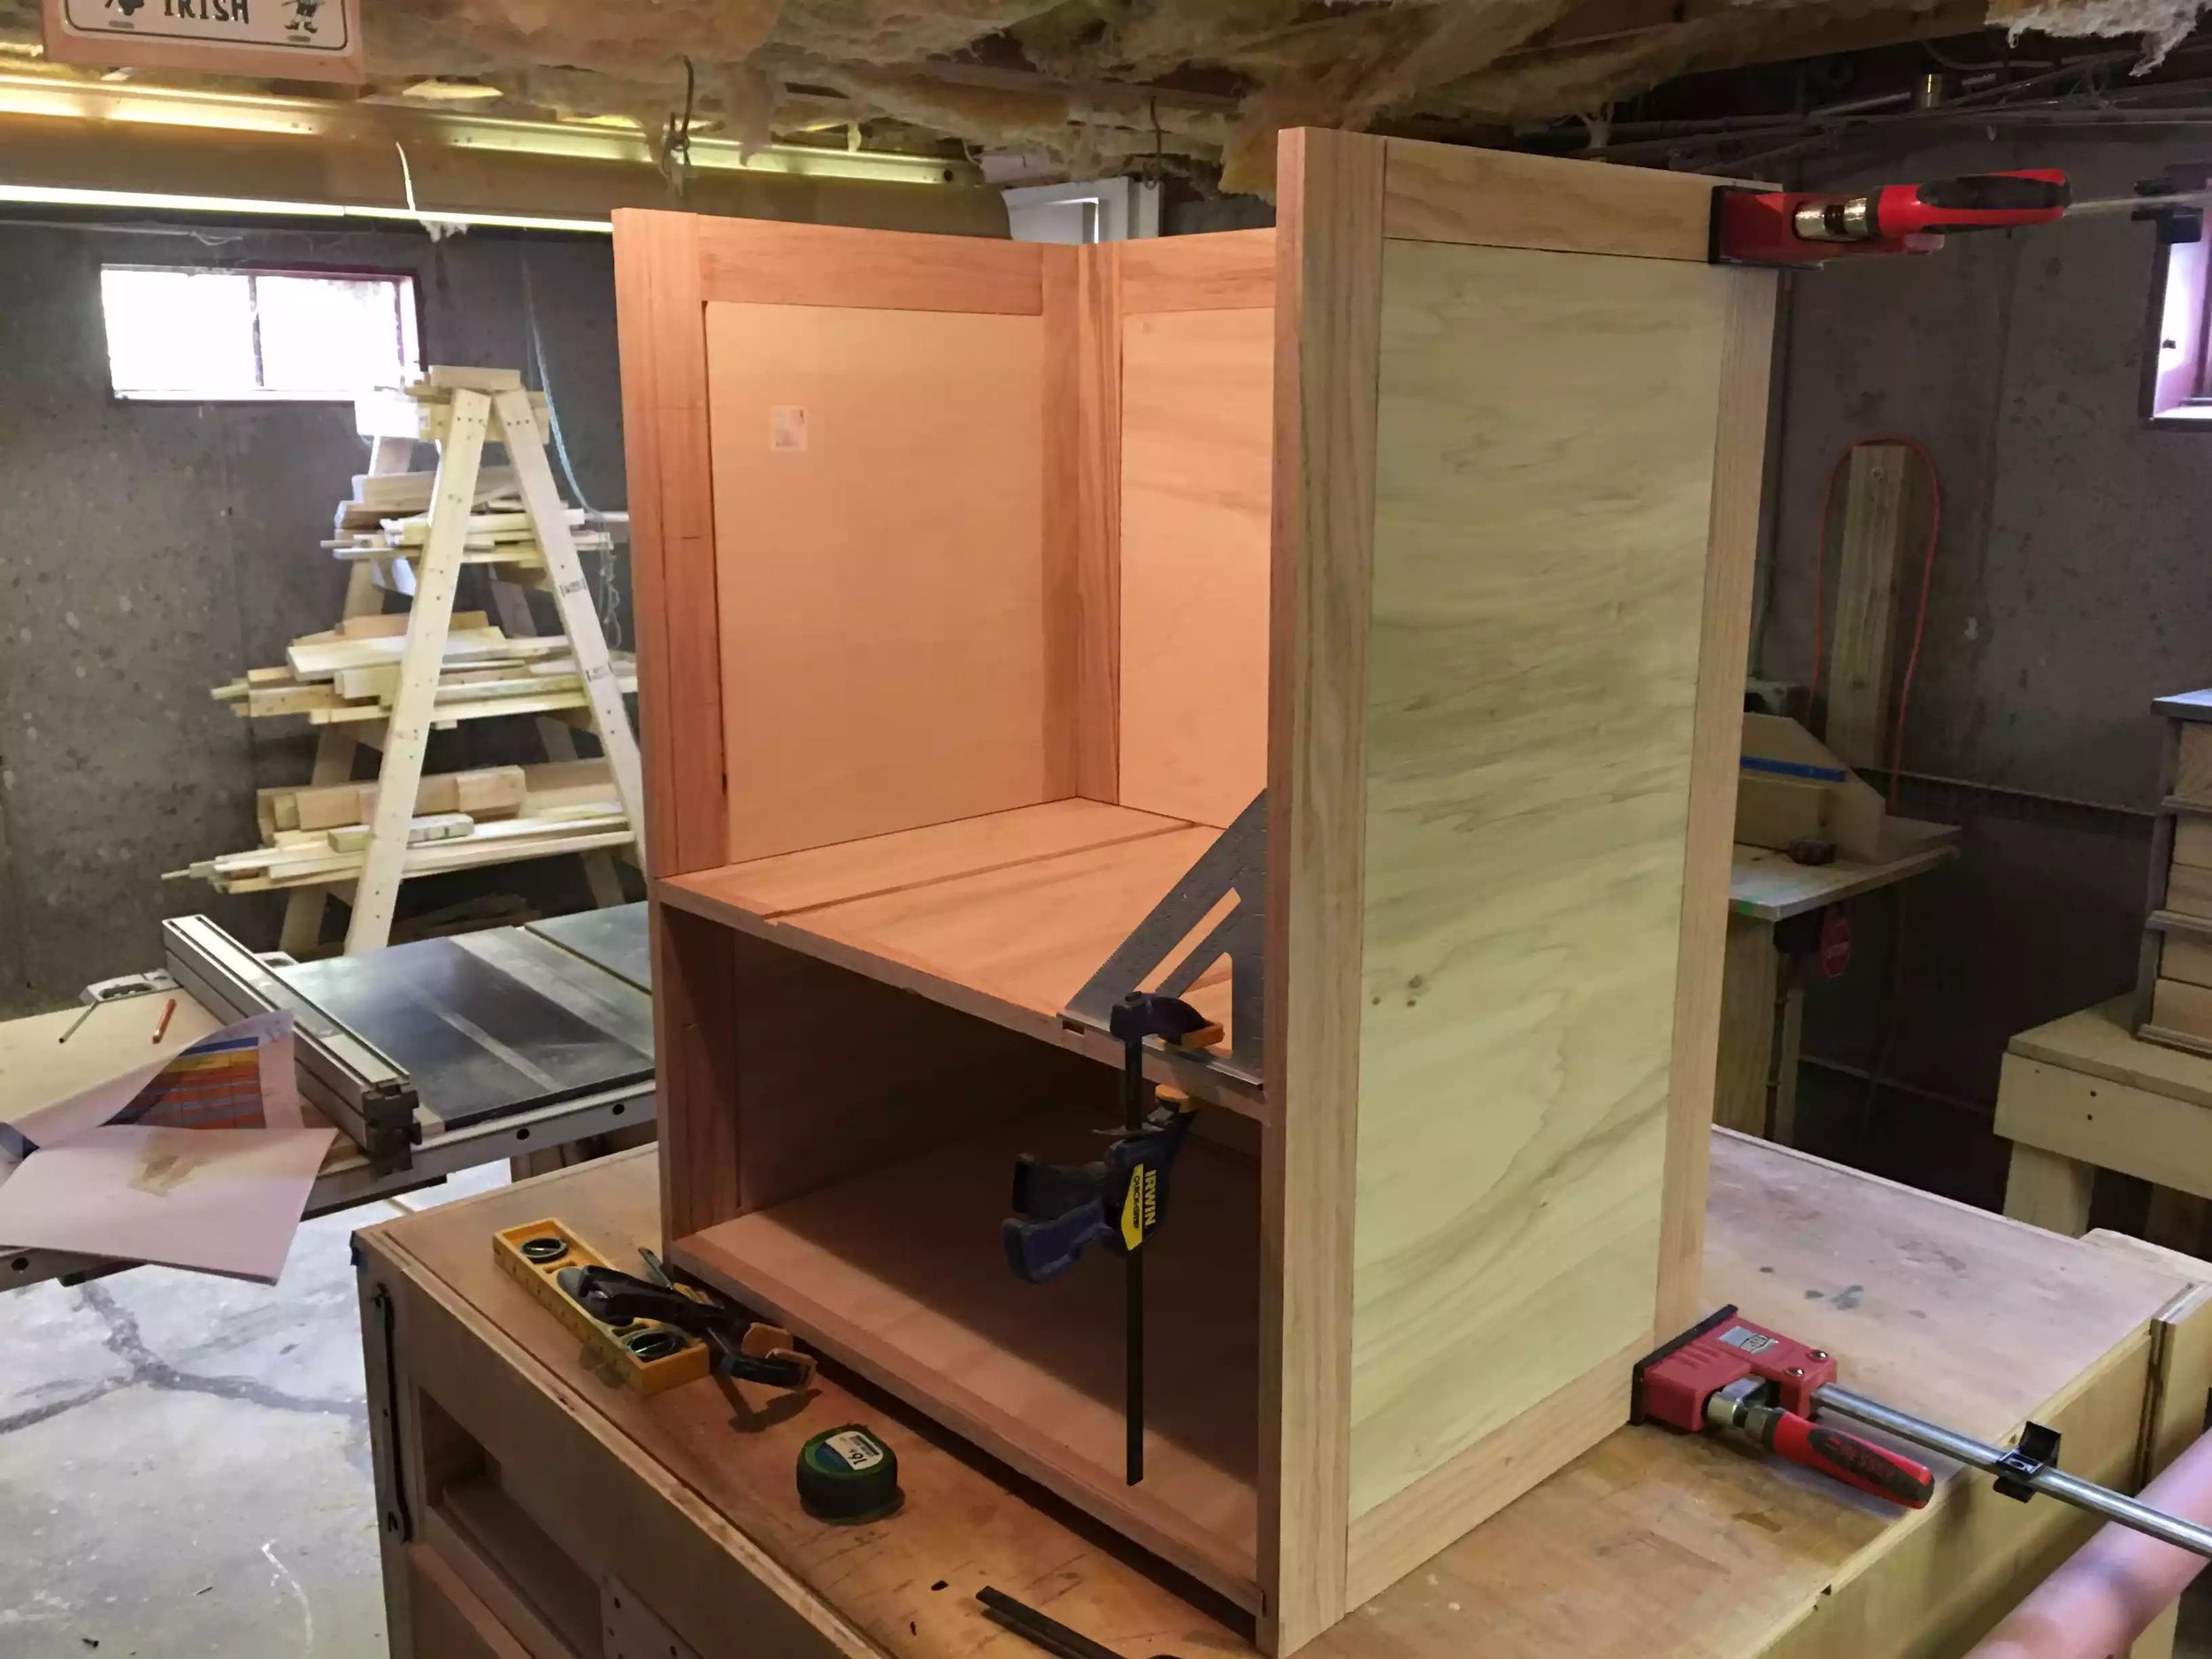
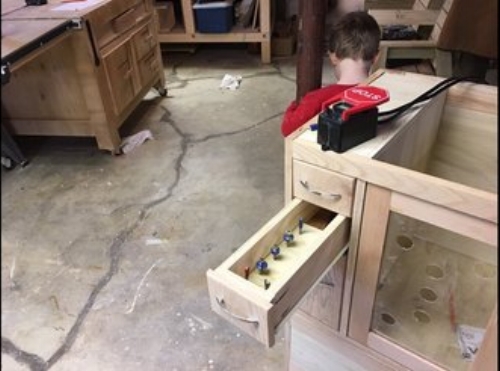
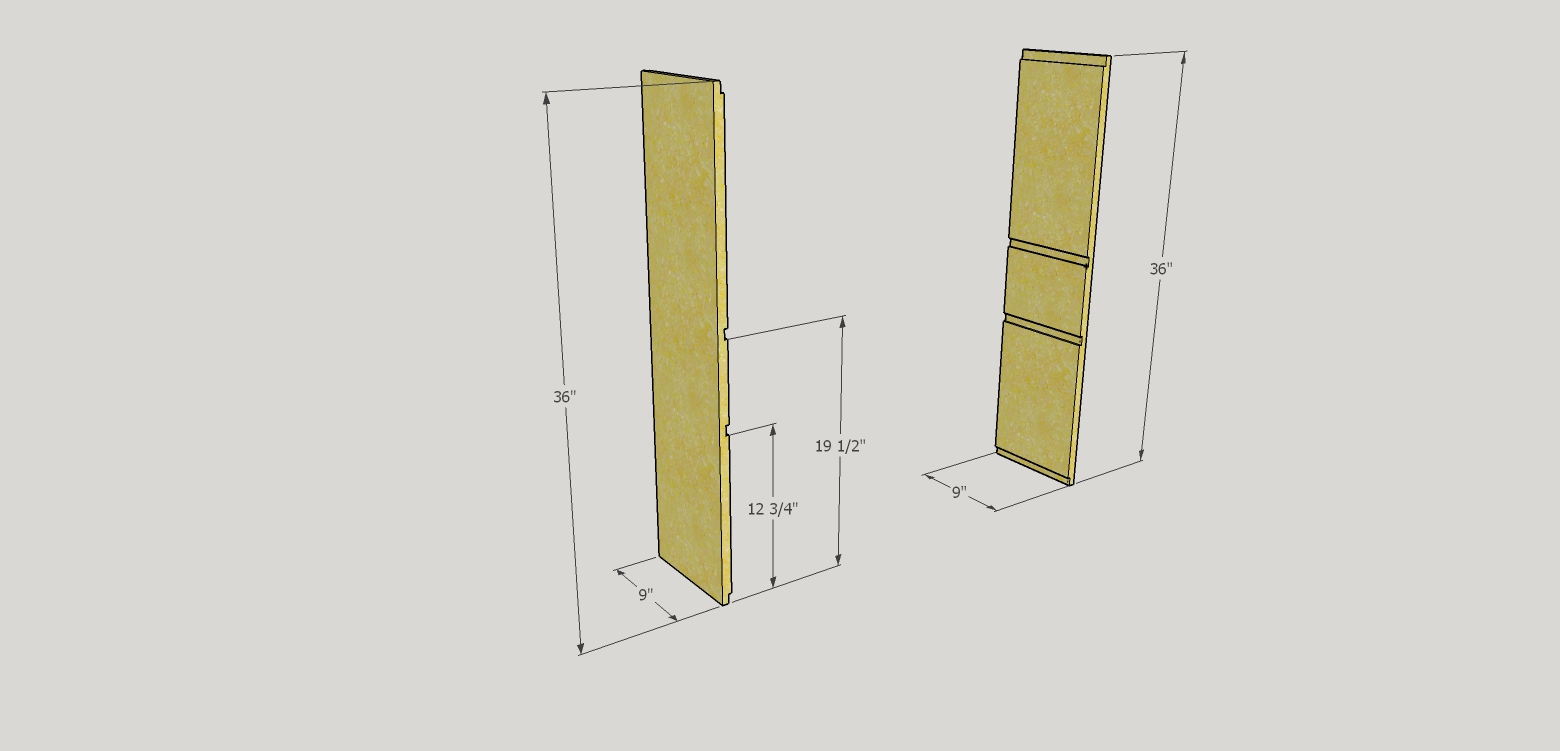
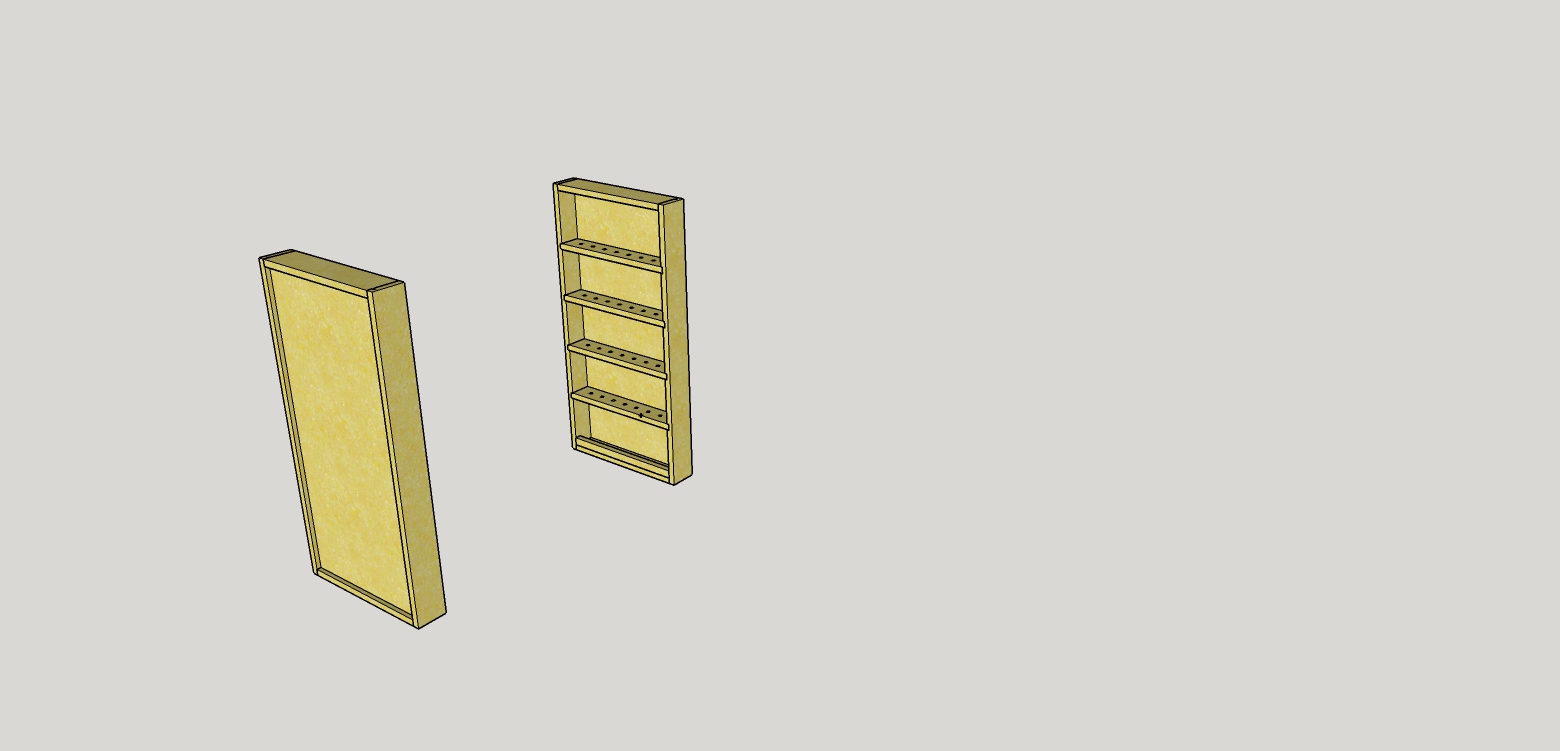
I have been working on my workshop bucket list and it was time to build a wall mounted cabinet for my growing router bit and accessories collection… I will be upgrading my router cabinet in the new year but right now I am working on trying to centralize all my tools into there respective homes.
I got the inspiration for this project on the Wordsmith shop where they designed a cabinet that also had a drop down table as you see below.. but to be honest I have no need for the drop down table so I came up with my own design…
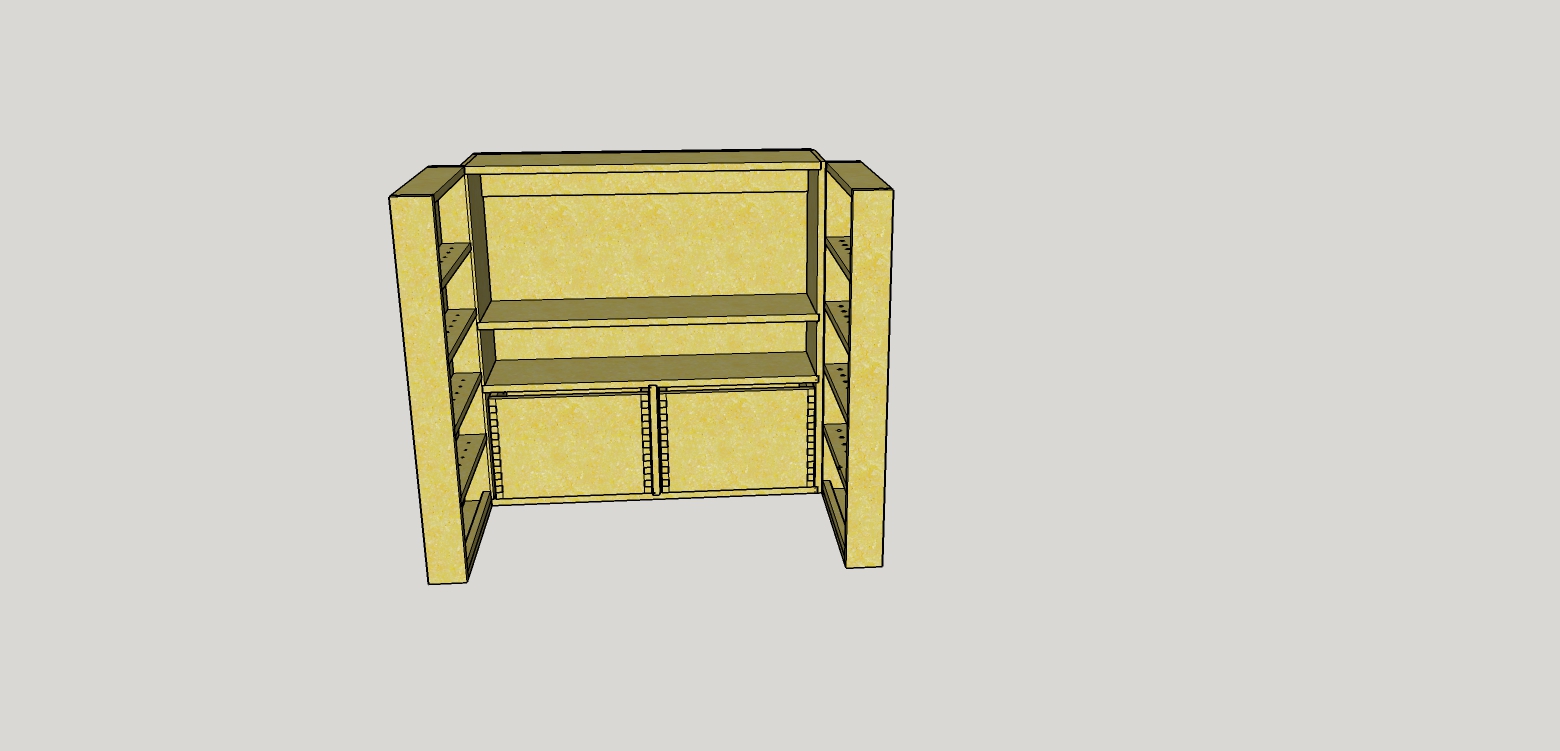
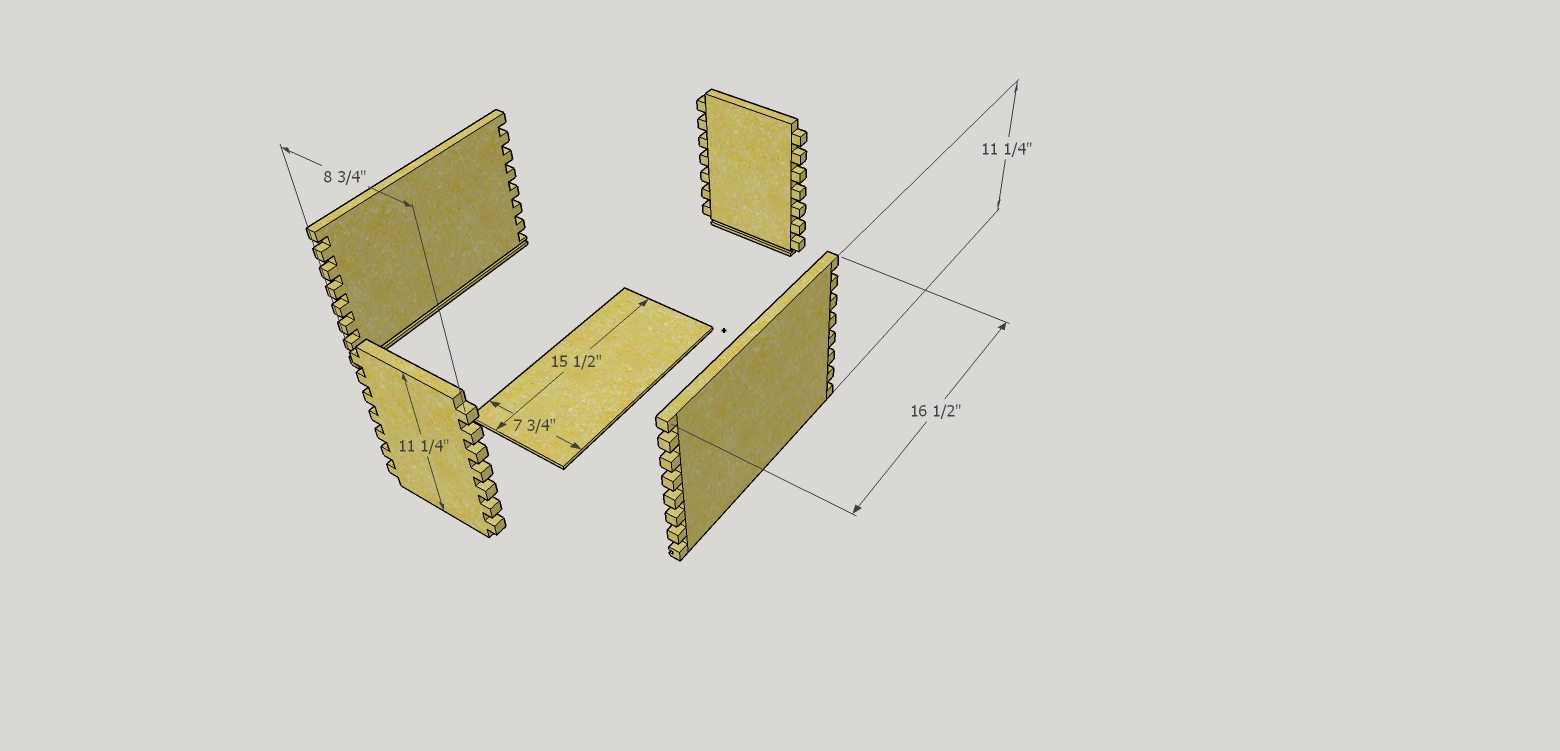
You can see my Sketchup models that I used to design the cabinet on the right
I got inspiration for this project from Woodsmith Plans.

My First Router Table, Cabinet & fence
(11/2014)
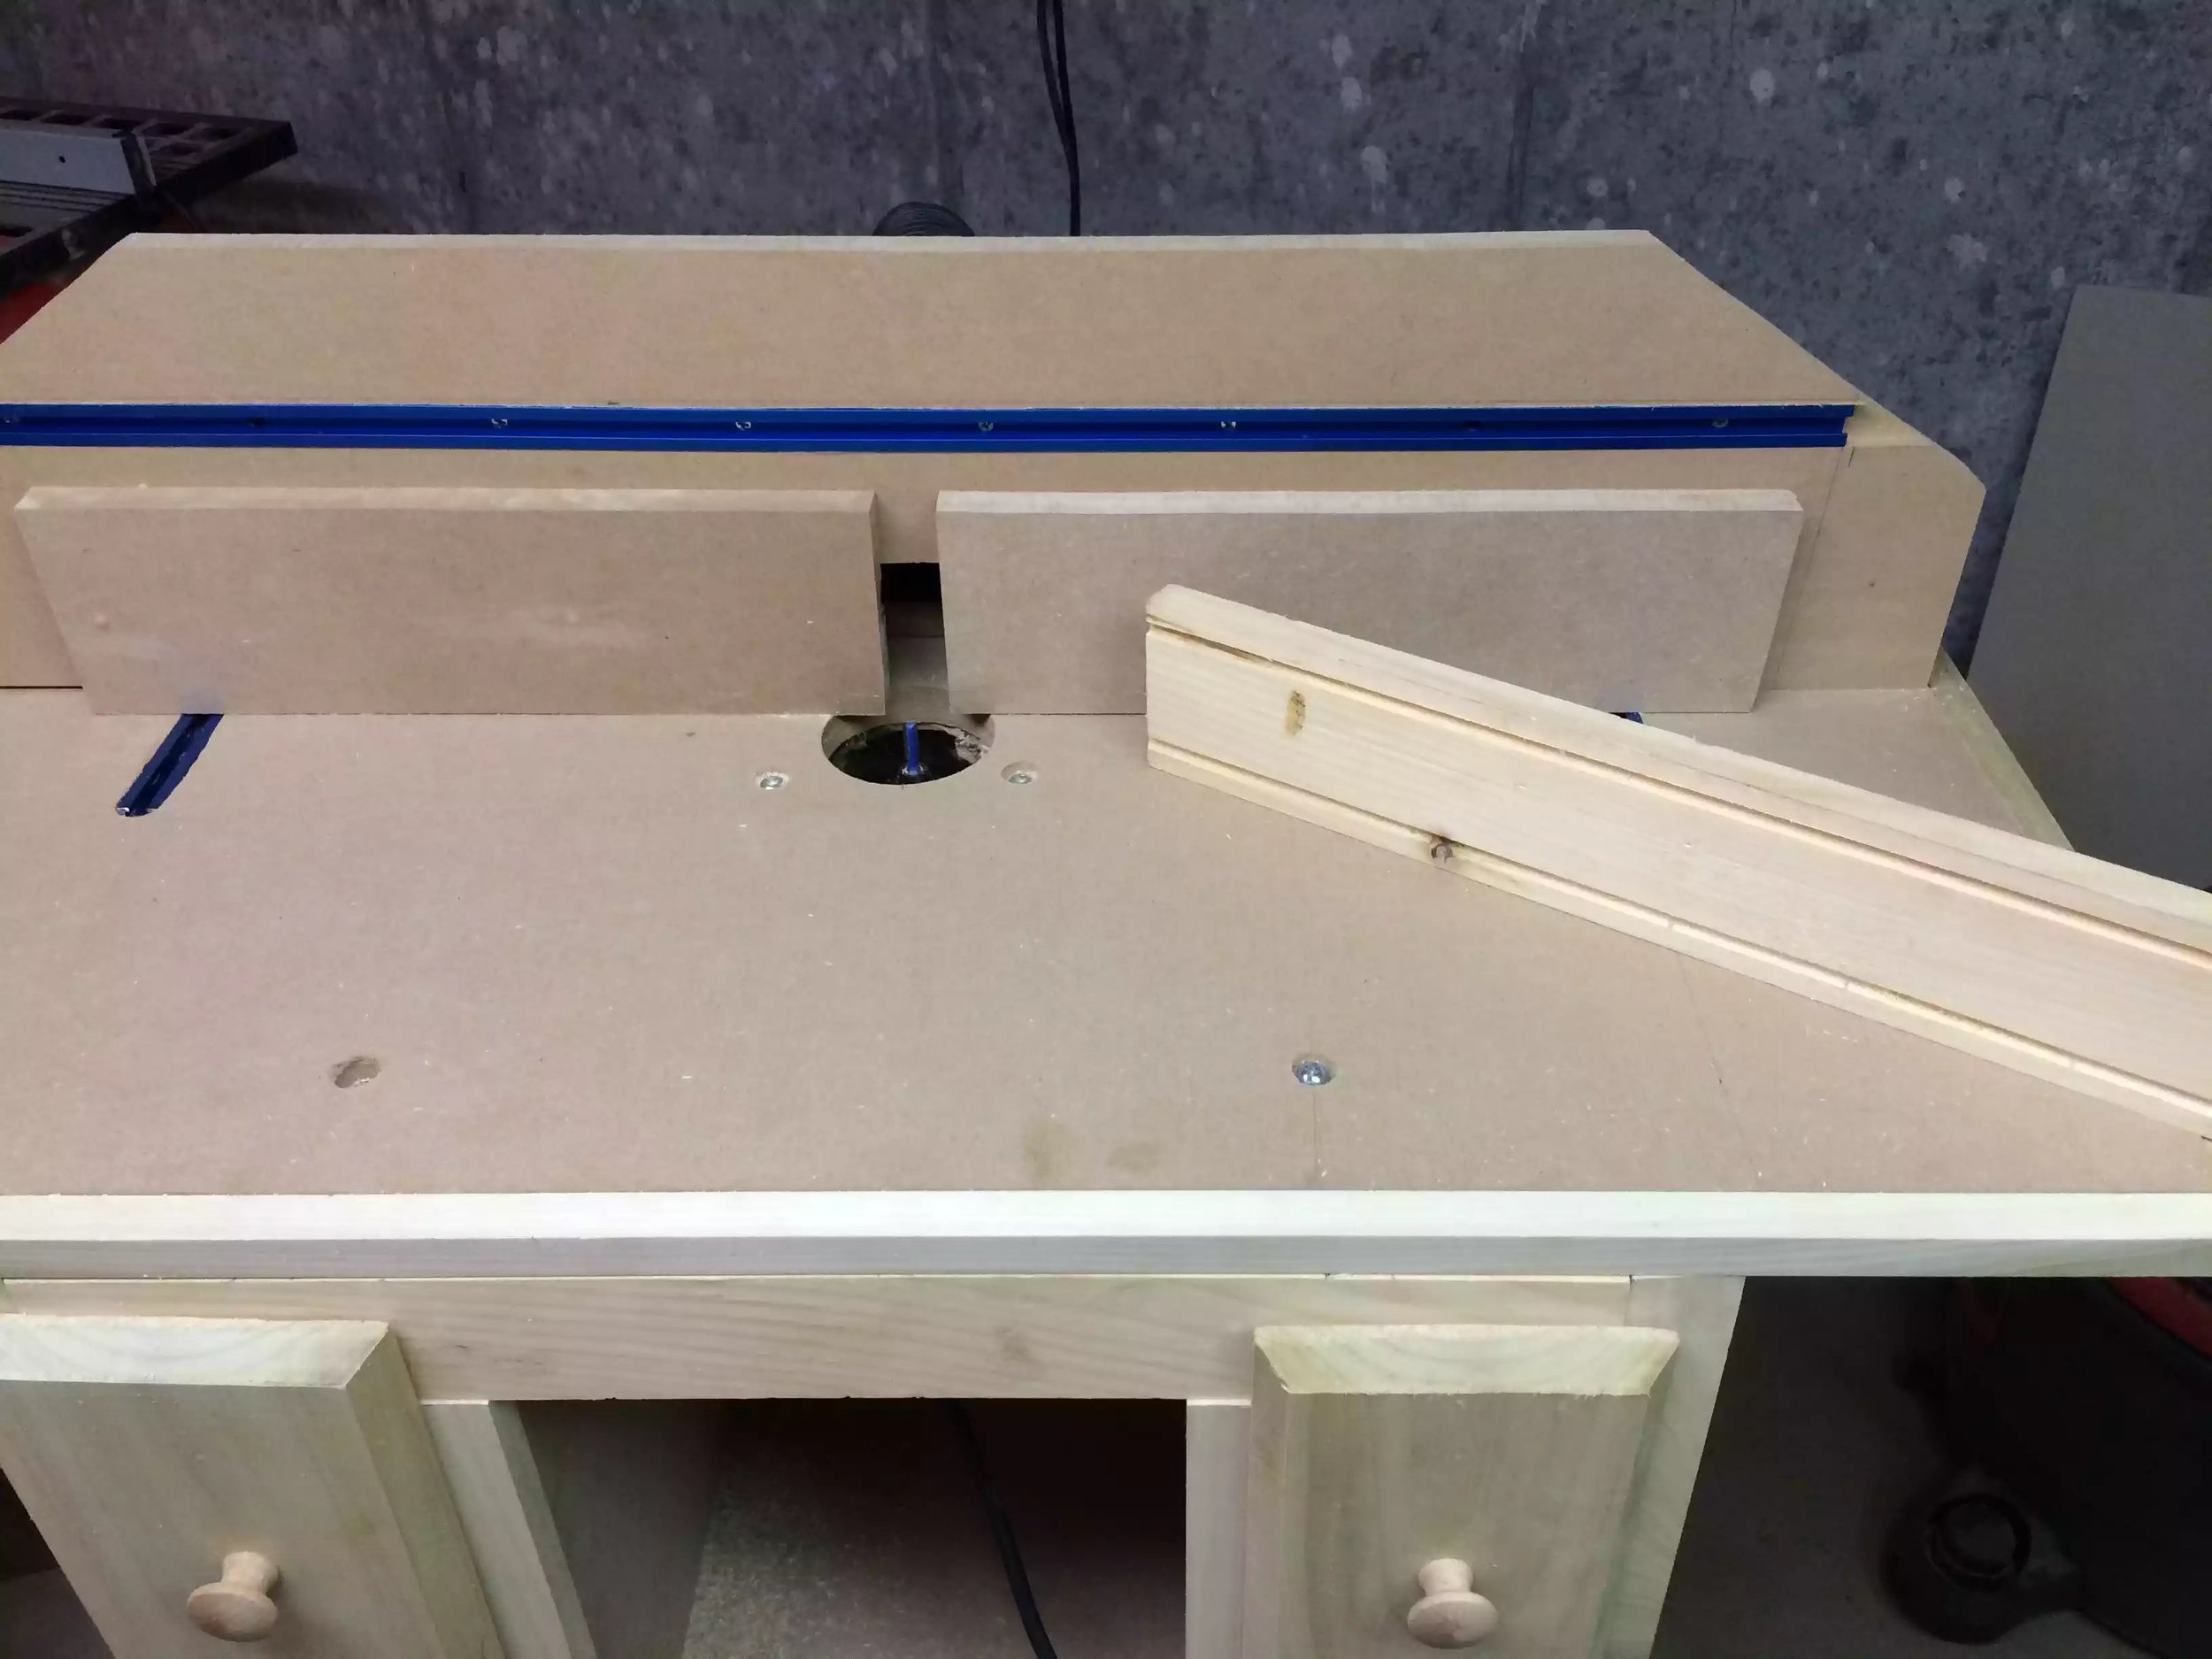

This was my first router cabinet that I made from scratch, there are that many pictures I have shown them above. But if you would like to see more detailed descriptions of the project I made the following stages or parts of the project.