
WORKBENCH
PROJECTS
SHELVING UNIT & BENCH
(04/2018)

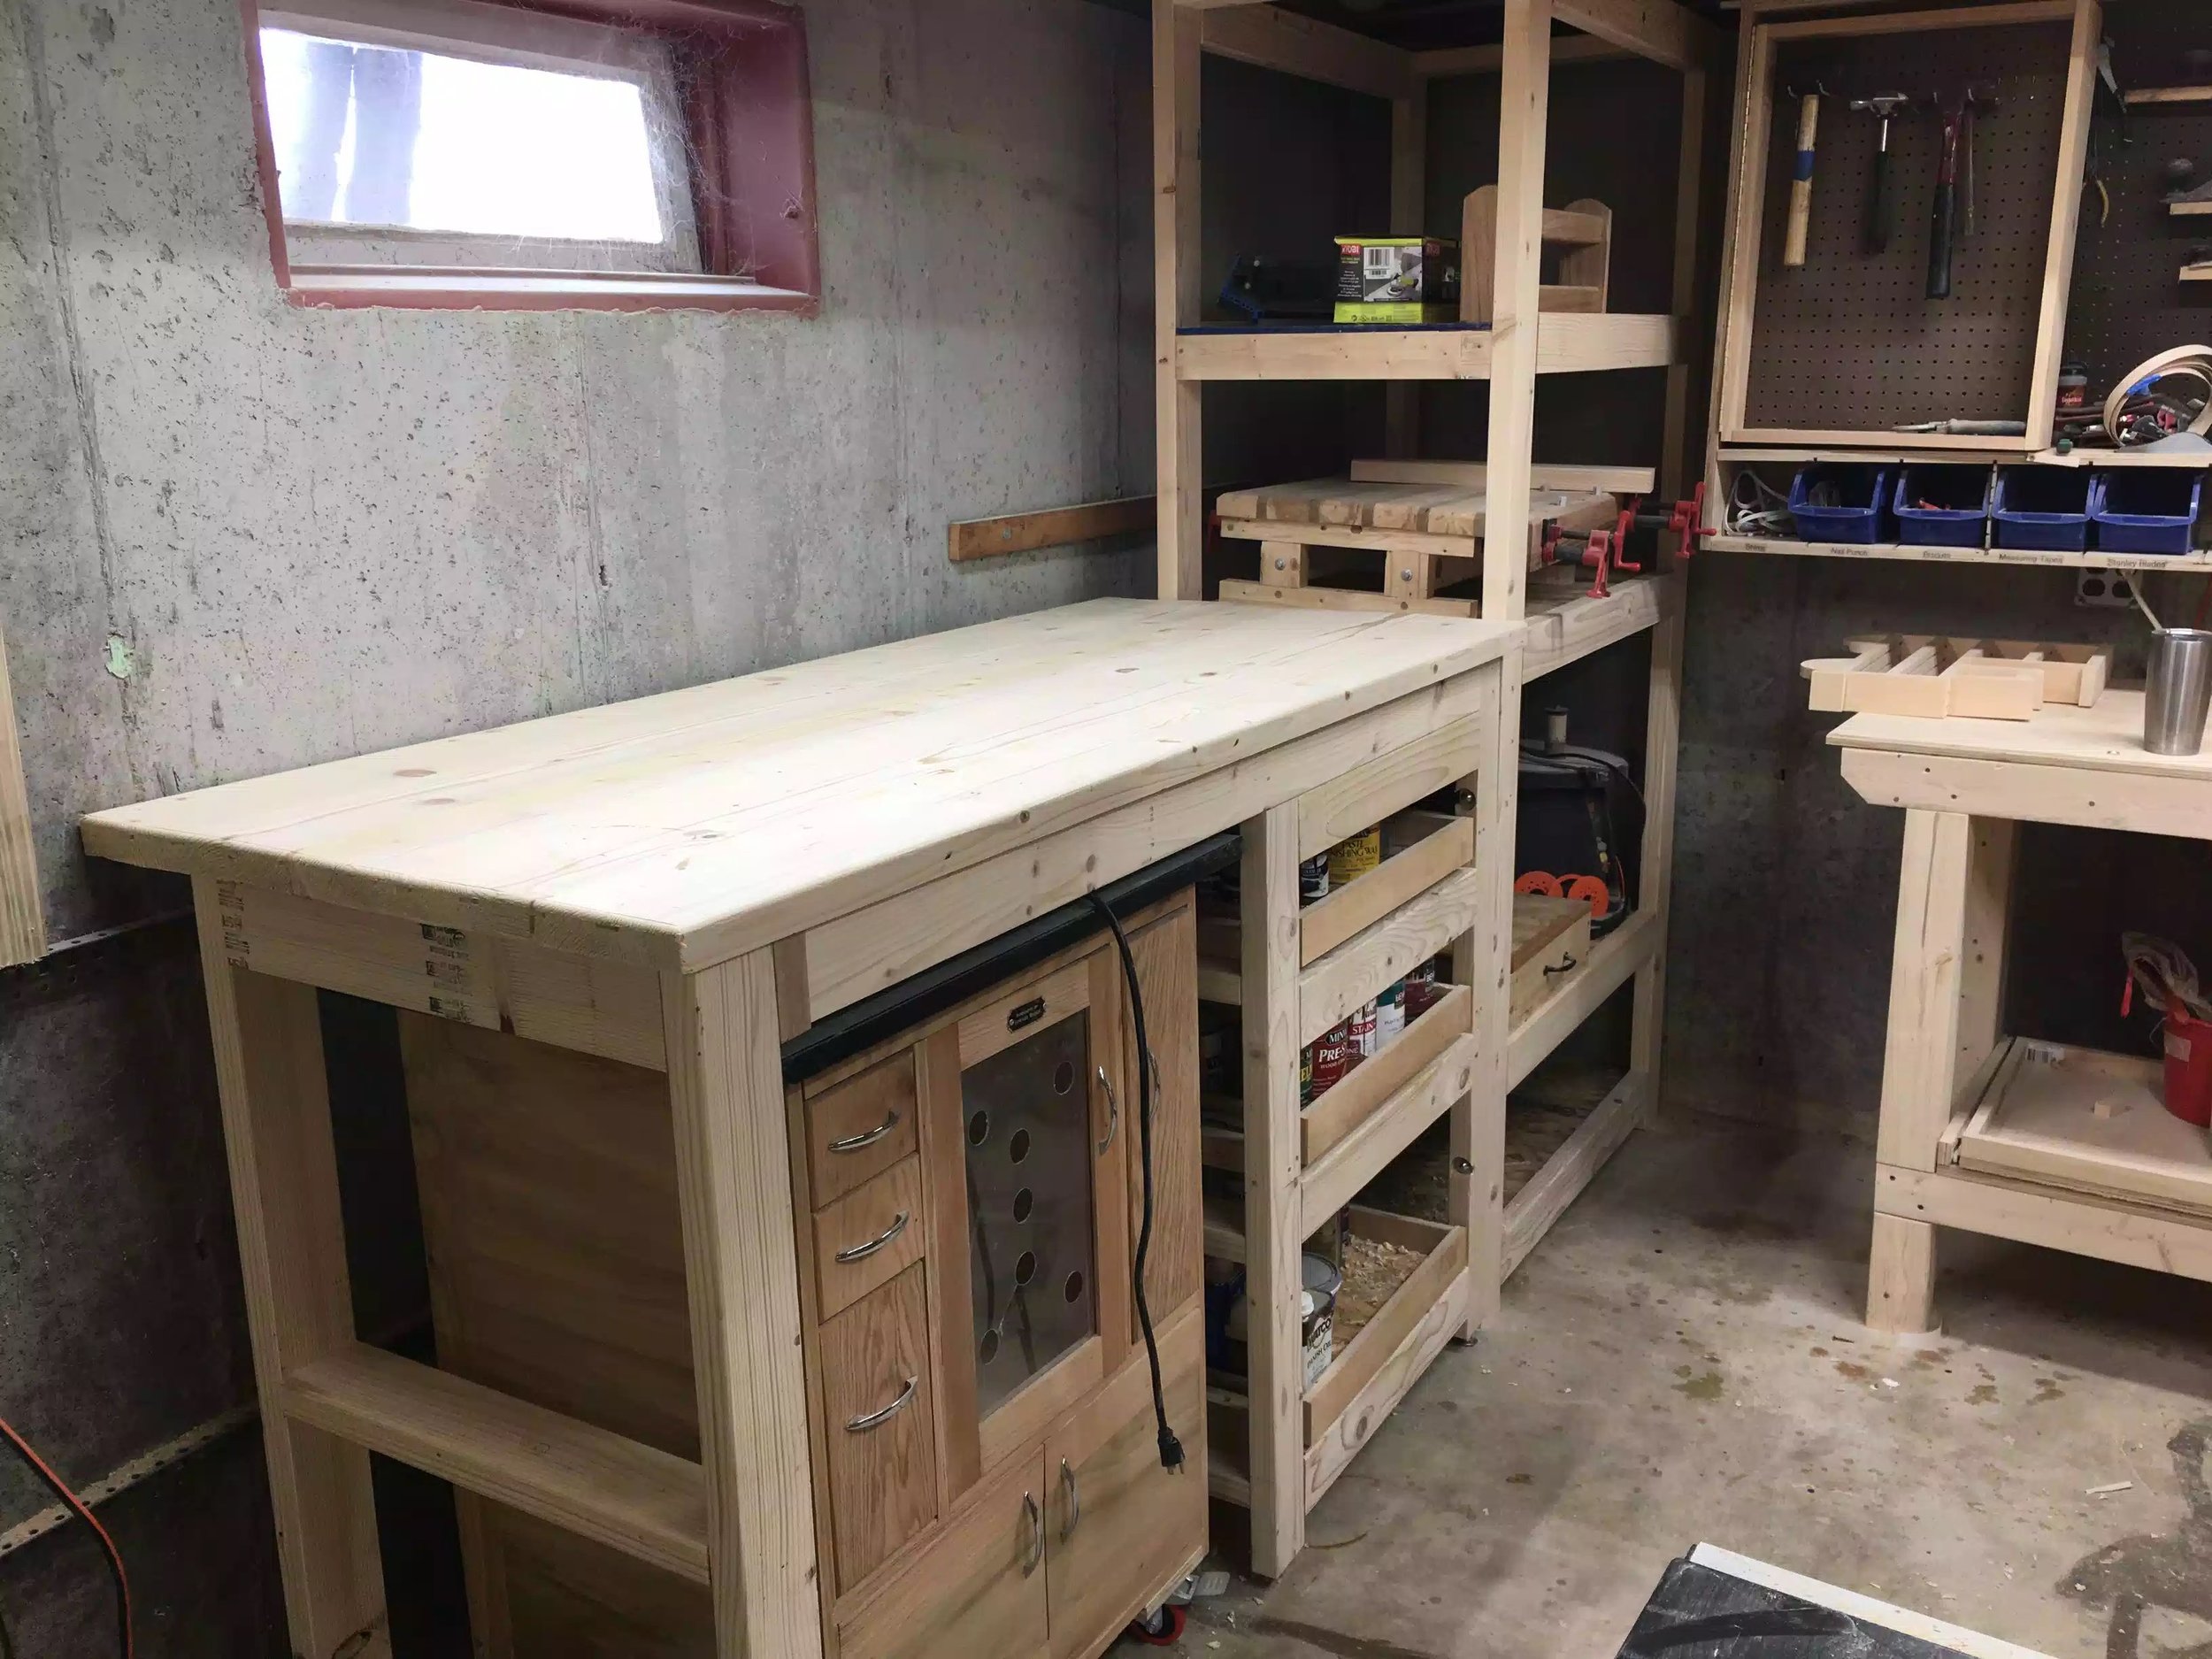
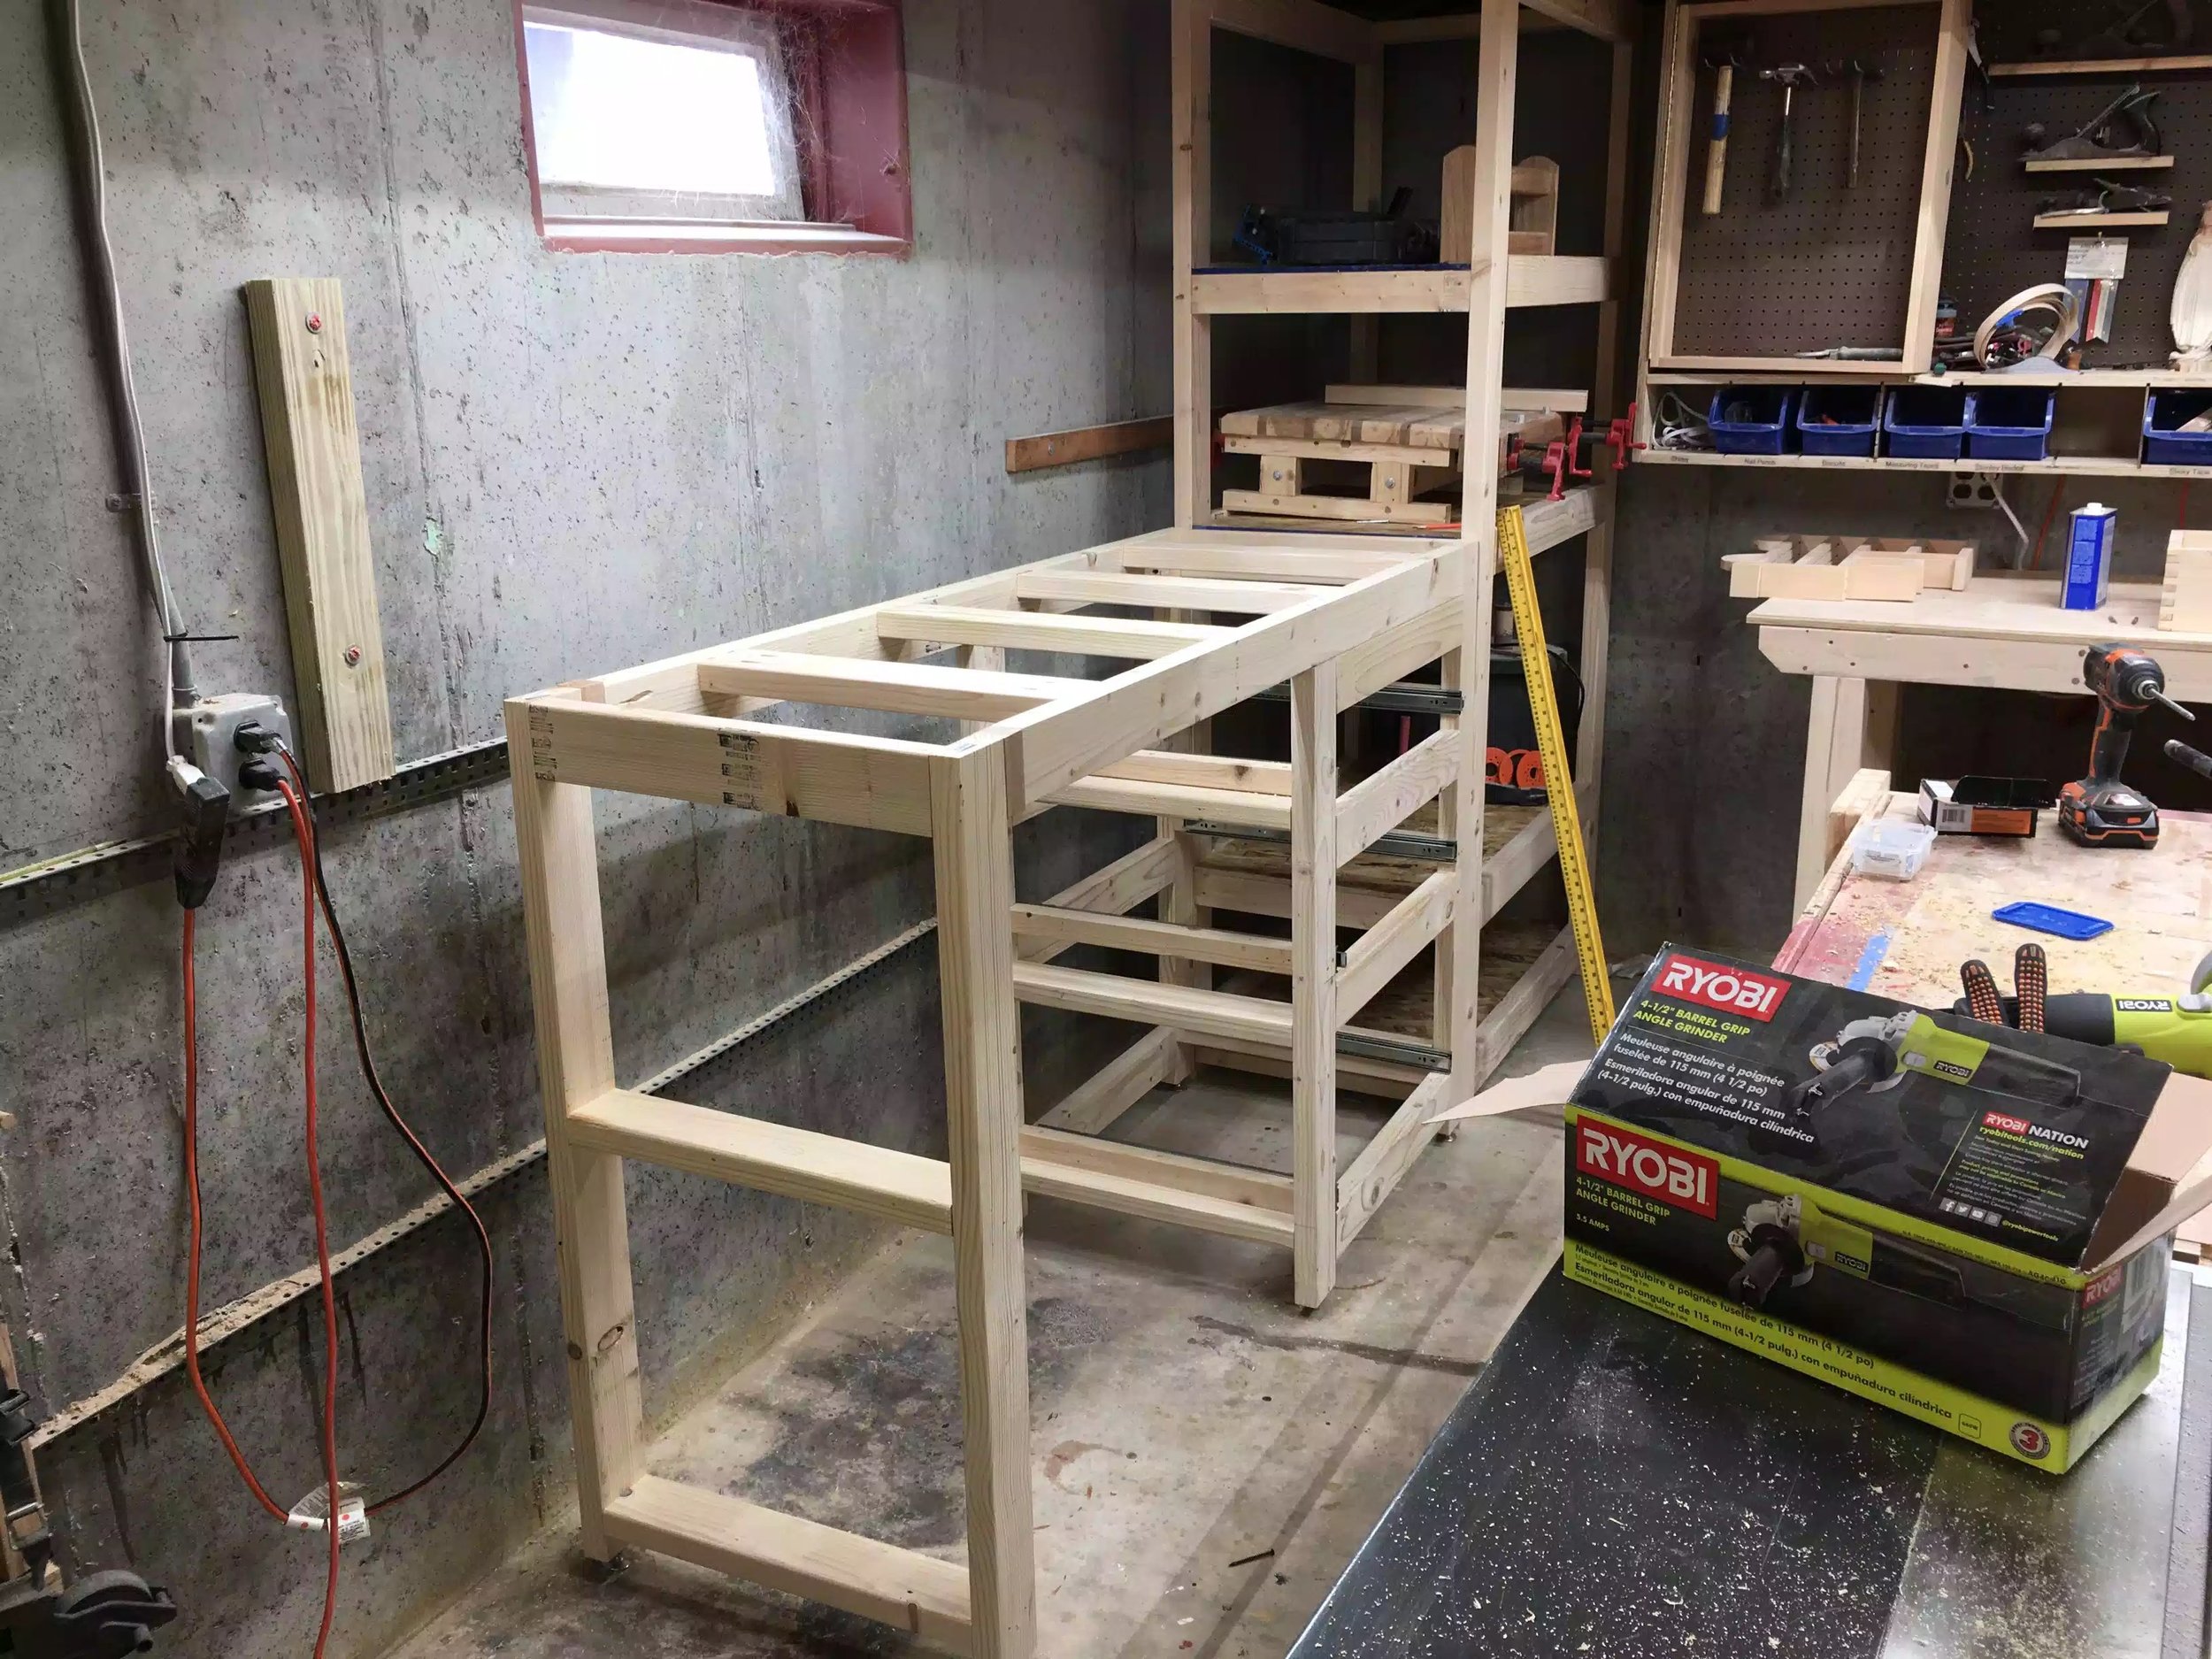

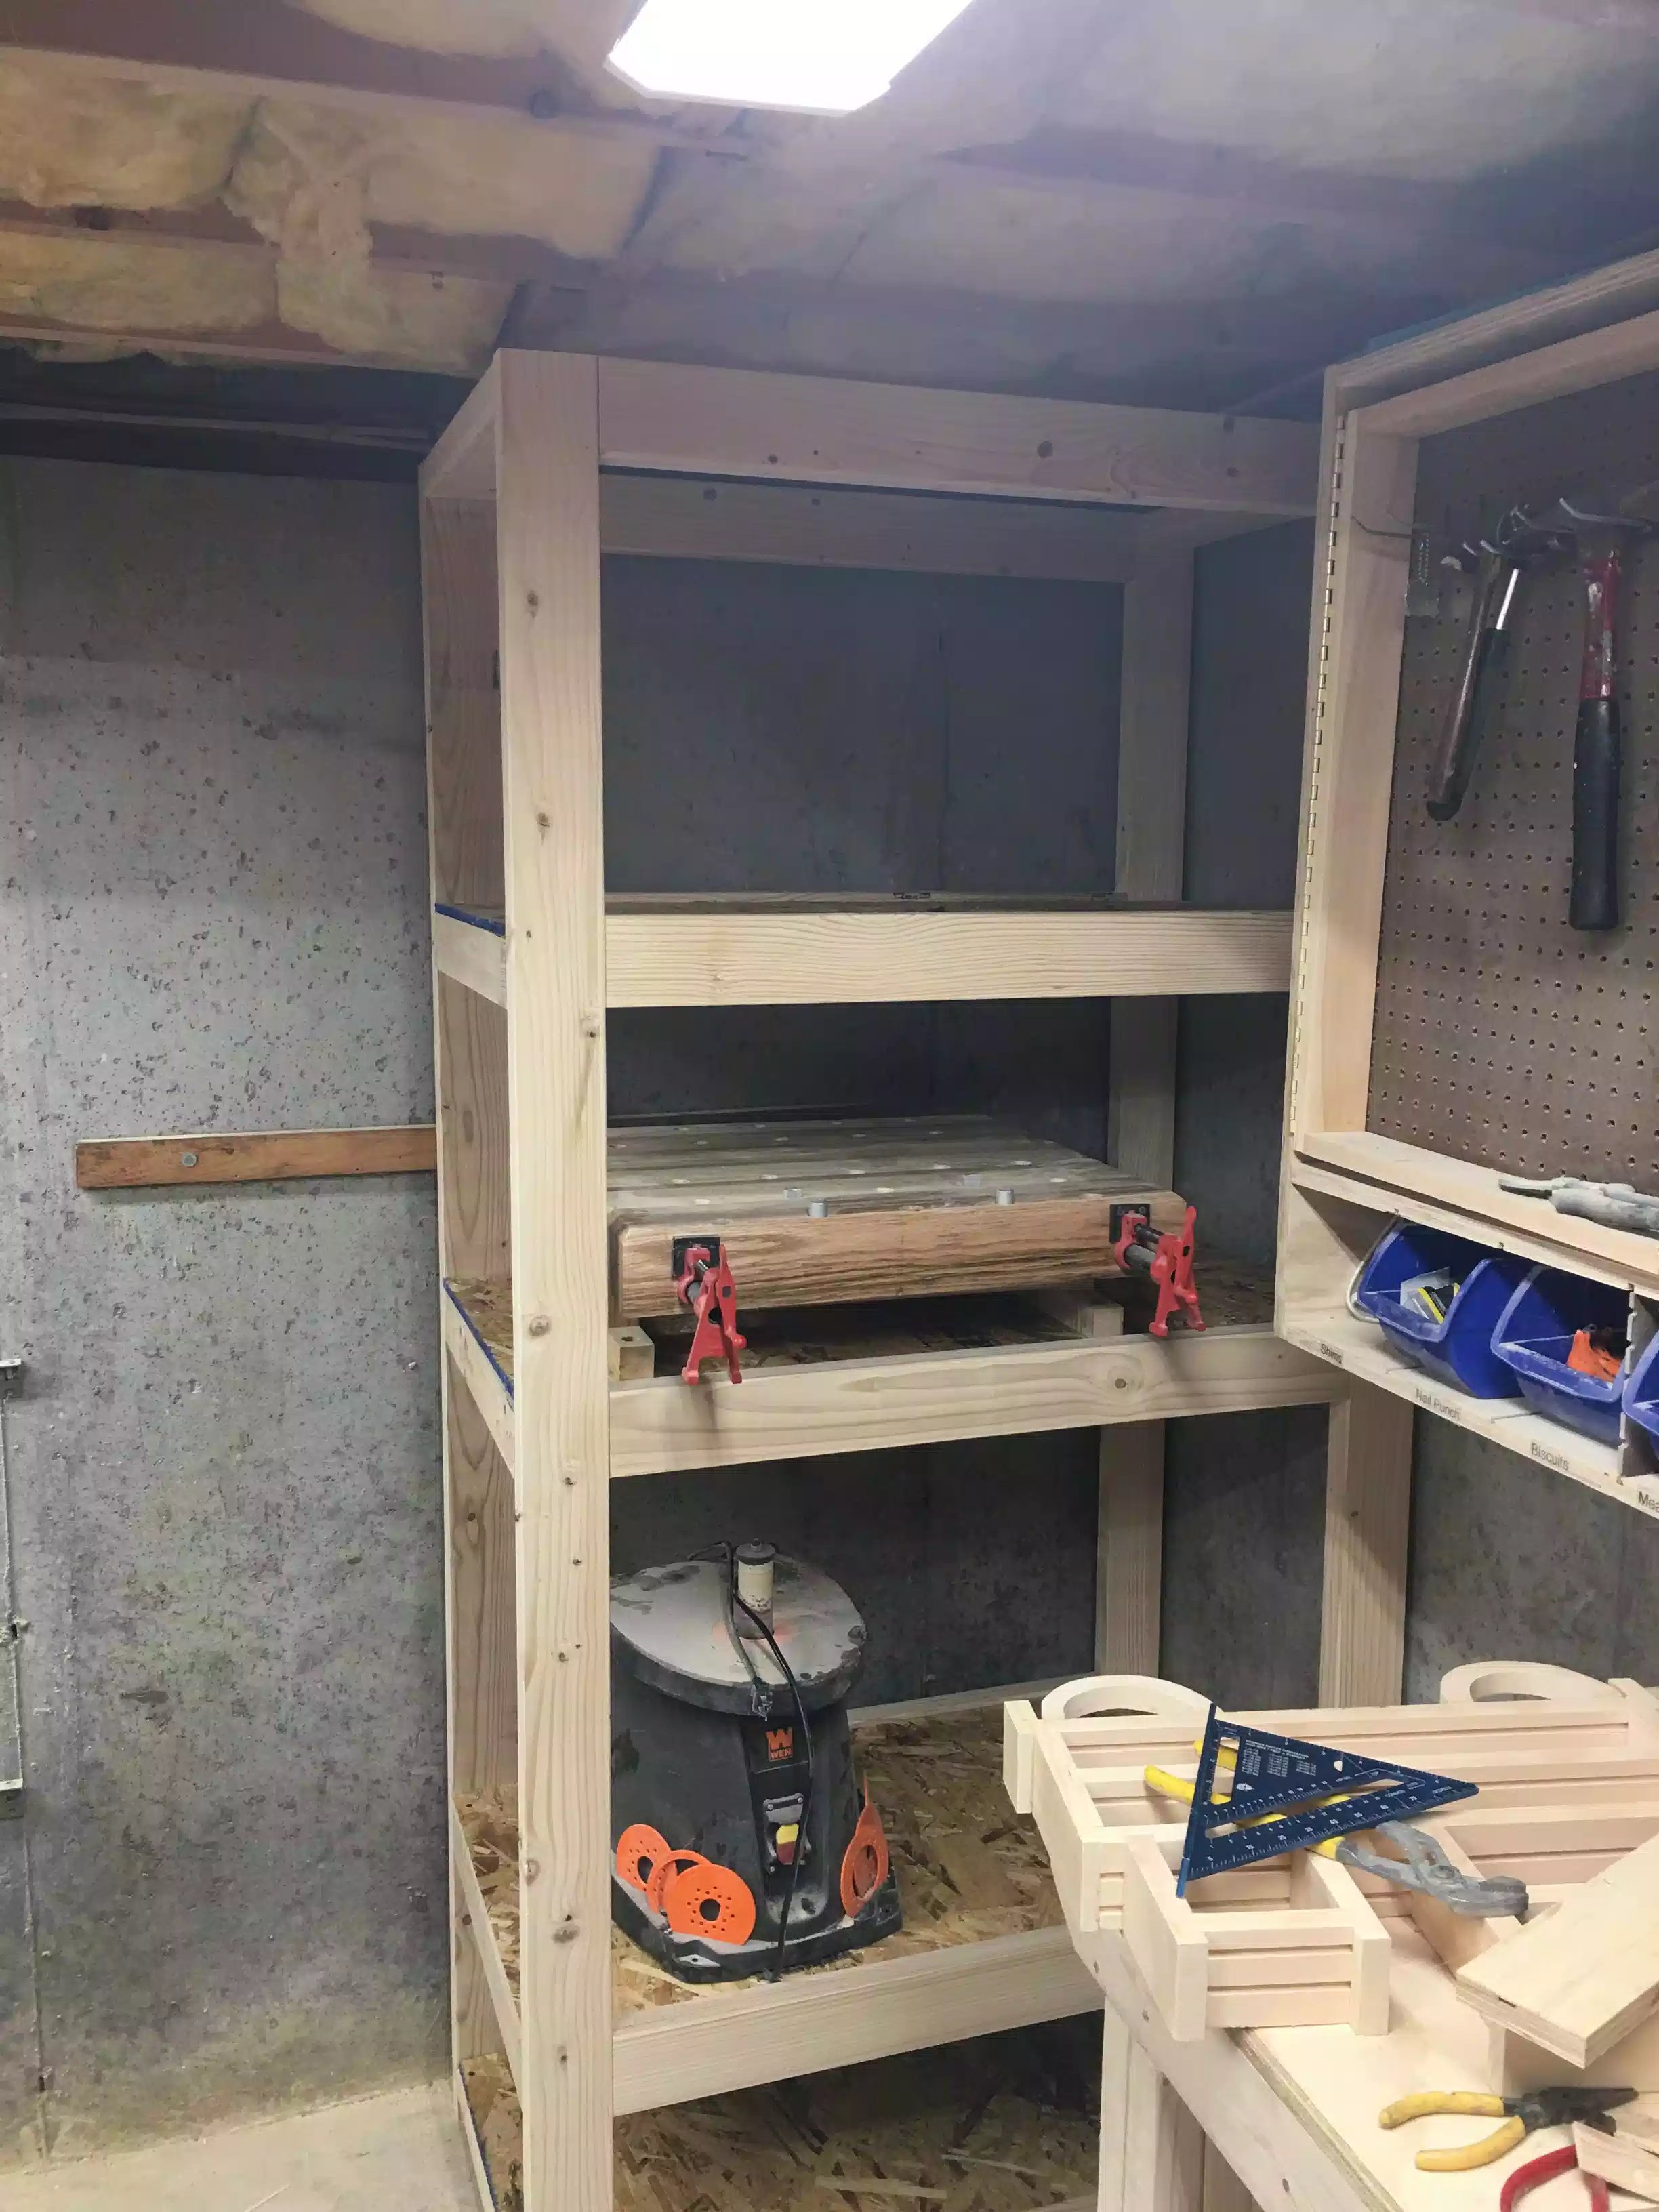
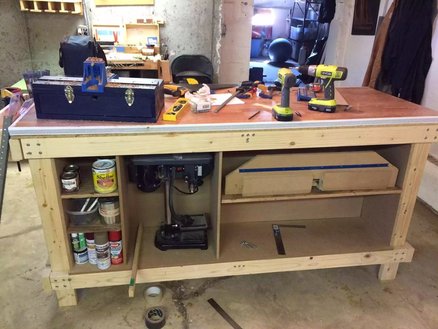
I am in a big reorganization mode in the shop for the past few weeks and I decided to take down an old wall cabinet and put a shelving unit in there instead.. you can see what it looked like before below

Shop before the new project went in, totally took advantage of all the empty shop space below the wall cabinet.
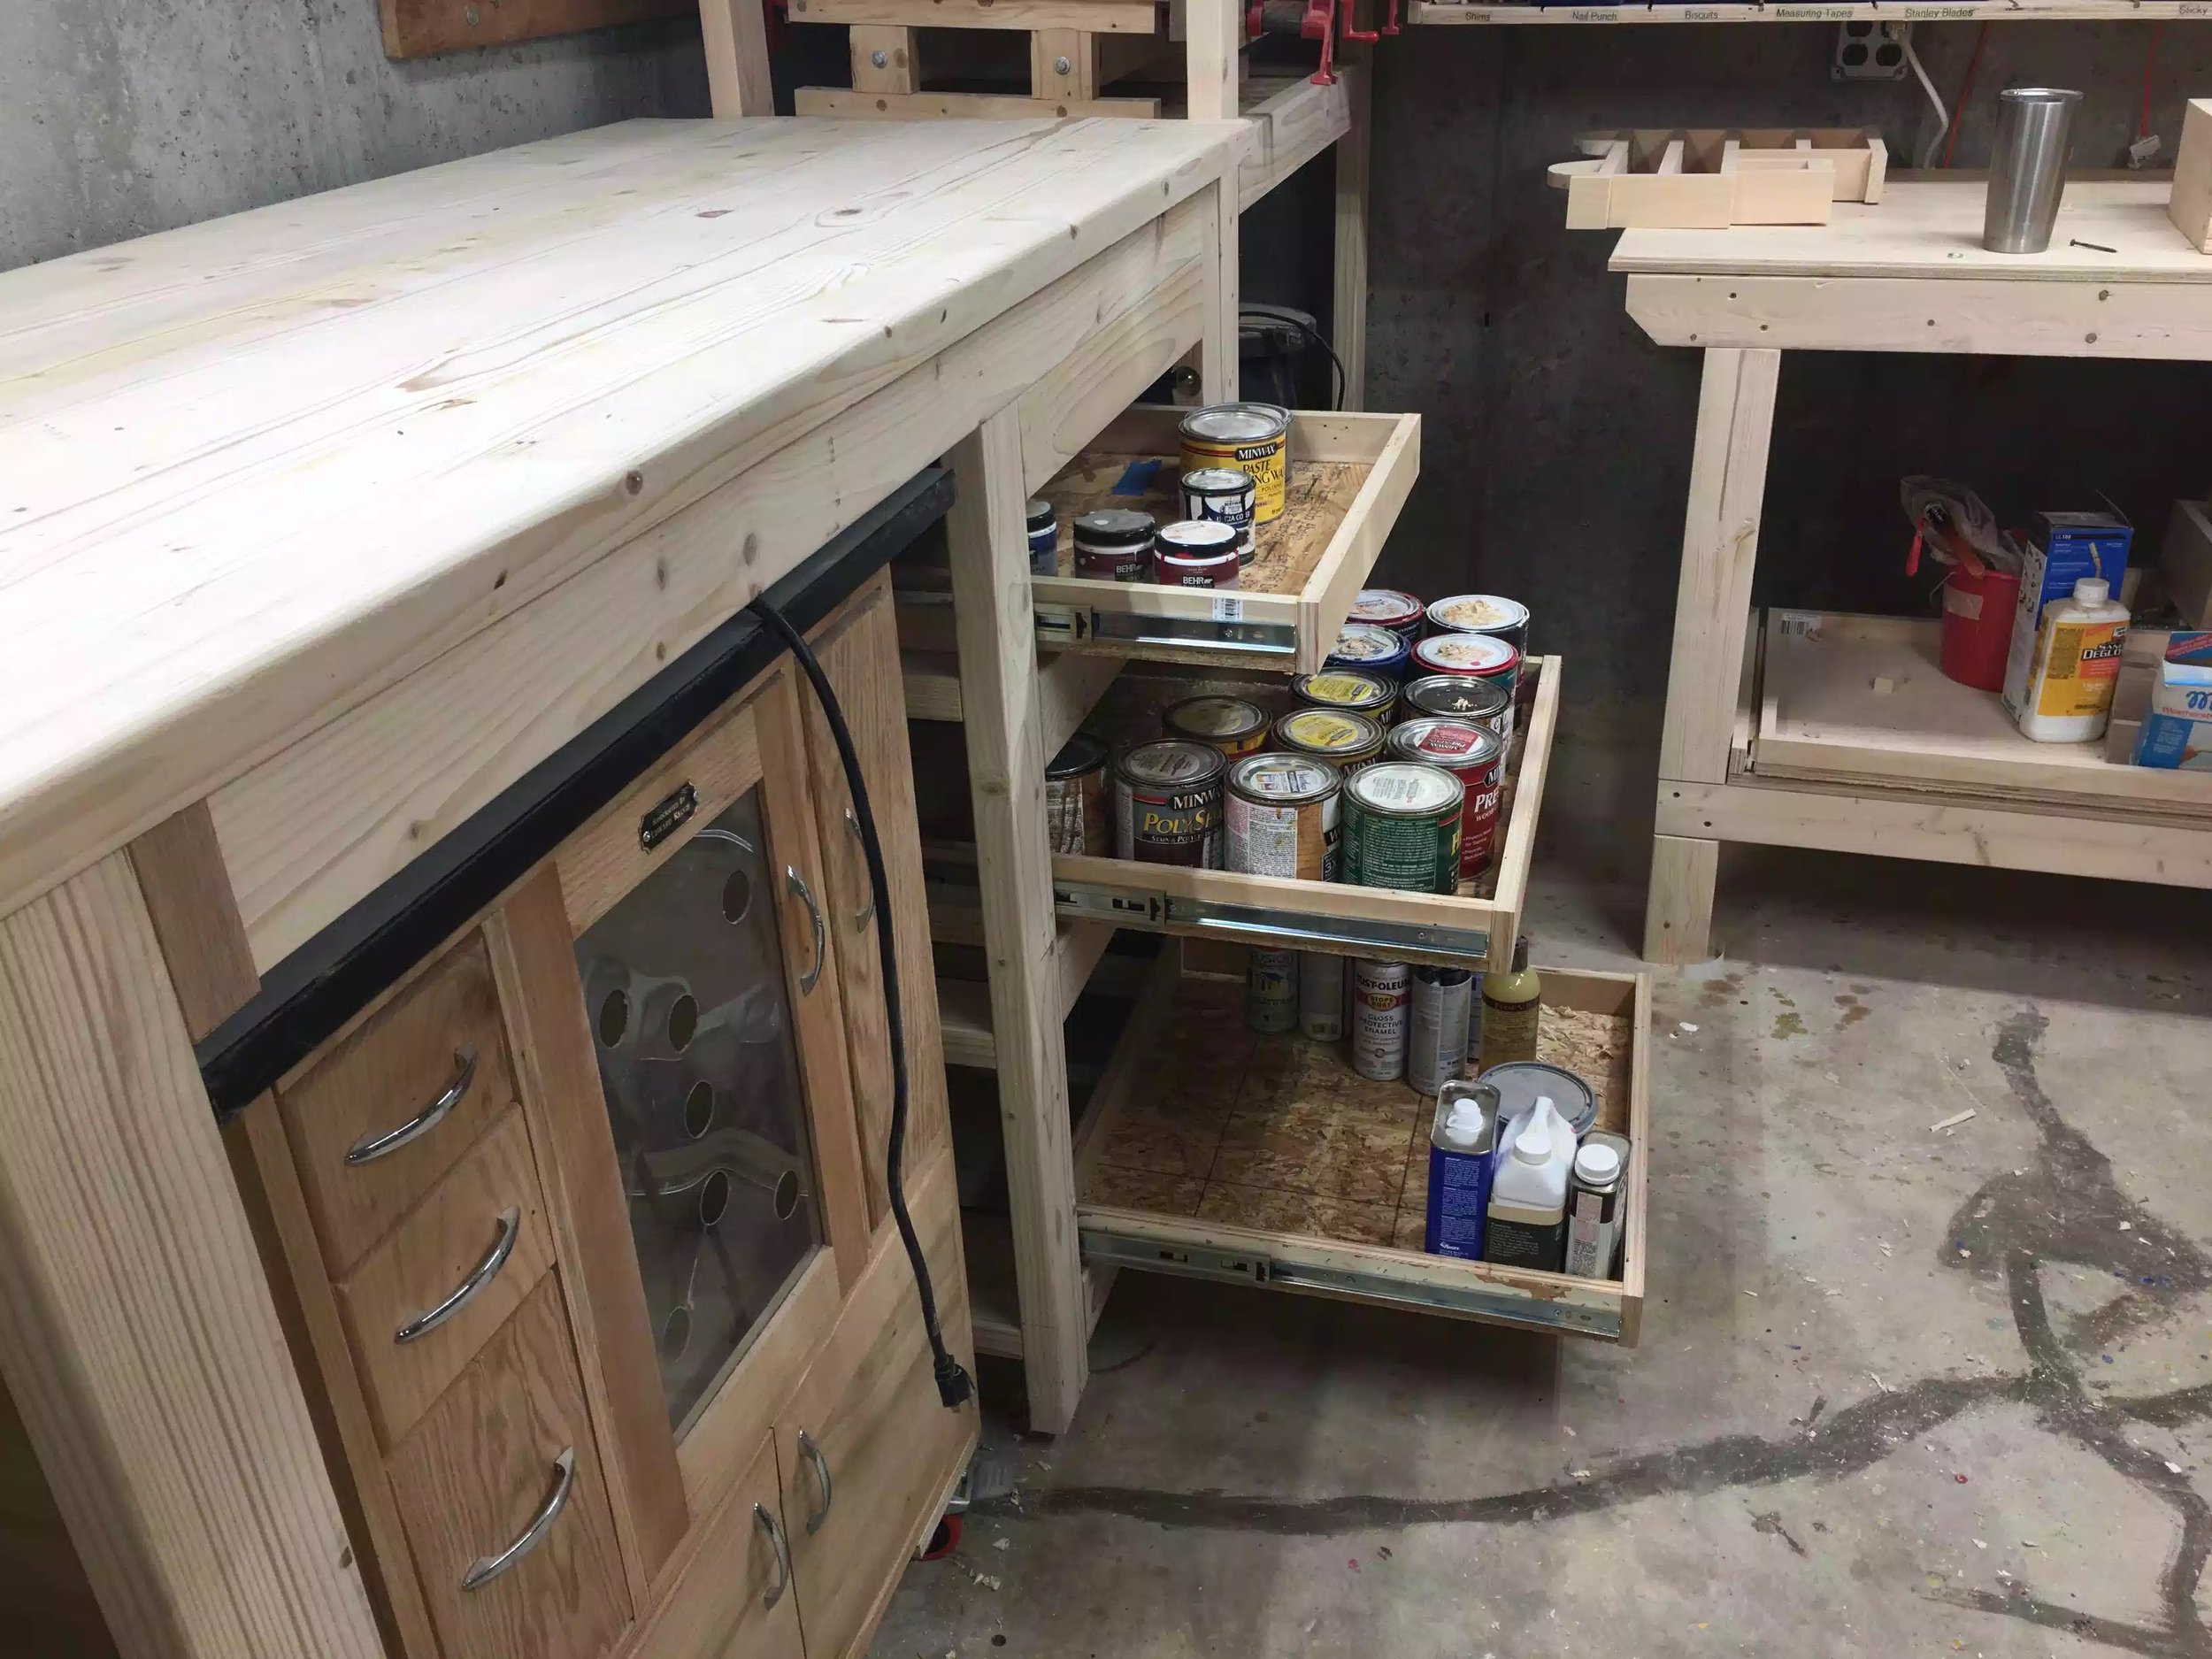
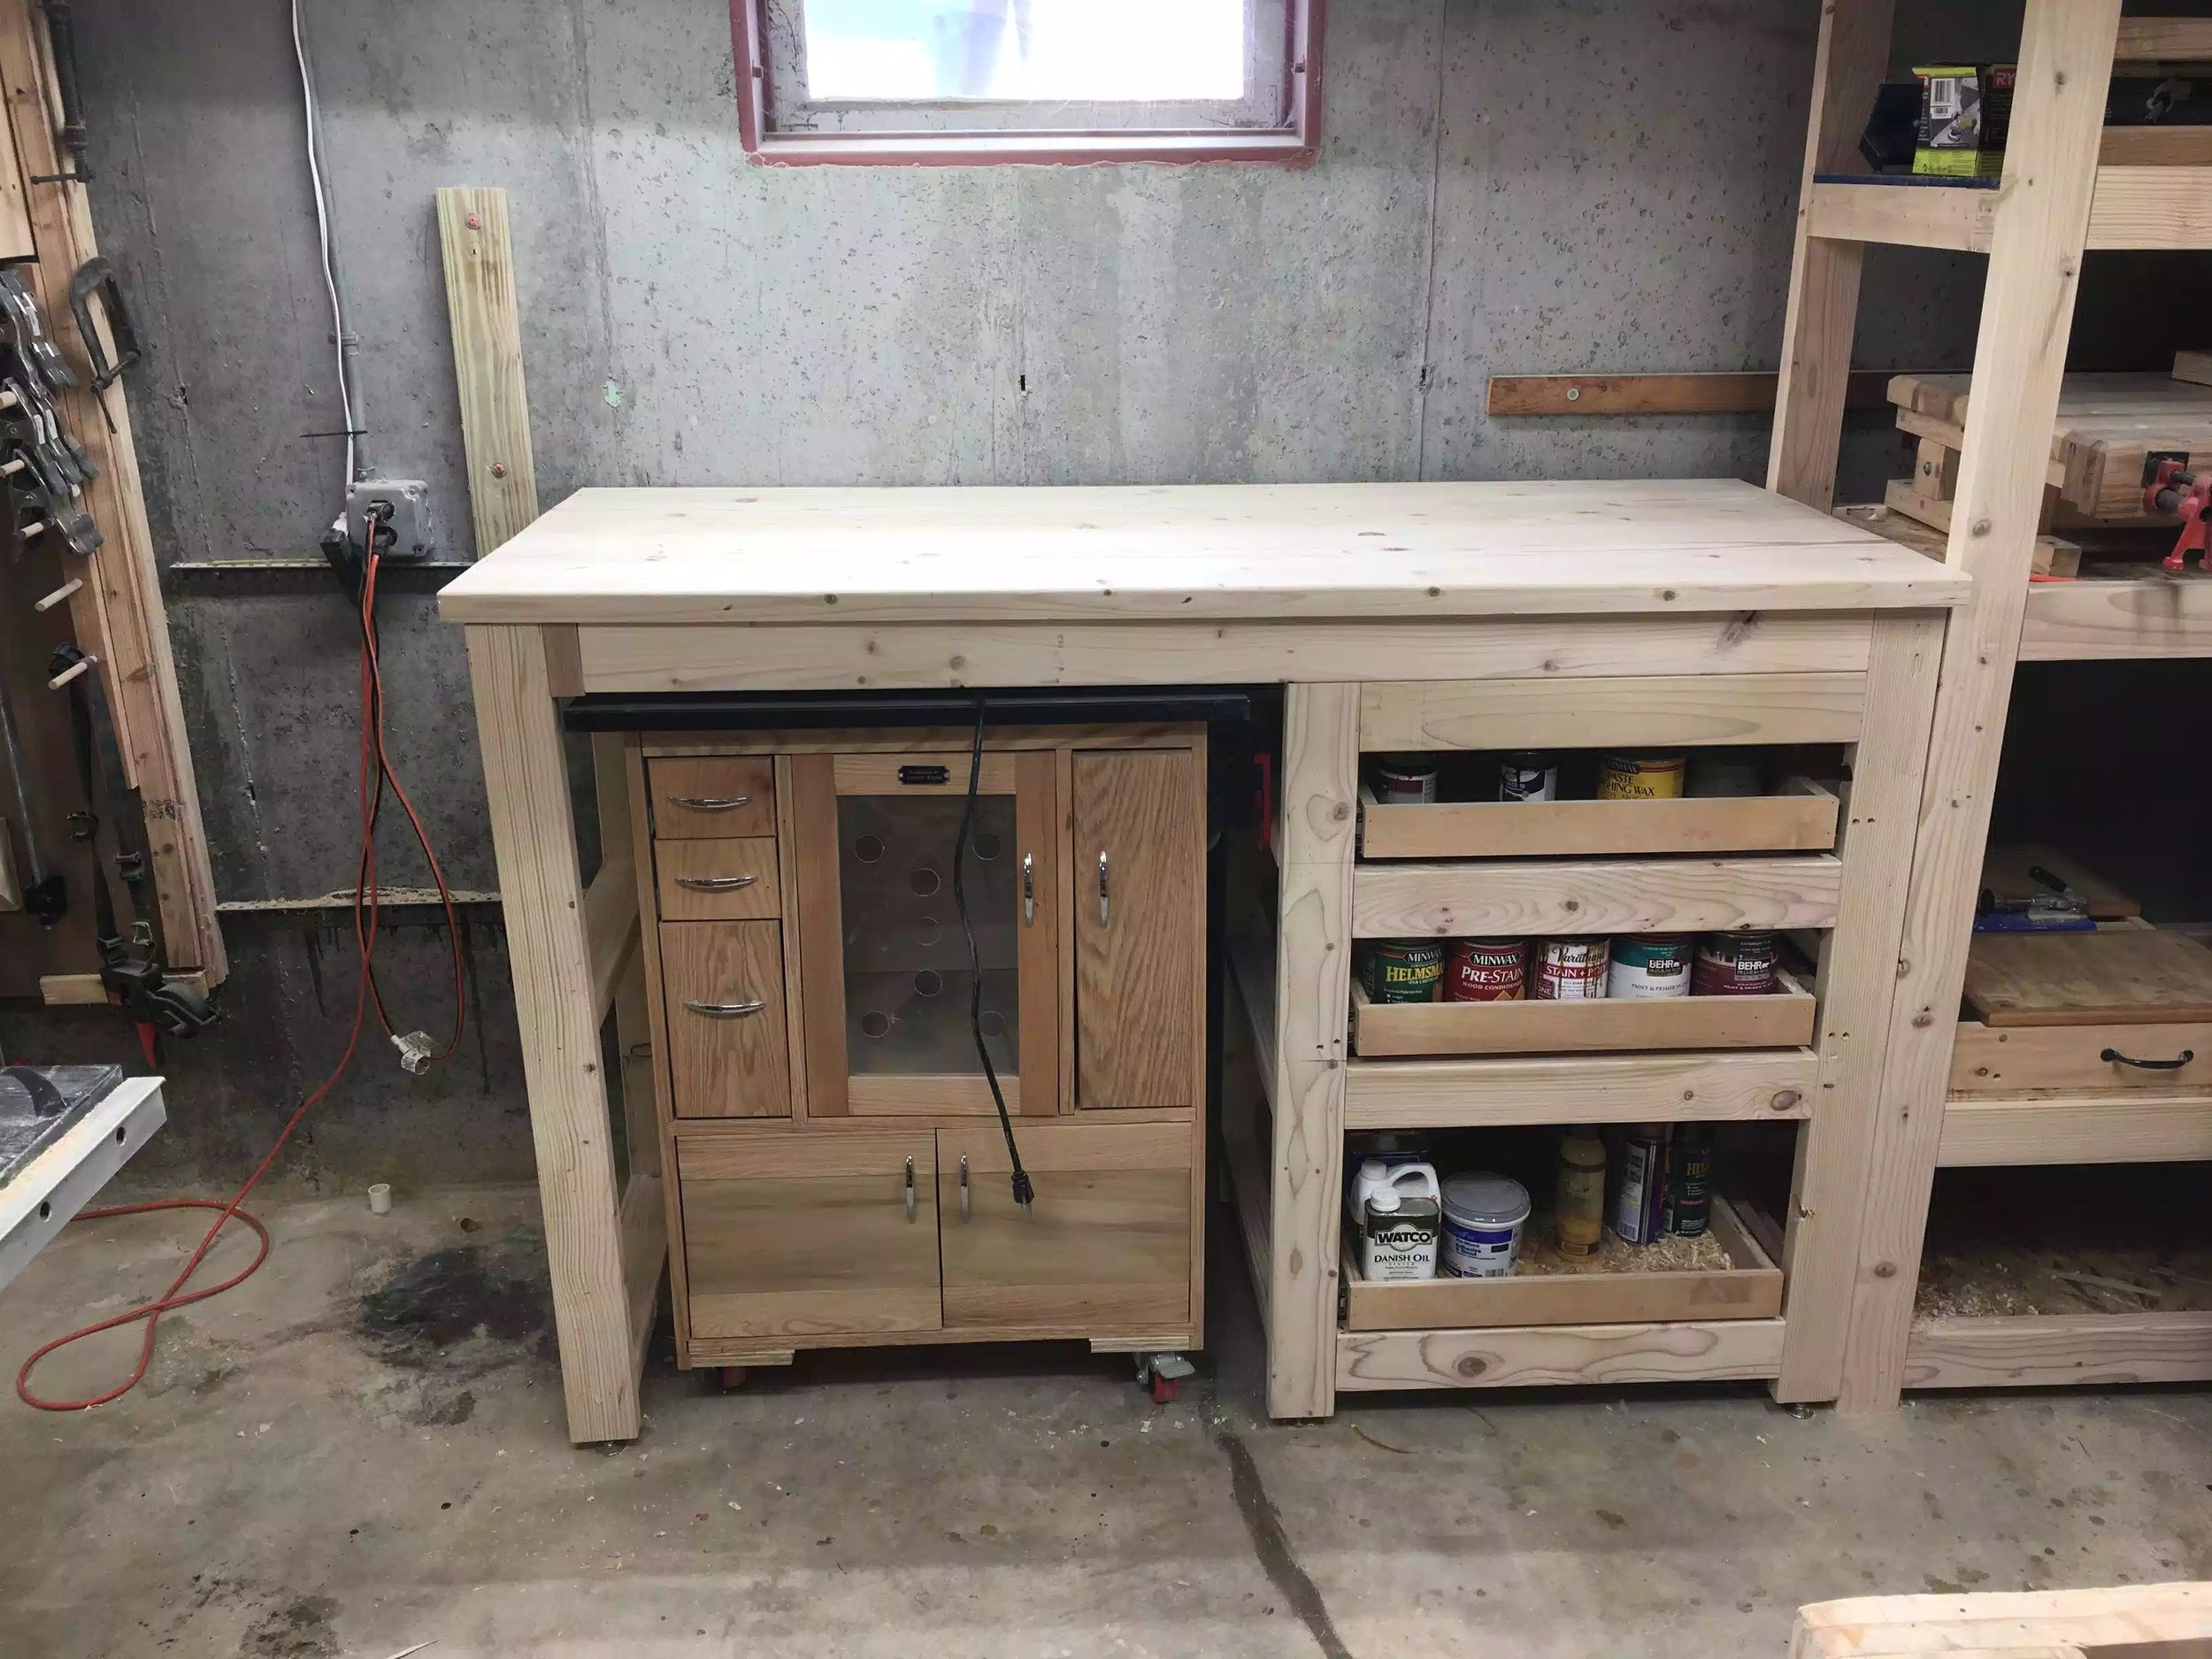
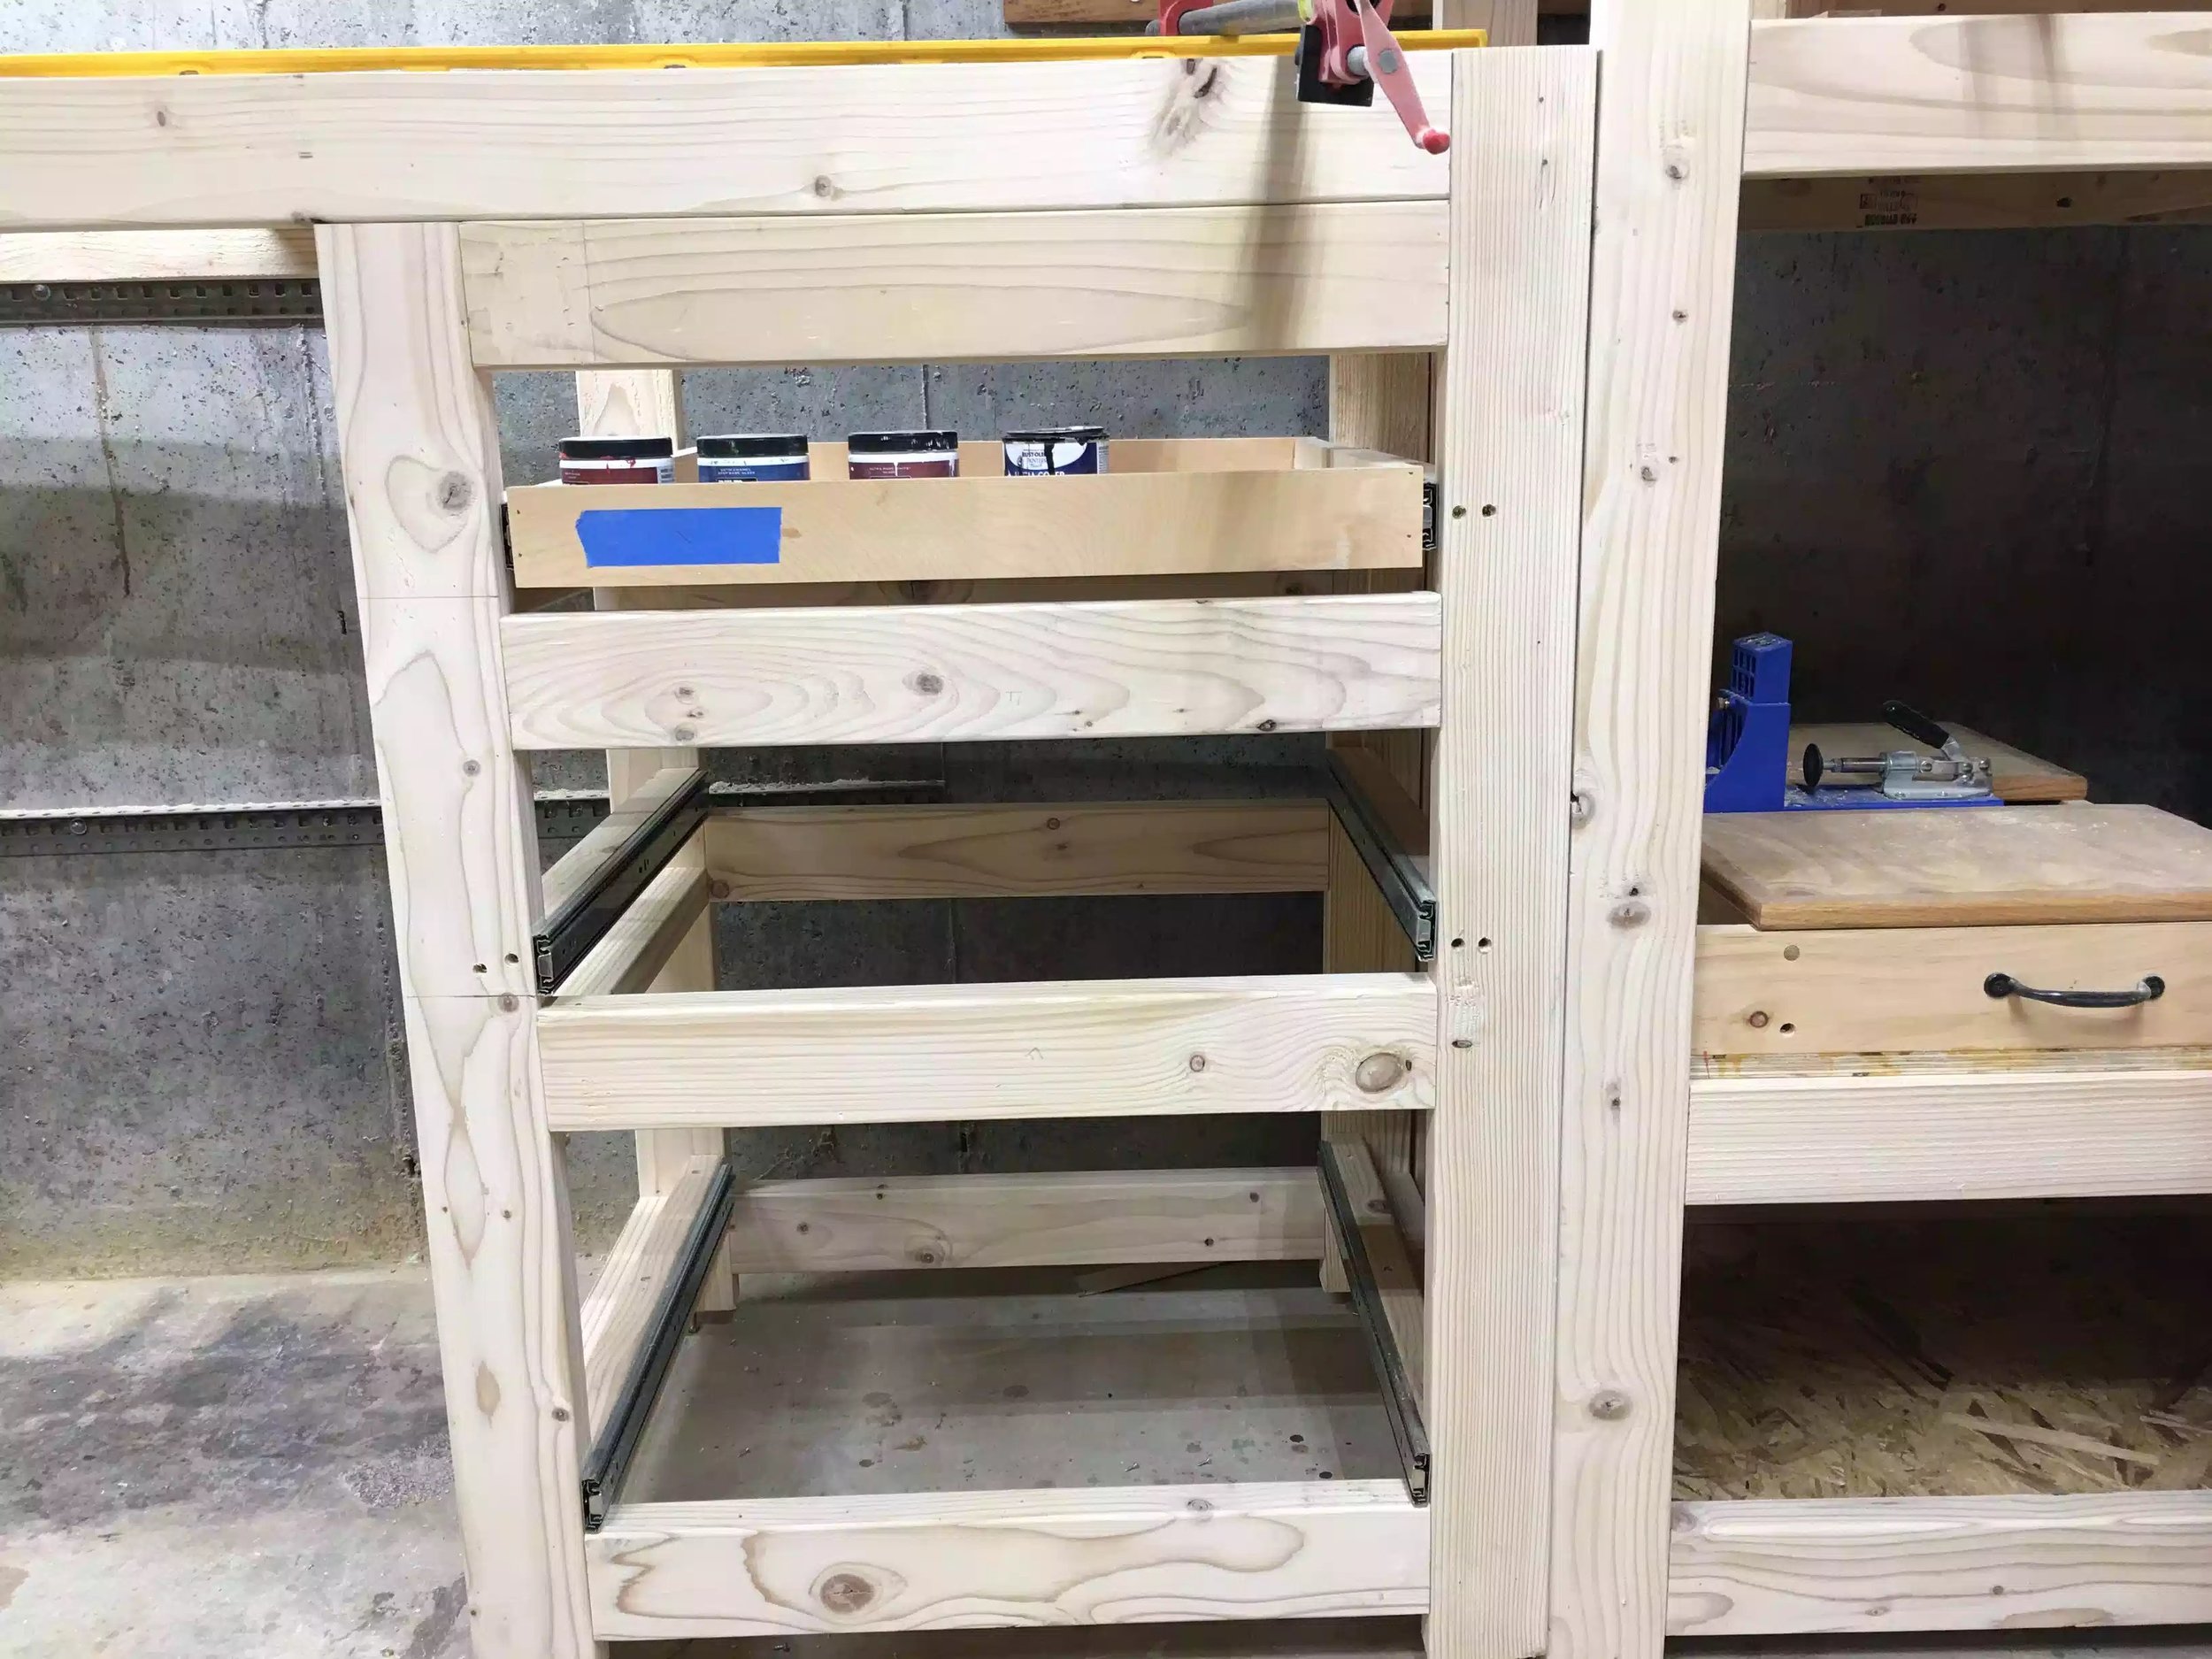
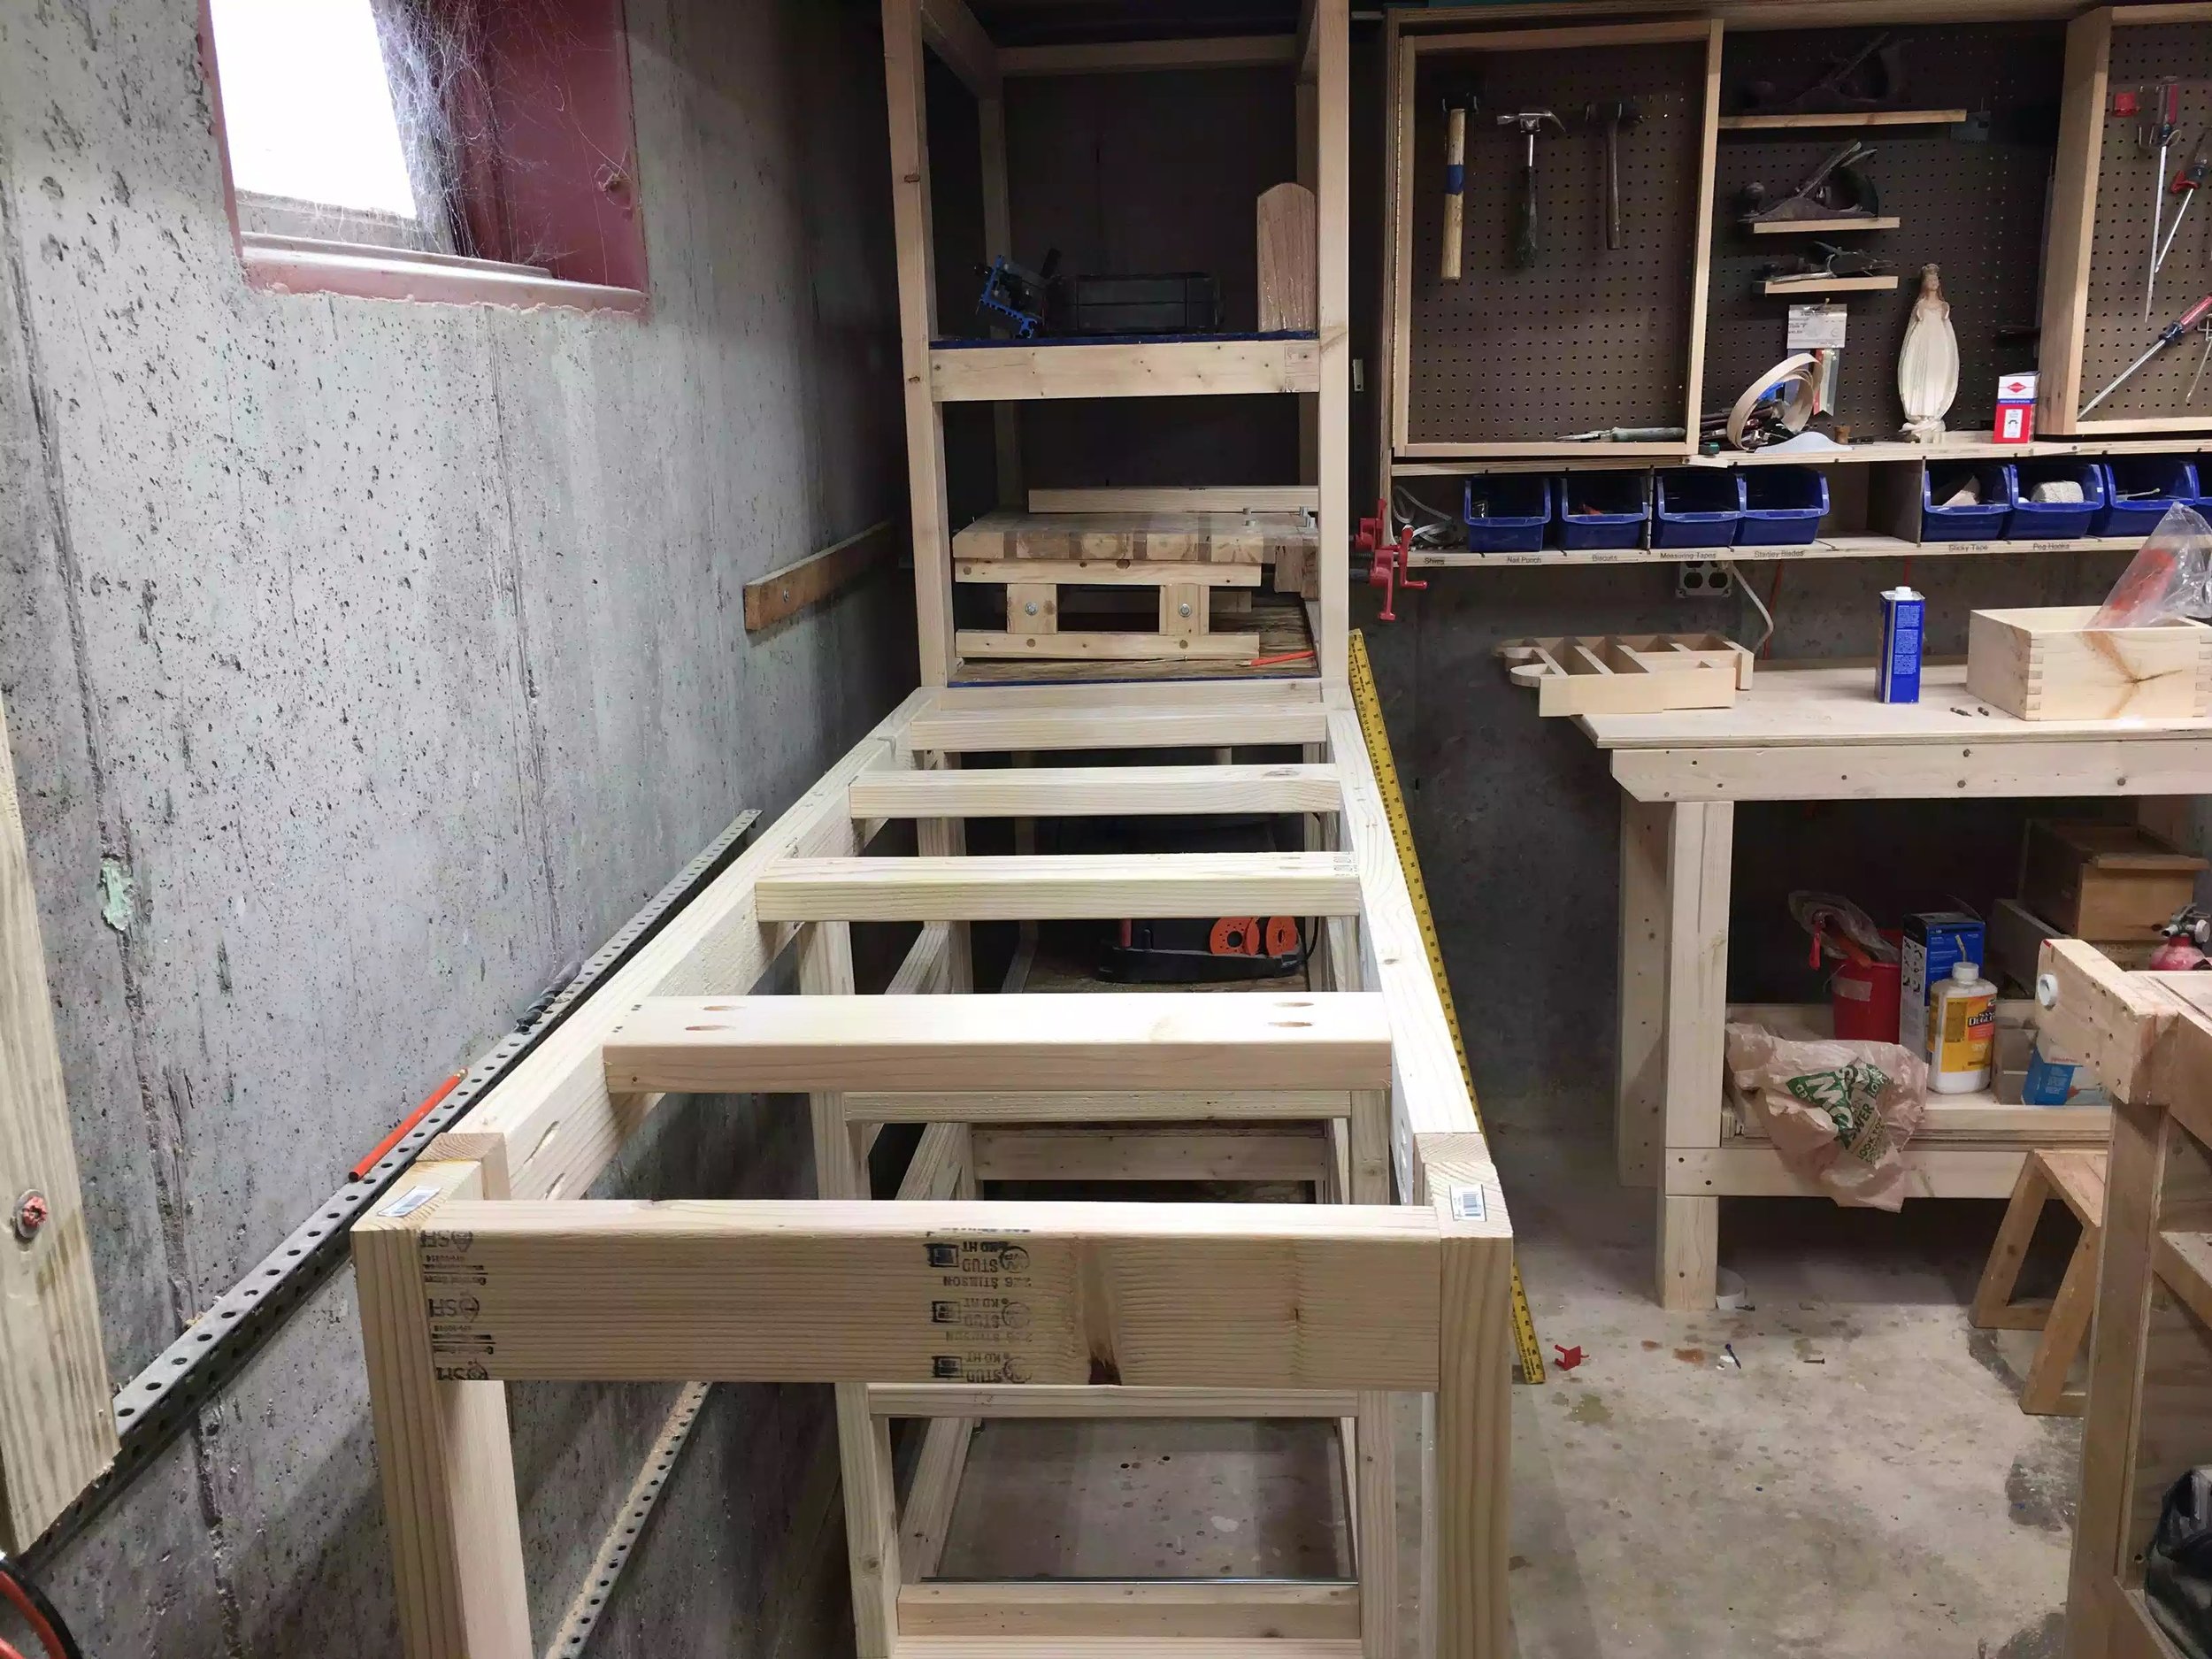
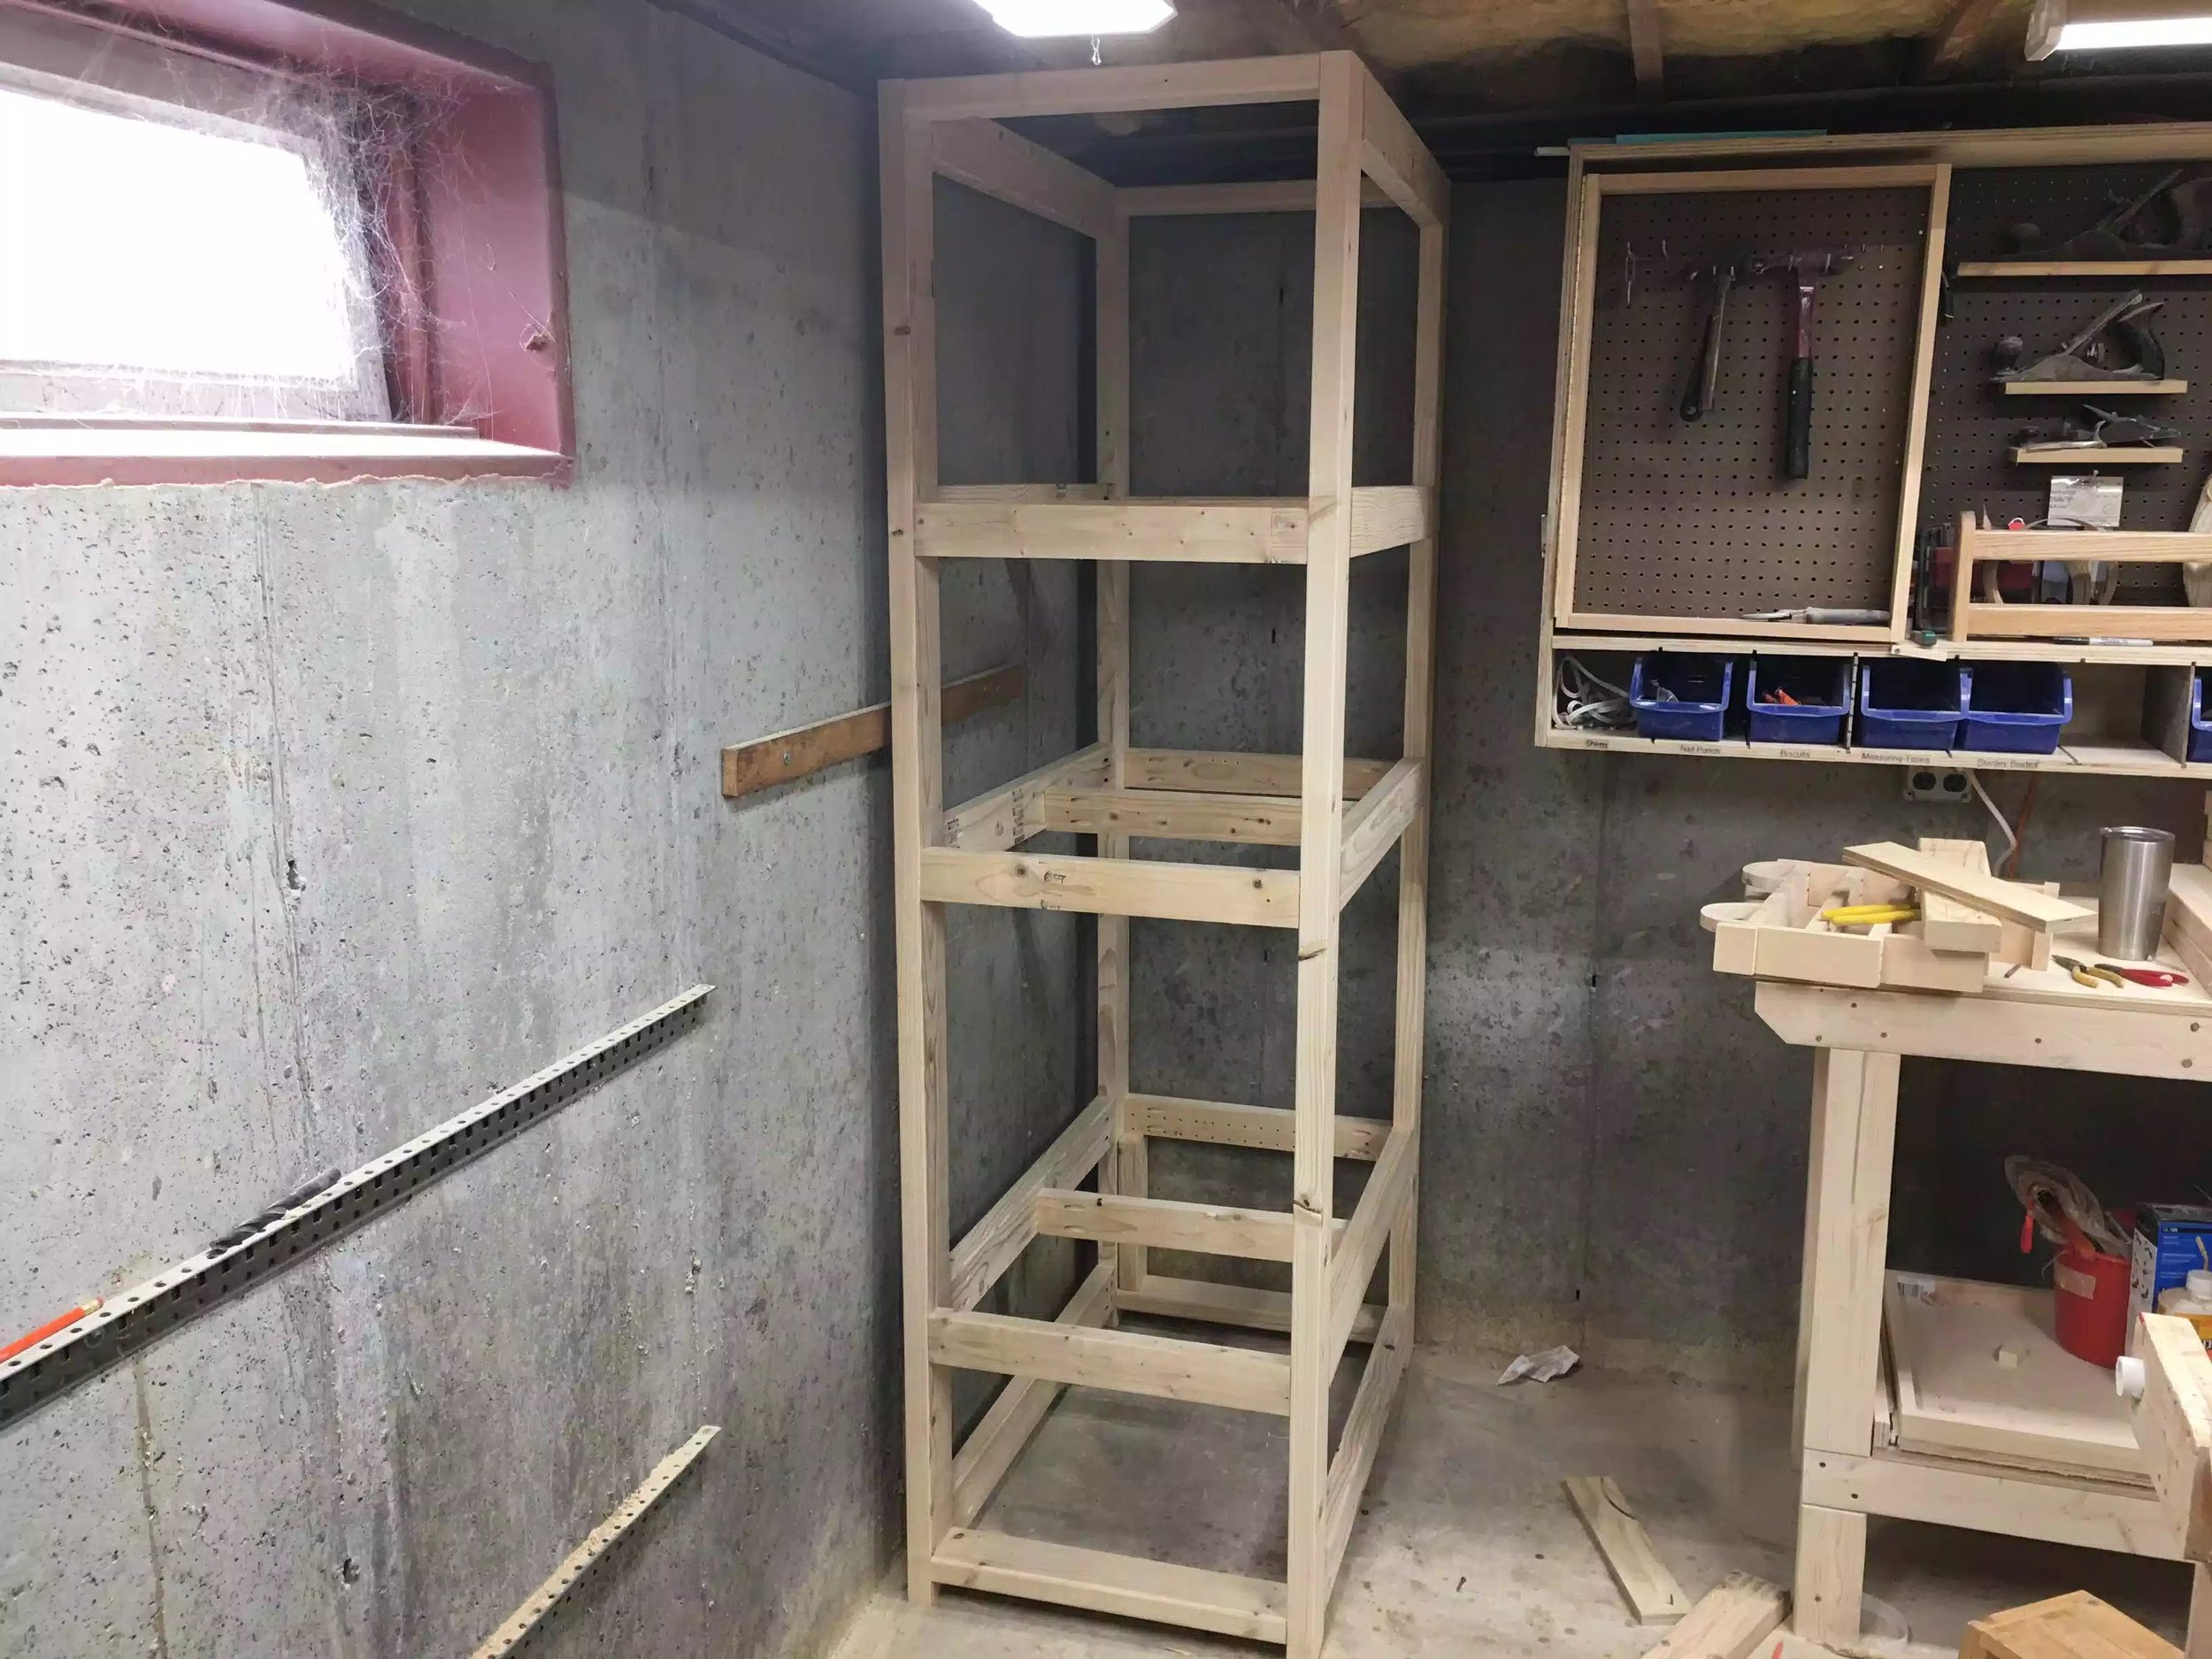
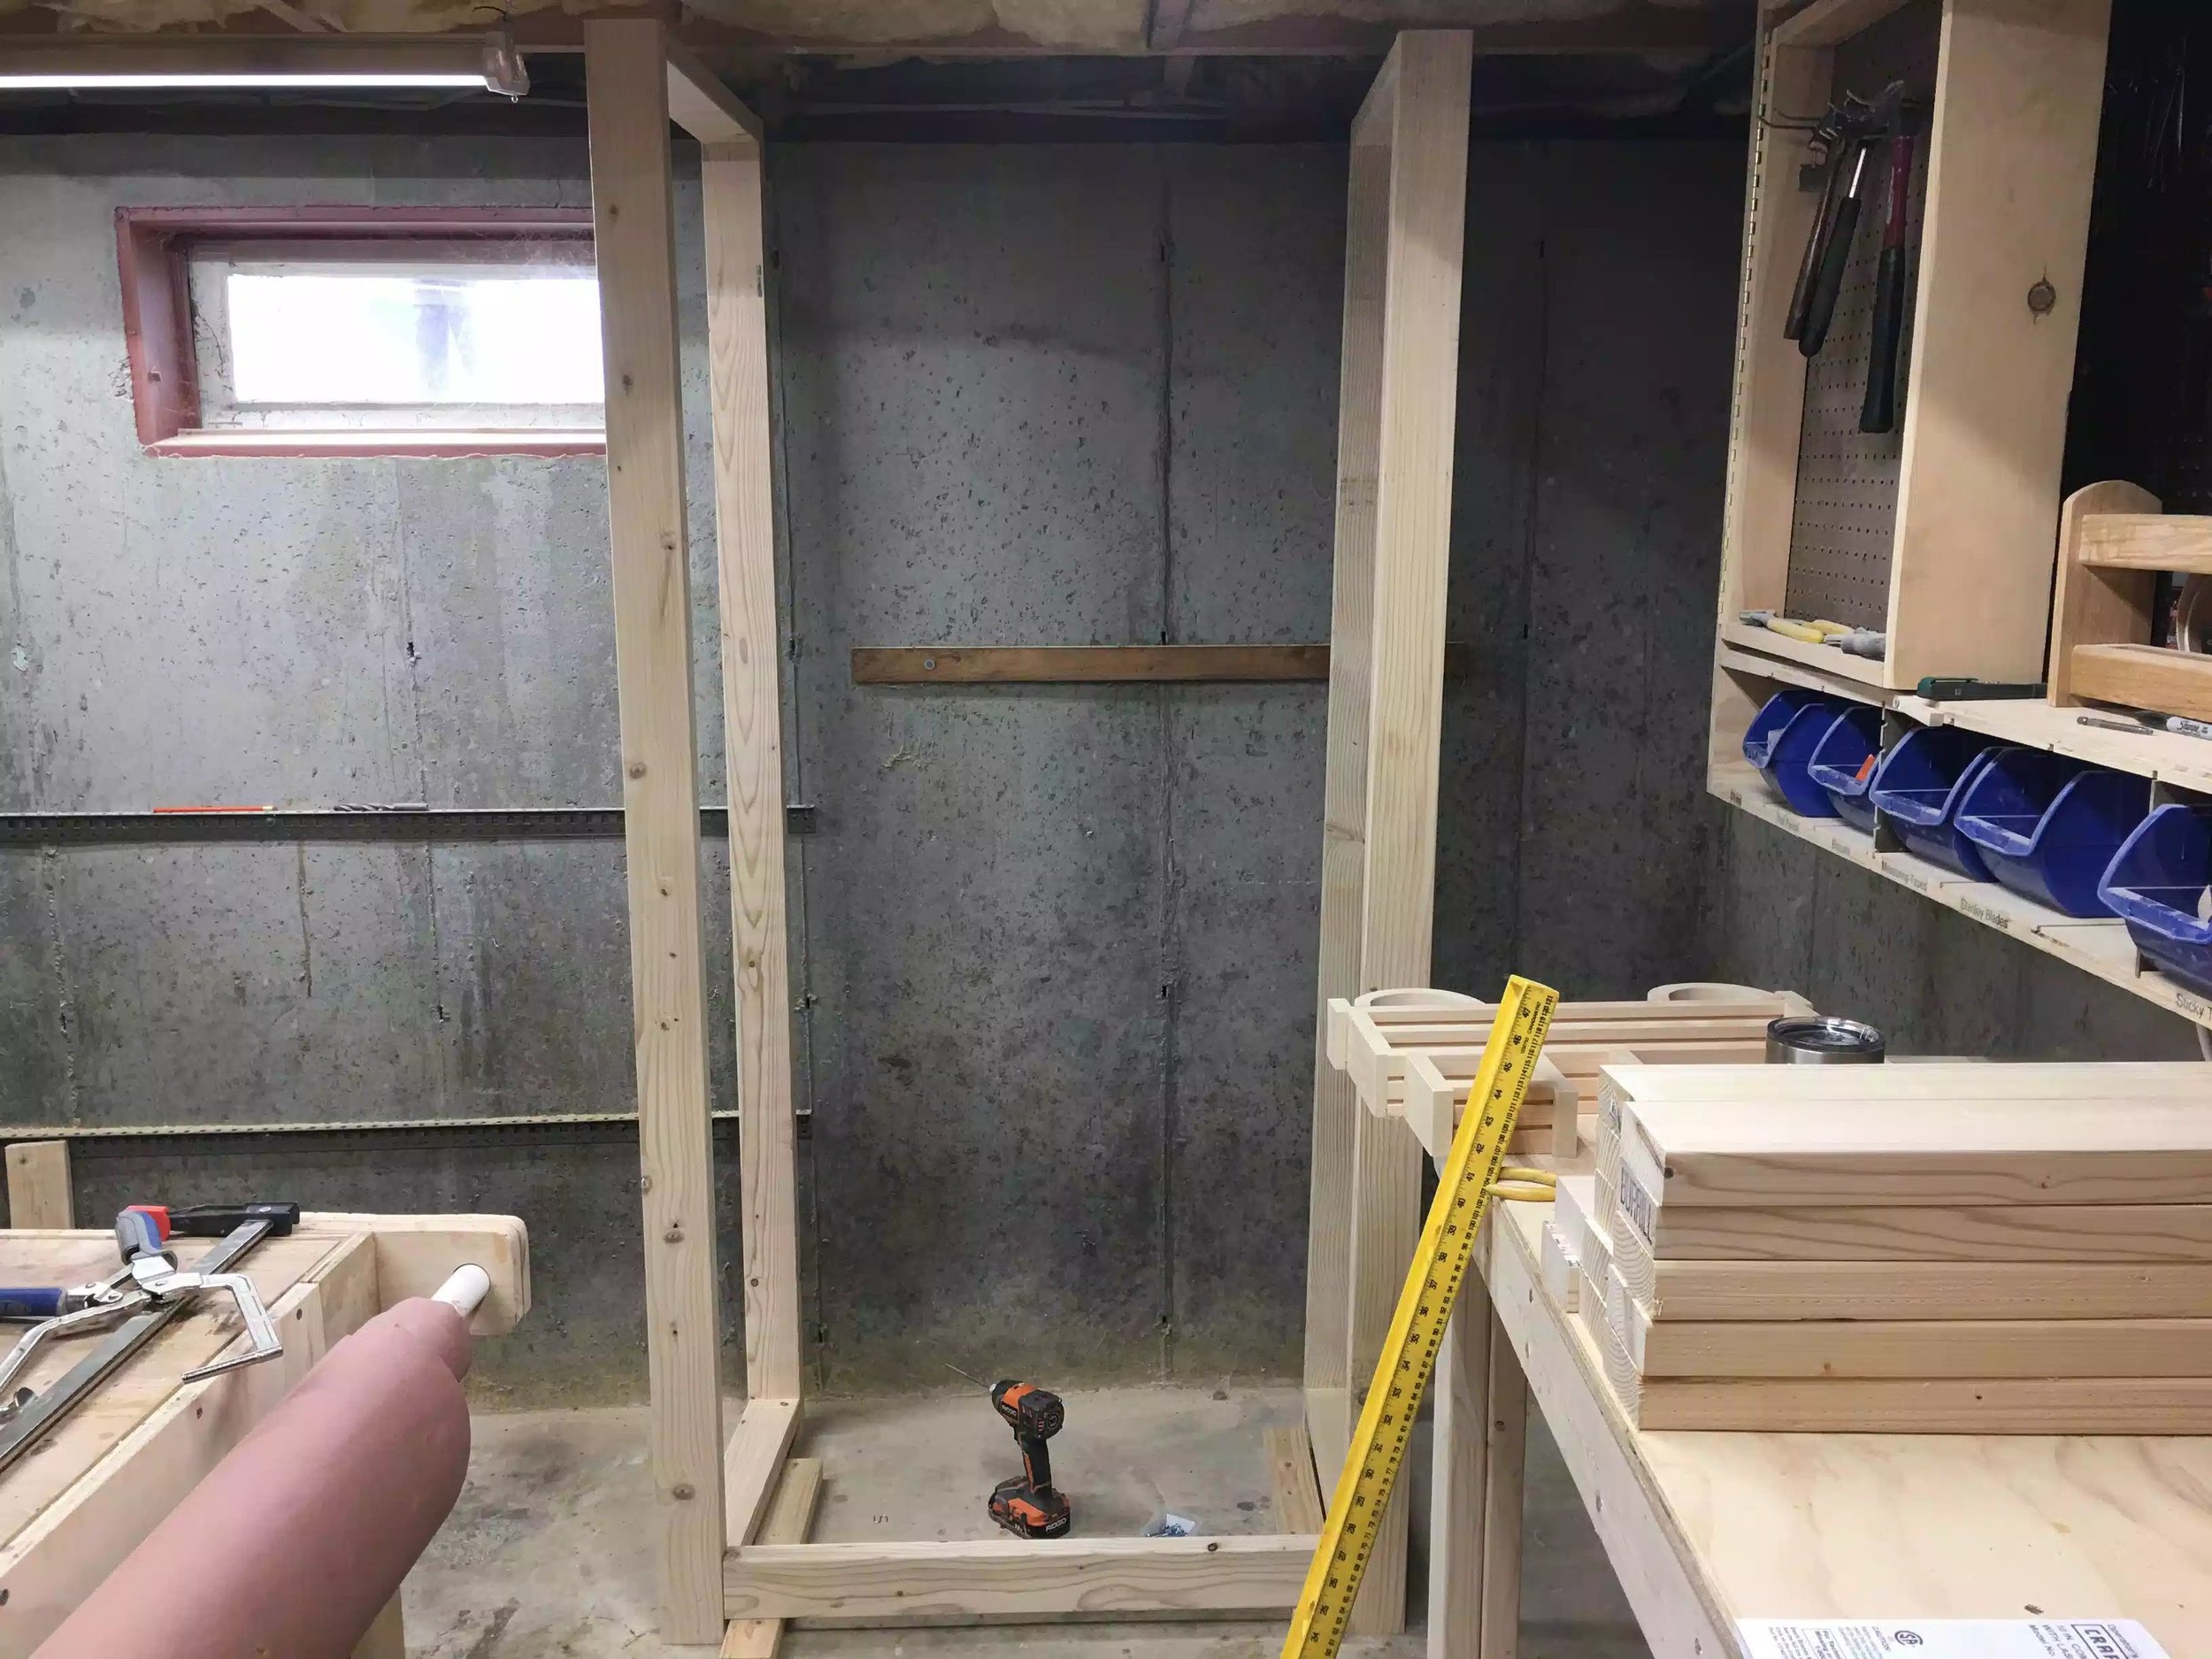
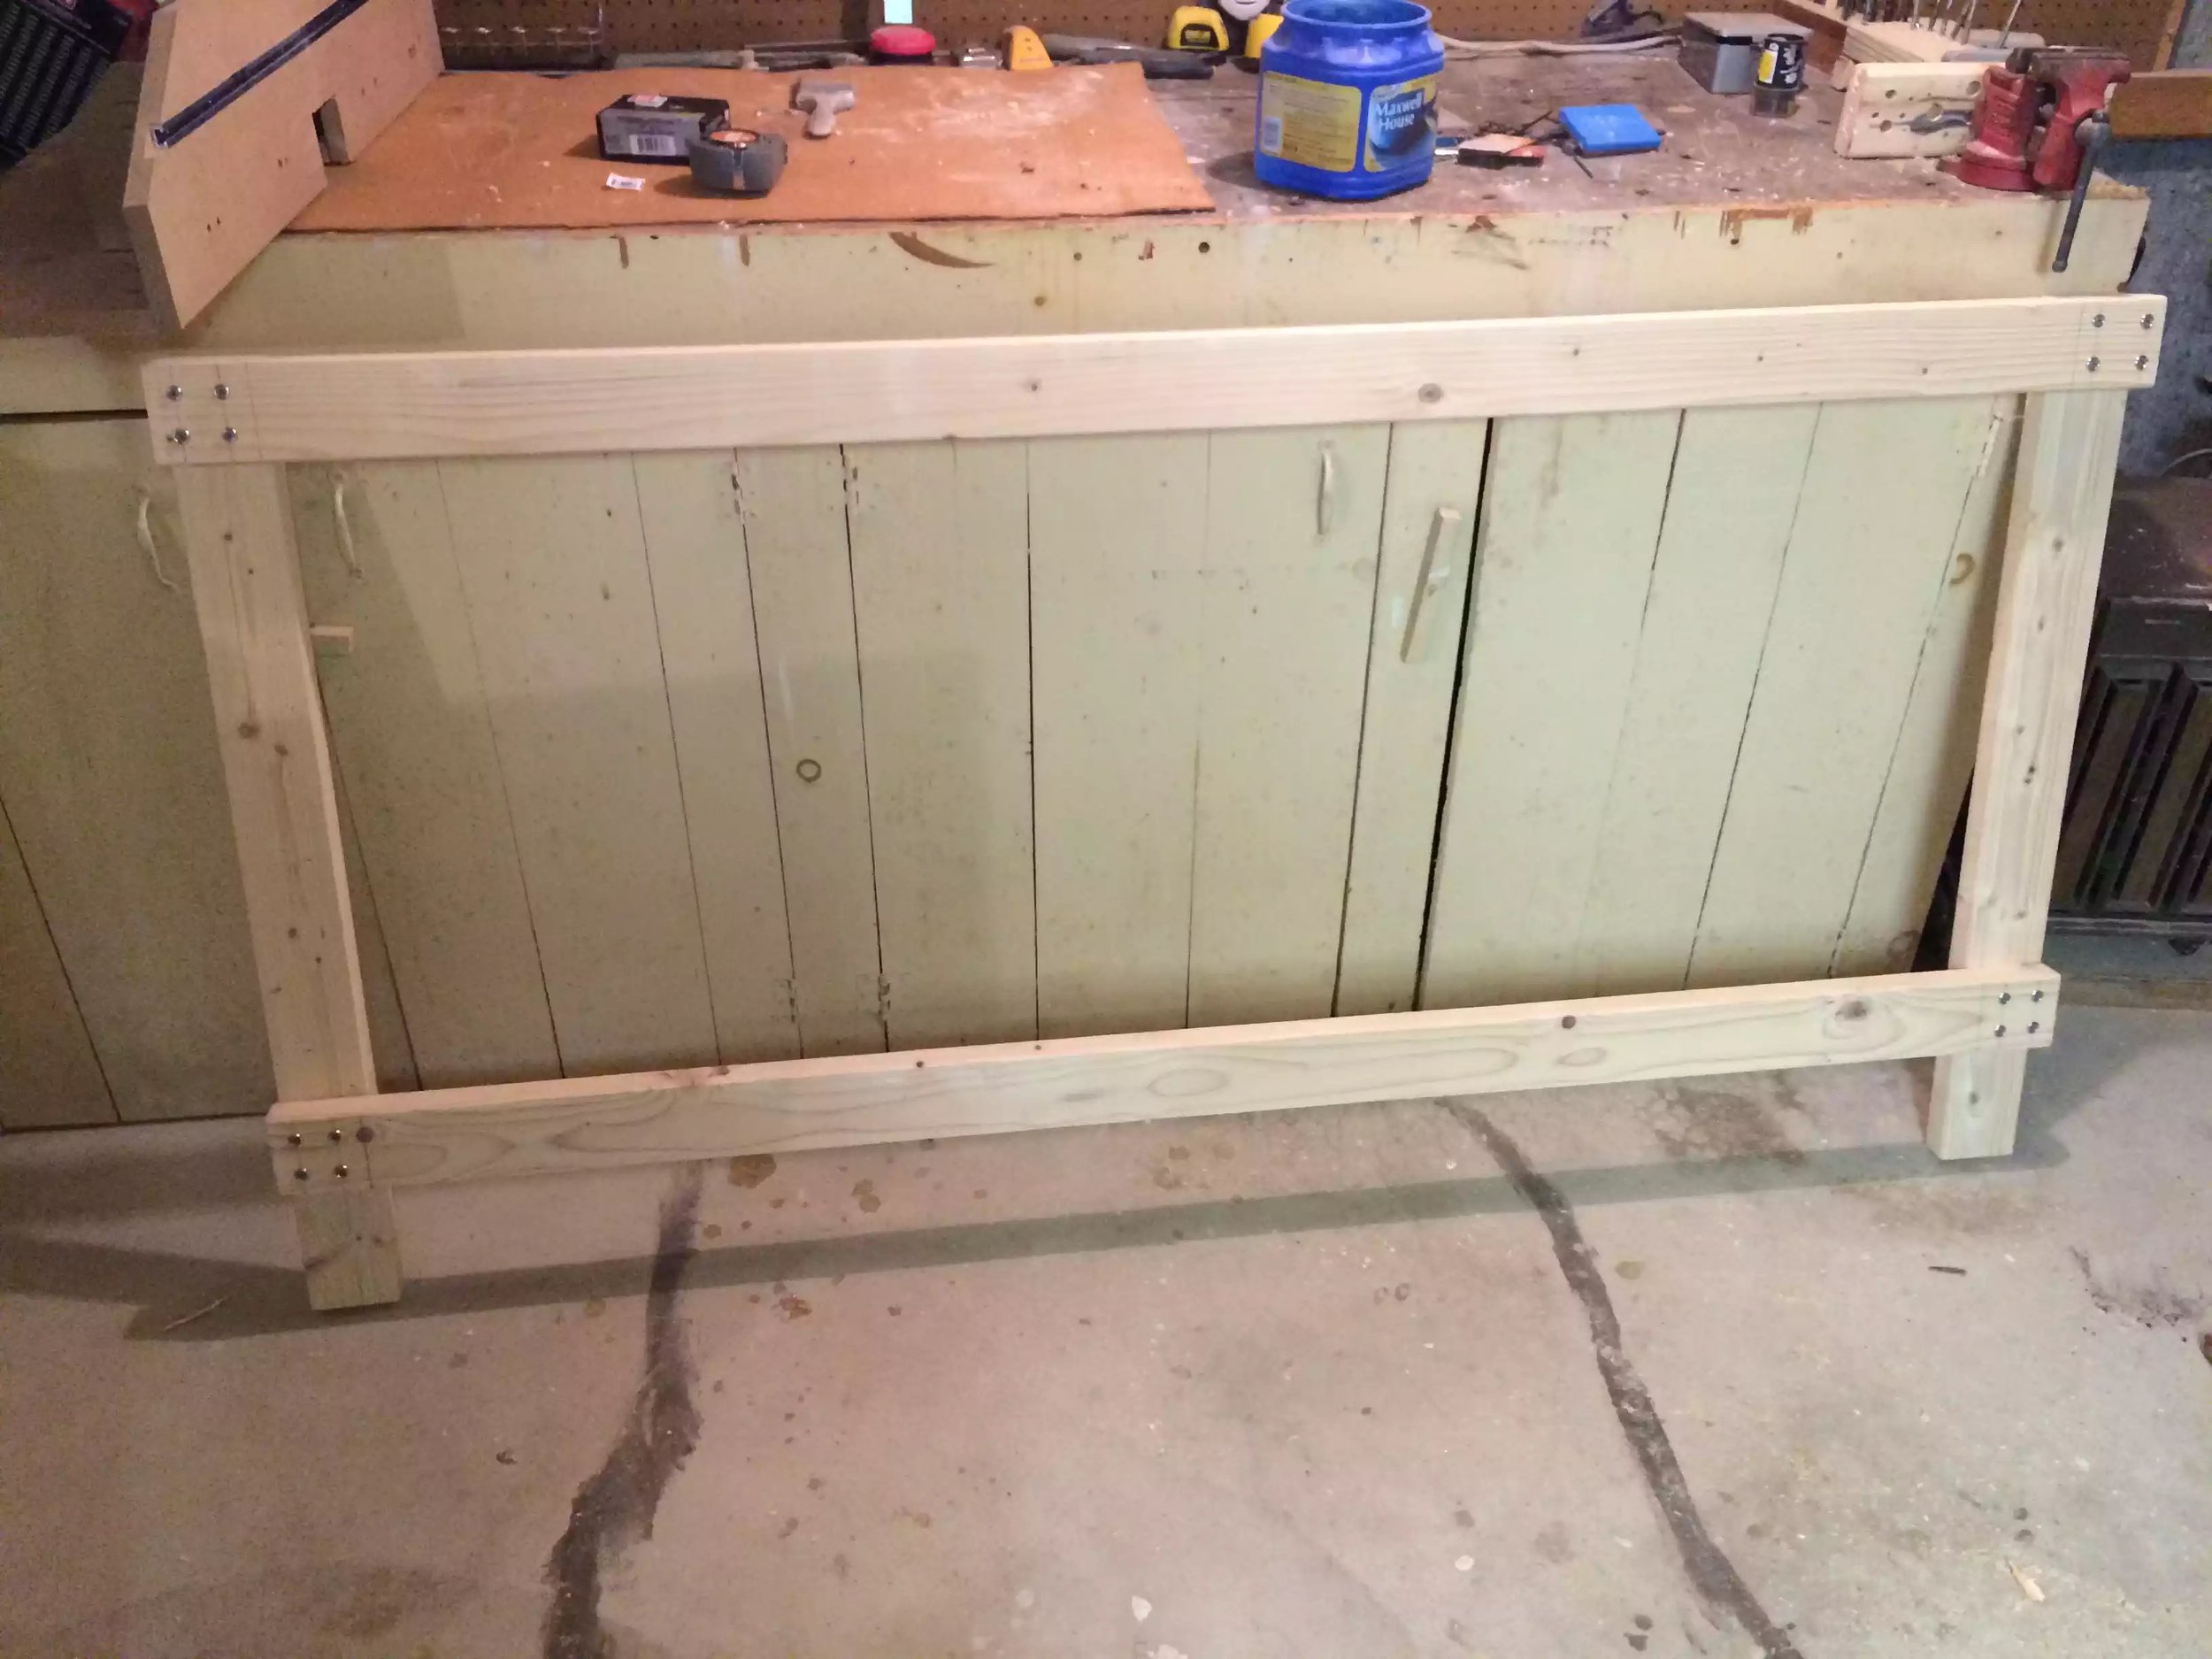
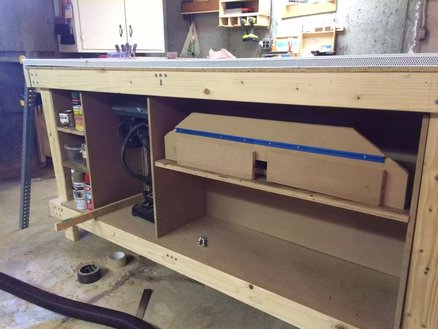
After deciding on what I want to achieve I set out some very basic plans and built the entire unit out of 2×4’s and since I was going to re-use the benchtop I already had in the picture above I didn’t need to make one.
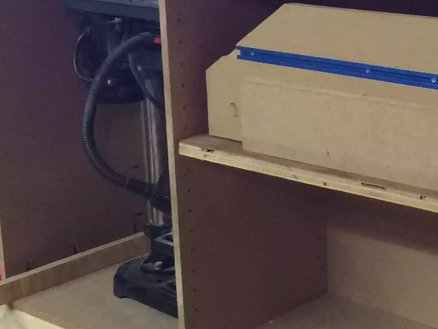
I used Pocket Hole screw and glue to build it and I have to say its rock solid. The only thing that I wasn’t mad about it the height of the bench because I needed to fit my Router table under it which is about 42” high.
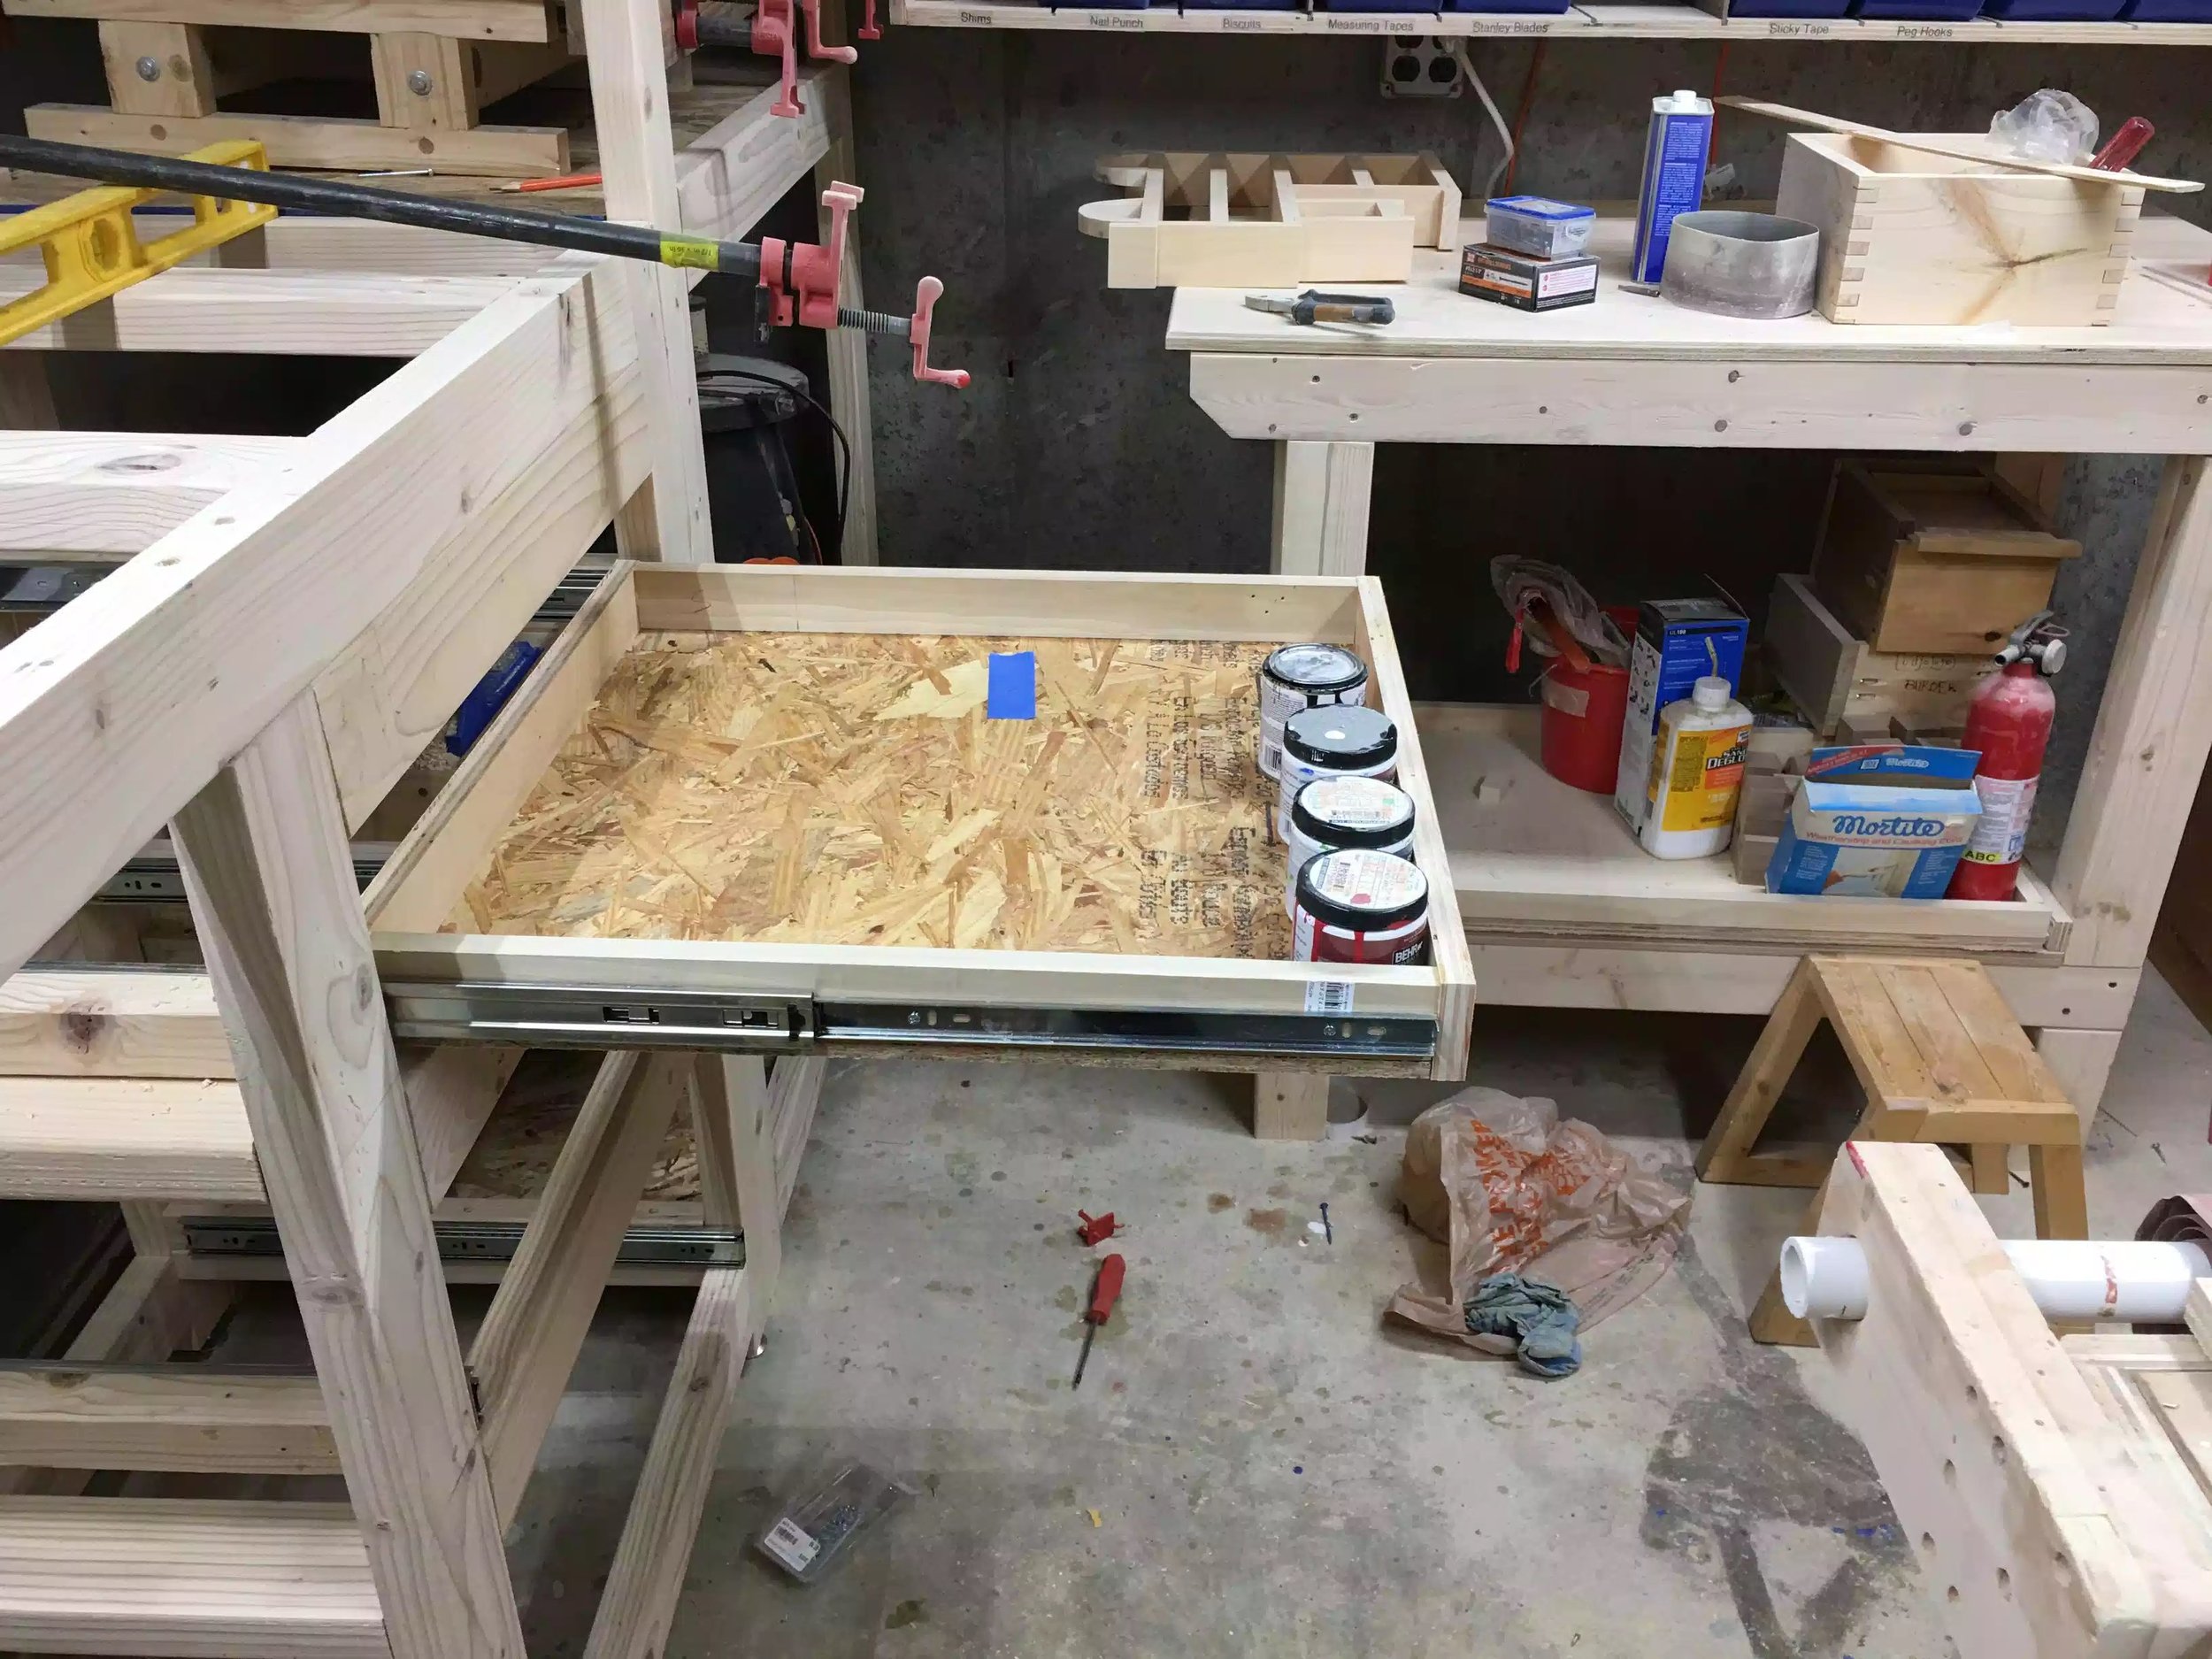
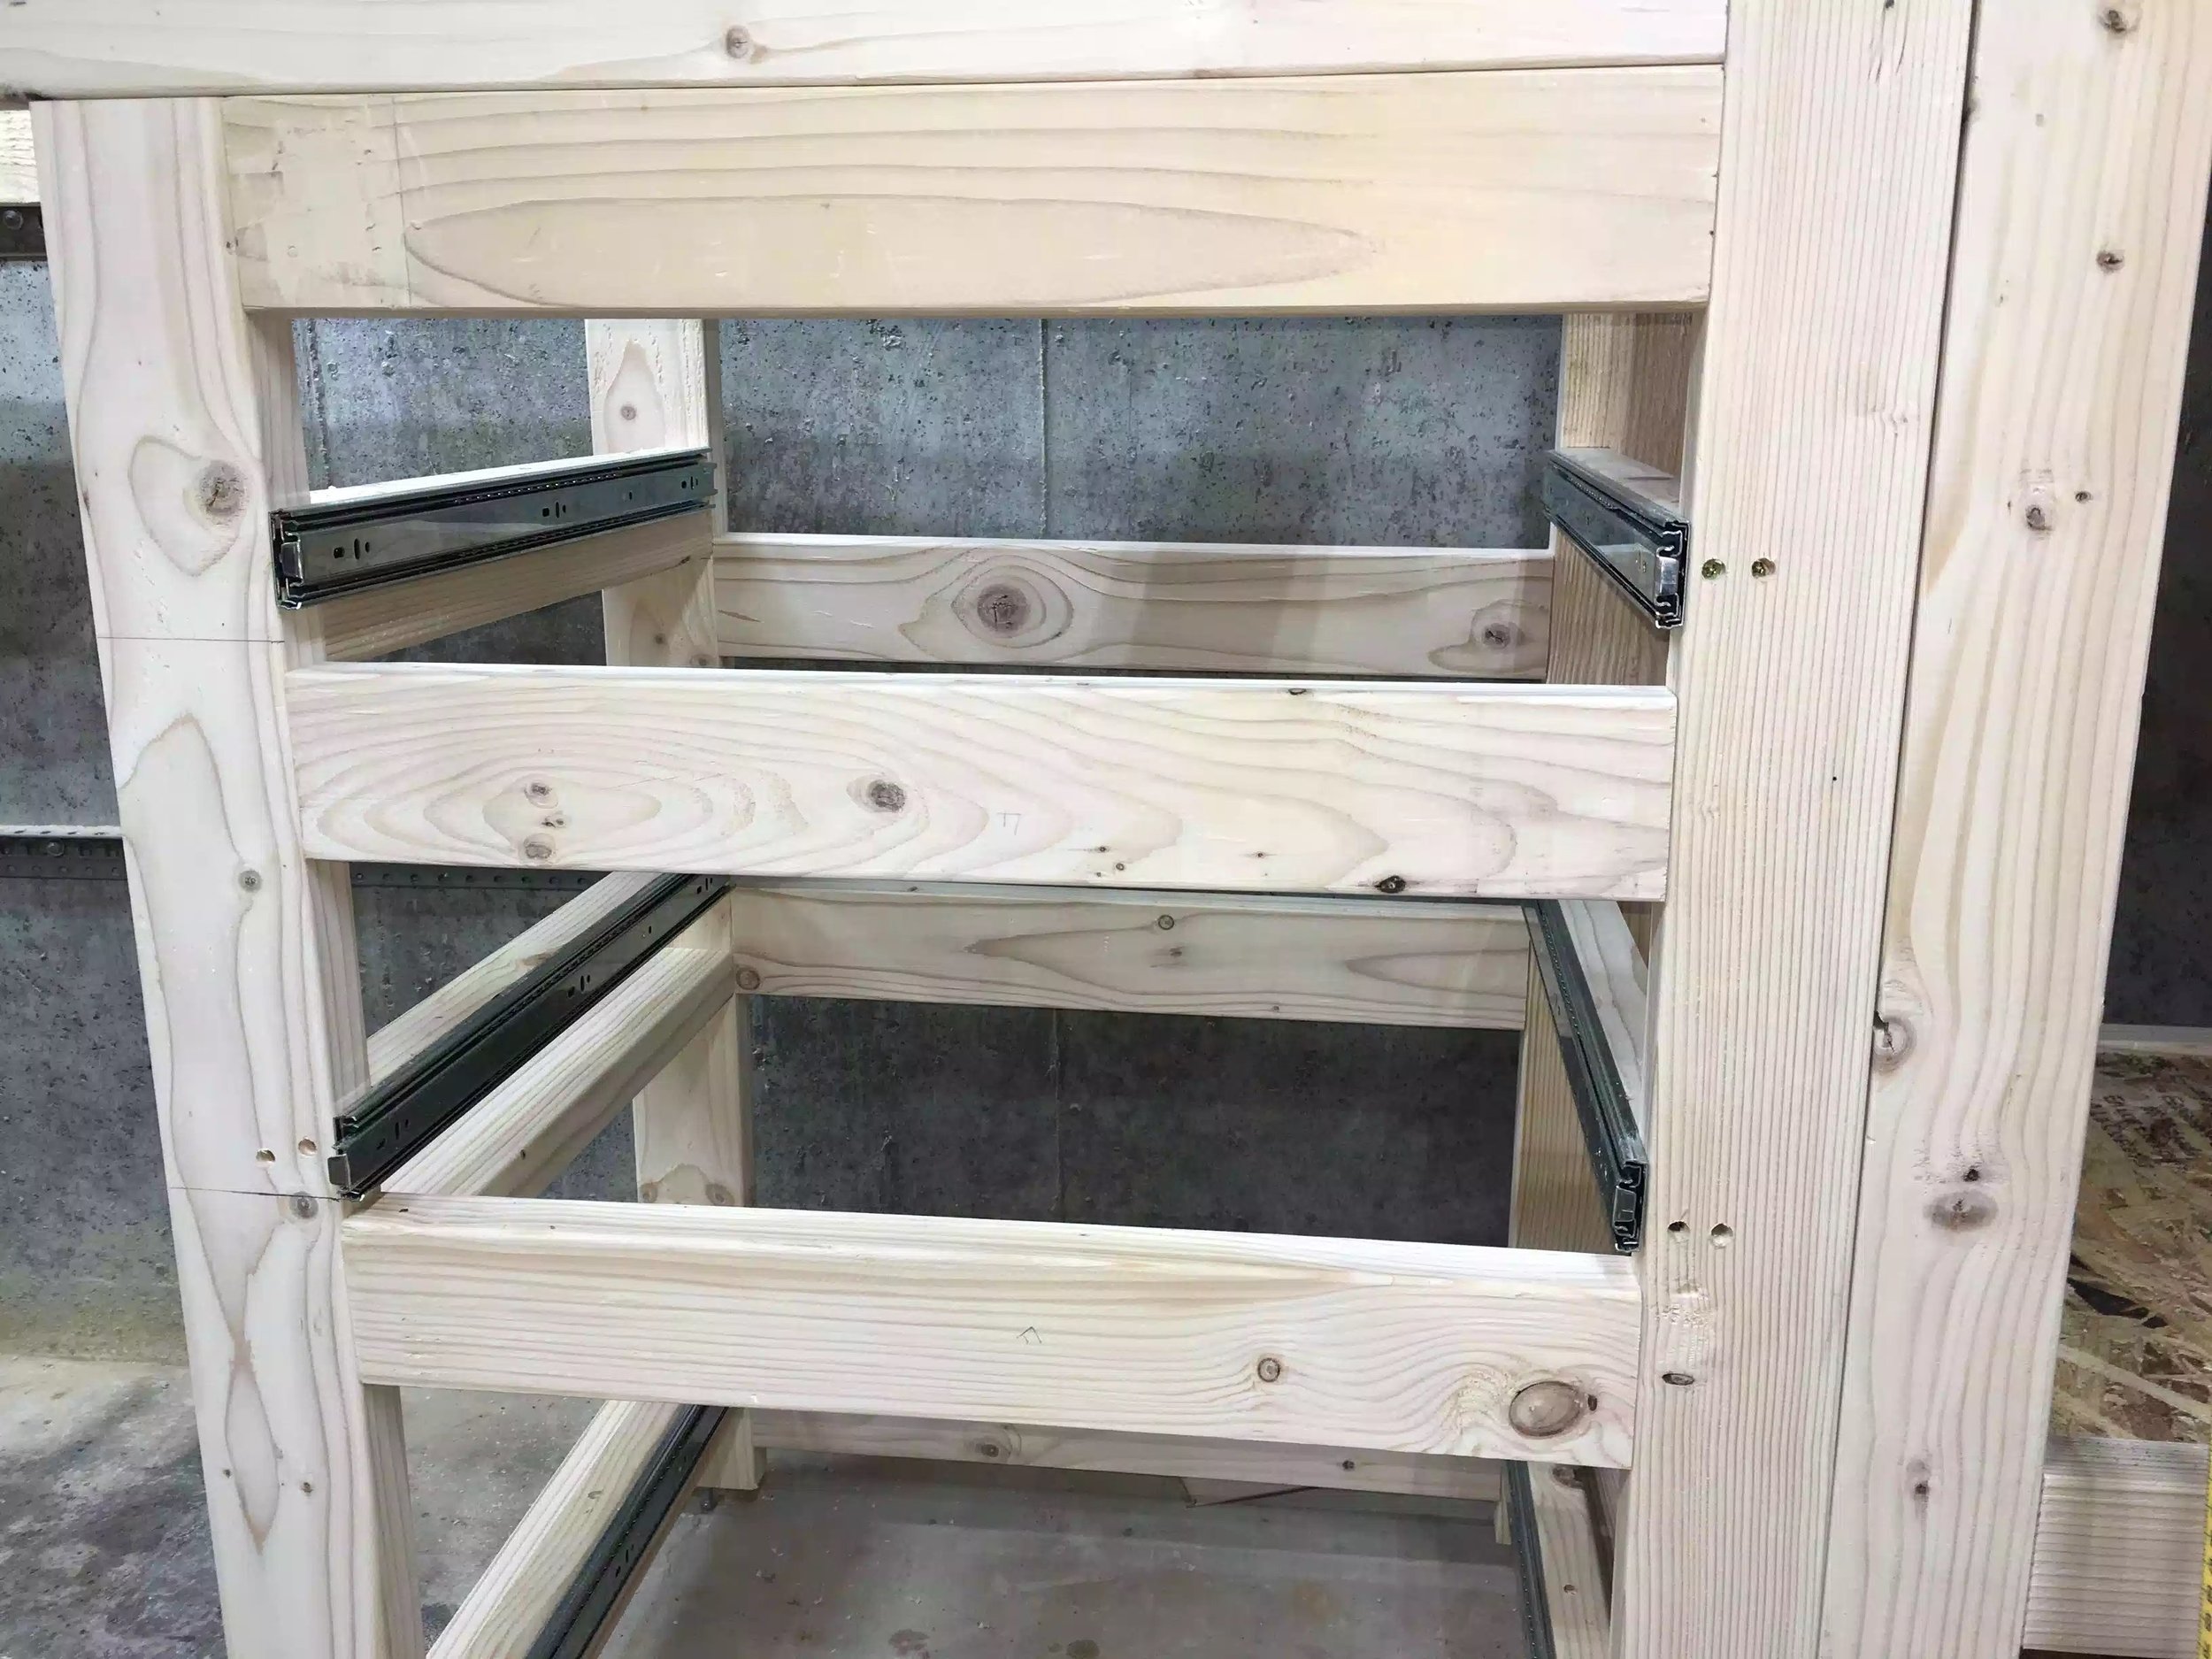
I also put 3 drawers for all my paints and stains since that was all stored in the wall cabinet I took down.
One more thing I purchased 10 full extension drawers slides on EBay at a great deal $50.00 and they were awesome if I had purchased 10 at Home Depot that would have set me back $160
Anyway I hope you like it and thanks for looking.
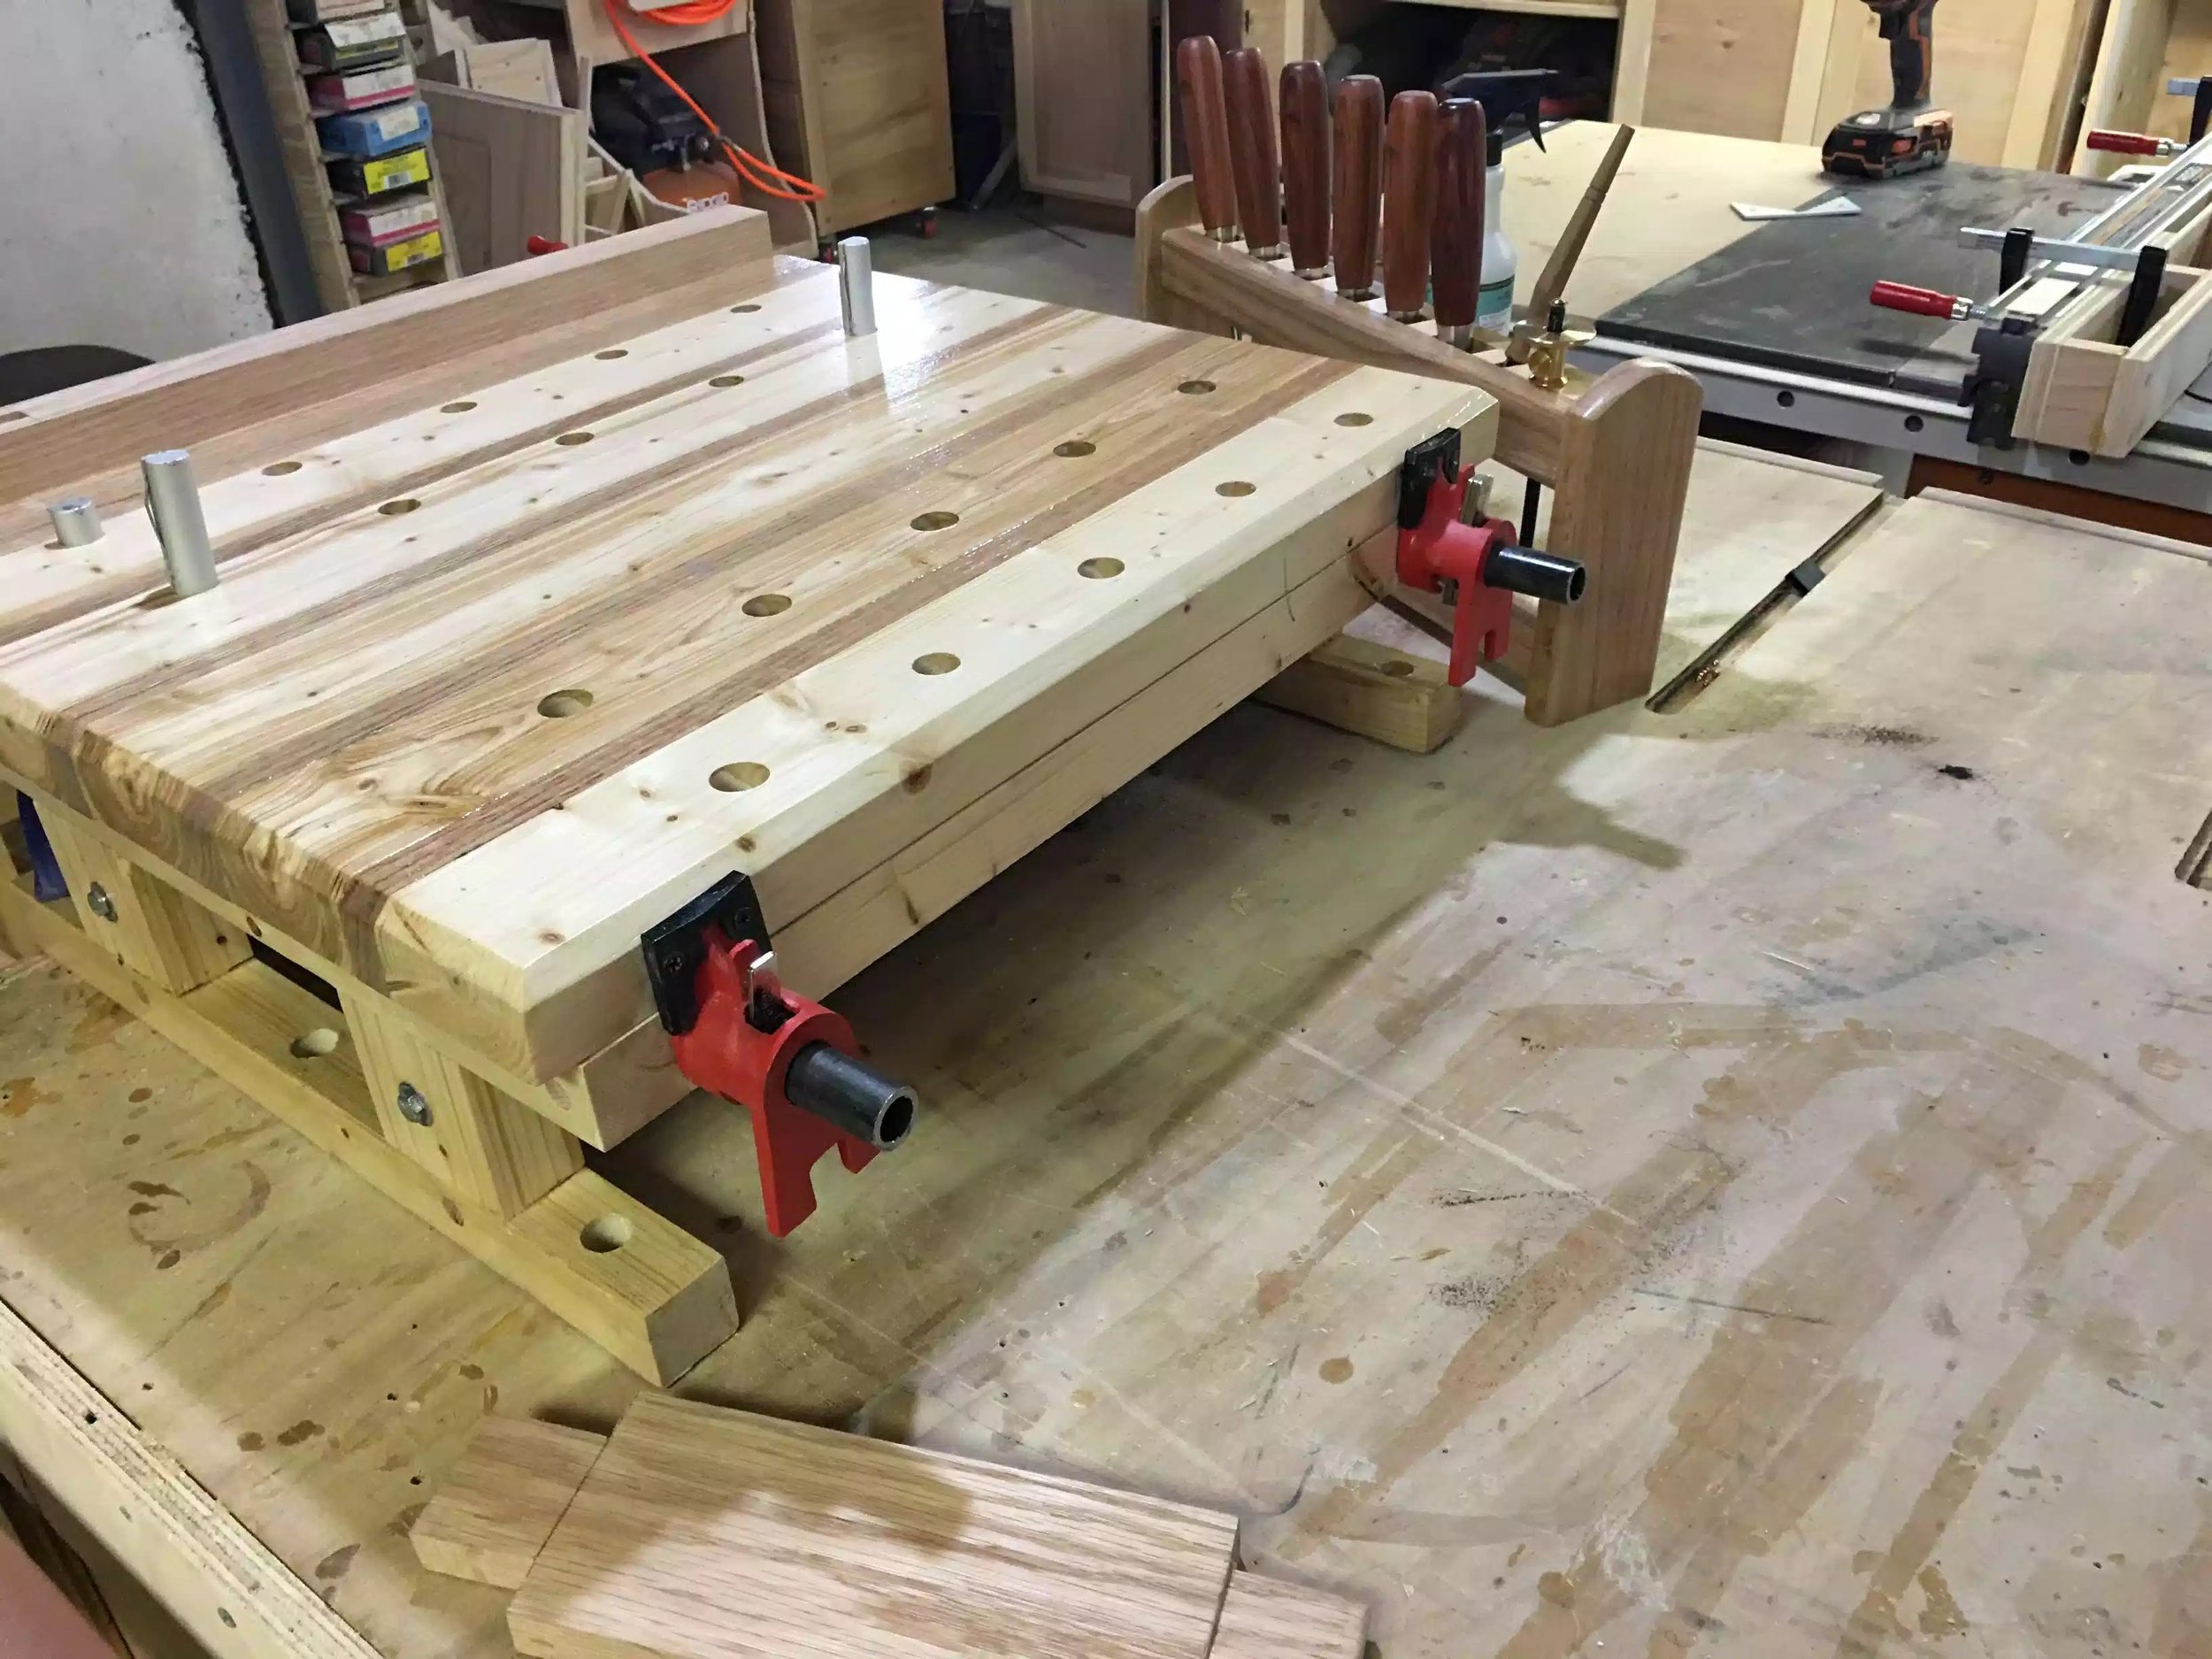
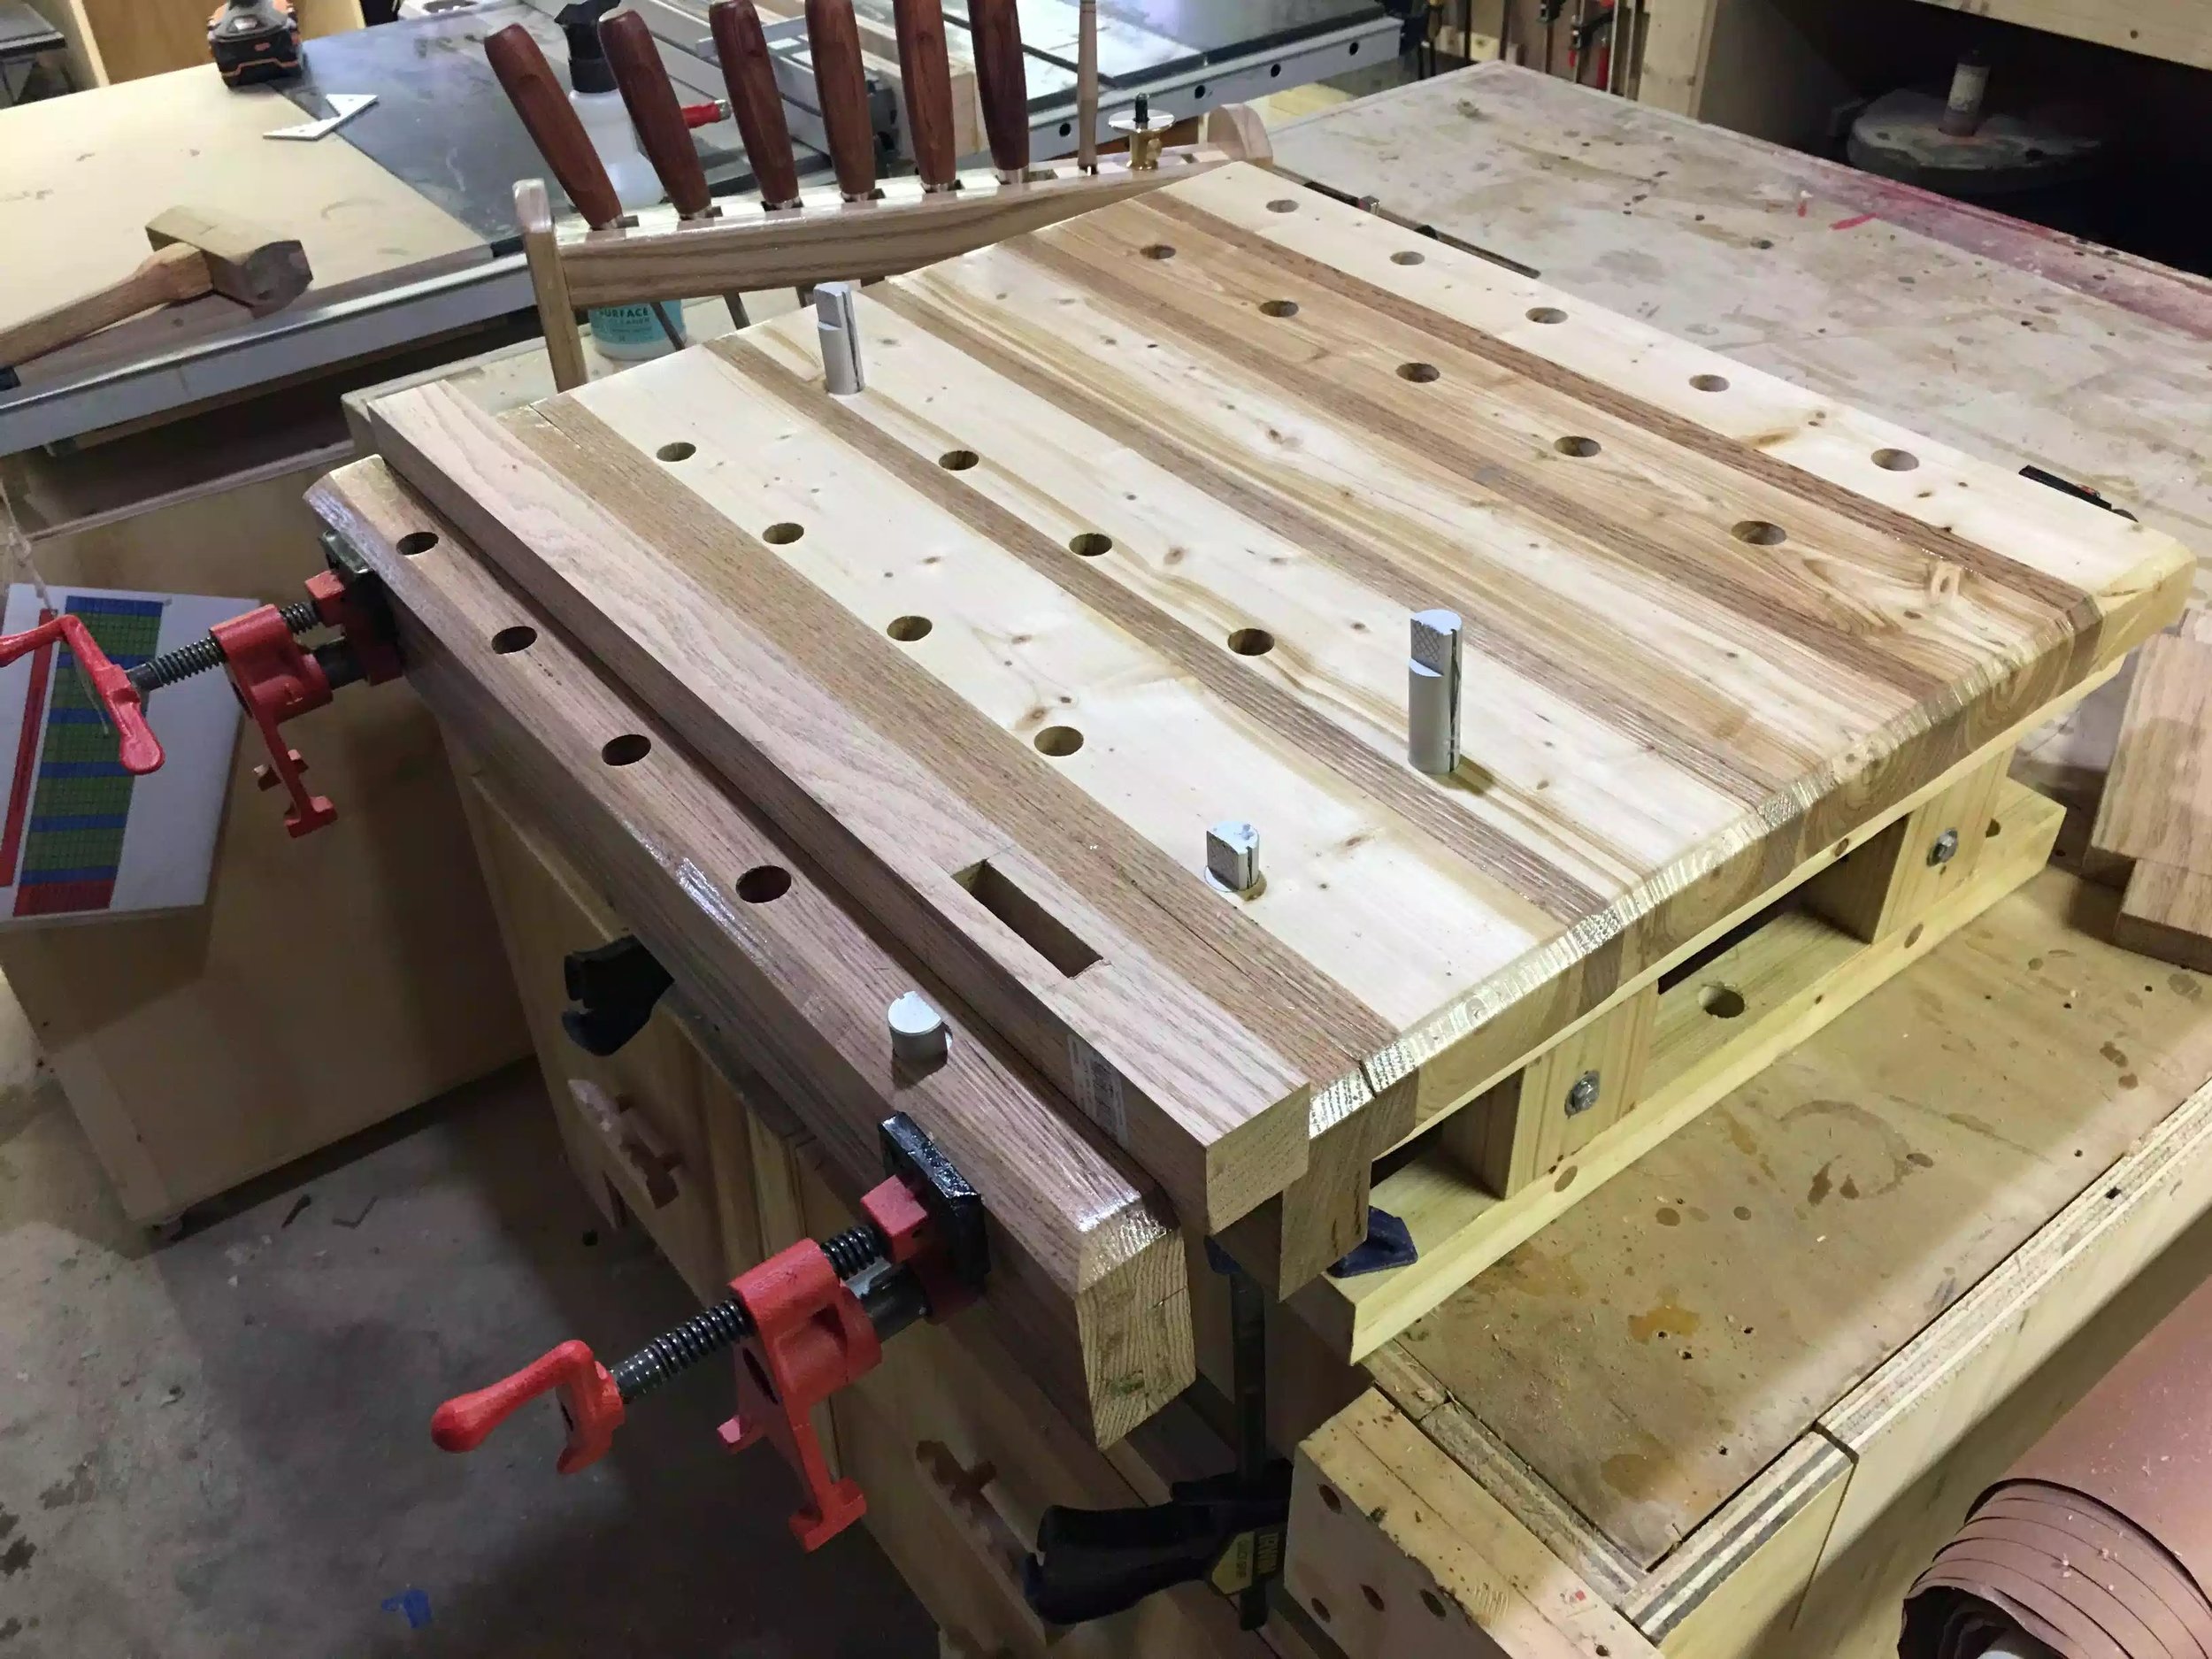
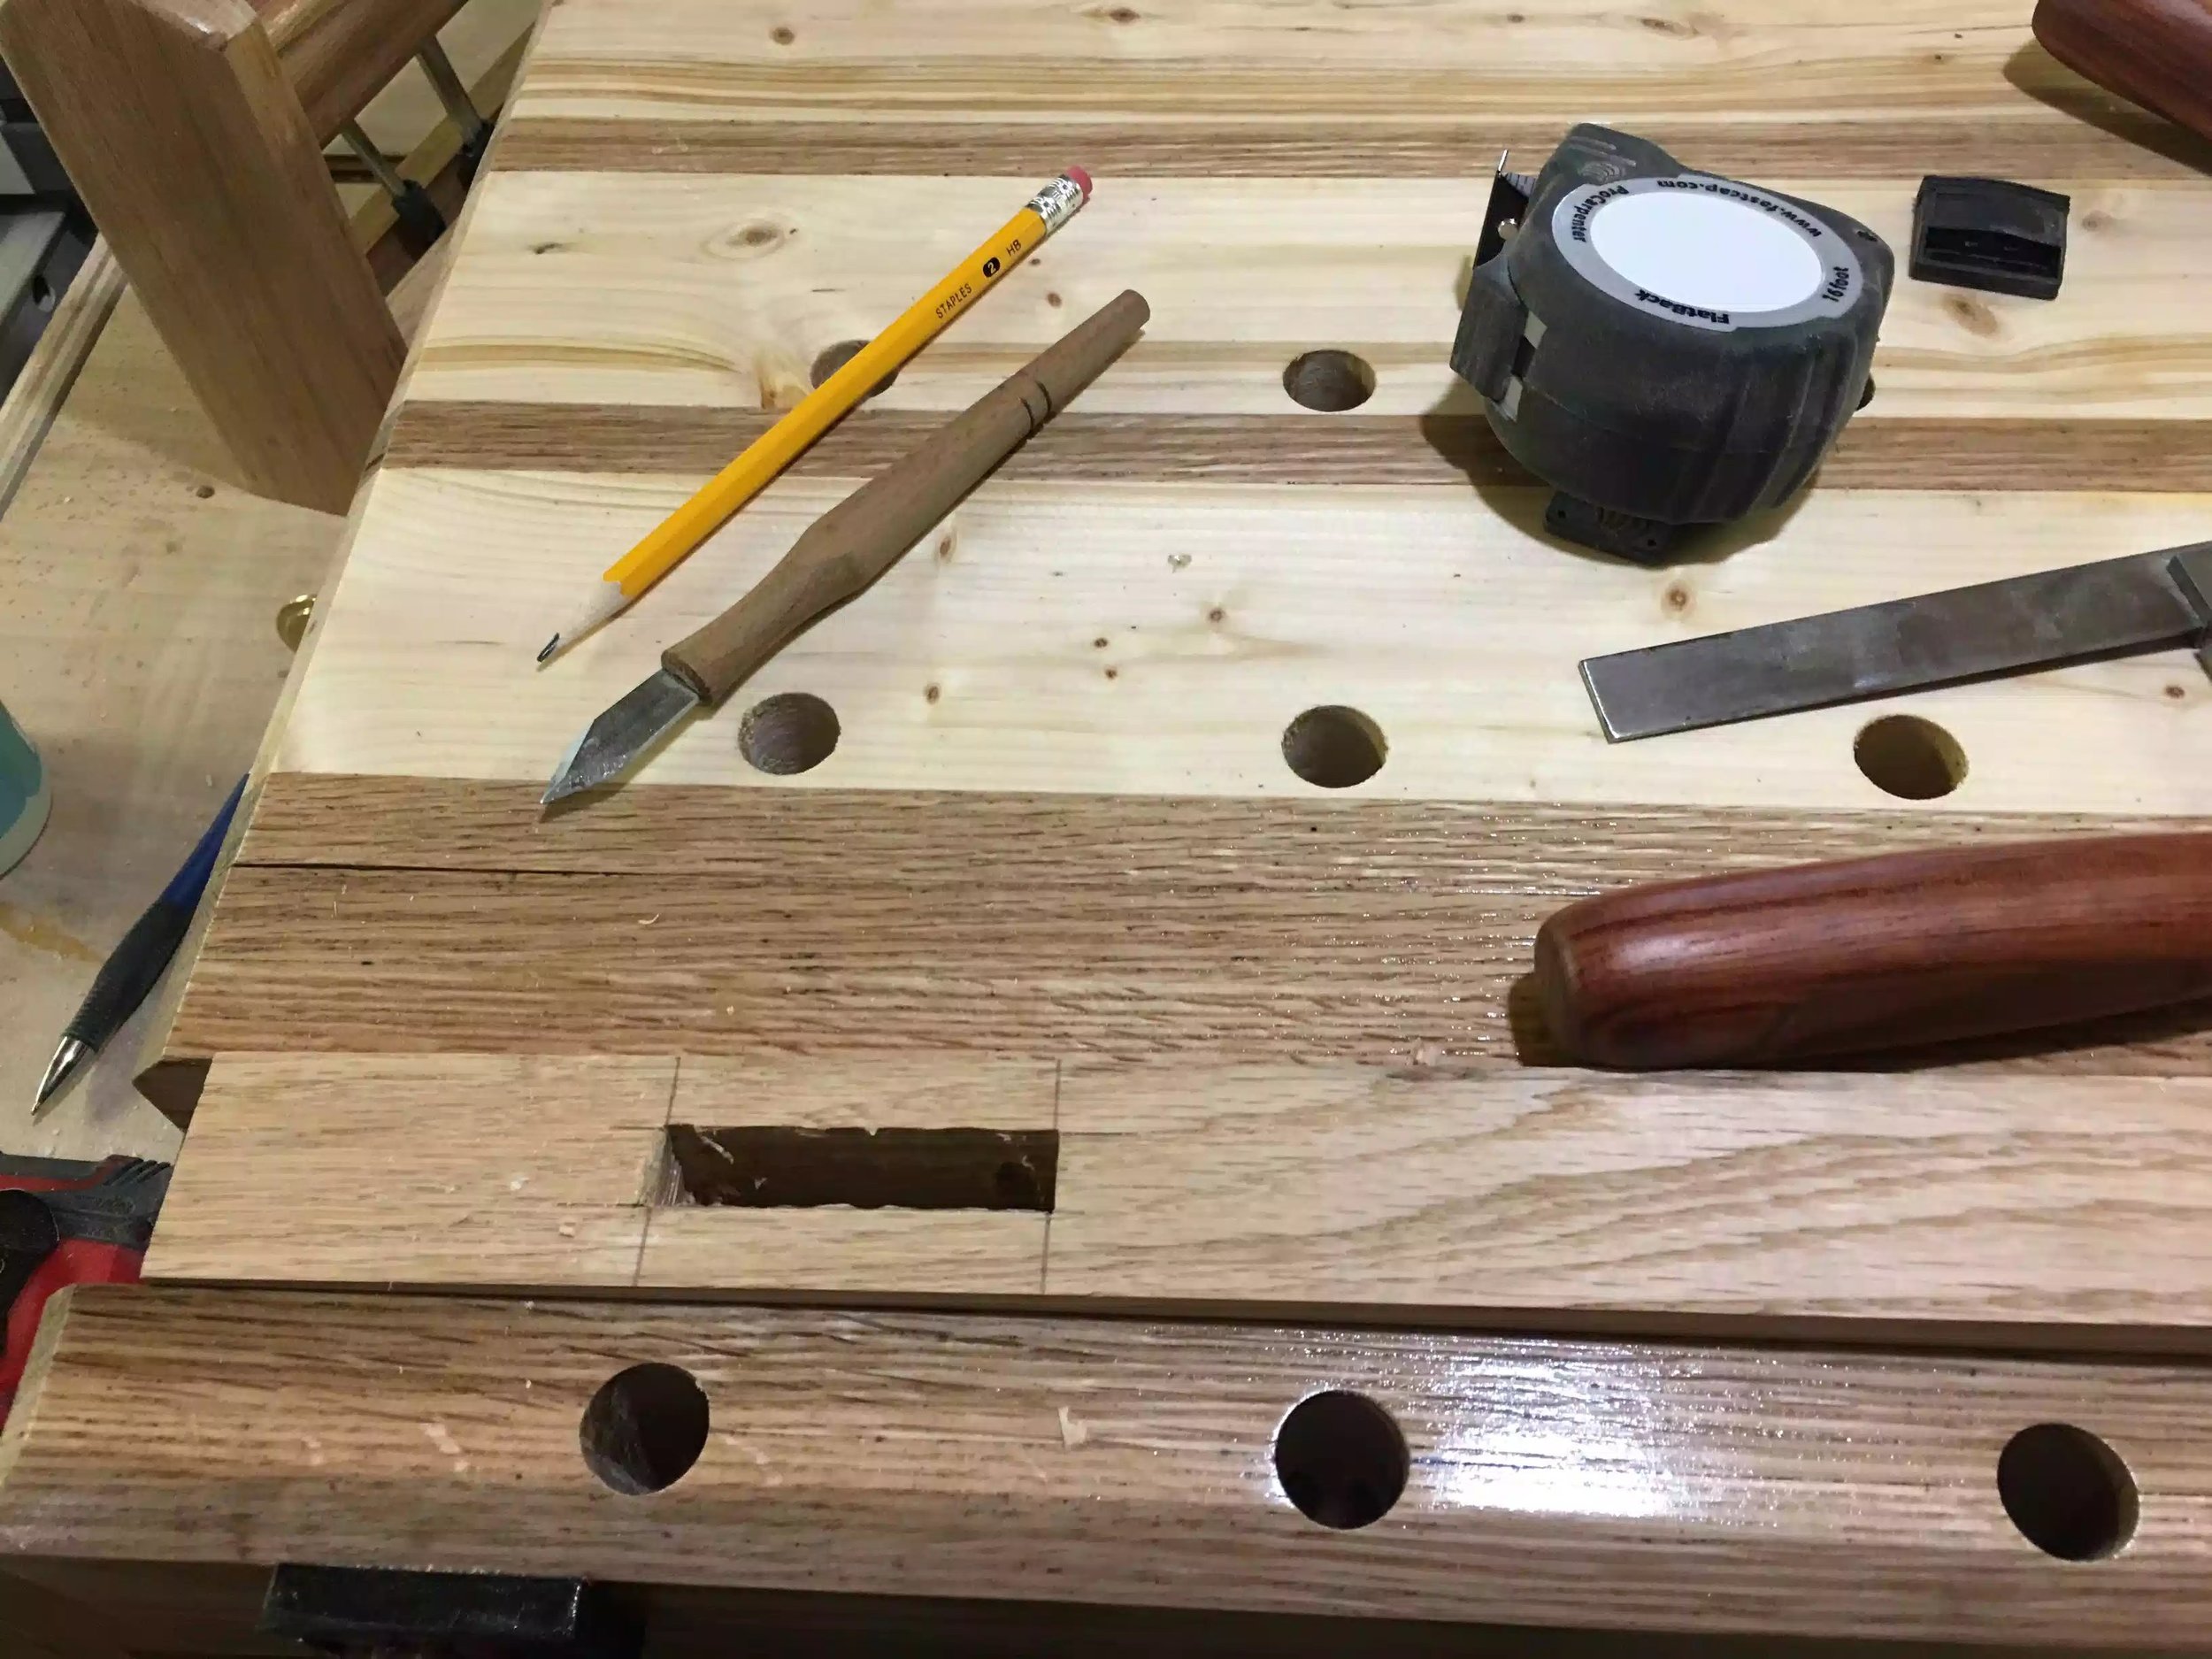
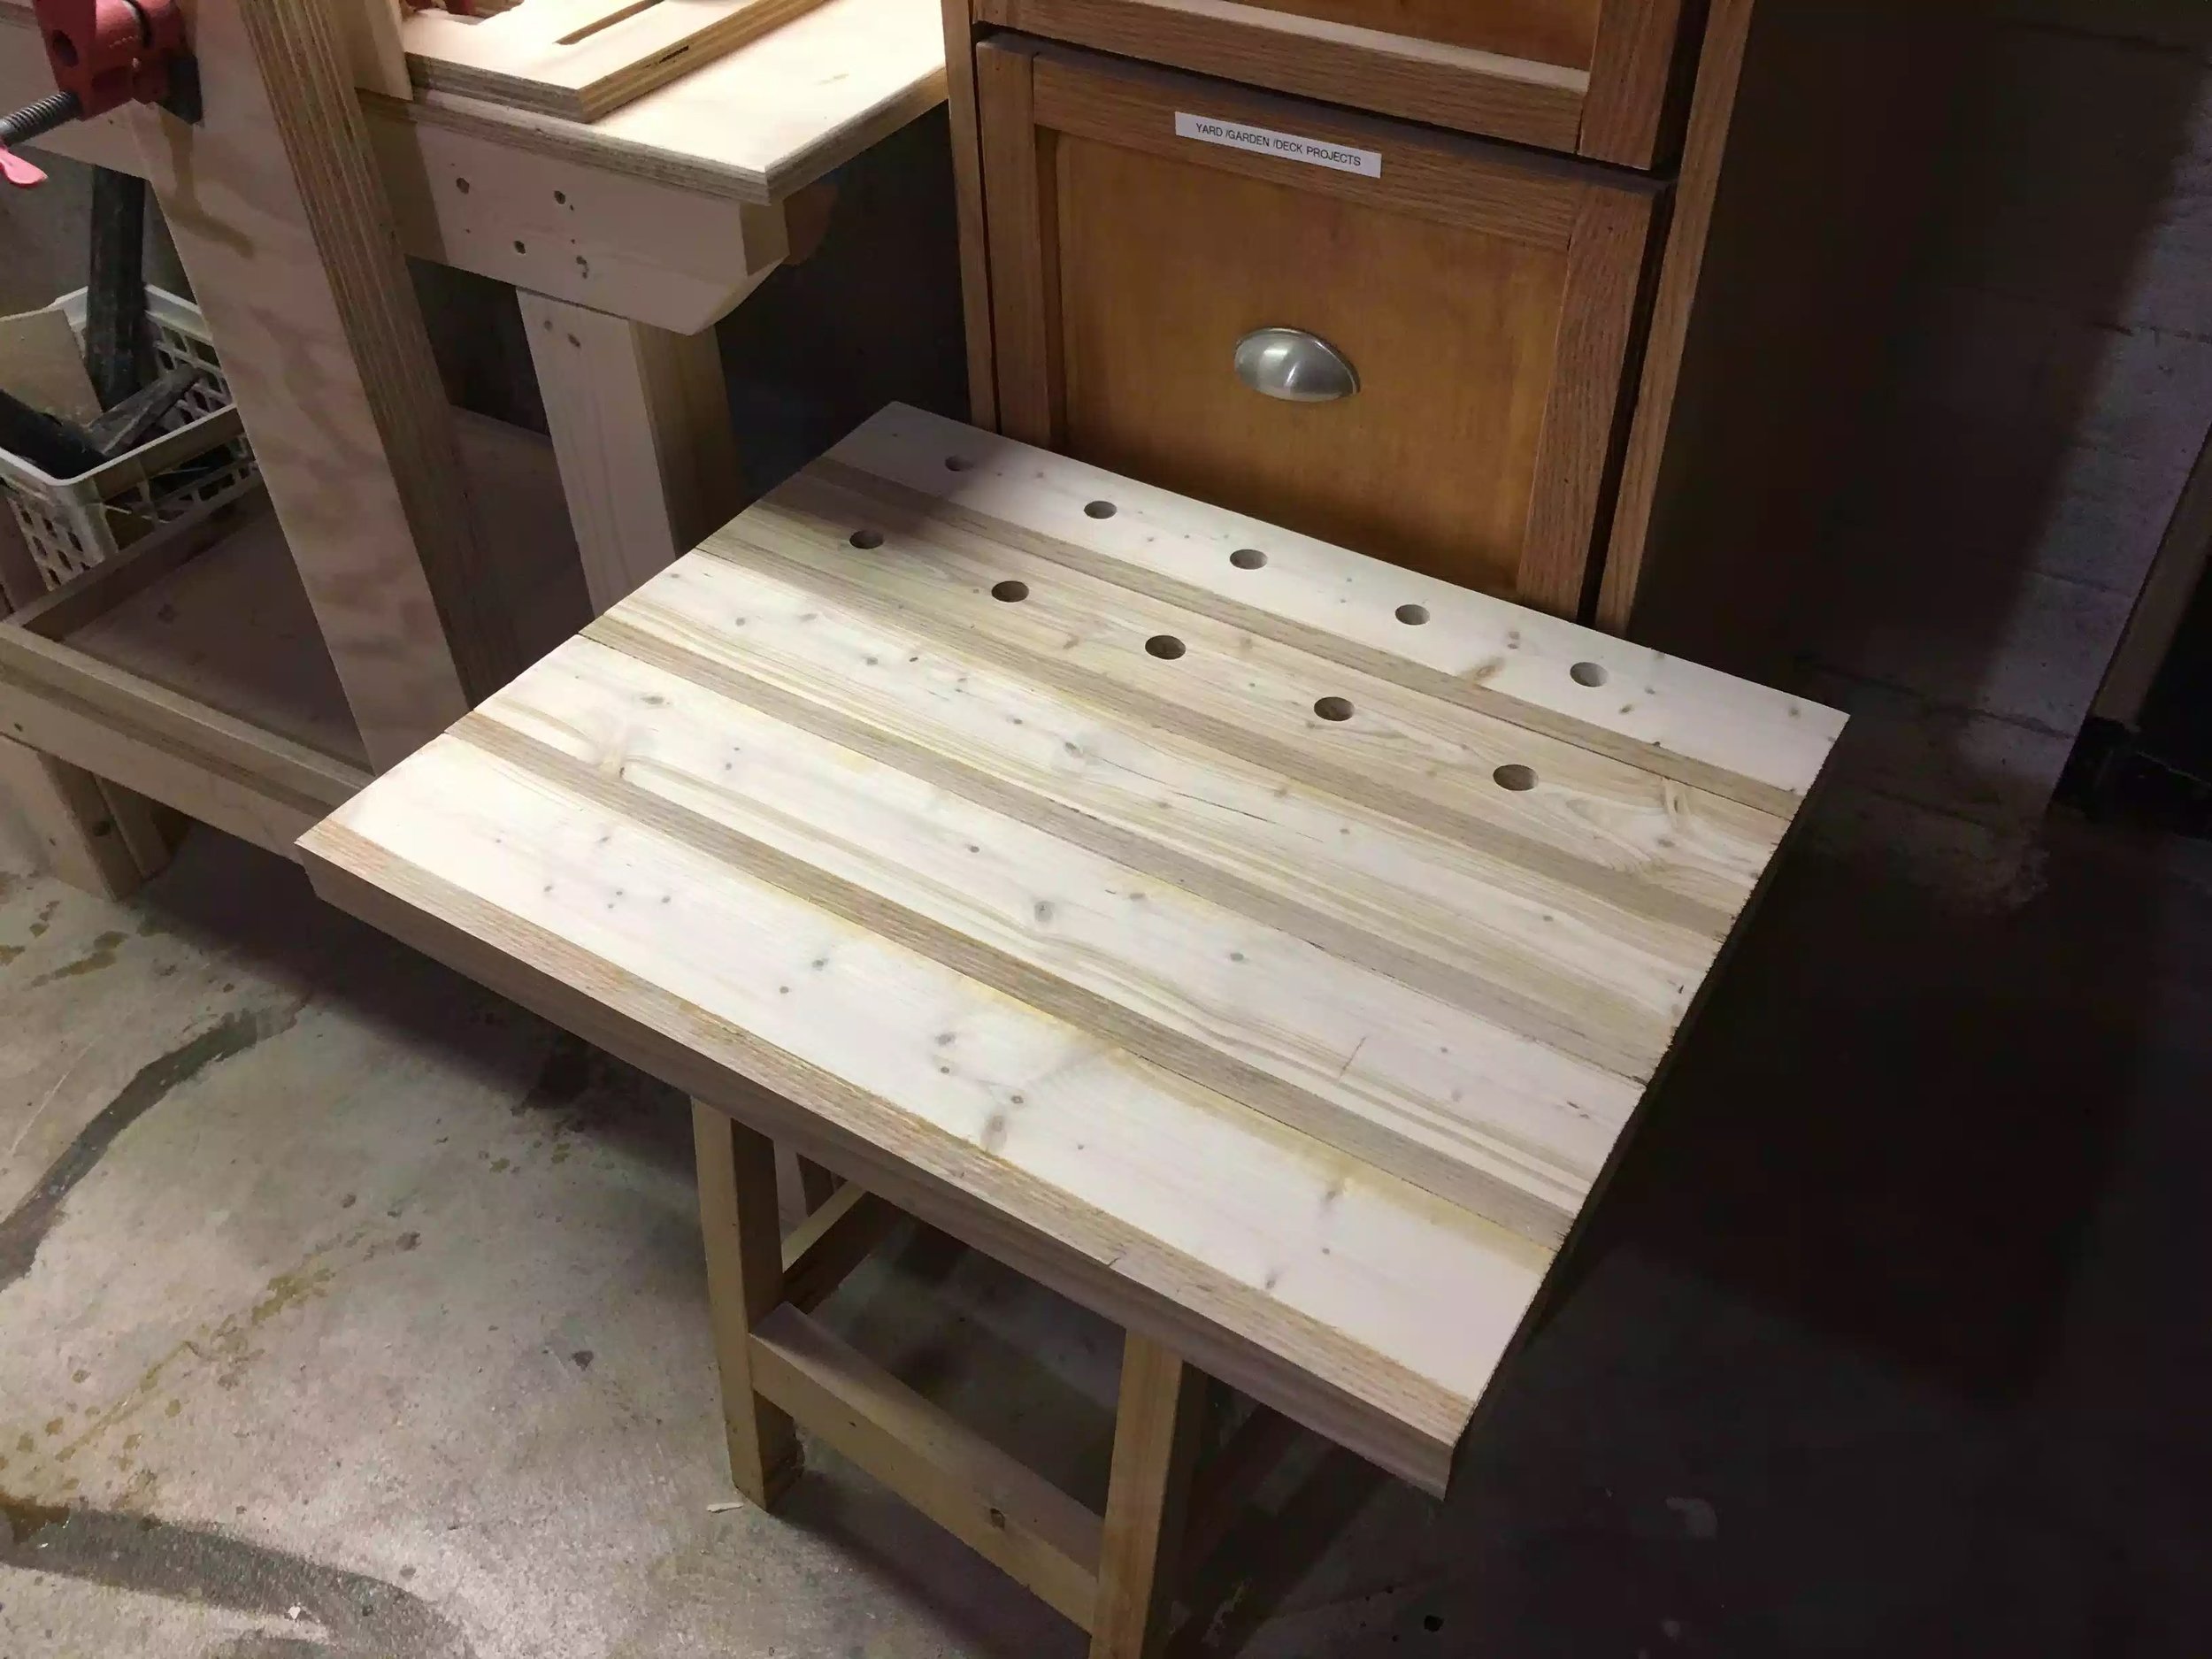
BENCHTOP BENCH
(01/2018)
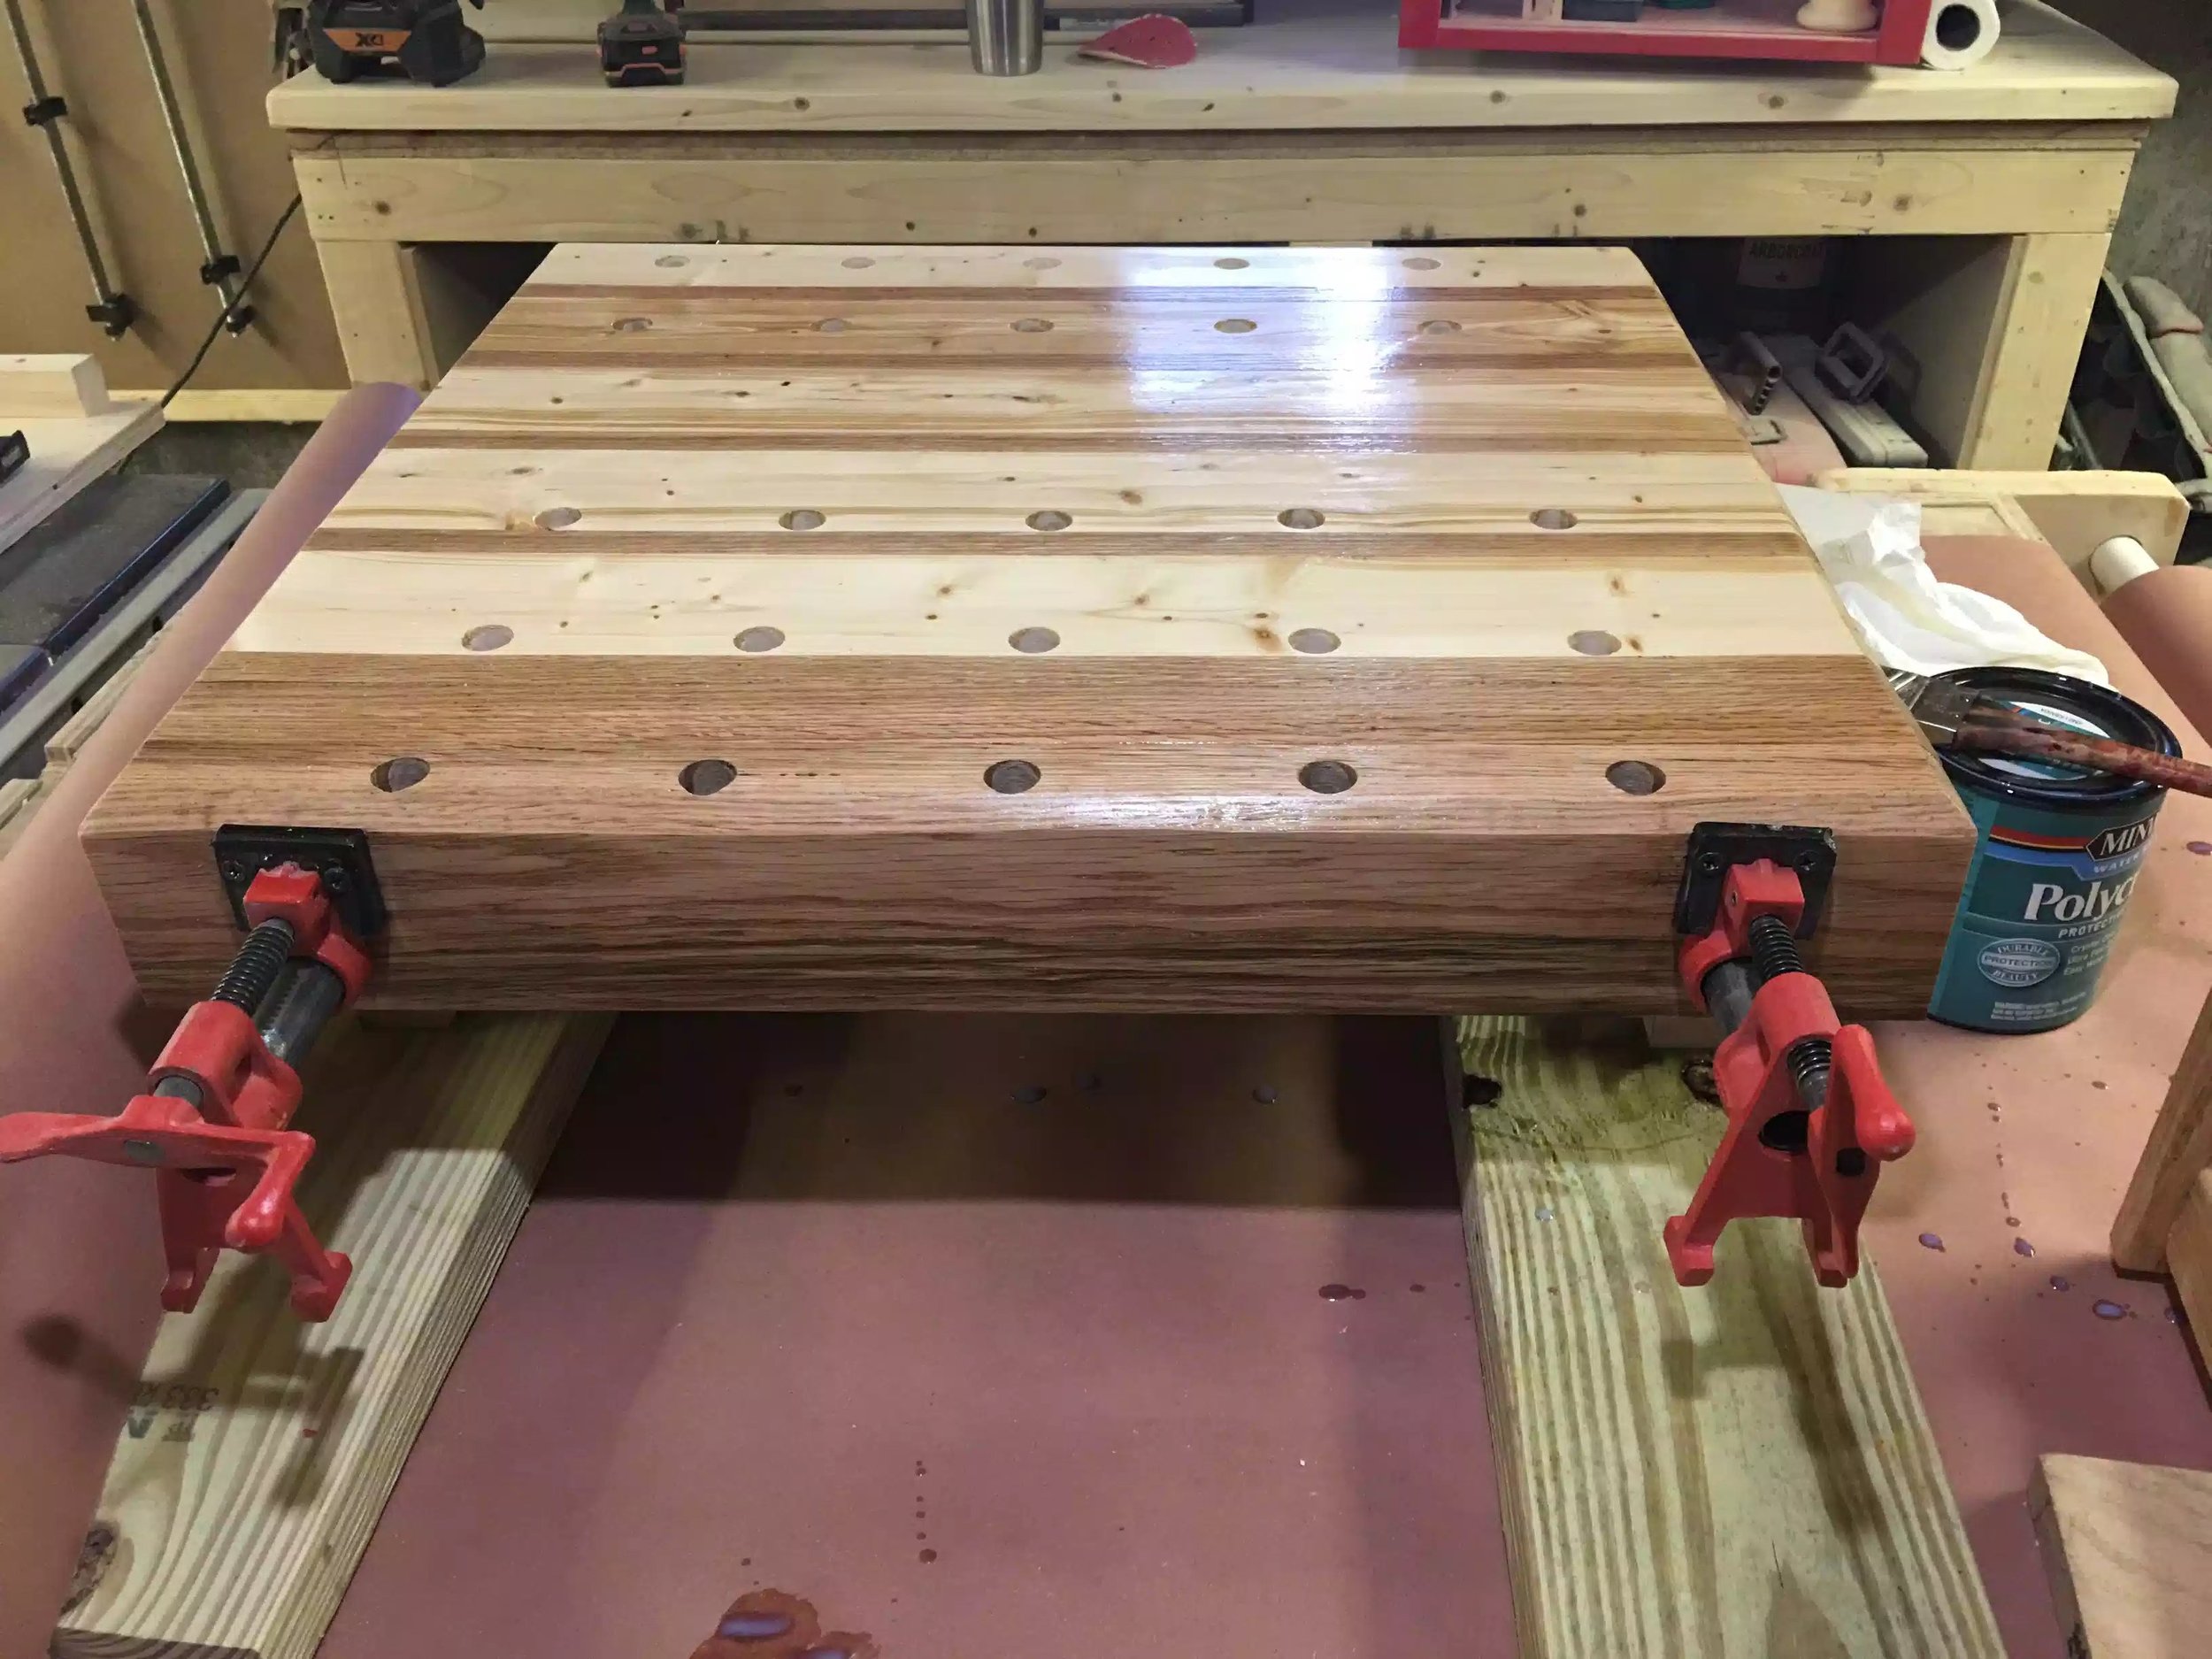

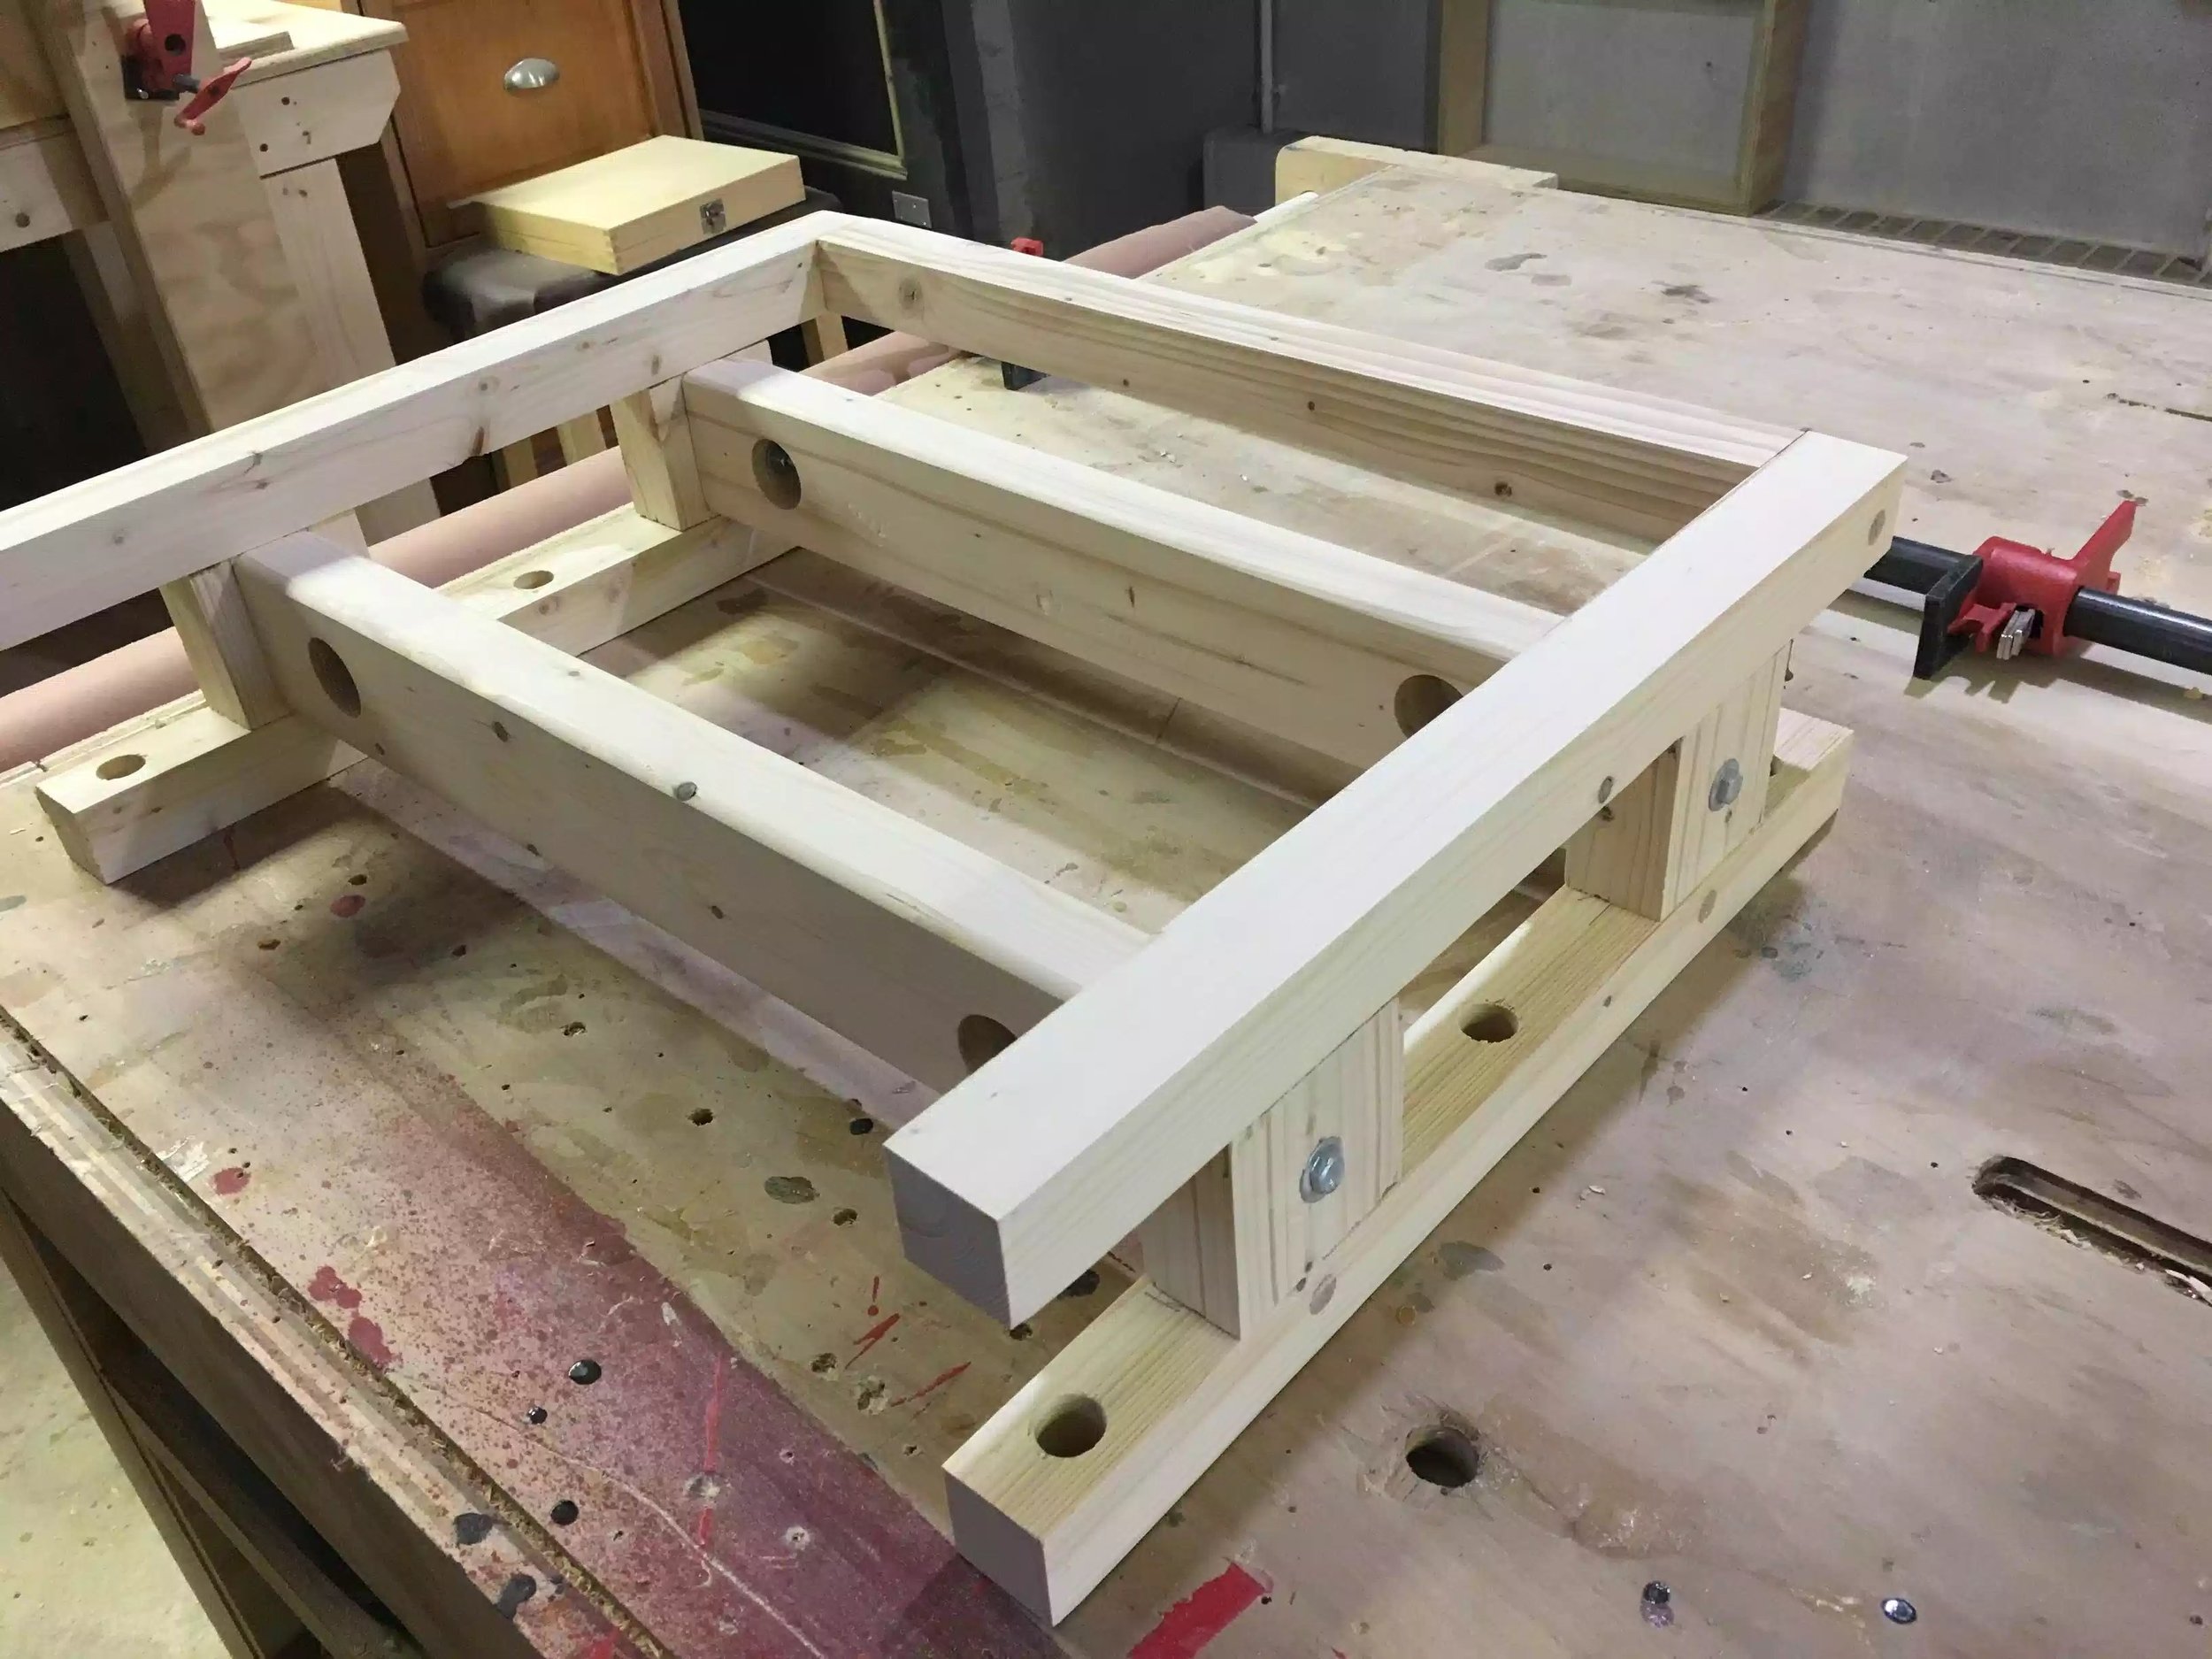


I need a traditional woodworking bench with all the bells and whistles but cant afford it at this moment in time perhaps the lottery can help out at some point in the near future. LOL
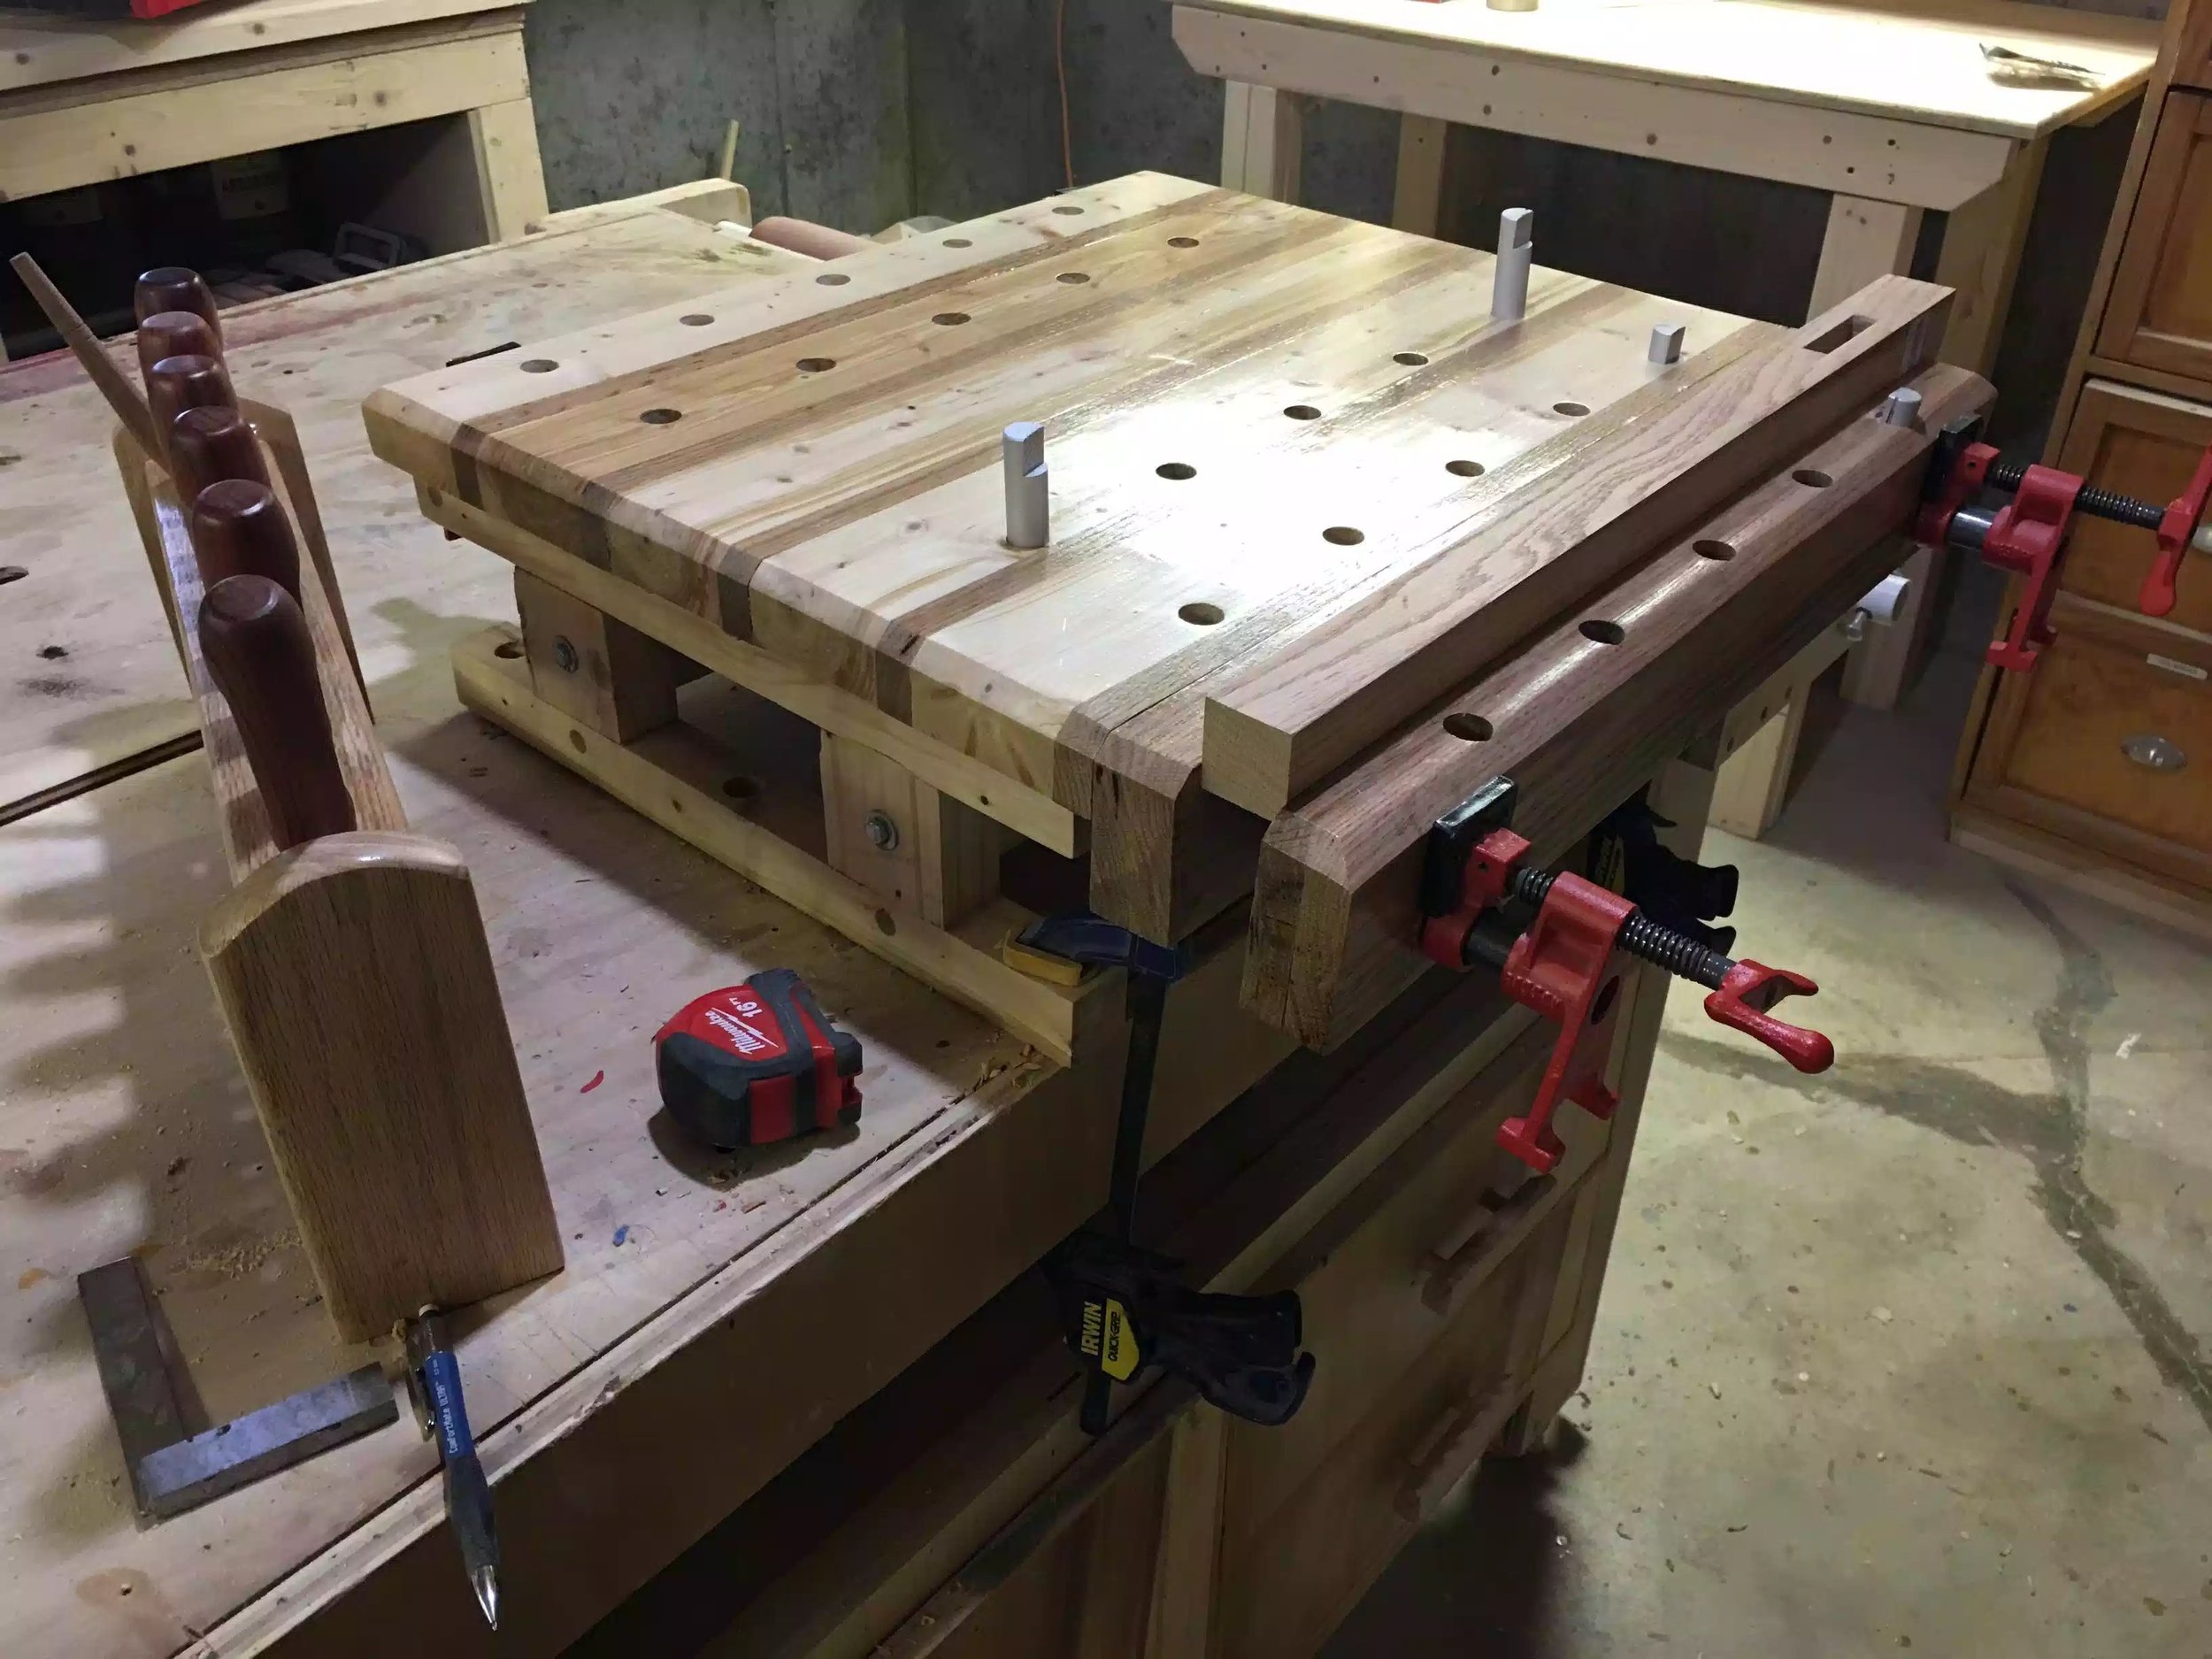
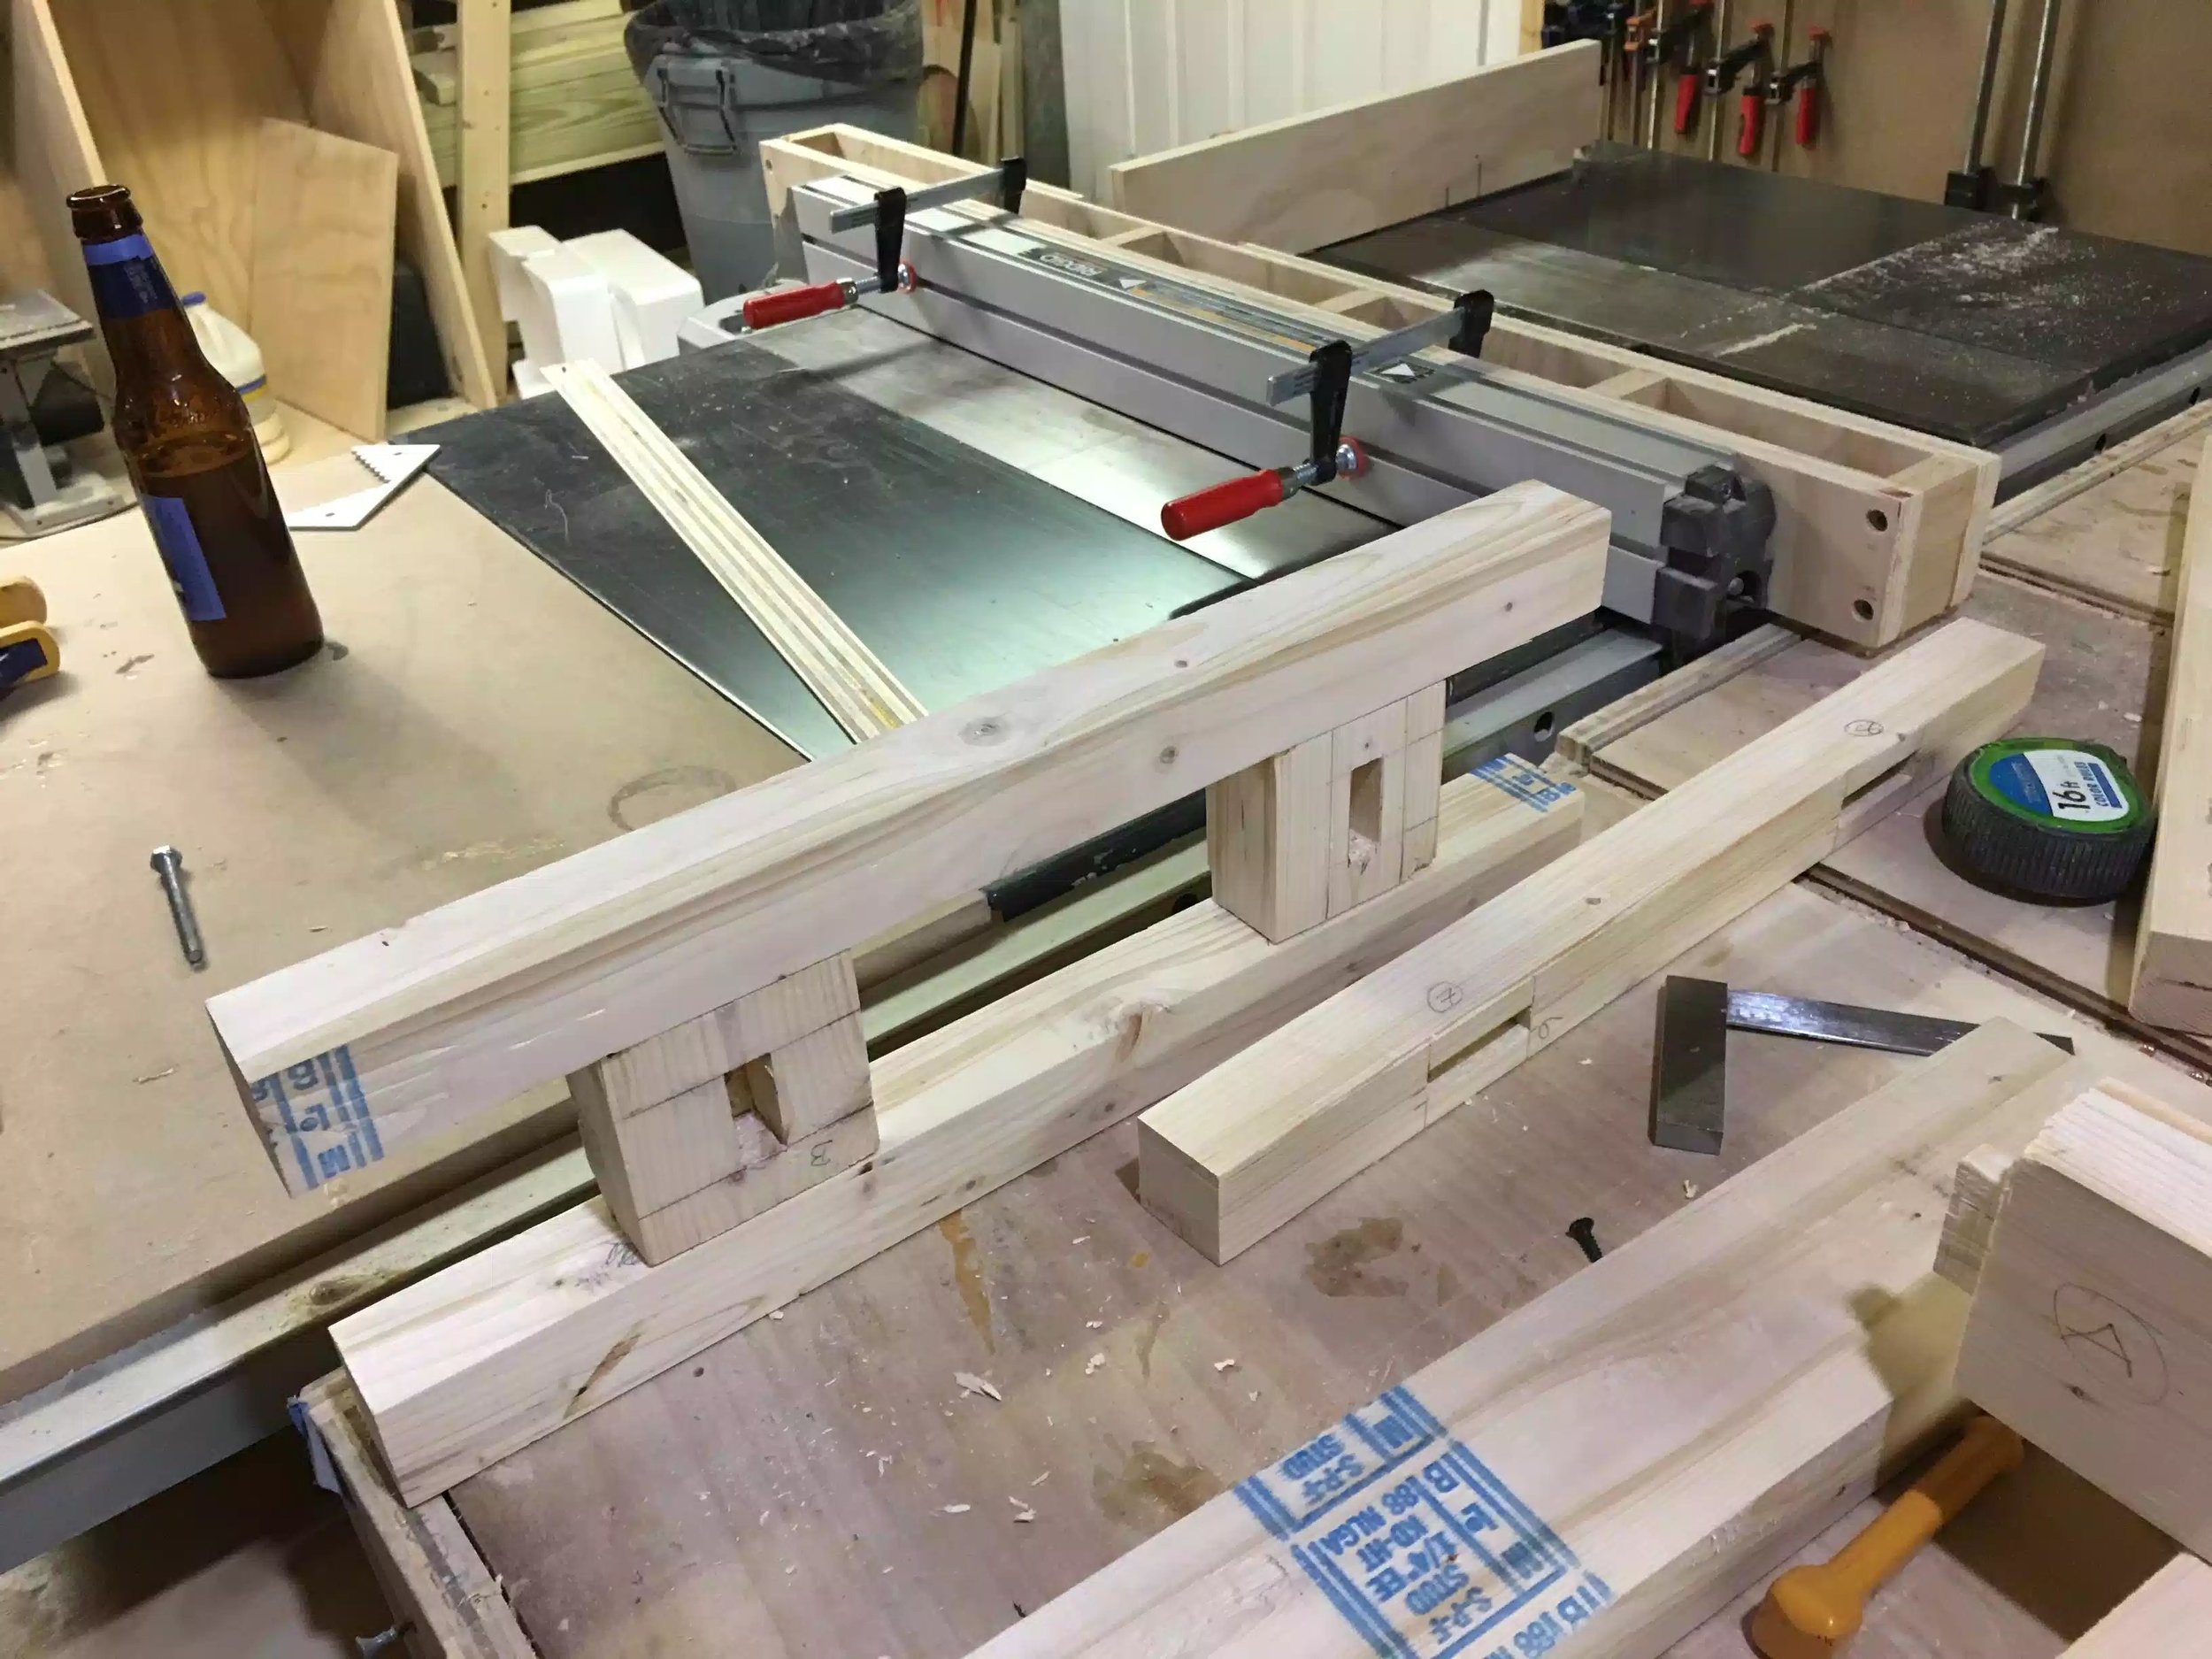
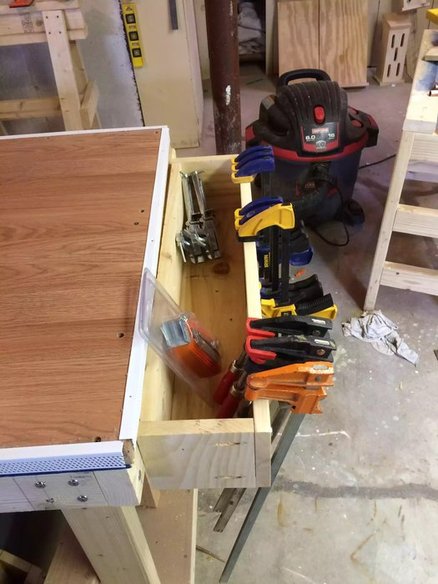
What I do need is a clamping solution other than the Jay Bates inspired Moxon Vise that I made a little while ago, I need to be able to work on all faces of a work piece, so after seeing a Sjoberg Smart bench in Woodcraft I got to thinking of building my own since I didnt see alot of good reviews for the Smart Bench and it was kind of small and it cost like $150.
I went internet hunting for some inspiration and building a bench-top bench using veneer press clamps for the vise.. I didn’t have these clamps so I used the pipe clamps
This bench is awesome and so far love using it, I didn’t have a huge budget for it maybe $80.00 therefore couldn’t make the whole project out of hard maple with a contrasting hardwood, so I decided to build it using 2×4’s Kiln dried of course and I could use solid oak which I happened to have on hand . needed to buy some more.
MY FIRST WORKBENCH
(01/2015)
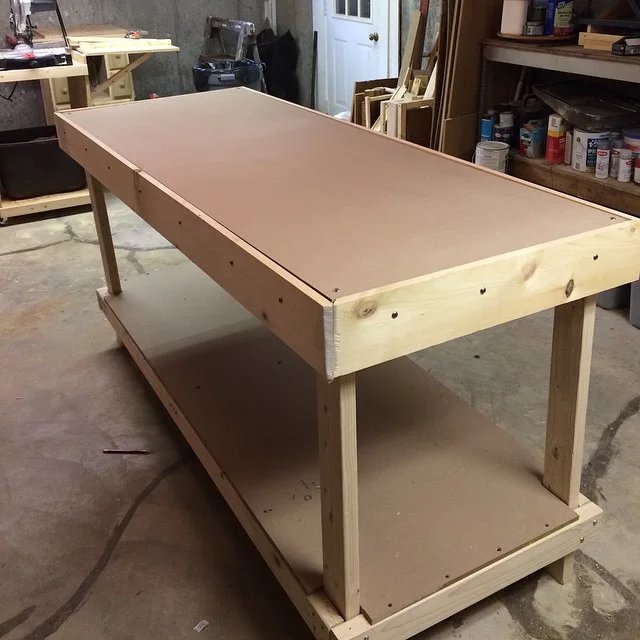
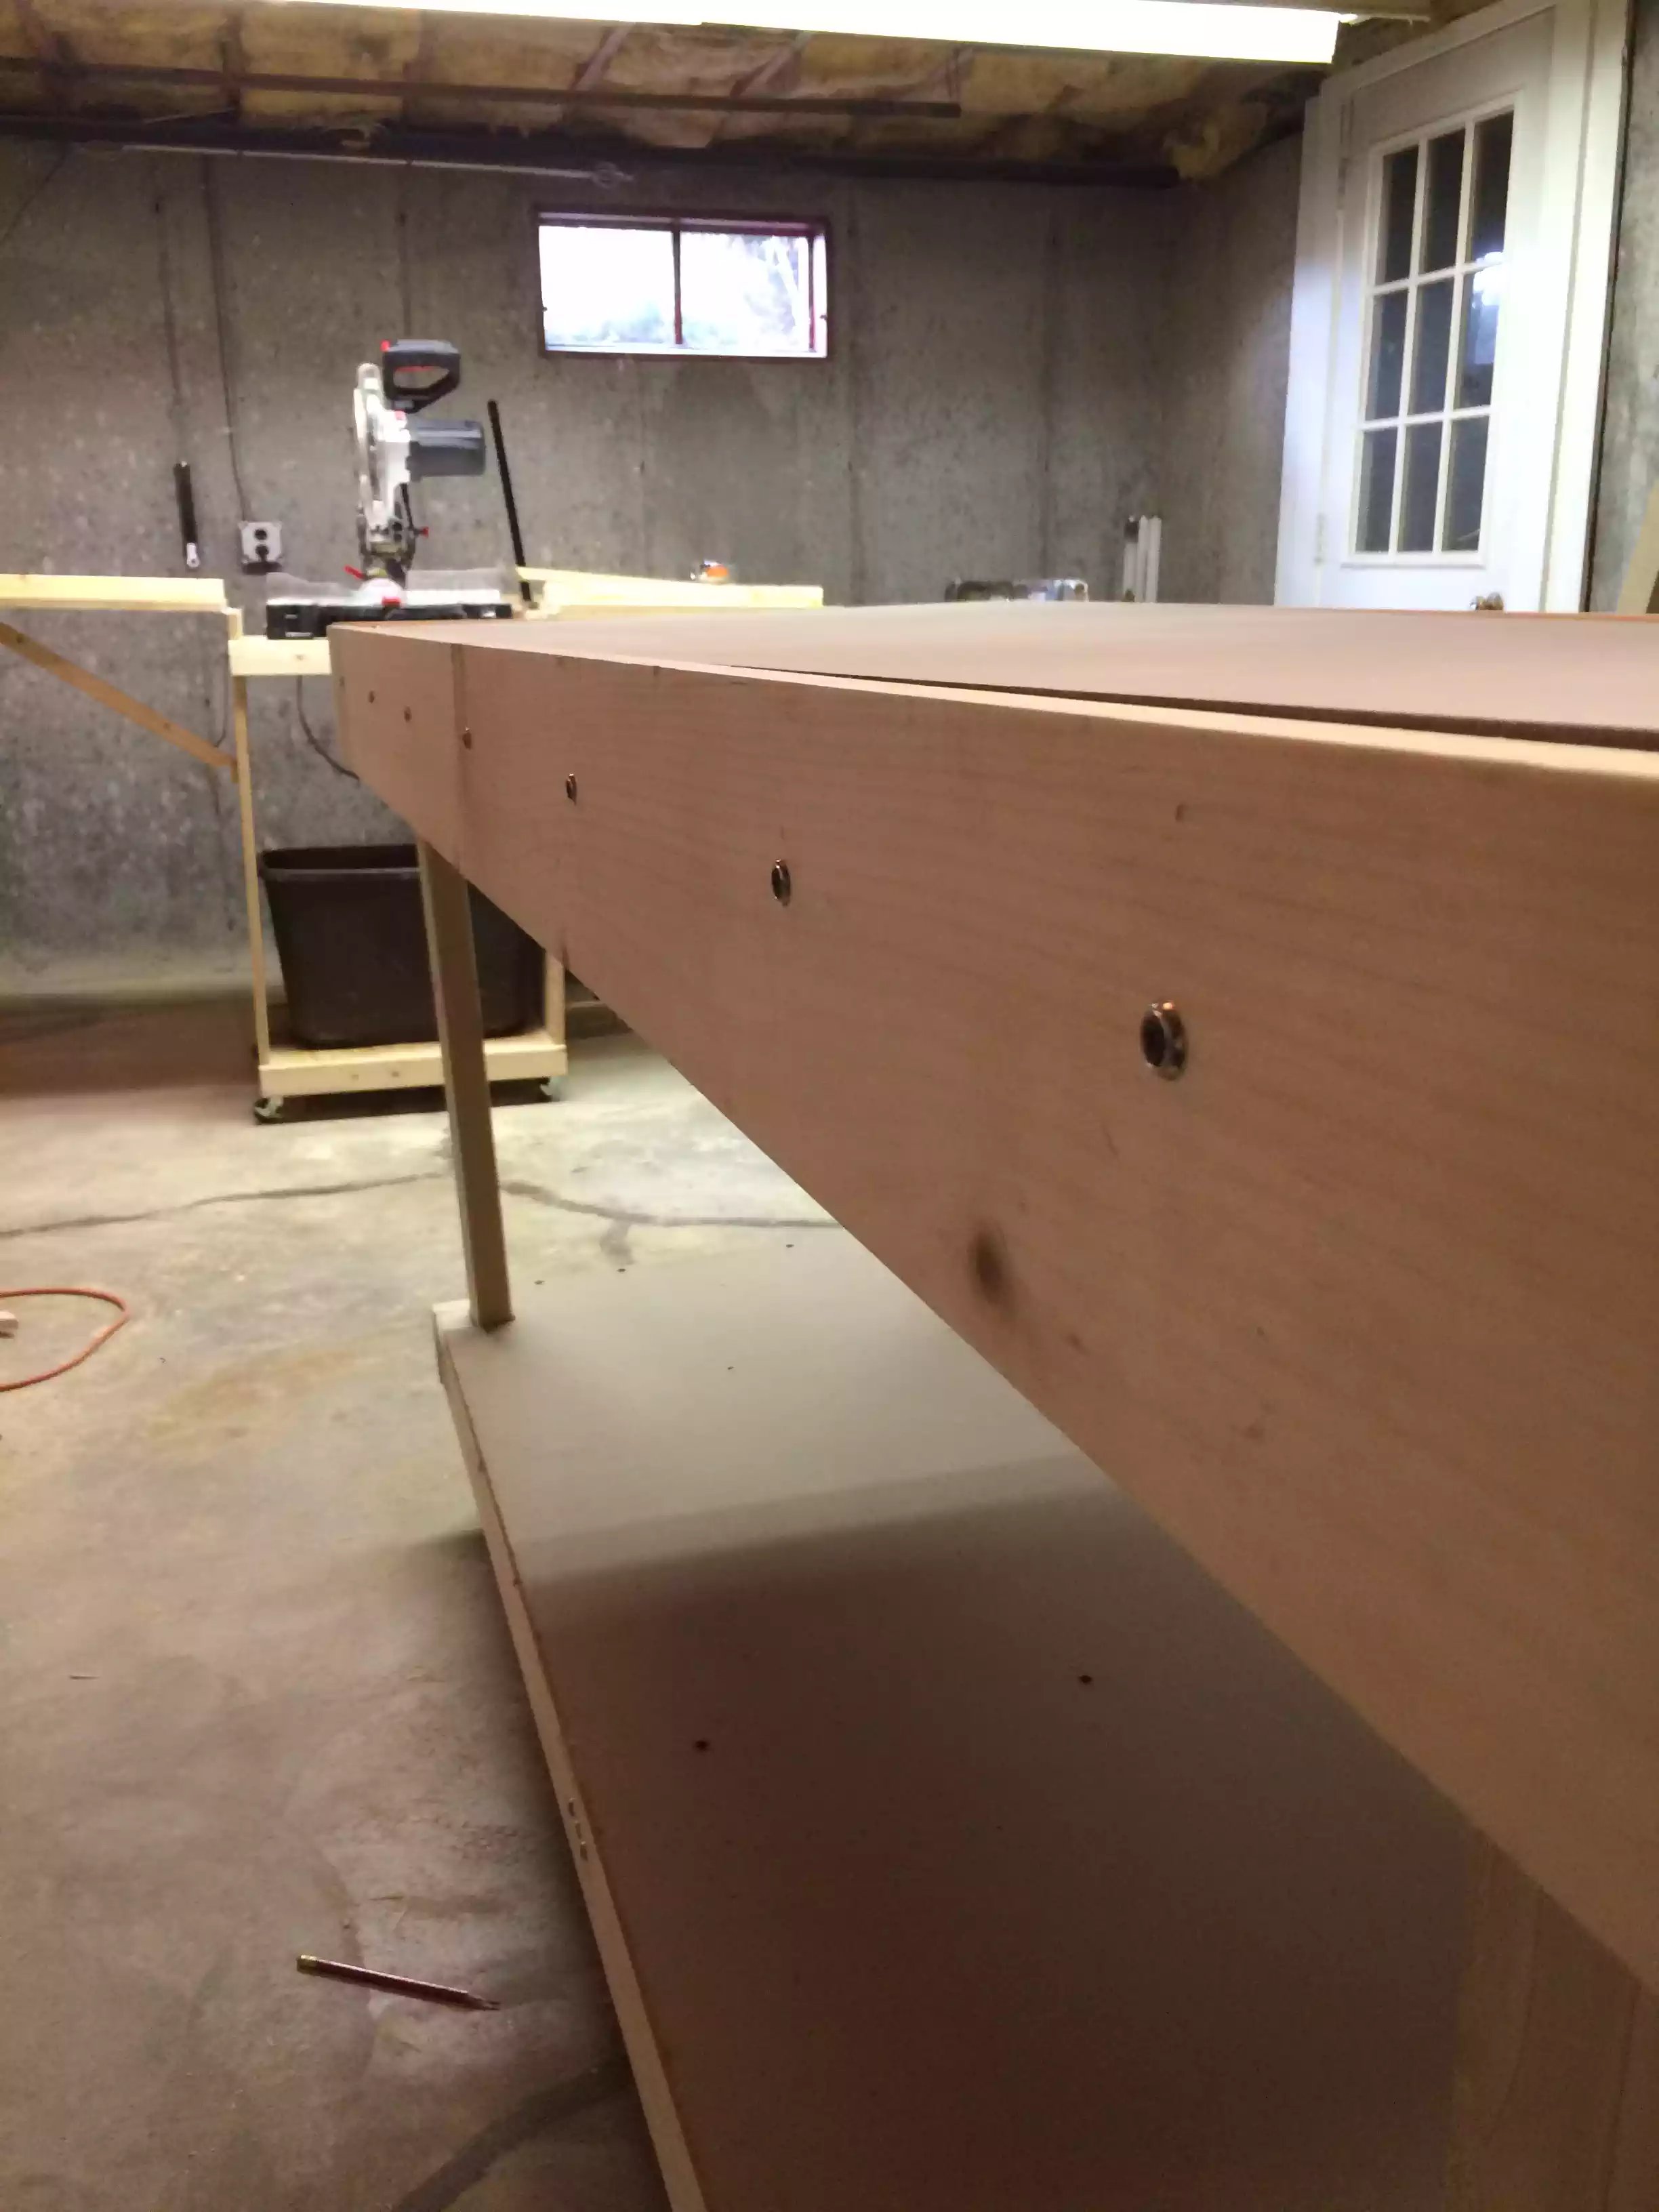
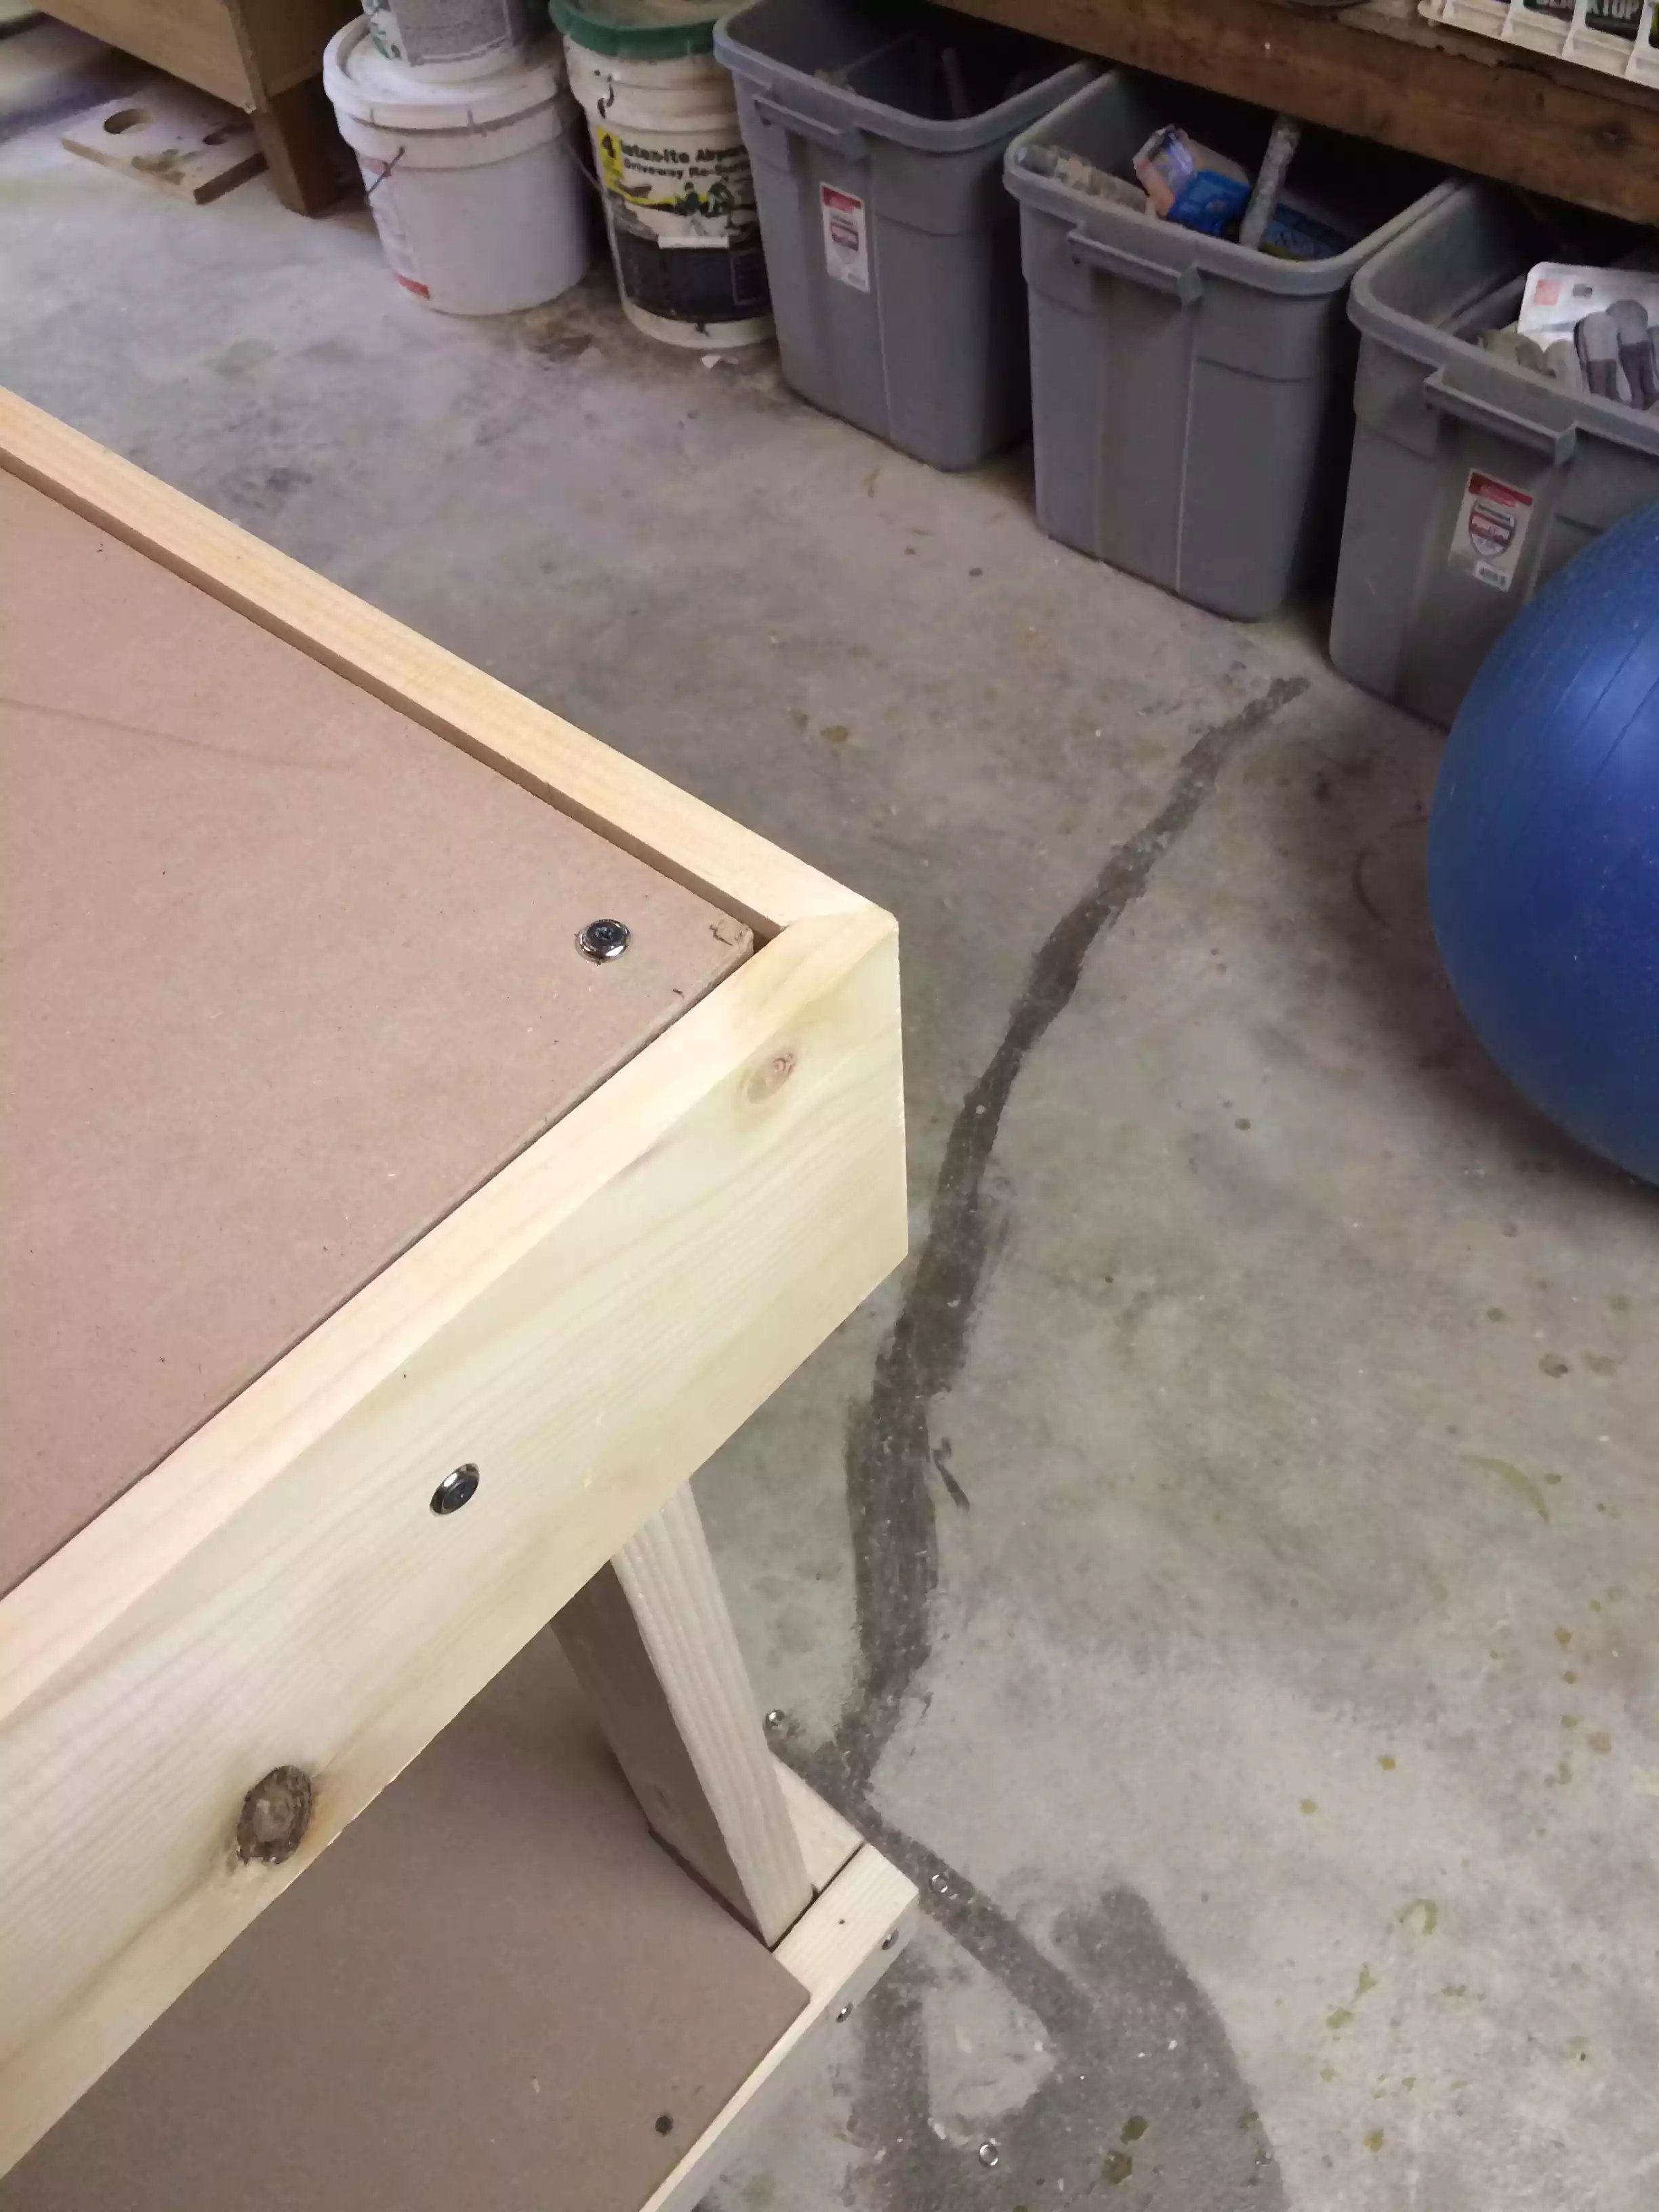

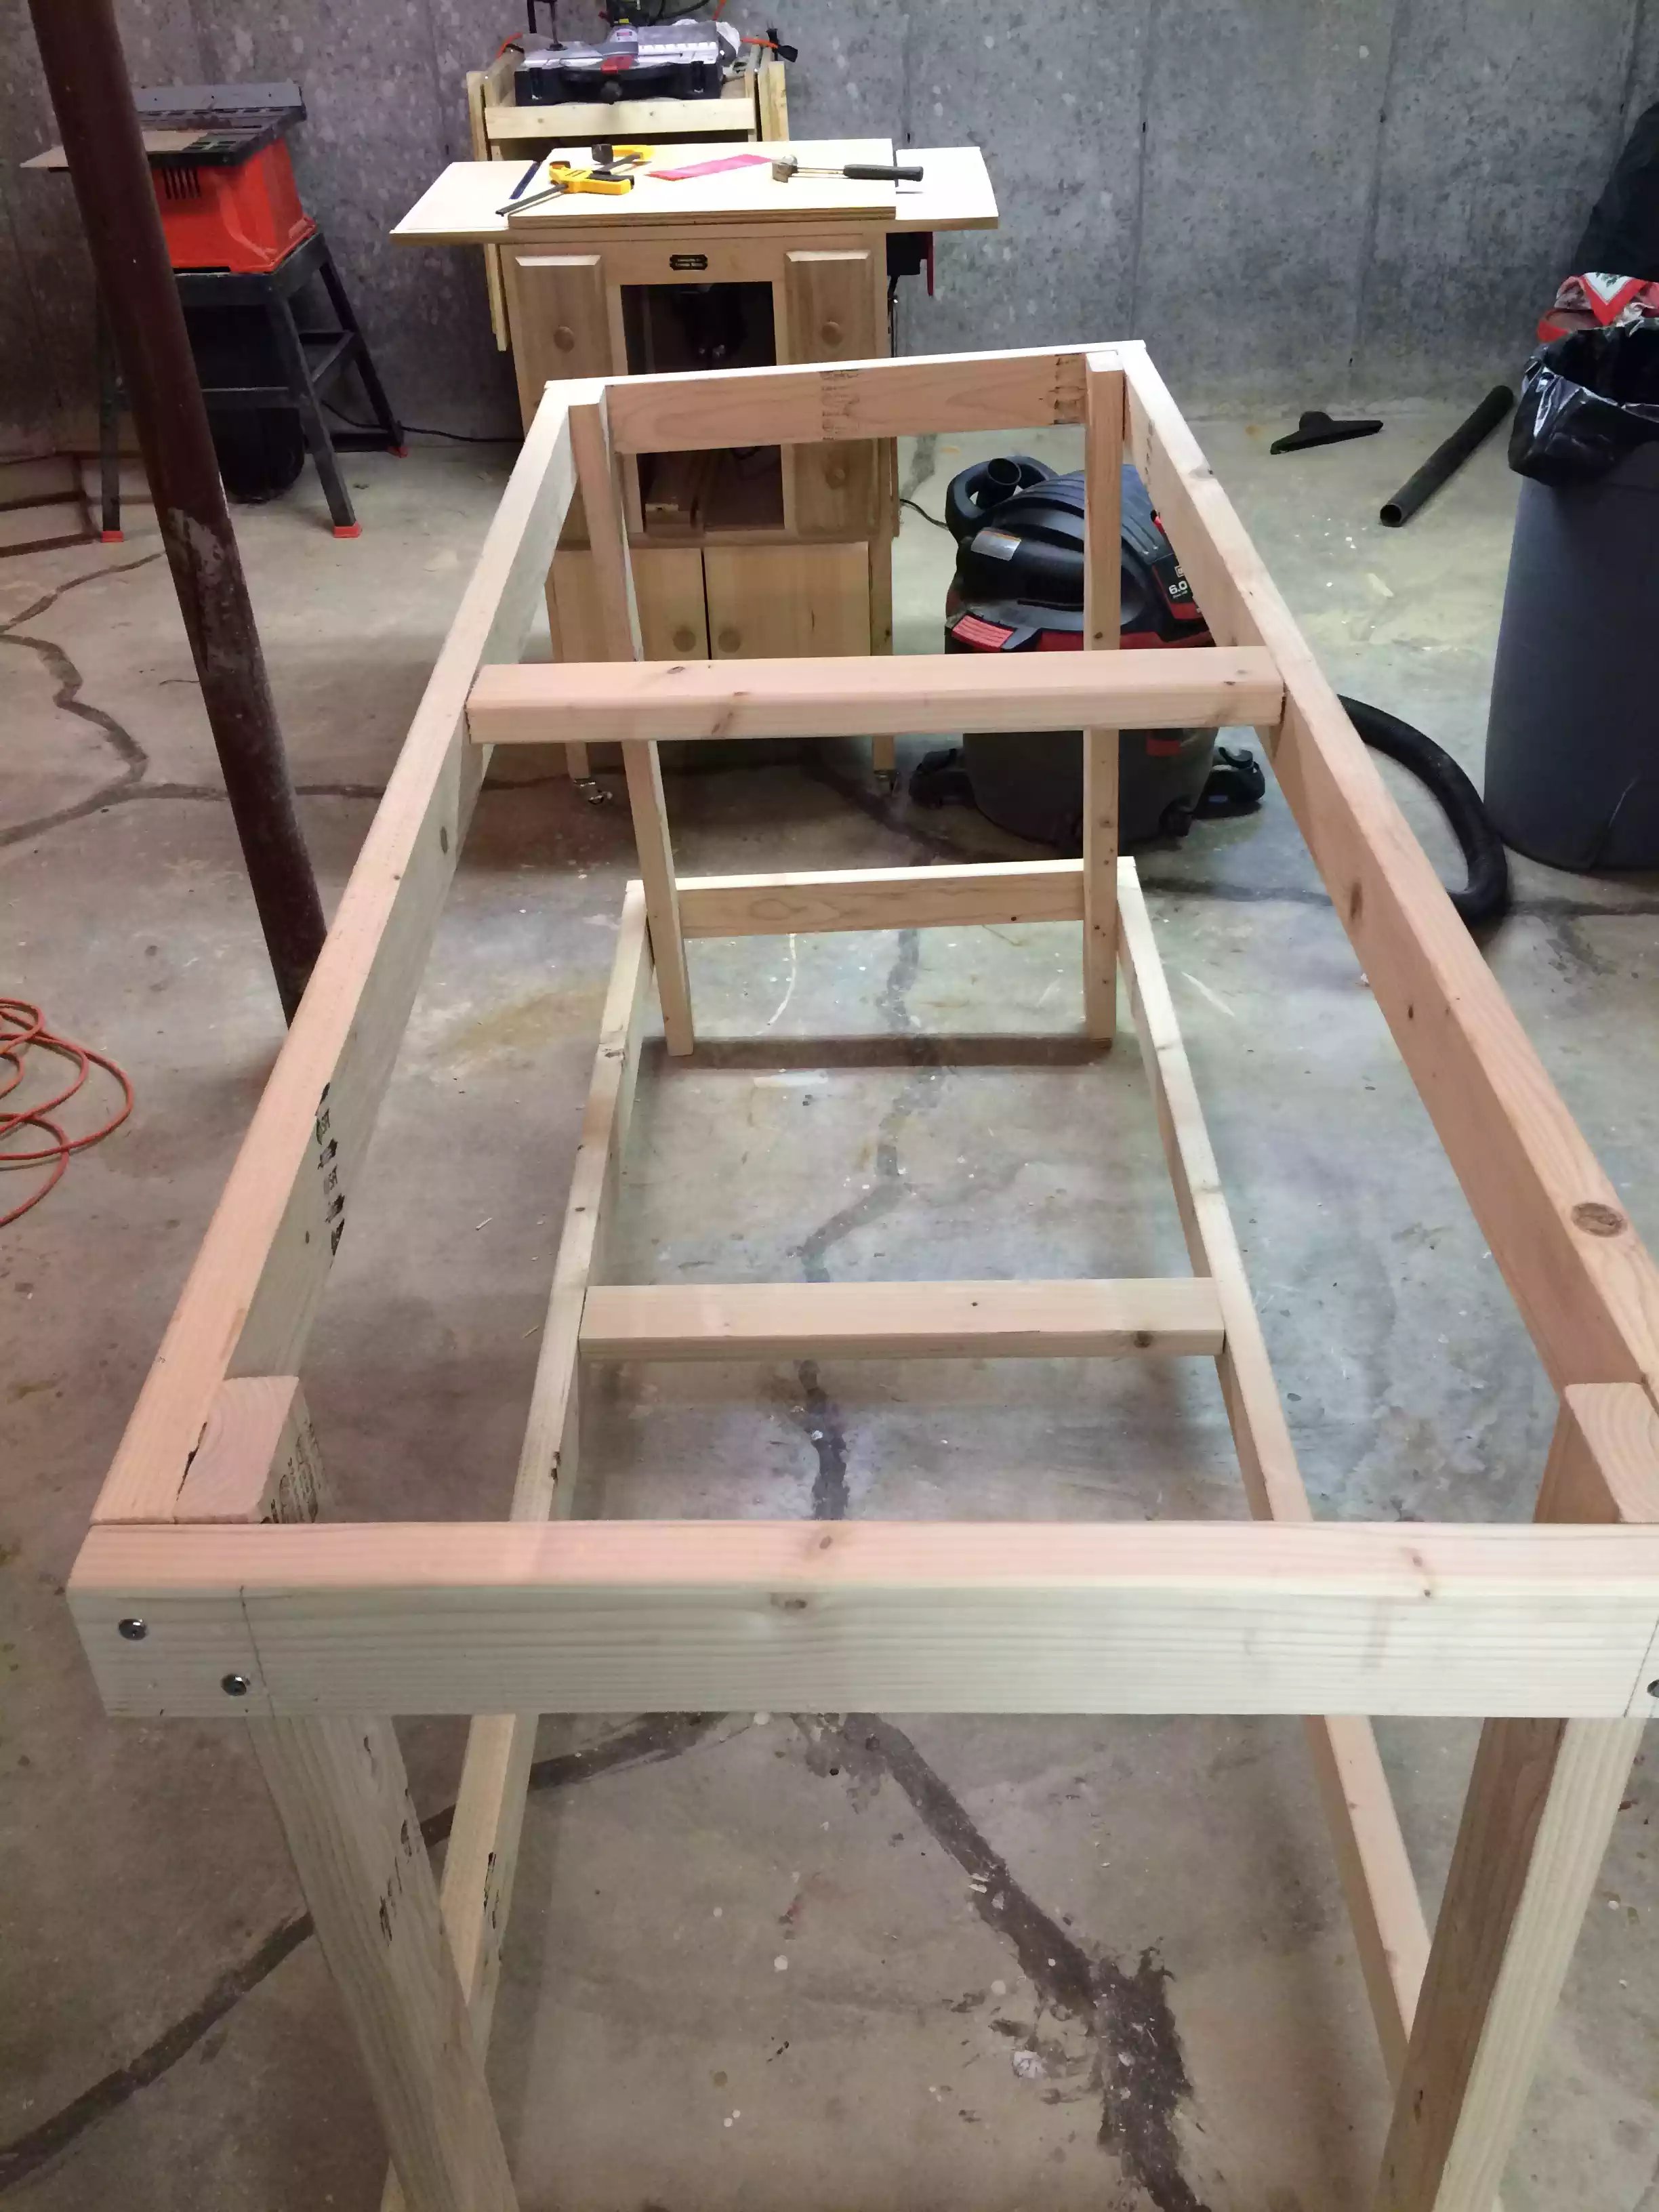
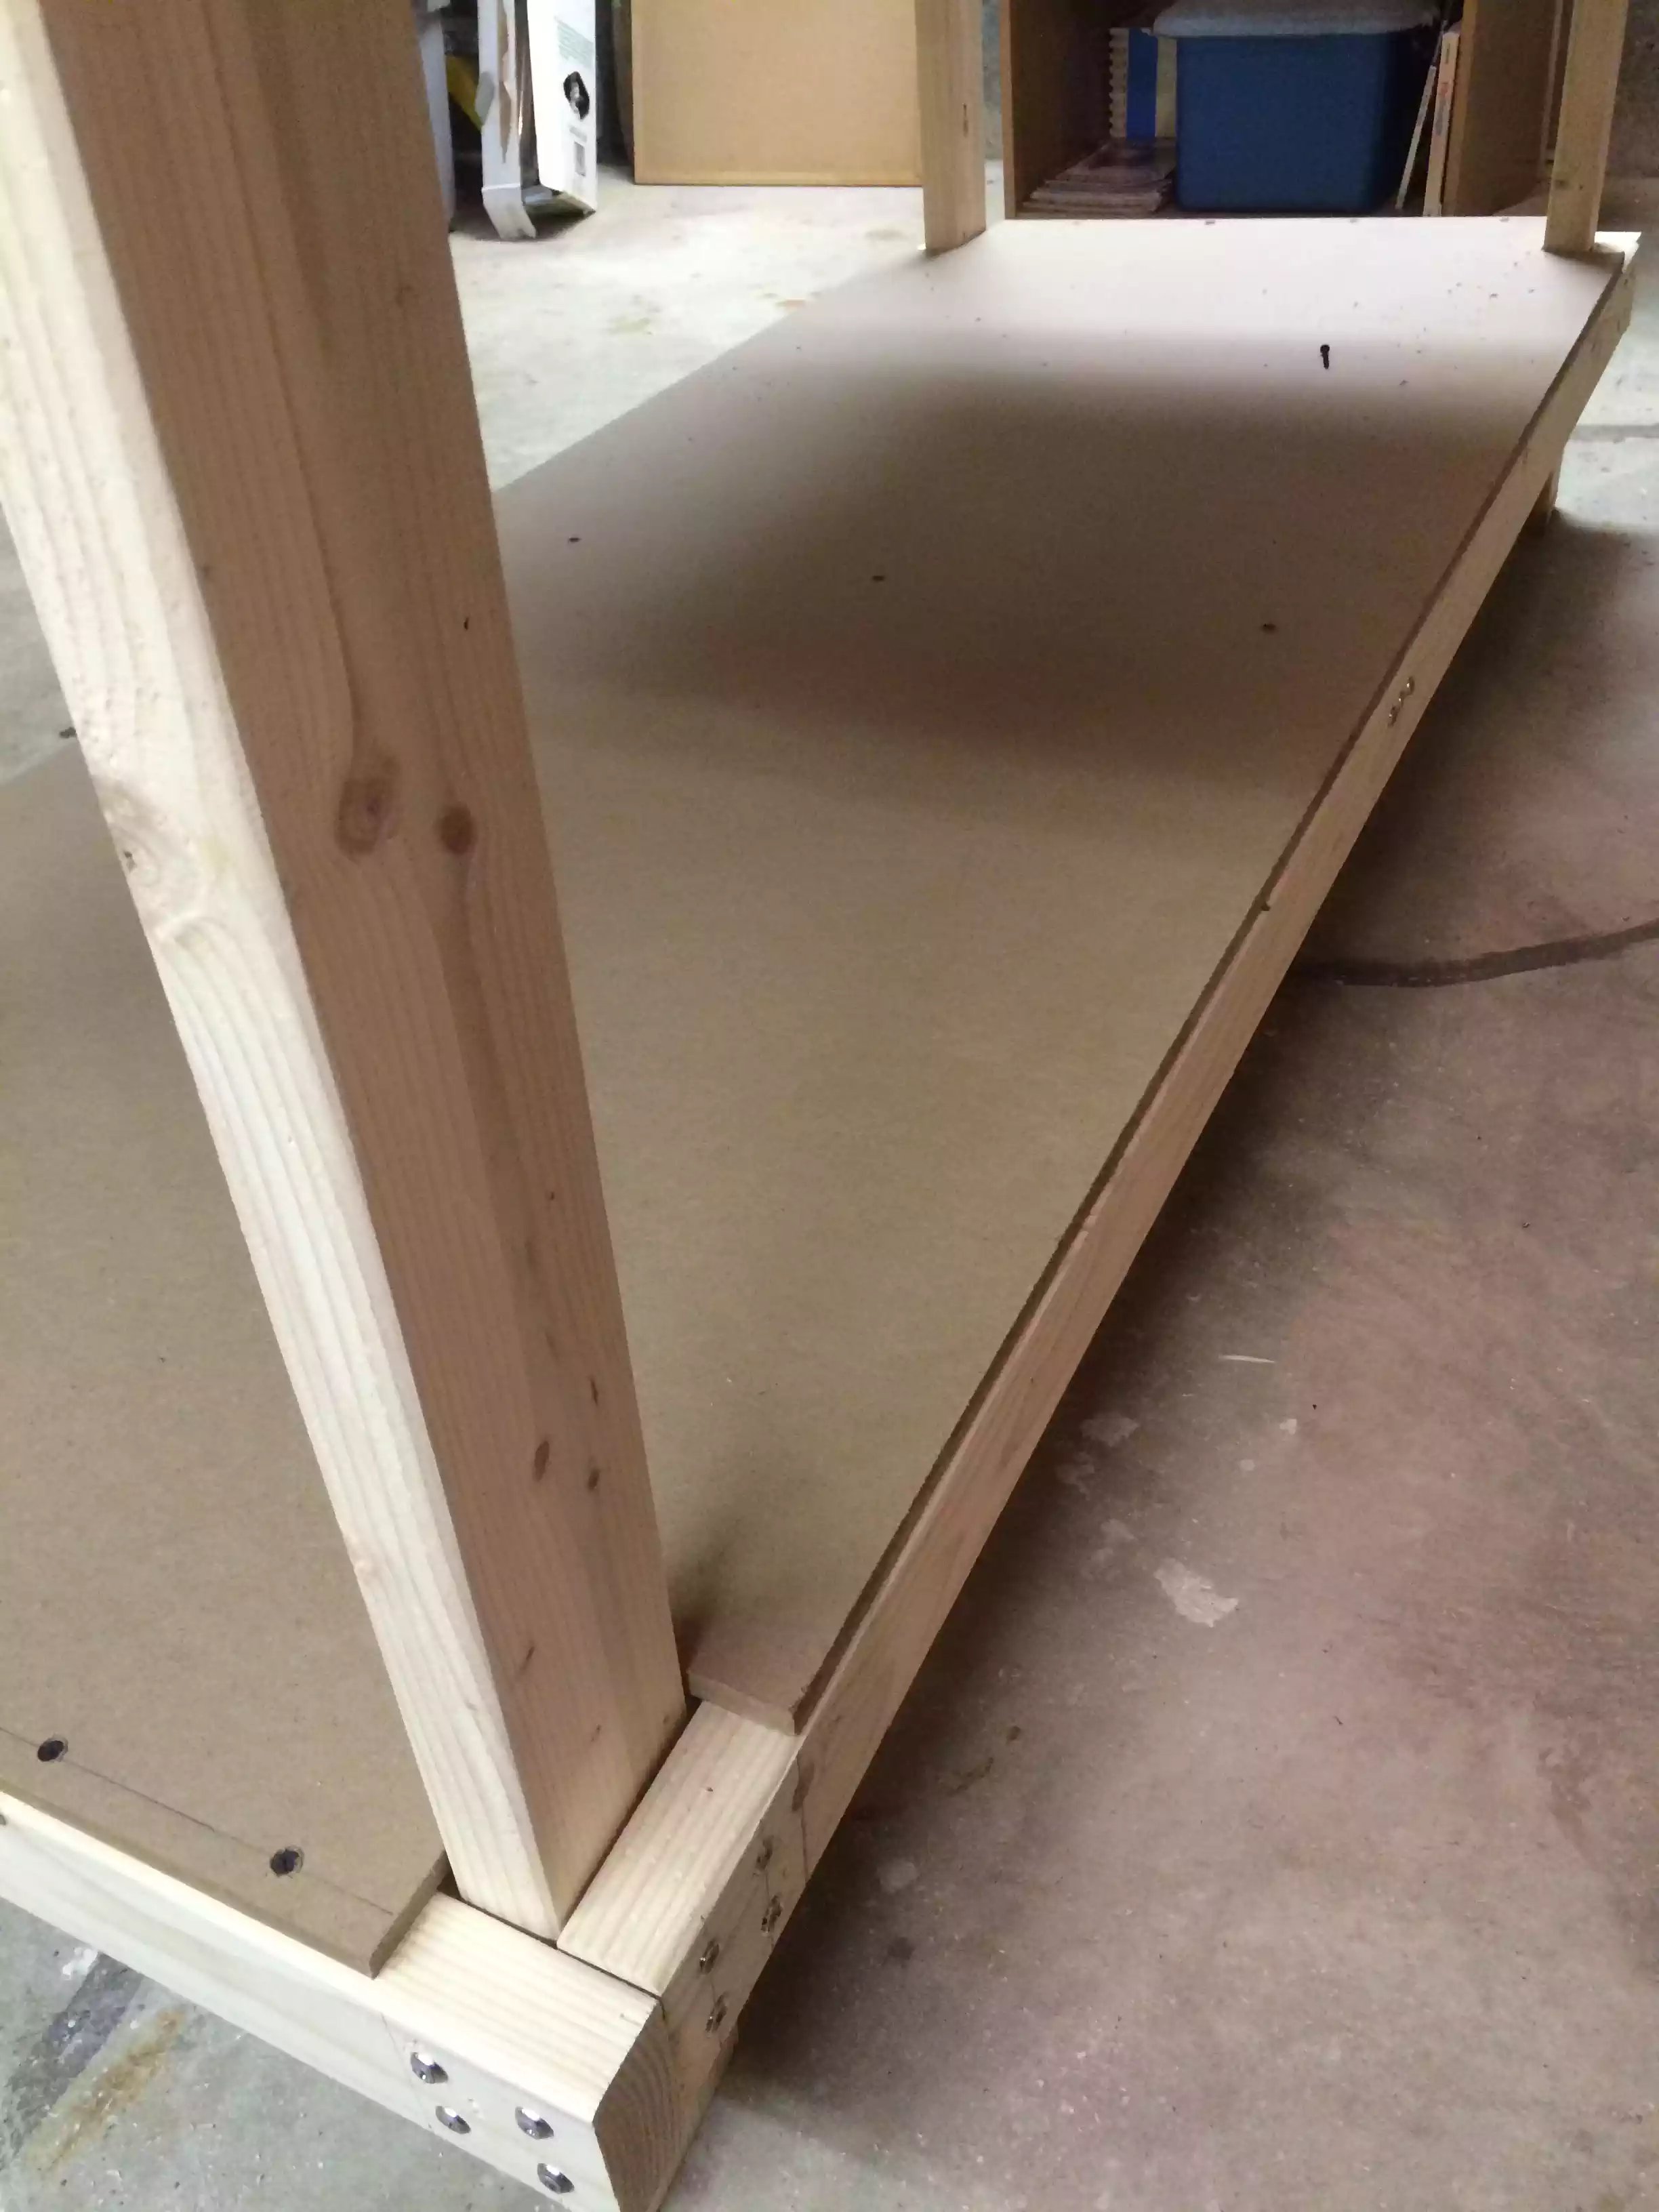
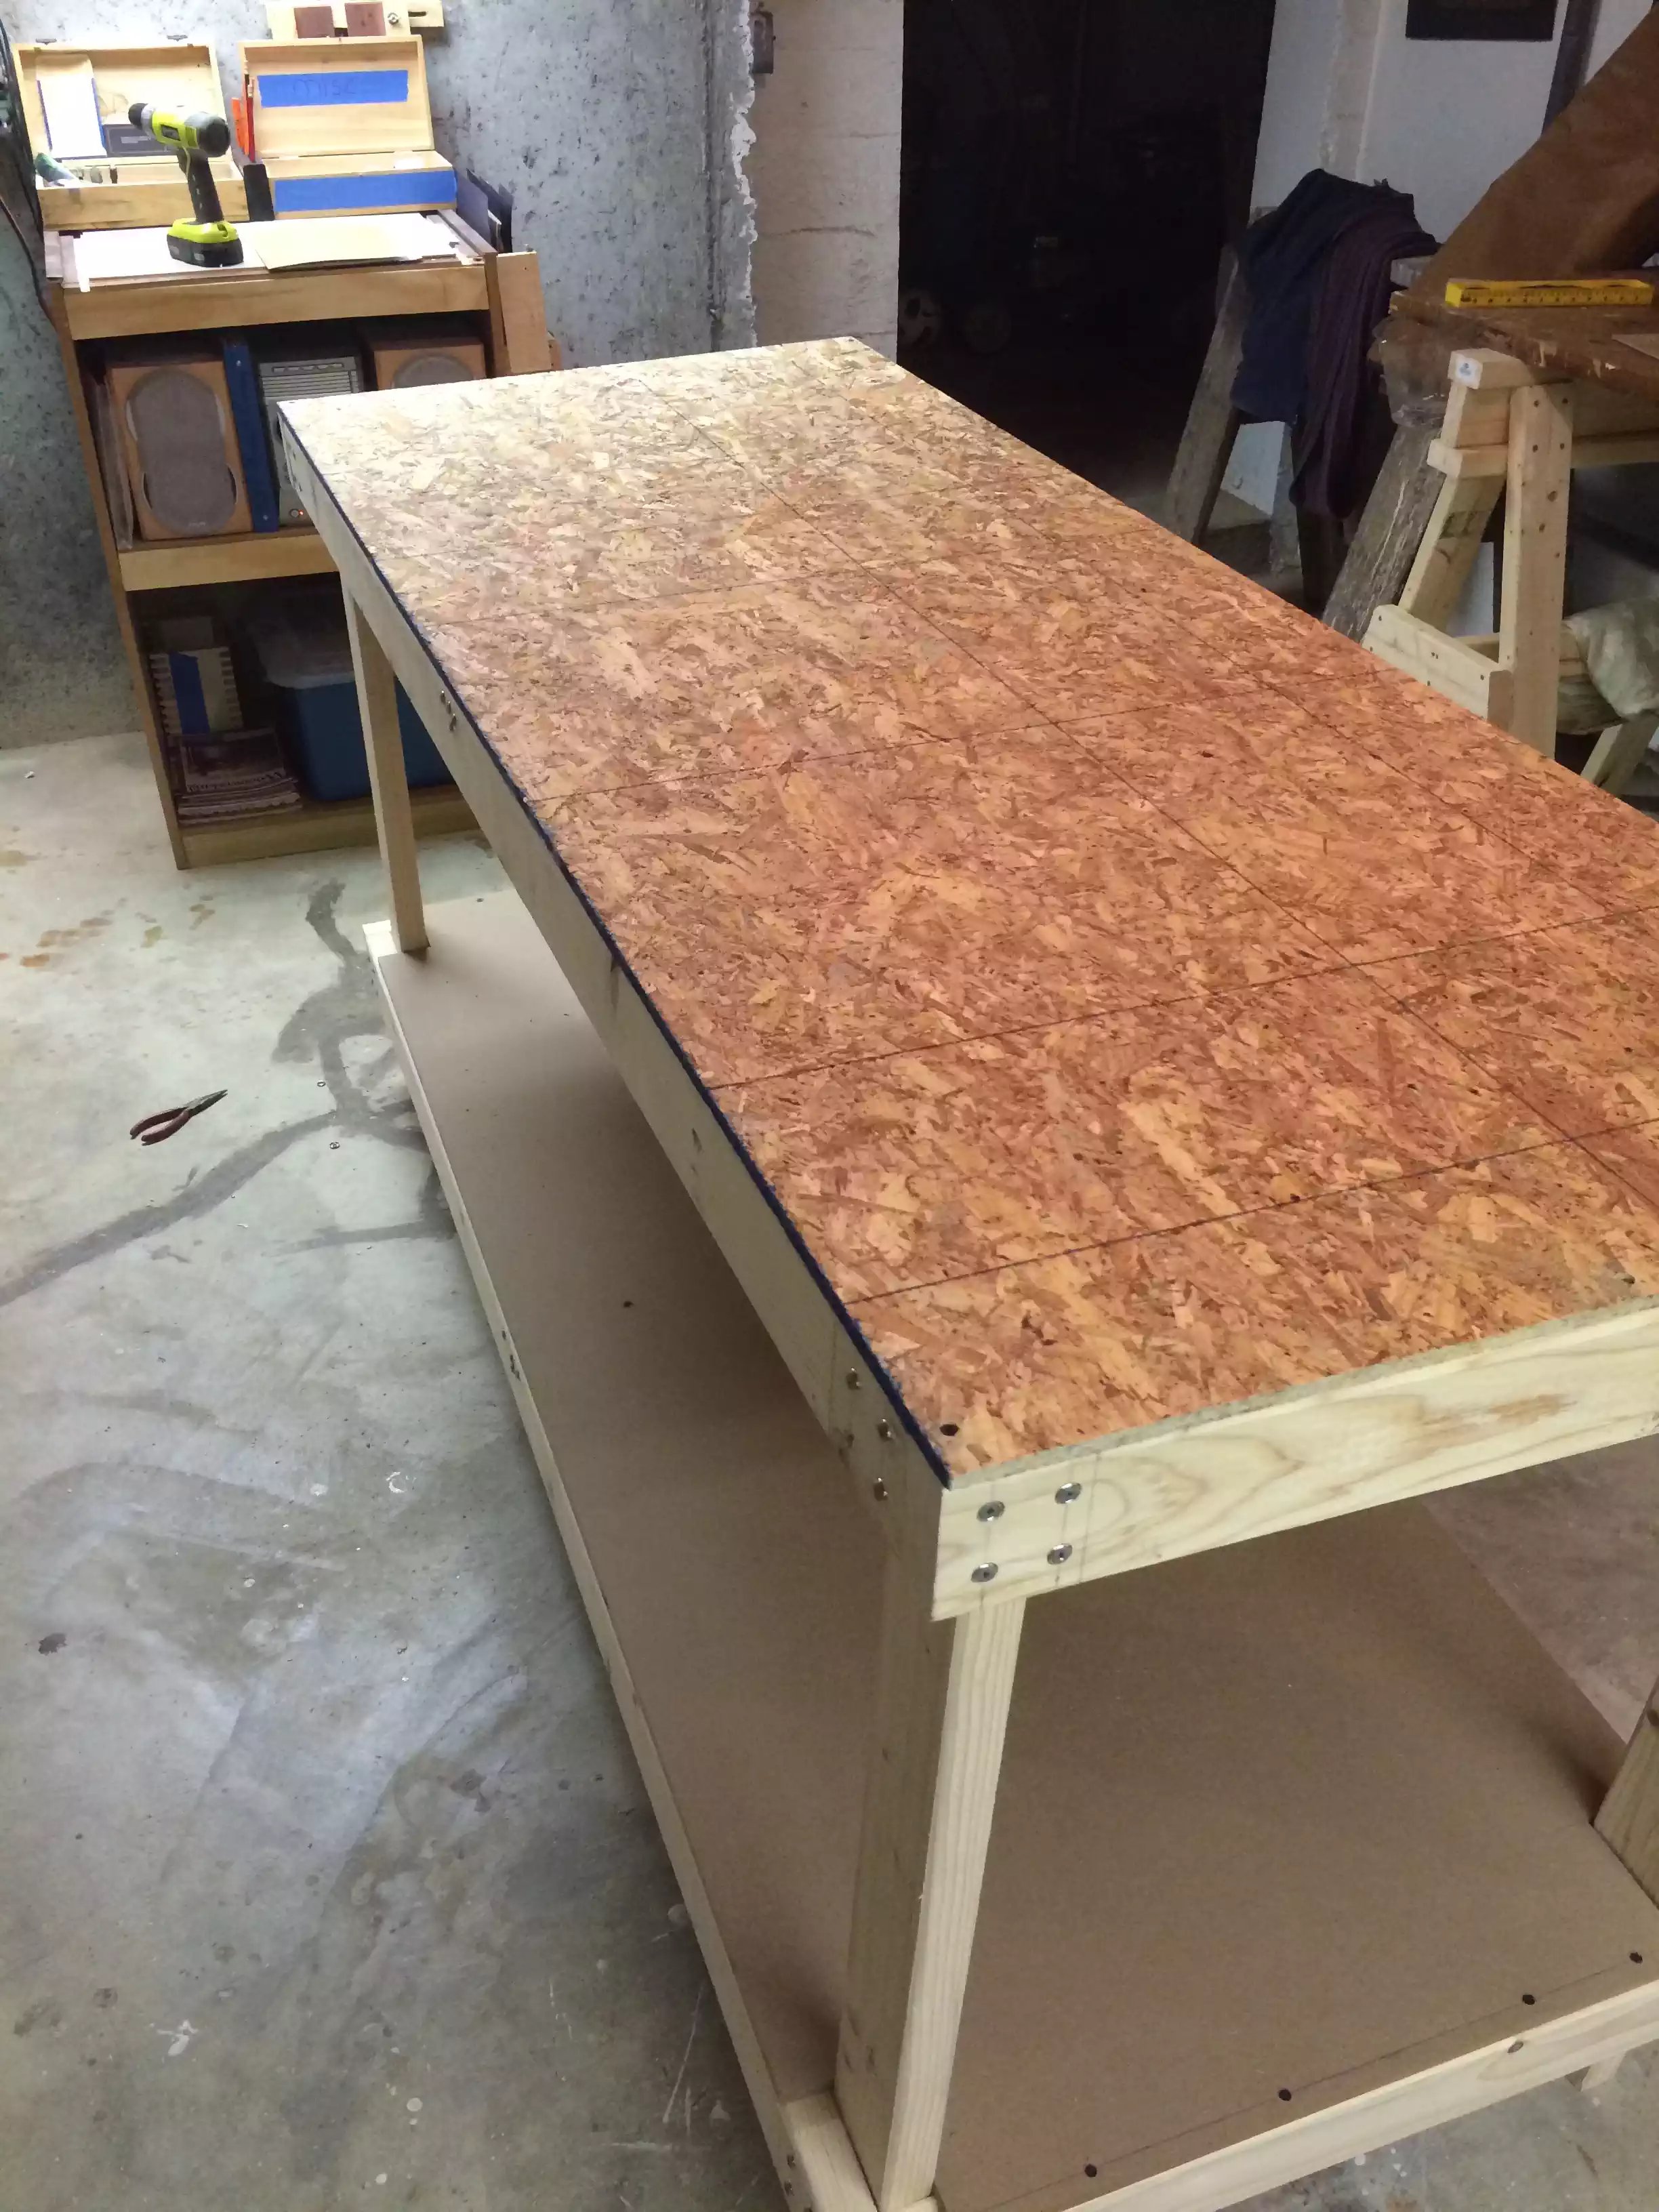
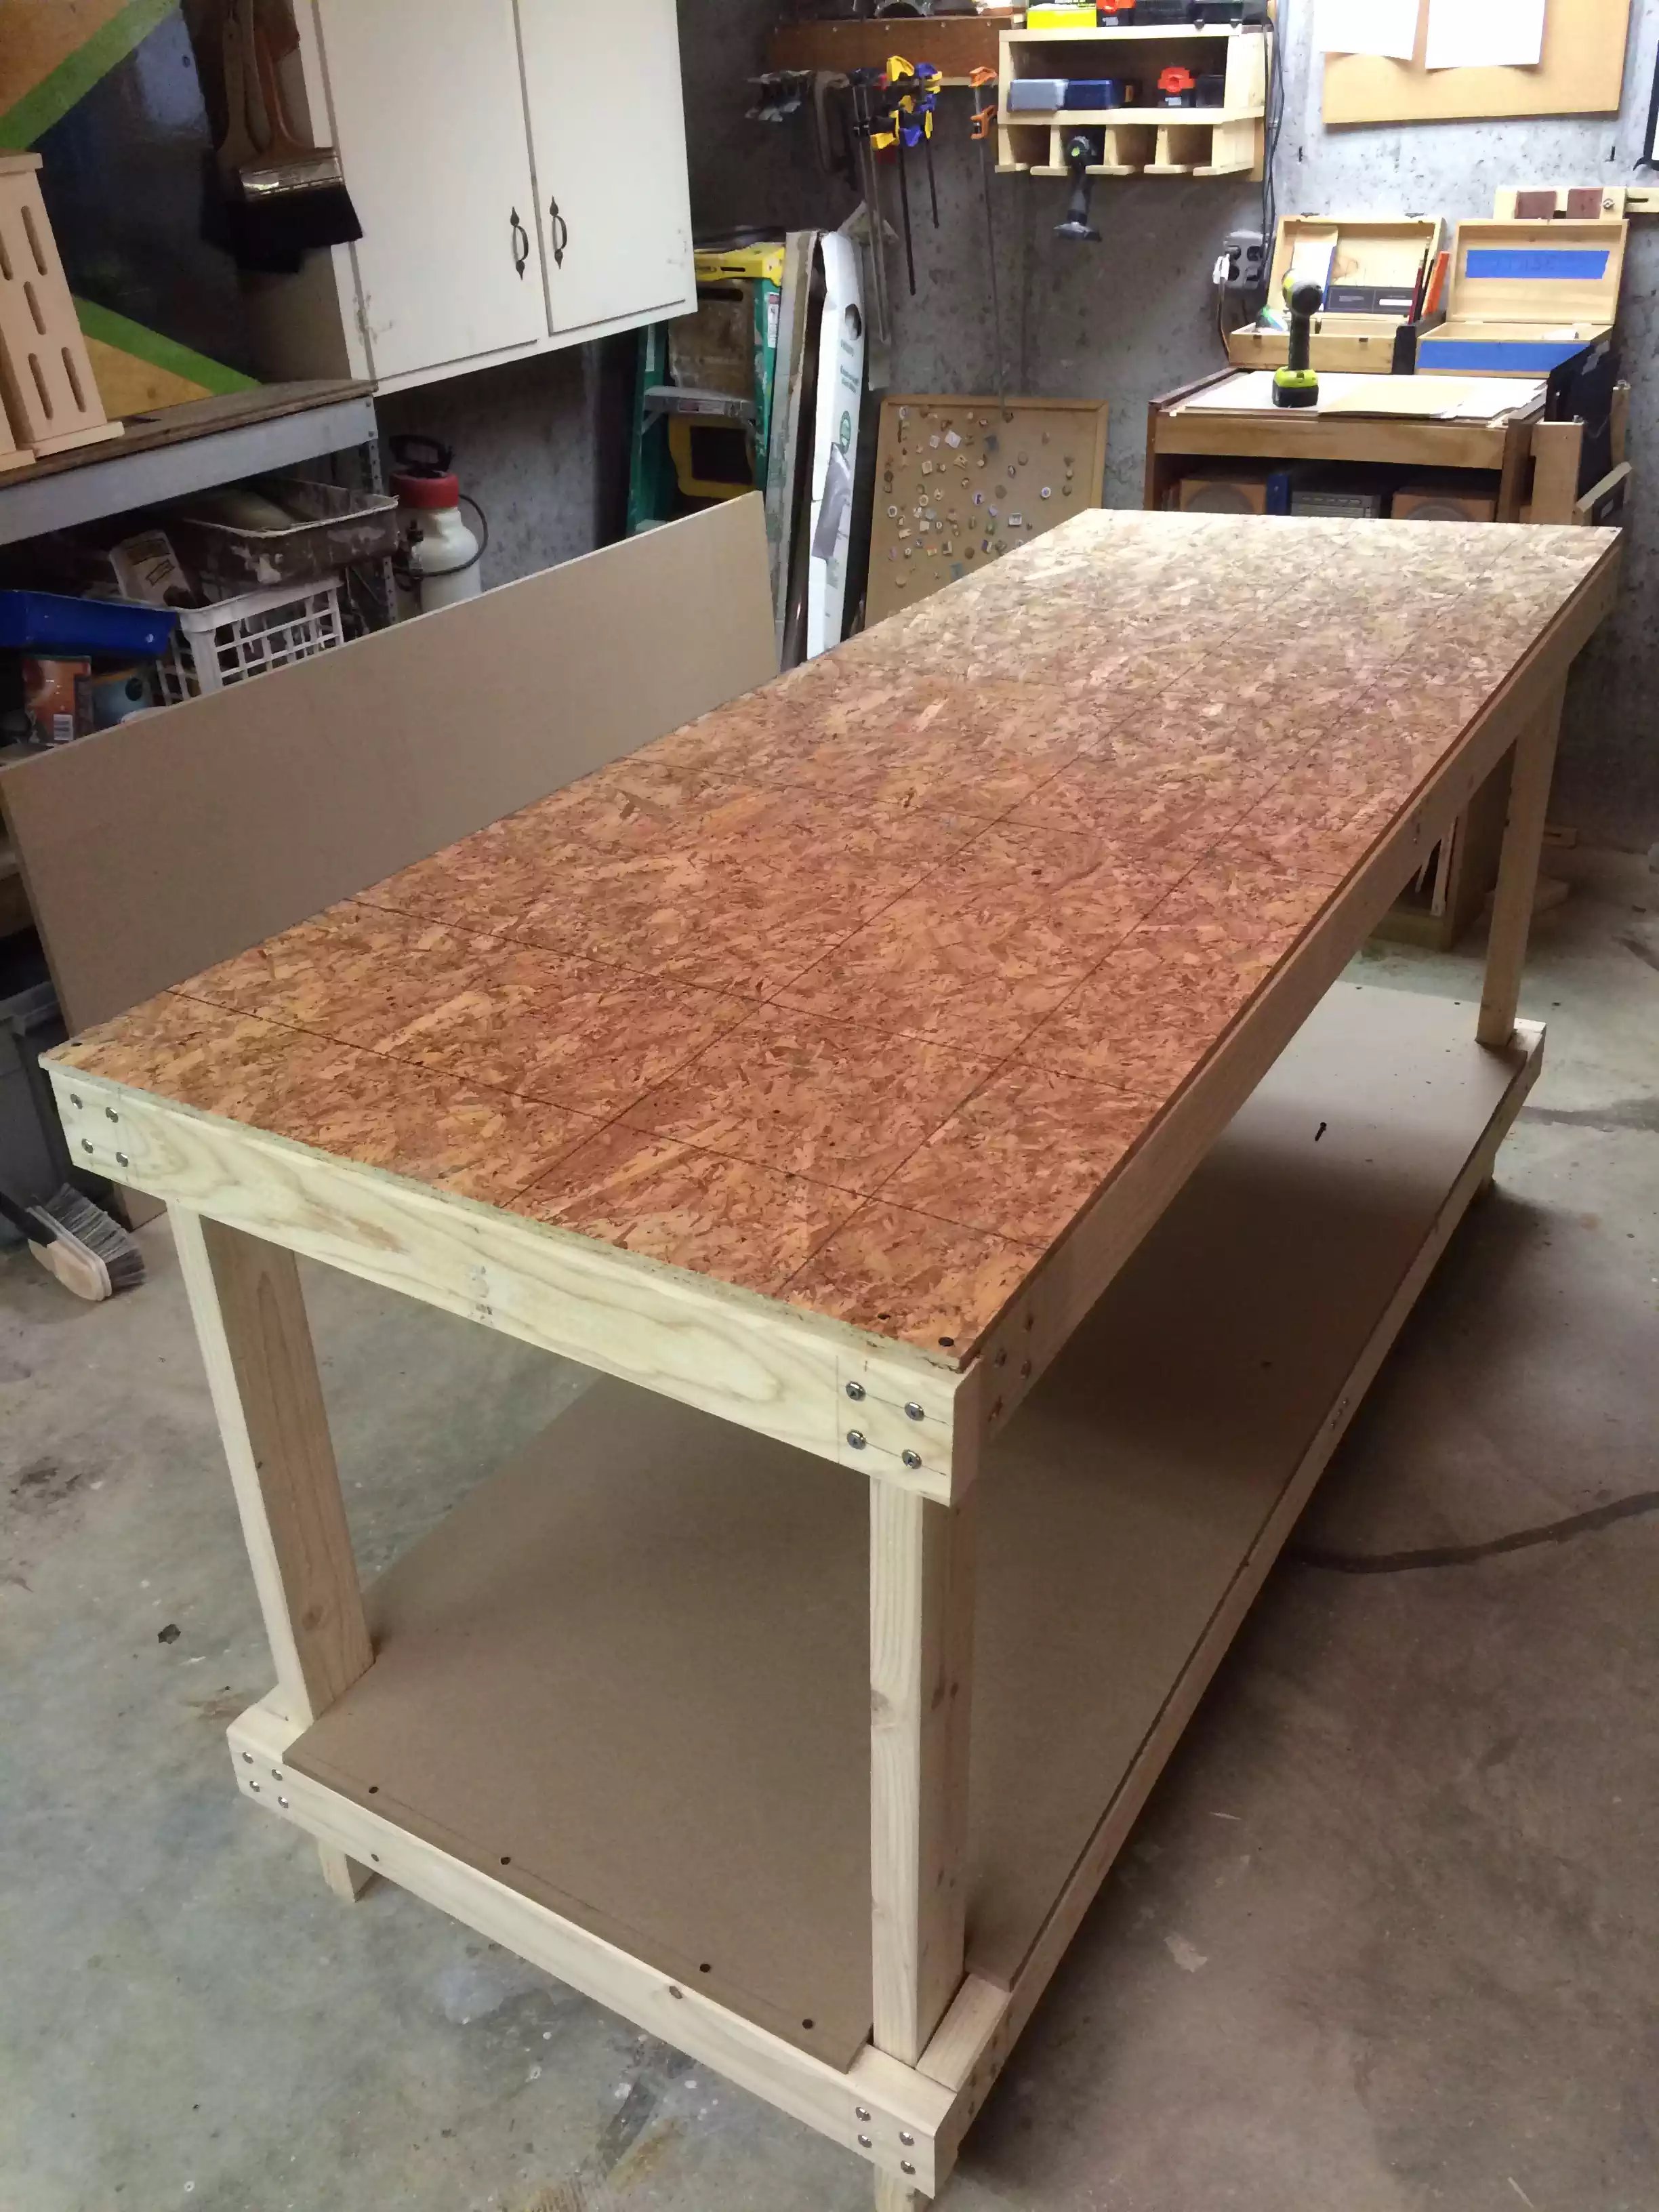
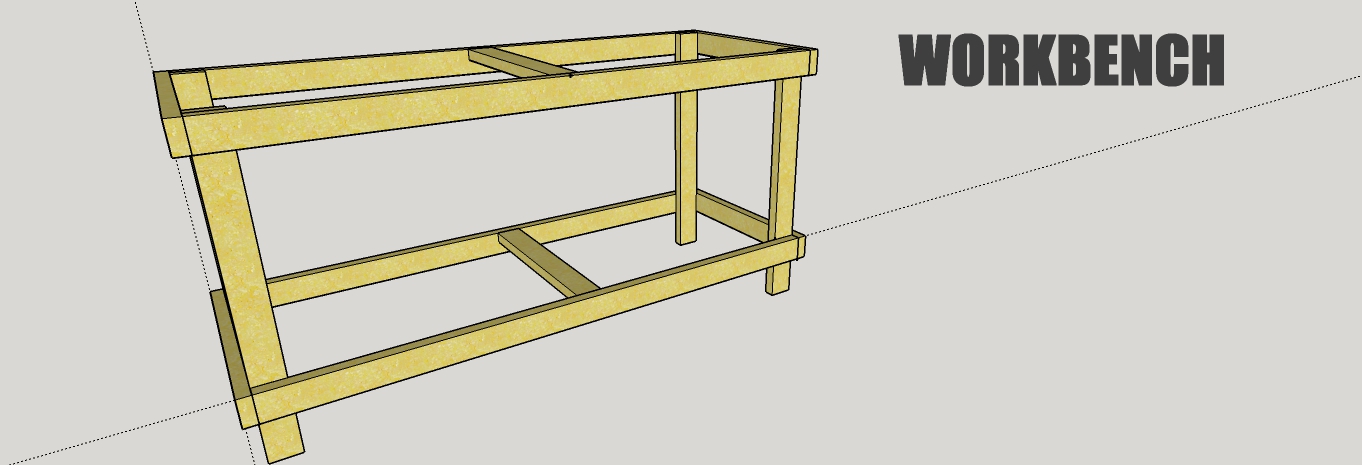
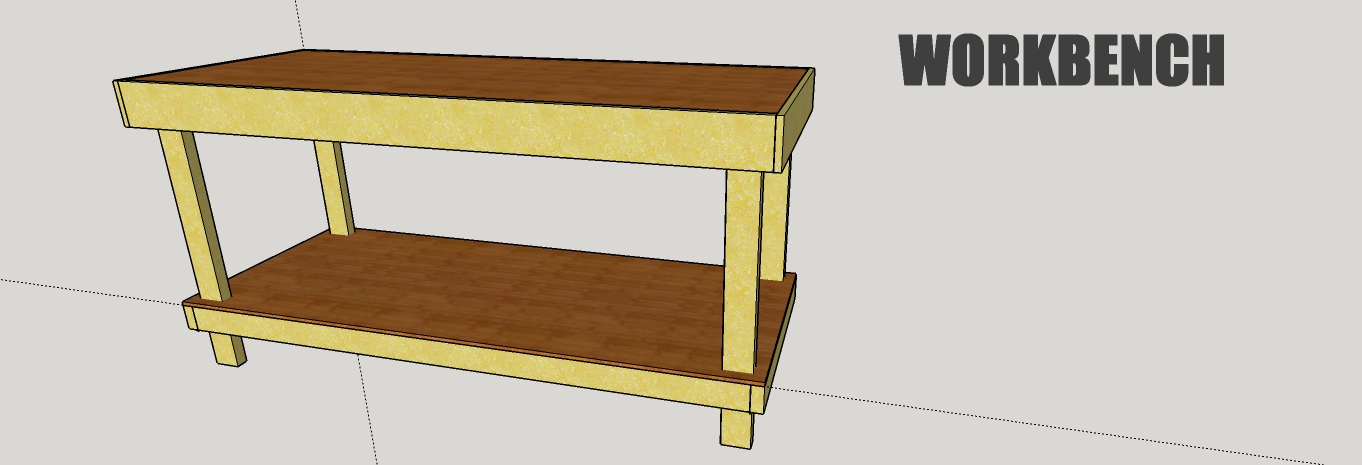
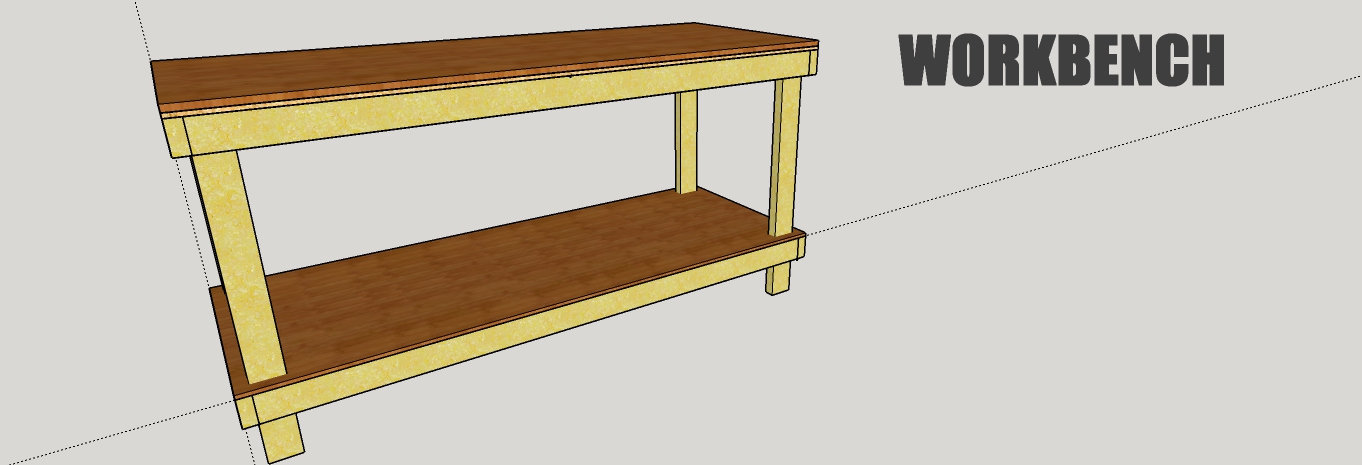
So I decided that I need to build myself a proper workbench NO MORE workhorses and doors….. I found a design online a website called Hammerzone, that all it took was some 4×2 AND OSB.. I'm tweaking the design in both size and materials as you can see in my Sketchup model.
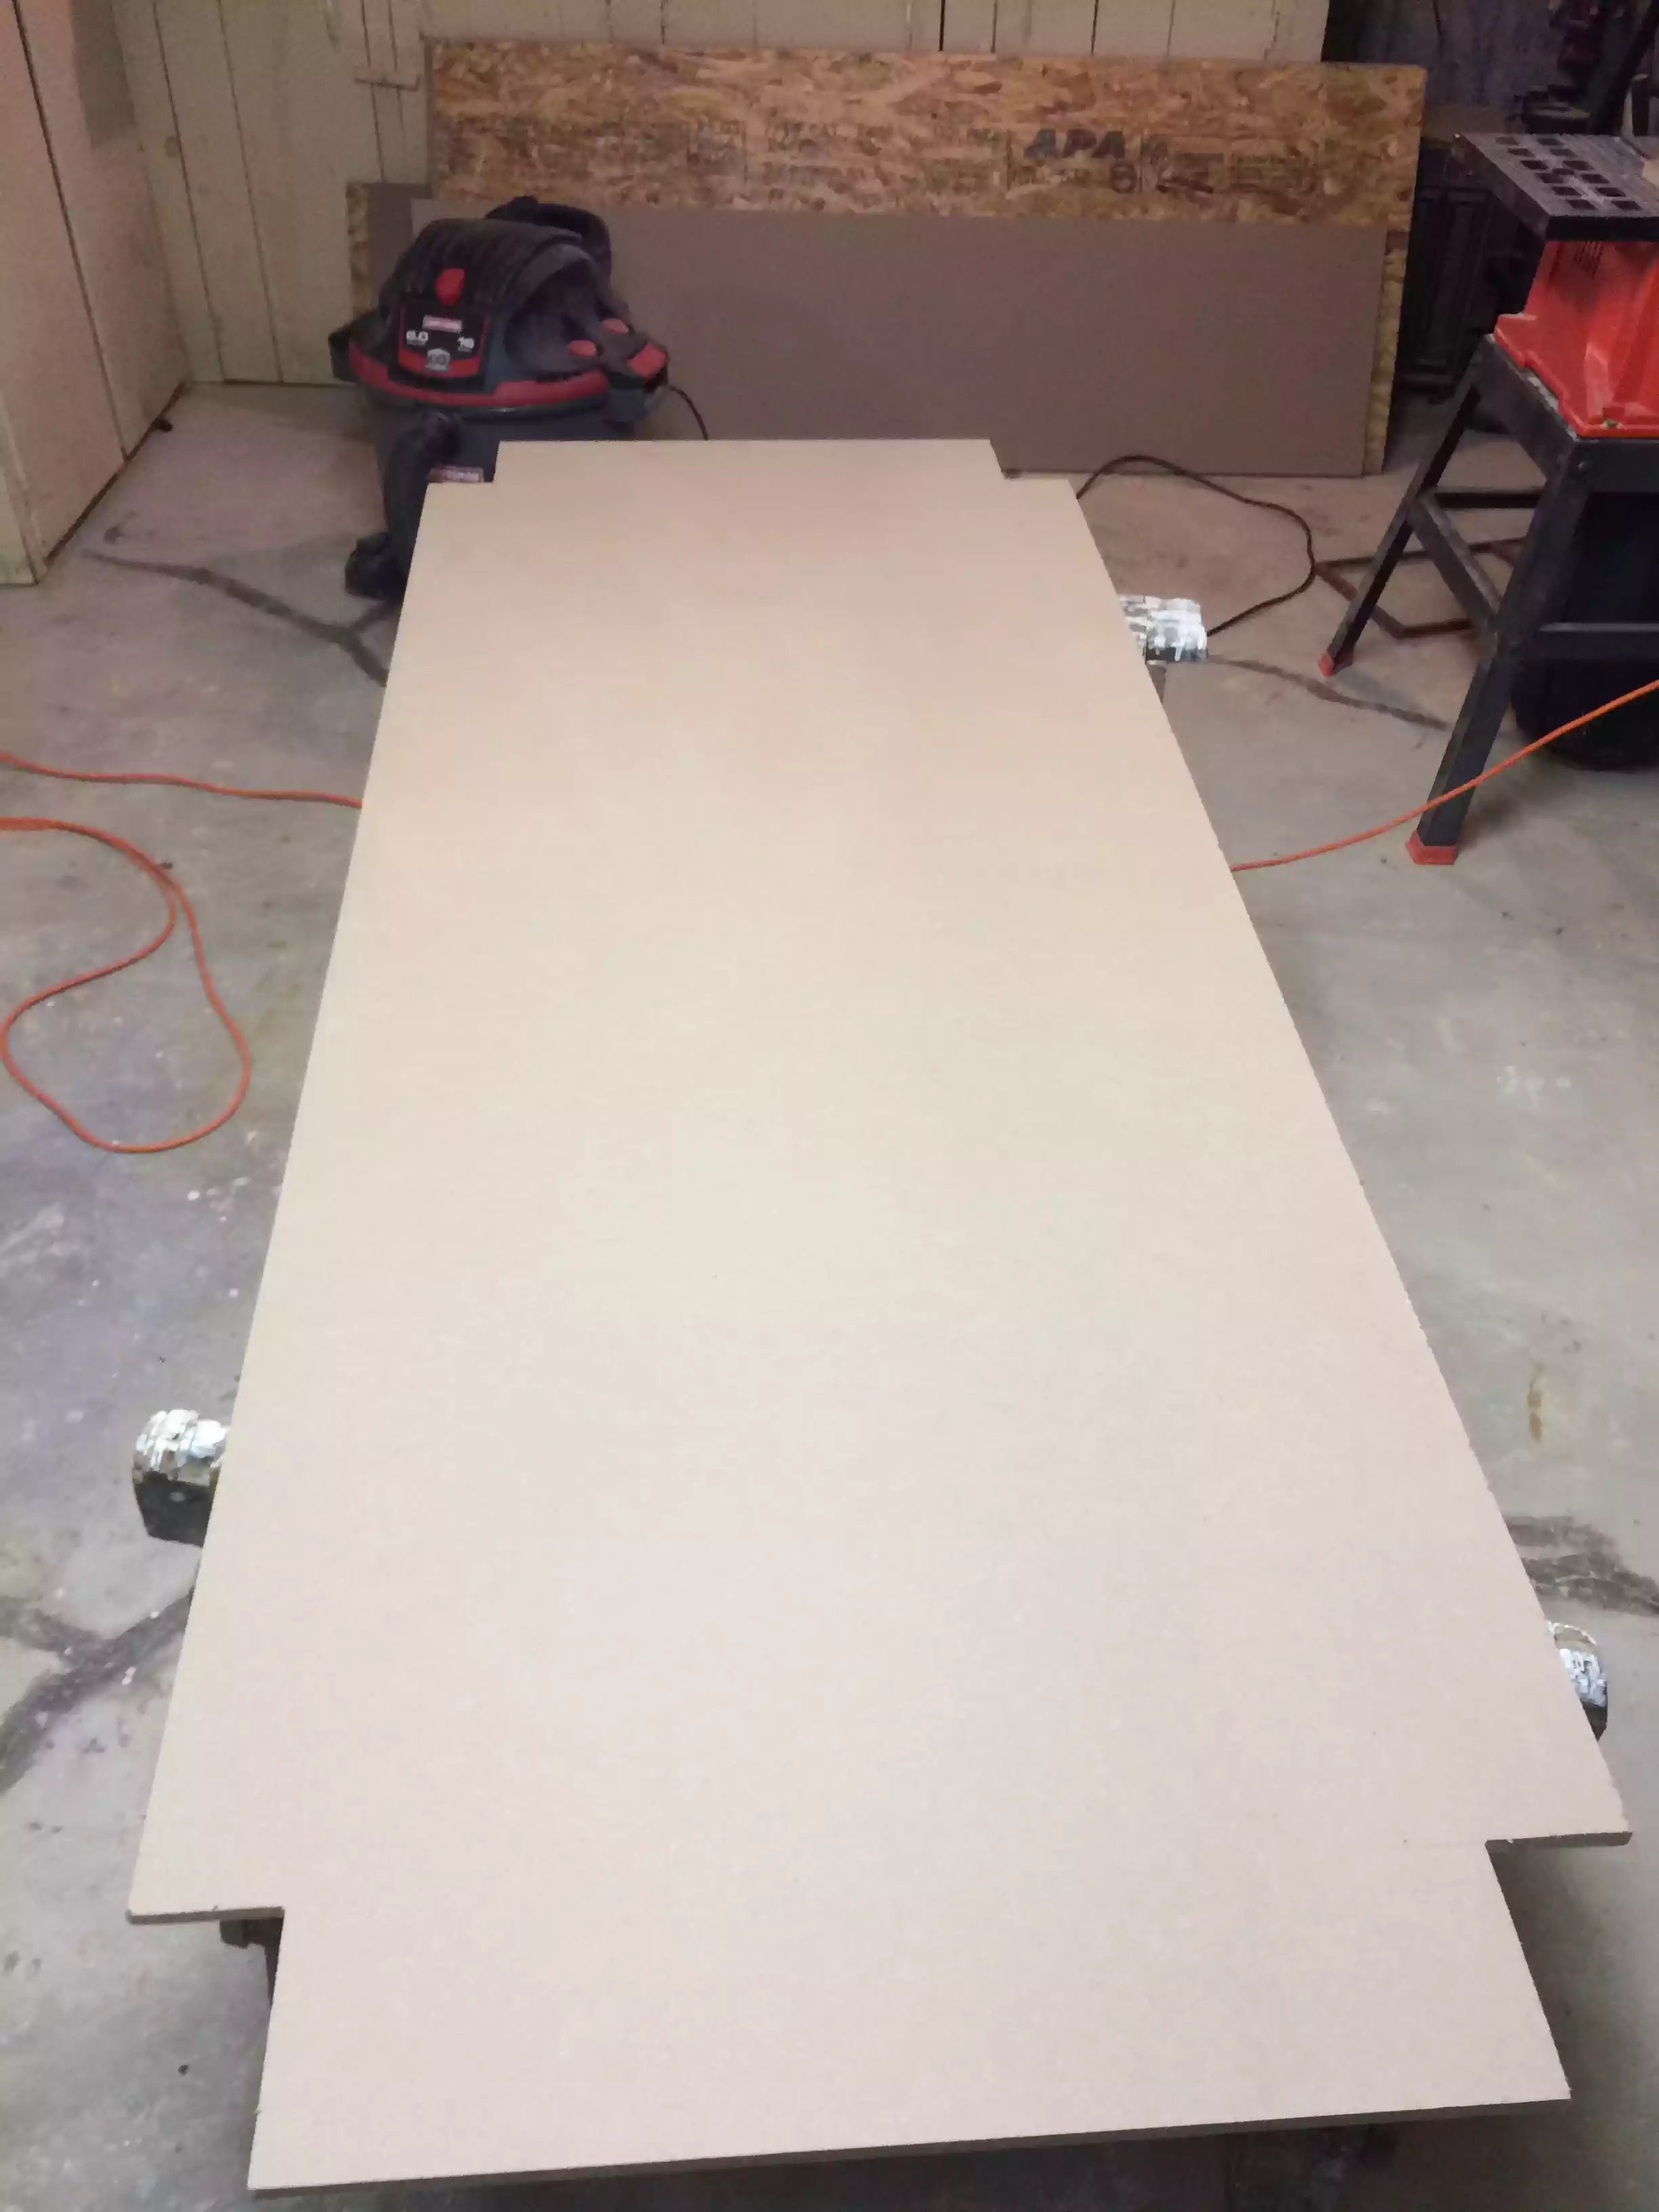
The frame will be built with 4×2 but the upper workbench will have 2 layers equaling about a 1” thick, the substrate layer will be 1/2” OSB and the work surface will be 3/4” MDF. The bottom shelf will be 1/2’ MDF.
Since I've been used to working on a door , I am building the surface to be the same size 78” x 30”. Its huge but I got the space and sometimes I got 2 projects going simultaneously and I need the room.
Please visit the blog I created on this project
WORKBENCH STORAGE
(08/2015)
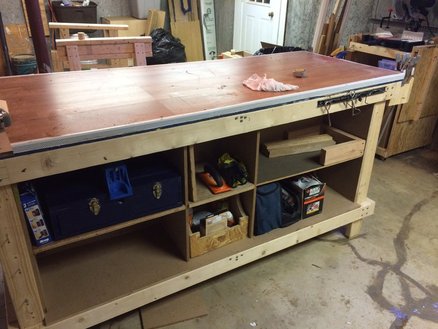

I knew eventually that after a year or so I needed to convert all the space in my workbench to useable storage space and I decided to GO ahead and design it and what I wanted to store.
Materials
- : 1 sheet of 3/4” MDF for the frame of the unit
- : I repurposed some 3/4” plywood for all the shelves and whatever scrap I had leftover from other projects..
Joinery:
I used my Kreg K4 Pocket hole jig to join the frame together and supported it into the existing base and top of the workbench and glued it as well..
shelves:
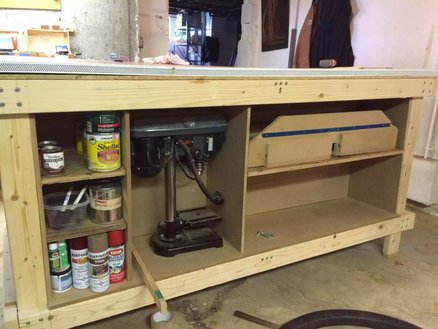
since I needed a lot of shelves and they also needed to be adjustable for future needs I used my shelf pin jig also from Kreg and they worked out awesome.
at the end of the whole project I now have storage space for all my small power tools and fences for my various portable units ( eg router table fence), Kreg jigs, sanders, circular saw and the like.. And not to forget my drill press and table
I have to say for $40 this project turned out better than I expected and I also put all my stains,finishes and glues all within reach of my my main project assembly area..
I hope you like..