I was sitting at in one of my arm chairs in my living room drinking my morning cup of coffee and got tired of reaching for my cup of joe as there was no table near me, so I saw a project on Pinterest that basically made a table to fit around the arm of the chair and thought this was a great little project to use up some scraps and remedy my little problem.
HOW I MADE IT:
Materials Used
Panel Glue-Up
Sanding the panel
Cutting the Miters
Shaping
Another Glue-Up
Apply the finish
MATERIALS USED
I recently had been given a bunch of scrap wood that varied in species and board size, I decided that this project would be perfect for making the sleeve. I used 3 species of wood of vary widths to make up the 9” width that I used looking for. So I used Walnut, Maple and Cherry to make up the panel I wanted.

Here is the boards that I choose to use before I did anything to do, I needed to rip them at my table saw to the dimensions that I wanted.
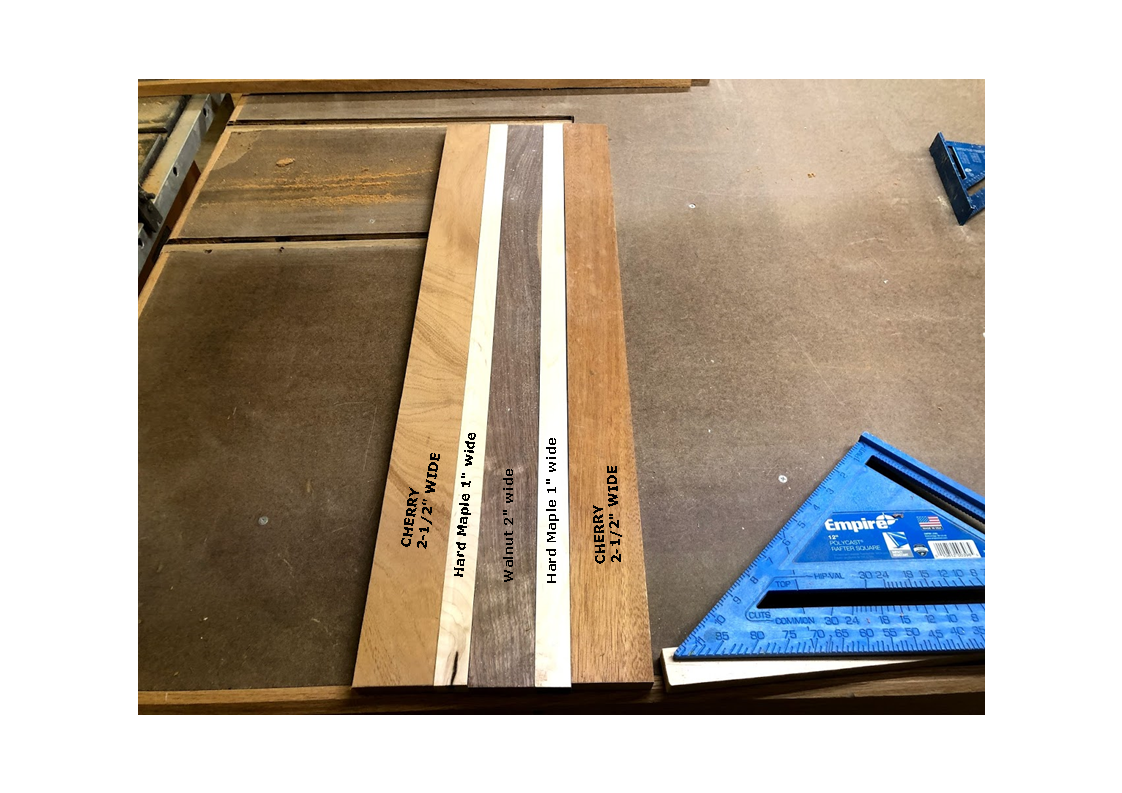
Here is the boards all ripped and crosscut to final dimensions, I used Cherry (2-1/2” wide), Maple(1” wide), Walnut(2” wide), Maple(1” wide) and Cherry 2-1/2” wide)
PANEL GLUE-UP
Now that I had my panel all dimensioned it was time to glue all the individual boards into one panel. I decided to use my panel glue up jig that I had made last year,
I used my pipe clamps and a few cauls in gluing up this panel, I left it overnight to set up.

Panel sitting the jig, I did a trial run of the glue up before actually adding the glue.

Here you can see the pipe clamps and the clamping cauls in my attempt at keeping the panel flat during the glue up.

Really need more clamps, lol. I never seem to have enough, it amazes me how many clamps you need when doing even a small glue up, this board is only 30” long x 9’ wide.
SANDING THE PANEL
The next day after the panel had all been glue up I needed to flatten the panel just a little, I really wish I had a planer to do this for me but I don’t so I used all my sanding equipment, which started with my belt sander and 100 grit paper, then I moved to my orbital sander and 120 grit paper and finally hand sanded it a little more to remove all the sanding marks left by the power tools and in the end I had a nice flat nd smooth panel for which to make my sleeve out of.

Here is my belt sander going to town on the panel, I drew pencil lines across all the edges of the mating pieces and when the pencil lines disappear I know the panel is flat.
CUTTING THE MITERS
So now that I have a nice flat panel next on the list was to cut the miters on the two mating ends of the panel. I did some research online on how to do this and also achieve the effect of wrapping the grain around the entire piece so I needed to cut the panels in sequence. I found a very useful YouTube video in doing this and I have placed a video below in how to achieve it.
Here is the video that I found on how to use a chop saw to cut a board so as that the grain continously wraps around the panel.
Below are some pictures of the Miter Saw Sled that I made to assist with cutting the panels for the sleeve.

Miter Saw sled that I through together to help cut the miters

Here is the mitered edge of the miter saw sled, I used this edge as a reference to line up my cuts.
SOME SHAPING
Now that I had my 3 mitered panels to form the 3 sides of the sleeve, I decided to add some decorative and visual interest to the panel, I decided to add rounded edges to the bottom of the side panels, to do that I used my circle template guide to mark round-overs with a 3/4” radius and then I used my jigsaw to cut the rounded edges off and then to finish up the process I took the 2 panels to the spindle sander to smooth the edges and remove the milling marks left from the jigsaw. Unfortunately I lost the picture I took of this process but below you can see the finished edges.

Here you can see the rounded edges on the bottom of one of the sides I did this to the other side as well but left the top piece alone.

GLUEING THE SLEEVE UP
Now it was time to glue up the 3 pieces and to match the 2 mitered edges to form the 3 sided sleeve. Miters can be very tricky to glue up especially when you don’t have biscuits or splines to keep the 3 panels alighned during the glue up but I didn’t have any biscuits and I have never done splines so I decided to just glue the panels up without them. But I did use the painters tape method where you place painters tape on both sides of the glue line and then also put tape on the joint itself to keep the joint aligned on both sides. Below you can see the panel with all the taped edges. This worked extremely well and in the end I had a very tight mitered edge.

Here is the 3 pieces laying flat and painters tape on both sides of the mitered edge that will be receiving glue.

Here is the visible side of the sleeve and again kept the painters tape on this side of the panel.

Next After the glue applied to the mitered corners I folded the 2 sides to firm the final shape and then used more paints tape to keep the 45° sides from moving during the glue-up.
So in theory when the panel was all glue up and dry all I needed to do was to peel off the painters tape where the glue had squeezed out and there was no need to sand or remove and glue as the tape remedied that, and it worked a charm.
ALL GLUED UP
After the glue had dried I returned to the panel to remove all the tape and see how the joint line looked and it looked great I was ready to finish sanding the panel and then it was ready to receive a finish.
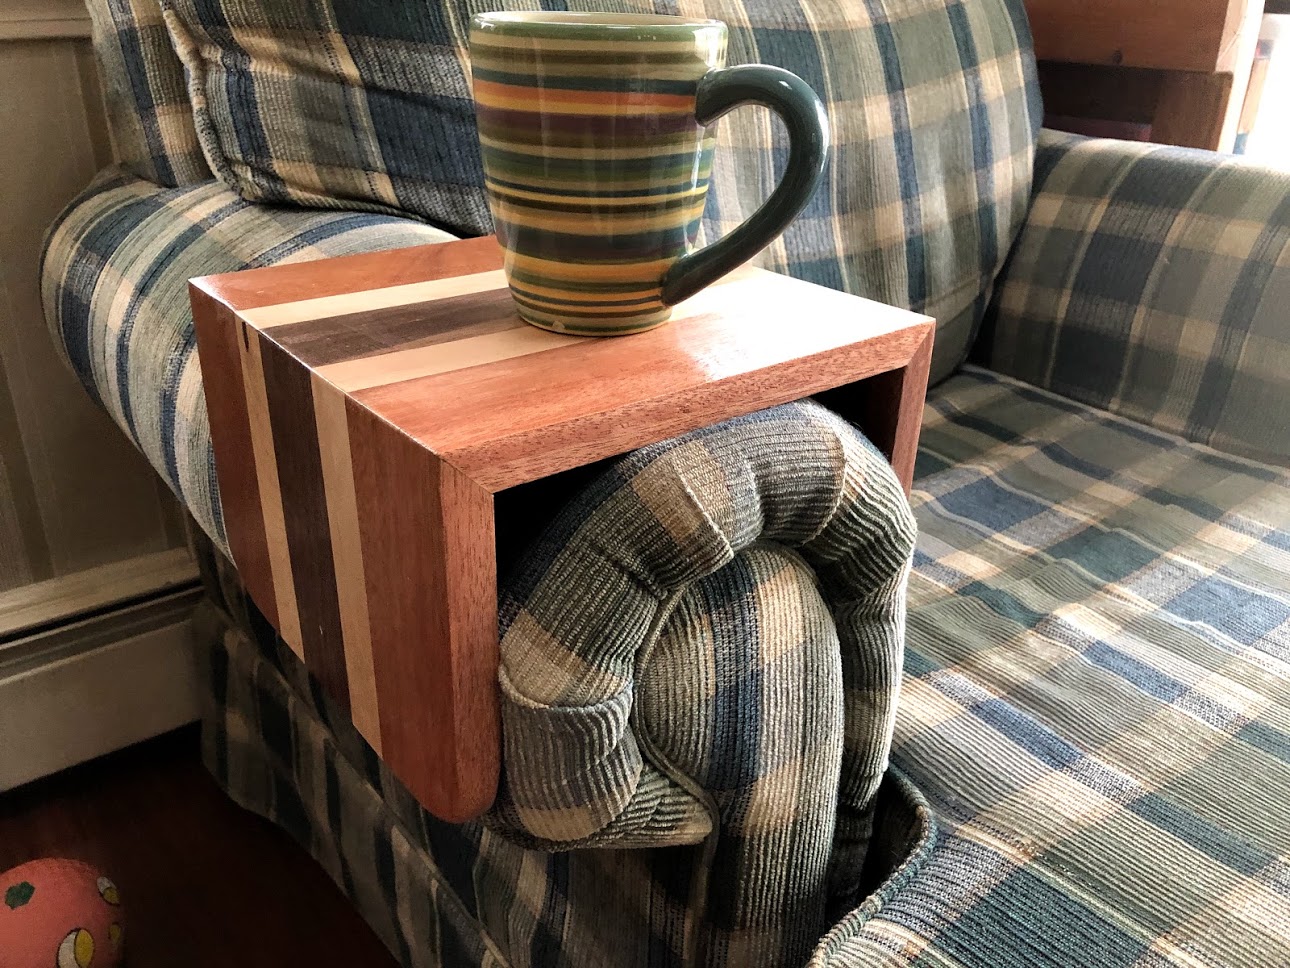
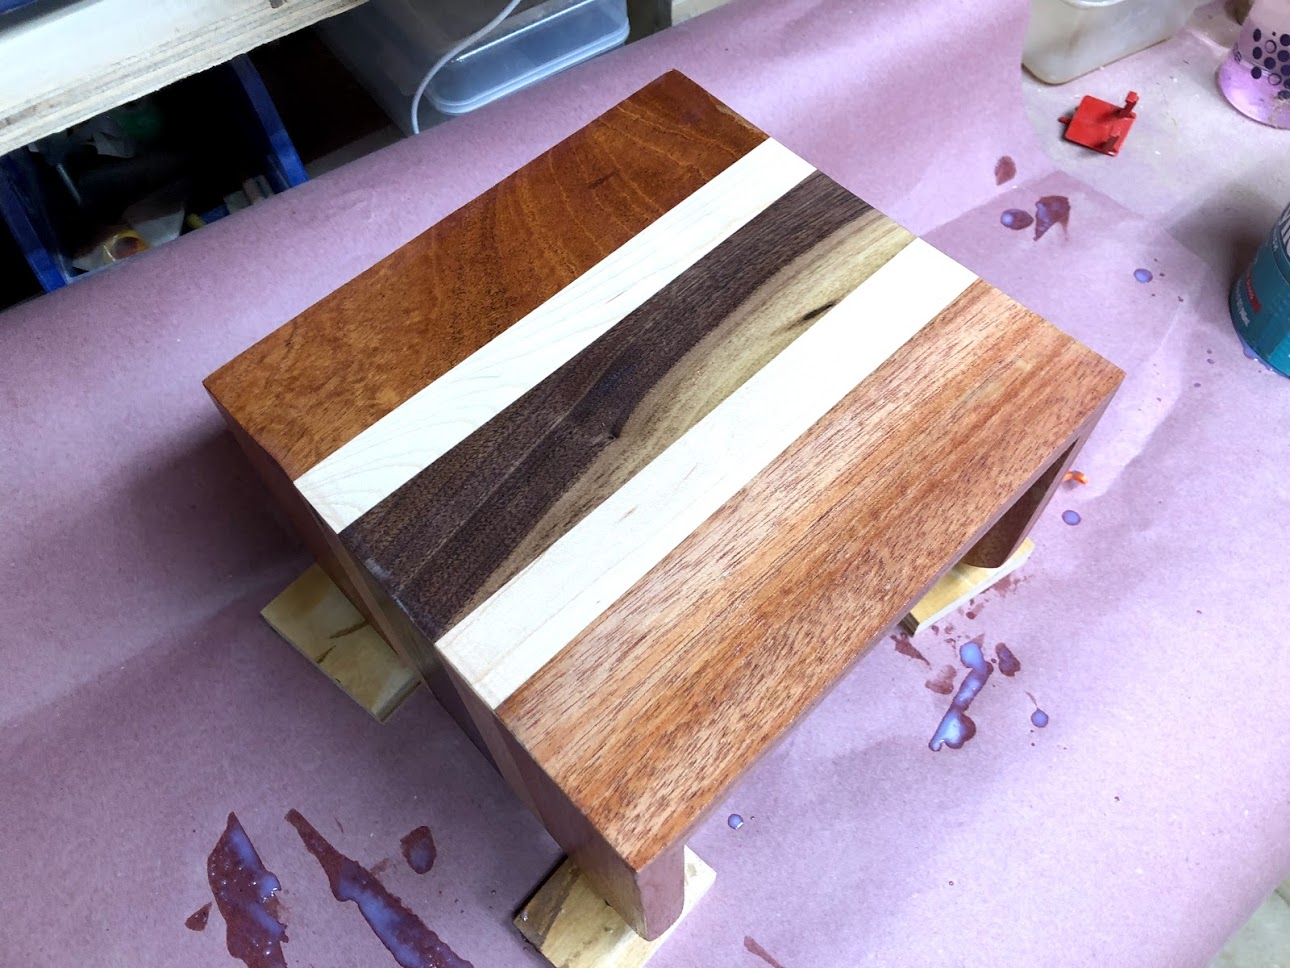
Below you can see the sleeve in its final state and the glue all dried with no trace of any glue squeeze out.

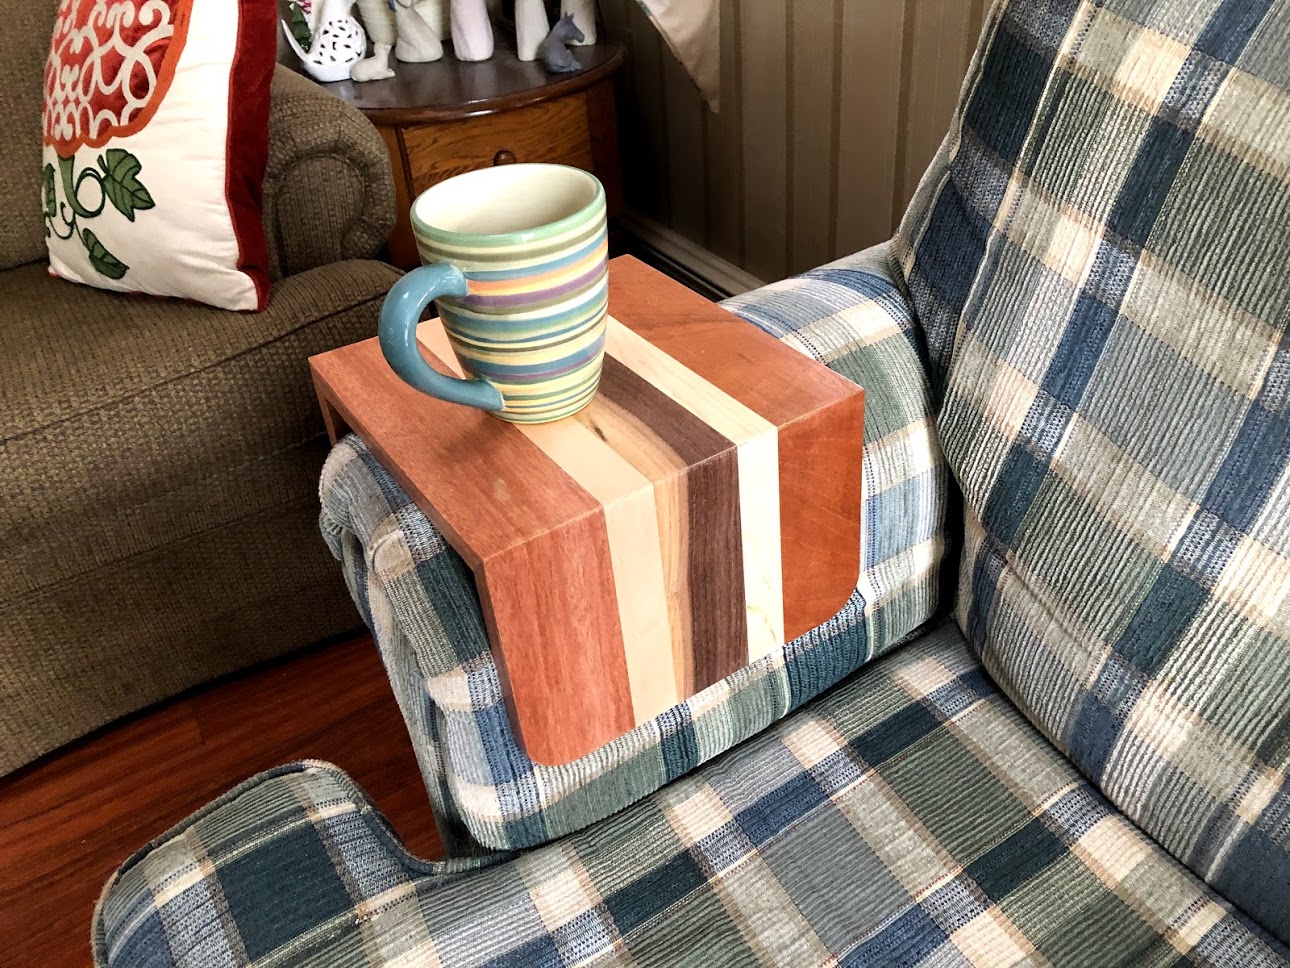
Nice and tight mitered joints, and the grain wrapping all the way around the sides.

Here is a view of the top of the sleeve this is where the cup of coffee will sit.
APPLYING THE FINISH
I had some leftover General Finishes Arm N Seal from my assembly table project so I decided to use that, I applied a total of 3 coats to the Sleeve and in between each coat sanded with 150 grit sand paper.

The finish has just been applied and waiting for it to dry, I just love how the wood pops after applying it.
The top looks great
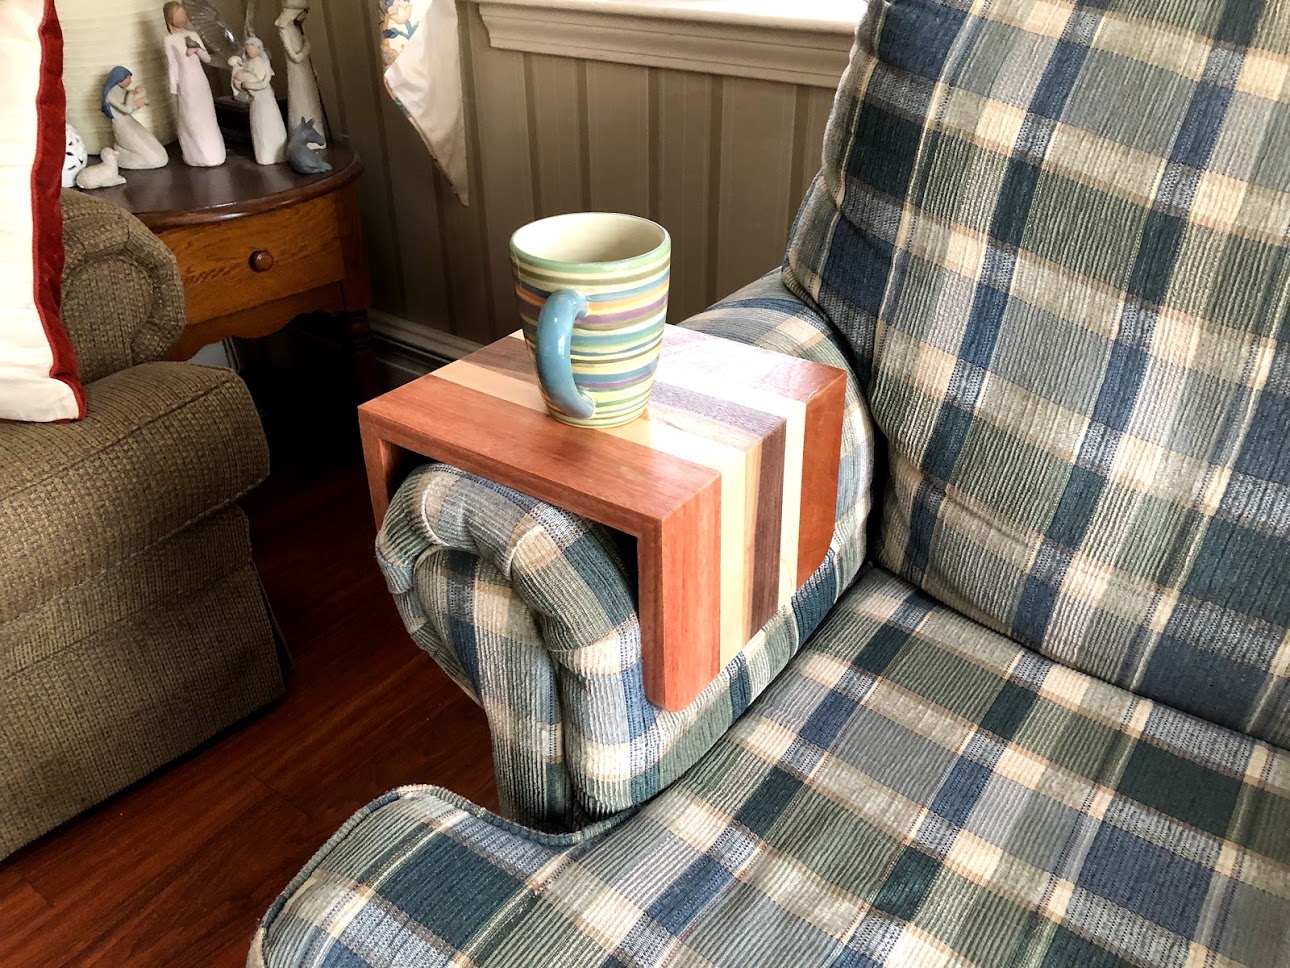
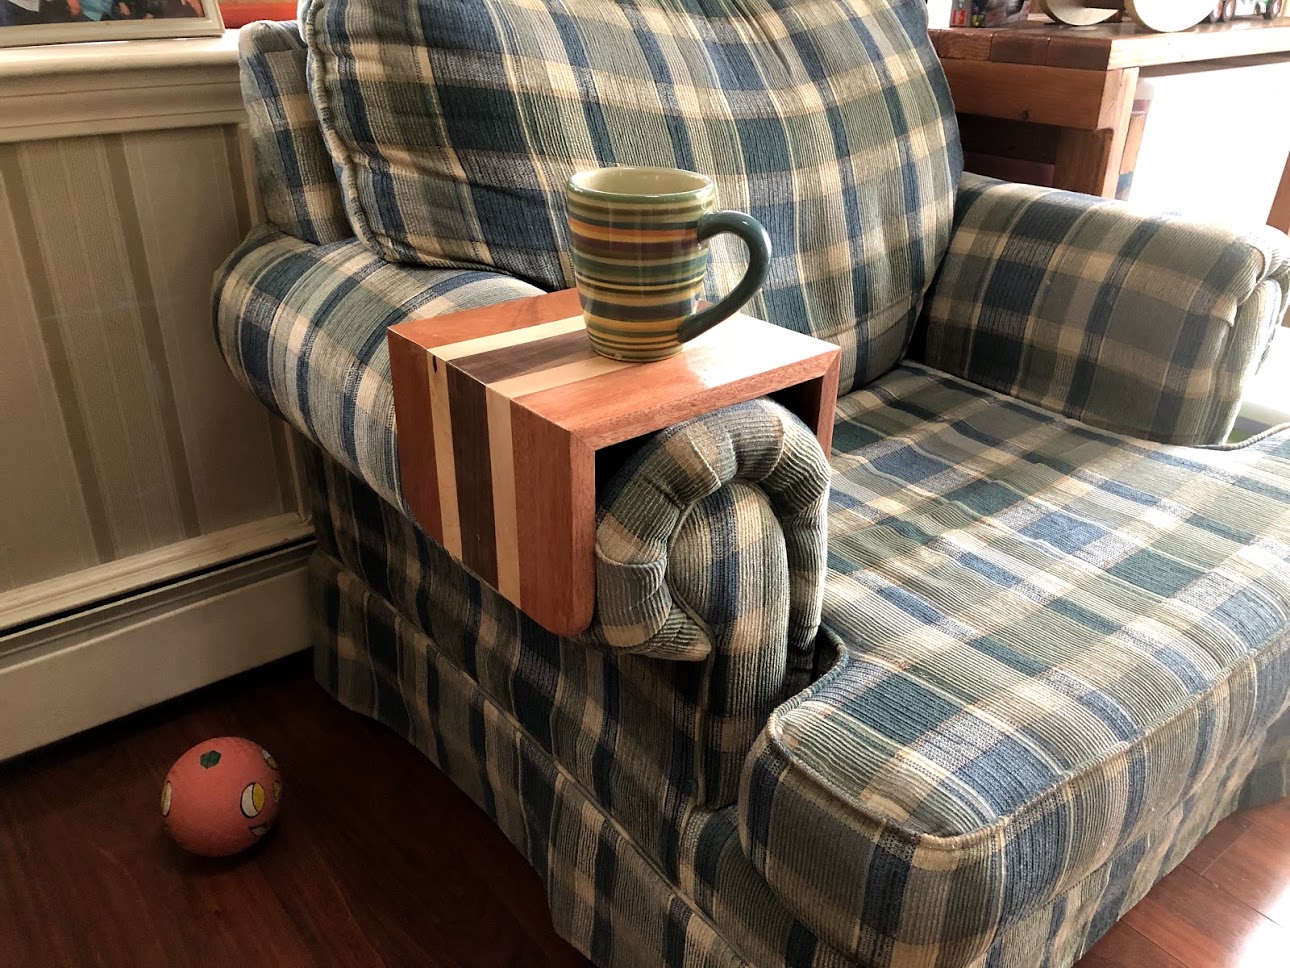
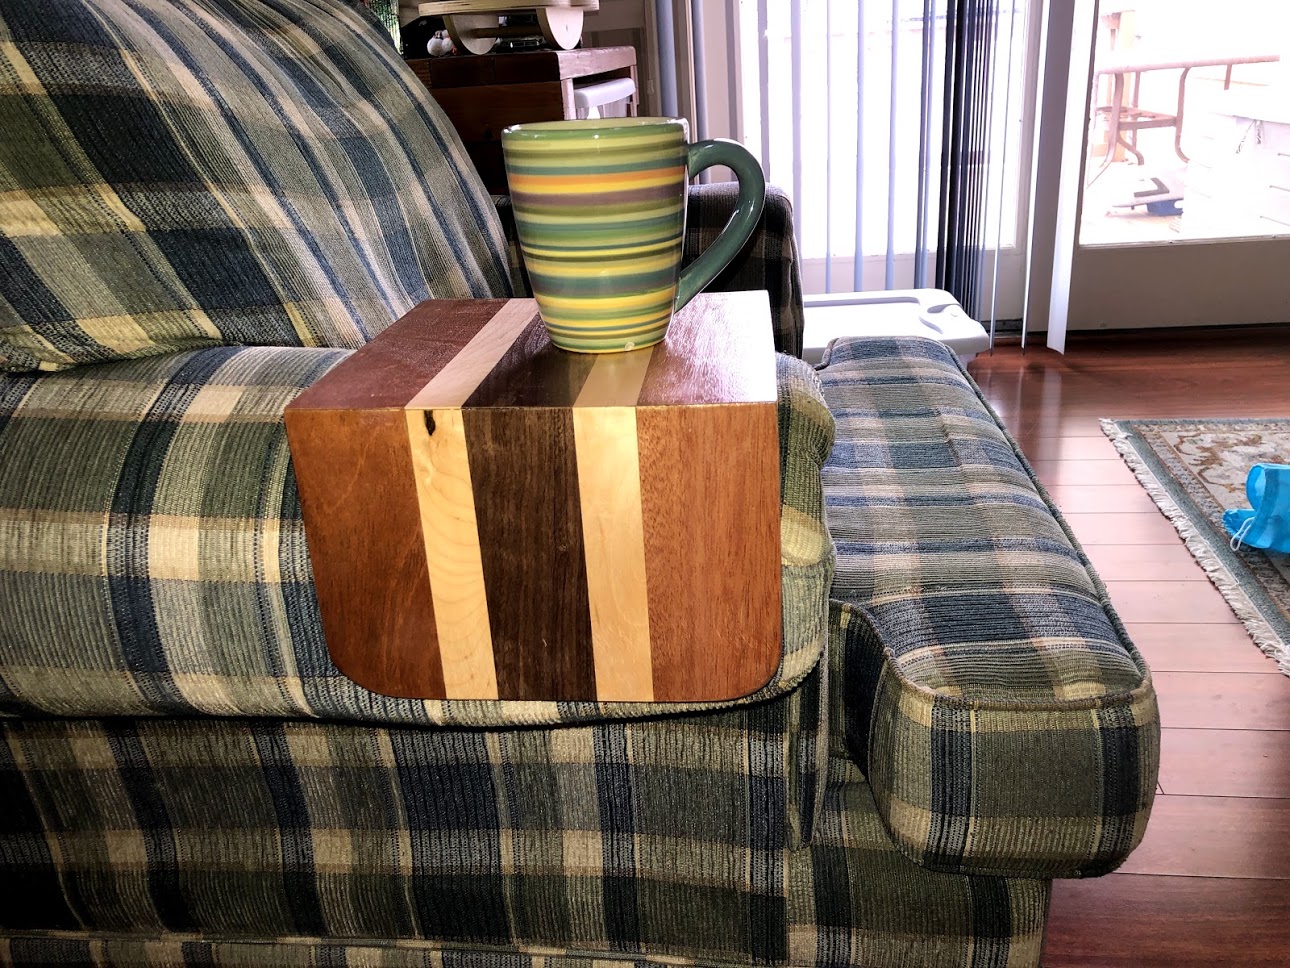
SITTING IN ITS NEW HOME
This was a fun little project and it had everything in it from panel glue-ups, mitered edges, a little shaping and finally a little finishing. This was a great weekend project and now I can enjoy my cup of coffee and not worry about where to put it.